
DDRDiesel's 1997 RS project thread


Thread Starter
|
1st Gear Member
Joined: Feb 2012
Posts: 248
From: Long Island
Ok, been procrastinating on getting this thread started for too long, and this is the official start. Got a 1997 Camaro RS from a friend of mine, and I want to restore this thing to it's former glory. I'm not going to be doing any crazy engine rebuilds or modifications, simply because I don't know enough about engines to do it. Also, finding a place that can tune it, or at least help me with my tuning, is impossible (Someone want to help me on this? I believe it's an L36, but no place wants to waste their time with it). Bought it mostly stock, minus the custom Magnaflow catback, short-pipe headers, and Z28 rear-end with slotted rotors.
Currently Done:
-Installed 3" EBay CAI (Replacing it with a custom kit once the parts come in)
-A LOT of cosmetic work to make the red/white/black theme pop, including:
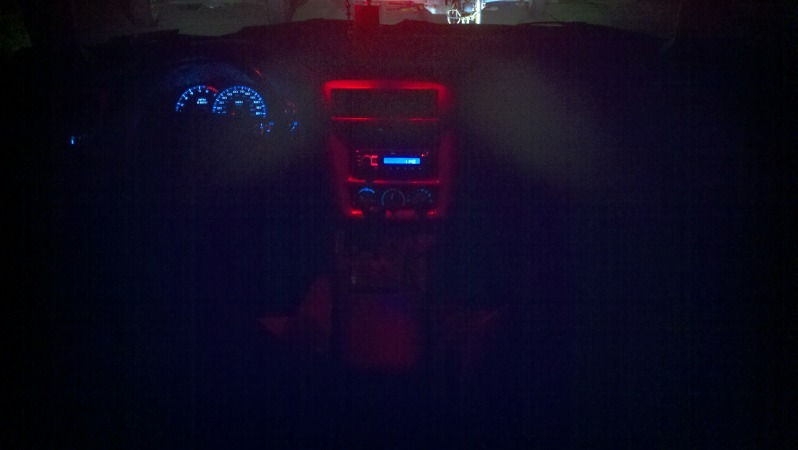
1) Red LEDS installed in the floorboard area
2) Red LEDS installed in the Map/Dome lights
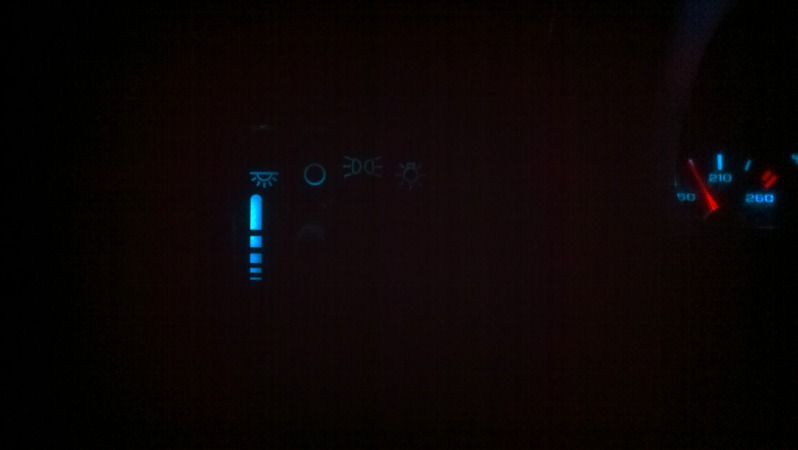
3) LED installation in the gauge cluster, dash panel, and light switch controls
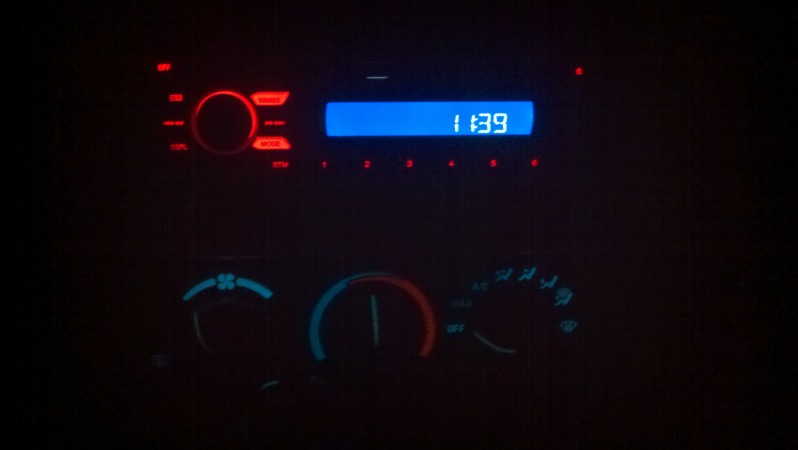
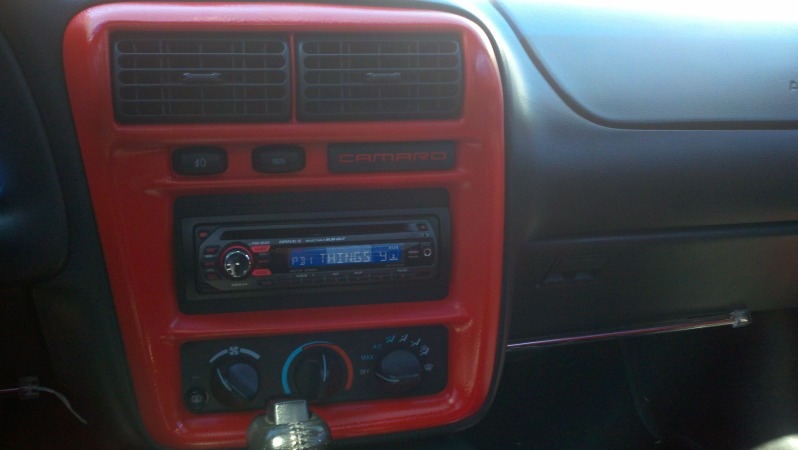
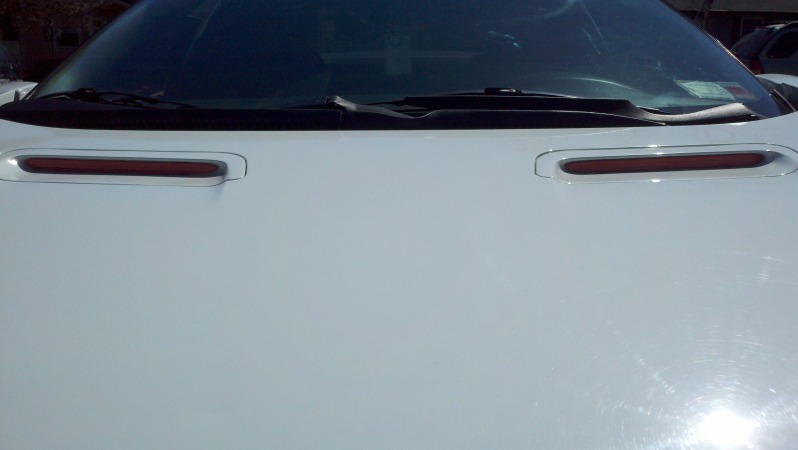
4) Red painted hood scoop inserts, speaker covers, and dash bezels
-Installed a Sony XPLOD CDX GT420IP (Sounds great with the stock Bose speakers, BTW )
)
-Installed a BMR strut Tower Brace (Pics soon, started to rain today)
-Installed a UMI 22mm rear sway bar (Also waiting on pics for this, rain started as soon as I packed everything away)
-Installed a new Fram fuel filter, though this was more of preventative maintenance than an upgrade
TO BE DONE:
-Install the UMI 35 mm front sway bar (Done)
-Install custom 3" CAI kit (Done)
-Repair paint damage
-Repair/replace/remove body kit. This one I'm a bit unsure of what to do. This car (In my opinion) looks sick with the RS kit, but the right side skirt is missing. I have a few options available:
1) Find an aftermarket skirt to replace the stock one (WingsWest, most likely) and paint to match
2) Buy the entire kit from aftermarket (Again, most likely going to be WingsWest), and swap it out. The problem here is that the kits from them are black, and only come in black. I can install it that way, but run the risk of it looking a bit... Off. There was someone in the "Post pics of your 4th gen" thread that installed a black kit on their silver/pewter camaro and it actually looked great.
3) Remove the ground effects entirely, but that leave me with ugly holes all around the side of the body which would need to be filled, sanded, and painted
-Paint job. This is most likely the LAST thing on my list, because of the sheer price. Maaco estimated the job at nearly $2000 for a "Basic" package. In the mean time, I'll find something to buff out or clean up the existing paint damage around the body
Currently Done:
-Installed 3" EBay CAI (Replacing it with a custom kit once the parts come in)
-A LOT of cosmetic work to make the red/white/black theme pop, including:
1) Red LEDS installed in the floorboard area
2) Red LEDS installed in the Map/Dome lights
3) LED installation in the gauge cluster, dash panel, and light switch controls
4) Red painted hood scoop inserts, speaker covers, and dash bezels
-Installed a Sony XPLOD CDX GT420IP (Sounds great with the stock Bose speakers, BTW
-Installed a BMR strut Tower Brace (Pics soon, started to rain today)
-Installed a UMI 22mm rear sway bar (Also waiting on pics for this, rain started as soon as I packed everything away)
-Installed a new Fram fuel filter, though this was more of preventative maintenance than an upgrade
TO BE DONE:
-Install the UMI 35 mm front sway bar (Done)
-Install custom 3" CAI kit (Done)
-Repair paint damage
-Repair/replace/remove body kit. This one I'm a bit unsure of what to do. This car (In my opinion) looks sick with the RS kit, but the right side skirt is missing. I have a few options available:
1) Find an aftermarket skirt to replace the stock one (WingsWest, most likely) and paint to match
2) Buy the entire kit from aftermarket (Again, most likely going to be WingsWest), and swap it out. The problem here is that the kits from them are black, and only come in black. I can install it that way, but run the risk of it looking a bit... Off. There was someone in the "Post pics of your 4th gen" thread that installed a black kit on their silver/pewter camaro and it actually looked great.
3) Remove the ground effects entirely, but that leave me with ugly holes all around the side of the body which would need to be filled, sanded, and painted
-Paint job. This is most likely the LAST thing on my list, because of the sheer price. Maaco estimated the job at nearly $2000 for a "Basic" package. In the mean time, I'll find something to buff out or clean up the existing paint damage around the body
Last edited by DDRDiesel; Apr 27, 2013 at 10:46 PM.
Thread Starter
|
1st Gear Member
Joined: Feb 2012
Posts: 248
From: Long Island
Now for the pictures:
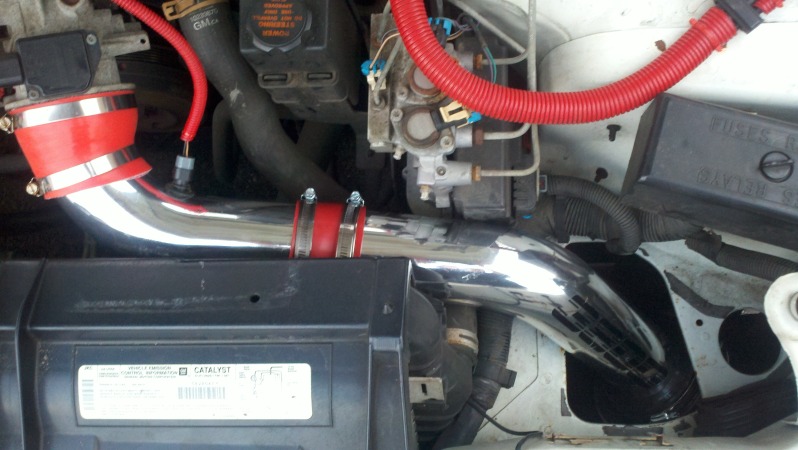
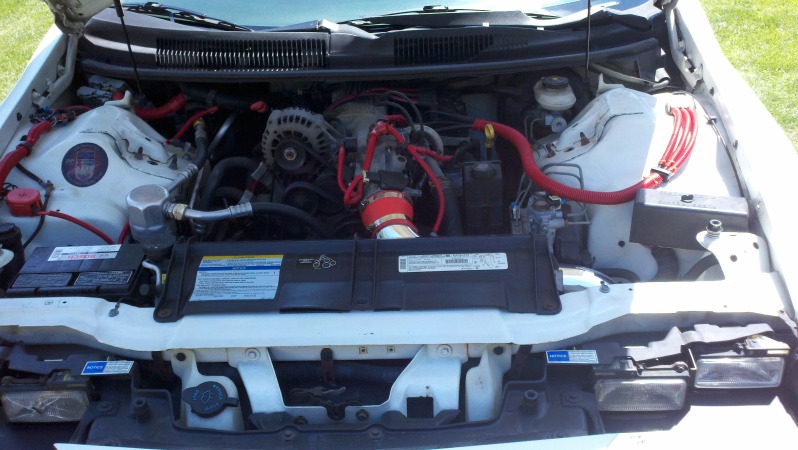
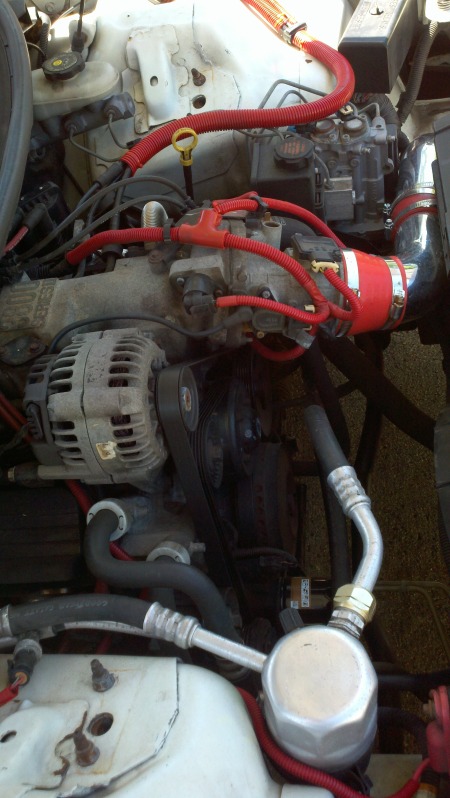
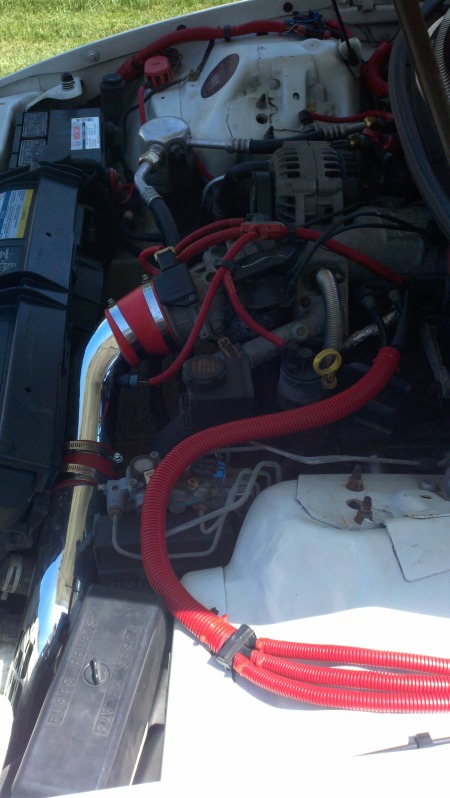
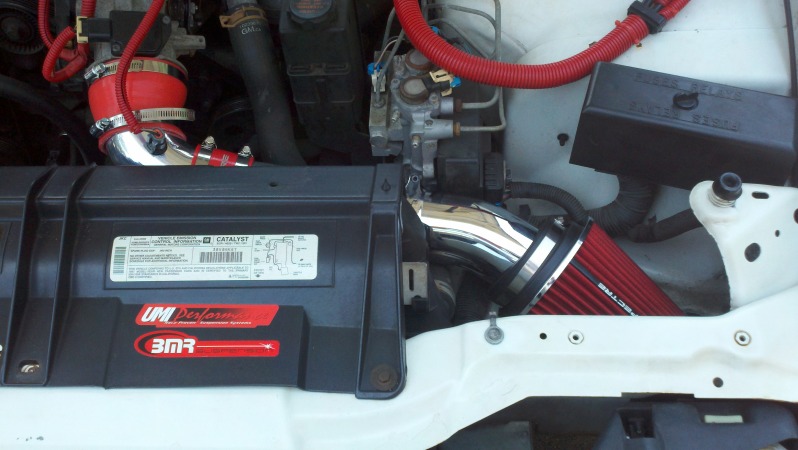
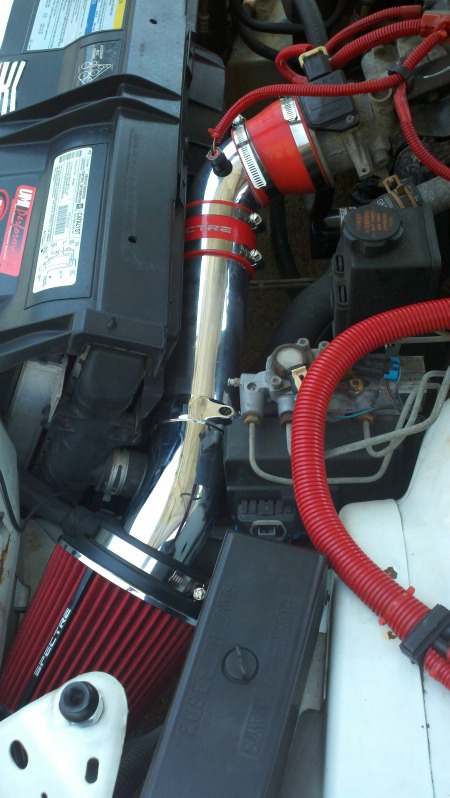
First, the Cold Air Intake and Engine Bay:
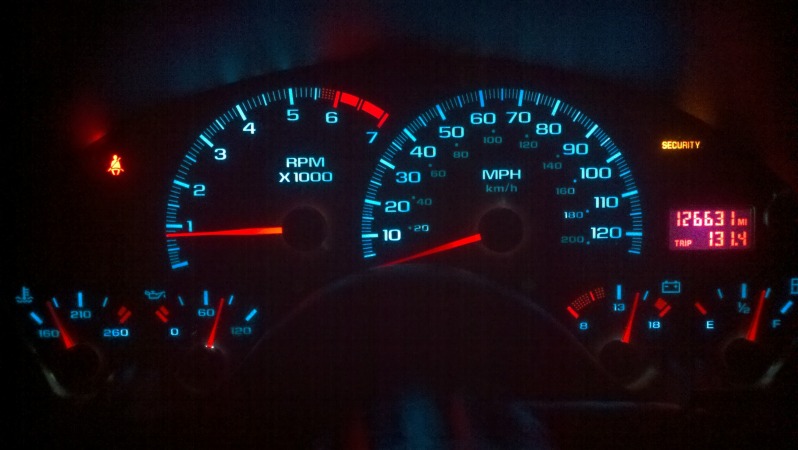
Now, the Gauge Cluster and LED installs:
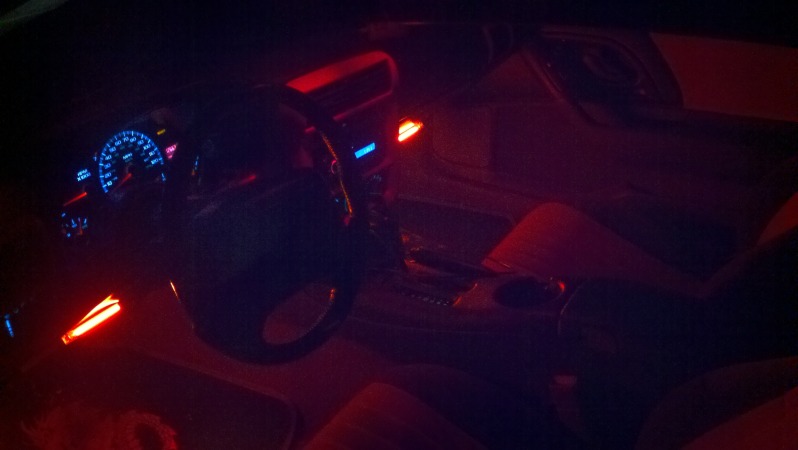
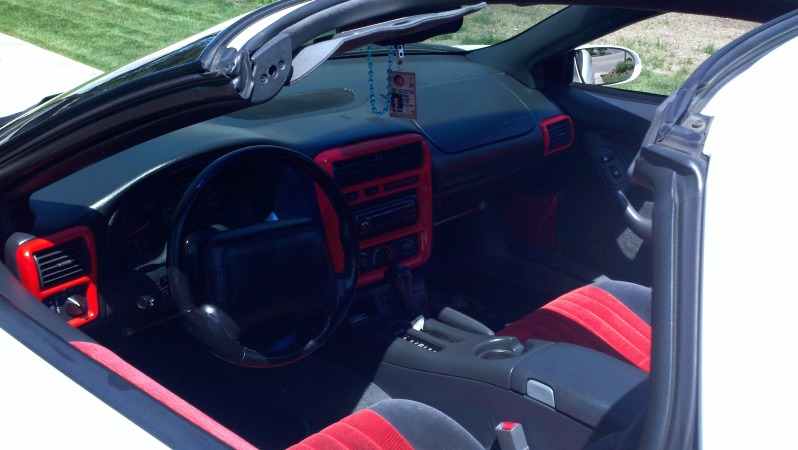
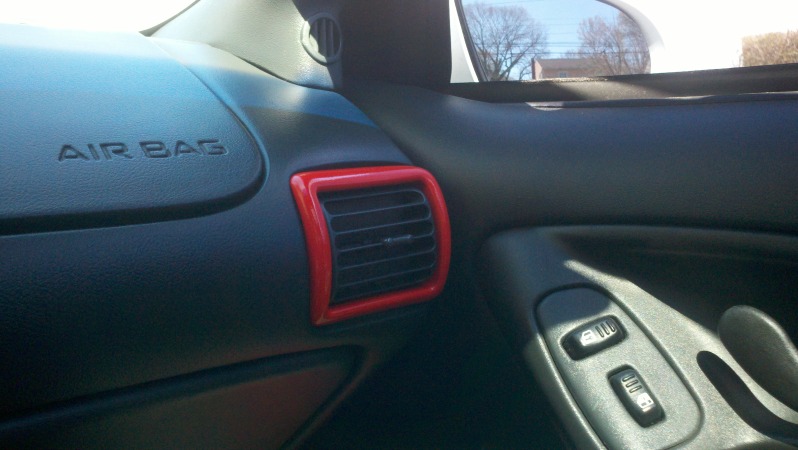
Moving on, we've got the painted bezels, speaker covers, and hood inserts. The speaker cover isn't very visible, so I'll have to work on getting better shots when I get a chance:

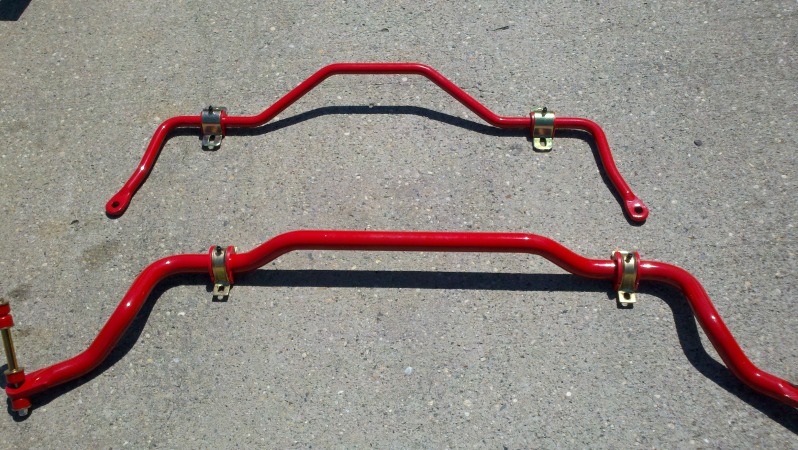
And finally, the front and rear sway bar installation:
These are both UMI Performance sway bars, ordered from Summit. Front Sway Bar is 35mm (1-3/8") and the Rear Sway Bar is 22mm (Approximately 7/8")
Stock rear sway:
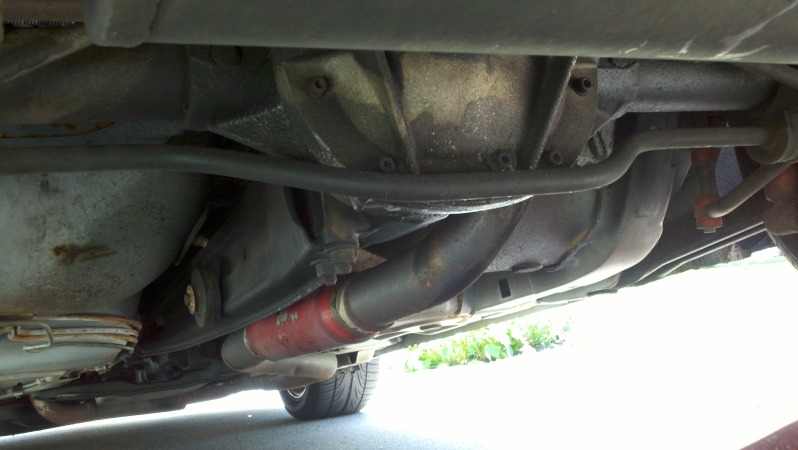
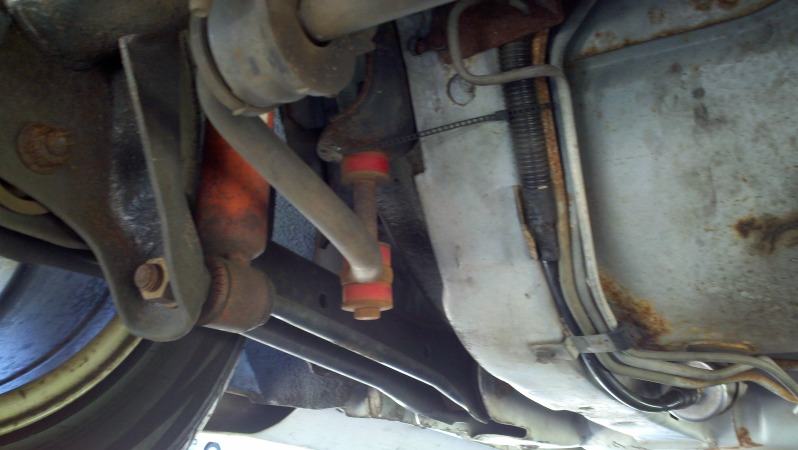
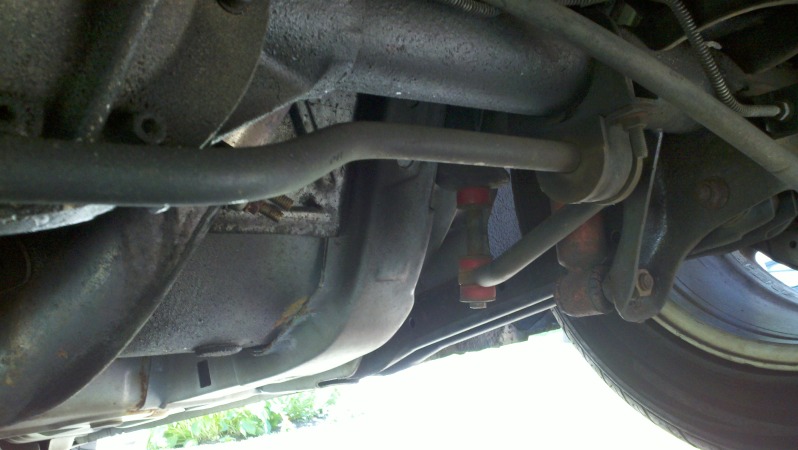
As you can see, then next suspension upgrade/repair is most likely going to be the shocks. The pictures may not do it justice, but the bushings are cracking up and need to be replaced, might as well do the whole thing while I'm at it. I'll get some more pictures eventually when the weather clears up and I have time to do the front sway bar.
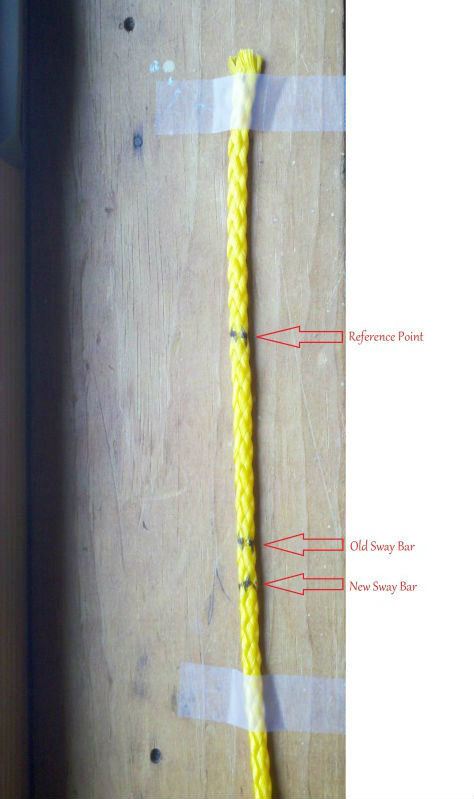
As a point of reference, here is the difference between the stock rear sway and the new rear sway. I didn't have any fancy measuring calipers on hand to find the precise difference, but I'm sure you mathematicians can figure it out:
First, the Cold Air Intake and Engine Bay:
Now, the Gauge Cluster and LED installs:
Moving on, we've got the painted bezels, speaker covers, and hood inserts. The speaker cover isn't very visible, so I'll have to work on getting better shots when I get a chance:
And finally, the front and rear sway bar installation:
These are both UMI Performance sway bars, ordered from Summit. Front Sway Bar is 35mm (1-3/8") and the Rear Sway Bar is 22mm (Approximately 7/8")
Stock rear sway:
As you can see, then next suspension upgrade/repair is most likely going to be the shocks. The pictures may not do it justice, but the bushings are cracking up and need to be replaced, might as well do the whole thing while I'm at it. I'll get some more pictures eventually when the weather clears up and I have time to do the front sway bar.
As a point of reference, here is the difference between the stock rear sway and the new rear sway. I didn't have any fancy measuring calipers on hand to find the precise difference, but I'm sure you mathematicians can figure it out:

Thread Starter
|
1st Gear Member
Joined: Feb 2012
Posts: 248
From: Long Island
Through some horribly crude math, I figured the size of the old sway bar at approximately 18mm in diameter. Basically took the picture of the piece of string (Original picture, my phone takes VERY detailed photos in the right light) and lined it up in MS Paint. Then did the following calculations:
New: 22mm (dia.)
Old: x
Circumference formula: C=3.14*D
Diameter formula: D=C/3.14
New bar circumference (x=3.14*22): 69.08mm
Pixels (From reference point to new sway bar line): 253
Pixels per mm (253/69.08): 3.66
Old Bar pixels: 210
Old Bar circumference (210/3.66): 57.37mm
Old bar diameter (57.37/3.14): 18mm
Crude? Yes. Effective? Definitely. I can already feel the strength of the new sway bar when taking tight on-ramps going to work (Used to have to slow down to around 50 on the ramp due to body roll, now I'm stable at 65+)
Thread Starter
|
1st Gear Member
Joined: Feb 2012
Posts: 248
From: Long Island
After much measuring, fitting, cutting, fitting, and more cutting, I got the new intake in place. The 22-degree elbow is a temporary piece (It's from AutoZone, a 22-degree Spectre chrome-plated POS) until I figure out a better-looking permanent solution.
And here's the strut tower brace I finally got around to taking a picture of:
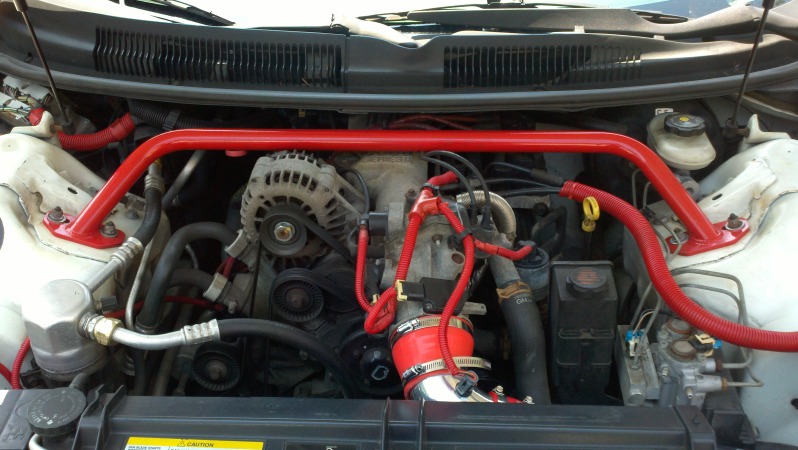
I wanted to document the installation, but it was frustrating enough with all the dropping washers and nuts
And here's the strut tower brace I finally got around to taking a picture of:
I wanted to document the installation, but it was frustrating enough with all the dropping washers and nuts
Thread Starter
|
1st Gear Member
Joined: Feb 2012
Posts: 248
From: Long Island
Ok, so I'm really feeling good about the work I've been putting into this thing. I ripped off the body kit today, and now I can see why Chaotic always tells people to ditch theirs. I'll admit, this body without the kit, and in white, looks killer. However; I prefer the body kit on the car, especially since I've seen kit-less Camaros all over the place, and 4th Gens with kits are very uncommon. I haven't had a chance to take pictures for you guys yet, as it was getting pretty dark by the time the car came off the ramps. I'll be taking pictures tomorrow when the sun is out, and every step of the way as I sand, prime, Bondo, sand again, and paint (PlastiDip).
Stay tuned!

Thread Starter
|
1st Gear Member
Joined: Feb 2012
Posts: 248
From: Long Island
Meaning the kit is going back on, but being taken off for repair. On a side note: With the retainers being bare now, I feel sorry for whatever animal strays into my path and I hit. The car is like a 60 MPH steak knife
Last edited by DDRDiesel; Jun 12, 2012 at 01:25 PM.