
'96 V6 project


Thread Starter
|
Newbie
Joined: Apr 2014
Posts: 21
From: Buffalo, NY
Hi guys,
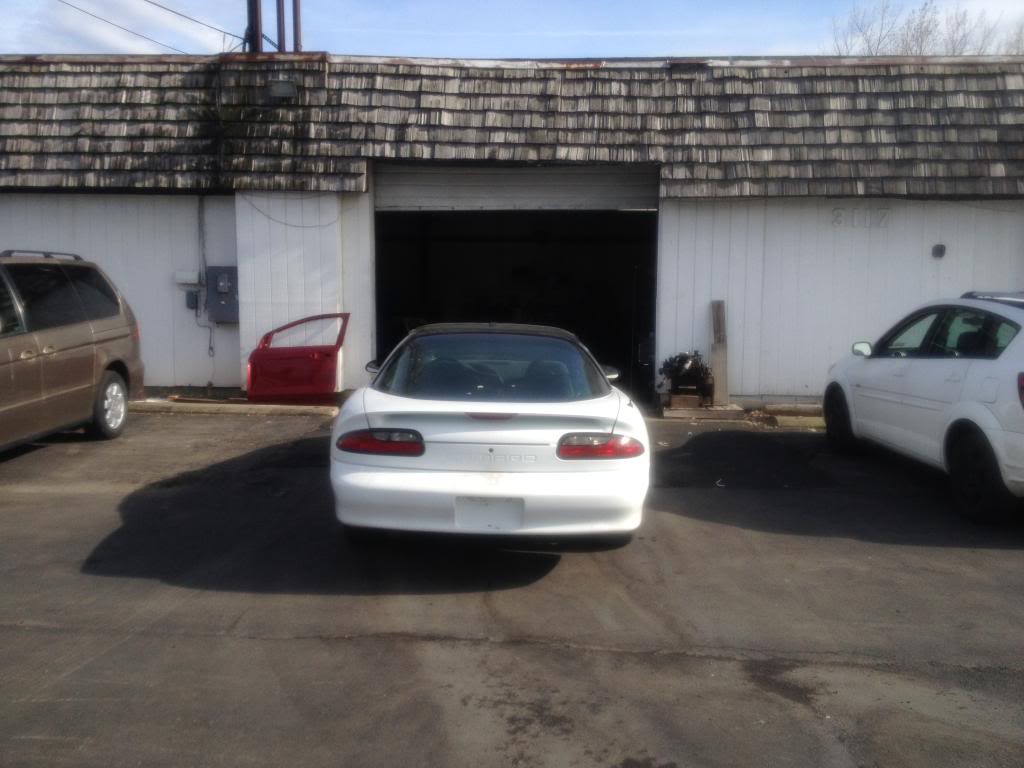
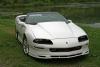
I picked up a '96 Camaro with the 3800 at the beginning of the week as a project. It is White with T-Tops and was covered with ground-in dirt when I picked it up.
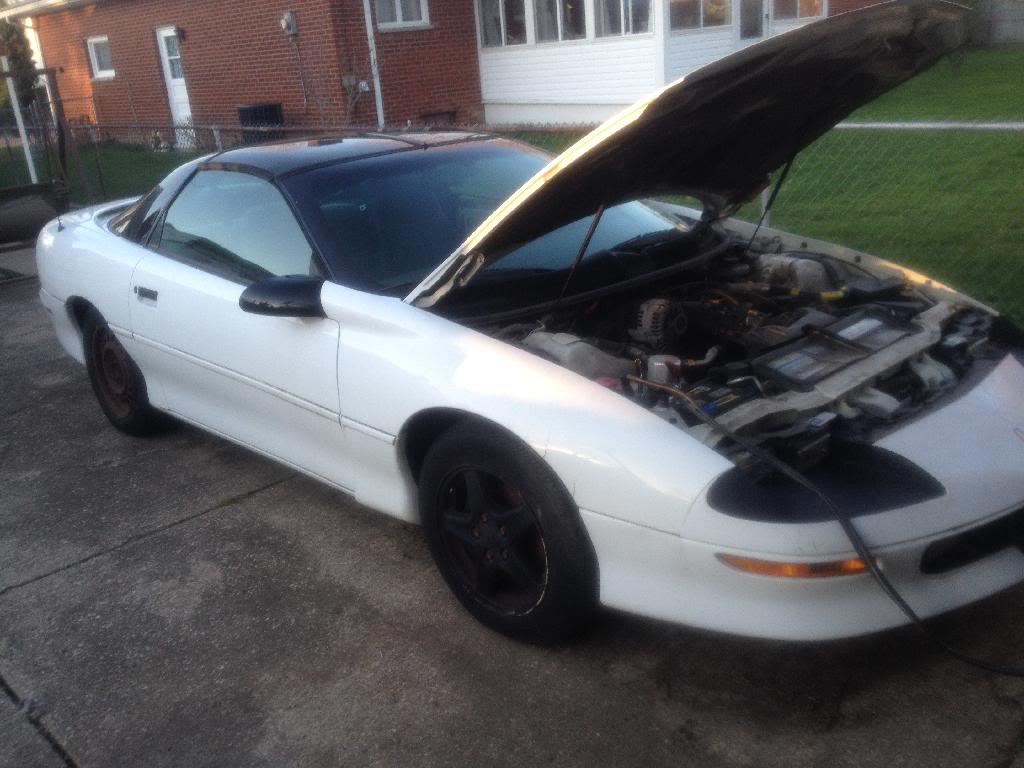
Looks better in the picture than it did in person...
Aside from being a bit messy, both fenders are cracked(one has a big chunk taken out of it, the windows dont work very well, a couple small dings, and it would only start every 10 or so attempts and wouldnt hold an idle without stalling. A few other various little things that need attention but nothing unexpected for a car that has say for almost 2 years.
Tuesday, got a chance to check the car out some more and clean it up a bit. All the ground in dirt came right out with some Ajax and elbow grease! Washed it afterward and the paint is in excellent shape! The fenders will be replaced with new in the next couple weeks and the front bumper will be repainted with them. My dad owns a collision shop so he will be doing the paint work for me.
Wednesday, checked fuel pressure and it is 20 psi with key on and once started falls until it hits zero and the car stalls. Changed the fuel filter hoping it was plugged enough to be the issue but no dice. Added some fresh gas and the car would start more consistently and run a bit longer but still lose fuel pressure and die. So, ordered a known good pump from a local yard from another '96 Camaro.
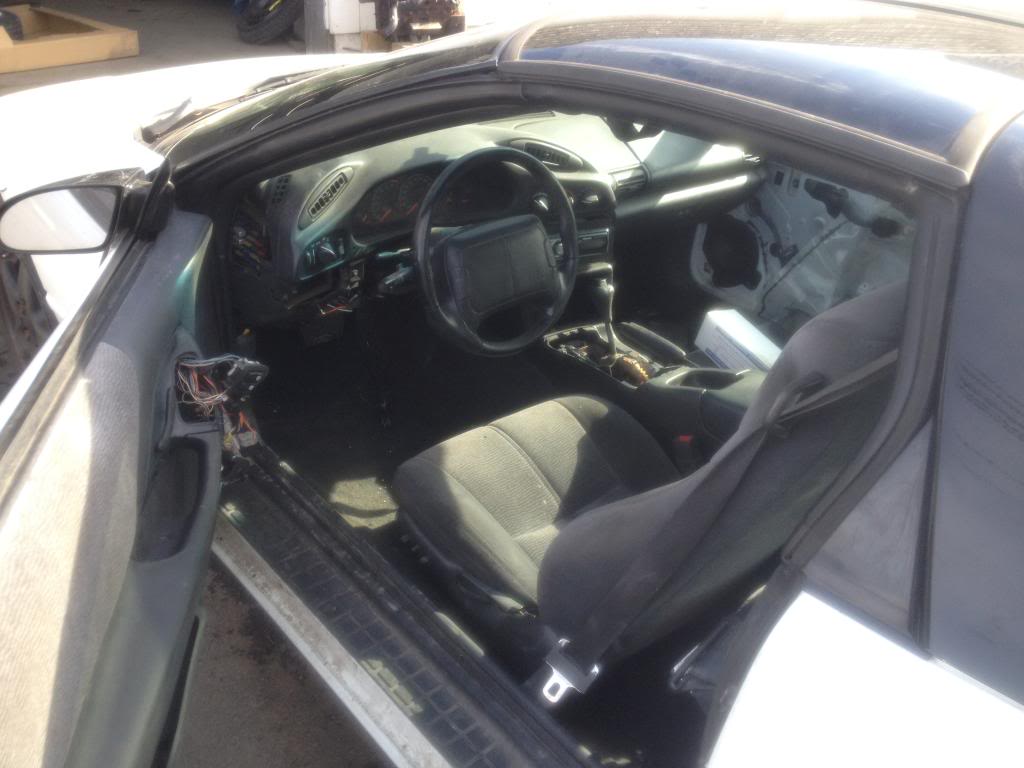
Today, cut the middle section out on the floor above the gas tank to access the pump and swapped in the new pump. Started right up and idled smooth! Cant remember pressure with key in on position but holds at 41 when running. Also got a chance to clean up the interior a bit and the rugs and seats are in excellent shape! Headliner and visors will need to be recovered or replaced but not a big deal.
Tomorrow, will be pulling a door for new hinges and parts for the windows to get the drivers side door in working order. Will grab a few other pieces that I need as well. I plan to do an oil change, plugs and wires and new air filter if I have time tomorrow as well! Will get some better pictures of the car if I remember too!
I picked up a '96 Camaro with the 3800 at the beginning of the week as a project. It is White with T-Tops and was covered with ground-in dirt when I picked it up.

Looks better in the picture than it did in person...
Aside from being a bit messy, both fenders are cracked(one has a big chunk taken out of it, the windows dont work very well, a couple small dings, and it would only start every 10 or so attempts and wouldnt hold an idle without stalling. A few other various little things that need attention but nothing unexpected for a car that has say for almost 2 years.
Tuesday, got a chance to check the car out some more and clean it up a bit. All the ground in dirt came right out with some Ajax and elbow grease! Washed it afterward and the paint is in excellent shape! The fenders will be replaced with new in the next couple weeks and the front bumper will be repainted with them. My dad owns a collision shop so he will be doing the paint work for me.
Wednesday, checked fuel pressure and it is 20 psi with key on and once started falls until it hits zero and the car stalls. Changed the fuel filter hoping it was plugged enough to be the issue but no dice. Added some fresh gas and the car would start more consistently and run a bit longer but still lose fuel pressure and die. So, ordered a known good pump from a local yard from another '96 Camaro.
Today, cut the middle section out on the floor above the gas tank to access the pump and swapped in the new pump. Started right up and idled smooth! Cant remember pressure with key in on position but holds at 41 when running. Also got a chance to clean up the interior a bit and the rugs and seats are in excellent shape! Headliner and visors will need to be recovered or replaced but not a big deal.
Tomorrow, will be pulling a door for new hinges and parts for the windows to get the drivers side door in working order. Will grab a few other pieces that I need as well. I plan to do an oil change, plugs and wires and new air filter if I have time tomorrow as well! Will get some better pictures of the car if I remember too!
Thread Starter
|
Newbie
Joined: Apr 2014
Posts: 21
From: Buffalo, NY
Yesterday I pulled the radio because there were a bunch of wires from an amp and subwoofers that were connected to the aftermarket Pioneer unit. There was a reciept in the glove box for the install, which was done by best buy. The wiring job was an absolute joke. I rewired the section they spliced and got rid of all the unused wires. The radios power was wired directly to the battery with a switch in the middle, two way taped to the inderside of the dash. This was something done by the previous owner for whatever reason. The car has the Bose system and I was really impressed with the speakers, especially for being nearly 20 years old!
I cut a piece for the access panel over the fuel pump from some scrap galvanized steel. Its not beautiful but 6 screws and some butyl tape and it does the job!

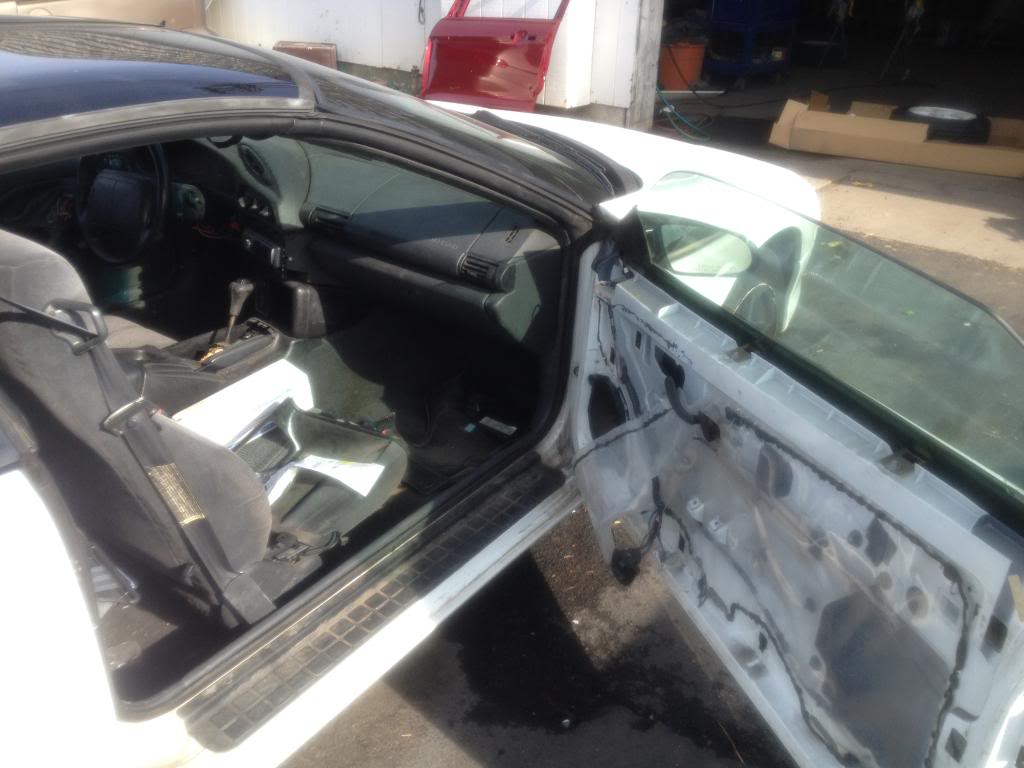
While I was doing that, my dad took the drivers door apart and replaced what was needed from our parts door I pulled at the junkyard. Window is going up nicely now. The bezel around the switch is cracked though and was gone from the parts door so I will need to replace that. Power lock assembly was cracked on mine but good from the parts door so I swapped that over as well and its working well.
Passenger side motor overheats and dies so it takes a few minutes to get that window up and down. Ordered a new motor today and will swap that in tomorrow. Will need to fix the manual locks on that side as well.
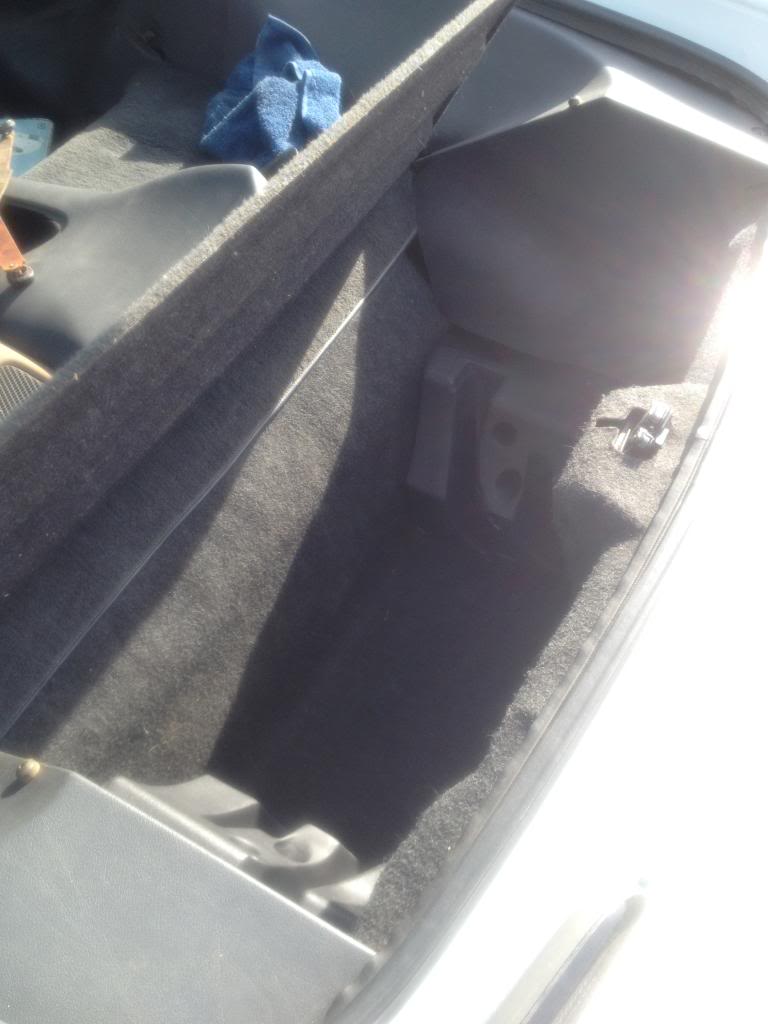
After the doors and stereo, I pulled the taillights and spare tire and cleaned them up and their surroundings. Replaced a couple bad bulbs and threw them back in. Took off the plastic AVS covers that he had on the taillights as well. When putting the interior back together in the hatch area, my dad and I found an open space in the lower section of the trunk, right next to the spare tire space. We had to put a styrofoam block underneath the carpet to make it sit right, but I would like to find whatever goes there and return it to the way its supposed to be. Any ideas??
Today, I changed the plugs. The right side was kind of a pain. I needed to do the middle right one by putting the socket with extensions on the plug first, just long enough to get a ratchet on the extension from above. That plug was frustrating me a bit before I realized I could do it that way. For you guys without a lift, if you have done your own plugs, I envy your patience. I definitely would not want to try them without one.
Replaced the idler pulley above the AC compressor and tensioner pulley because they were a bit noisy. Had to go to work so didnt get to throw the belt on and hear it run but hopefully that was it for noisy pulleys.
Tomorrow, Im going to replace the RH window motor and get that door all sorted out. Will be stripping the black spray paint off the rims and prep them for paint. They will be the OEM white again. I think the car has rims from a '97. Tires will need replaced too. Will hopefully be ordering new fenders also. I want to pull the headliner and mirrors as well to send them to be recovered if I get to it as well. They are a little worn down and it definitely need it on a T-Top car. Planning to get the car on the road this weekend so I can drive it while Im working on it!
I cut a piece for the access panel over the fuel pump from some scrap galvanized steel. Its not beautiful but 6 screws and some butyl tape and it does the job!

While I was doing that, my dad took the drivers door apart and replaced what was needed from our parts door I pulled at the junkyard. Window is going up nicely now. The bezel around the switch is cracked though and was gone from the parts door so I will need to replace that. Power lock assembly was cracked on mine but good from the parts door so I swapped that over as well and its working well.
Passenger side motor overheats and dies so it takes a few minutes to get that window up and down. Ordered a new motor today and will swap that in tomorrow. Will need to fix the manual locks on that side as well.
After the doors and stereo, I pulled the taillights and spare tire and cleaned them up and their surroundings. Replaced a couple bad bulbs and threw them back in. Took off the plastic AVS covers that he had on the taillights as well. When putting the interior back together in the hatch area, my dad and I found an open space in the lower section of the trunk, right next to the spare tire space. We had to put a styrofoam block underneath the carpet to make it sit right, but I would like to find whatever goes there and return it to the way its supposed to be. Any ideas??
Today, I changed the plugs. The right side was kind of a pain. I needed to do the middle right one by putting the socket with extensions on the plug first, just long enough to get a ratchet on the extension from above. That plug was frustrating me a bit before I realized I could do it that way. For you guys without a lift, if you have done your own plugs, I envy your patience. I definitely would not want to try them without one.
Replaced the idler pulley above the AC compressor and tensioner pulley because they were a bit noisy. Had to go to work so didnt get to throw the belt on and hear it run but hopefully that was it for noisy pulleys.
Tomorrow, Im going to replace the RH window motor and get that door all sorted out. Will be stripping the black spray paint off the rims and prep them for paint. They will be the OEM white again. I think the car has rims from a '97. Tires will need replaced too. Will hopefully be ordering new fenders also. I want to pull the headliner and mirrors as well to send them to be recovered if I get to it as well. They are a little worn down and it definitely need it on a T-Top car. Planning to get the car on the road this weekend so I can drive it while Im working on it!
Thread Starter
|
Newbie
Joined: Apr 2014
Posts: 21
From: Buffalo, NY
Not much new in the last couple days but I got a chance to take some pictures.
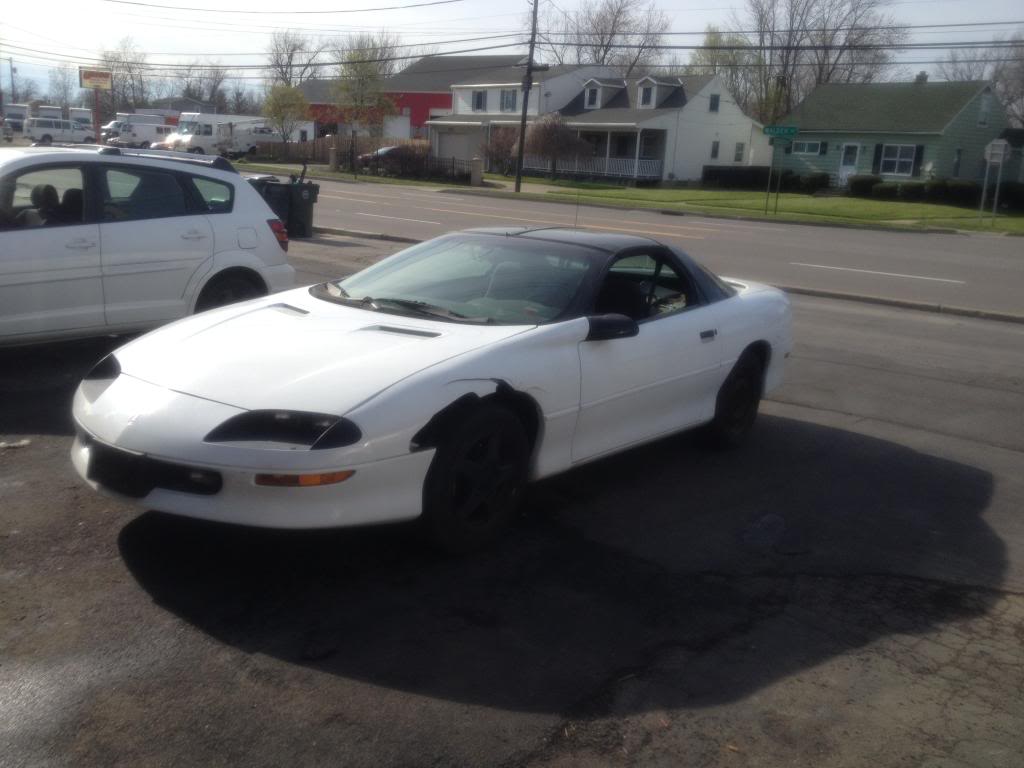
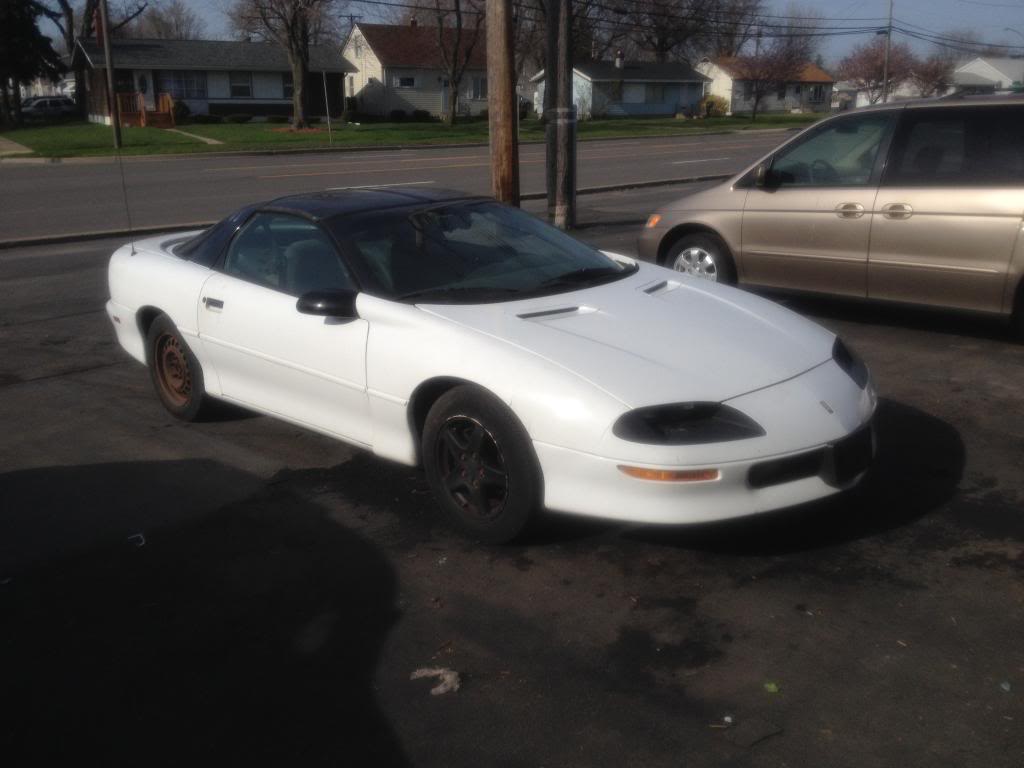
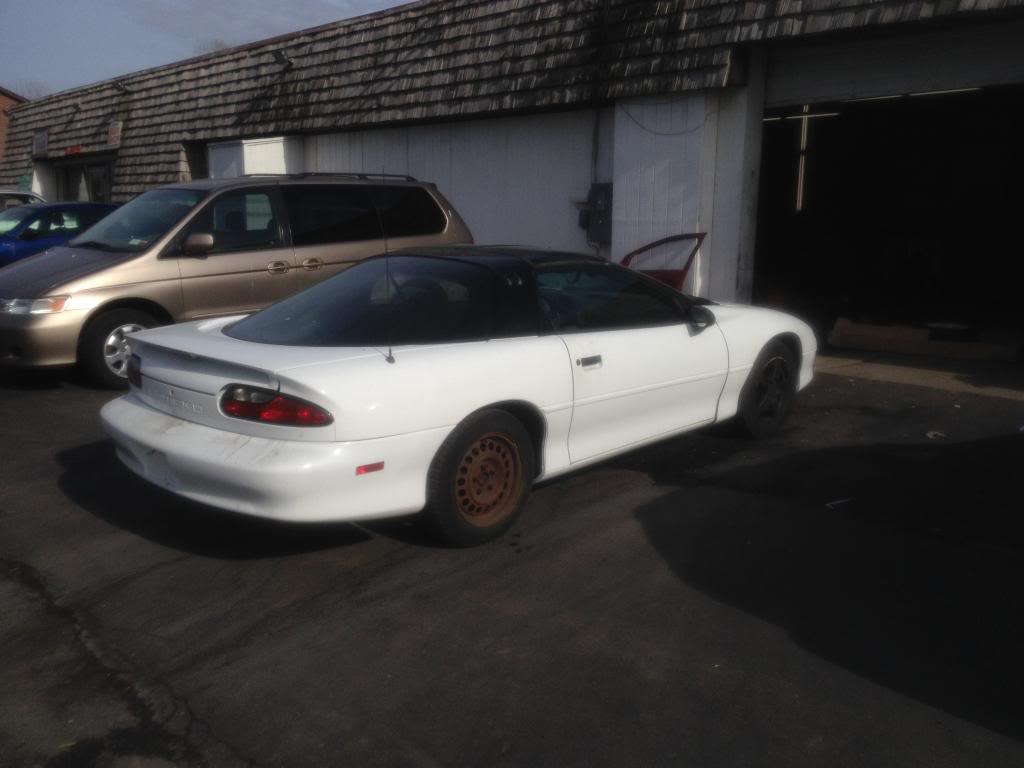
Vacuumed and wiped down inside the hatch now that that is put back together.
Quick degreasing and hosing off of engine bay. Will be fixing the rust on the radiator support.

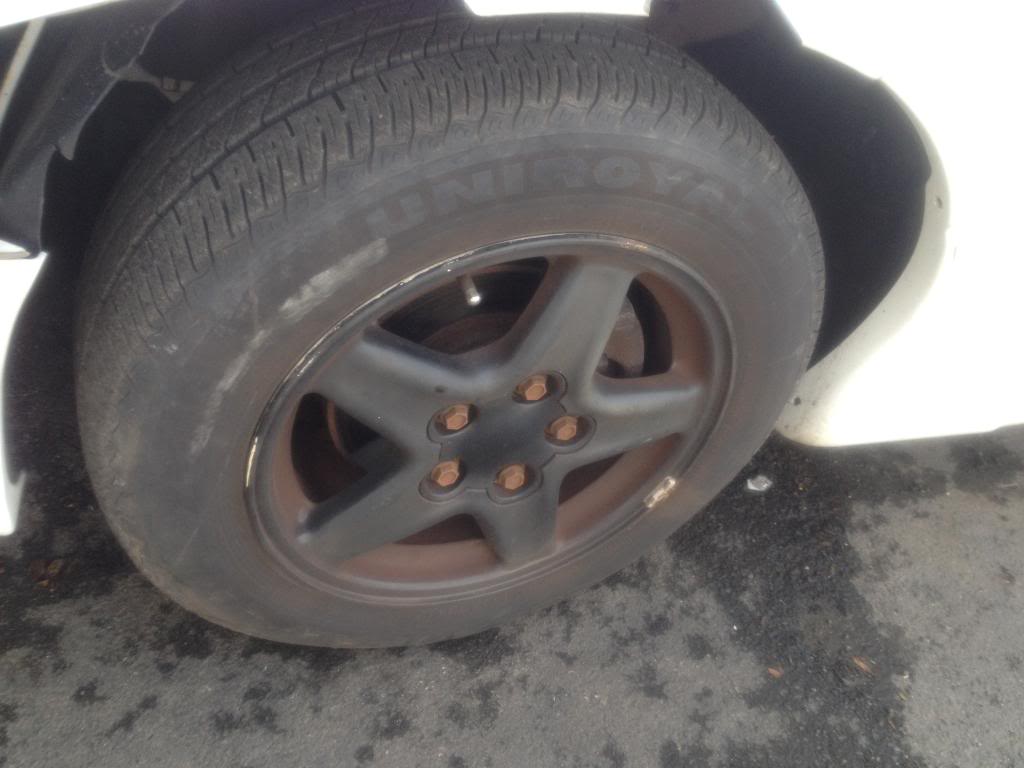
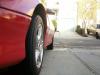
PO painted wheels black
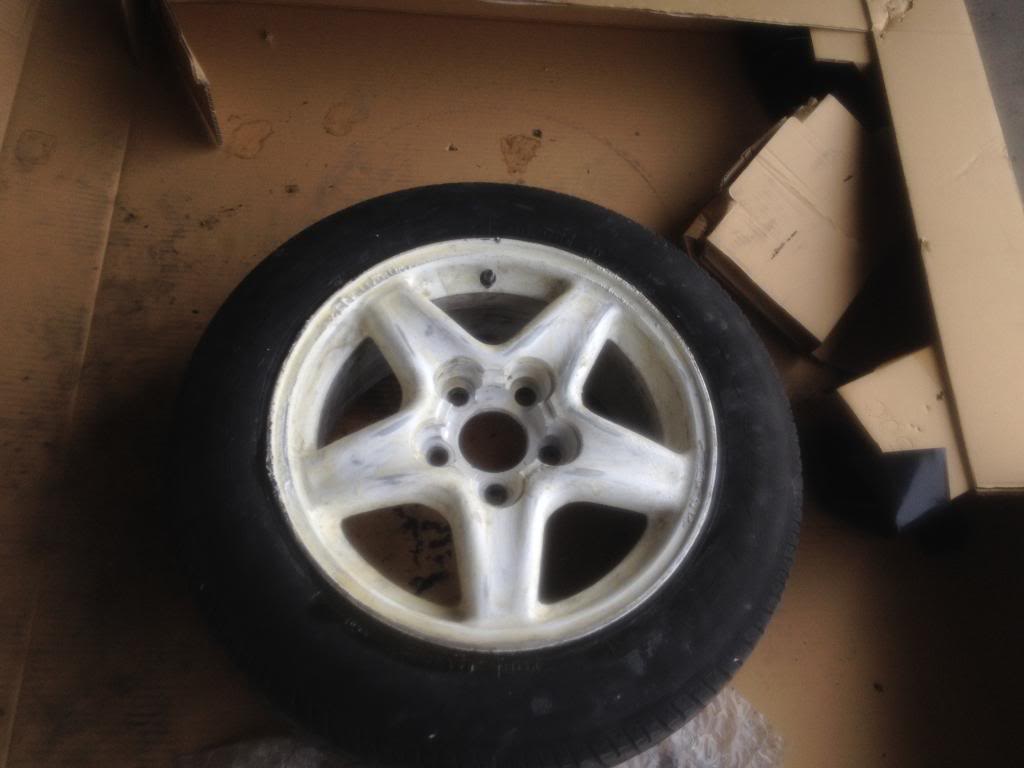
Aircraft Paint Remover got most of the black paint off
Wire wheel and dremel tool got the rest off!
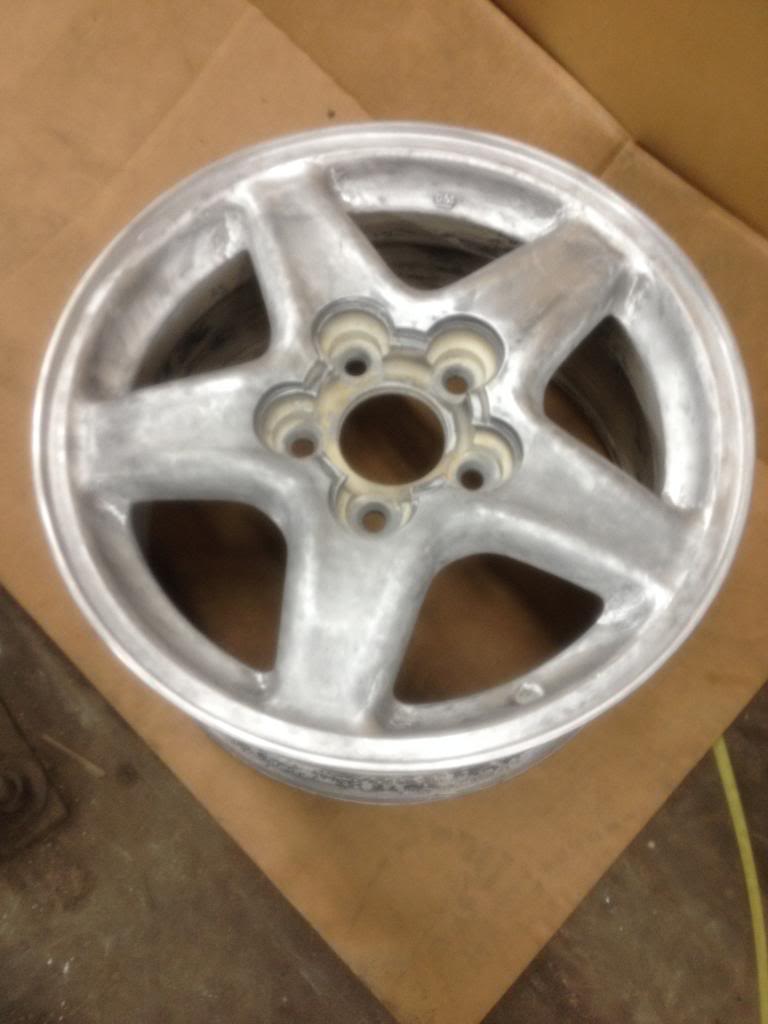
Two rims are to this point. My dad will be repainting them White.
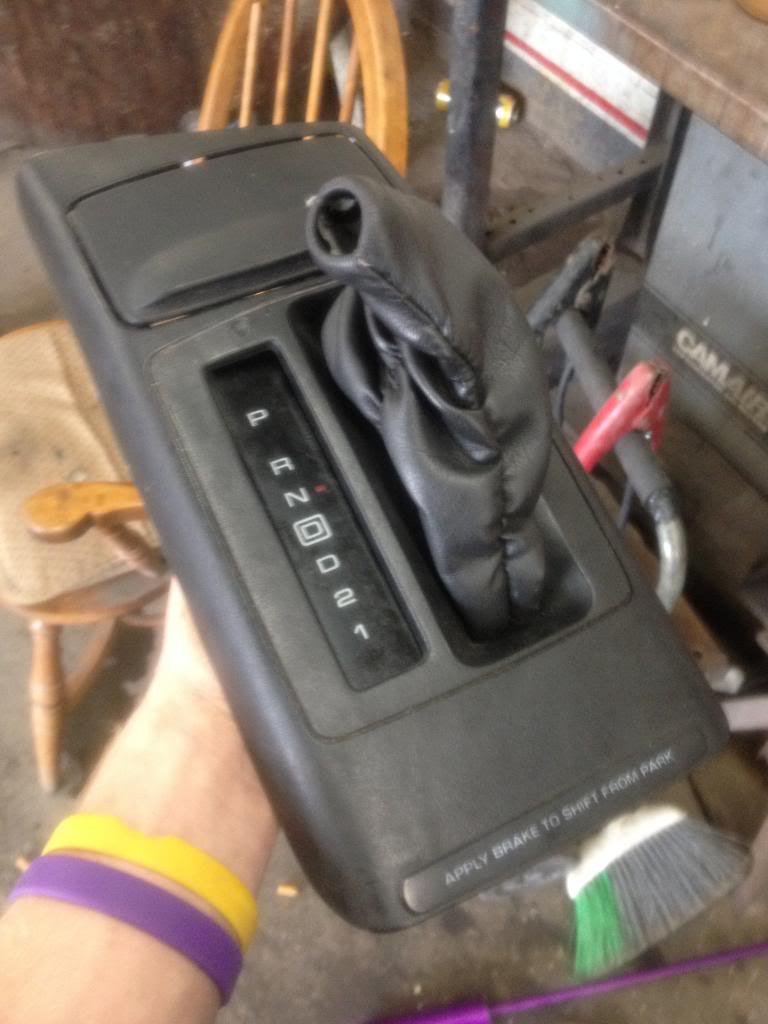
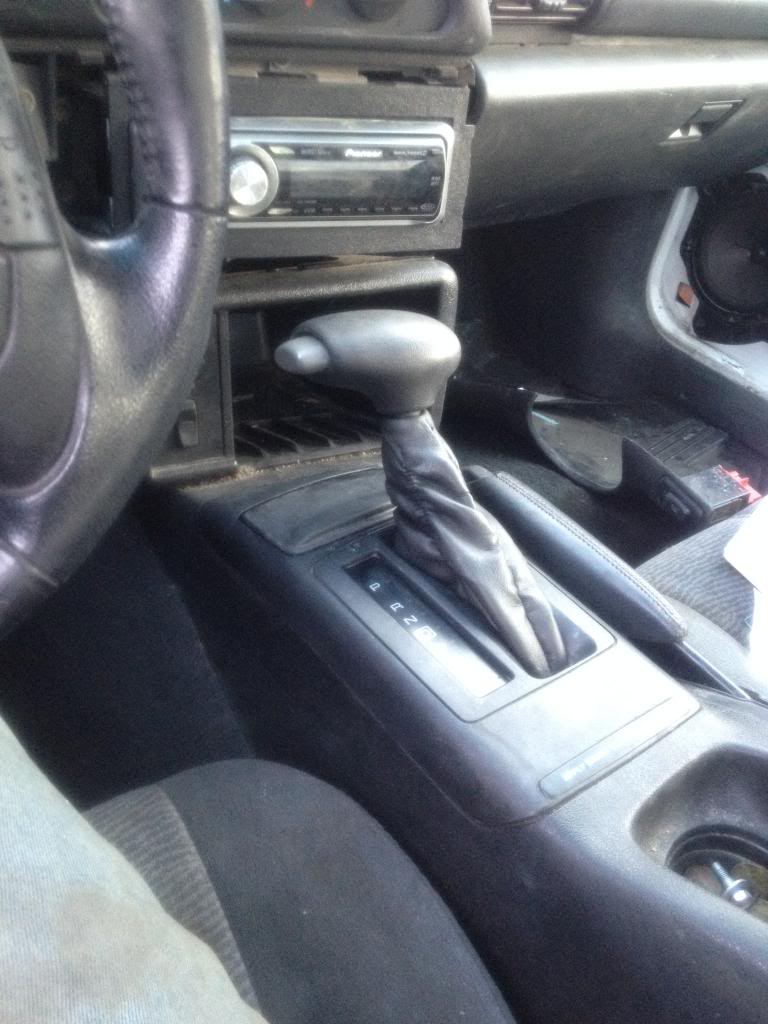
Today, I replaced the bezel around the driver door window/lock/mirror switch with a new one from the dealer. Also, had wanted to try out the Grand Am shift **** on the car so I grabbed one from the local U Pull yard. I definitely prefer it to original!
New fenders come tomorrow!!


Vacuumed and wiped down inside the hatch now that that is put back together.

Quick degreasing and hosing off of engine bay. Will be fixing the rust on the radiator support.

PO painted wheels black

Aircraft Paint Remover got most of the black paint off

Wire wheel and dremel tool got the rest off!

Two rims are to this point. My dad will be repainting them White.
Today, I replaced the bezel around the driver door window/lock/mirror switch with a new one from the dealer. Also, had wanted to try out the Grand Am shift **** on the car so I grabbed one from the local U Pull yard. I definitely prefer it to original!


New fenders come tomorrow!!
Last edited by th3fr4nchi5e; May 7, 2014 at 09:55 PM.
November 2010 ROTM
October 2011 ROTM
October 2011 ROTM
Joined: Jan 2010
Posts: 1,104
From: Maryland
ROTM Winner's Club
Anniversary wheels were 17" zr1 style wheels. These are stock 16s


Thread Starter
|
Newbie
Joined: Apr 2014
Posts: 21
From: Buffalo, NY
Thanks guys! I plan on driving it for a bit this summer, while my '95 Buick Riviera S/C is being set up for water/meth and Im swapping in the Transmission which I had rebuilt and F-Body brakes along with some other things I have planned. I swapped the insurance from the Riv to the Camaro for now. When the Riv is done, I will probably have to sell the Camaro because I cannot afford to insure 3 cars and have no where to store it in the Winter as the garage is occupied by the Riv and my dads '86 IROCZ. I would love to own a 4th Gen Z28 in the future though!
I was curious about the wheels myself. Yes, they were originally White and the previous owner sprayed them Black. They will be Repainted white again! Thanks forbthe info and that flyer for the 30th Ann Z28, I am definitely sure about going back to the original Bright White again now!
Cleaned the door jambs and got the interior back together yesterday! Both windows are in good working order now. Gave a quick cleaning to the interior and it came out really well! Today, I swapped in a new Cam Position Sensor that was causing a rough idle and the car to be very slow! Had a P0341 for Cam Pos Sensor malfunction and a multiple cylinder miss and so far no CEL since I reset the codes. I pulled off the rear spoiler to clean underneath it better as I couldnt get my hand in there to get all of the dirt built up. Cleaned up nicely and buffed the decklid before I put the spoiler back on and the paint shined up great! Fenders got held up but should both be here tomorrow. Pulled the plastic wheel wells and sprayed the nuts that hold the fender and bumper together real good with penetrating oil. Tomorrow will hopefully get the fenders and front bumper off so I can start the bodywork on the bumper. Getting very close to time for Paint and I like it!
Last edited by th3fr4nchi5e; May 11, 2014 at 10:01 PM.