


Custom Interior with How To Pics


Thread Starter
|
1st Gear Member
Joined: Mar 2015
Posts: 190
 Custom Interior with How To Pics
I started with a sewing machine and a will. Anyone here can do this. If anyone has any questions feel free to post them up or PM me and I will help the best I can.
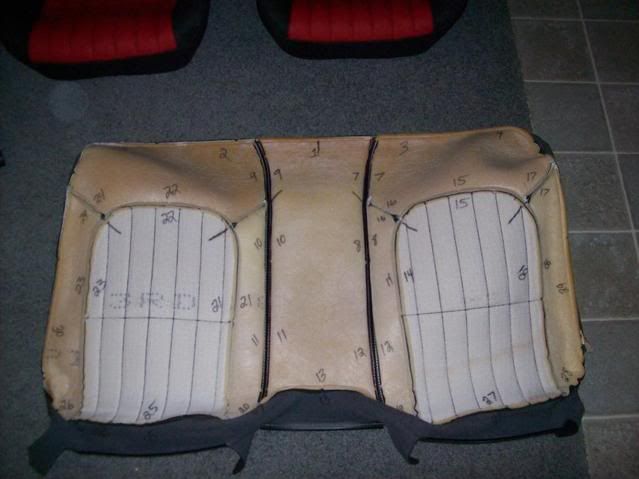
First the seat has to be broken down. You need to seperate the material from the foam. Then you can mark the material by turning it inside out to help you know where to start sewing it back together. The factory pieces are cut out after they are marked and traced onto new material, with the exact same numbers and seam marks. Then you cut them out and sew the new pieces back together. Simple.
Let's start with what you need to work with:
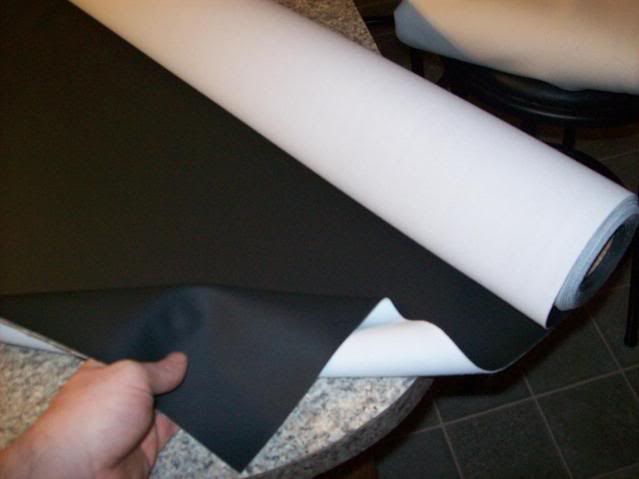
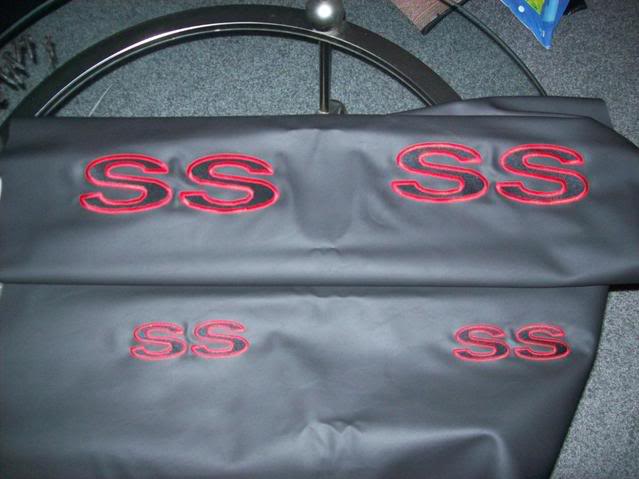
Logos stitched on Allante. Its a fake leather with a VERY soft feel. Its about $15 a yard and I ordered 10 yards for about $170 shipped. The logos, 6 total, cost me about $175.
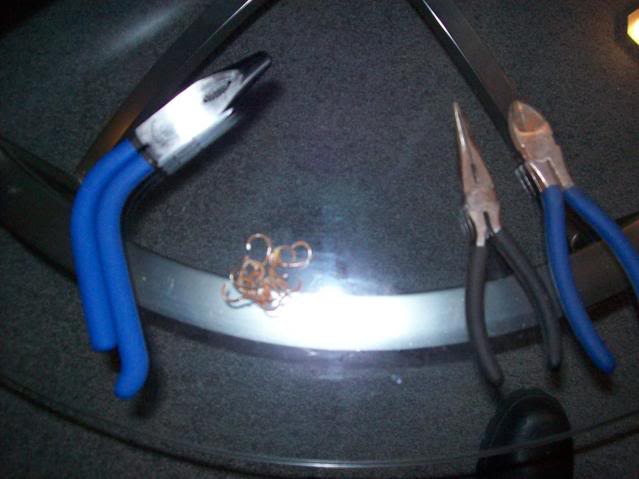
Hog ring pliers on the left. They can be had for about $15. They squeeze hog rings back together when attaching your new seat cover. The needle nose and snips are to bend the old rings to remove the old cover.
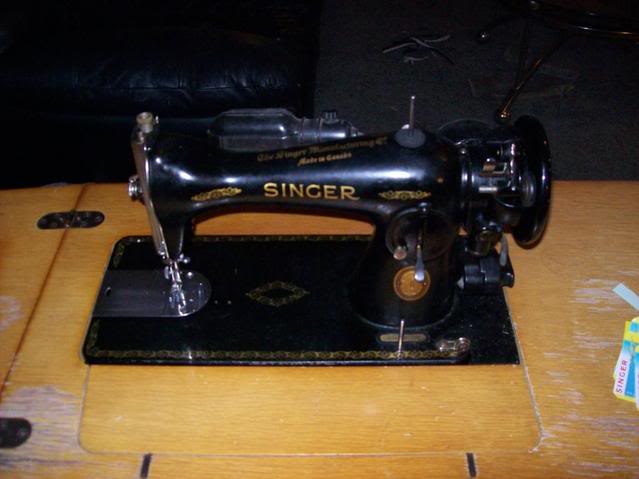
A sewing machine that has been in my family for 50 years or more
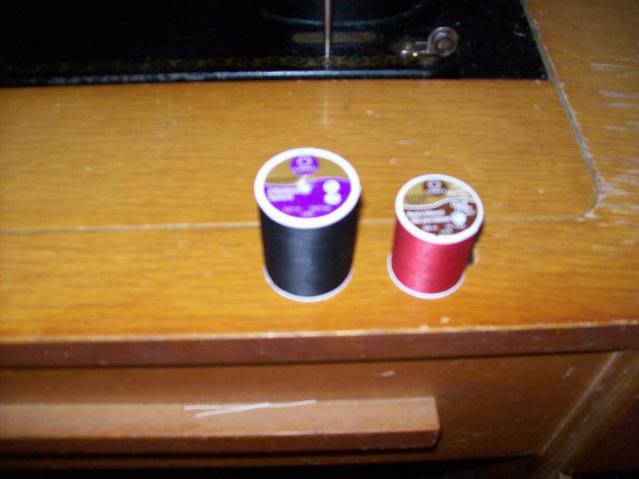
This is a ****ty pic. The one on the left is a 500 yard of bull**** thread. You do not want this. Its a general purpose thread and it is super brittle. The smaller roll on the right is a 150 yard roll and its very thick. Its actually for embroirdery. The difference in strength is tremendous
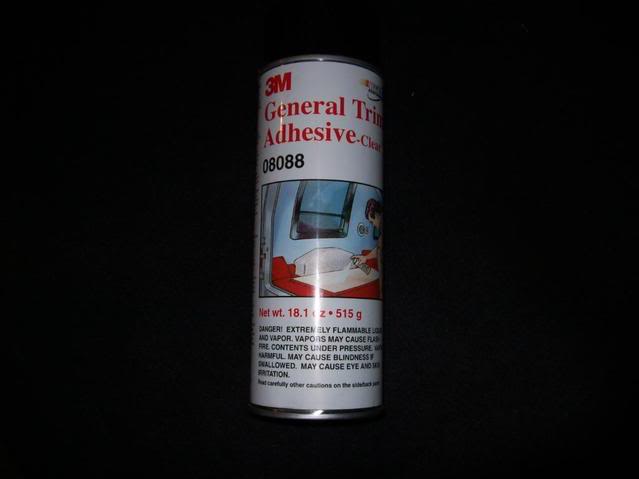
This is about $12 a can and you can use it to glue in extra foam in the worn down sections of the seat foam.
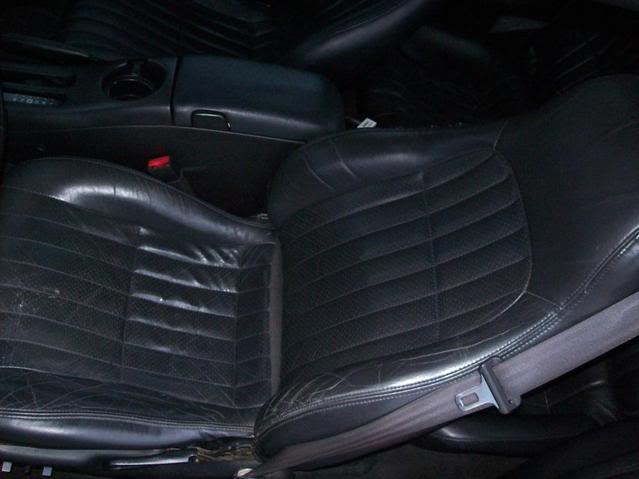
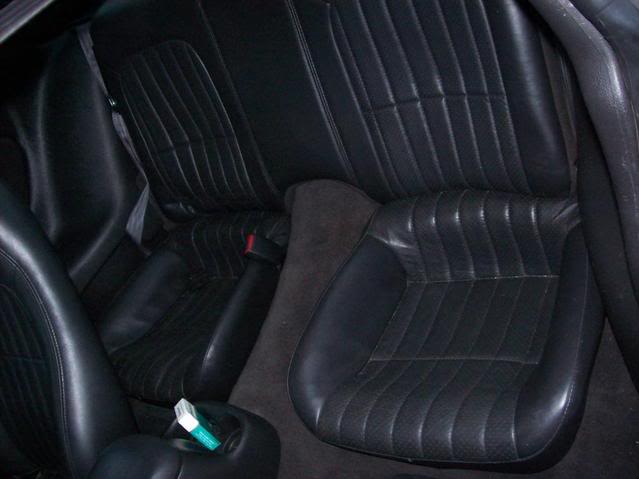
Let's see the aged **** leather that GM gave us to work with
First the seat has to be broken down. You need to seperate the material from the foam. Then you can mark the material by turning it inside out to help you know where to start sewing it back together. The factory pieces are cut out after they are marked and traced onto new material, with the exact same numbers and seam marks. Then you cut them out and sew the new pieces back together. Simple.
Let's start with what you need to work with:
Logos stitched on Allante. Its a fake leather with a VERY soft feel. Its about $15 a yard and I ordered 10 yards for about $170 shipped. The logos, 6 total, cost me about $175.
Hog ring pliers on the left. They can be had for about $15. They squeeze hog rings back together when attaching your new seat cover. The needle nose and snips are to bend the old rings to remove the old cover.
A sewing machine that has been in my family for 50 years or more
This is a ****ty pic. The one on the left is a 500 yard of bull**** thread. You do not want this. Its a general purpose thread and it is super brittle. The smaller roll on the right is a 150 yard roll and its very thick. Its actually for embroirdery. The difference in strength is tremendous
This is about $12 a can and you can use it to glue in extra foam in the worn down sections of the seat foam.
Let's see the aged **** leather that GM gave us to work with
Thread Starter
|
1st Gear Member
Joined: Mar 2015
Posts: 190
Pull the seats out and seperate the backs from the bottoms.
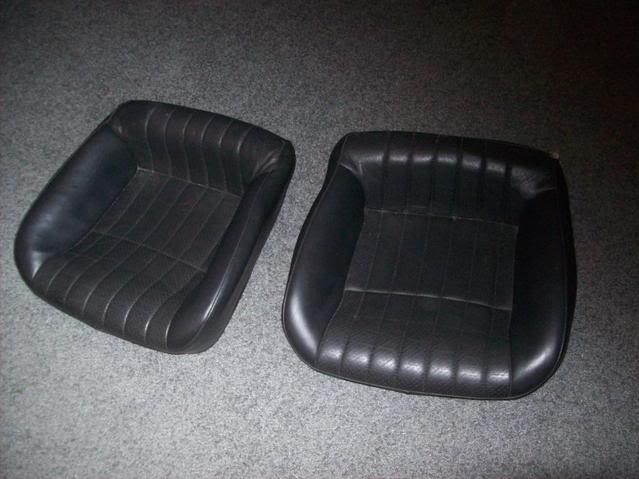
This is the back bottom flipped upside down, you can see the hog rings. Clip them completely or use two needle nose and pry the rings apart and the cover will come off. The topside is held loosely in place with velcro.
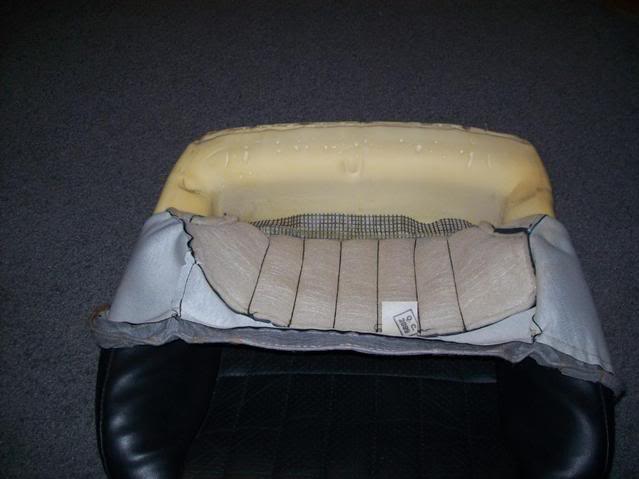
This is the foam. Toss it aside or add in extra padding if its worn/squished down
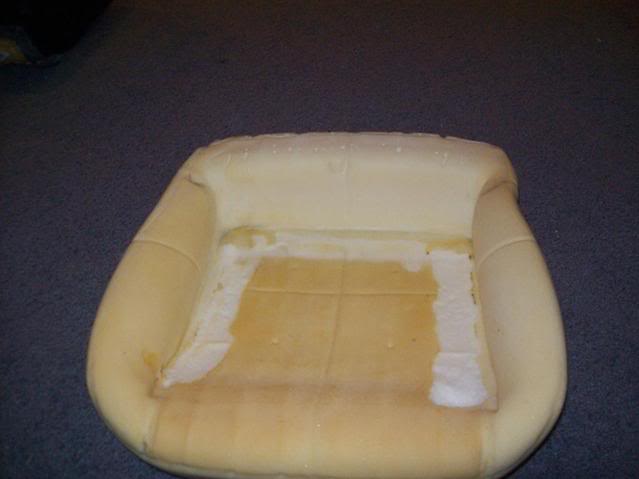
The cover is off
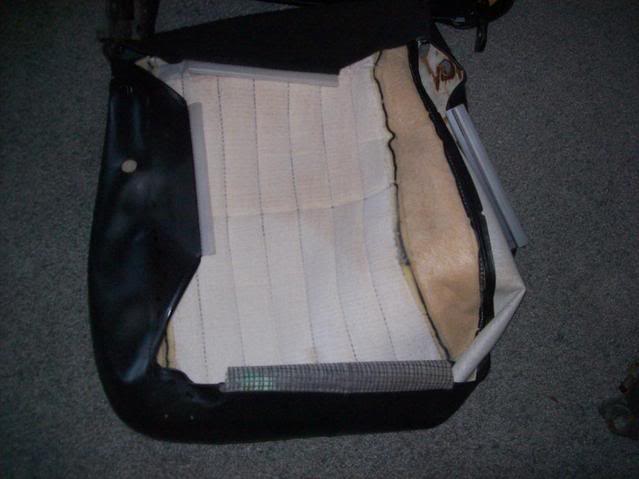
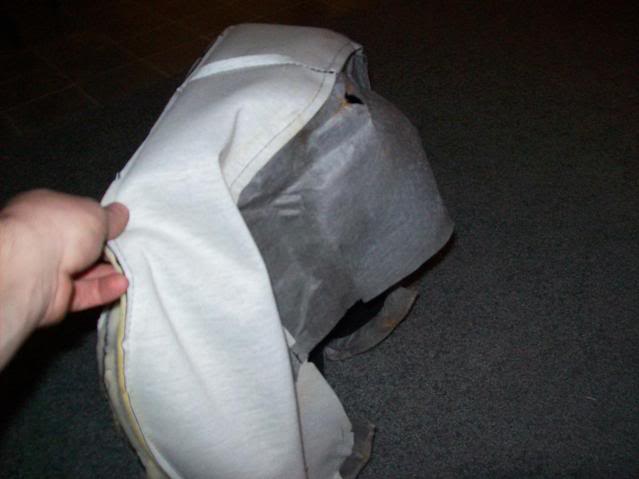
Here's the cover. Flip it inside out. You will be working with the backside/inside
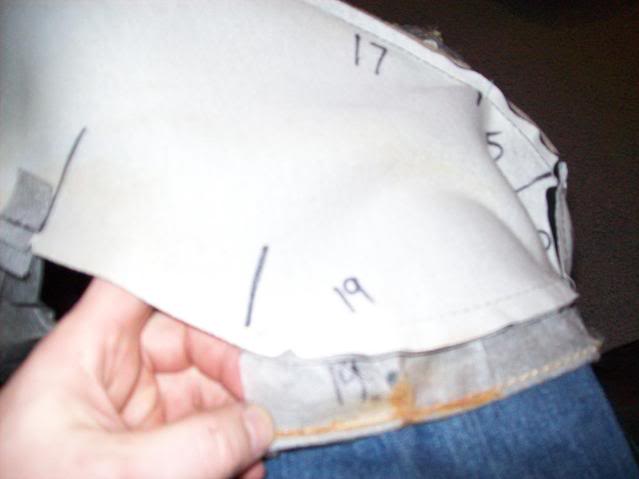
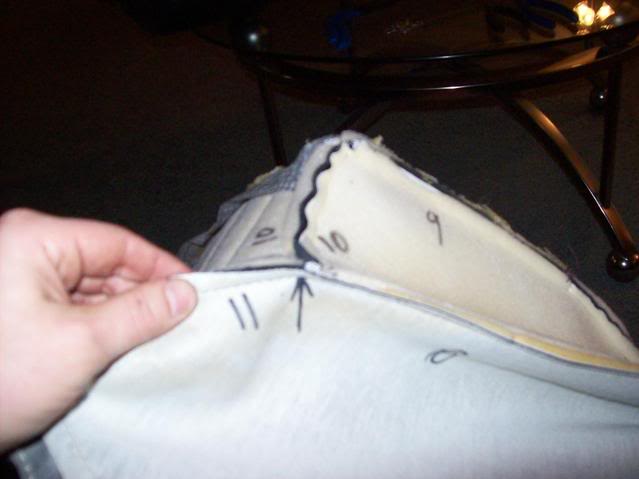
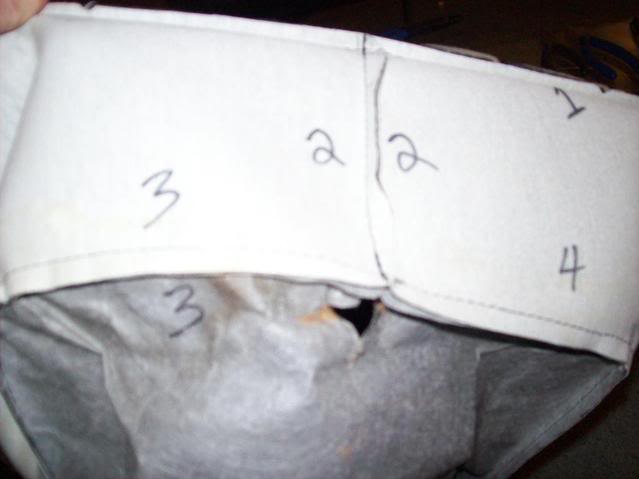
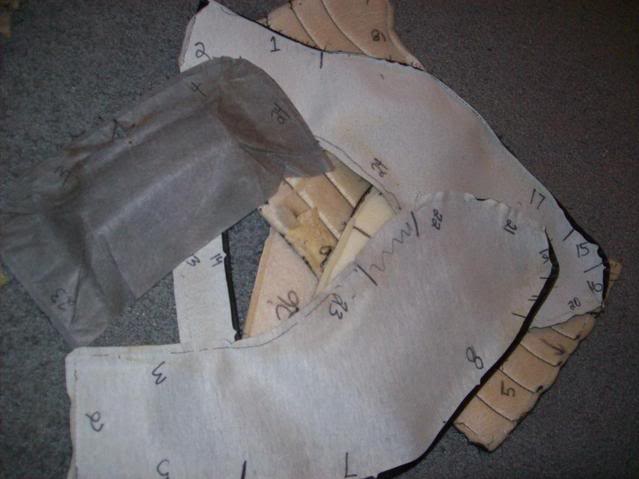
Before we cut it apart we want to mark it so we know how our new pieces go back together. I use a sharpie. I label adjacent sides with matching numbers, and if a seam intersects a solid piece, I mark a line so I know where the new pieces should intersect. It should look like this before we pull it apart:
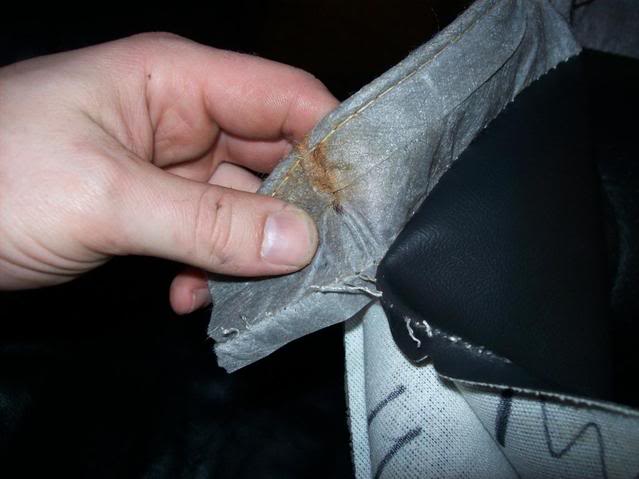
Now you can cut along the factory sew lines if you want. I prefer to start snipping the thread and the end of a joint and actually undo the seam by cutting the factory thread along the entire length of every seam. Start like this.
You should have a pile like this when you get through
This is the back bottom flipped upside down, you can see the hog rings. Clip them completely or use two needle nose and pry the rings apart and the cover will come off. The topside is held loosely in place with velcro.
This is the foam. Toss it aside or add in extra padding if its worn/squished down
The cover is off
Here's the cover. Flip it inside out. You will be working with the backside/inside
Before we cut it apart we want to mark it so we know how our new pieces go back together. I use a sharpie. I label adjacent sides with matching numbers, and if a seam intersects a solid piece, I mark a line so I know where the new pieces should intersect. It should look like this before we pull it apart:
Now you can cut along the factory sew lines if you want. I prefer to start snipping the thread and the end of a joint and actually undo the seam by cutting the factory thread along the entire length of every seam. Start like this.
You should have a pile like this when you get through
Thread Starter
|
1st Gear Member
Joined: Mar 2015
Posts: 190
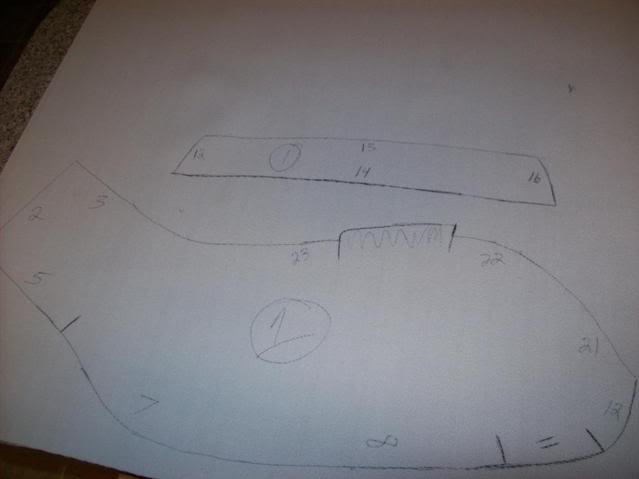
Put your good material pretty side down, and lay your cut factory pieces where the writing is upside. Be careful to hold them in position and trace them like so, being careful to transfer all marks and numbering for reassembly
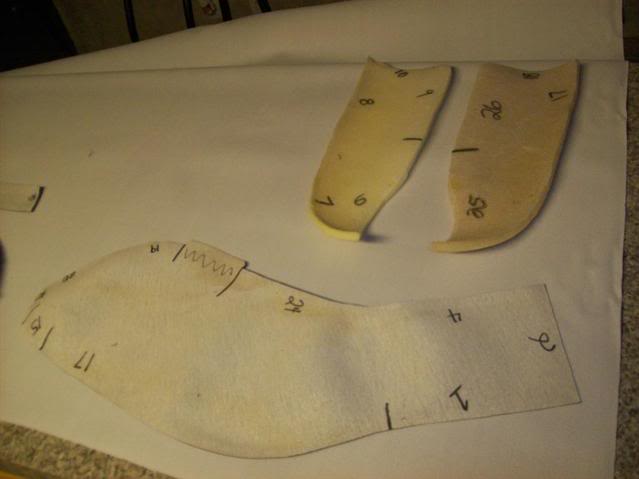
New material should look like this when its ready to cut out. Note you cant cut on your lines because that where the seams go. I usually cut them about 1/2 inch bigger then the outline
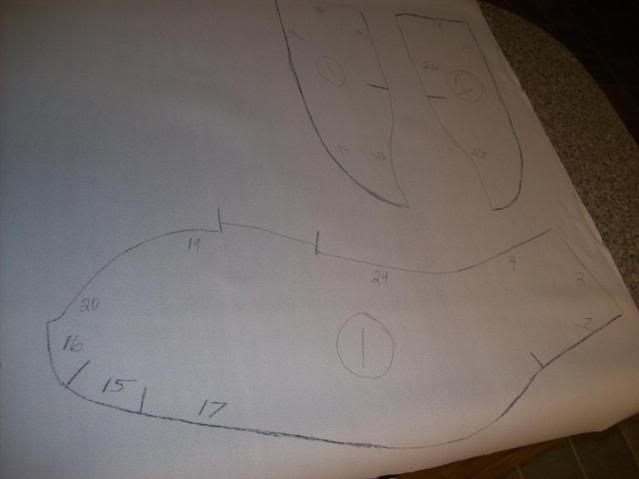
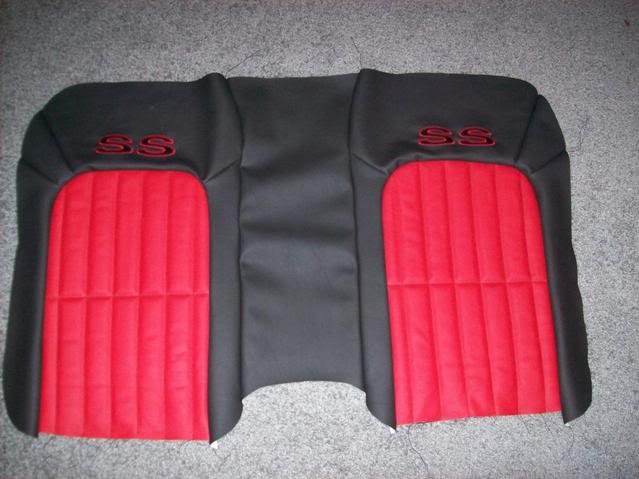
This is the backside/inside of the rear seatback partially assembled. Start at the center, more or less and start sewing the pices back together
Front side of that same piece
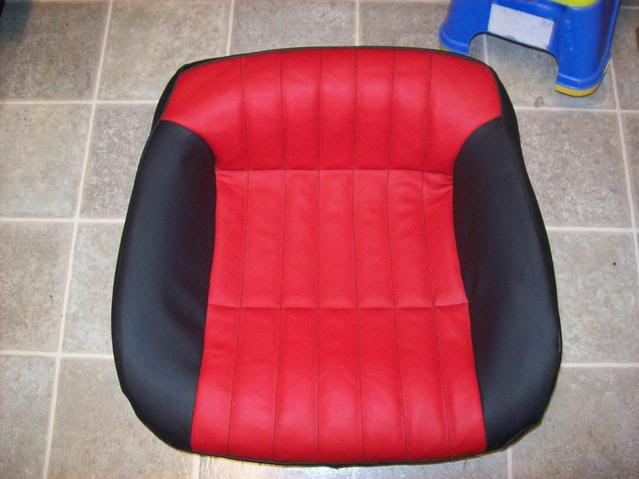
Bottom cushions done
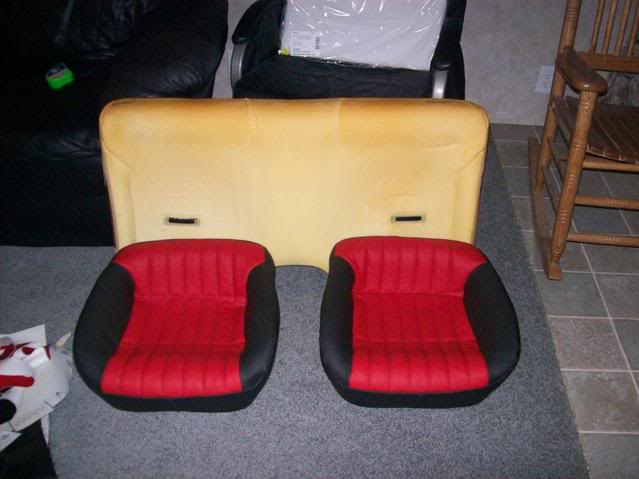
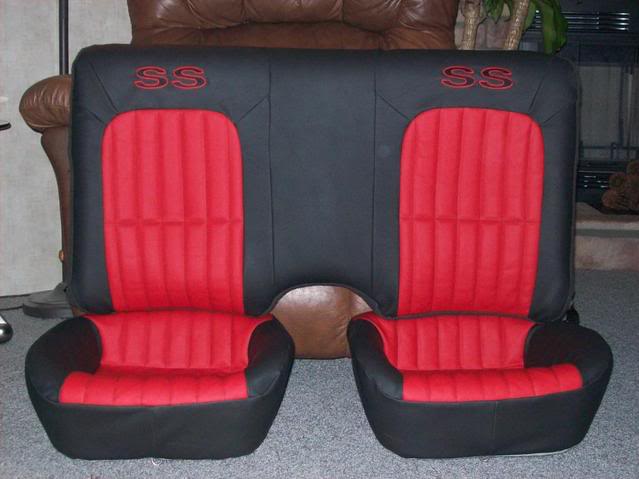
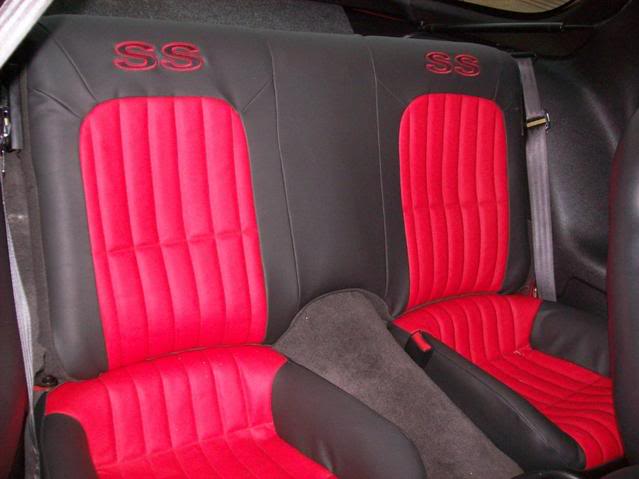
Rear seat done
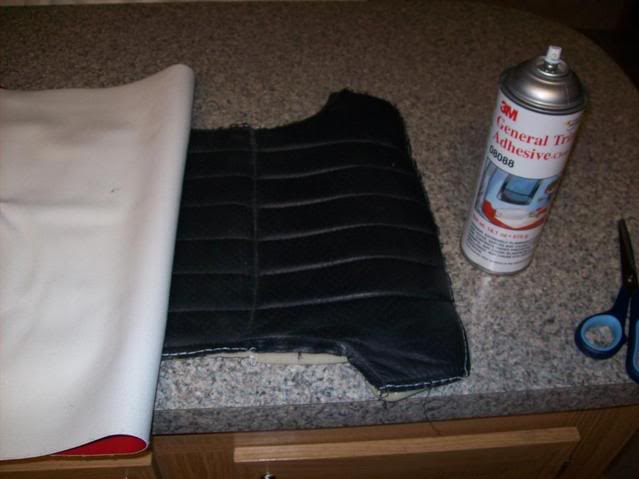
This is how I did the color sections. I copied the factory design. I spray glued new material directly on top of the old center section. Then I sewed through the new material and the factory seam all at once.
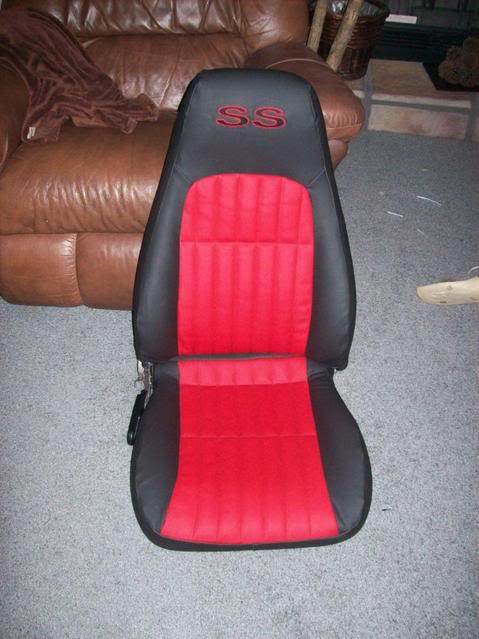
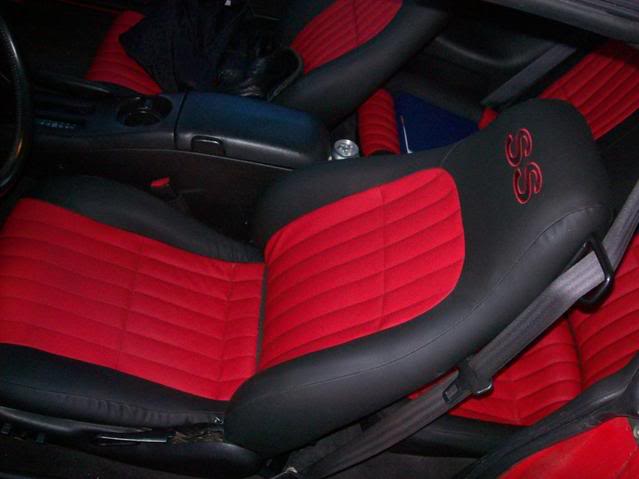
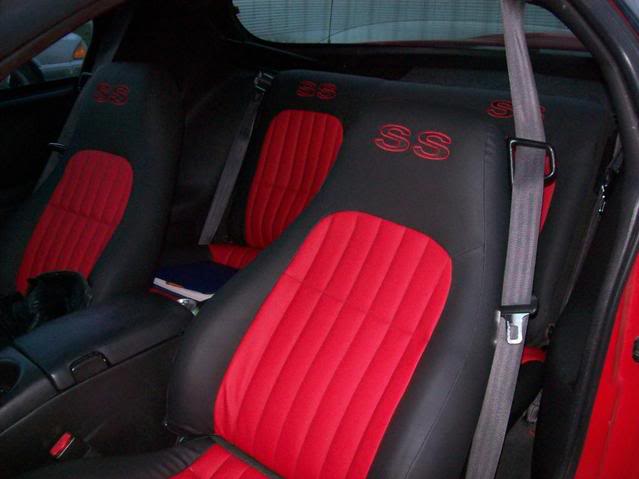
Front seat done
New material should look like this when its ready to cut out. Note you cant cut on your lines because that where the seams go. I usually cut them about 1/2 inch bigger then the outline
This is the backside/inside of the rear seatback partially assembled. Start at the center, more or less and start sewing the pices back together
Front side of that same piece
Bottom cushions done
Rear seat done
This is how I did the color sections. I copied the factory design. I spray glued new material directly on top of the old center section. Then I sewed through the new material and the factory seam all at once.
Front seat done
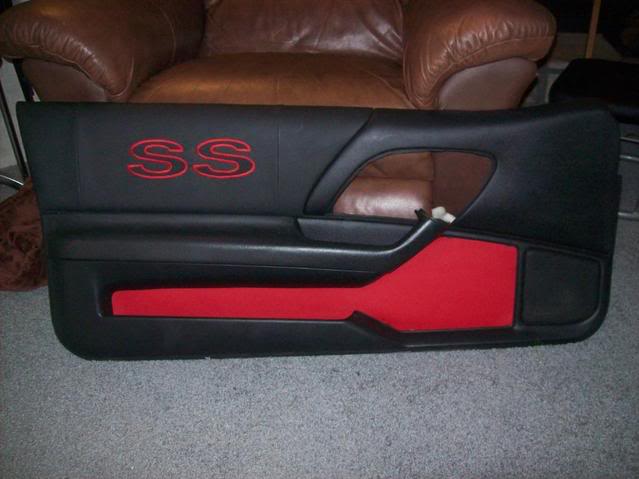
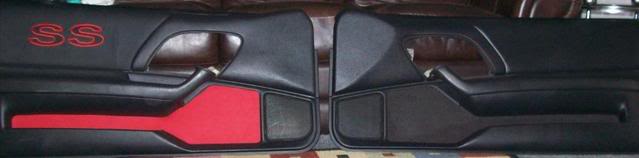
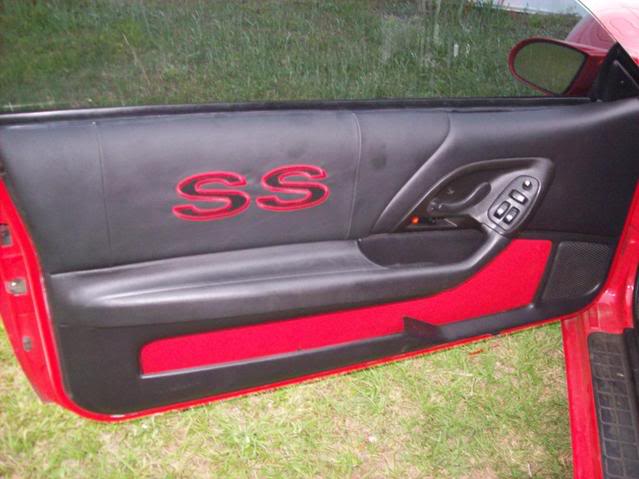
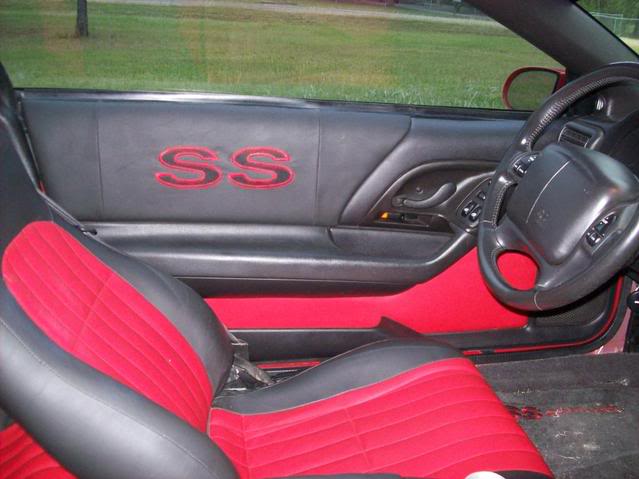




Thread Starter
|
1st Gear Member
Joined: Mar 2015
Posts: 190
You need a denim needle. Its pretty thick.

Thread
Thread Starter
Forum
Replies
Last Post
Hare Customs
2010+ General
4
May 31, 2010 09:23 PM

