Passkey ignition lock install
#1
For a long time now I could not relate to why so many people were having to bypass their passkey for the VATS system until now. Mine finally gave out. I did a temporary bypass to get my car home but since my ignition lock cylinder was feeling loose I felt it was only a matter of time it would go and I would have to replace it so I opted to replace the lock cylinder. Also I am sorry for the poor pictures. I had to replace my Good, but now broke camera with a Vivitar from walmart.com. So don’t buy one of them.
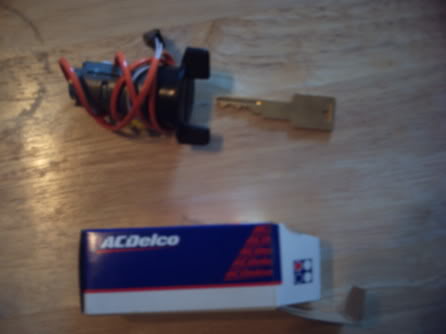
This is what you get from the dealer. You eagle eyes may notice that the key is a plain old key with no resister. That key is used by the locksmith to cut the key with the proper resistance. This lock and two GM keys cost me $101.00 from the dealer. That might be jobber cost since I had my brother get if for me through the shop he works for. I found the lock cylinder by the part number at Rockauto.com for $42.99.
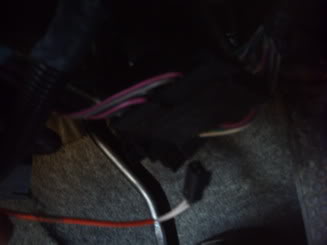
I am working on a 91 so it has an Air Bag. The first thing I do is, with the panels removed, I disconnect the Air Bag plug and the Multi Function (blinker) switch. This is helpful because it will allow you to pull the clock spring and blinker switch out enough to make it real easy to work on and with the blinker switch unplugged the horn will not sound and lights wont flash. I don’t disconnect the battery. Don’t want to lose my radio presets. You may also disconnect the small
plug for the pass key. It is in an orange harness separate from any other. This is where some will tell you to cut the yellow wires. Well mine are white. If I went blindly cutting anything yellow I would have cut my air bag harness.
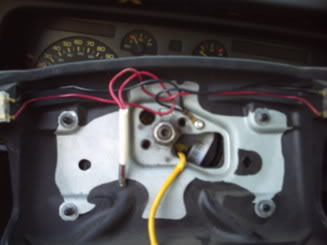
After using a 30 torx on the back to remove my air bag. (The bolts for it stay in the wheel) Unplug the air bag and carefully undo the horn button plug. If yours gets broke like mine was before I just cut a new notch for the plug to twist into. And remove the nut. A 13/16 socket fit. If you do not have an air bag there will be a clip to remove before the nut.
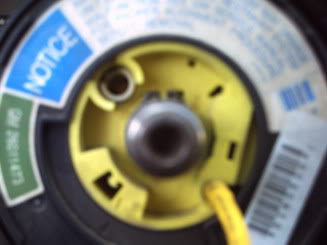
Next we remove the clock spring. There is a snap ring that holds it on. When you remove the clock spring you will see a point at the top of the black part. It goes between two tabs on the column to keep it from turning. Slide the clock spring out enough and let it hang.
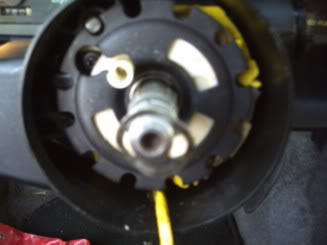
There is a spring washer behind the clock spring on the shaft. Slide that off and do not lose it.
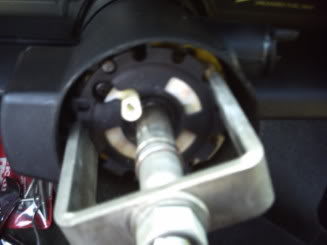
With a lock plate tool tighten it just snugly with your fingers onto the shaft and only tighten the nut enough to push the lock plate down far enough to remove the ring. Don’t over tighten. Slide the ring onto the lock plate tool and leave it there. There is one part that you wont easily lose and will be slid off when reinstalling it.
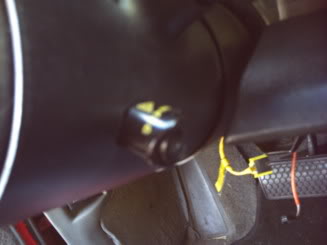
With a #1 phillips push in on the hazard and remove it.
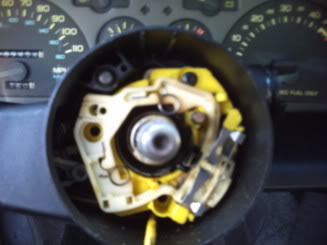
Remove the phillips screw for the blinker lever arm and click the blinker switch down to access the top screw and remove them. These screws are actually Pozi drive. They have extra points for grip but a phillips works fine.
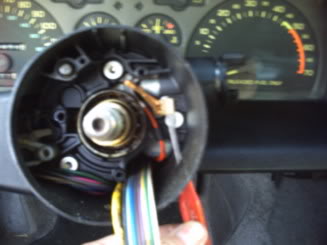
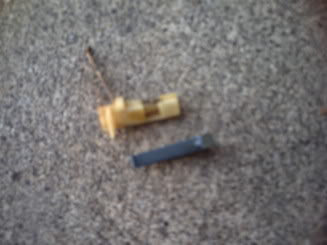
With the blinker switch pulled out and hanging out of the way gently pry out the contact for the key buzzer. There is a flat spring under it that will stay when removed. It is easily pulled out after the lock cylinder and will slid onto the contact before reinstalling it into the column.
Remove the smaller Torx screw just bellow the lock cylinder. This is what holds it in place. Take note as to how the wires are placed for the pass key systems. Pull out the wire retainer.
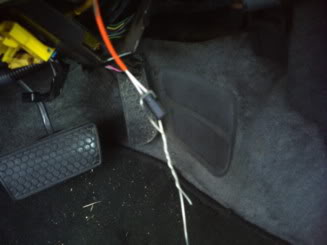
Use a piece of wire on the plug for the passkey long enough go the length of the column and have extra on each end. This will be so you can easily fish the harness through. I used some mighty fine stainless steel safety wire.
From up top pull the wires through. They might need a little back and forth action. It also helps to have the tilt straight with the column as it makes a clearer path for the wires. One you have the wires out pull enough of the stainless steel wire, or what ever you used, through but leave enough at the bottom to grab onto. Then pull the lock and wires out from the column.
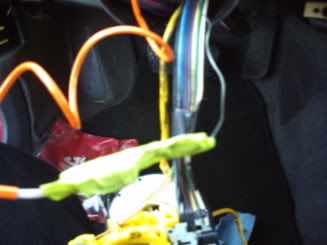
Feed your new locks wires through and attach the stainless wire to it. I use some masking tape to make a more smoother form to the wires and plug so they have less chance of catching onto some thing.
Then pull the wires down through the column. They may become twisted. Don’t’ pull them all the way tight yet. Once they are through most the way leave enough to pull the lock cylinder back out and manipulate the wires so they are not twisted then insert the lock.
Put it all back together in reverse order and you are good to go.
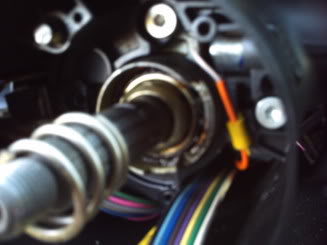
There was a question come up with a loose steering wheel. I think the poster had the cup on wrong. It should look like this incase you ended up removing it.
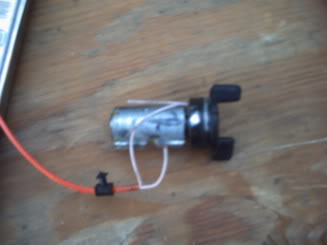
Here be the problem with the passkey lock. These wires need to move inside as the key is turned. Over time they will break.
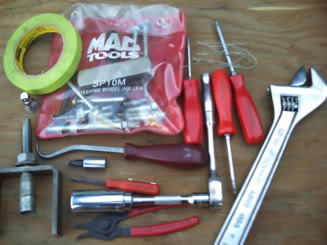
The tools I used.
Masking tape, lock plate tool, Ratchet for the 30 torx and 13/16 socket, snap ring pliers, hook tool for the lock plat ring, small flat screwdriver, #1 and #2 phillips or pozi drive, 20 torx for the lock screw, wire, steering wheel puller and a Mexican socket set.
Total time including taking pictures, drink a Dr. Pepper, 5 trips back to the tool box, Back step for a missed picture, **** out the Dr. Pepper I drank earlier.
1 hour start to finish. If I did not take a toilet break it would have been done inside 30 minutes.
If one is so inclined, like I was, you may also want to plug in the new passkey wires to you harness with the key in your new ignition. Then use you old ignition while its still all together to see if the car starts. If it starts then you know you have the proper resistance in your new key.

This is what you get from the dealer. You eagle eyes may notice that the key is a plain old key with no resister. That key is used by the locksmith to cut the key with the proper resistance. This lock and two GM keys cost me $101.00 from the dealer. That might be jobber cost since I had my brother get if for me through the shop he works for. I found the lock cylinder by the part number at Rockauto.com for $42.99.

I am working on a 91 so it has an Air Bag. The first thing I do is, with the panels removed, I disconnect the Air Bag plug and the Multi Function (blinker) switch. This is helpful because it will allow you to pull the clock spring and blinker switch out enough to make it real easy to work on and with the blinker switch unplugged the horn will not sound and lights wont flash. I don’t disconnect the battery. Don’t want to lose my radio presets. You may also disconnect the small
plug for the pass key. It is in an orange harness separate from any other. This is where some will tell you to cut the yellow wires. Well mine are white. If I went blindly cutting anything yellow I would have cut my air bag harness.

After using a 30 torx on the back to remove my air bag. (The bolts for it stay in the wheel) Unplug the air bag and carefully undo the horn button plug. If yours gets broke like mine was before I just cut a new notch for the plug to twist into. And remove the nut. A 13/16 socket fit. If you do not have an air bag there will be a clip to remove before the nut.

Next we remove the clock spring. There is a snap ring that holds it on. When you remove the clock spring you will see a point at the top of the black part. It goes between two tabs on the column to keep it from turning. Slide the clock spring out enough and let it hang.

There is a spring washer behind the clock spring on the shaft. Slide that off and do not lose it.

With a lock plate tool tighten it just snugly with your fingers onto the shaft and only tighten the nut enough to push the lock plate down far enough to remove the ring. Don’t over tighten. Slide the ring onto the lock plate tool and leave it there. There is one part that you wont easily lose and will be slid off when reinstalling it.

With a #1 phillips push in on the hazard and remove it.

Remove the phillips screw for the blinker lever arm and click the blinker switch down to access the top screw and remove them. These screws are actually Pozi drive. They have extra points for grip but a phillips works fine.


With the blinker switch pulled out and hanging out of the way gently pry out the contact for the key buzzer. There is a flat spring under it that will stay when removed. It is easily pulled out after the lock cylinder and will slid onto the contact before reinstalling it into the column.
Remove the smaller Torx screw just bellow the lock cylinder. This is what holds it in place. Take note as to how the wires are placed for the pass key systems. Pull out the wire retainer.

Use a piece of wire on the plug for the passkey long enough go the length of the column and have extra on each end. This will be so you can easily fish the harness through. I used some mighty fine stainless steel safety wire.
From up top pull the wires through. They might need a little back and forth action. It also helps to have the tilt straight with the column as it makes a clearer path for the wires. One you have the wires out pull enough of the stainless steel wire, or what ever you used, through but leave enough at the bottom to grab onto. Then pull the lock and wires out from the column.

Feed your new locks wires through and attach the stainless wire to it. I use some masking tape to make a more smoother form to the wires and plug so they have less chance of catching onto some thing.
Then pull the wires down through the column. They may become twisted. Don’t’ pull them all the way tight yet. Once they are through most the way leave enough to pull the lock cylinder back out and manipulate the wires so they are not twisted then insert the lock.
Put it all back together in reverse order and you are good to go.

There was a question come up with a loose steering wheel. I think the poster had the cup on wrong. It should look like this incase you ended up removing it.

Here be the problem with the passkey lock. These wires need to move inside as the key is turned. Over time they will break.

The tools I used.
Masking tape, lock plate tool, Ratchet for the 30 torx and 13/16 socket, snap ring pliers, hook tool for the lock plat ring, small flat screwdriver, #1 and #2 phillips or pozi drive, 20 torx for the lock screw, wire, steering wheel puller and a Mexican socket set.
Total time including taking pictures, drink a Dr. Pepper, 5 trips back to the tool box, Back step for a missed picture, **** out the Dr. Pepper I drank earlier.
1 hour start to finish. If I did not take a toilet break it would have been done inside 30 minutes.
If one is so inclined, like I was, you may also want to plug in the new passkey wires to you harness with the key in your new ignition. Then use you old ignition while its still all together to see if the car starts. If it starts then you know you have the proper resistance in your new key.
#4
Now we just need a mod to sticky it. Dammit they need to make you a mod... Your around here more than most and know your abc's better than most, aside from what some think...
#6
ORIGINAL: MadMikeZ28
I might have too much of an attitude at times and turn to the dark side and abuse my powers if I was a mod.
I might have too much of an attitude at times and turn to the dark side and abuse my powers if I was a mod.


Good write up, you done goodly. I hope I never need it though.
#7
ORIGINAL: Camaro 69
I'll second that. You'd probably make everybody have their car be emissions compliant, or get out!
Good write up, you done goodly. I hope I never need it though.
I'll second that. You'd probably make everybody have their car be emissions compliant, or get out!

Good write up, you done goodly. I hope I never need it though.
That would be the first thing I would enact while in office.

#9
Yeah, emissions blow. No problems here though. I know on JF I posted about bypassing my EVAP canisiter on my 93 ZJ since it wasnt working and my fuel tank wasnt venting... They wanted to ban me for that[&:]
#10
ORIGINAL: Jr. Mechanic
Yeah, emissions blow. No problems here though. I know on JF I posted about bypassing my EVAP canisiter on my 93 ZJ since it wasnt working and my fuel tank wasnt venting... They wanted to ban me for that[&:]
Yeah, emissions blow. No problems here though. I know on JF I posted about bypassing my EVAP canisiter on my 93 ZJ since it wasnt working and my fuel tank wasnt venting... They wanted to ban me for that[&:]

Thread
Thread Starter
Forum
Replies
Last Post


