79 Camaro Project

Thread Starter
|
3rd Gear Member
Joined: Sep 2009
Posts: 1,062
From: Morris, IL
I have a Painless harness that I got from a member on here, traded him for a stock 81Z28 harness. I've got it installed and all of the wires ran to the general areas where they need to go, as the car gets assembled I'll need to put the ends on everything. I don't want to use the stock gauges though, so I will be needing to acquire those, at that point I'll adapt the harness to the gauges. I don't think I should adapt it to the stock cluster only to need to rip it apart and modify it for the aftermarket ones. I think I'm going to use the Eqqus gauges, they look like Autometer, the price is right, and I really haven't heard much in the way of negative about them.

Second Generation Moderator
Feb 2010 ROTM winner
Jan 2013 ROTM winner
Feb 2010 ROTM winner
Jan 2013 ROTM winner
Joined: Aug 2008
Posts: 9,097
From: Portland, Or
ROTM Winner's Club
I have Equus gauges in my Austin, and my Falcon. Black face on the Austin, and white face on the Falcon. The white face cost a little more, but still under $150 for speedo, fuel, water temp, oil pressure, and volts. I found the Equus 3 gauge set (volts, temp, oil) was cheaper to purchase, and toss the bracket, than buying each gauge individually. I bought the set, then added speedo and fuel gauge. They all came with 4 different slip on shades for the lamps, so you can have red, blue, amber, or green background lights. Or leave them off and have std. color, as I did.
I used a Speedway 20 ckt. kit on my Falcon, with a '95 Camaro column. It's supposedly made by Painless for Speedway, and I was impressed with what a nice kit it is, and how easy it was to fit to my car. Came with a new headlight switch, dimmer, and a bunch of extra sockets, connectors, etc. I had to change the connector on the column to fit the newer GM column, but the extra connector body was in the kit, so it was just re-pinning it.
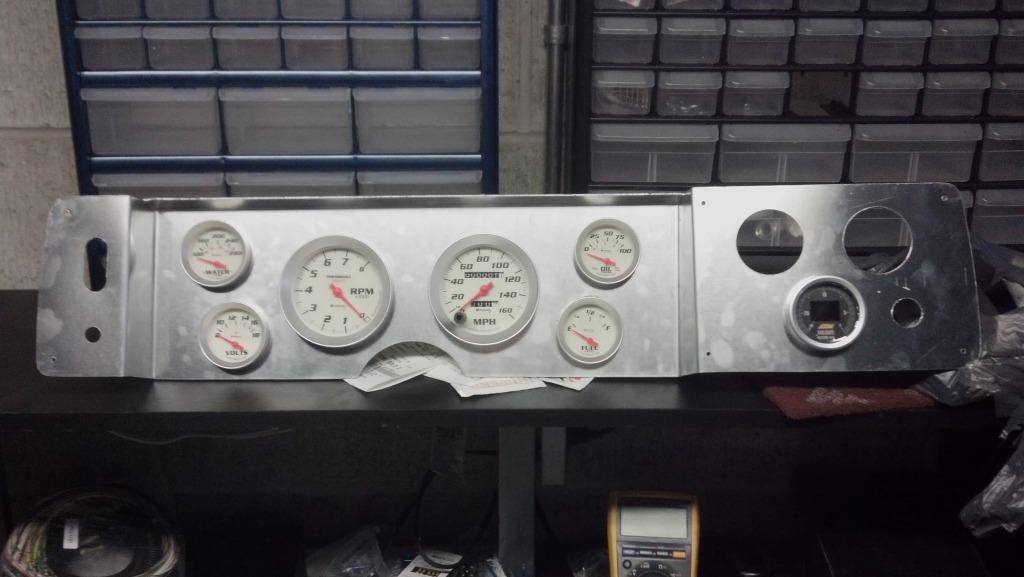
It's probably easier to use the aftermarket gauges (plus better looking!) than to reconnect stock gauges. You can buy or fab an aluminum panel easily, and have a better looking gauge cluster than Chevy made originally!
I built this one for my Falcon gauges:
I used a Speedway 20 ckt. kit on my Falcon, with a '95 Camaro column. It's supposedly made by Painless for Speedway, and I was impressed with what a nice kit it is, and how easy it was to fit to my car. Came with a new headlight switch, dimmer, and a bunch of extra sockets, connectors, etc. I had to change the connector on the column to fit the newer GM column, but the extra connector body was in the kit, so it was just re-pinning it.
It's probably easier to use the aftermarket gauges (plus better looking!) than to reconnect stock gauges. You can buy or fab an aluminum panel easily, and have a better looking gauge cluster than Chevy made originally!
I built this one for my Falcon gauges:


Overdrive Member
Joined: Nov 2009
Posts: 4,848
From: off the grid
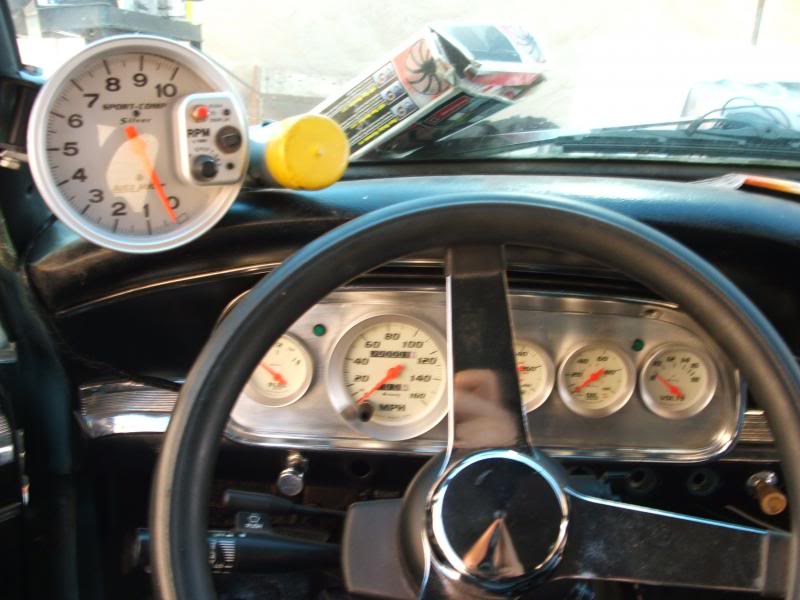
I have the same gauges Val got. Here's mine all loaded up. The only thing that sucks is that the speedo doesnt come with the adapter to hook to the cable. That has to be purchased separate like I wasnt going to need it or something.
Second Generation Moderator
Feb 2010 ROTM winner
Jan 2013 ROTM winner
Feb 2010 ROTM winner
Jan 2013 ROTM winner
Joined: Aug 2008
Posts: 9,097
From: Portland, Or
ROTM Winner's Club
What adapter does it need Damon? If your cable end plugs in, instead of threading on, then it's usually cheaper to replace the cable with an earlier style than get an adapter. A new cable with threaded end is only about $12-$14 at the chain stores.
Second Generation Moderator
Feb 2010 ROTM winner
Jan 2013 ROTM winner
Feb 2010 ROTM winner
Jan 2013 ROTM winner
Joined: Aug 2008
Posts: 9,097
From: Portland, Or
ROTM Winner's Club
I found the '59 Chevy has the longest speedo cable. I used it on the Falcon's ST10 4 speed, and I think it was about 90" long. It had plenty of length to reach from the right side to the speedo. About $13 at O'Reilly's.
Thread Starter
|
3rd Gear Member
Joined: Sep 2009
Posts: 1,062
From: Morris, IL
Here it is painted. Still needs to be wet sanded and such, probably do that all at once after the car is together though. This is the final stretch.
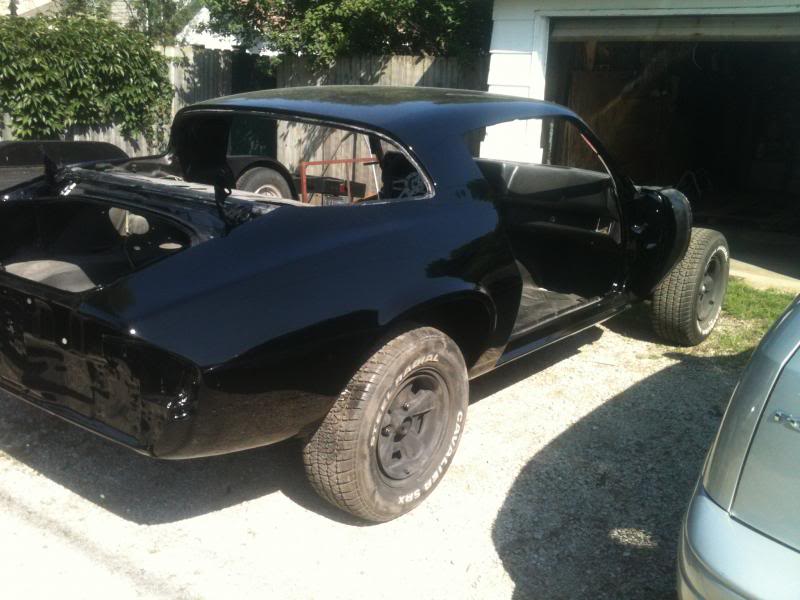
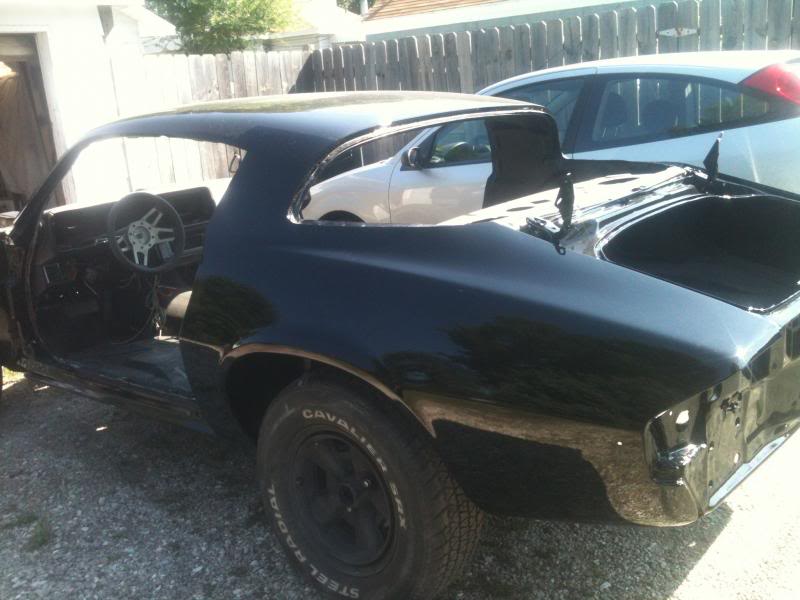
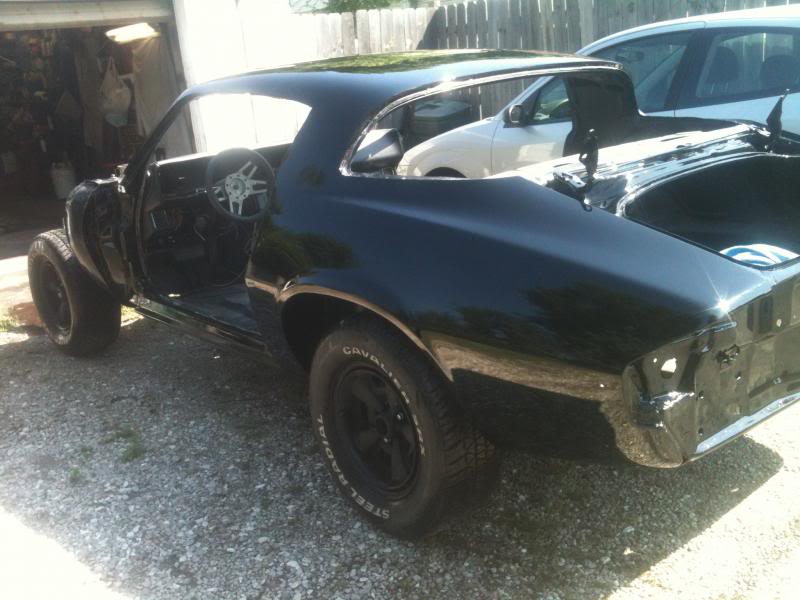
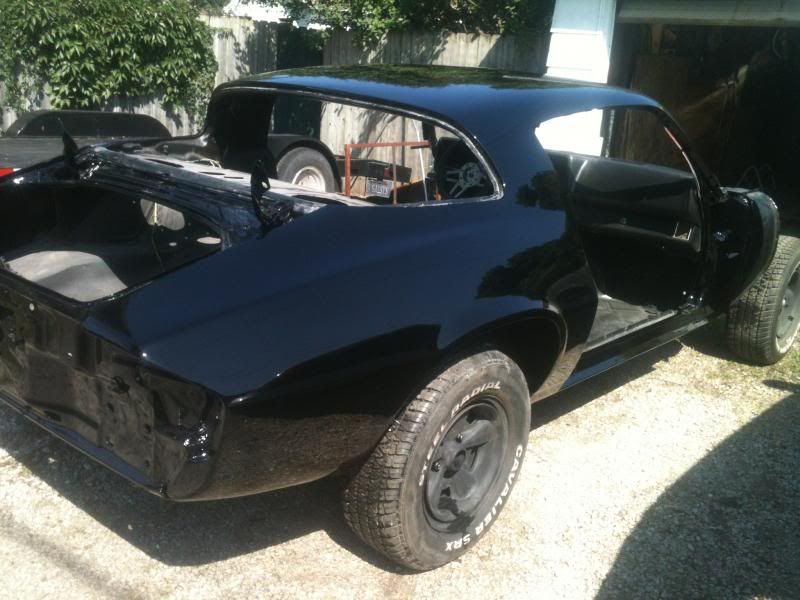
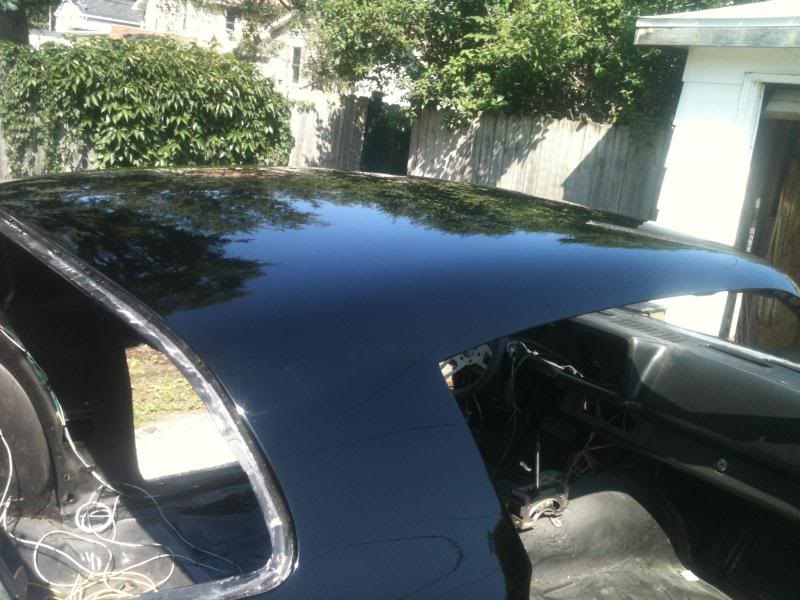
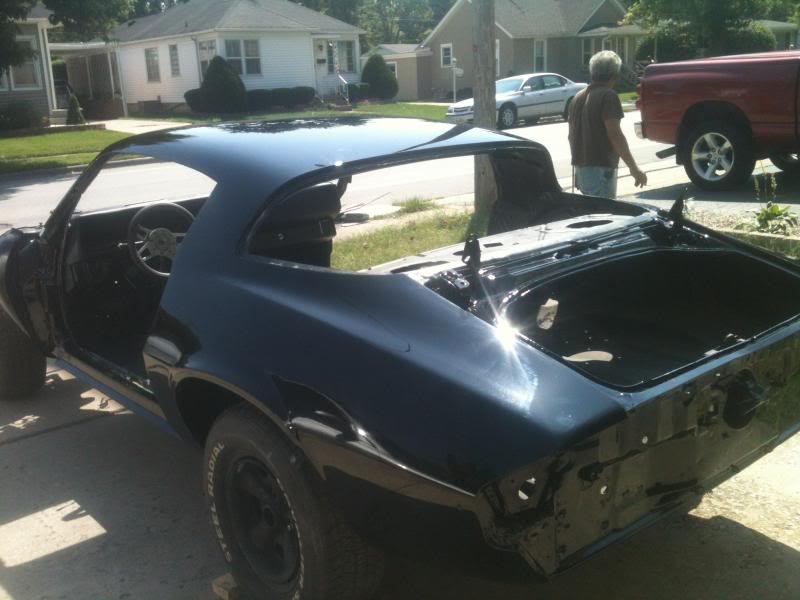
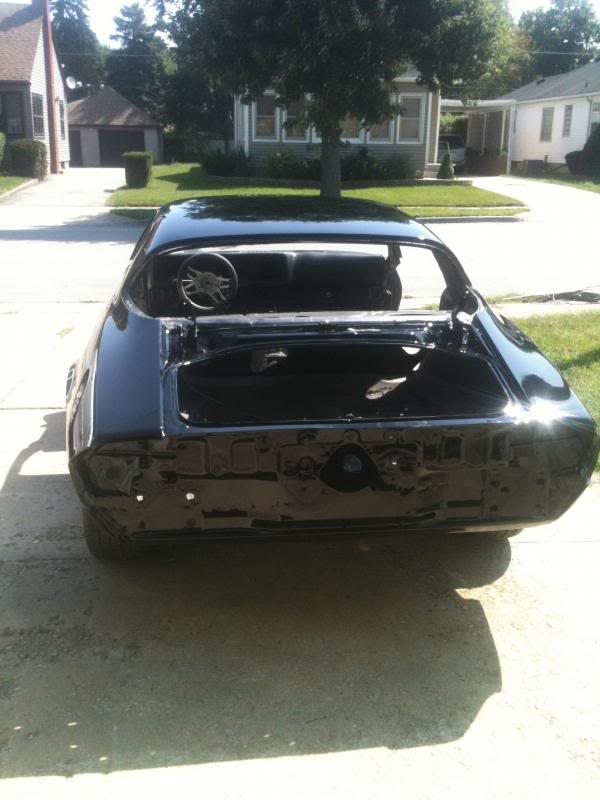
The assembly will commence. More pics to come.


The assembly will commence. More pics to come.
Thread Starter
|
3rd Gear Member
Joined: Sep 2009
Posts: 1,062
From: Morris, IL
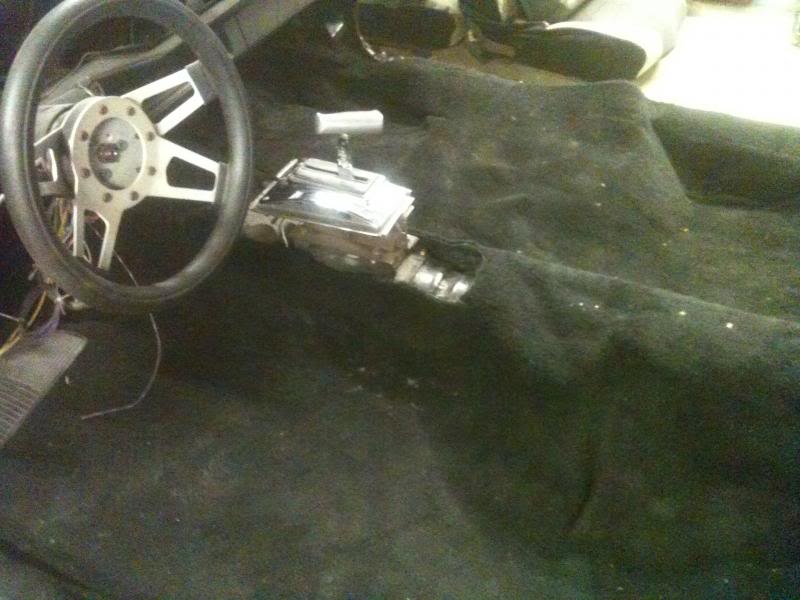
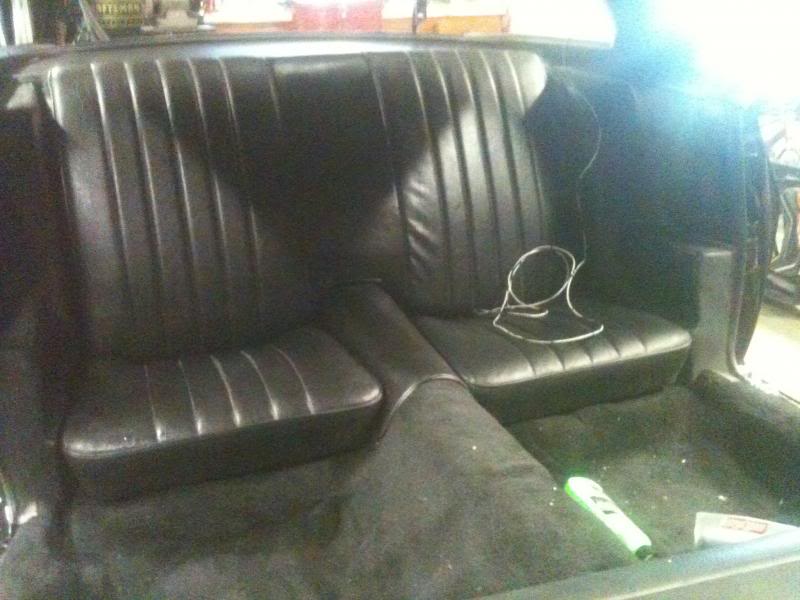
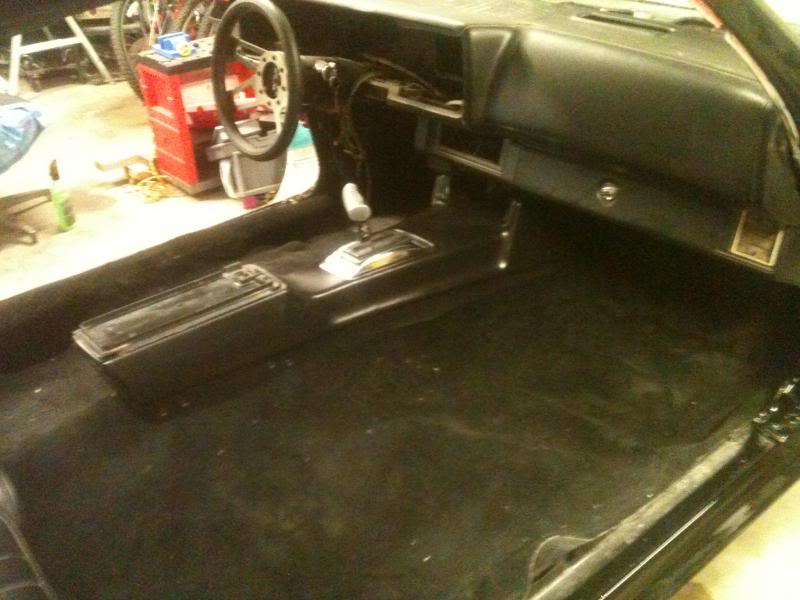
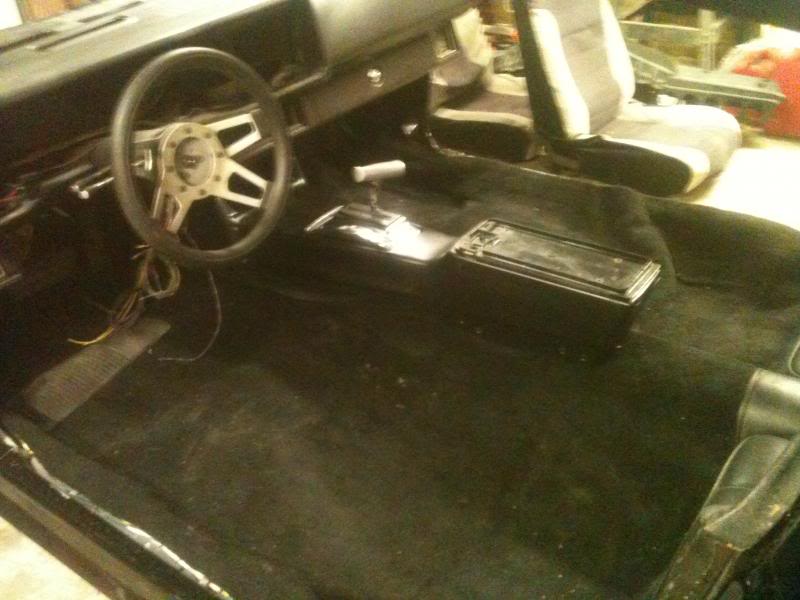
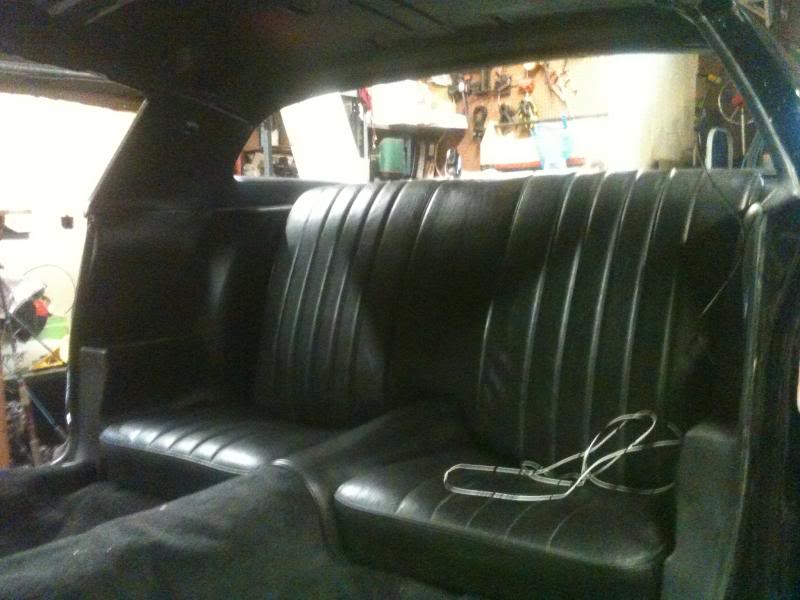
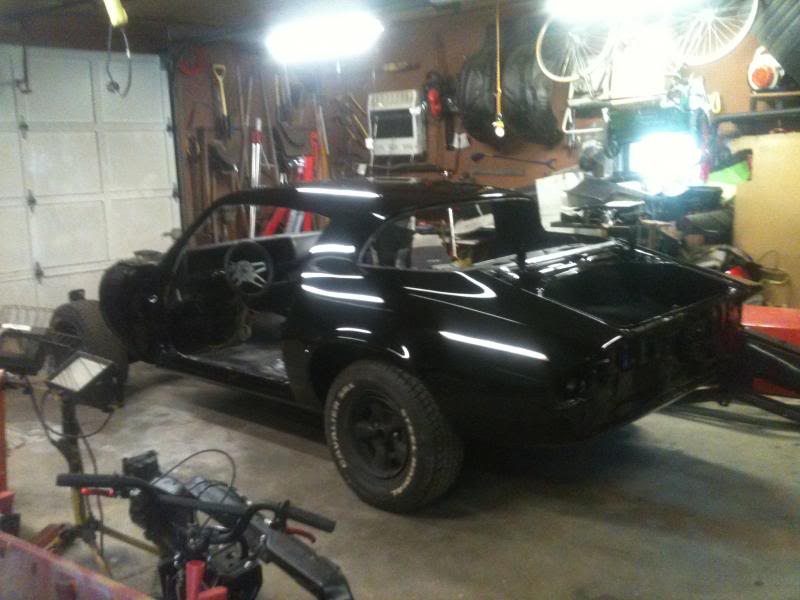
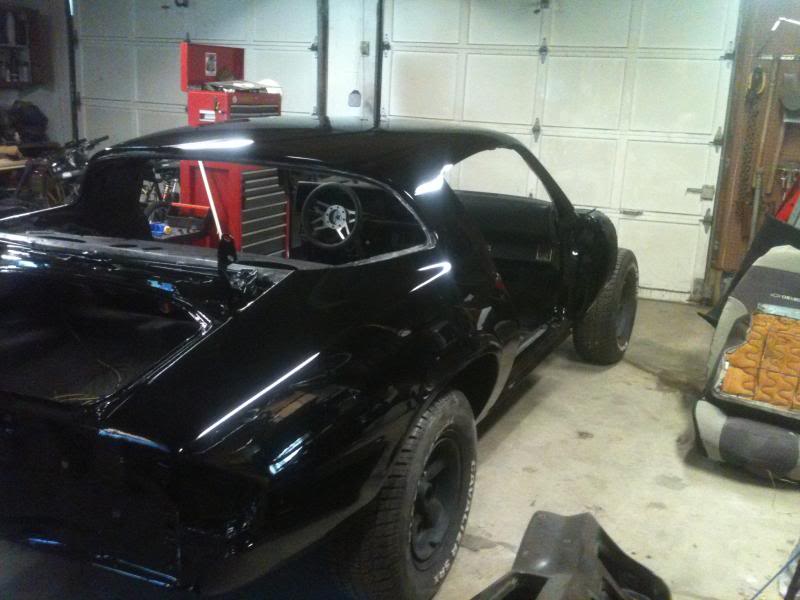
I had gotten a new/used quicksilver shifter for the car, I've got that installed, as of now the interior is not screwed in, I still need to get the headliner in, I'll be having my Dad help me install that, I did it alone last time and it is just not worth the effort. Two people would be a breeze I bet. I do have a brand new interior screw kit in one of my drawers in the garage, once I start final assembly I'll be using that. I like the way it looks, I did wipe down the seats and everything as there was a bit of dust on them, probably for sitting for so long, lol. Need to get working on putting some glass in this thing too.