
78' RS Build in MA - "The Moss-maro"


Thread Starter
|
1st Gear Member
Joined: Apr 2011
Posts: 193
From: Wareham, MA
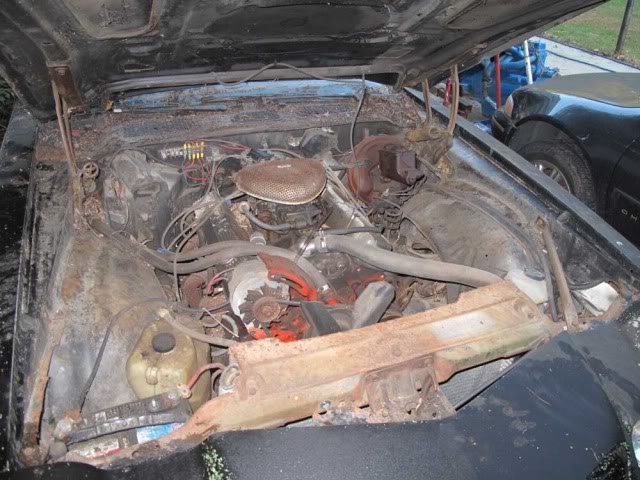
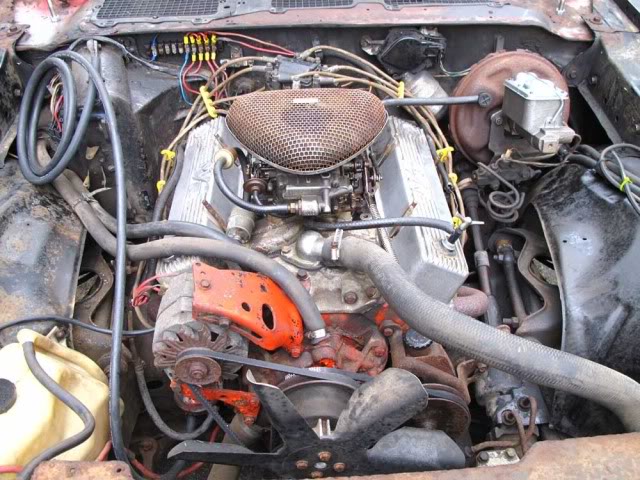
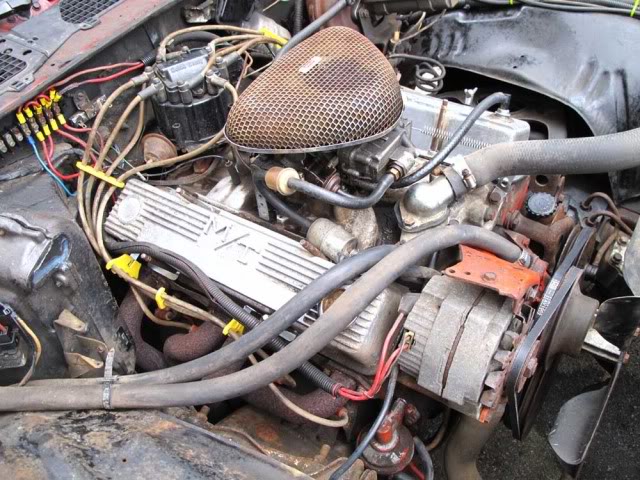
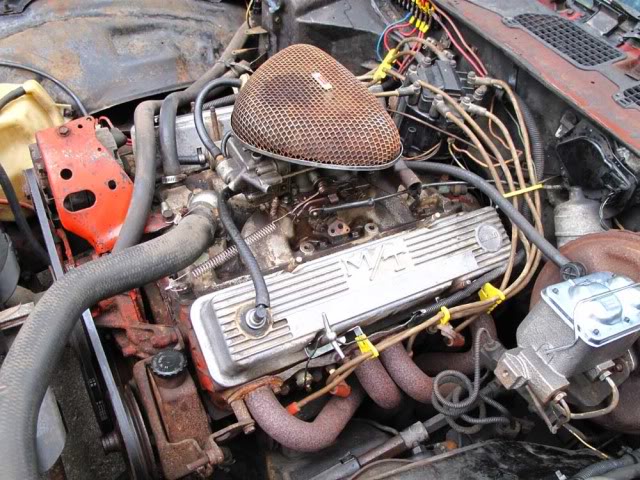
minor updates today, they dont show well in photos though. Cleaned out a TON of dirt and debris from the heater box. Did a bunch of cleaning in the engine bay and organized some wires. Its looking better but theres a way to go.
Where it was :
Where it is today :
Where it was :
Where it is today :
Thread Starter
|
1st Gear Member
Joined: Apr 2011
Posts: 193
From: Wareham, MA
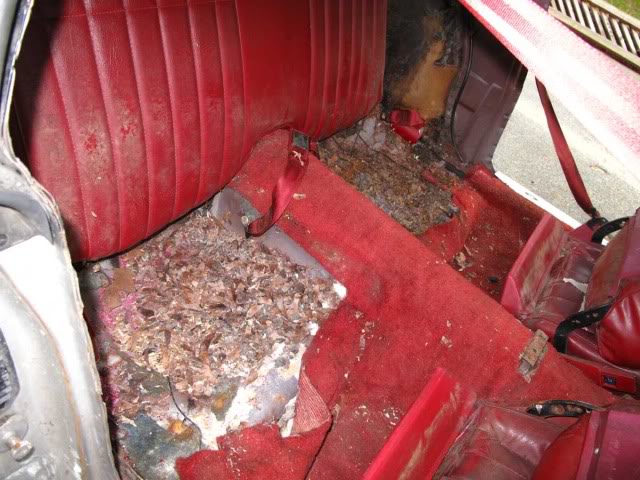
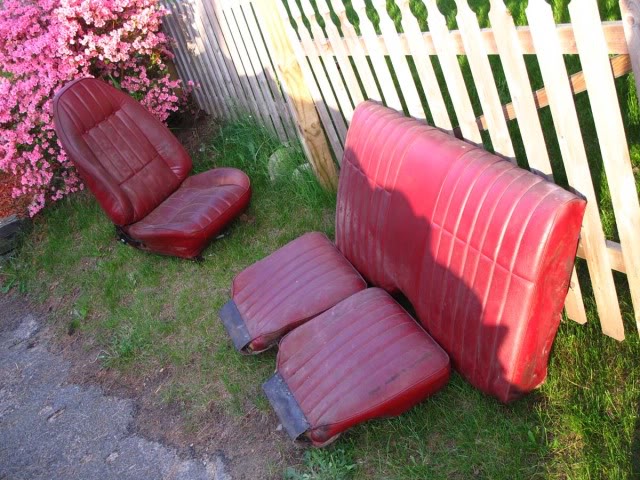
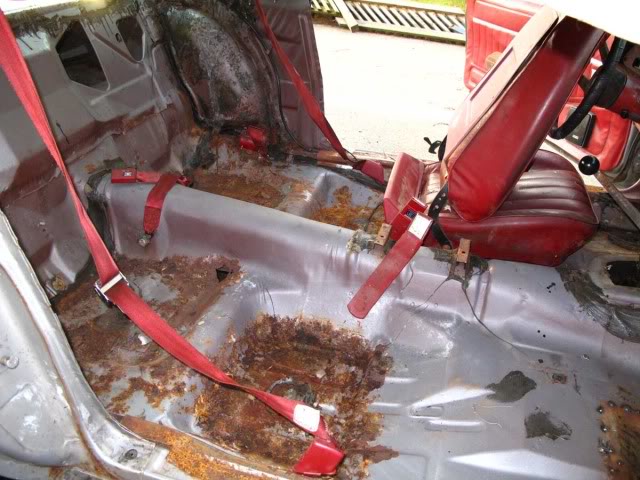
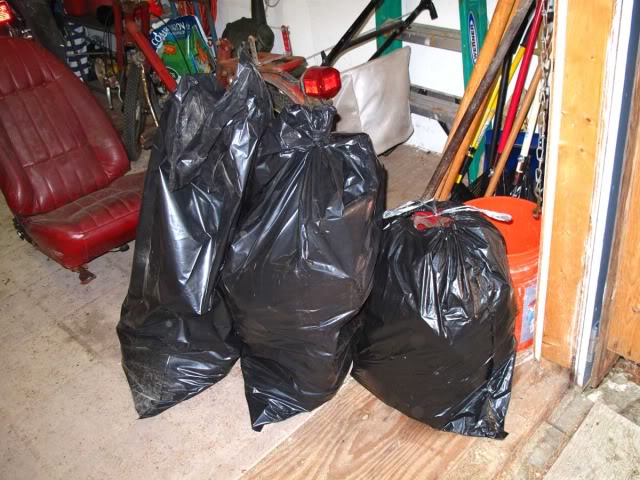
Ok so Kristi (my wife) and I bought our house a few years ago. It had been unlived in for over 4 years, it leaked, there was no heat or dehumidifier, it had been partially demo'ed inside . . . there was less mold in this house then there was inside that Camaro. I worked inside that car for 4 hours today, filled three large garbage bags and im still not done gutting the interior out. I can save the seats (probably) and a few of the headliner pieces. On the plus side i only found 2 small holes in the rear floor boards, the air shocks in the back still work, and the reason that theres moisture in the back is bc the rear window is in fact not stuck to anything, it lifts right out. And now . . pictures
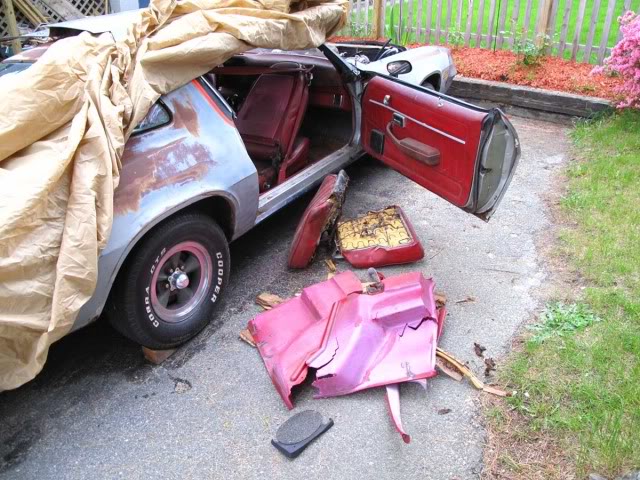
One squirrel nest for each side . . .
Seats out.
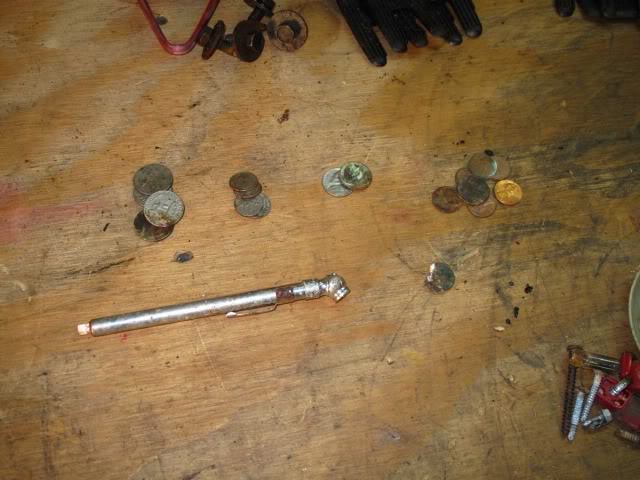
Things found under the seats . . .
All the moldy carpet, jute, under lining, ect . . .
Now heres where I need help. I cant get this bolt out I cant seem to get the seat far enough forward to get a socket on it and a wrench is just rounding it out. Suggestions anyone ? Its the left side of the back of the drivers seat (if youre sitting in the back seat)
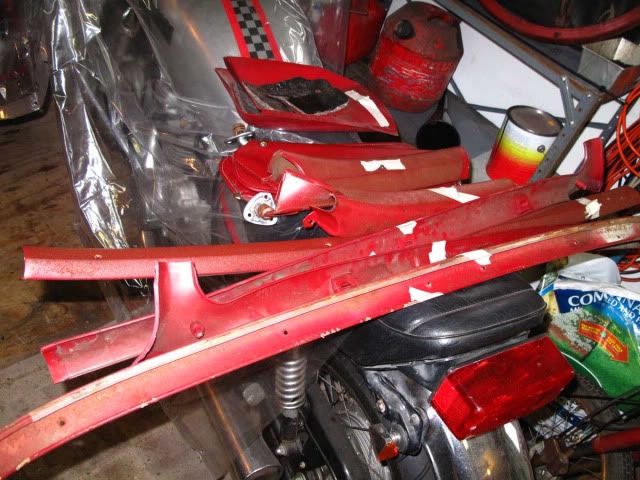
Also do they make reproductions of the sill plates, not the top piece but the one under it that hides the wires that go to the back of the car. mine are pretty gone.
One squirrel nest for each side . . .
Seats out.
Things found under the seats . . .
All the moldy carpet, jute, under lining, ect . . .
Now heres where I need help. I cant get this bolt out
I cant seem to get the seat far enough forward to get a socket on it and a wrench is just rounding it out. Suggestions anyone ? Its the left side of the back of the drivers seat (if youre sitting in the back seat) Also do they make reproductions of the sill plates, not the top piece but the one under it that hides the wires that go to the back of the car. mine are pretty gone.
Thread Starter
|
1st Gear Member
Joined: Apr 2011
Posts: 193
From: Wareham, MA
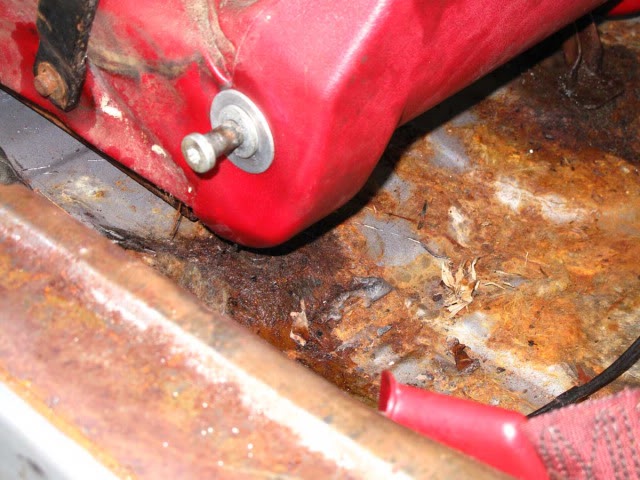
Oh and what would you guys do to treat the surface rust back there ? How would you clean it up and what would you coat it with. Im planning on doing a spray in sound deadener but i dont want the metal to continue to degrade under it.

In the Staging Lanes
Joined: Apr 2010
Posts: 82
From: east brunswick nj
i had that same trouble with my right seat bolt same bolt other side if you have craftsman boltouts that should work there's just enough room to get the socket in and turn it with a wrench i had the boltouts for about 5 years never touched them until i started tearing mine down i'm so glad i had them on hand.
as far as the floor do you have access to a sand blaster? also most like to coat there floors and a lot of other things with P O R 15
hope this helps a little.
Dave.
as far as the floor do you have access to a sand blaster? also most like to coat there floors and a lot of other things with P O R 15
hope this helps a little.
Dave.

Second Generation Moderator
Feb 2010 ROTM winner
Jan 2013 ROTM winner
Feb 2010 ROTM winner
Jan 2013 ROTM winner
Joined: Aug 2008
Posts: 9,097
From: Portland, Or
ROTM Winner's Club
Since the socket is rounded out now I'd just get a big pair of vise grip pliers and lock them really tight on the head portion of the bolt. Before doing that get a hammer and some spray lube. Spray the bolt around it's base, then hit the head really hard with the hammer. After that lock the vise grips on it and it will come out easily I bet.
I use Black Star rust converter on the floors once it's as clean as possible first. I agree with Damon; I've stopped using POR15, and went with Rustoleum semigloss black on my Austin when I built it.
I use Black Star rust converter on the floors once it's as clean as possible first. I agree with Damon; I've stopped using POR15, and went with Rustoleum semigloss black on my Austin when I built it.

2nd Gear member
Joined: May 2009
Posts: 613
From: Ohio
The under sill part you asked about is available at a few places,but they are expensive.One place i can think of that has them is www.gaugemarks.com i think they are around $150 a set.
*Edit*Just checked his site and i dont see them listed there anymore,but you may want to contact him as i'm sure i seen them on there before.
*Edit*Just checked his site and i dont see them listed there anymore,but you may want to contact him as i'm sure i seen them on there before.
Last edited by B.M.; May 25, 2011 at 03:31 PM.
