
71 468/T56 Project


Thread Starter
|
In the Staging Lanes
Joined: Aug 2012
Posts: 35
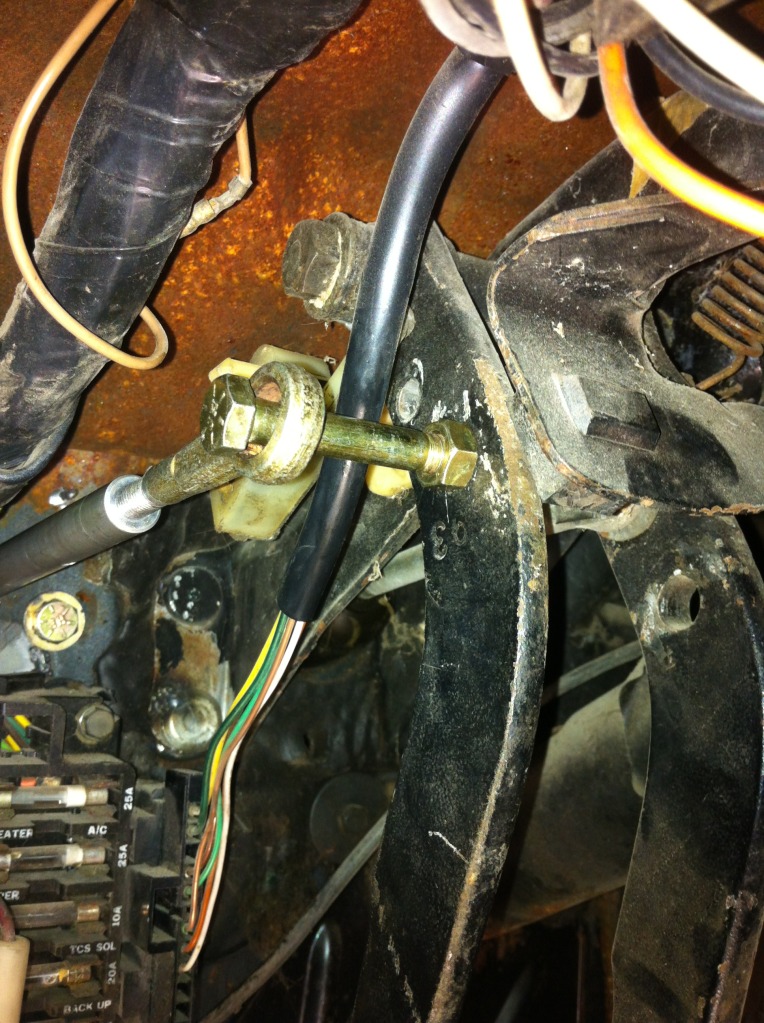
And here was me making an ext/adaptor for the clutch master cyl
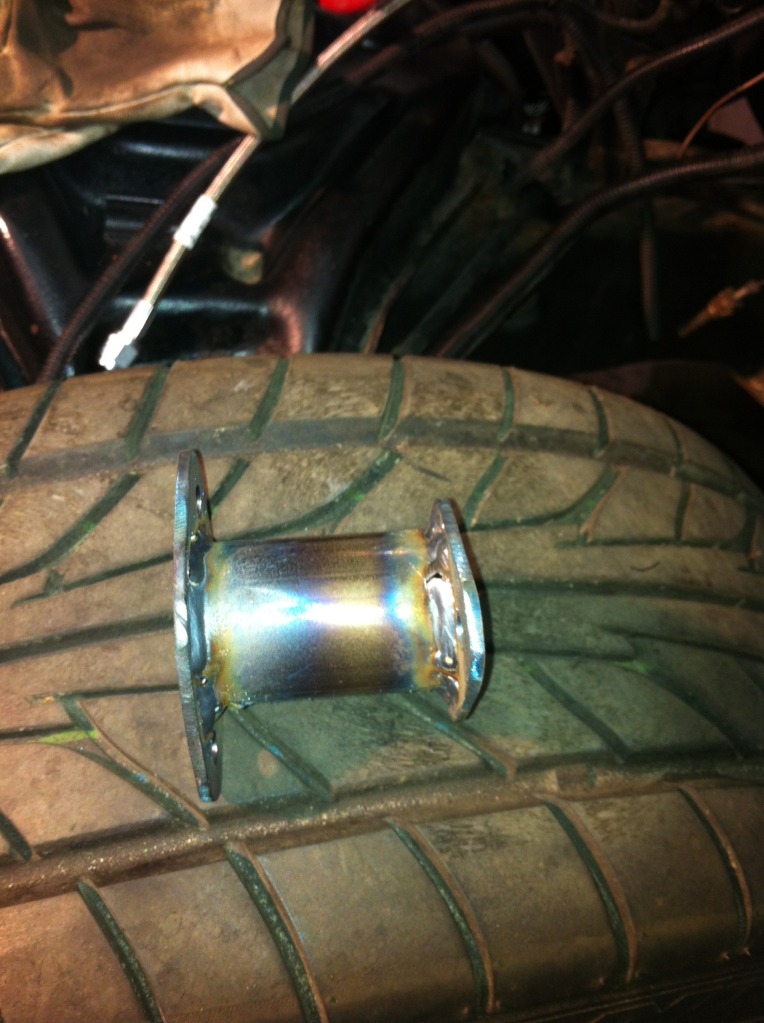
Yeppers a BB water pump gasket fit the Master cyl close enuff!
Mounted
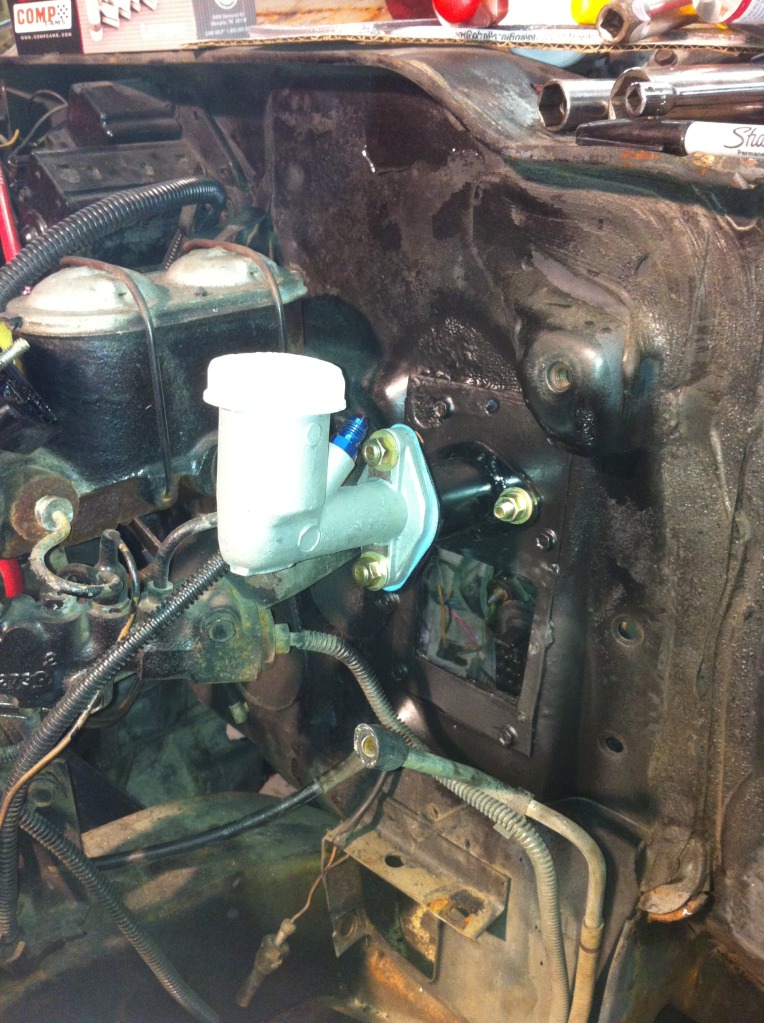
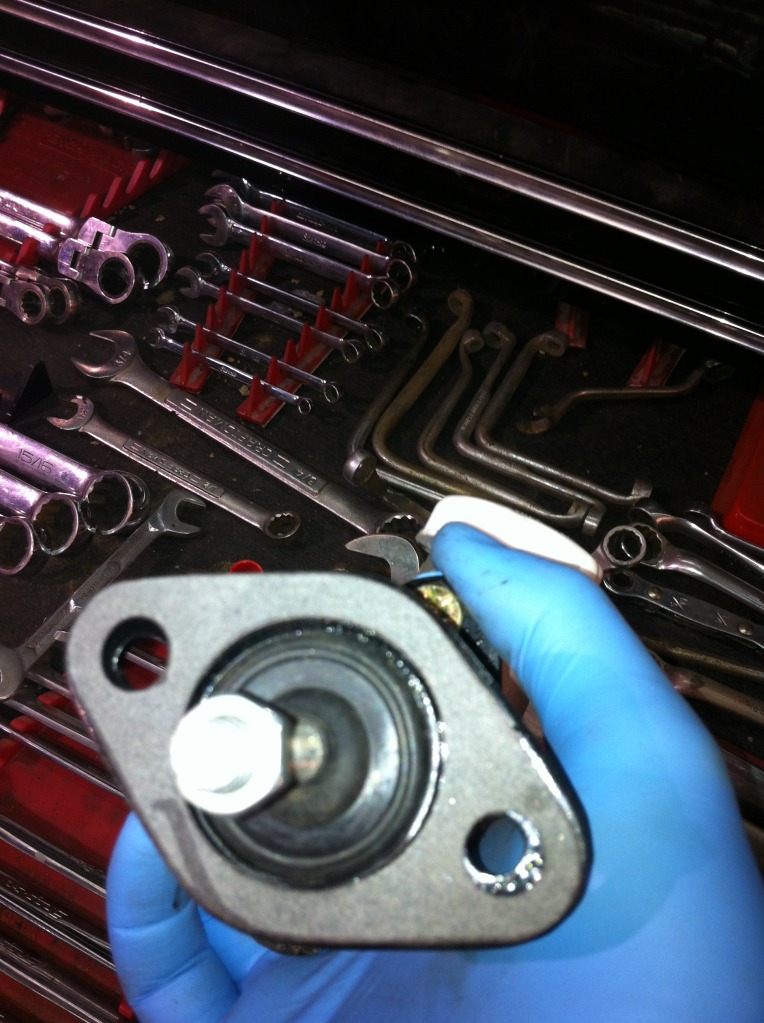
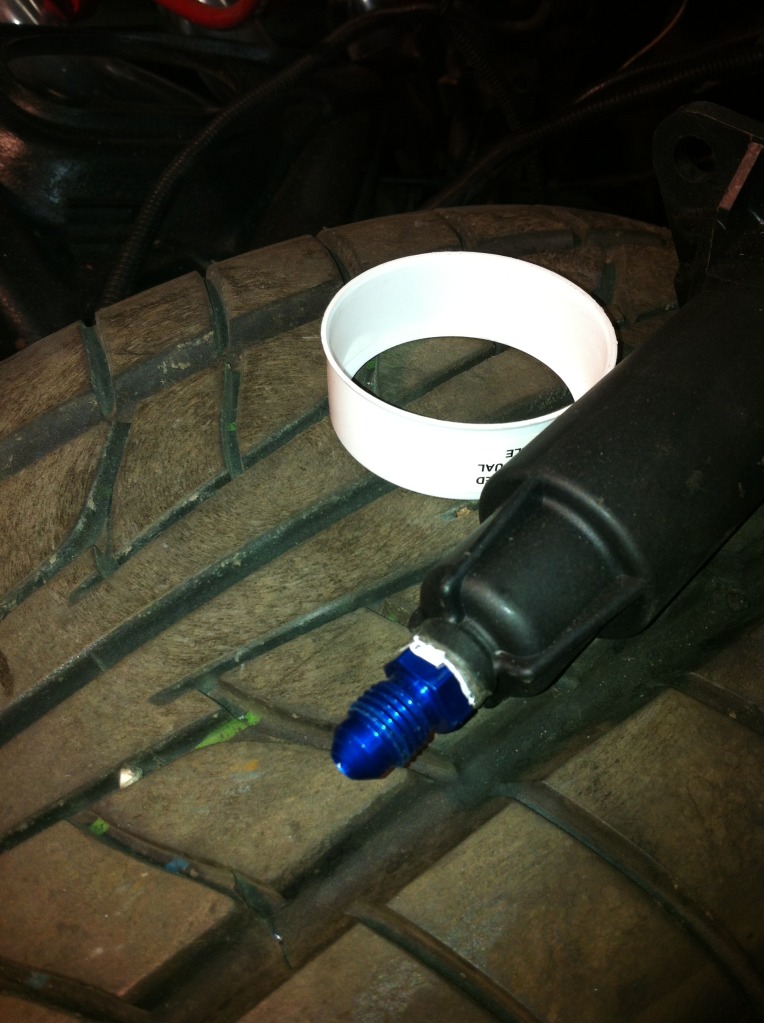
Yes you can drill and tap the factory slave cyl to go from NPT to AN fitting
Yeppers a BB water pump gasket fit the Master cyl close enuff!
Mounted
Yes you can drill and tap the factory slave cyl to go from NPT to AN fitting
Thread Starter
|
In the Staging Lanes
Joined: Aug 2012
Posts: 35
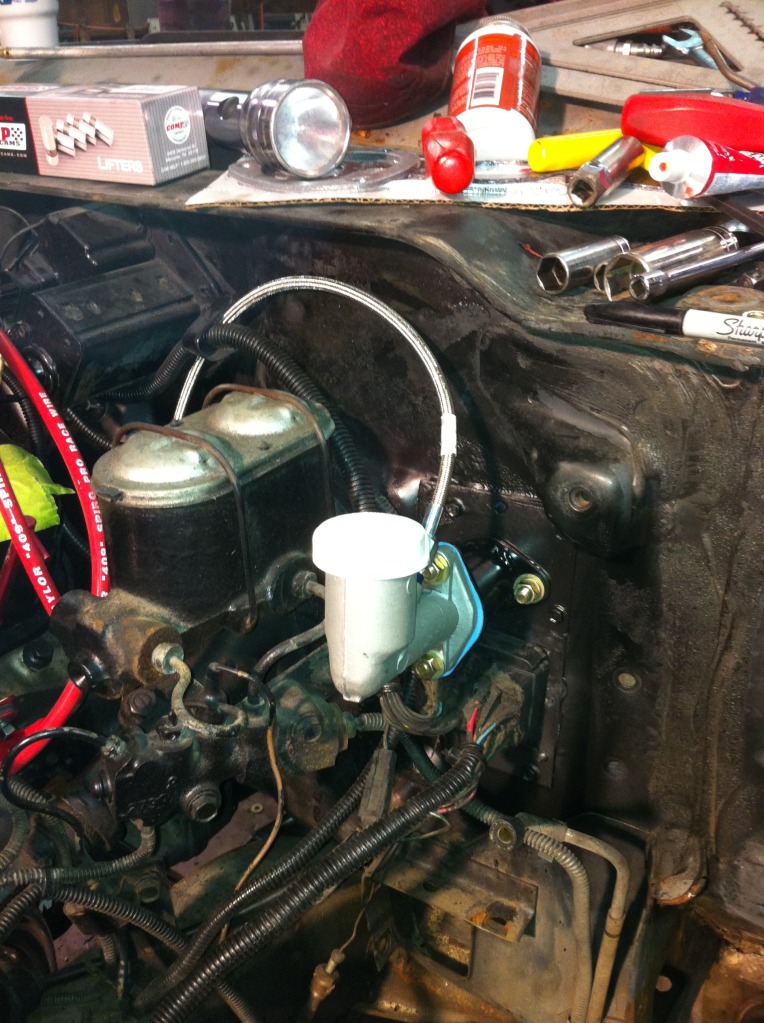
this was just lining things up so I could make some measurments
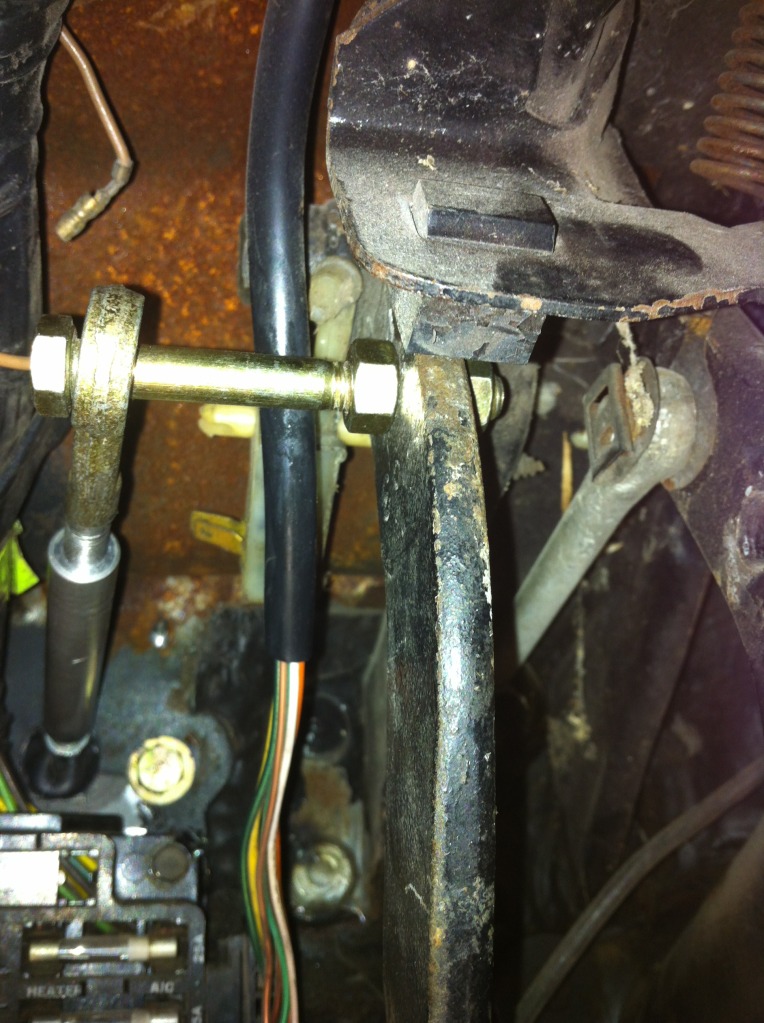
This was me turning a peice down to make for the pedal. I used the rod out of a 95 chevy truck to bolt to the master cyl and just turned down a peice drilled and tap both ends to connect.
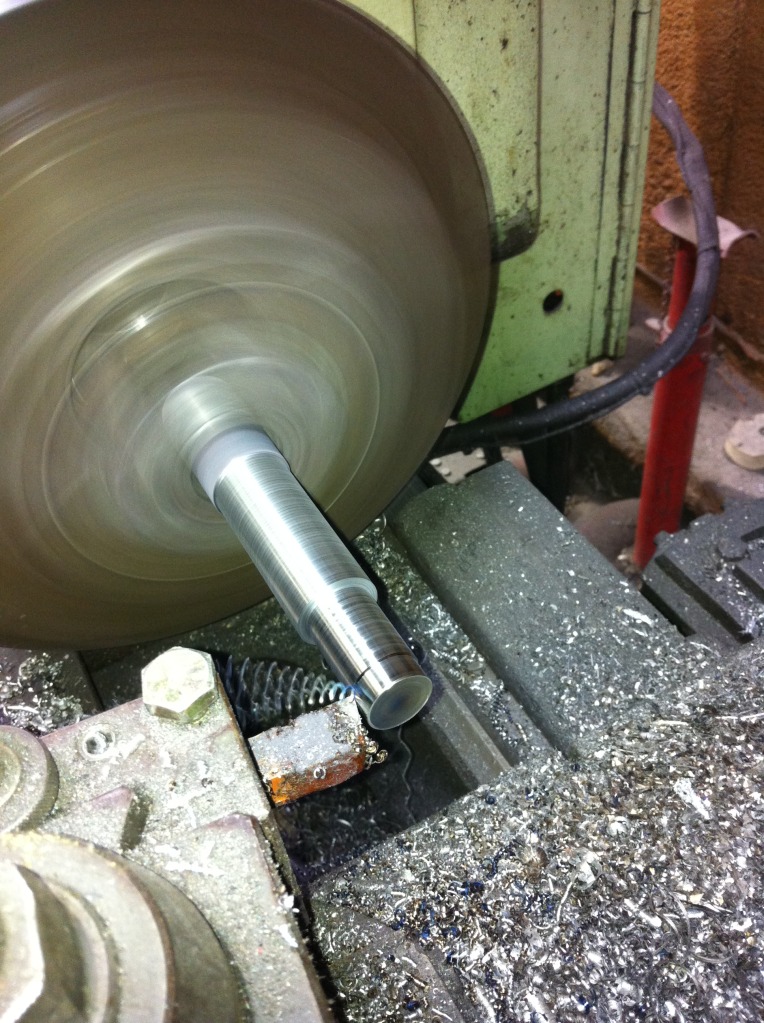
This was me turning a peice down to make for the pedal. I used the rod out of a 95 chevy truck to bolt to the master cyl and just turned down a peice drilled and tap both ends to connect.
Thread Starter
|
In the Staging Lanes
Joined: Aug 2012
Posts: 35
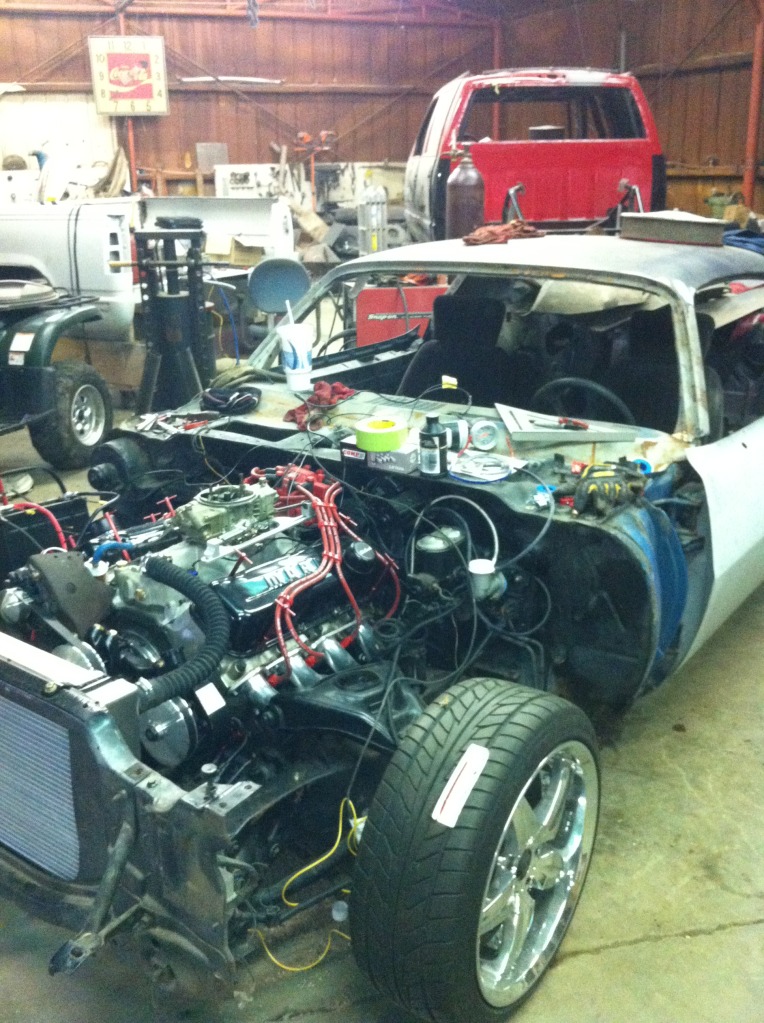
putting together for a test run down the back roads!
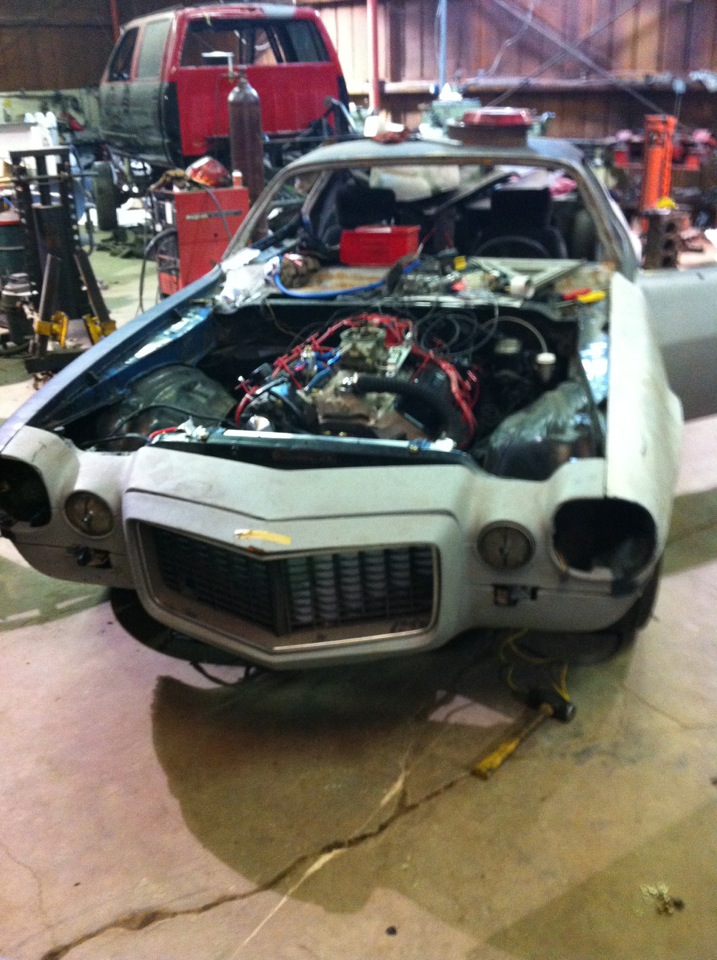
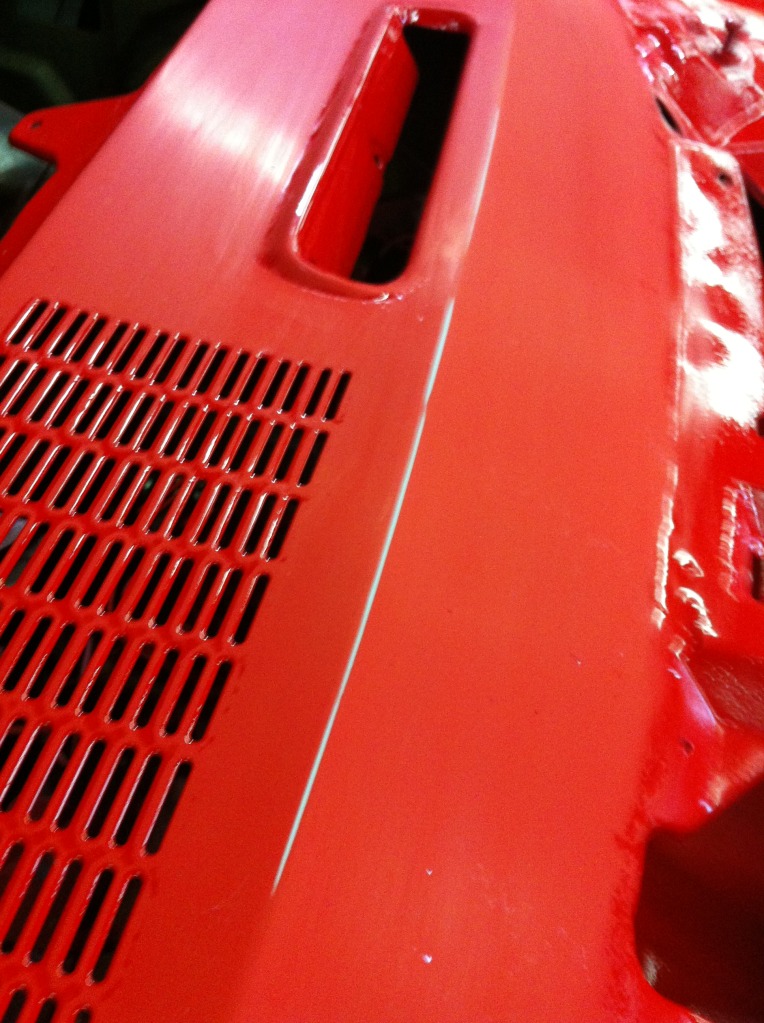
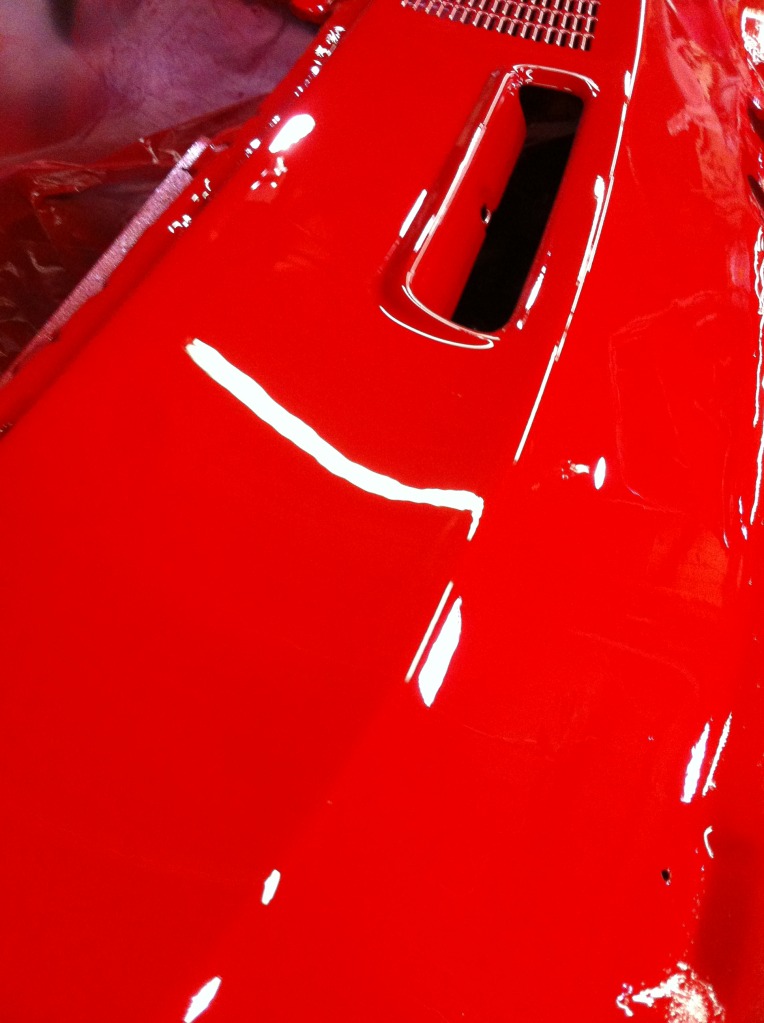
Taking her down to the metal stripping all old paint and bondo so I can where it in all its glory!
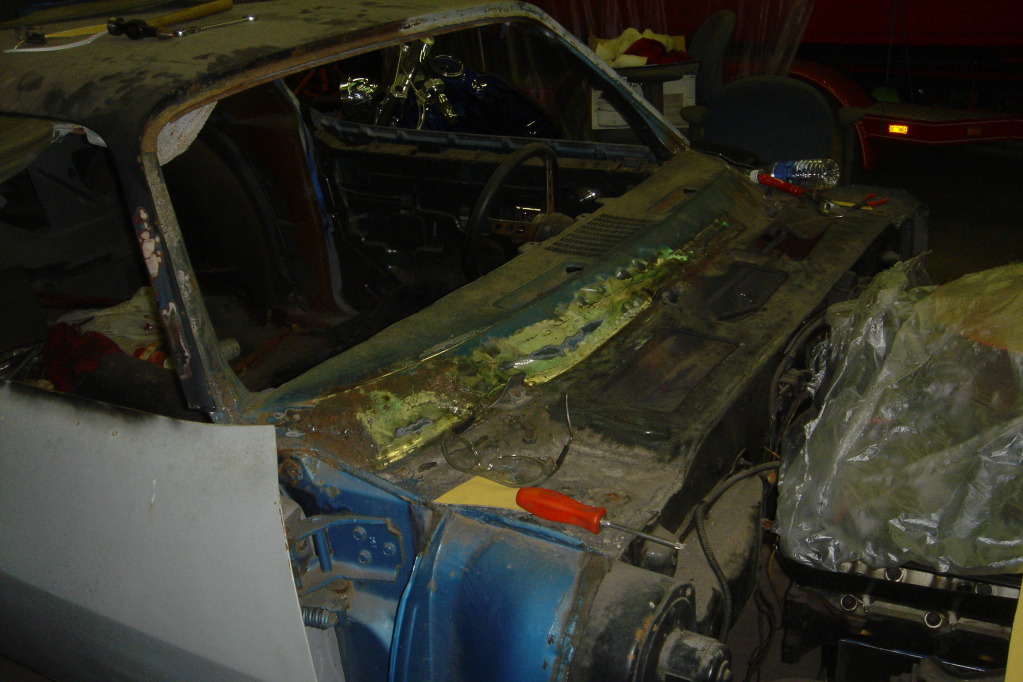
Putting some work on the dash so I can paint and put glass in. Said Its a driver didnt ?
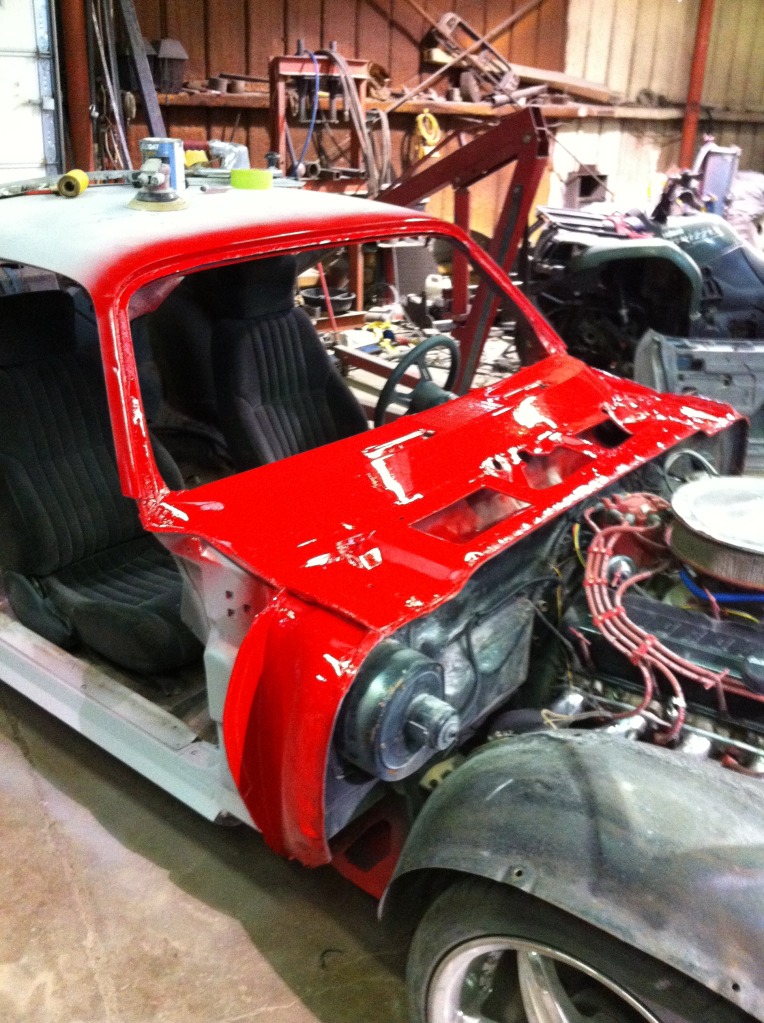
Taking her down to the metal stripping all old paint and bondo so I can where it in all its glory!
Putting some work on the dash so I can paint and put glass in. Said Its a driver didnt ?


Thread Starter
|
In the Staging Lanes
Joined: Aug 2012
Posts: 35
Thanks fellows!
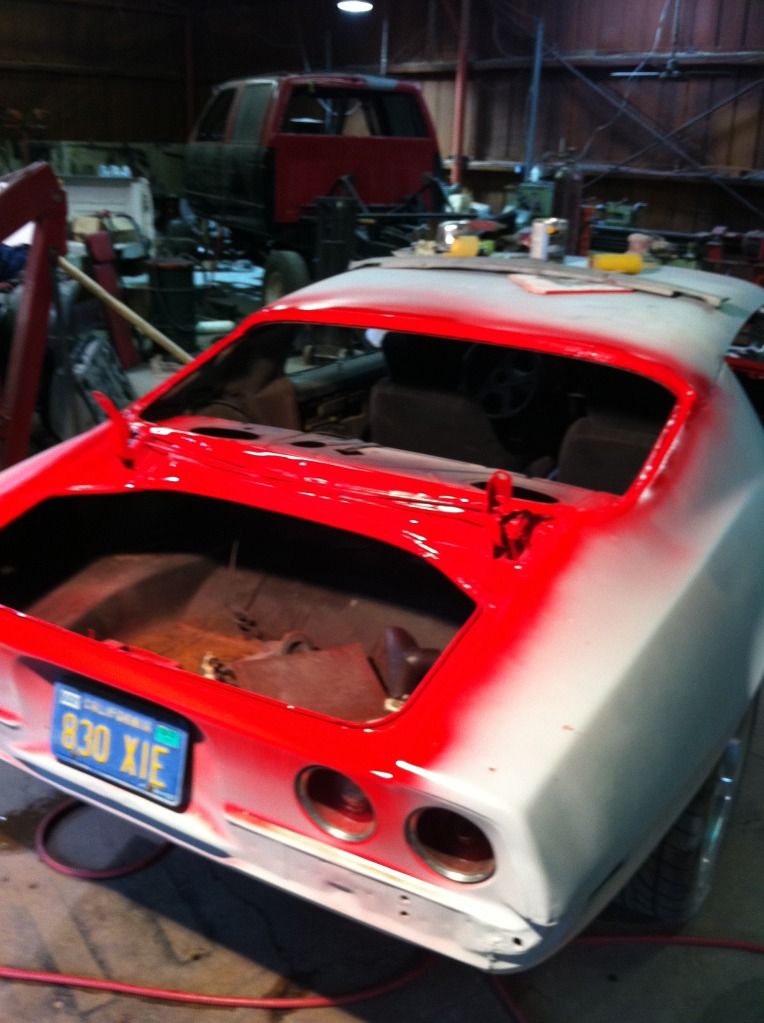
Lets see I go the car maybe 5 yrs back?? Motor was out the big 4x4 you see in background. So that took about 20 mins to bolt up? Maybe 30 since I needed a beer!
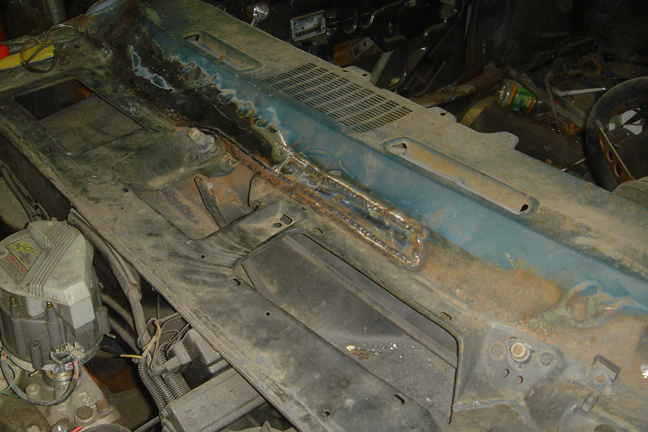
Then I cut the rust out of window area and made peices to fit took about a day and then about 1/2 day to grind the welds.
Then it sat till about 6 months ago when the t-56 fell in my lap. Once I got that I mocked it up to make a crossmember which took a few hours. And then waited and waited for my clutch and pressure plate took almost 2 months. In the meantime I figured out all the clutch pedal and such took a couple of days going back and fourth to places trying to figure how I was gonna do it once I did that took about a day.
So when the parts came in I then ordered headers rad wires etc etc and went to making it run so I can pull in out shop.
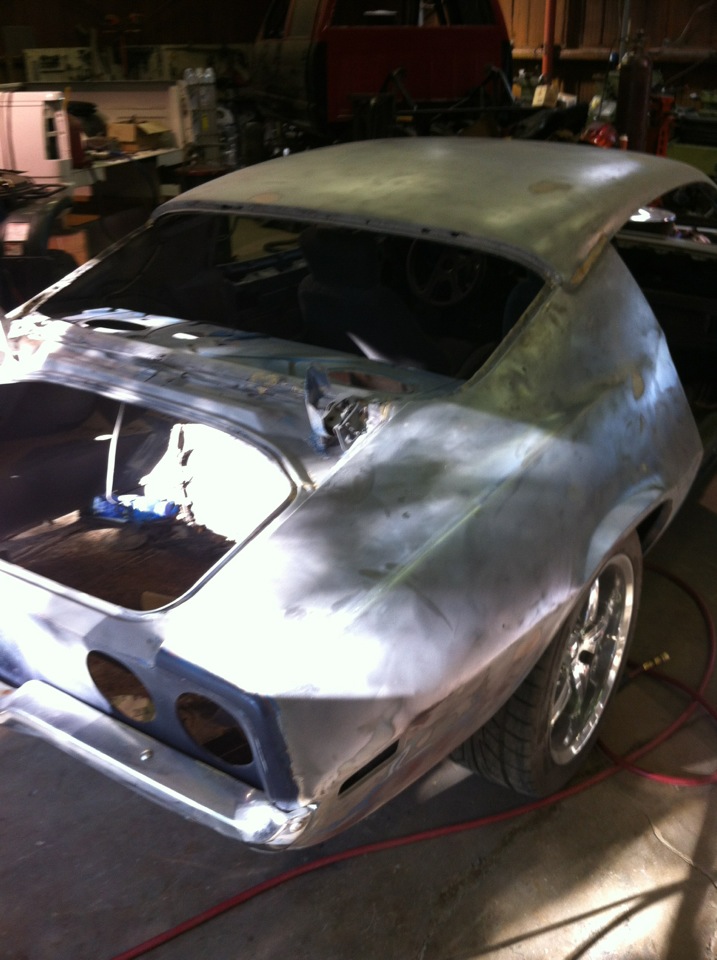
Once I got it drivable and made a test run I went to the body.
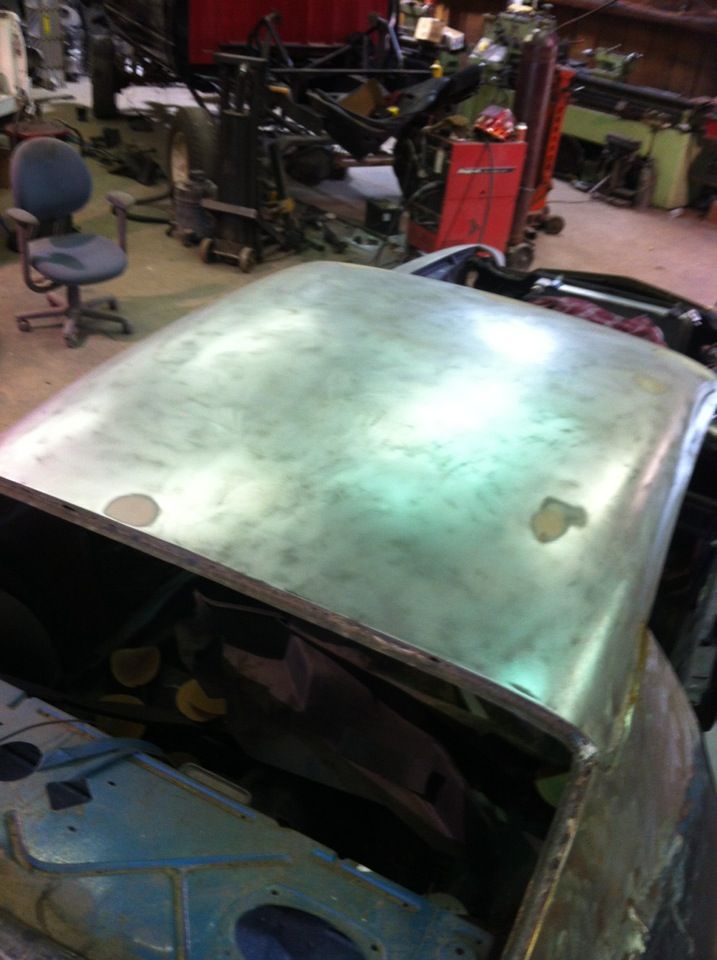
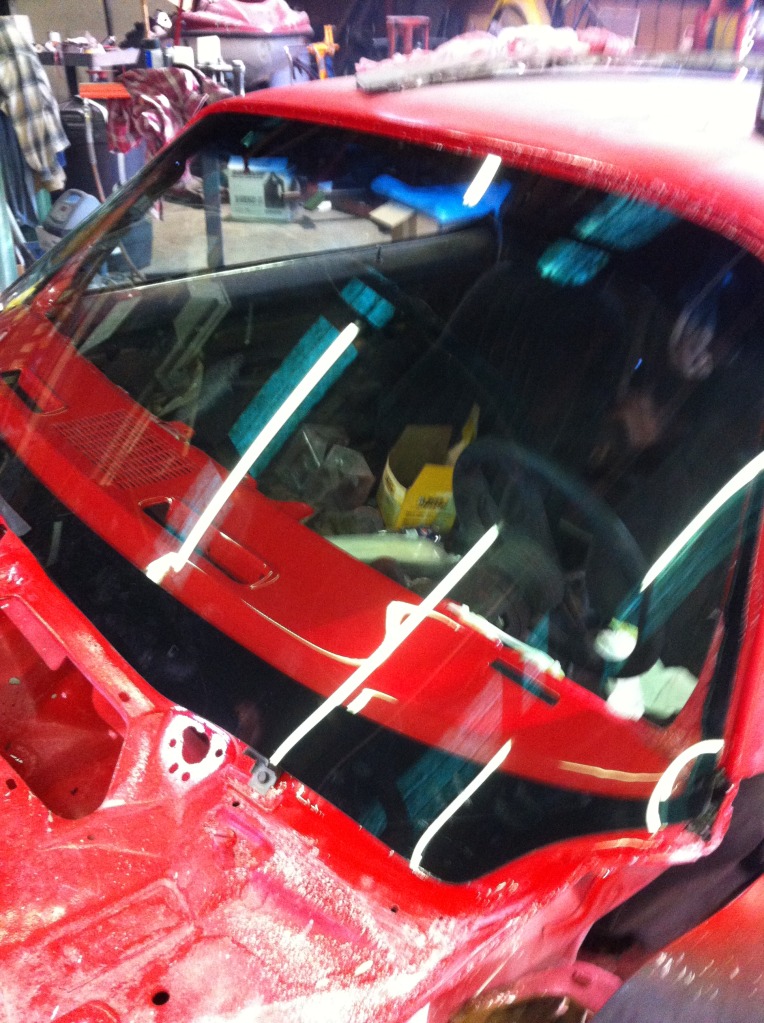
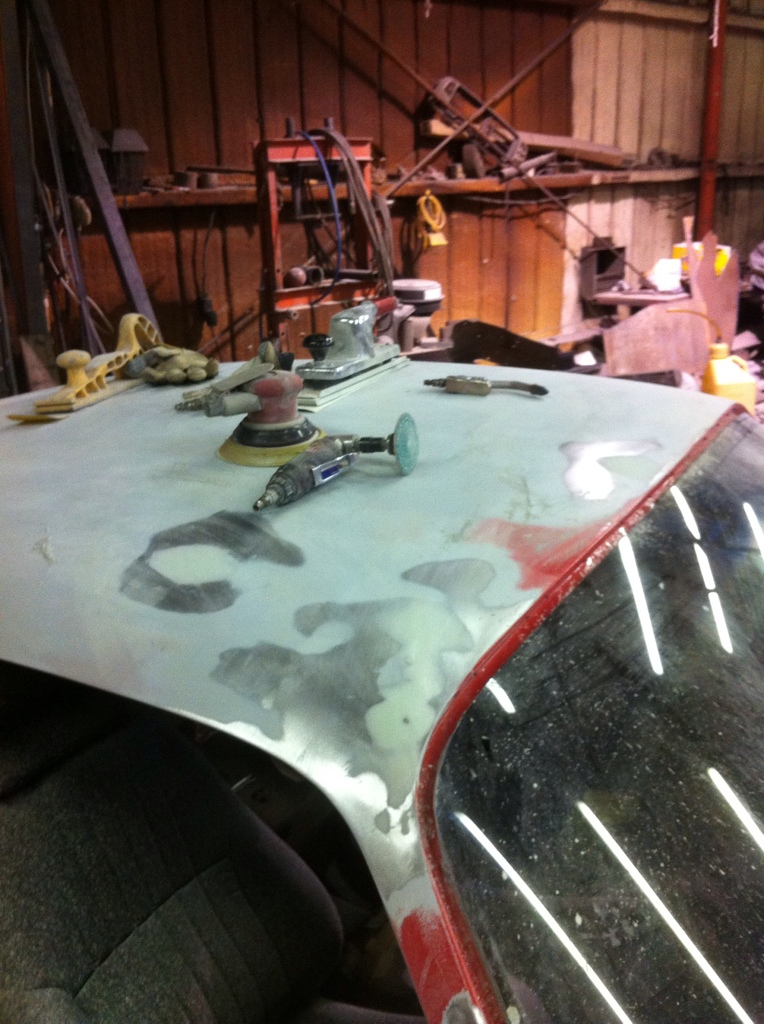
Started out was gonna just do a scuff and shoot so to speak so I started on roof with the DA well once I started I got carried away so the next thing you know about 15 bags of sand and 2 days the whole body was stripped all the way down put in primer to keep from rusting and of cours bodywork done on the painted areas so I could put glass in it. All in all I have about 4 days of work in the paint so far. But now I can go back and pull all the dents a little at a time?
So real work so far maybe 2 weeks? Time frame since project started when tranny was founf 6 months?
Damn got a little winded didnt I?
Lets see I go the car maybe 5 yrs back?? Motor was out the big 4x4 you see in background. So that took about 20 mins to bolt up? Maybe 30 since I needed a beer!
Then I cut the rust out of window area and made peices to fit took about a day and then about 1/2 day to grind the welds.
Then it sat till about 6 months ago when the t-56 fell in my lap. Once I got that I mocked it up to make a crossmember which took a few hours. And then waited and waited for my clutch and pressure plate took almost 2 months. In the meantime I figured out all the clutch pedal and such took a couple of days going back and fourth to places trying to figure how I was gonna do it once I did that took about a day.
So when the parts came in I then ordered headers rad wires etc etc and went to making it run so I can pull in out shop.
Once I got it drivable and made a test run I went to the body.
Started out was gonna just do a scuff and shoot so to speak so I started on roof with the DA well once I started I got carried away so the next thing you know about 15 bags of sand and 2 days the whole body was stripped all the way down put in primer to keep from rusting and of cours bodywork done on the painted areas so I could put glass in it. All in all I have about 4 days of work in the paint so far. But now I can go back and pull all the dents a little at a time?
So real work so far maybe 2 weeks? Time frame since project started when tranny was founf 6 months?
Damn got a little winded didnt I?
Thread Starter
|
In the Staging Lanes
Joined: Aug 2012
Posts: 35
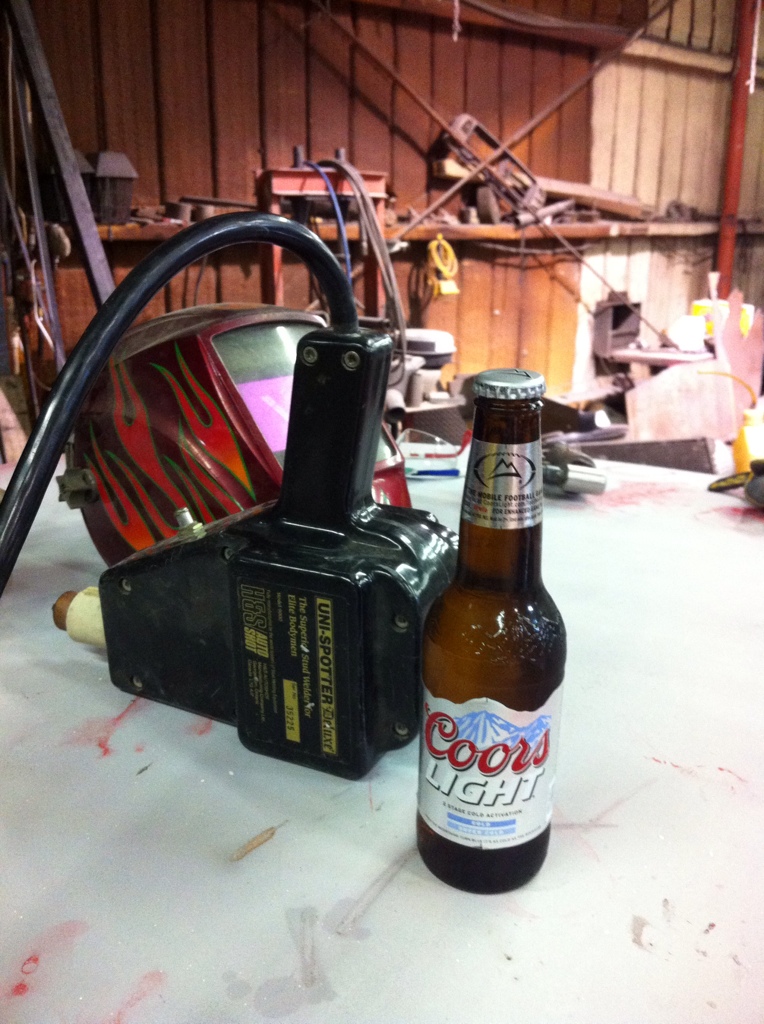
2 of the best tools ever made. A Uni Spotter and the Beer!
Dents
No dents!
Holes
No Holes
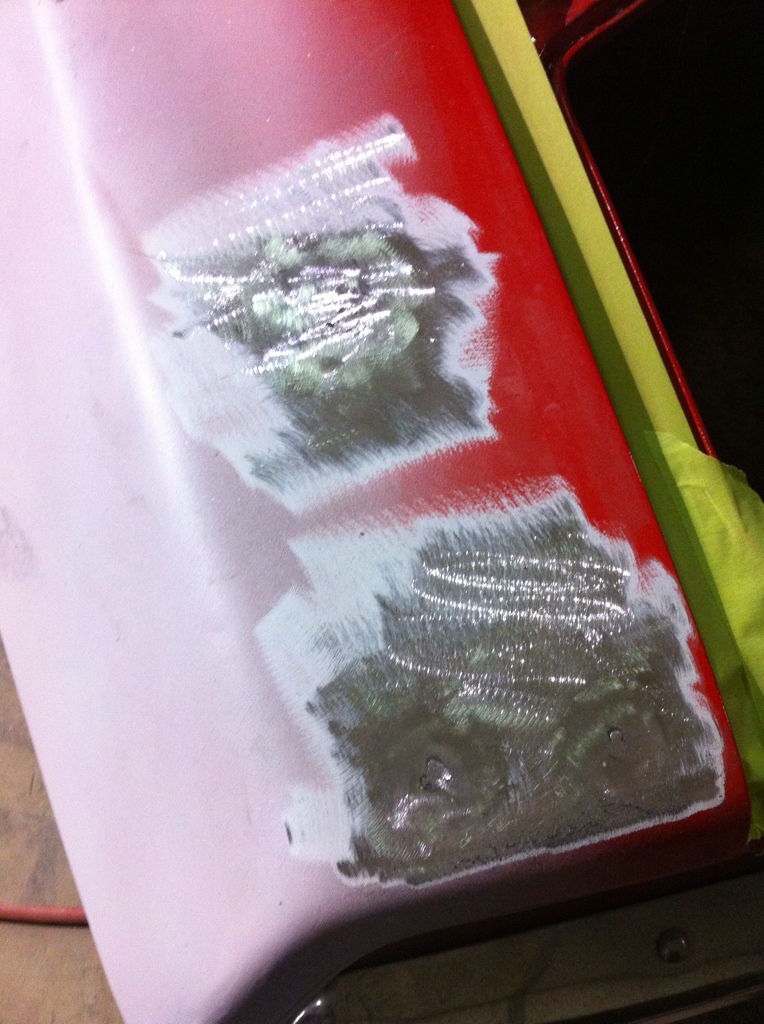
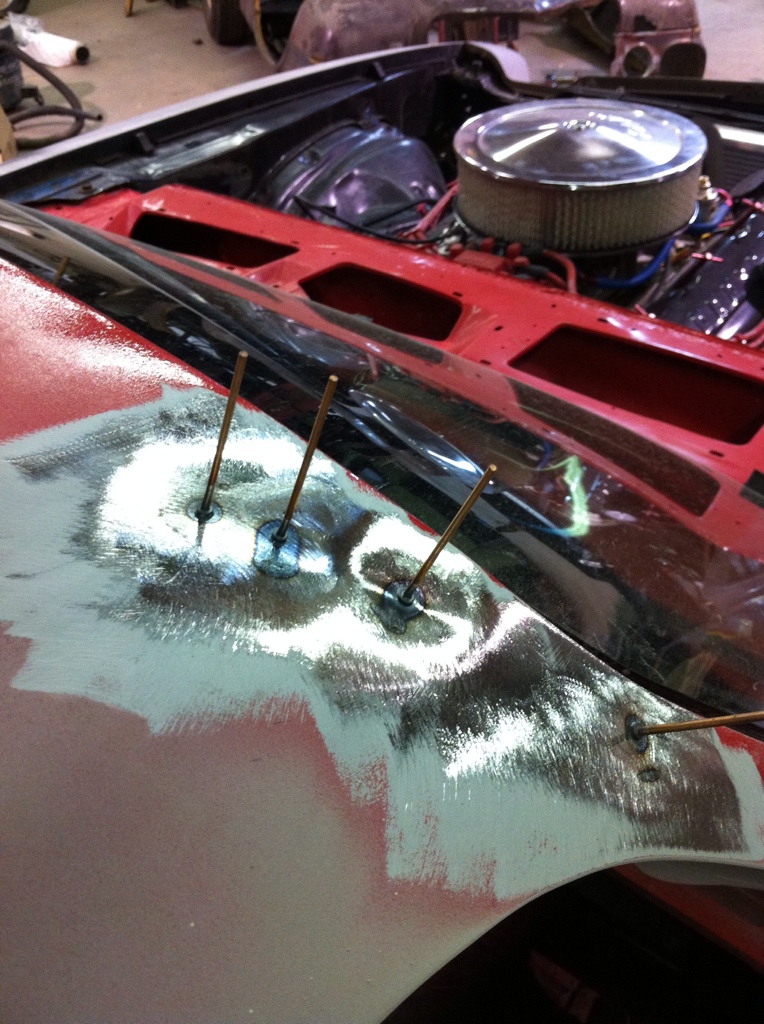
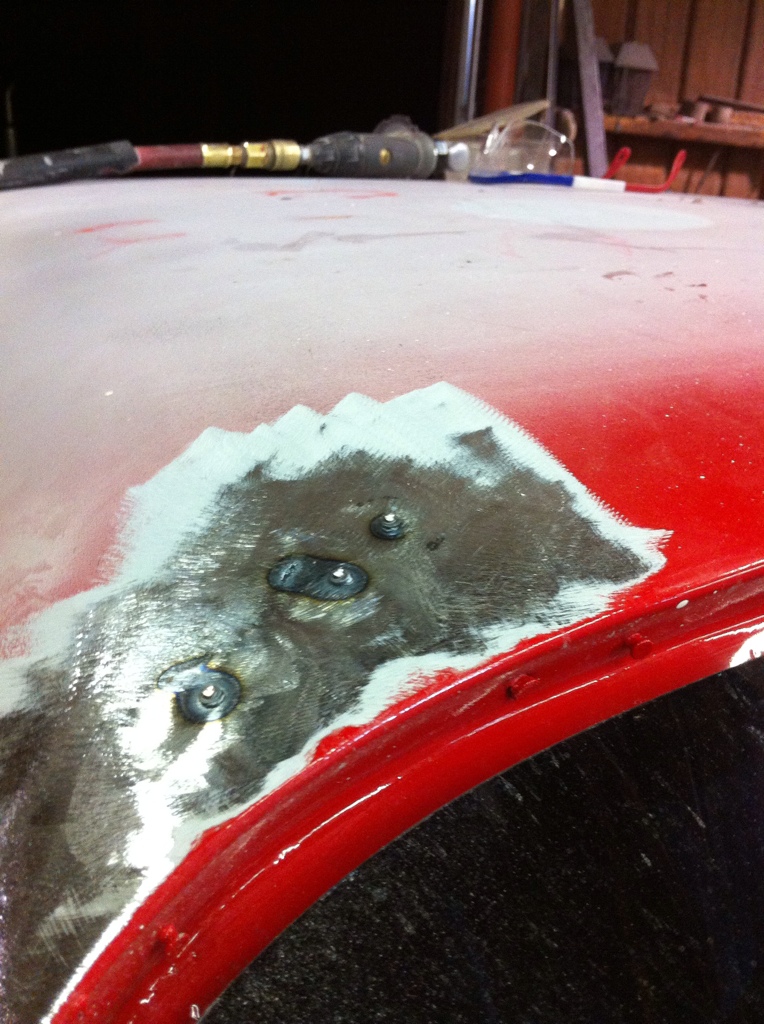
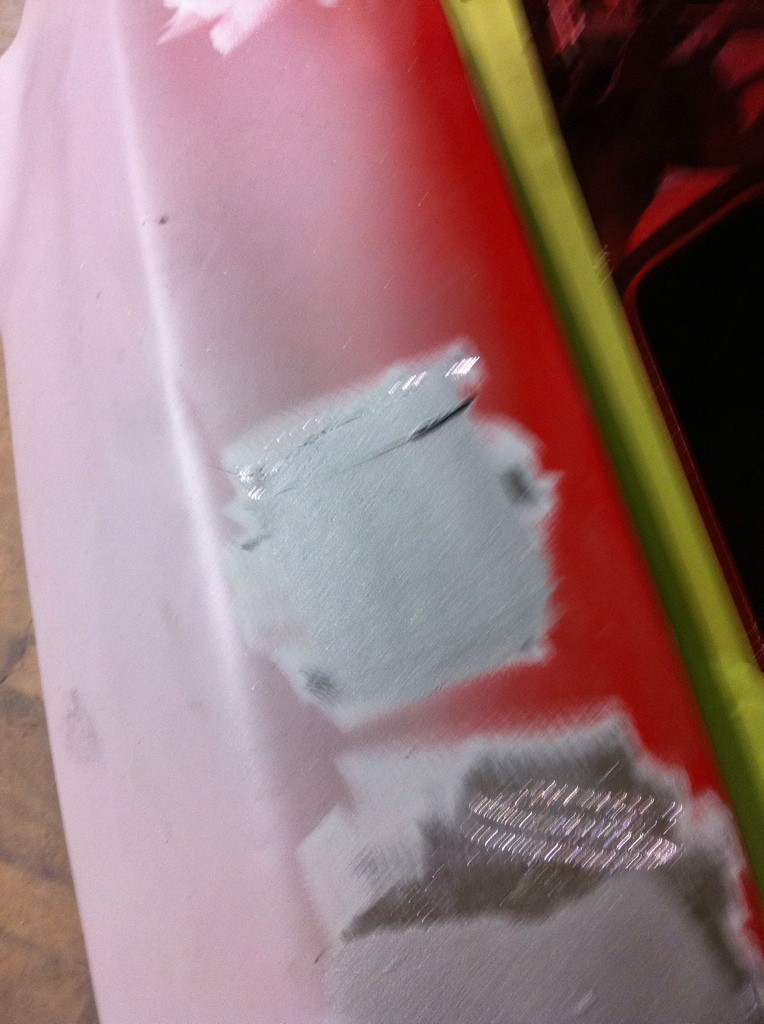
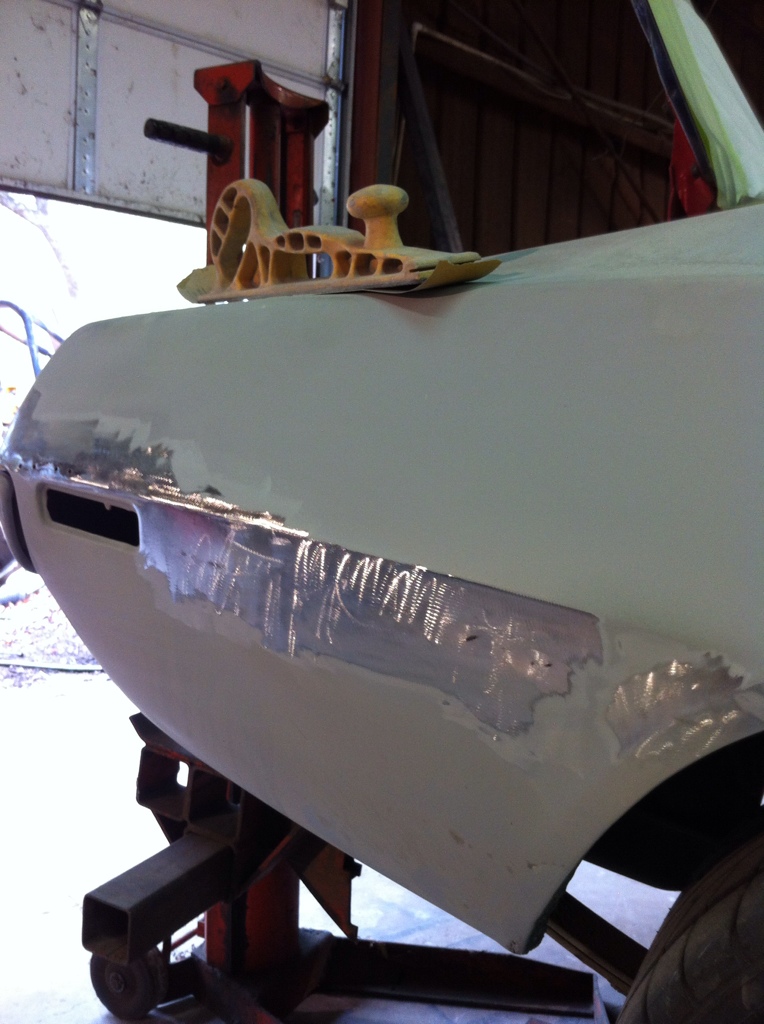
The Led was already taken out of this so English Color suggested the new Metal to Metal Which is bacically a metal filled body filler that gets very hard and you can actually drill n tap he ?
I also wipe a little to fill in any little pin holes from welding? Yes I did put a plate under all the hole to weld in.
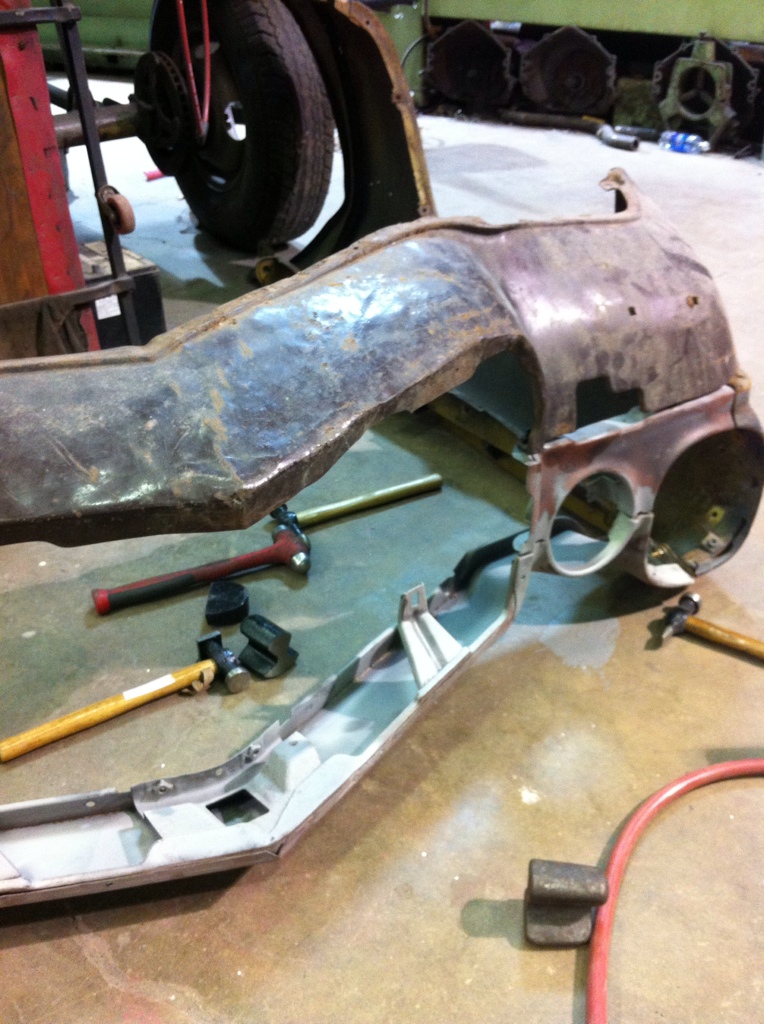
I also bolted the extra front together to flip upside down to maybe just maybe fix the lower velance panel???? MAYBE
Dents
No dents!
Holes
No Holes
The Led was already taken out of this so English Color suggested the new Metal to Metal Which is bacically a metal filled body filler that gets very hard and you can actually drill n tap he ?
I also wipe a little to fill in any little pin holes from welding? Yes I did put a plate under all the hole to weld in.
I also bolted the extra front together to flip upside down to maybe just maybe fix the lower velance panel???? MAYBE
Thread Starter
|
In the Staging Lanes
Joined: Aug 2012
Posts: 35
Few updated pics
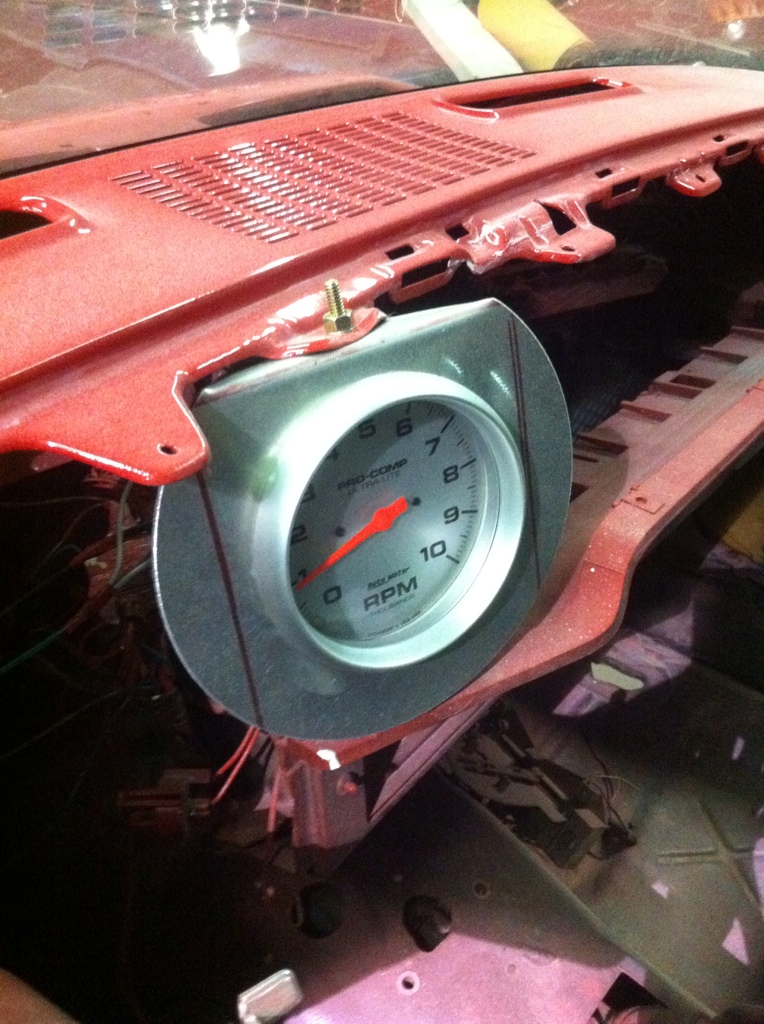
Told ya I was gonna drive and work on it! LOL scrap peice laying around chcuk it up in the lathe to cut round hole and go!
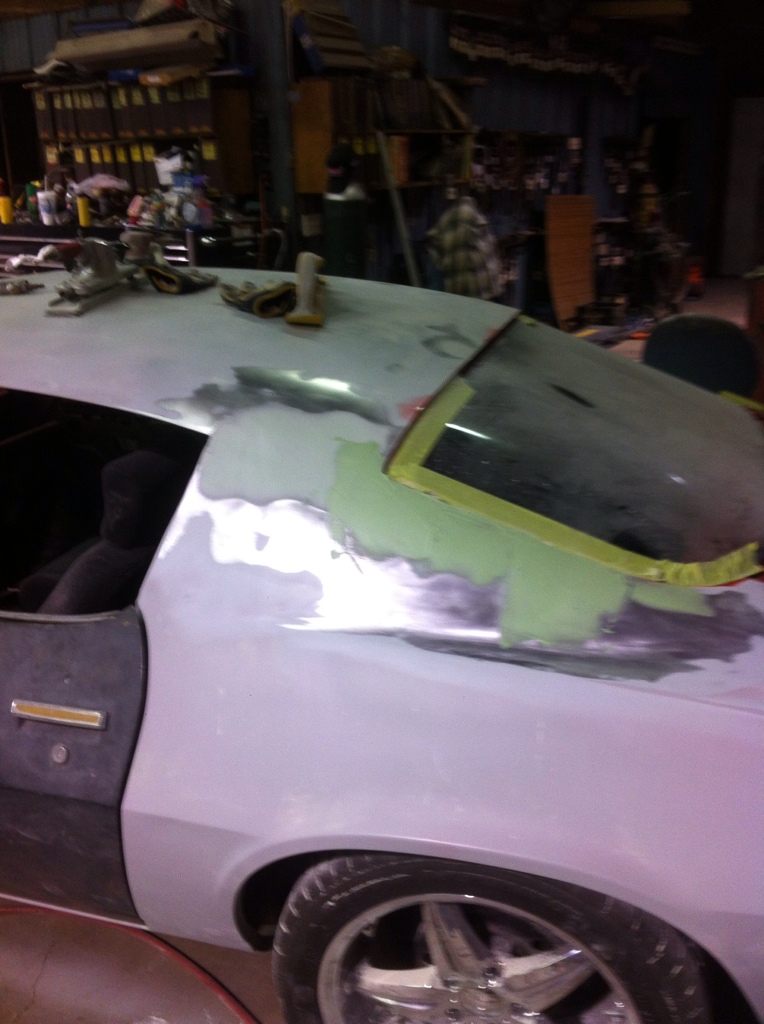
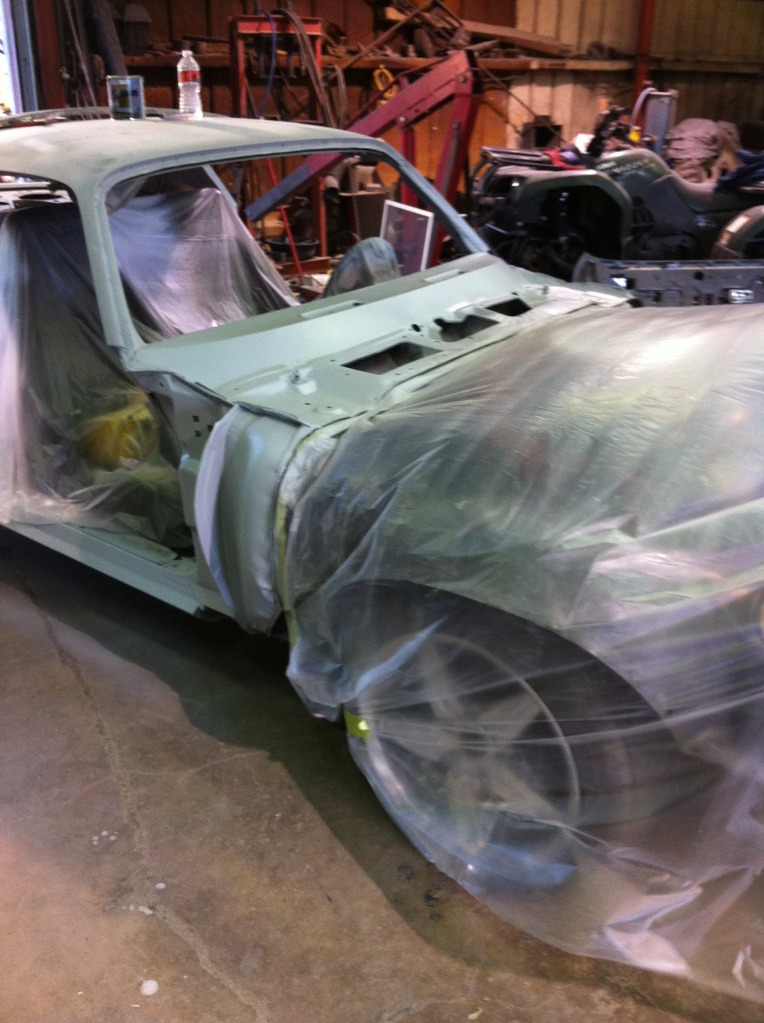
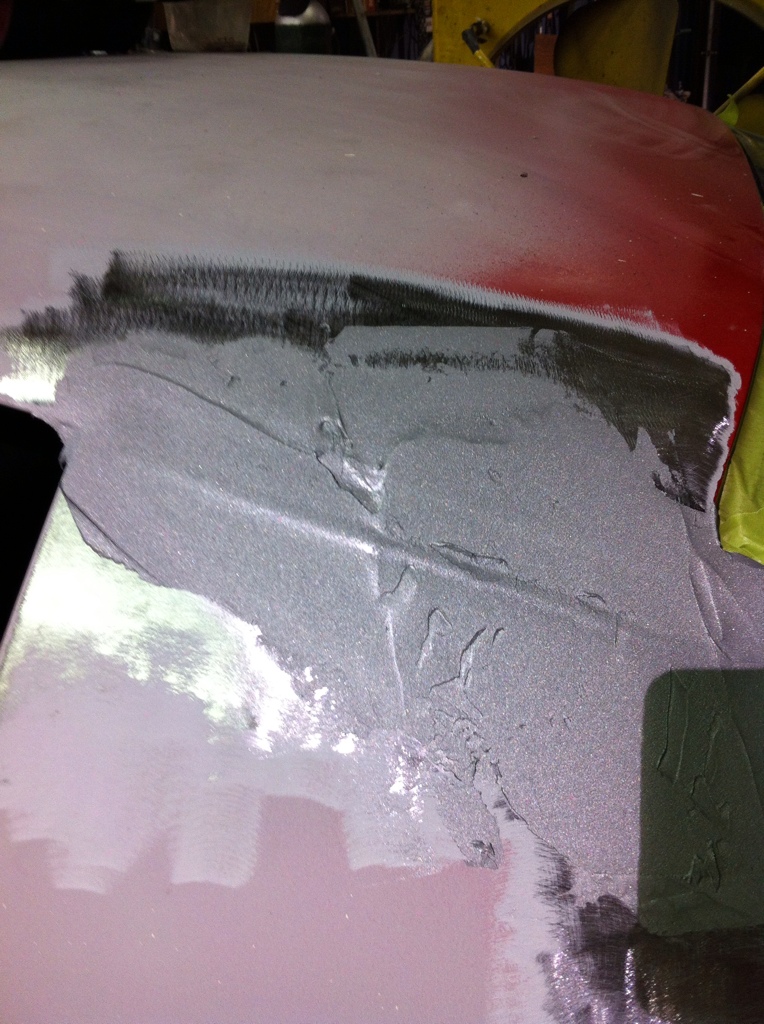
Got all those dents pictured above filled and reprimed ready to block it 320
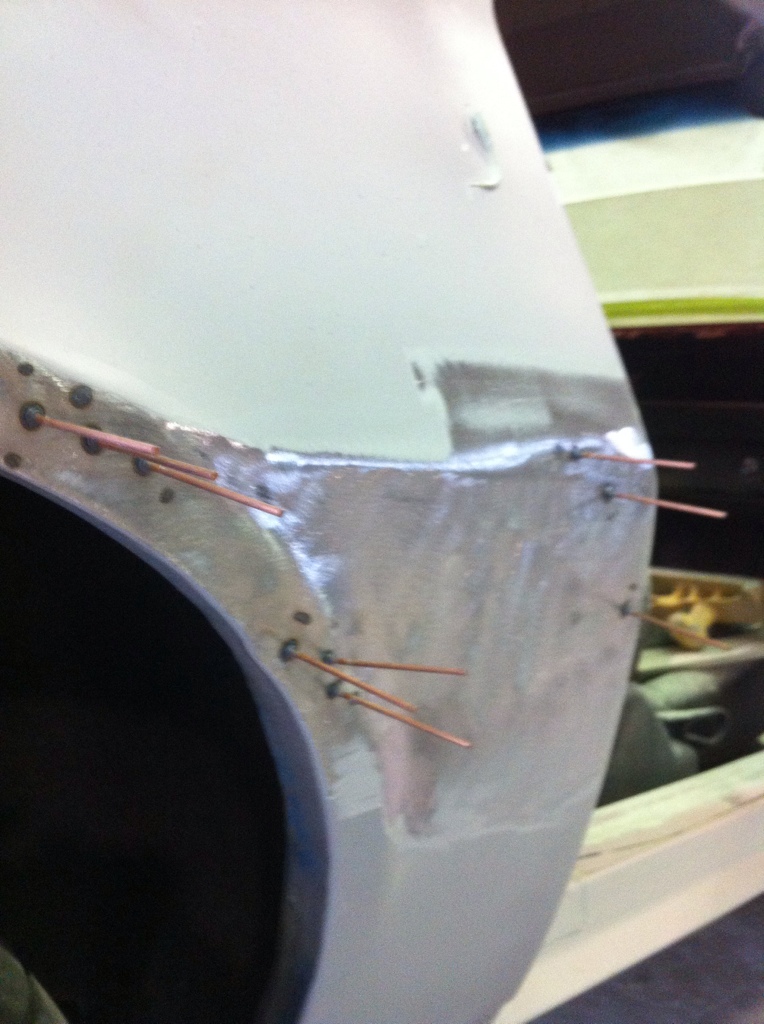
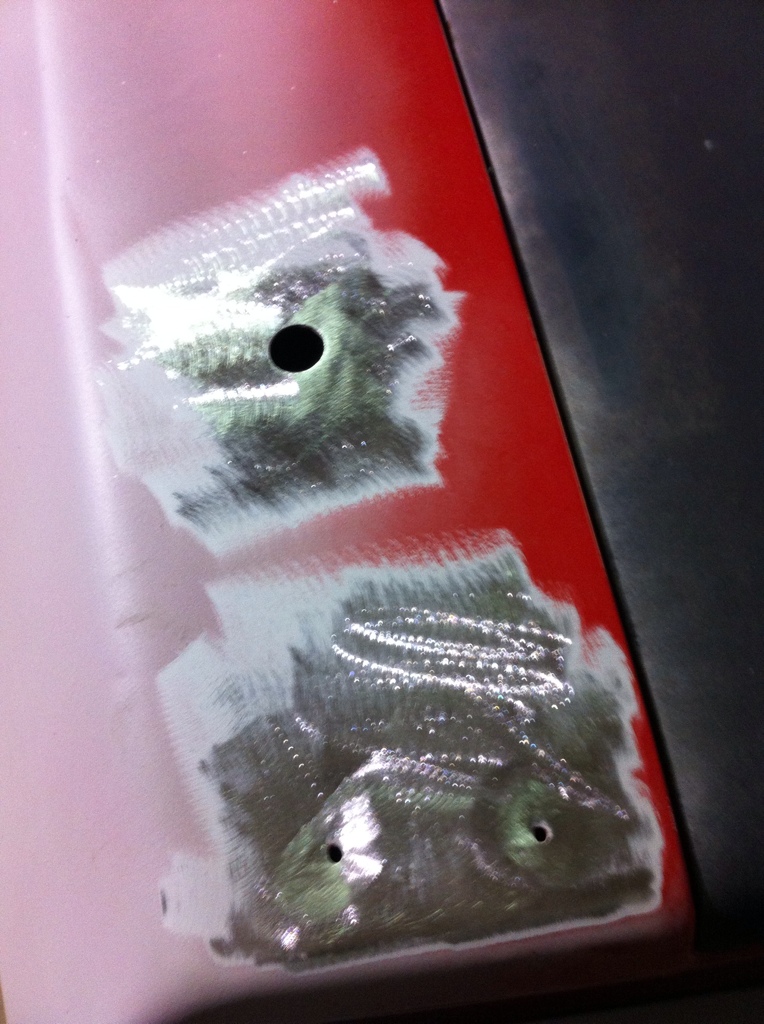
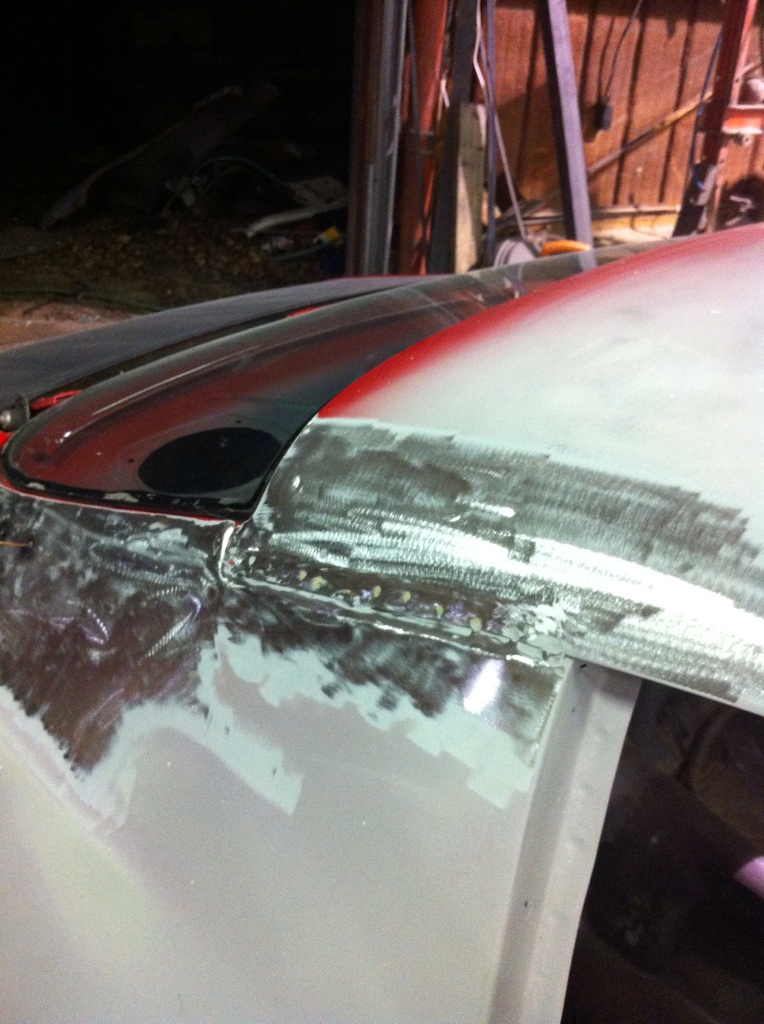
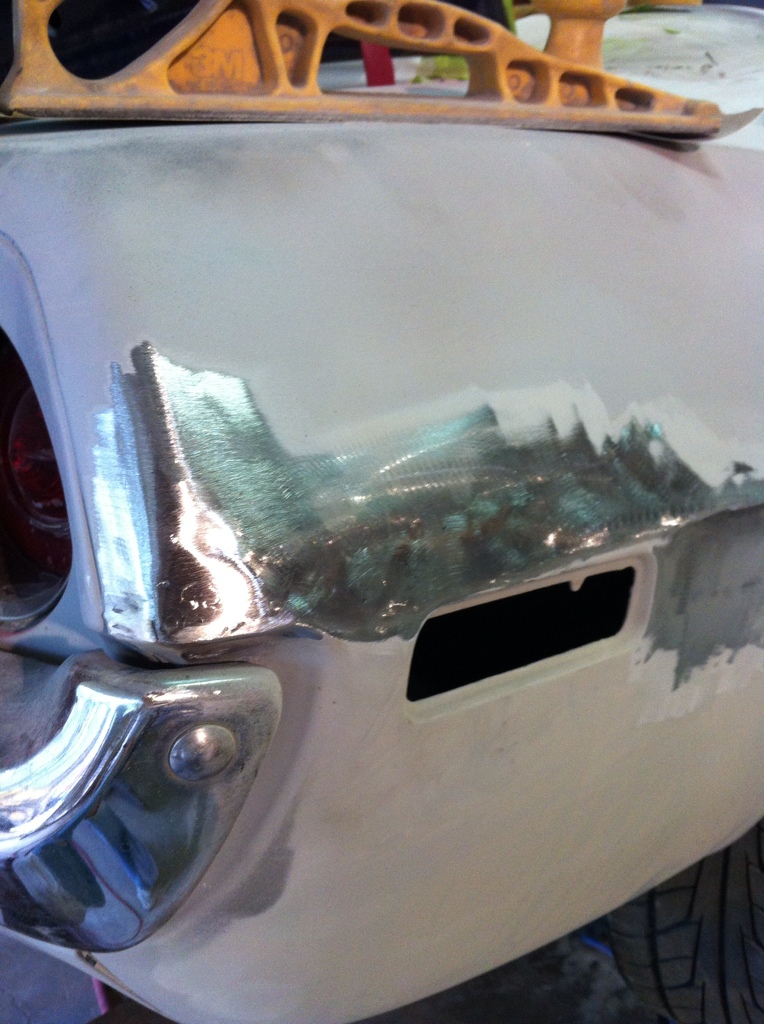
Had a slight crease in the qtr
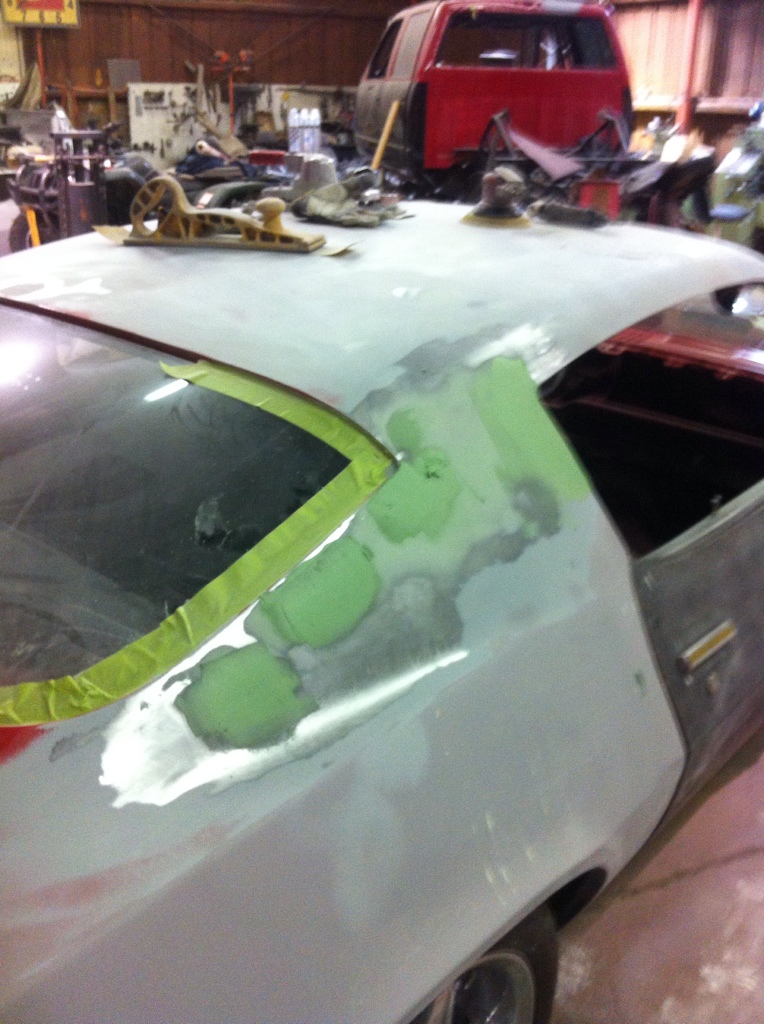
Had to take all the old bondo out of the holes to weld and do it right!
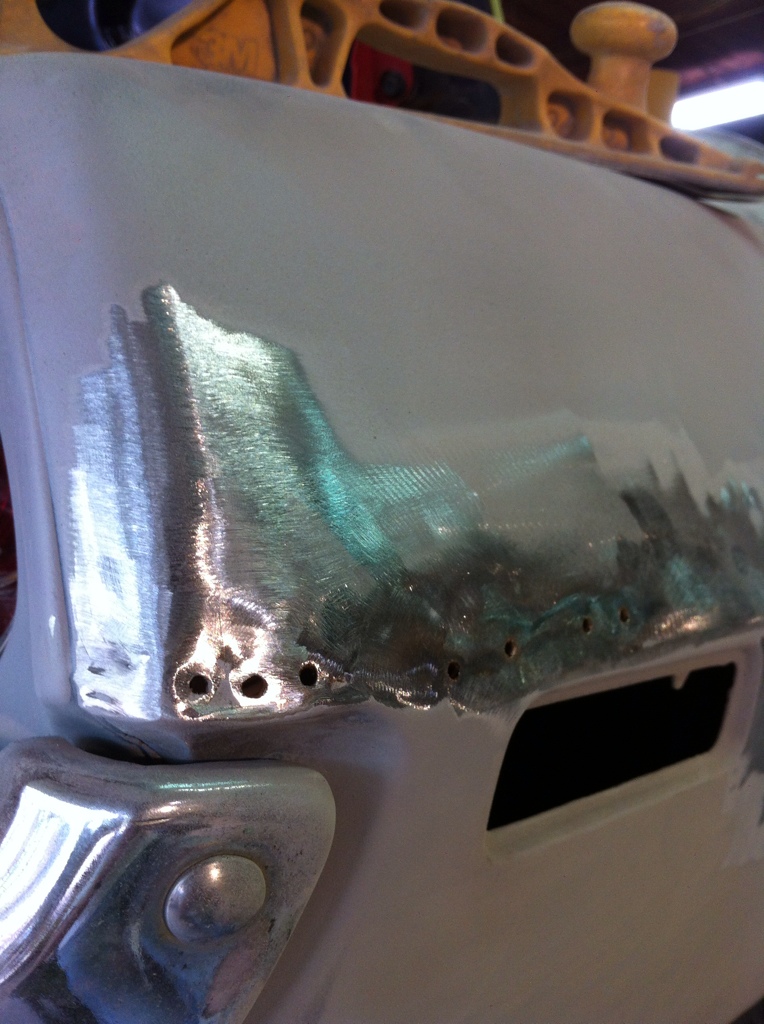
damn near ended up filling the damn hole with metal from welding!
Told ya I was gonna drive and work on it! LOL scrap peice laying around chcuk it up in the lathe to cut round hole and go!
Got all those dents pictured above filled and reprimed ready to block it 320
Had a slight crease in the qtr
Had to take all the old bondo out of the holes to weld and do it right!
damn near ended up filling the damn hole with metal from welding!