
1972 Camaro project


Thread Starter
|
In the Staging Lanes
Joined: Jun 2010
Posts: 72
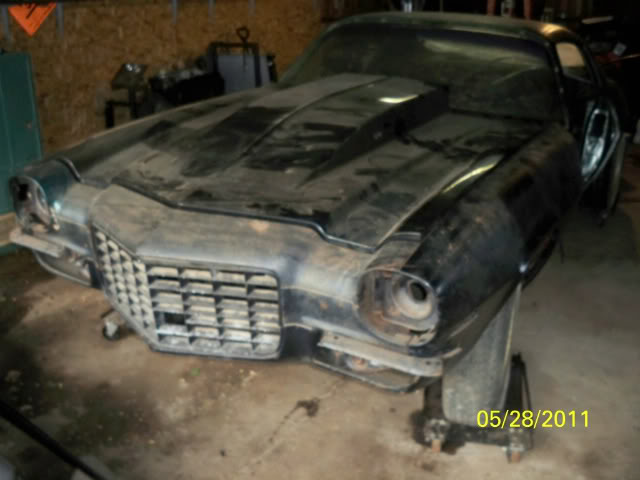
Well guys the time has come for me to start the long process of restoring my 1972 Chevy Camaro. I got this car a couple of years ago. I picked it up for a good price I think. The car has new quarters, a brand new 4 inch hardwood cowl hood. The numbers on the body tag come back to a 307 4 speed car. This will be a long process. I have been slowly gathering some parts that I know I will need. The car needs floors and rear frame rail repair. I have already picked up a set of floor pans. The car will be a big block (454) with a 4 speed. I have had this car sitting in a storage unit waiting for me to have time and space. I only have a 2 car garage and I was working on getting my 95 v8 blazer up and running. I will be doing this car by my self. I have a friend that is going to let me use a rotisserie so I can get this car done. Tomorrow the flat bed will be transporting the car from storage shed to my house. Then I am going to get the rotisserie maybe thursday or friday. This car needs a lot of work but I will get it all done. It will be many years before I do, but my 6 year old son claims this car as his so he is going to help me (with what he can). He has such an intrest in old cars its great. I will update this as much as I can but again progress will be slow on this car.
Thread Starter
|
In the Staging Lanes
Joined: Jun 2010
Posts: 72
Thanks. I have a soft spot in my heart for a big block in a 2nd gen camaro. And to add a 4 speed manual behind it, I think that it will be a blast to drive. Well the camaro made its way home today. I didn't do much to it today. I was busy getting stuff moved around in the garage to make room for it. I will get out to start messing with it tomorrow. I have a bunch of parts that I have gathered over the last year that the car was in storage. I have a brand new rear window, big block headers, new battery box, front split bumpers, and some of the clutch linkage parts. Also a near mint black non a/c dash. And from what I found out the car was a non a/c car. I have a guy that is going to do all of my interior for basicly the cost of parts and materials. The motor is already sitting on the stand and ready to go. It is a 454 with a .030 over. I am not sure of the cam that is in it. We pulled the motor out of a 66 chevelle drag car that my dad had bought. The car looks like someone recently put a new tail panel and rear quarters on it. So That is a plus to the car. Hopefully more tomorrow.
Thread Starter
|
In the Staging Lanes
Joined: Jun 2010
Posts: 72
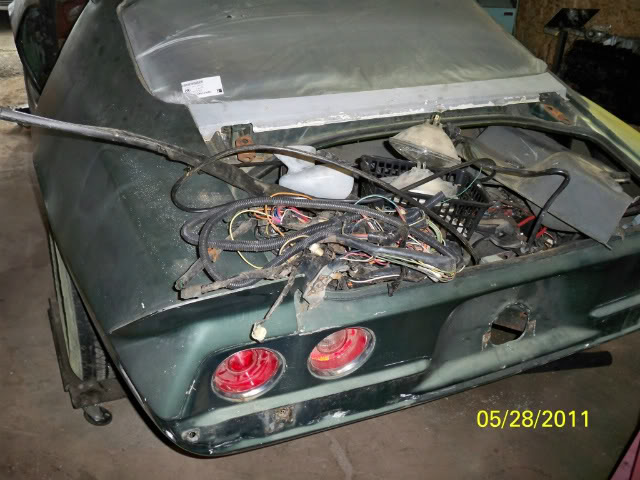
Well I did get something done on the camaro today. I got both front fenders off. I also got te whole front nose parts off. I did realize that I have some sheetmetal work to do. The radiator support is shot. I have some metal work to do one the dash area where all camaros need work. but its not really bad. I tried to load some pictures but photobucket is not working right now. Ill try agan later or tomorrow.
Thread Starter
|
In the Staging Lanes
Joined: Jun 2010
Posts: 72
Ok pictures of my work last night.
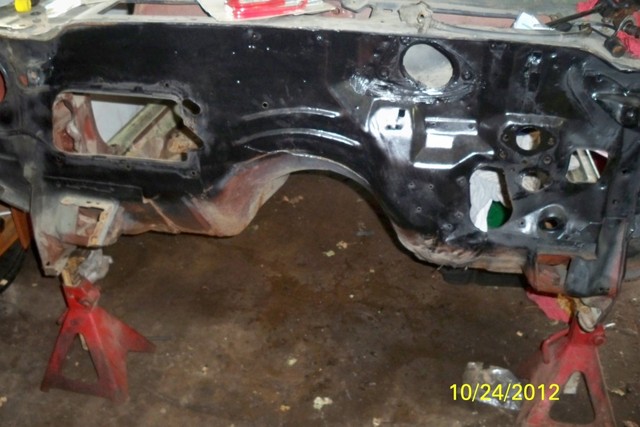
Picture of all the sheet metal off the front.
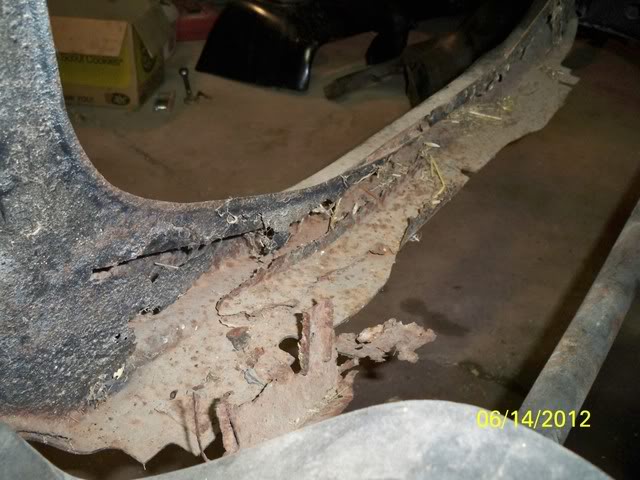
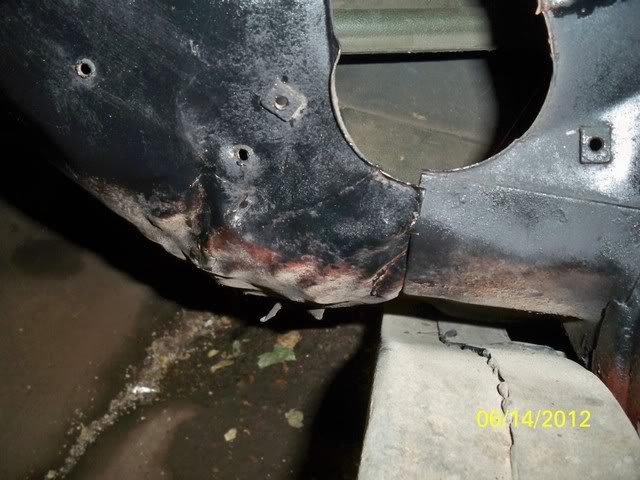
My radiator support.
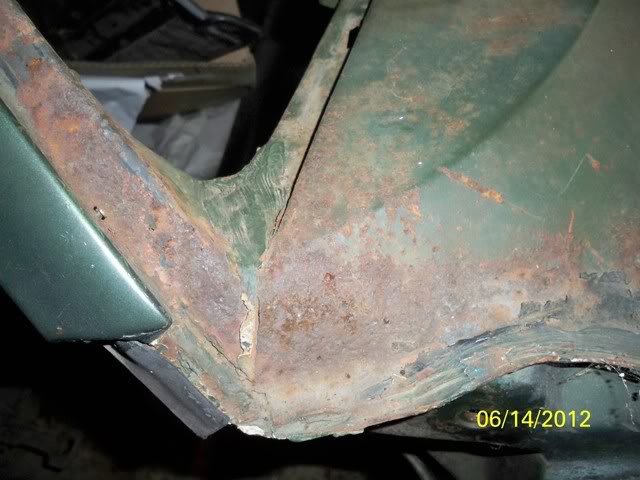
Dash corner on the pass. side
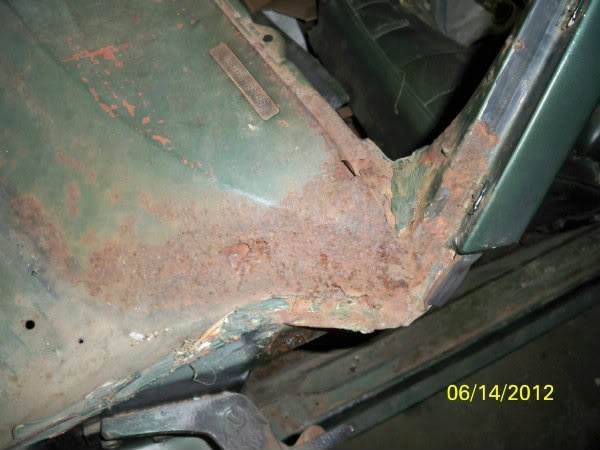
Dash corner on the drivers side.
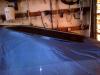
Little area on the fire wall under where the olumn goes will need some kind of metal work.
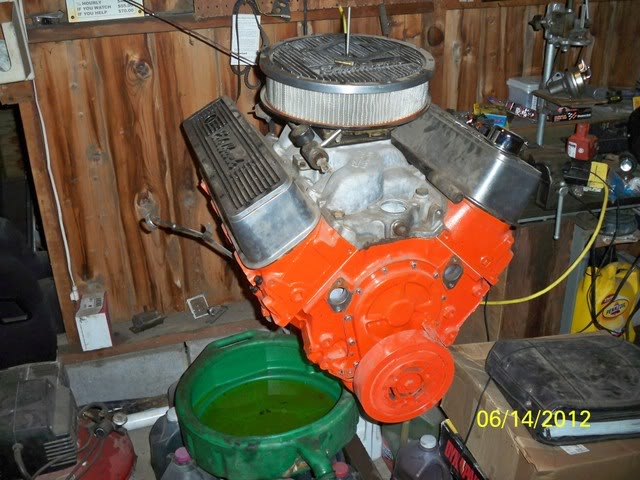
And just thought I would put a picture up of the motor that is going to go in the camaro.
Picture of all the sheet metal off the front.
My radiator support.
Dash corner on the pass. side
Dash corner on the drivers side.
Little area on the fire wall under where the olumn goes will need some kind of metal work.
And just thought I would put a picture up of the motor that is going to go in the camaro.

Second Generation Moderator
Feb 2010 ROTM winner
Jan 2013 ROTM winner
Feb 2010 ROTM winner
Jan 2013 ROTM winner
Joined: Aug 2008
Posts: 9,097
From: Portland, Or
ROTM Winner's Club
Looks like pretty average rust for a 2nd gen that's lived in the midwest or east. Not huge, but definitely will take a little time. Don't forget to pull the cowl vents screens and check the area down below! Tht area is also prone to plugging up and having water sit in it and rust out. Check the drain to the cowl too to ensure it's open!
Thread Starter
|
In the Staging Lanes
Joined: Jun 2010
Posts: 72
A little bit more work done on the camaro. The radiator support is off now. I also got the front swaybar off. Took off all the door hinges. Also cleaned out the inside and the trunk. There are some spots of rust repair under the back seats along with some spots in the truck pan that will need some patch work. The drain screens are already out and it looks really good in there. I didn't get any pictures of it yet. I will take some pictures of it tomorrow. I didn't do anything today on it as I spent the day with my kids and my dad for fathers day. Happy Fathers Day to all the Dads out there.
Thread Starter
|
In the Staging Lanes
Joined: Jun 2010
Posts: 72
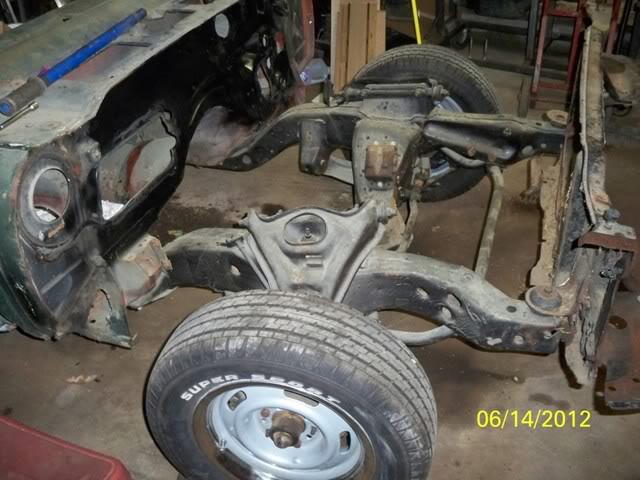
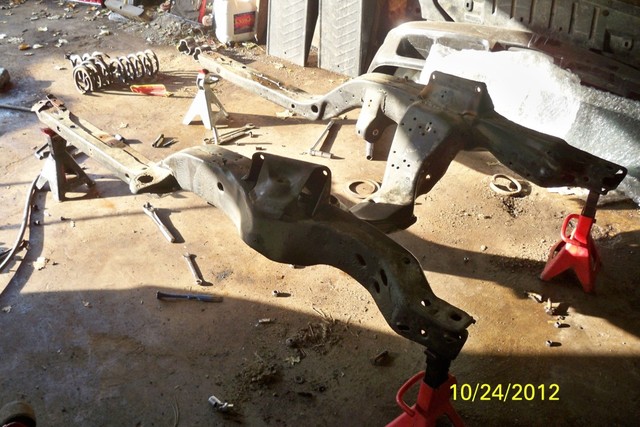
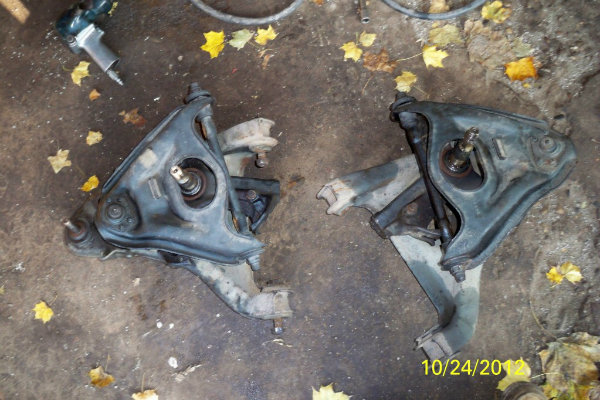
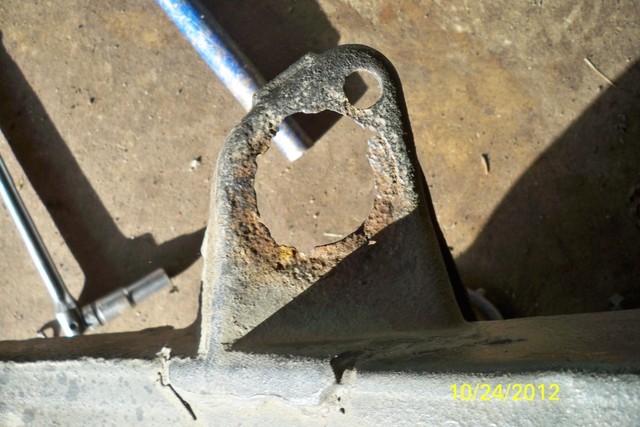
Little bit of slow progress on the camaro. I got the sub frame off of the car. Then I got the front susp. stripped off of the frame. Both of the middle body mounts on the frame are rusted out. I will have to fix that. I am looking for a place to sand blast the frame so I can start the metal work on it. Well here are some pictures of it now.
Second Generation Moderator
Feb 2010 ROTM winner
Jan 2013 ROTM winner
Feb 2010 ROTM winner
Jan 2013 ROTM winner
Joined: Aug 2008
Posts: 9,097
From: Portland, Or
ROTM Winner's Club
Most people don't replace the rusted out body mounts, they simply weld in a plate and use a holesaw to put a new hole in it. Much easier than putting in a new mount, and you don't have to worry about losing or shifting the location.