
1970 build....


Second Generation Moderator
Feb 2010 ROTM winner
Jan 2013 ROTM winner
Feb 2010 ROTM winner
Jan 2013 ROTM winner
Joined: Aug 2008
Posts: 9,097
From: Portland, Or
ROTM Winner's Club
My cowl hood fit well also, but was much thinner than factory. In fact the first time I closed it I pushed down on the front center to latch it, and the hood dented! I had to pull the dent out, and then put some sheetmetal behind it on the back side. I drilled holes and plug welded the extra metal, and then ground it smooth. I didn't want it to happen again after paint.
My aftermarket fenders were a joke. The holes for mounting were so far off, I couldn't even get a bolt into them. I had to open op all the holes in the fenders and header panel, and then use large washers to make it all work.
My aftermarket fenders were a joke. The holes for mounting were so far off, I couldn't even get a bolt into them. I had to open op all the holes in the fenders and header panel, and then use large washers to make it all work.

Thread Starter
|
In the Staging Lanes
Joined: Dec 2008
Posts: 73
From:
That's what I figured I would need to do to make it work. The one fender I have now will not align far enough forward for the headlight bucket area to line up. It is considerably lighter that the stock fender though!
Second Generation Moderator
Feb 2010 ROTM winner
Jan 2013 ROTM winner
Feb 2010 ROTM winner
Jan 2013 ROTM winner
Joined: Aug 2008
Posts: 9,097
From: Portland, Or
ROTM Winner's Club
Yeah I got both fenders, hood, header, and lower valance for mine. All of it needed reaming the holes to finally get things aligned. Really frustrating when I thought I was buying new and thought the same maker would have their panels line up! One really glaring issue was the large bolt that goes straight into the firewall. One lined up, but the other fender was so far off I couldn't ream the hole! I had to cut the tab off and relocate it to line up; then weld it back on the fender!
What you do on the suspension depends on what the plan is. I personally think that 2nd gen Camaros handle extremely well in stock form, and not a lot needs to be done. I went with HD swaybars front and rear, plus poly bushings in the control arms, and rear spring eyes. I'd also got subframe connectors to tie the chassis together.
Springs are a personal choice, and 1" lowering coils and leafs will help handling, and lower the stance, if that's what you like. But if you like how it sits, and the springs are good, I'd use the stock springs. Often the rear multi leaf packs will have a broken leaf over time. So break the spring pack apart and check them if you plan to reuse them. You'll want to clean and paint the spring individually anyway, to avoid rust later.
I don't think you need more, unless your plan is to autocross the car. This should make your car handle better than stock, and good enough to really keep up with most cars.
Thread Starter
|
In the Staging Lanes
Joined: Dec 2008
Posts: 73
From:
More tear down today.....
Front and rear glass removed. Fire wall items removed. Door panels removed. Only thing left to remove from the interior at this point is the dash and headliner... The doors will be removed later when I am ready to work those, and then mocked up for test fitting.
I would have to say that the one thing I did right over the years was to keep it garaged and under cover. I have VERY little rust to deal with.
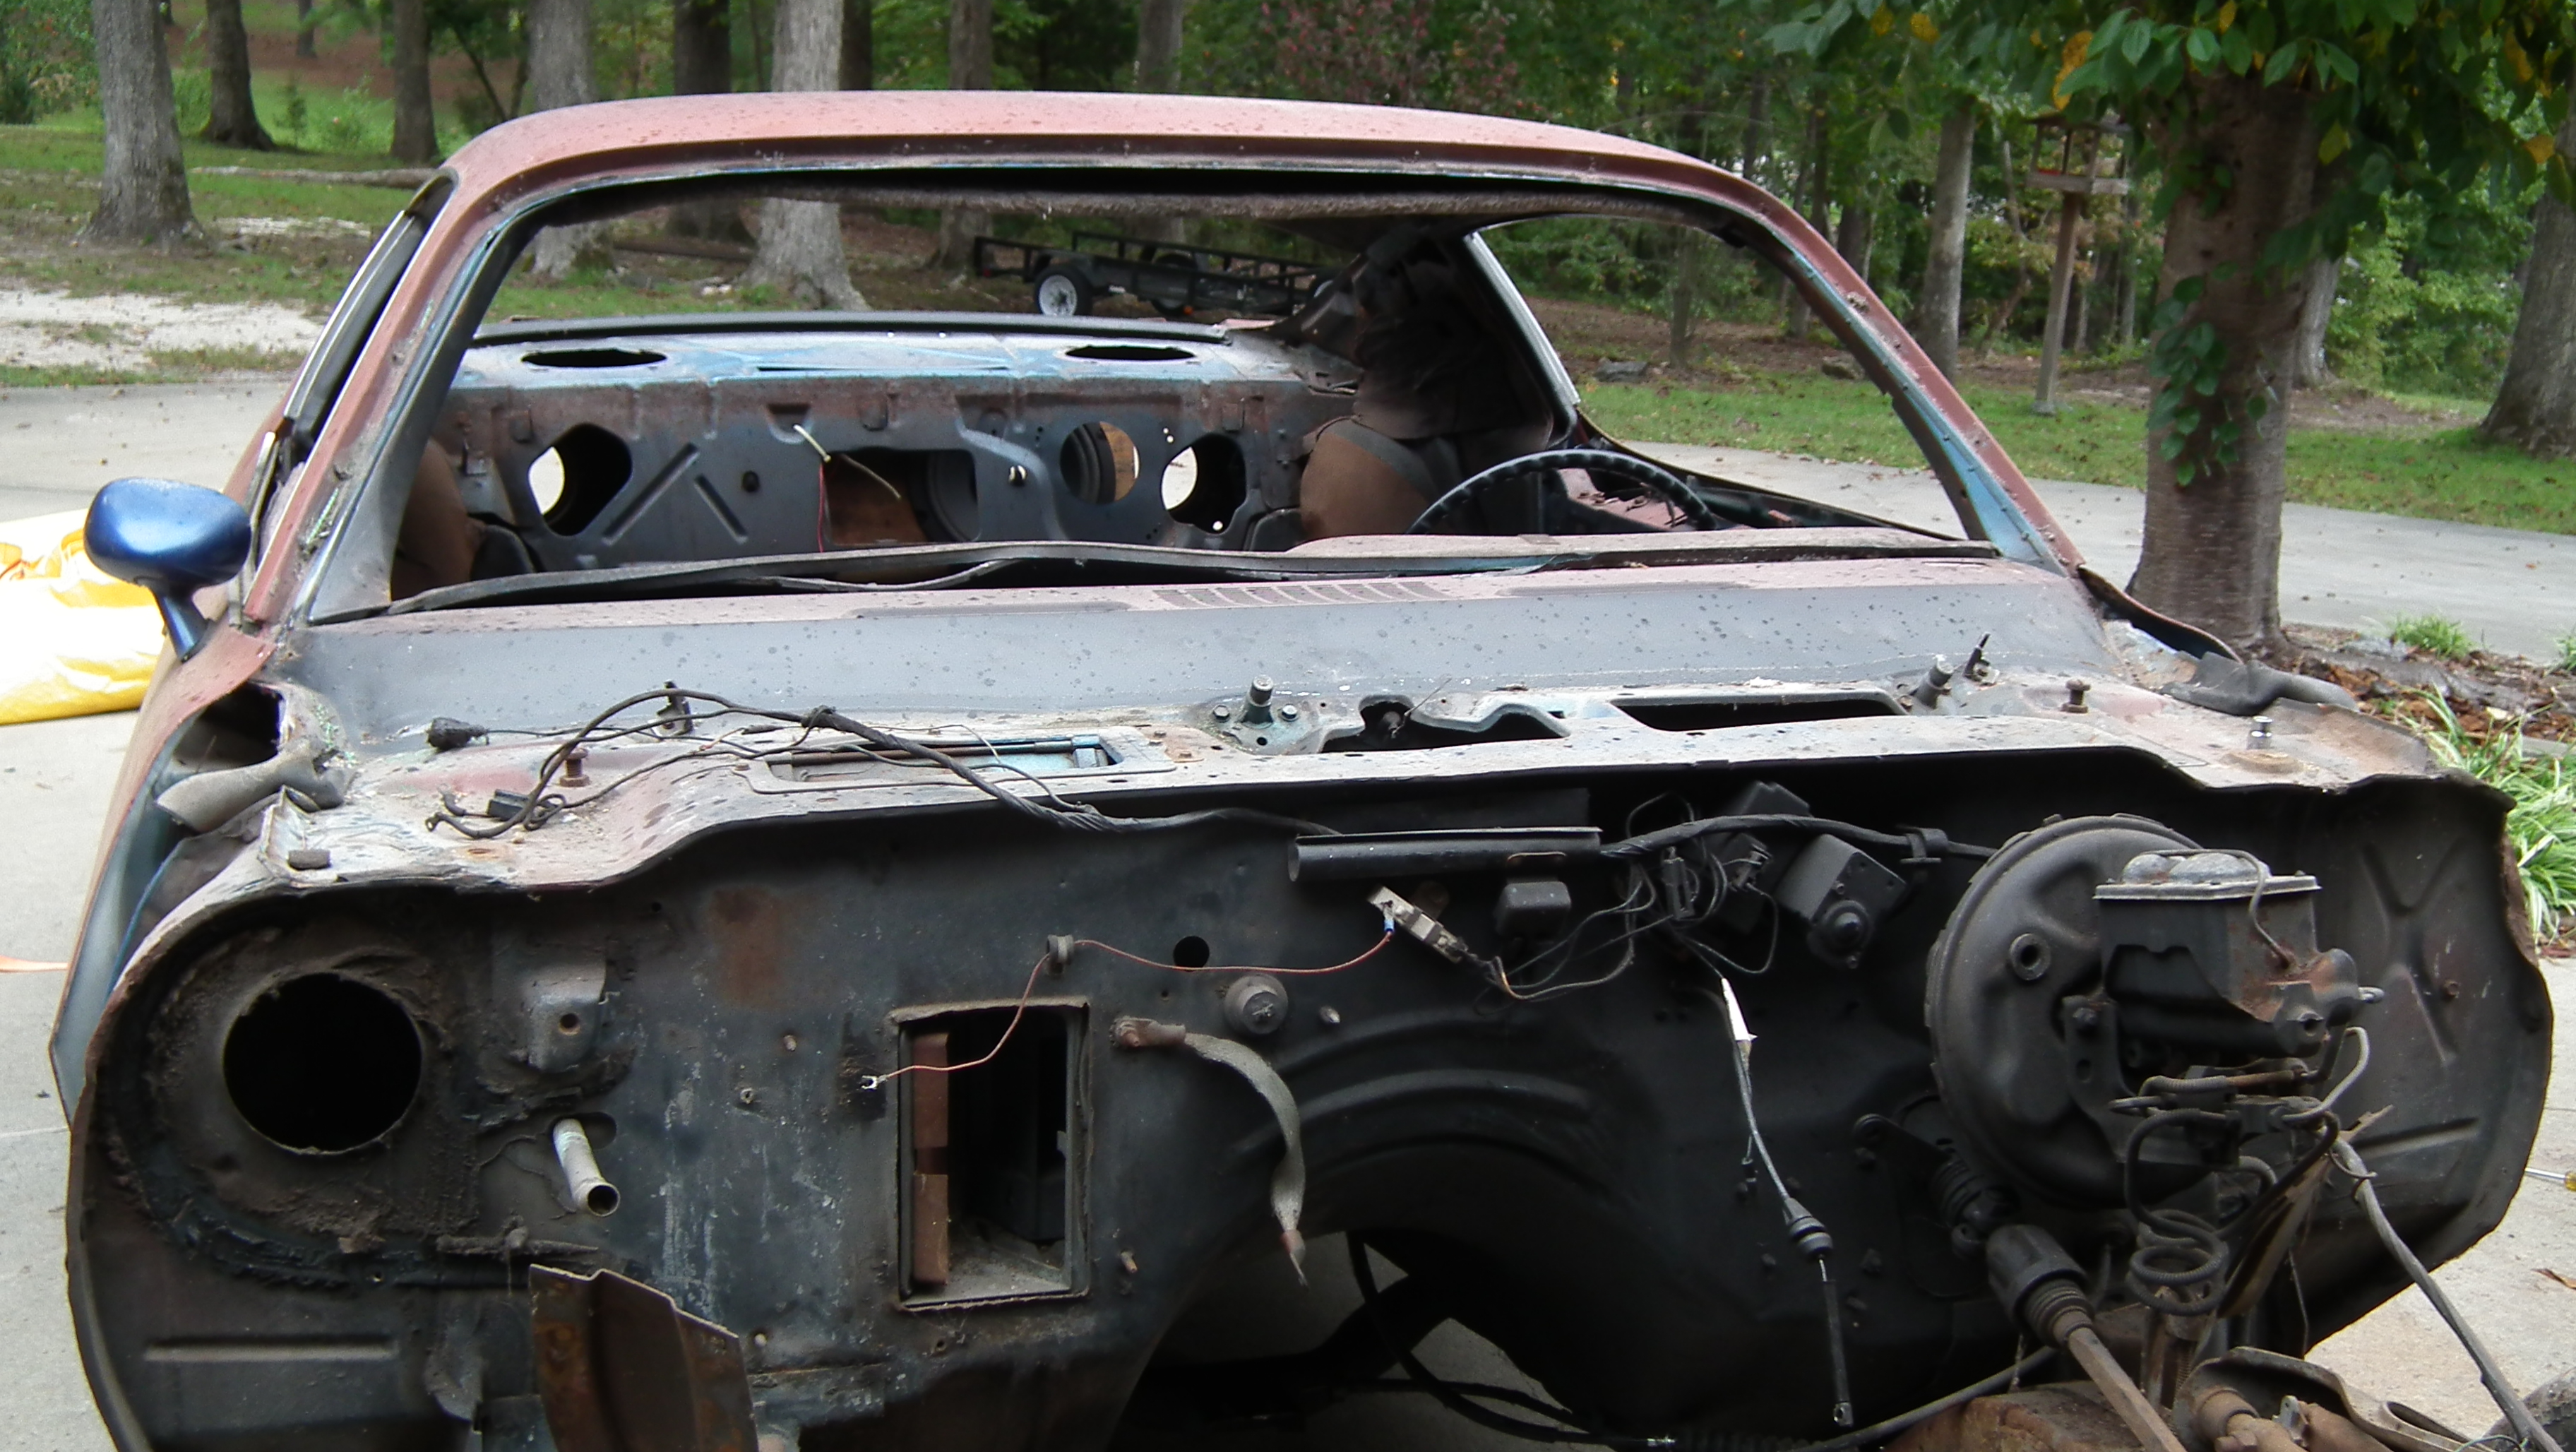
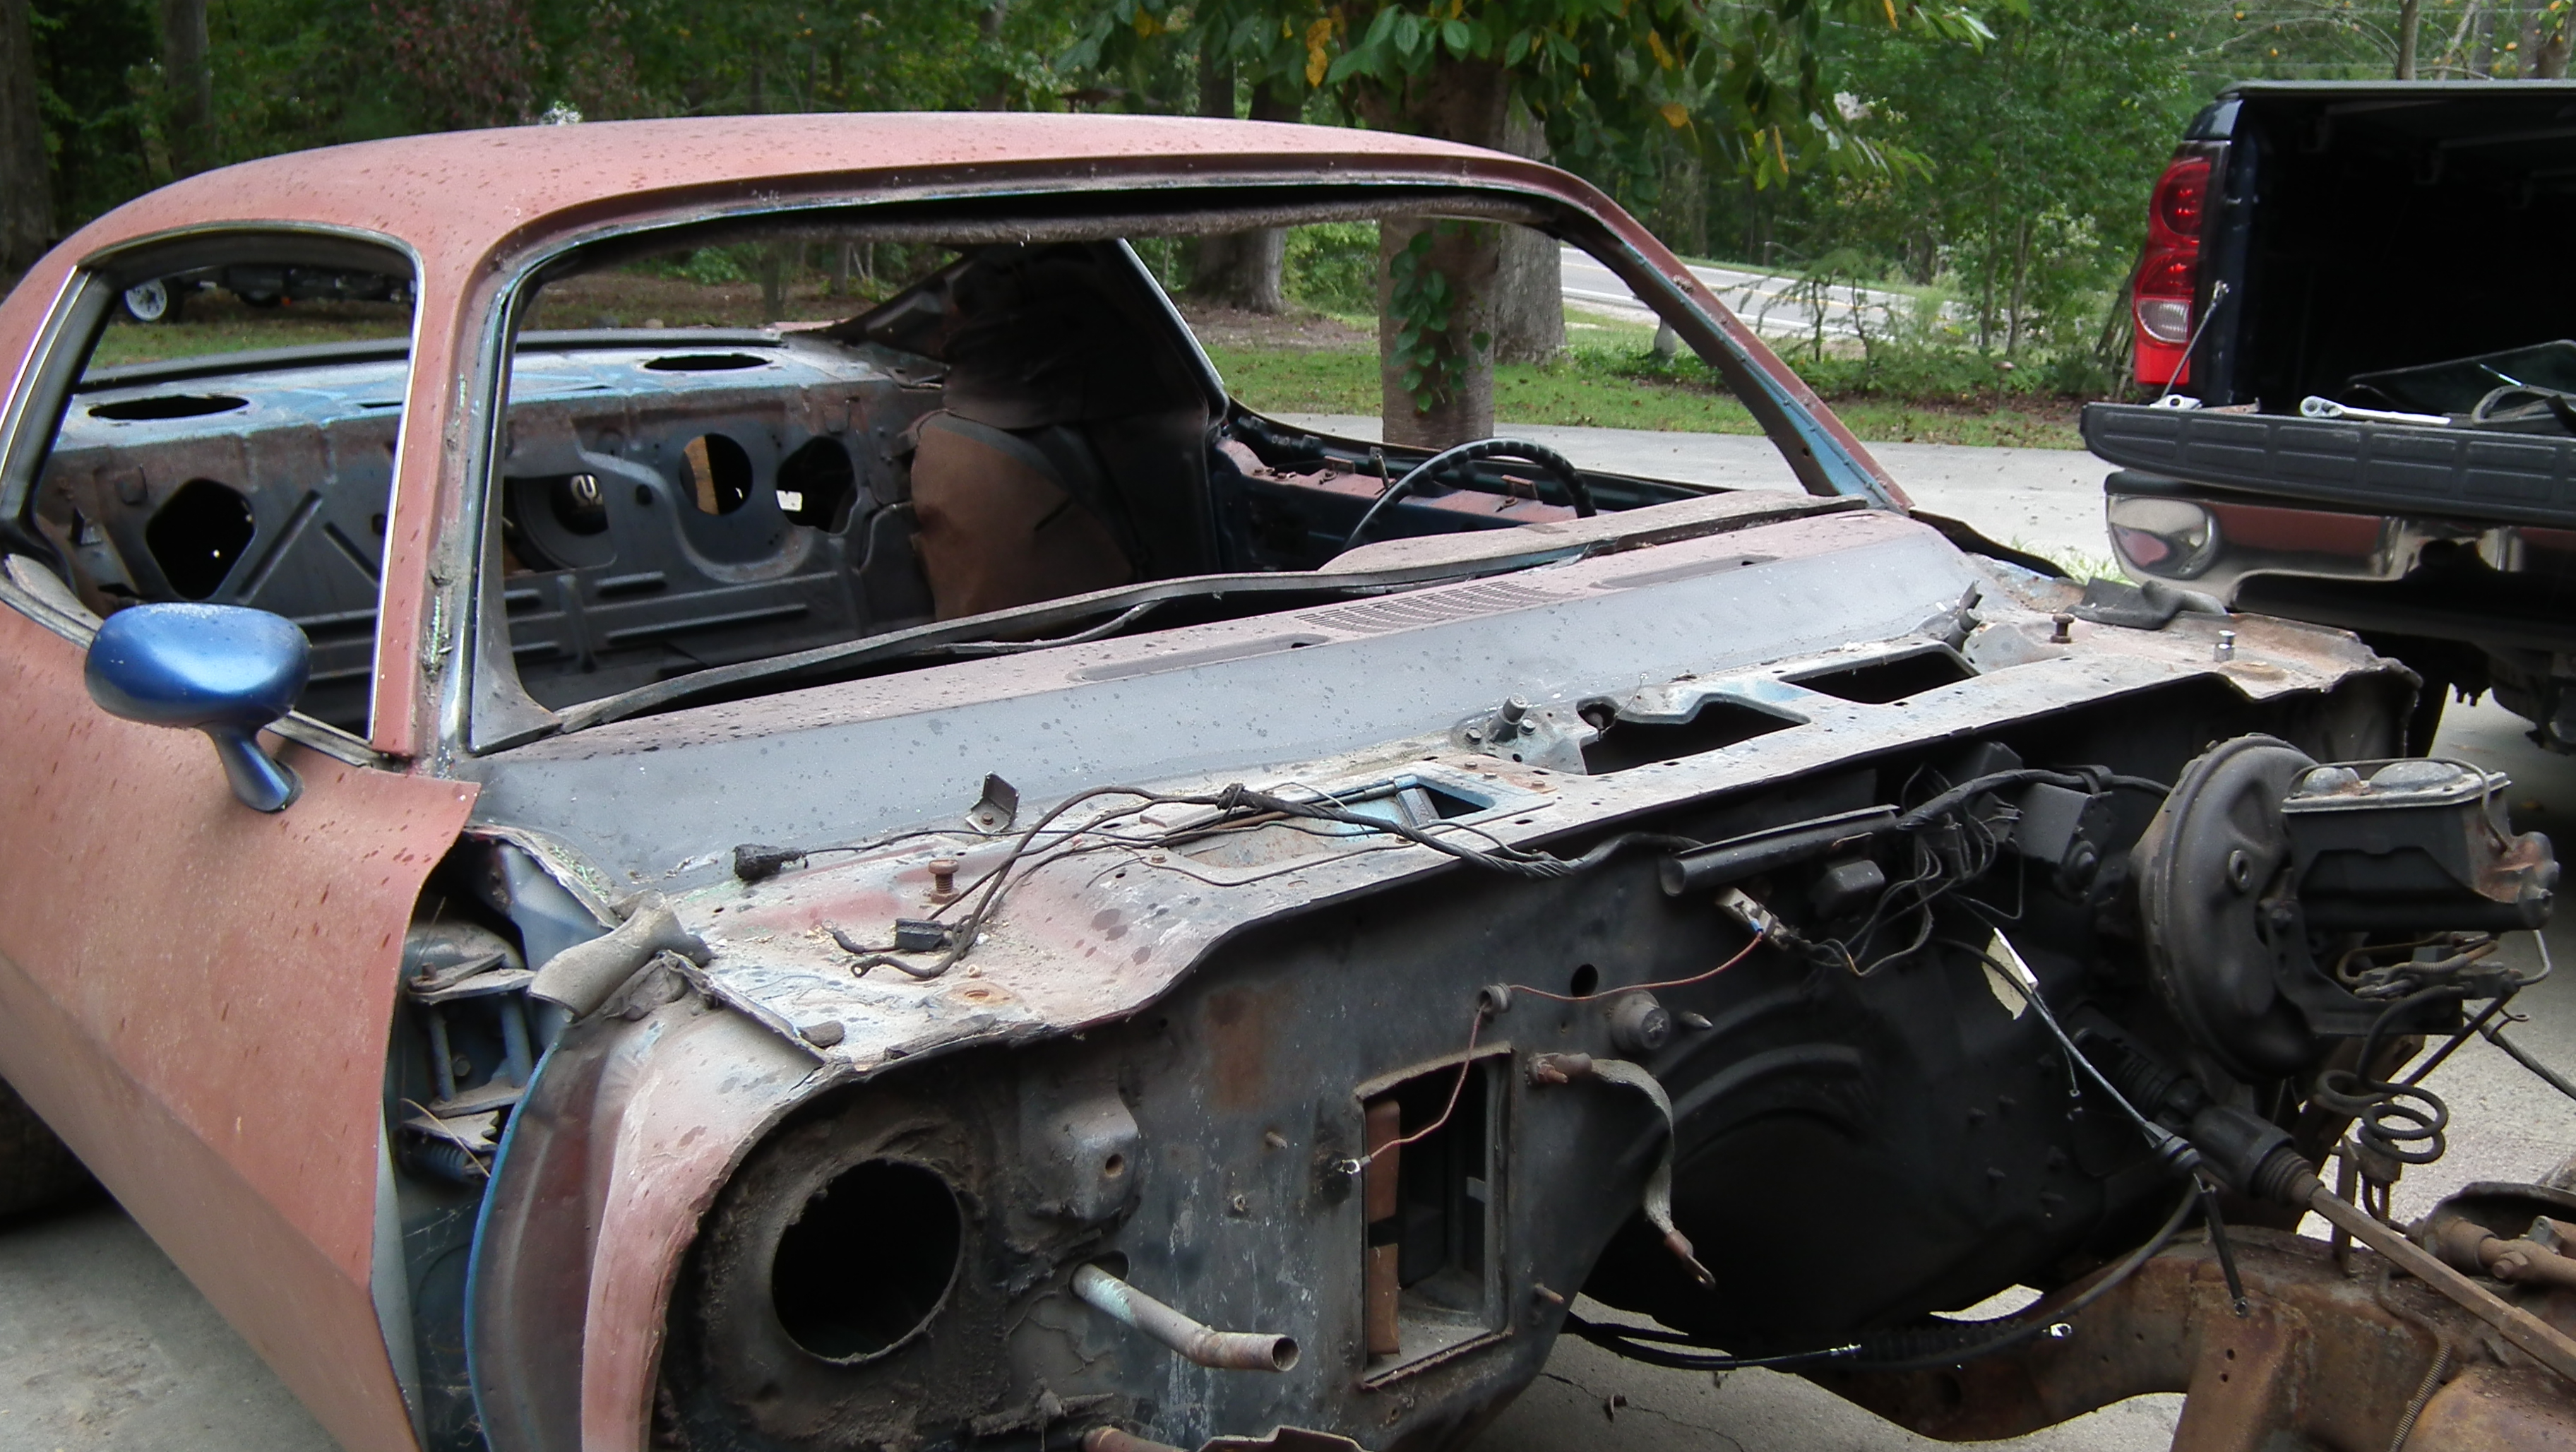
Second Generation Moderator
Feb 2010 ROTM winner
Jan 2013 ROTM winner
Feb 2010 ROTM winner
Jan 2013 ROTM winner
Joined: Aug 2008
Posts: 9,097
From: Portland, Or
ROTM Winner's Club
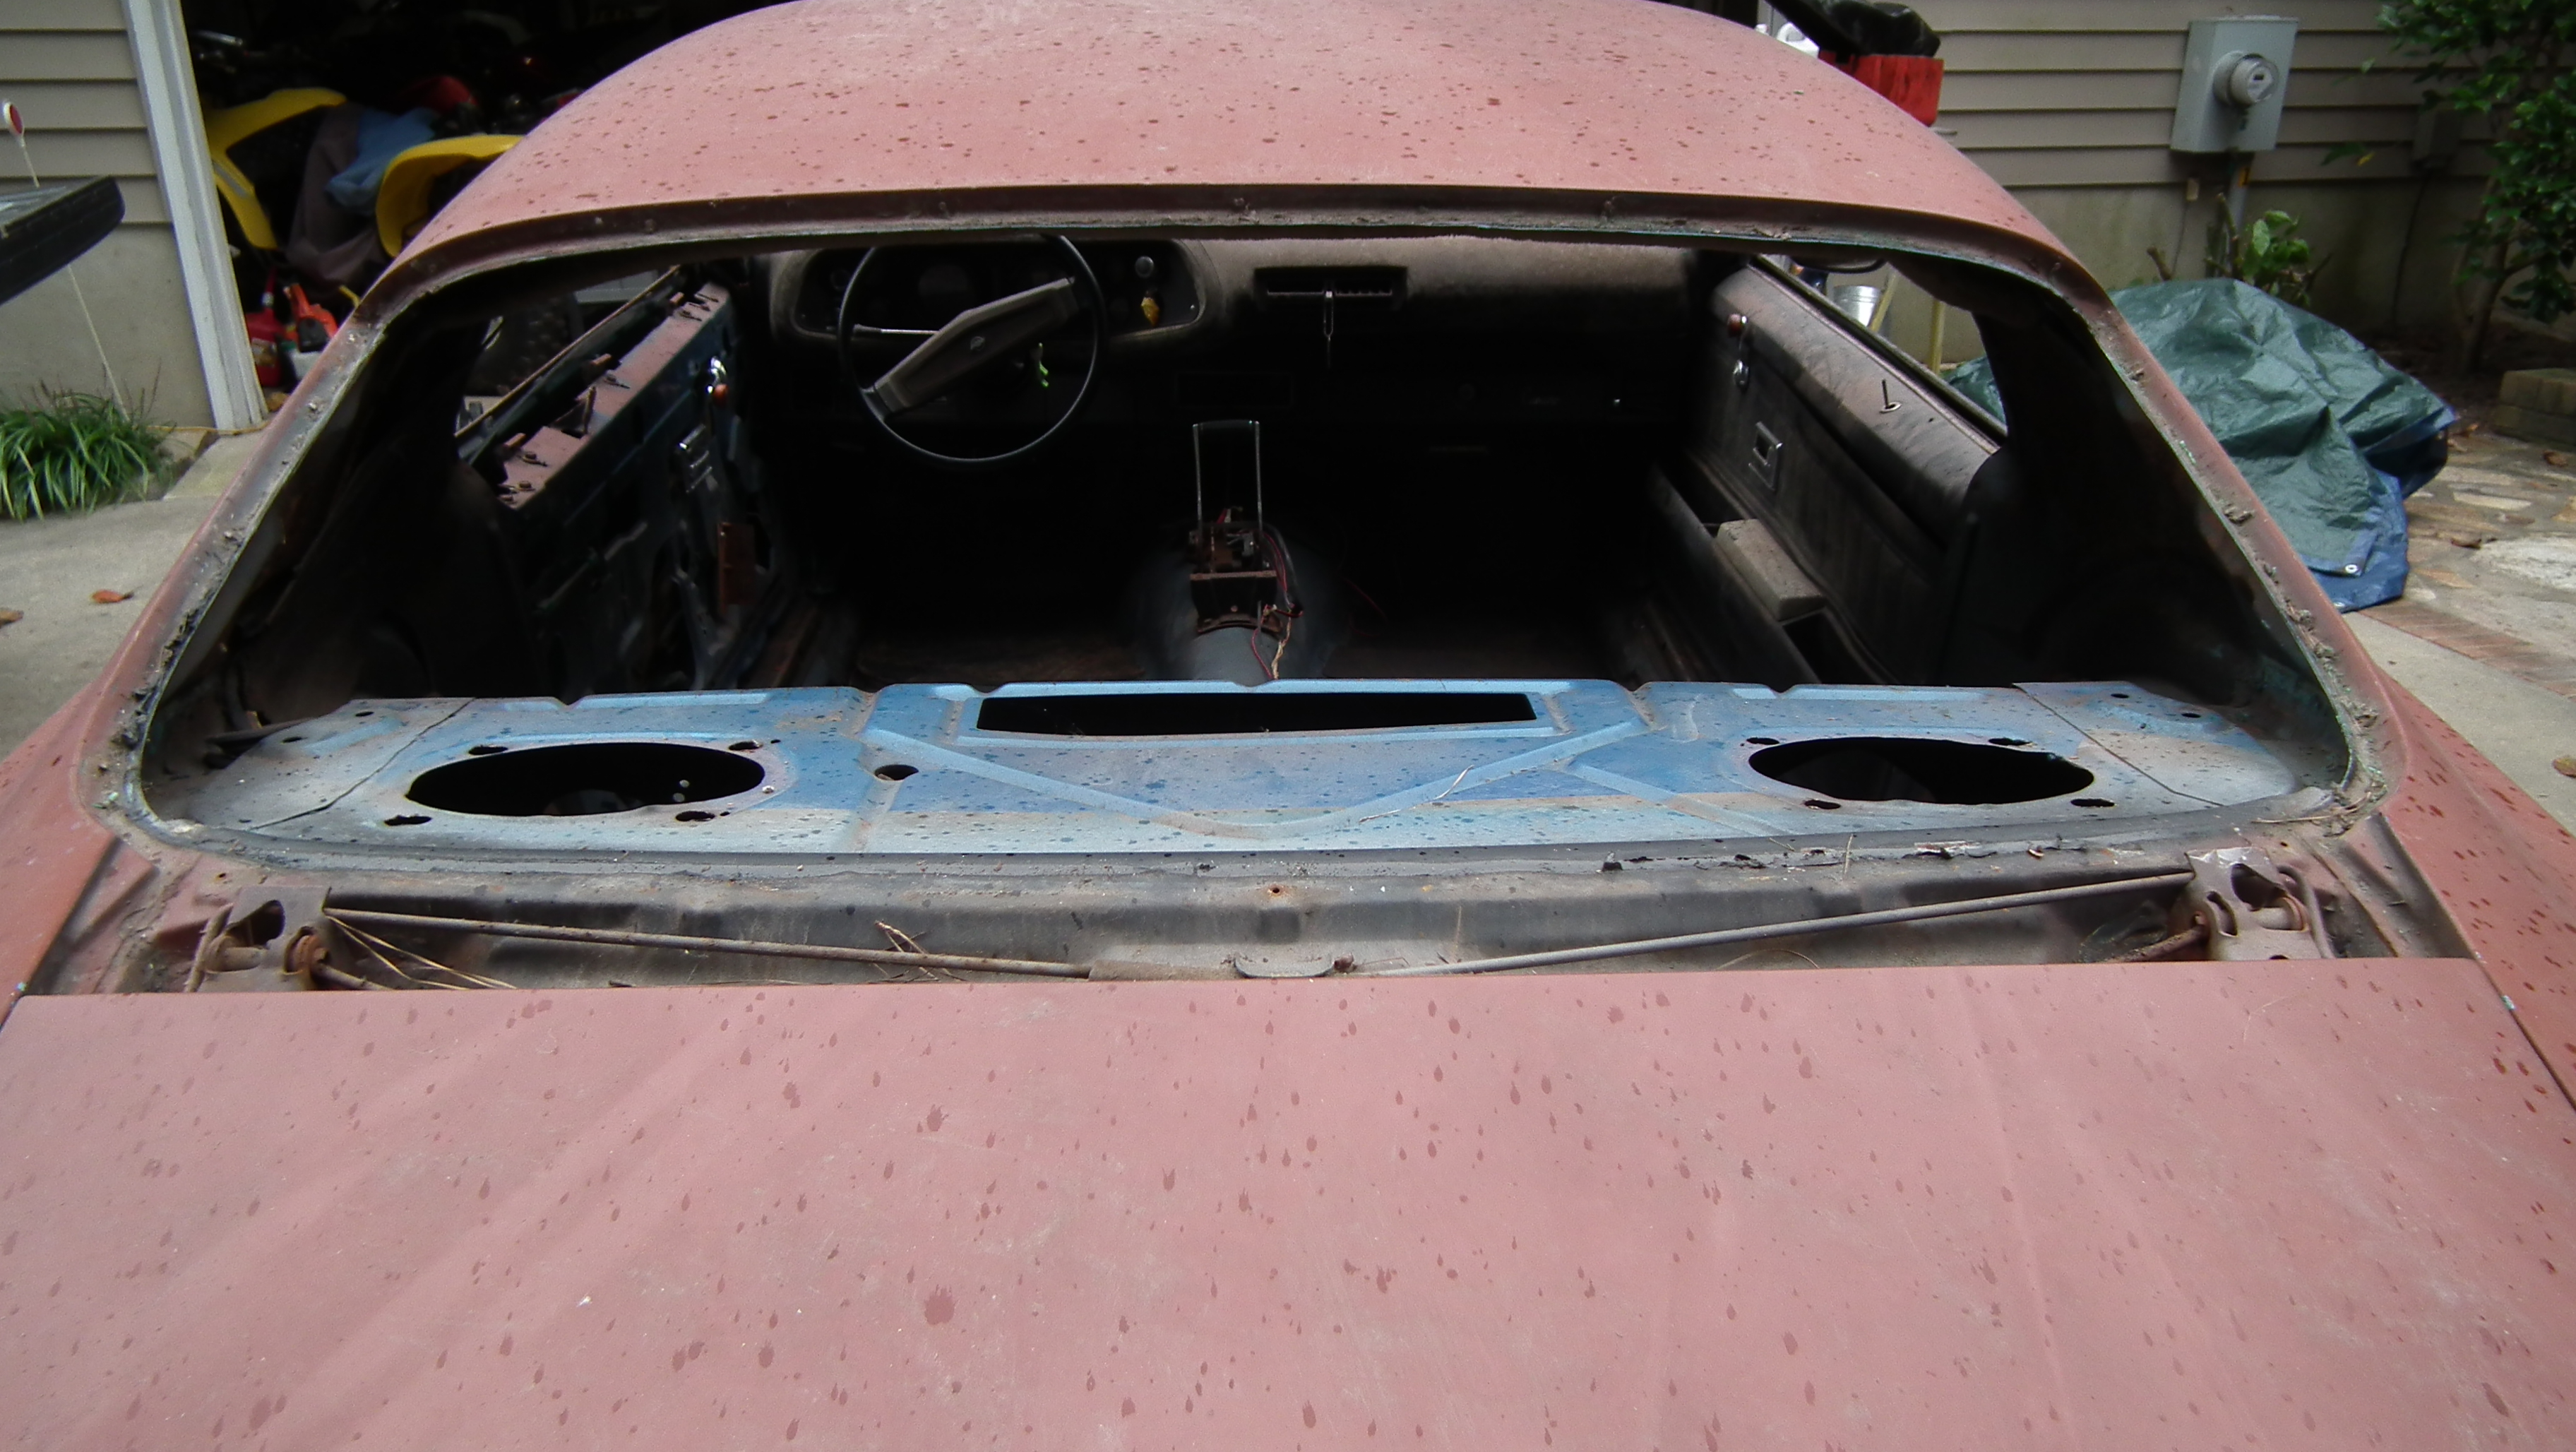
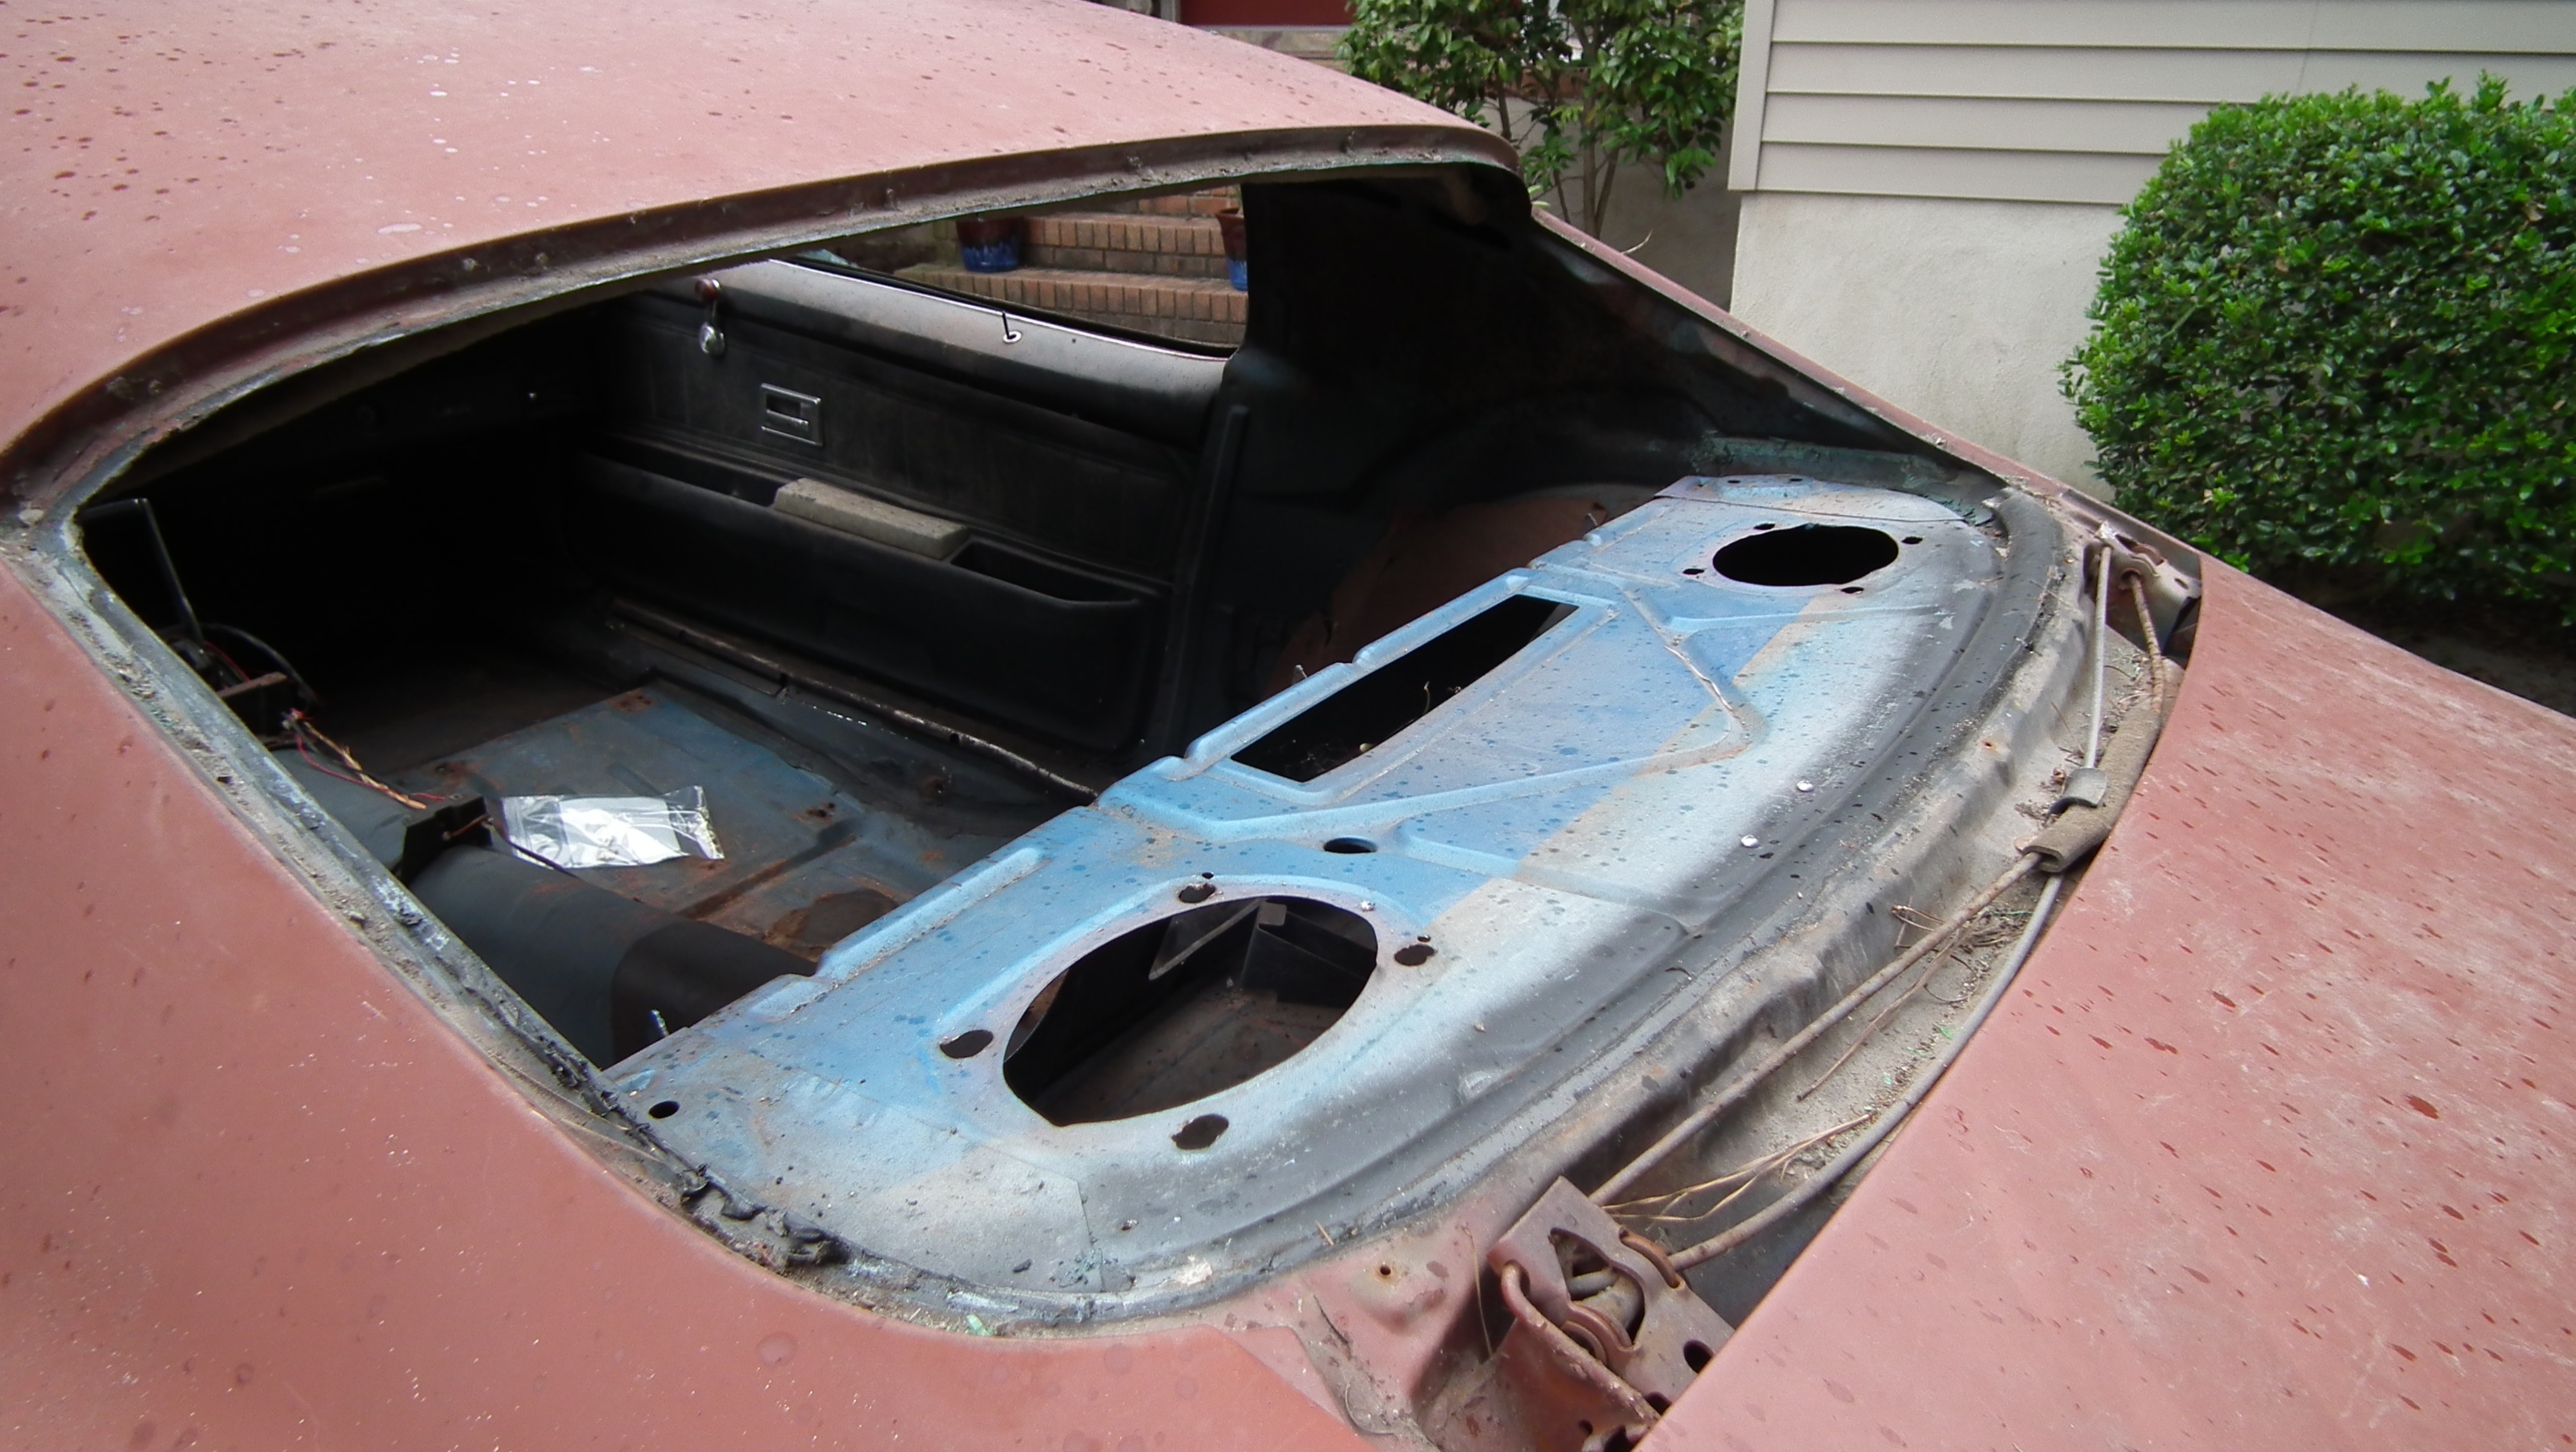
The area around the bottom edge of the front and rear window is usually a sure spot to find rust, even on cars that were garaged their whole life. Yours looks very solid in the picture of the rear window. I can't really tell how the front lower corners look.
Nice car to start with!
Nice car to start with!
Second Generation Moderator
Feb 2010 ROTM winner
Jan 2013 ROTM winner
Feb 2010 ROTM winner
Jan 2013 ROTM winner
Joined: Aug 2008
Posts: 9,097
From: Portland, Or
ROTM Winner's Club
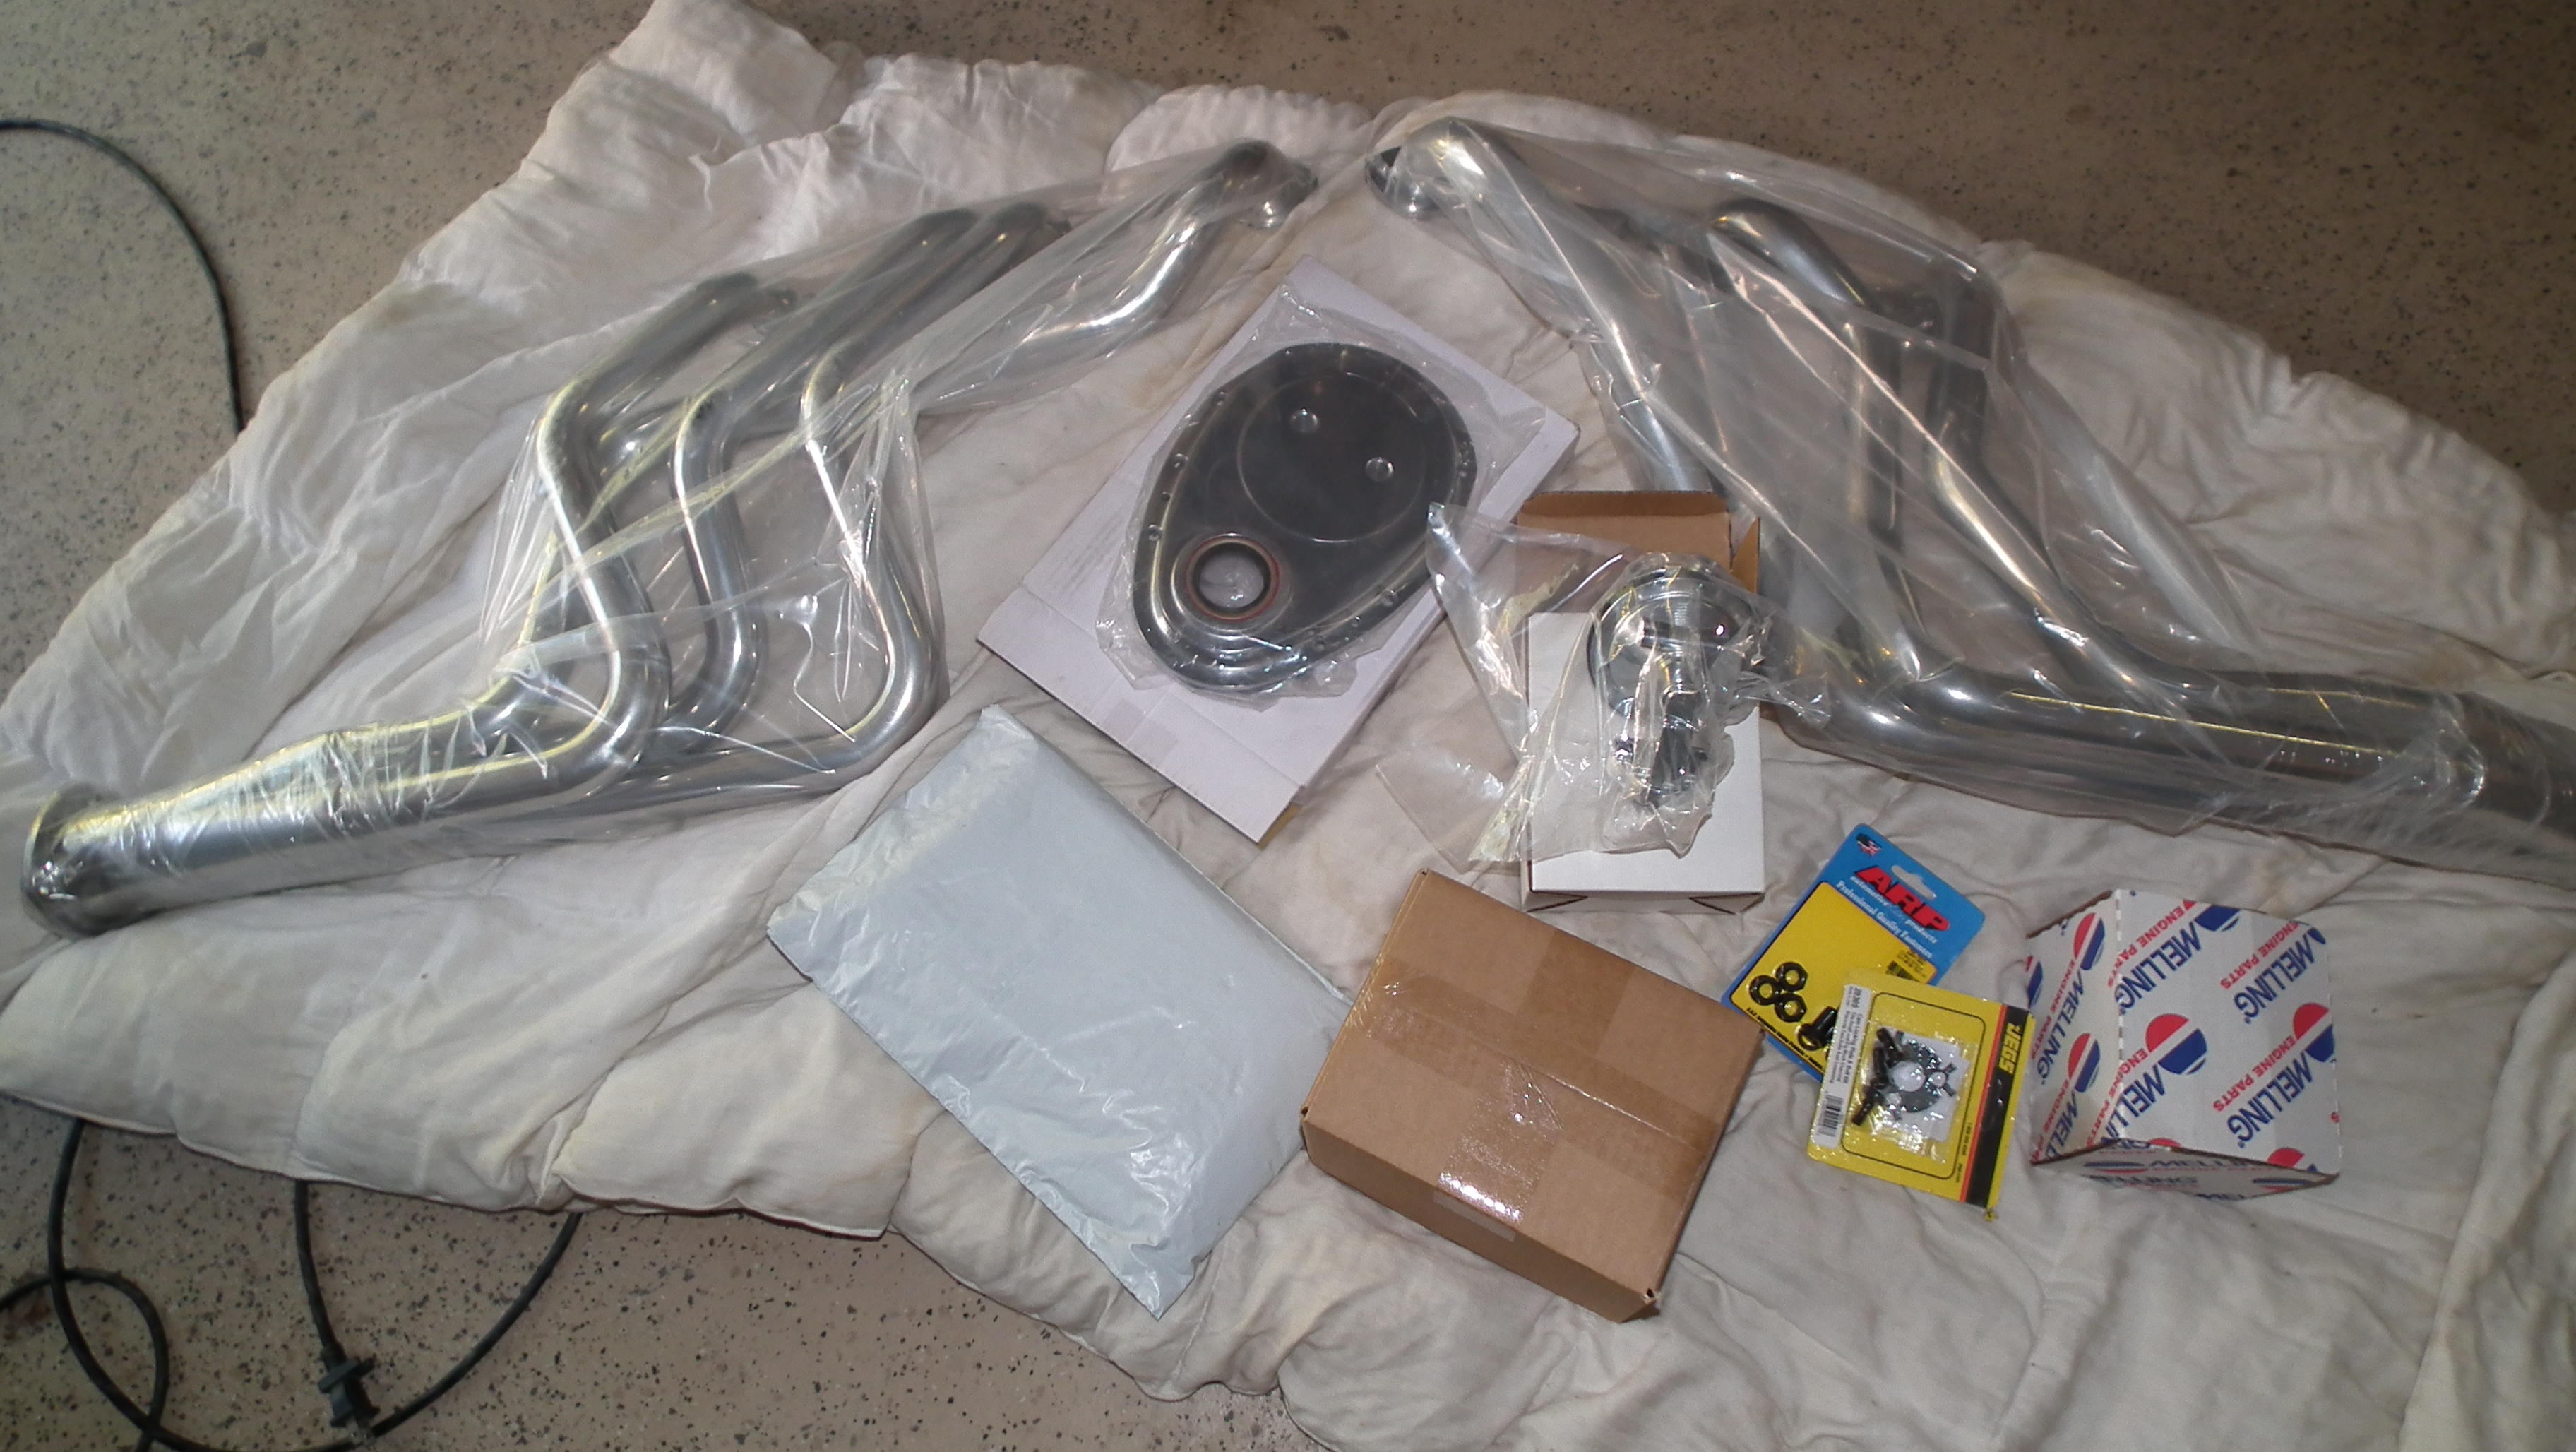
Be sure and test fit the timing cover to the engine without any sealer on the gasket. Then set the water pump on it to check clearances. Those aluminum covers are known to have some fitment and clearance issues, so you might need to grind some to clear the water pump. Also check the oil pan to timing cover, as I had one that when I tightened the oil pan, it split the lower front seal area on the timing cover. Wasn't enough clearance for the pan to squish the gasket, and not split the timing cover open.
Glad to see you're using a mechanical fuel pump!
Glad to see you're using a mechanical fuel pump!
Newbie
Joined: Oct 2014
Posts: 8
From: Creighton Sask. Canada
Nice to see you had the car so long and never got rid of it, also great to see you start on it again, I just bought my 70 so will be watching your build for all the smaller stuff I need and ideas.