My rebuild

#52
 01-16-2011, 04:34 AM

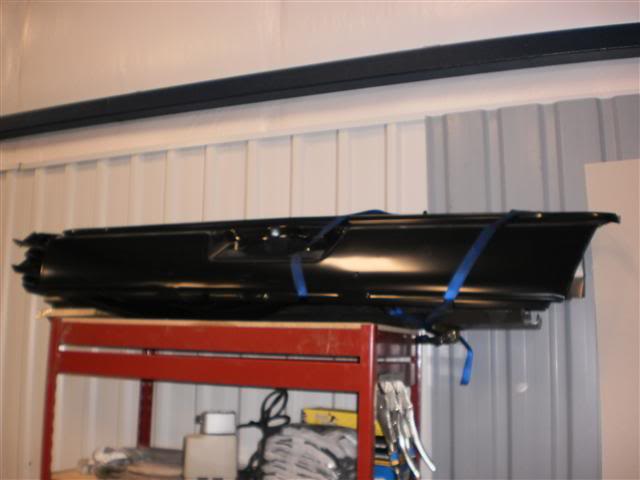
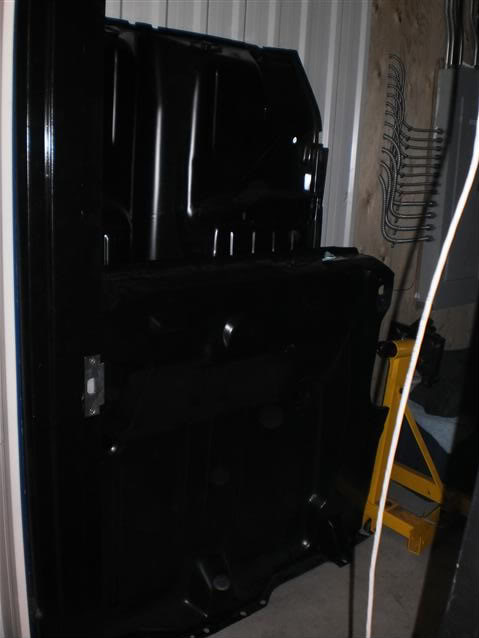
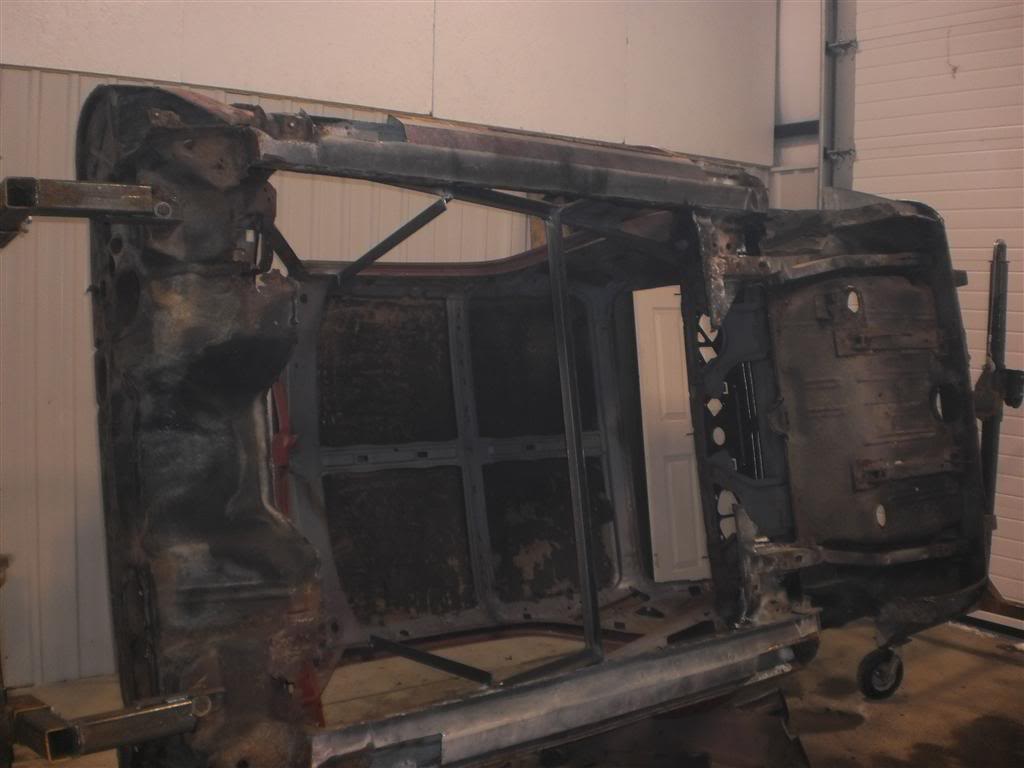
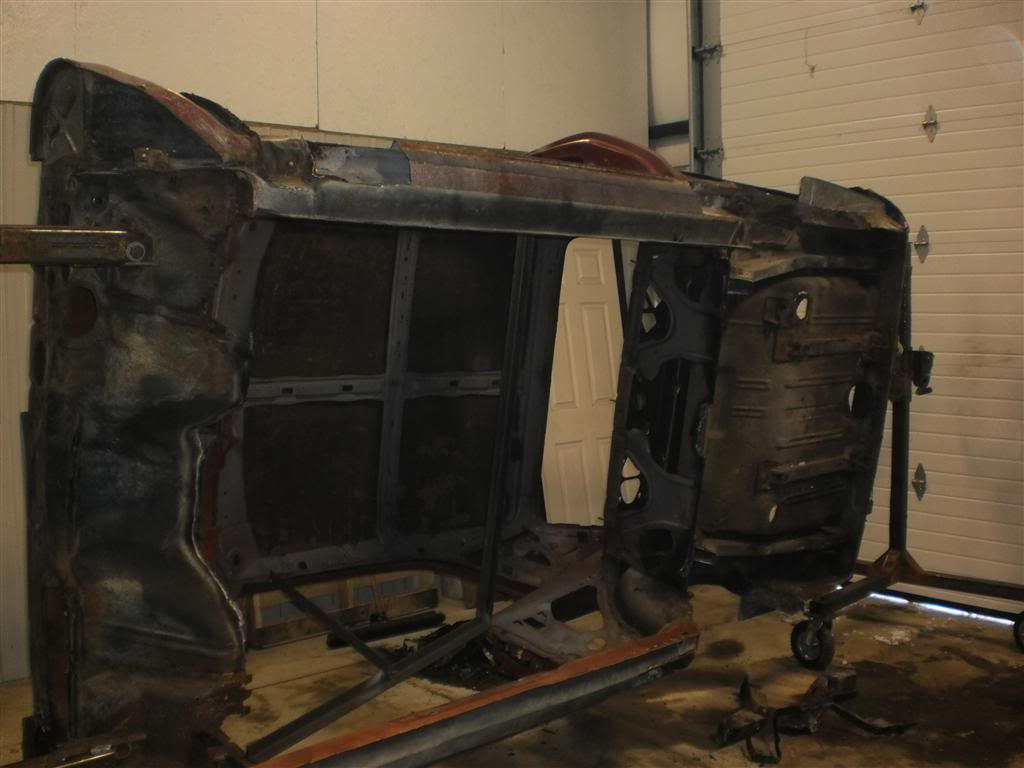
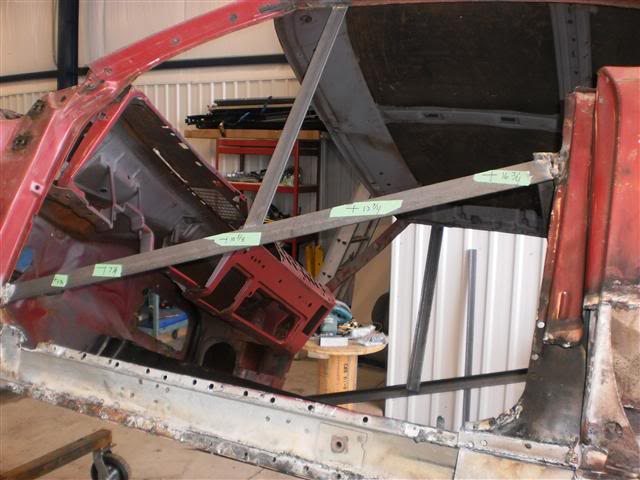
I made a little progress this Saturday. I unpacked my first parts shipment. I received a full floor, full trunk pan, both frame rails, rear panel and both rockers. The inner rear valence is on back order. The new shop isn�t totally completed yet so I spent some time hooking up the Oxy and Acetylene gear for myself and brought the 220V MIG machine over only to find out that the 220V receptacles are not finished being wired into the panel. I would have wired them in but there weren�t any spare breakers, lots of room in the panel just no hardware. In the meantime I had to use the old flux core 110V MIG to install the braces for the rockers and floor work. Hopefully the 220V will be in for next weekend so I can get the rockers and the floor started.

#55
01-18-2011, 08:29 AM

Join Date: Jul 2007
Location: Casselberry, FL
Posts: 1,242
A little over 3 years. Big spurts of progress made and then a few months go by where you r too busy to get to it.....We are now working on a final assessment of what we need to complete everything and order a bunch of misc stuff.
#56
01-18-2011, 07:49 PM
Thanks StoveBolts. The car is 2.5 hours away so I can only work on it on free weekends. I hope to be driving her this year sometime. To save time I may get someone to do the motor work for me. I�d like to have the floor, trunk, frame and rockers done by mid Feb. Then I�ll install the inner valence,firewall and toeboards. Then sand blast and onto the quarters. I may mod the wheel well out 3�. Not sure on that yet. Then the rest
I just placed sheet metal order #2
Camaro Complete Quarter Panel, Coupe, Left
1x Camaro Complete Quarter Panel, Coupe, Right
1x Camaro Complete Firewall, For Cars Without Air Conditioning
1x Camaro Inner Rear Wheel Well, Left
1x Camaro Inner Rear Wheel Well, Right
1x Camaro Toe Board Repair Panel, Right
1x Camaro Toe Board Repair Panel, Left
1x Camaro Trunk Drop-Down Side Filler Panel, Left
1x Camaro Trunk Drop-Down Side Filler Panel, Right
1x Camaro Outer Door Skin, Left, 1969
1x Camaro Outer Door Skin, Right, 1969
1x Camaro Upper Dash Panel, Steel, US Made, 1969
#57
01-18-2011, 07:53 PM
I hear you Orocker. Life does get in the way of all hobby/projects. My original timeline had the quarters already on. Oh well
#58
01-19-2011, 07:44 AM

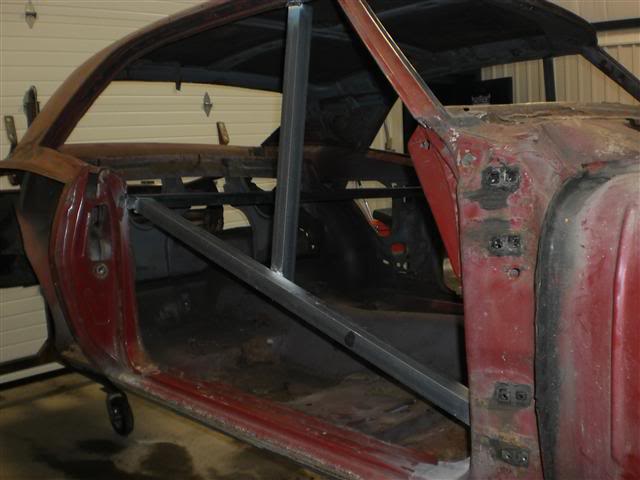
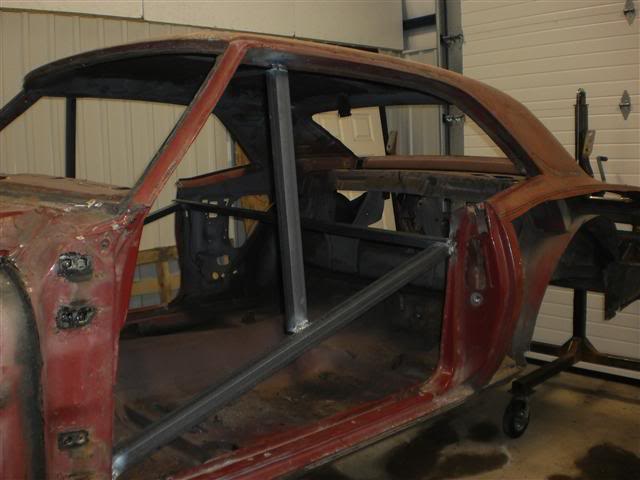
This looks like where I was at last year at this time. You are at that last gasp stutter before the rebuild begins. From here, it will only get better. From here you will start to see great progress. Slow progress, but progress none the less. Good luck on your build, I will keep an eye on it. Take a look at my build for reference if you want, I did basically the same thing. The bracing looks pretty beefy. That is the trick to doing the floor and having it slip right in. My floor came from NPD, and it was the best Reproduction panel I had as far as being correct. It was an exact slip in replacement.
#60
02-12-2011, 07:06 PM
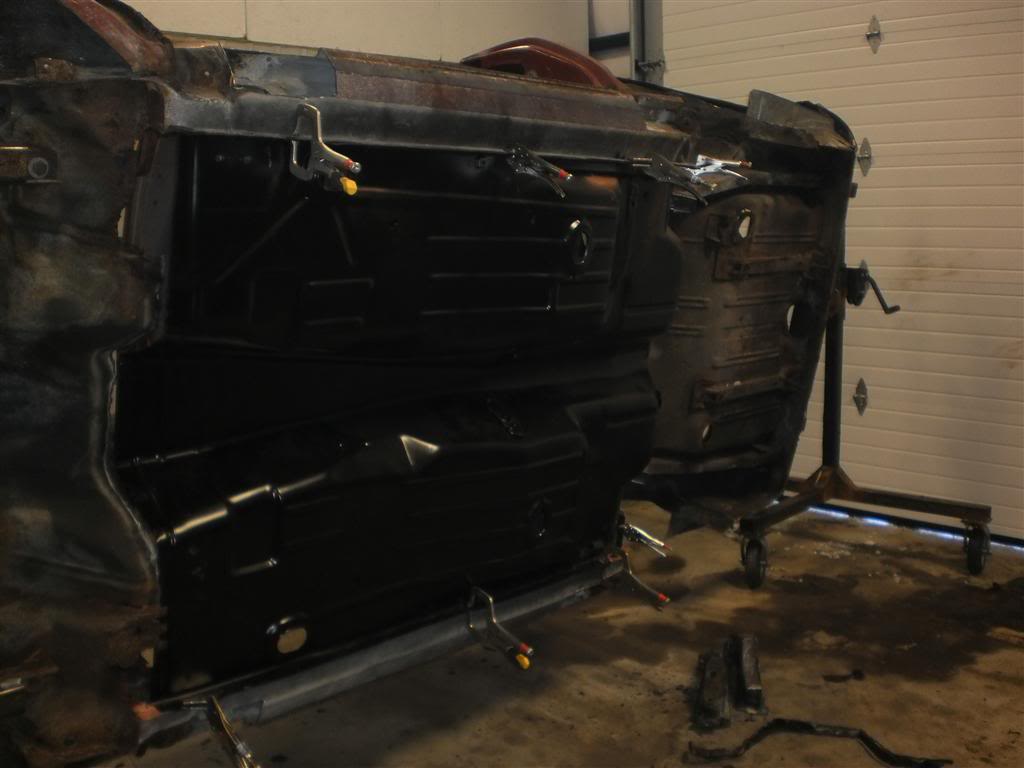
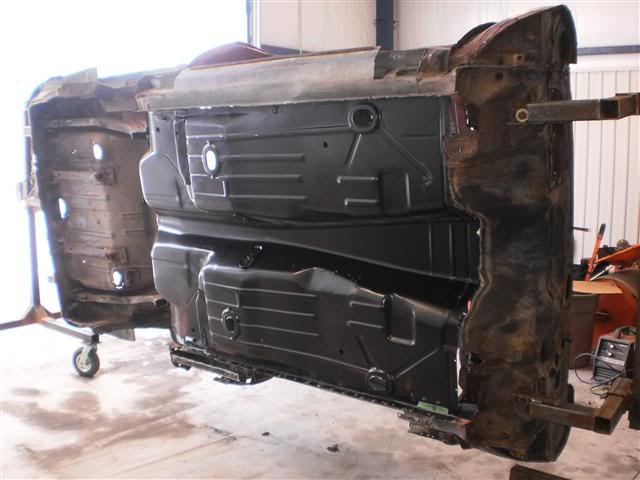
I have the floor fitted and welded in. I’ve started on the driver’s side rocker panel now. I should have it done and the passenger’s side started next weekend
Last edited by ToddB; 02-12-2011 at 07:36 PM.