my 69 camaro project
#431
 10-23-2011, 01:08 PM


Hey O, I noticed you got inner and outer front bumper brackets. Let me know how that goes. I need to install the outer ones. Maybe next weekend if I have time. Make sure you tape the top outer edge on your bumper so you don't scratch that pretty red paint.
#432
10-24-2011, 12:14 PM

Join Date: Jul 2007
Location: Casselberry, FL
Posts: 1,242
Thanks guys!
Well I will have to say its all been worth it except discovering little things that the body guy did that were a quick fix has played havok down the road. But we are working around it. Its been tough trying to build a car and go through life. If I had it to do all over again I would have paid less for the car in the beginning. I didnt know how to look at it very well and assess what I should have paid for it. I was just so thrilled that it fell into my lap the day after we decided to do this.
Ive put probly $31 to $32k into it. Spent $8 on the car and $9500 on restoration and paint I think. The rest has been in parts. It had no interior accept the seats I recovered myself. I am all done buying parts except for probly misc interior connecting parts, shocks, some kind of shifter linkage, an air filter.....and I really dont know what else. I doubt much more.
Last edited by orocker; 10-24-2011 at 12:17 PM.
#433
10-24-2011, 04:02 PM

so do you still love it as much as when you started it? or do you hate it a little bit for being such a pain in the ***?
#434
10-25-2011, 12:23 PM
Join Date: Jul 2007
Location: Casselberry, FL
Posts: 1,242
I don't hate it I just wish I had the time to work on it. Raising kids and running your own business is allot let alone build a car in your ever so not spare time. That's what I hate. When I do get the spare time I always have something else that's more important to do.
#435
10-25-2011, 07:26 PM

Join Date: Aug 2008
Location: Portland, Or
Posts: 9,097
I'm sur eglad you're hanging in there with it, regardless of all the other things that demand time and money! It's a great looking car, and I know once you've finished it will all be worth it!
Keep up the great work!
Keep up the great work!
#436
11-10-2011, 10:37 PM

This is an amazing thread and a great inspiration to those of us who are gearing up for a first time adventure. I cannot imagine getting into it like you have, but I sure will be using you as a reference as I go.
Thanks to you and everyone else that provides so much help to help and guidance to the new guys!!
David
Thanks to you and everyone else that provides so much help to help and guidance to the new guys!!
David
#437
11-26-2011, 06:39 PM
Join Date: Jul 2007
Location: Casselberry, FL
Posts: 1,242
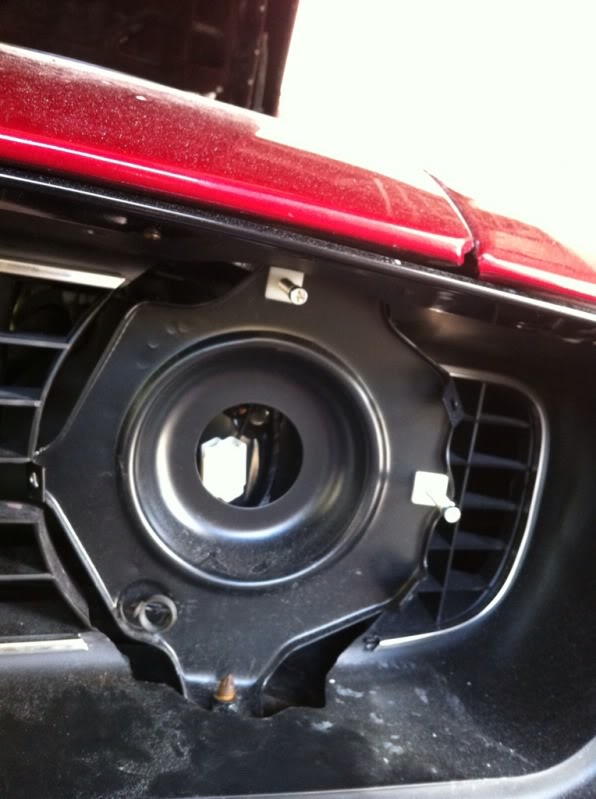
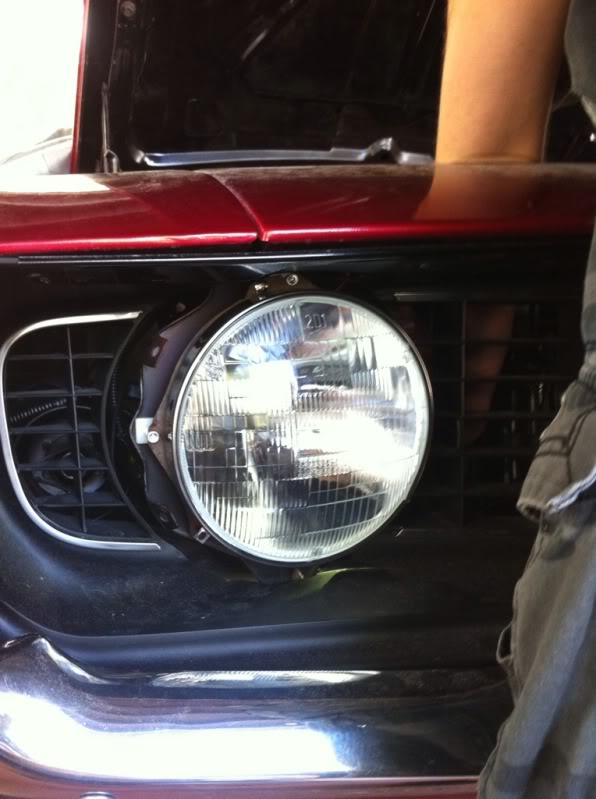
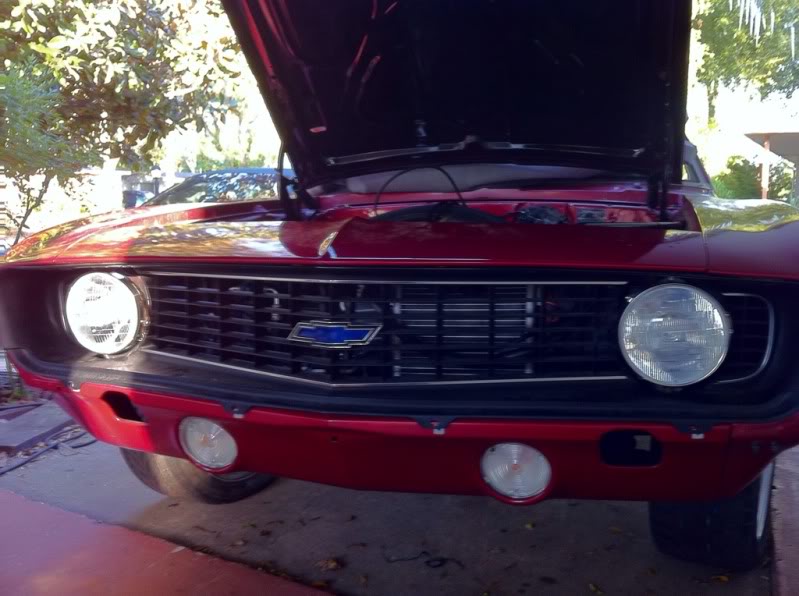
So we finally got back to work on the front end. Got the headlights put in. I just have to get the outer headlight bezel to finish the job.
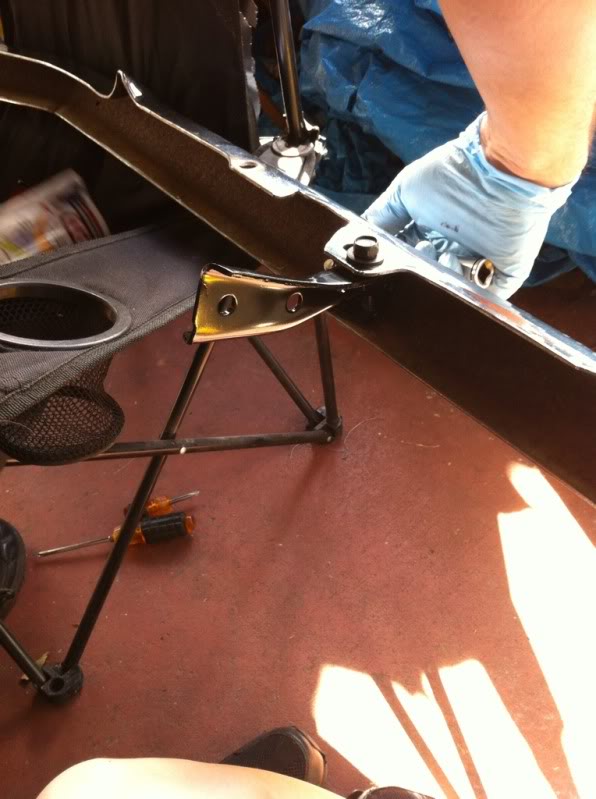
Then we took off the bumper to attach the new inner and out brackets.
It was a better fit........however.....due to the bad job my body guy did when aligning the front end it just will not go up into place.......we have come to a stopping point and need assistance in having the front end taken apart and refit. I'm over it and was ready to throw in the towel for the day.
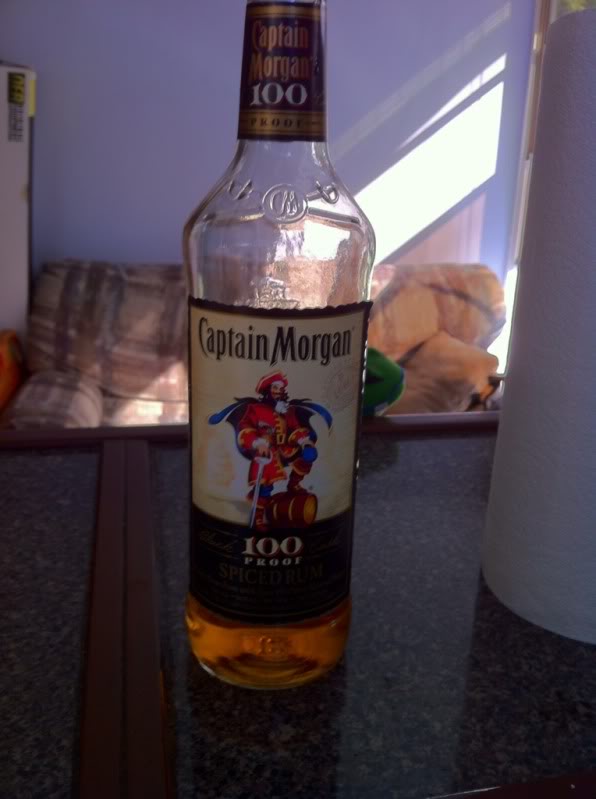
So I went inside and decided it was time for a shot of this.
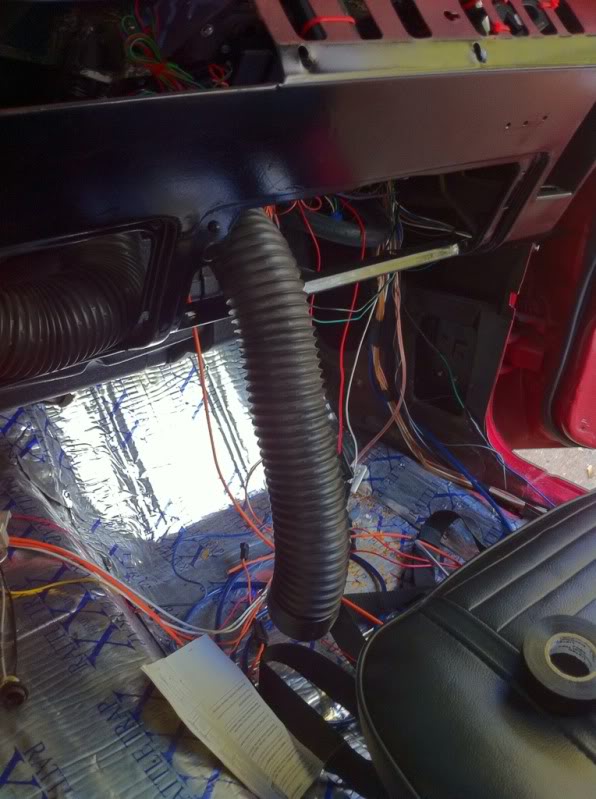
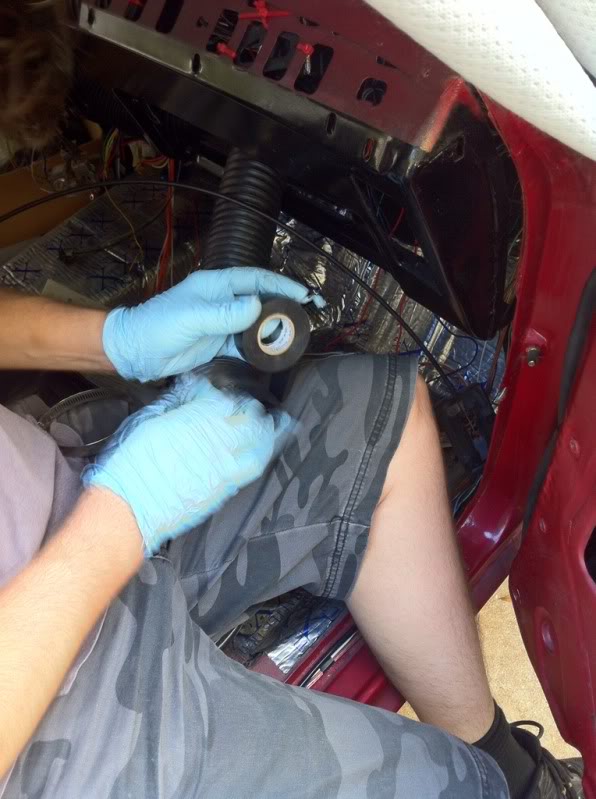
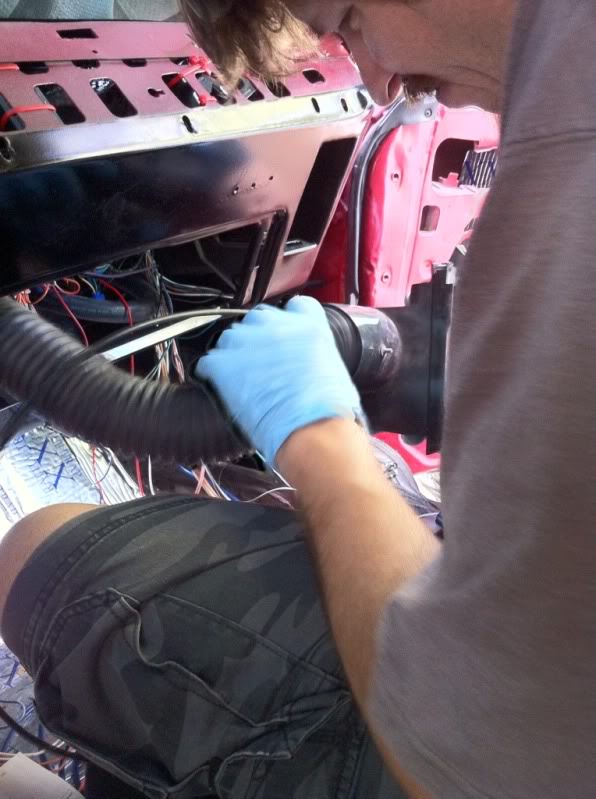
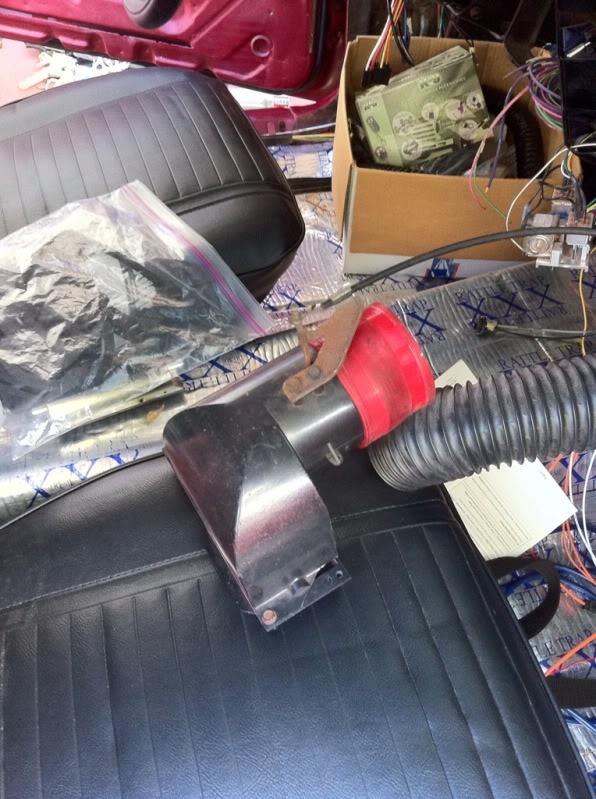
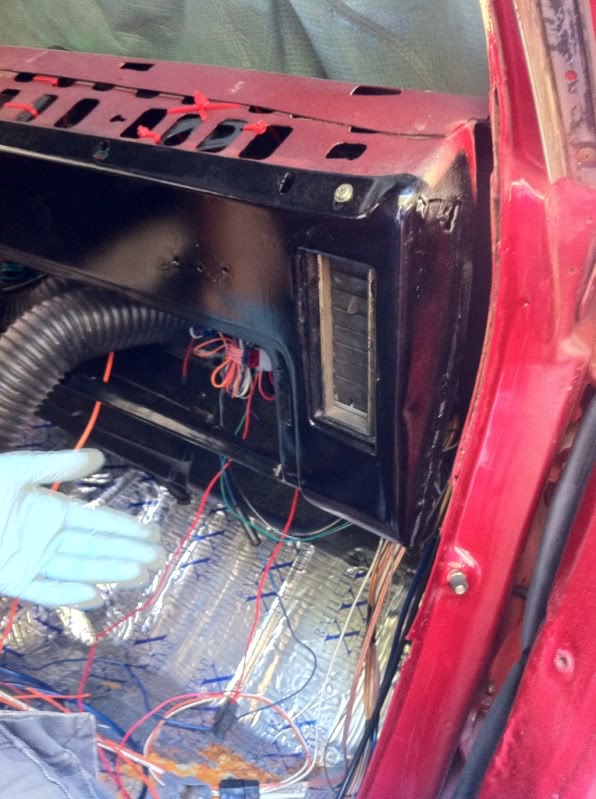
We then changed direction and started working on all of the wiring and duct work for the AC system. Got the 1st hose connected to the right side air vent. Its a newer system so we are having to make the hoses fit to the older duct.
Tomorrow is my last day off of my vaca and we plan on doing more work to the dash. Our next step after that is to connect the steering column, shifter linkage, transmission, drive shaft, brake lines and lastly brake booster.
Then we took off the bumper to attach the new inner and out brackets.
It was a better fit........however.....due to the bad job my body guy did when aligning the front end it just will not go up into place.......we have come to a stopping point and need assistance in having the front end taken apart and refit. I'm over it and was ready to throw in the towel for the day.
So I went inside and decided it was time for a shot of this.
We then changed direction and started working on all of the wiring and duct work for the AC system. Got the 1st hose connected to the right side air vent. Its a newer system so we are having to make the hoses fit to the older duct.
Tomorrow is my last day off of my vaca and we plan on doing more work to the dash. Our next step after that is to connect the steering column, shifter linkage, transmission, drive shaft, brake lines and lastly brake booster.
#438
11-26-2011, 07:45 PM
Join Date: Aug 2008
Location: Portland, Or
Posts: 9,097
I know you listed the color back in the build somewhere, but could you tell me what it's called? I'm looking at painting my gasser some shade of red, and I like your Camaro's color.
#439
11-26-2011, 08:30 PM
Join Date: Jul 2007
Location: Casselberry, FL
Posts: 1,242
Not sure of the name but its from the 00 - 02 corvette. Triple coat. Red base, translucent cherry top coat and then clear.