
my 69 camaro project


Thread Starter
|
December 2011 ROTM
Santas Little Helper
Santas Little Helper
Joined: Jul 2007
Posts: 1,242
From: Casselberry, FL
ROTM Winner's Club
Thanks! Well we finally got outside and pulled every single part out thats left to see what we need to buy.
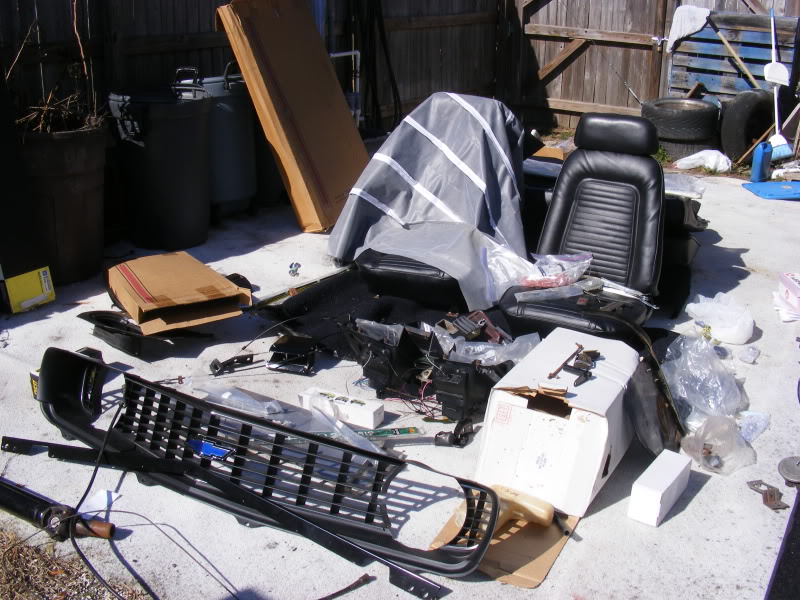
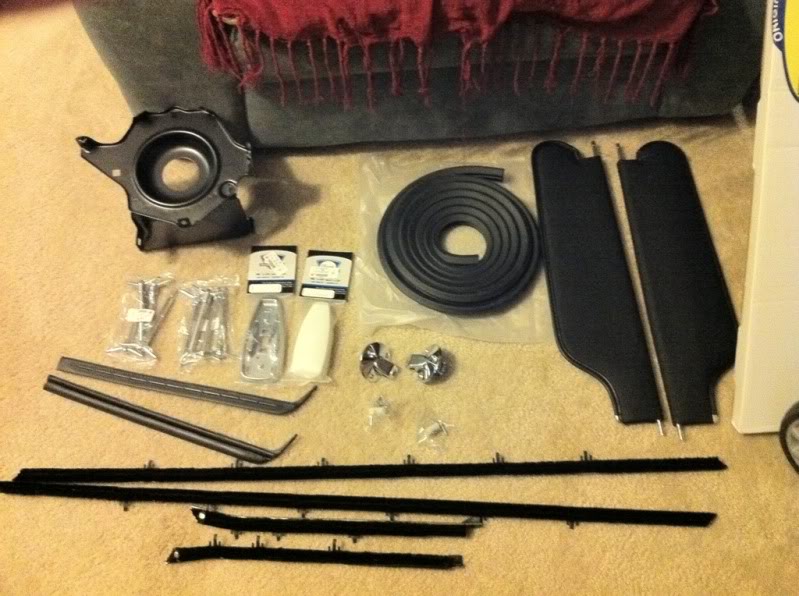
We went through everything and laid it all out and it really gave us some inspiration. I still need a lot of misc stuff. Here's a list.
Rear view mirror bracket--28.95
valve cover bolts--13.90
trunk opening seal--14.95
sunvisors, and hardware--87.30
outer door window felts--78.95
headlight housing LH--39.95
quarter window weatherstrip--18.95
dome light assembly--12.35
total--295.30
And this list does not include new rear shocks, headlights, and a bunch of misc stuff Im sure will come up during final assembly.


2nd Gear member
Joined: Jan 2011
Posts: 351
From: Michigan
wow, nice build! For a "Florida" car, I can't believe how much rust was on that car. My "Michigan" 68 didn't even have that much rust.
Bet you can't wait to drive it! BTW, love what you and Squid did with the AC and Heater hoses coming through the firewall. Very nice!
Bet you can't wait to drive it! BTW, love what you and Squid did with the AC and Heater hoses coming through the firewall. Very nice!

Thread Starter
|
December 2011 ROTM
Santas Little Helper
Santas Little Helper
Joined: Jul 2007
Posts: 1,242
From: Casselberry, FL
ROTM Winner's Club
wow, nice build! For a "Florida" car, I can't believe how much rust was on that car. My "Michigan" 68 didn't even have that much rust.
Bet you can't wait to drive it! BTW, love what you and Squid did with the AC and Heater hoses coming through the firewall. Very nice!
Bet you can't wait to drive it! BTW, love what you and Squid did with the AC and Heater hoses coming through the firewall. Very nice!


2nd Gear member
Joined: Jan 2011
Posts: 351
From: Michigan
I just love Christmas after Christmas! BTW, did you get the screws for your rear window seals? They are tiny tiny and I thought I bought new, but didn't and ended up throwing the old ones away. Reason I'm saying this, is because the end will eventually catch something and bend out while rolling the window down if you don't put a screw in the end. (I've already experienced this last weekend while adjusting the rear windows.
BTW, have fun adjusting your rear windows... Took me just over an hour to get them just right. :-)
BTW, have fun adjusting your rear windows... Took me just over an hour to get them just right. :-)

