
my 69 camaro project


Thread Starter
|
December 2011 ROTM
Santas Little Helper
Santas Little Helper
Joined: Jul 2007
Posts: 1,242
From: Casselberry, FL
ROTM Winner's Club
no its the chrome trim that goes below the door on the sides. Some put it on and some dont. I am gonna paint mine black.

1st Gear Member
Joined: Dec 2007
Posts: 297
From:
I understand...that is including the lower part of the door... If I can make a suggestion, you may want to have it sprayed with a truck bedliner... I know it probably sounds crazy, but all the little rocks and stuff that get picked up and thrown at that part of the car will chip the paint and really stick out on a black background. if you have them spray the bedliner as smooth as possible, it'll stand up better and look better over time. if you decide to do it, be sure to ask about the UV resistant properties of the compound that they use... You don't want it to chalk out on you after a year or two!
If you decide to stick with paint see if you can get them to spray it with something really really difficult to chip...
Just a thought...
It may seem slow to you but I think Bob the Body Guy is really knocking that stuff out. I wish I had him working for me!!!
If you decide to stick with paint see if you can get them to spray it with something really really difficult to chip...
Just a thought...
It may seem slow to you but I think Bob the Body Guy is really knocking that stuff out. I wish I had him working for me!!!

Thread Starter
|
December 2011 ROTM
Santas Little Helper
Santas Little Helper
Joined: Jul 2007
Posts: 1,242
From: Casselberry, FL
ROTM Winner's Club
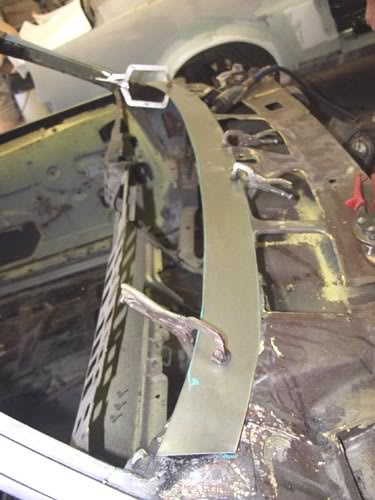
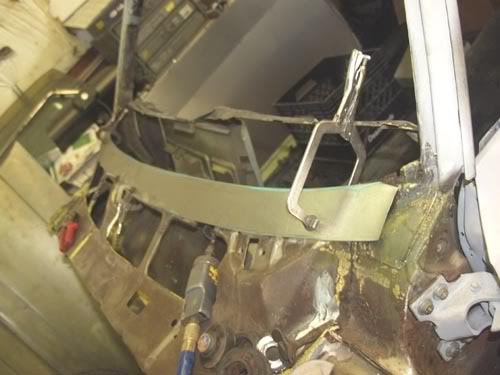
Ok so here's an update. Bob got started on the dash repair.
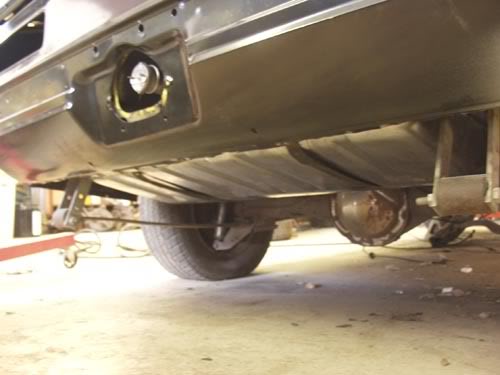
My gas tank is in.
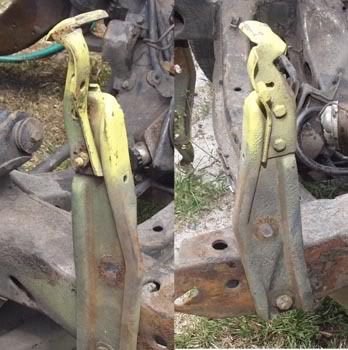
And finally the subframe got disconnected
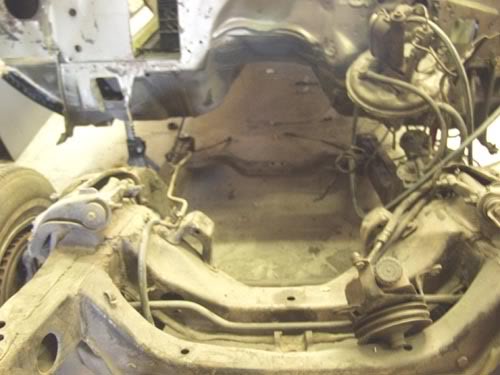
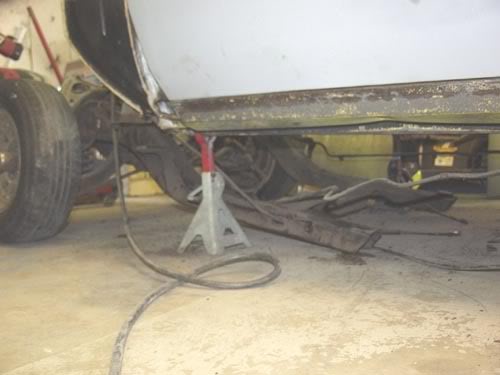
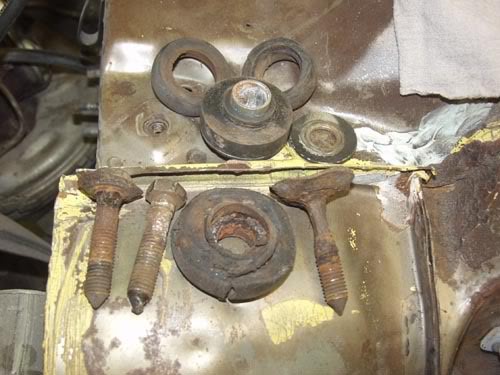
Look at those bushings
the subframe came home today andI will get some pics of the cleanup this weekend. We also gave Bob the rest of the money for the big motor part purchase. $1500 gets me a set of aluminum heads, head bolts, a set of pistons and rings, cam & lifters, Harmonic balancer, pushrods, timing chain and gear set, a dual exhaust sytem.
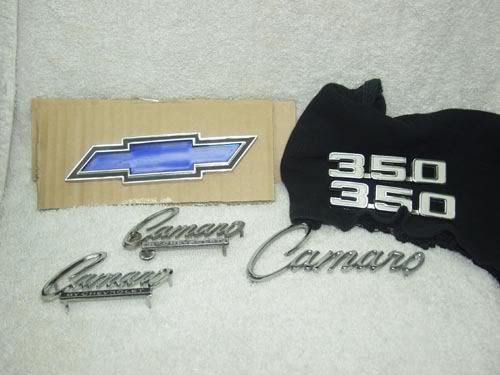
I also got all my emblem thanks to ebay. The louvers are on the way.
My gas tank is in.
And finally the subframe got disconnected
Look at those bushings
the subframe came home today andI will get some pics of the cleanup this weekend. We also gave Bob the rest of the money for the big motor part purchase. $1500 gets me a set of aluminum heads, head bolts, a set of pistons and rings, cam & lifters, Harmonic balancer, pushrods, timing chain and gear set, a dual exhaust sytem.
I also got all my emblem thanks to ebay. The louvers are on the way.


1st Gear Member
Joined: Mar 2008
Posts: 104
From:
Looking Great!!! I got my subframe back from the painter earlier this week, myself. However, an injury has prevented me from starting on it. I will post some photos when I can on my link for you to look at. May give you some ideas, or maybe just more inspiration.....
J.
J.
Thread Starter
|
December 2011 ROTM
Santas Little Helper
Santas Little Helper
Joined: Jul 2007
Posts: 1,242
From: Casselberry, FL
ROTM Winner's Club
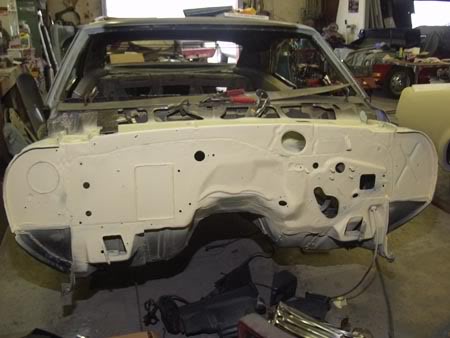
Finally now for an update. Well the firewall is now done and primed. Sorry I dont have any pics of before with the subframe out of the way. A few spots got patched and some holes were closed up.
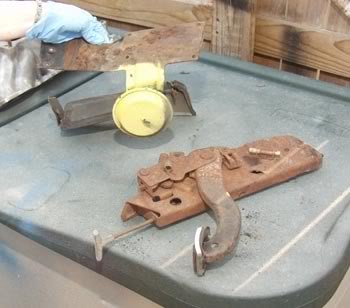
In the meantime I have spent the last couple of weeks getting some parts cleaned up. Here is my emergency brake and the vacuum canister before and after, along with my new louvers.
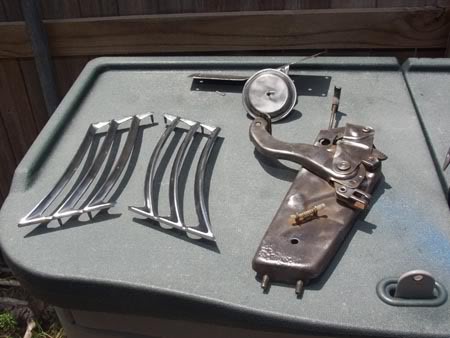
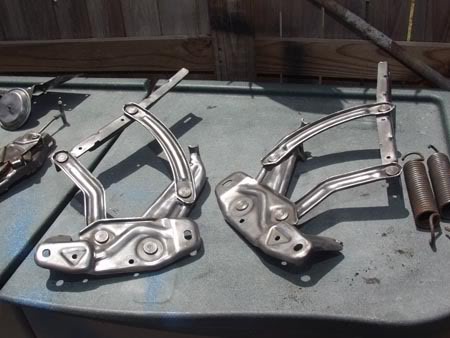
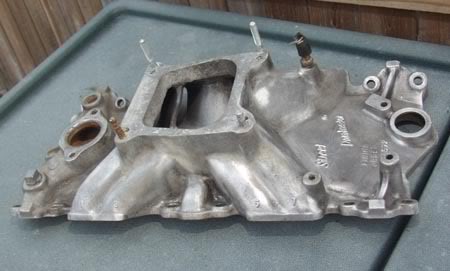
Here's the clean hinges and the manifold.
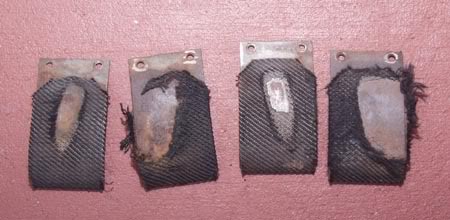
I recovered these that are a cushion for the windows.

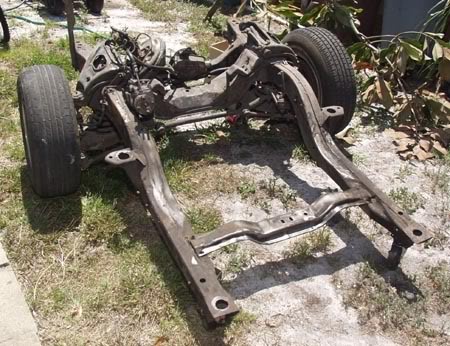
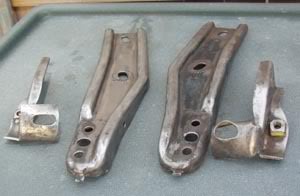
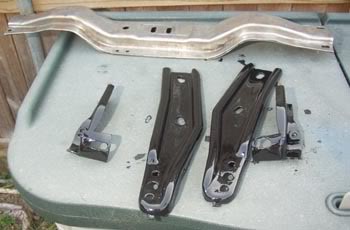
And now for the subframe. I have spent alot of time on grinding the crud off and we got it mostly apart. I am going to finish degreasing it fri night and paint the bottom of it. Then on sat we will flip it over and paint the top and sides.
Top before:
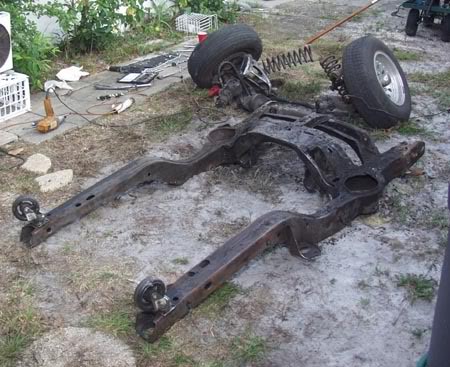
bottom before:
Here's some pieces that have been cleaned and por'd
In the meantime I have spent the last couple of weeks getting some parts cleaned up. Here is my emergency brake and the vacuum canister before and after, along with my new louvers.
Here's the clean hinges and the manifold.
I recovered these that are a cushion for the windows.
And now for the subframe. I have spent alot of time on grinding the crud off and we got it mostly apart. I am going to finish degreasing it fri night and paint the bottom of it. Then on sat we will flip it over and paint the top and sides.
Top before:
bottom before:
Here's some pieces that have been cleaned and por'd
