My 68 camaro finally in the shop

Thread Tools
 
Search this Thread
 
  #21  
Old 06-14-2011, 08:39 PM
Sudstoy's Avatar
2nd Gear member
Join Date: Jun 2011
Posts: 500
Default

Looking good man, crazy amounts of work to be done, i know i couldnt undertake a project like that. Good luck. I look forward to seeing pictures along the way.
 
  #22  
Old 06-20-2011, 12:50 PM
juarch328's Avatar
In the Staging Lanes
Thread Starter
Join Date: Apr 2011
Posts: 64
Default

Originally Posted by Sudstoy
Looking good man, crazy amounts of work to be done, i know i couldnt undertake a project like that. Good luck. I look forward to seeing pictures along the way.
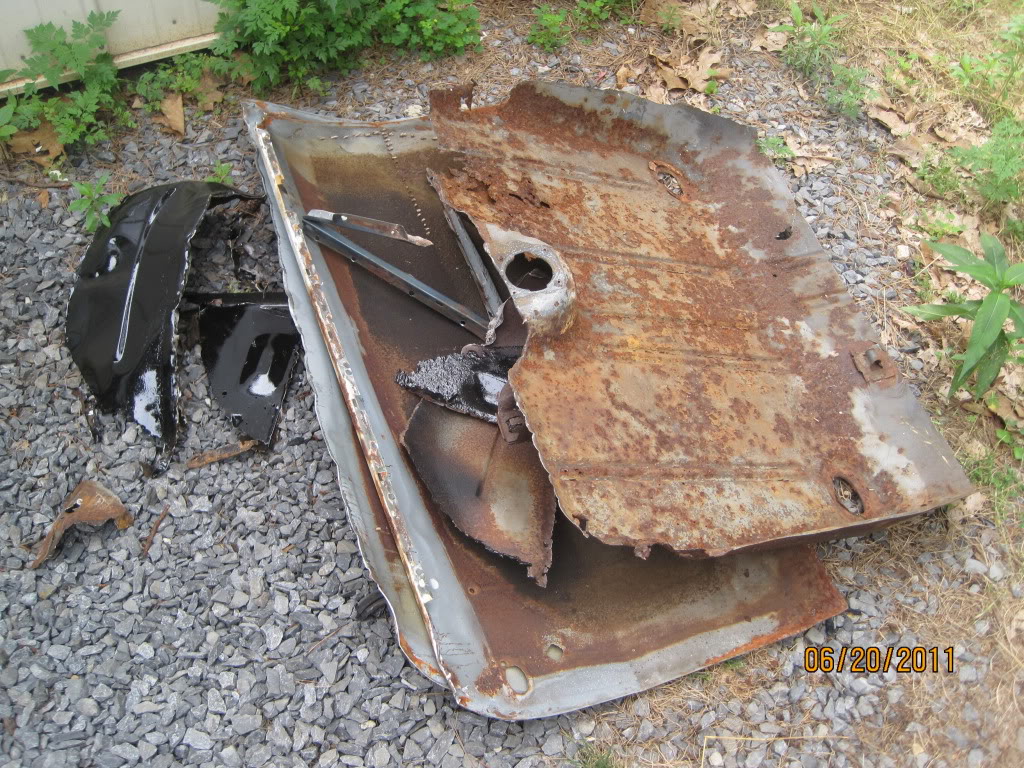
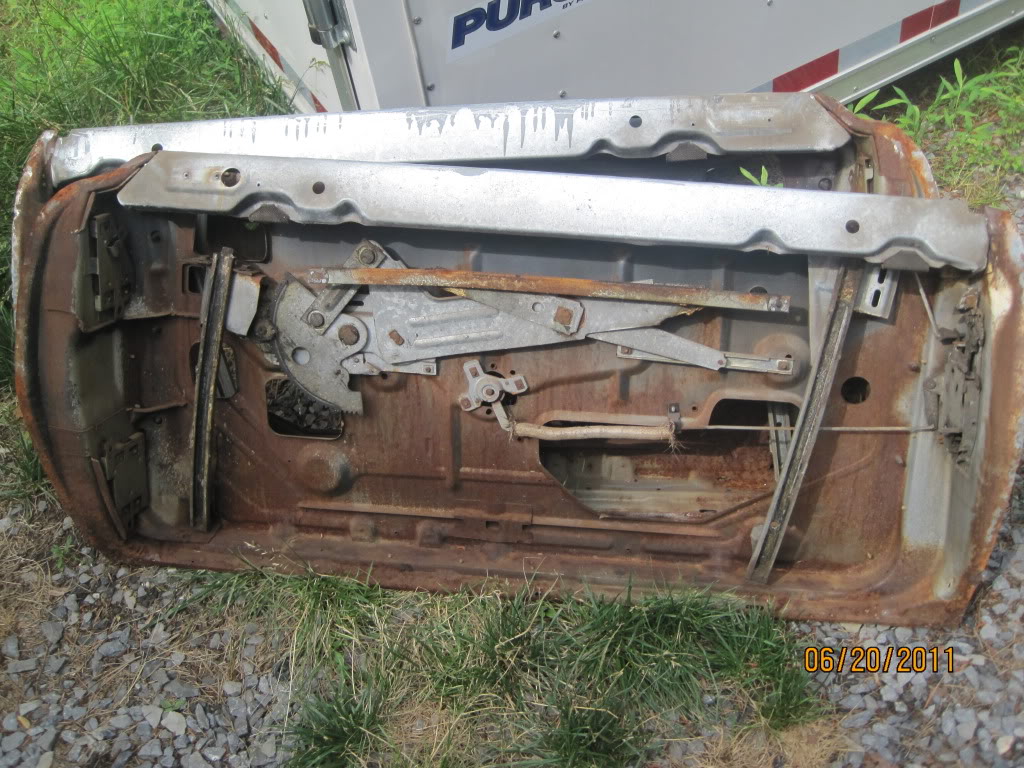
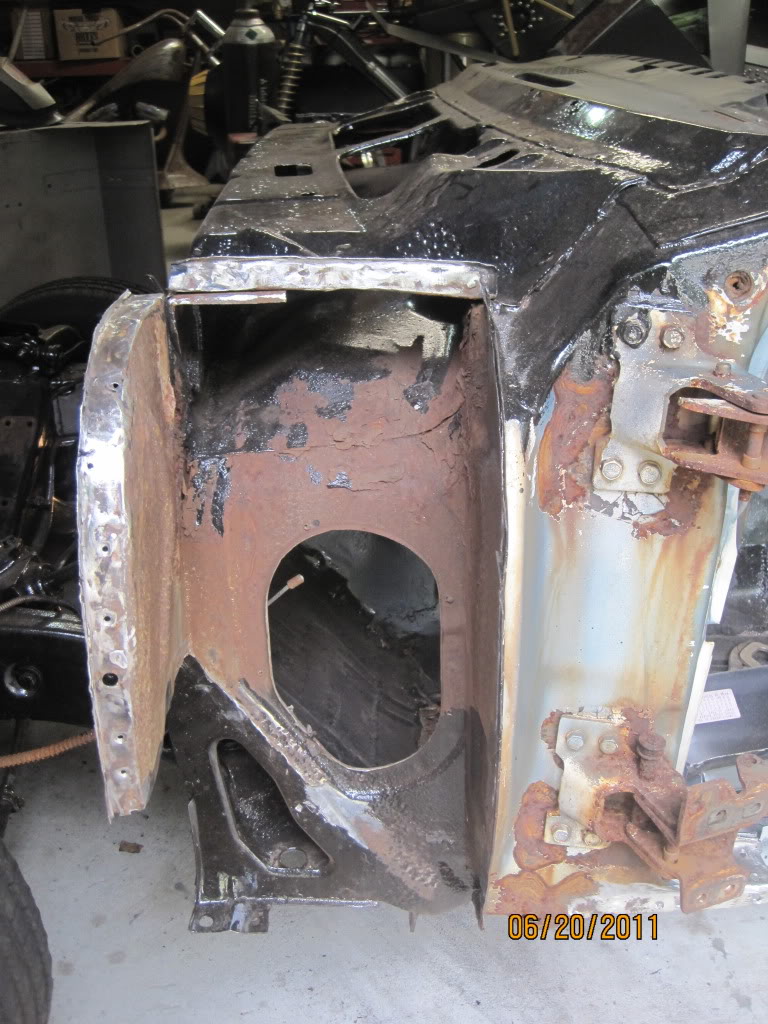
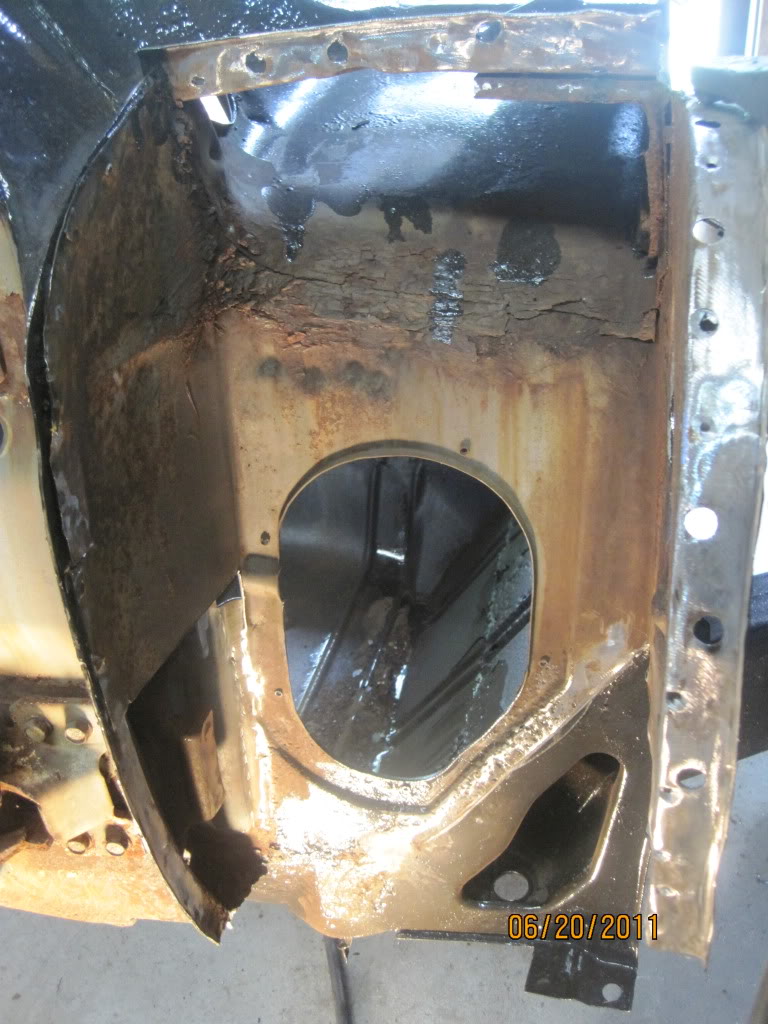
Thank you.. it's just the beginning for me, so I hope I can hold strong until the end with the undertaking of it..

Name:  IMG_2651.jpg
Views: 131
Size:  269.7 KB

Name:  IMG_2652.jpg
Views: 135
Size:  184.0 KB

Name:  IMG_2650.jpg
Views: 191
Size:  157.1 KB

Name:  IMG_2642.jpg
Views: 87
Size:  133.1 KB
Name:  IMG_2644.jpg
Views: 80
Size:  98.4 KB
 
  #23  
Old 08-19-2011, 08:25 PM
juarch328's Avatar
In the Staging Lanes
Thread Starter
Join Date: Apr 2011
Posts: 64
Default

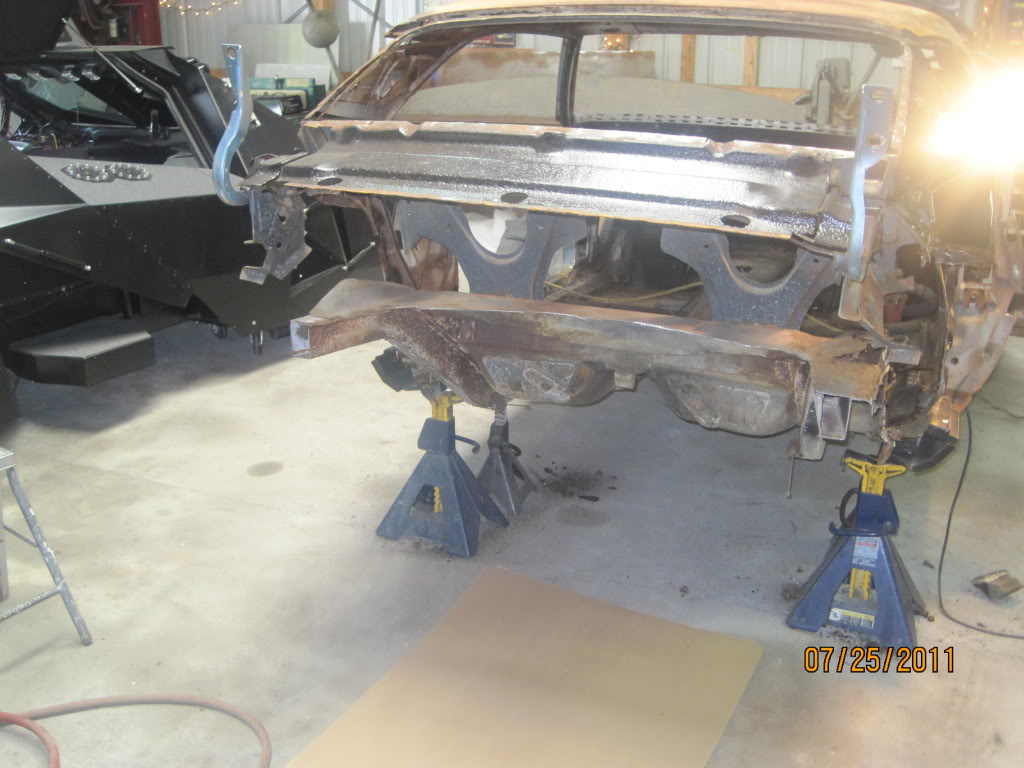
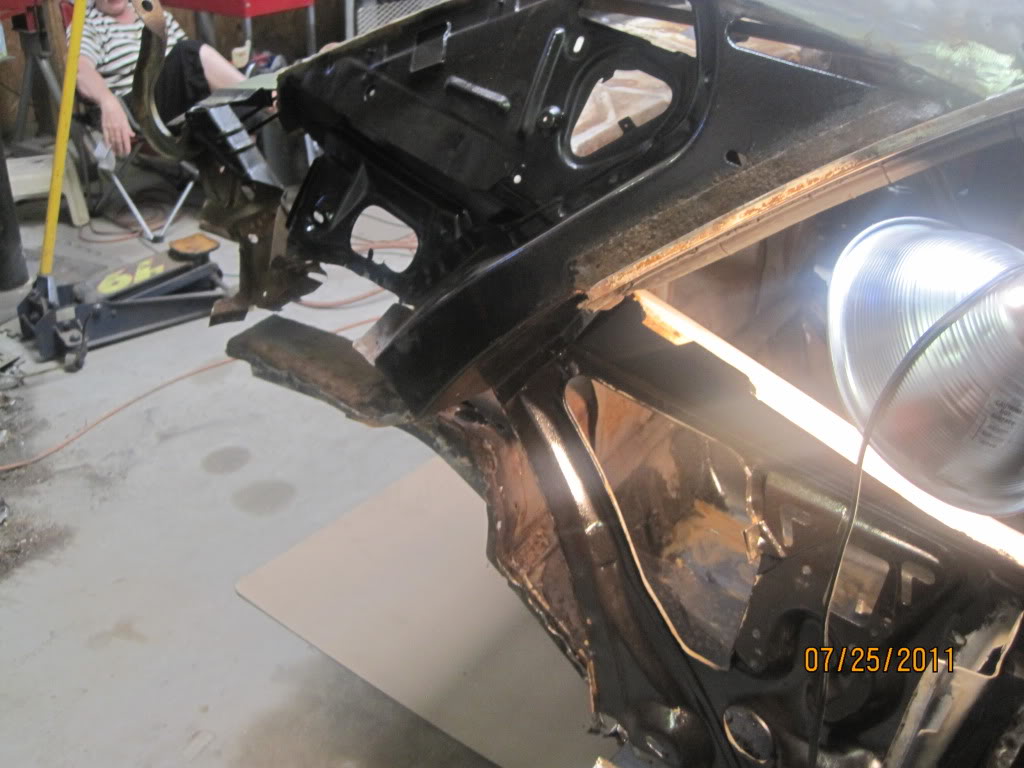
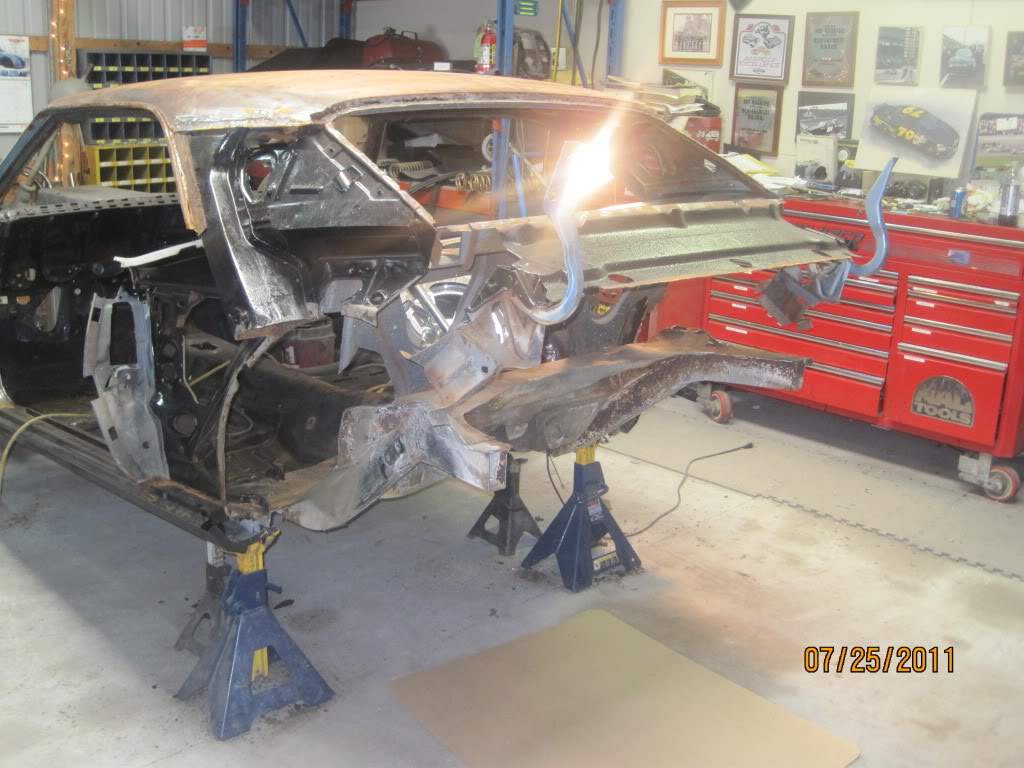
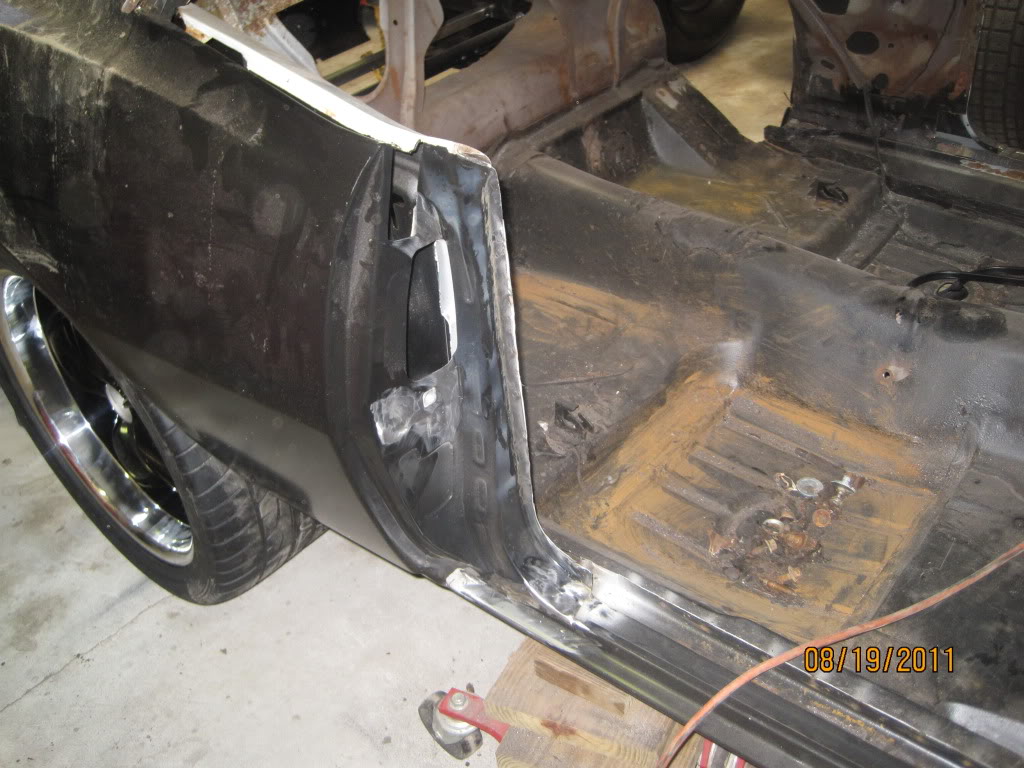
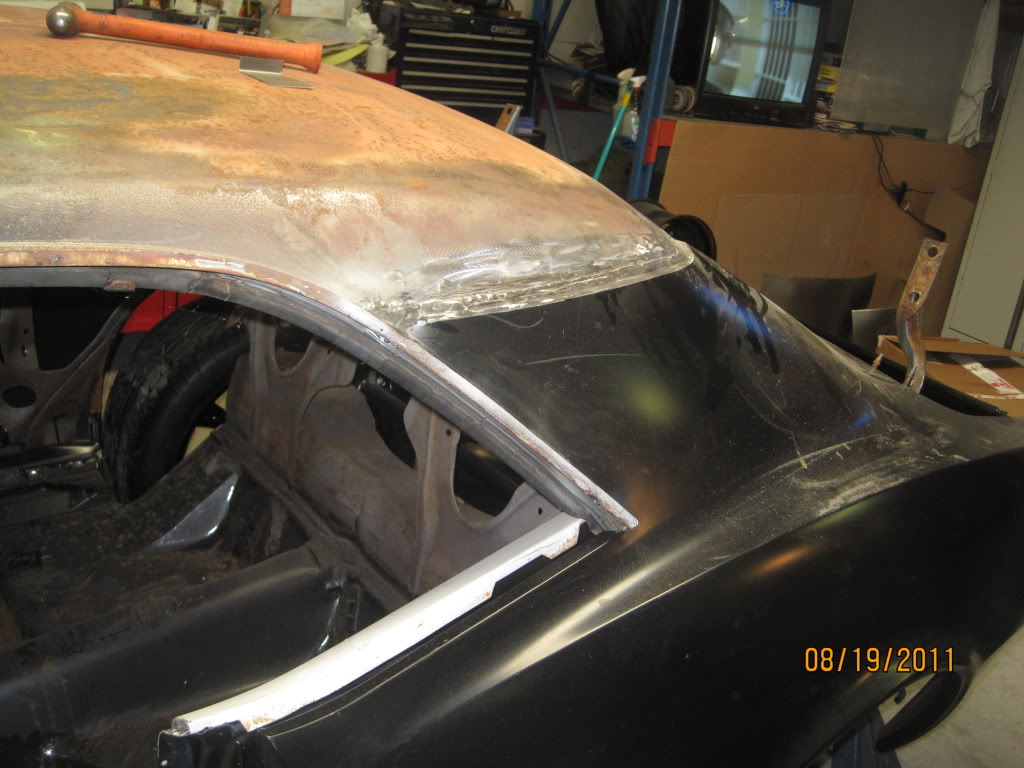
new update; my car was cut in half


Name:  IMG_2814.jpg
Views: 87
Size:  101.5 KB

Name:  IMG_2812.jpg
Views: 123
Size:  99.1 KB

Name:  IMG_2813.jpg
Views: 113
Size:  127.7 KB
 
  #24  
Old 08-19-2011, 08:30 PM
juarch328's Avatar
In the Staging Lanes
Thread Starter
Join Date: Apr 2011
Posts: 64
Default

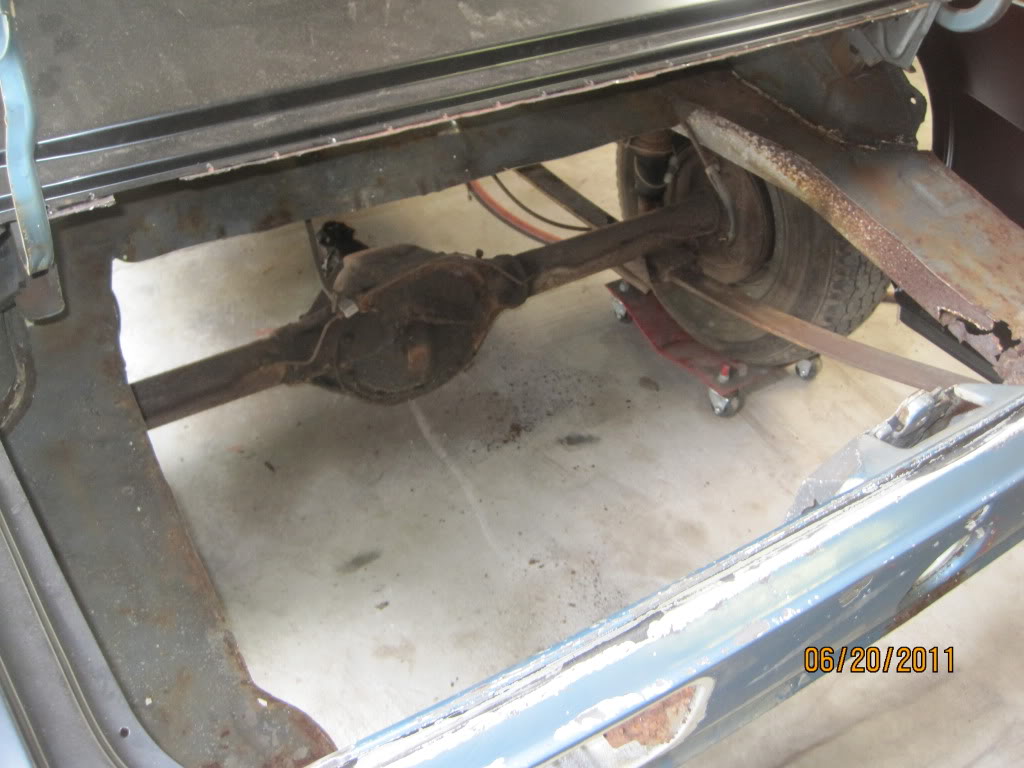
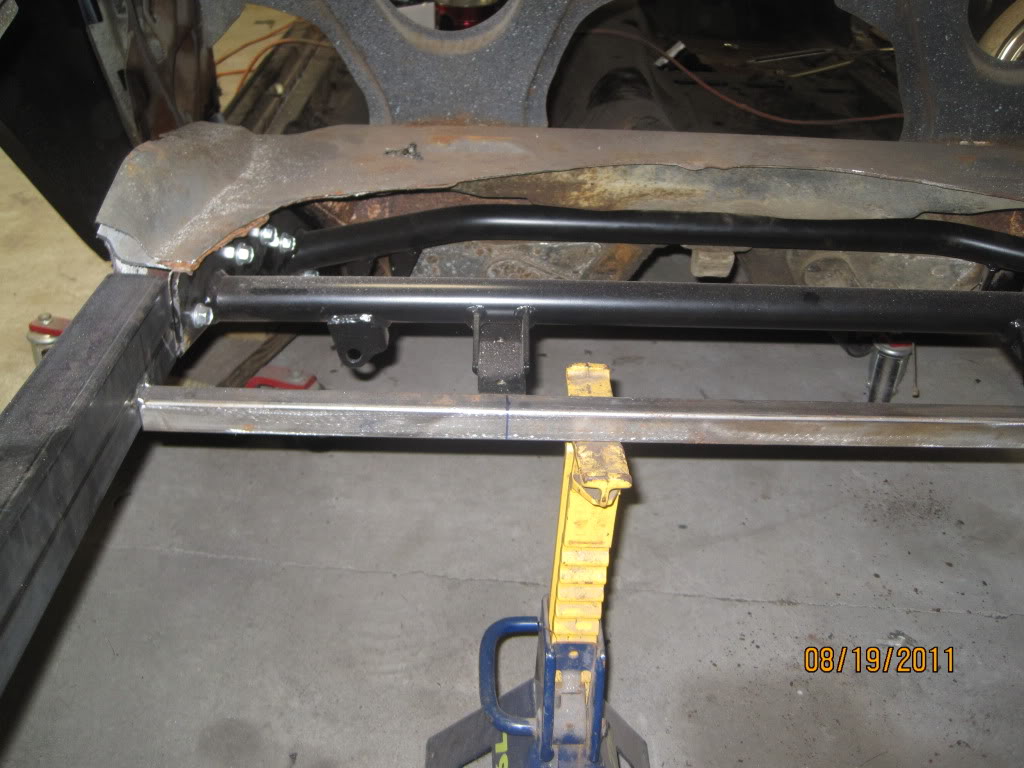
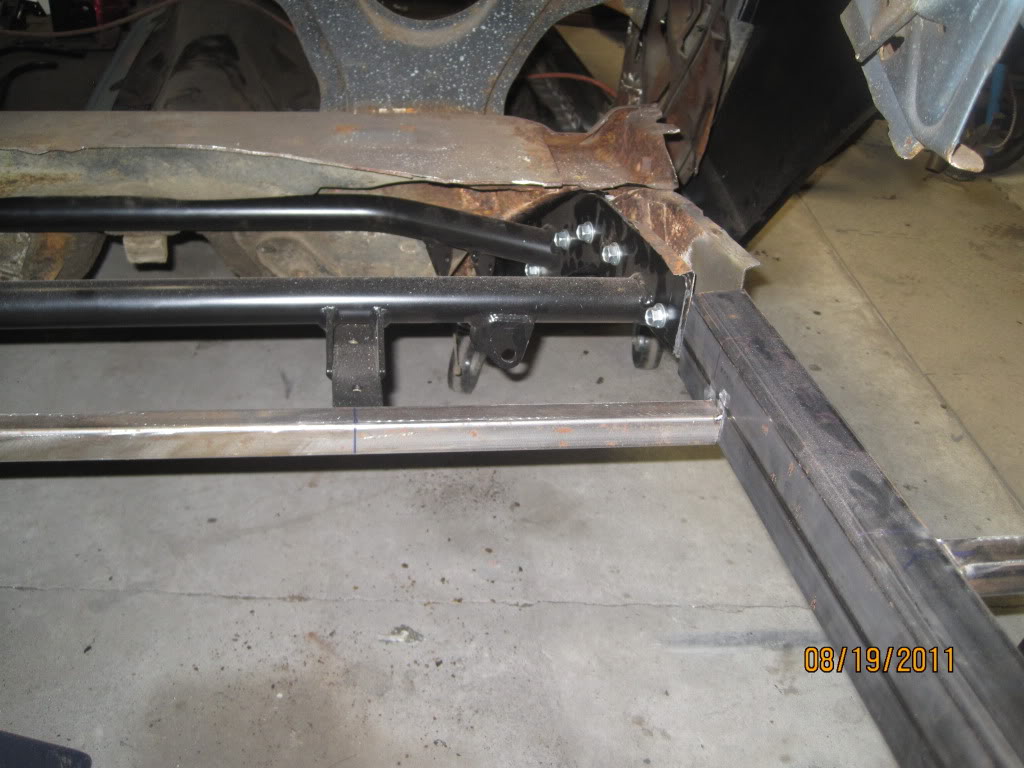
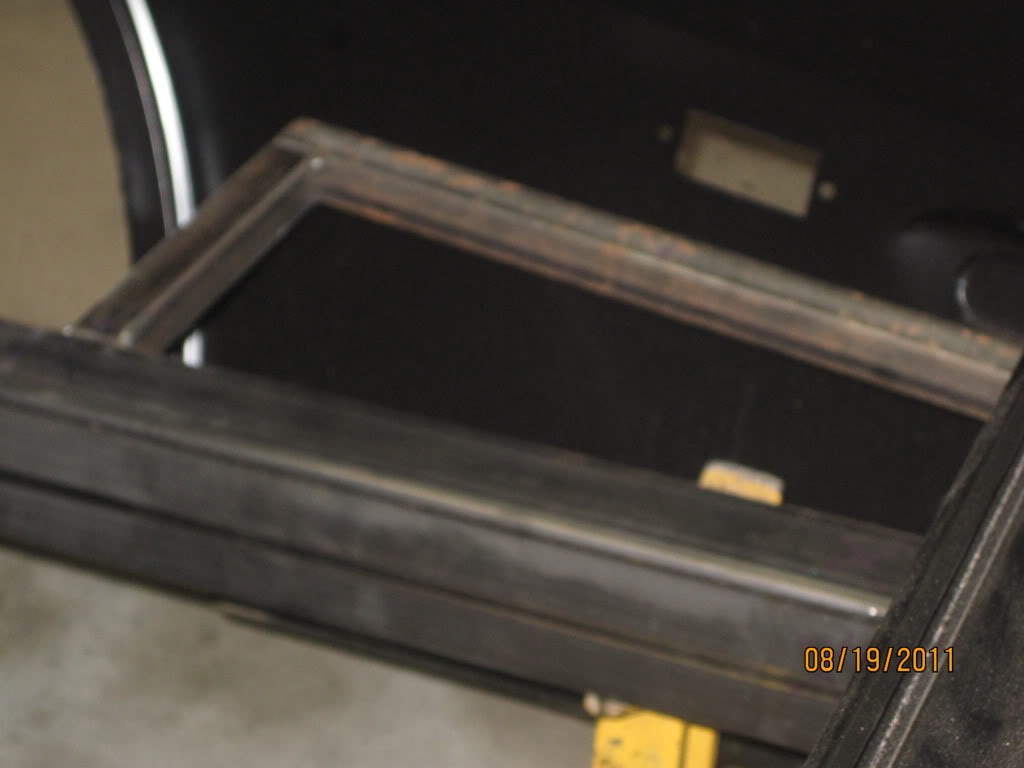
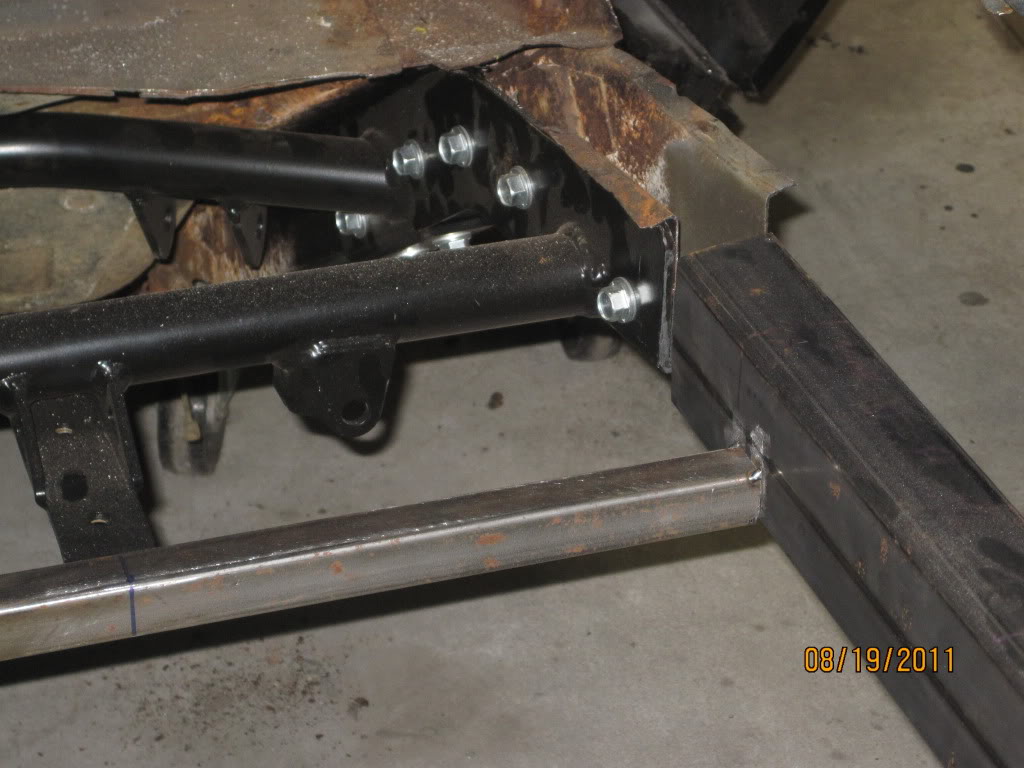
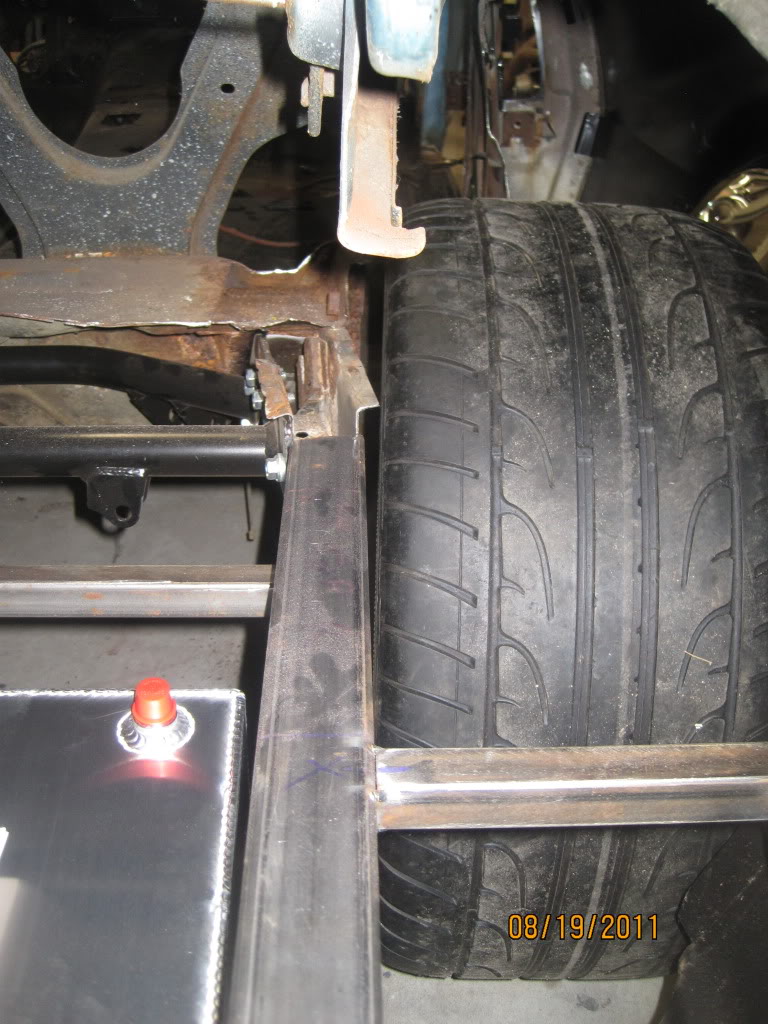
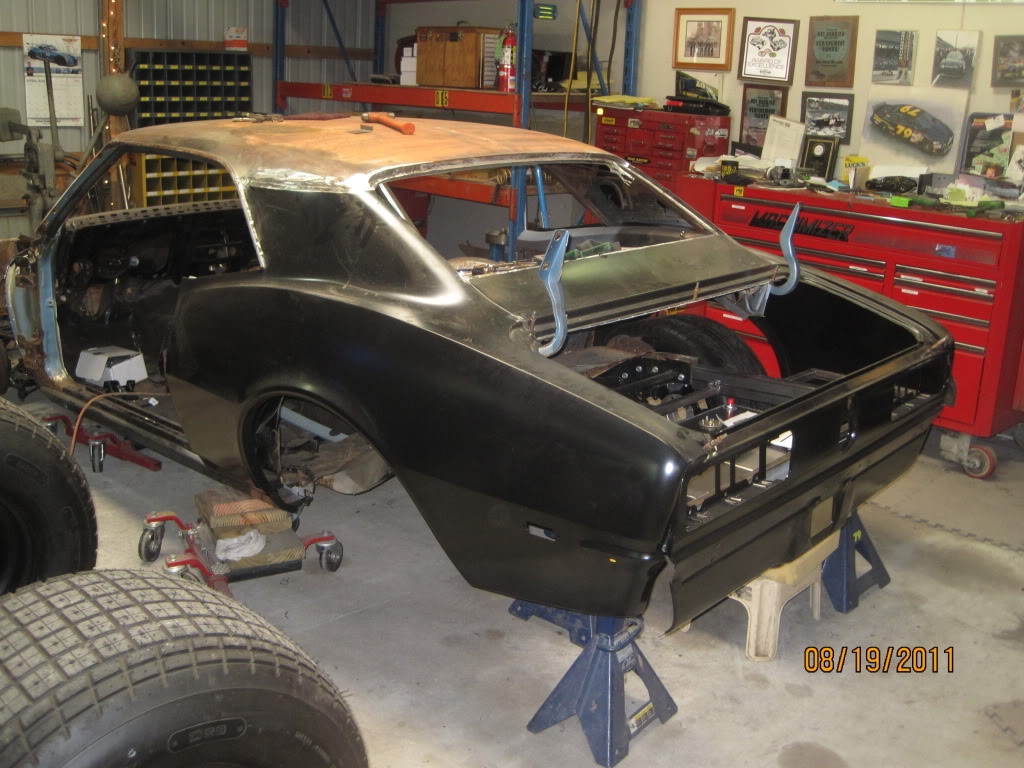
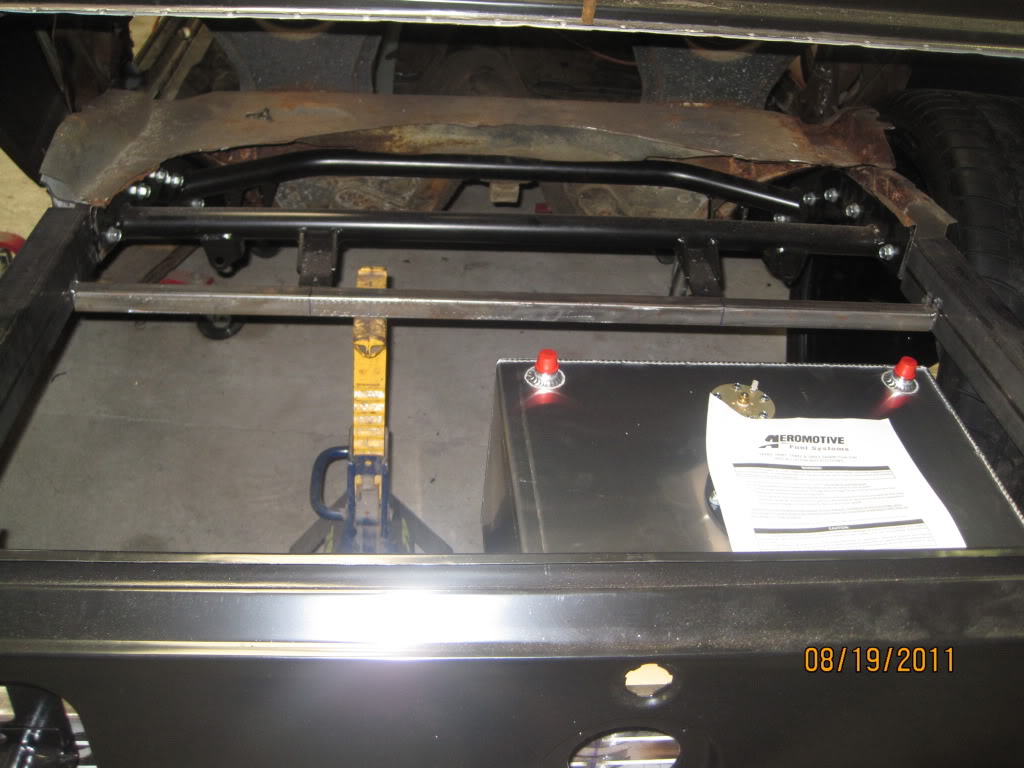
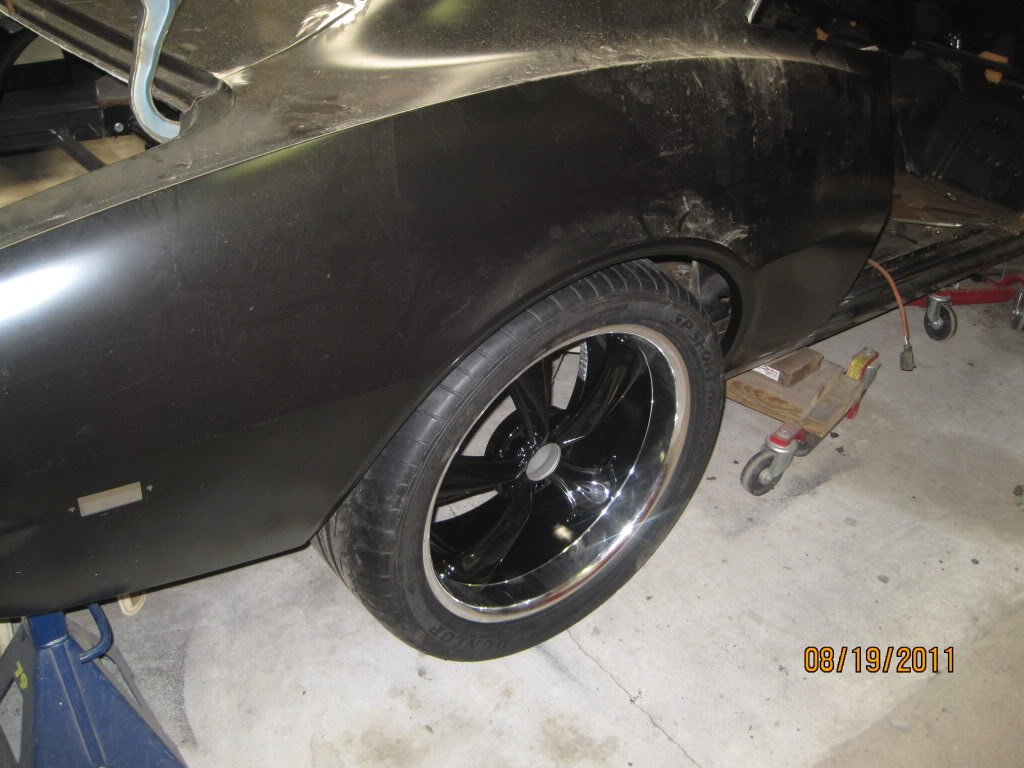
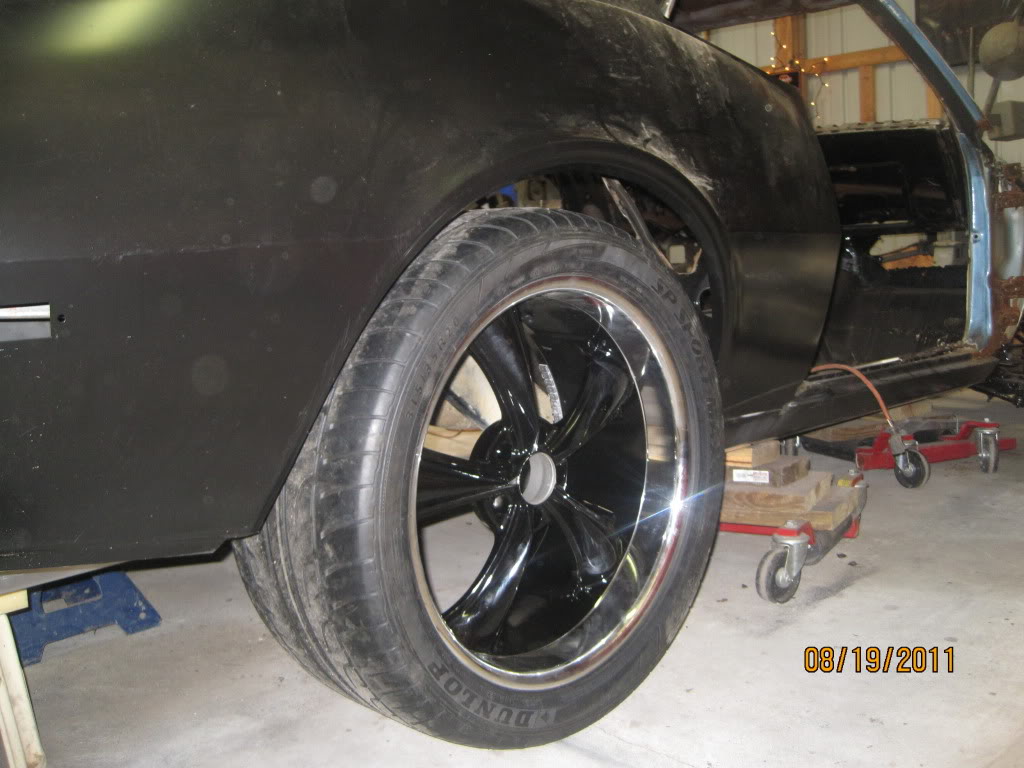
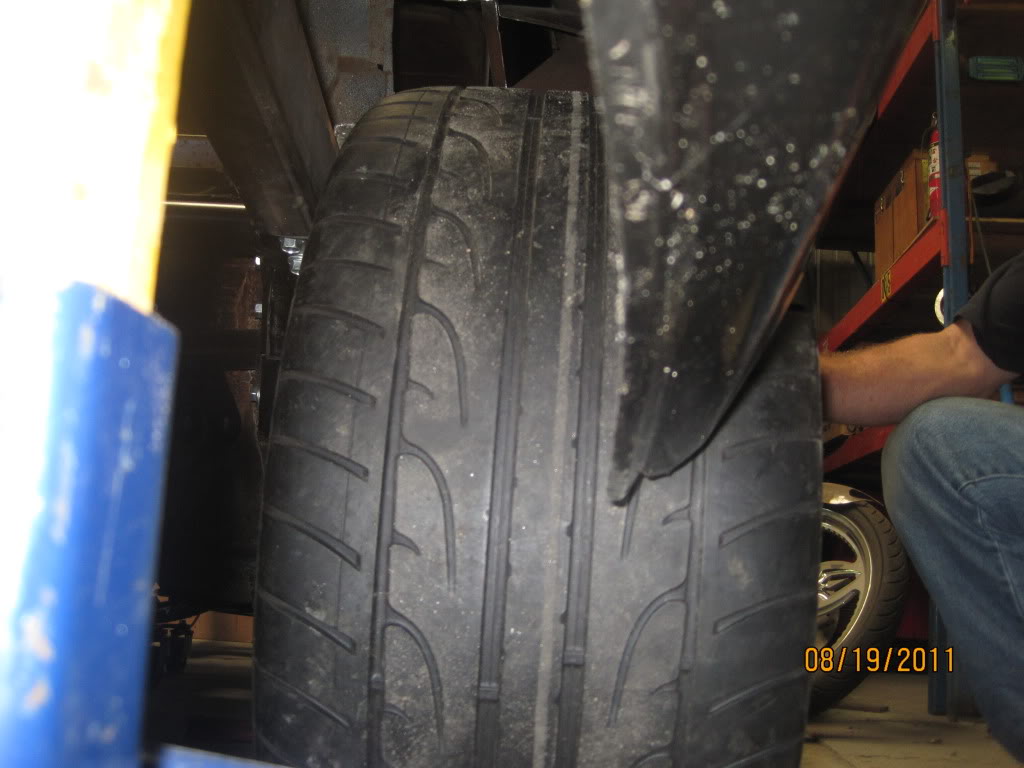
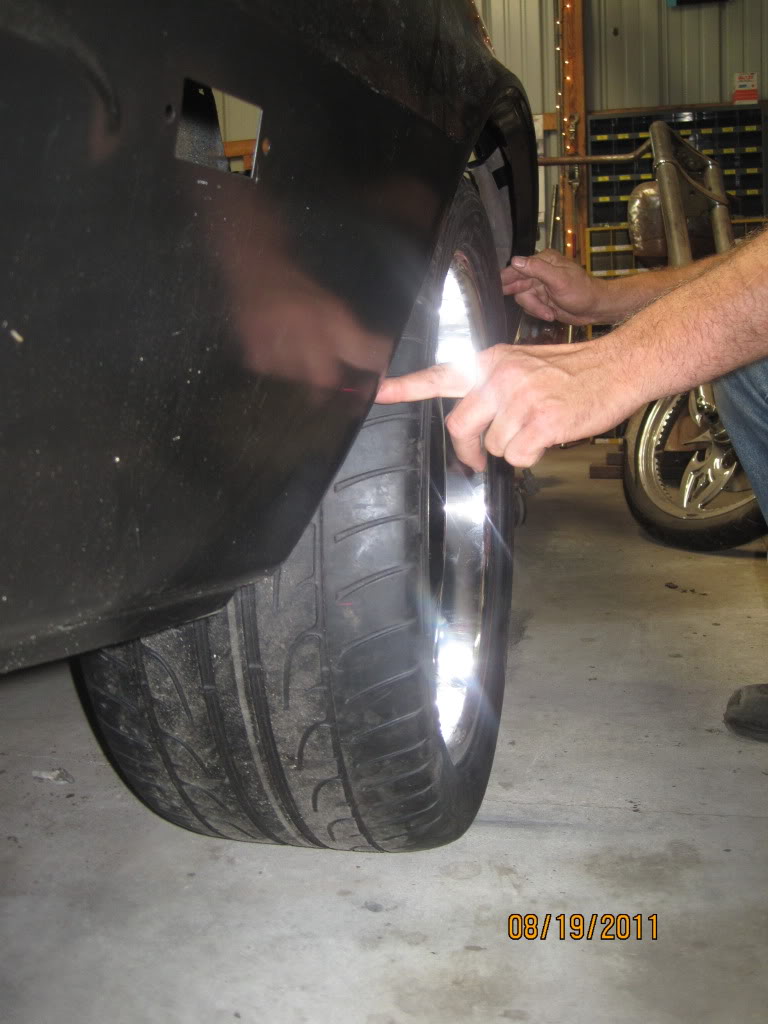
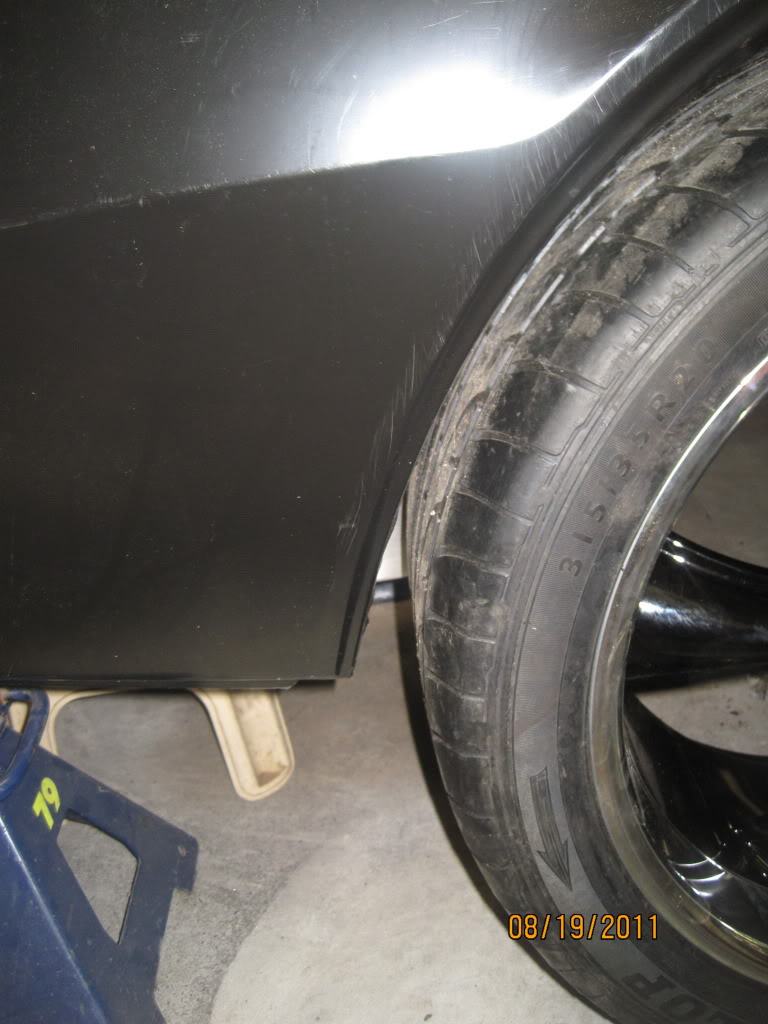
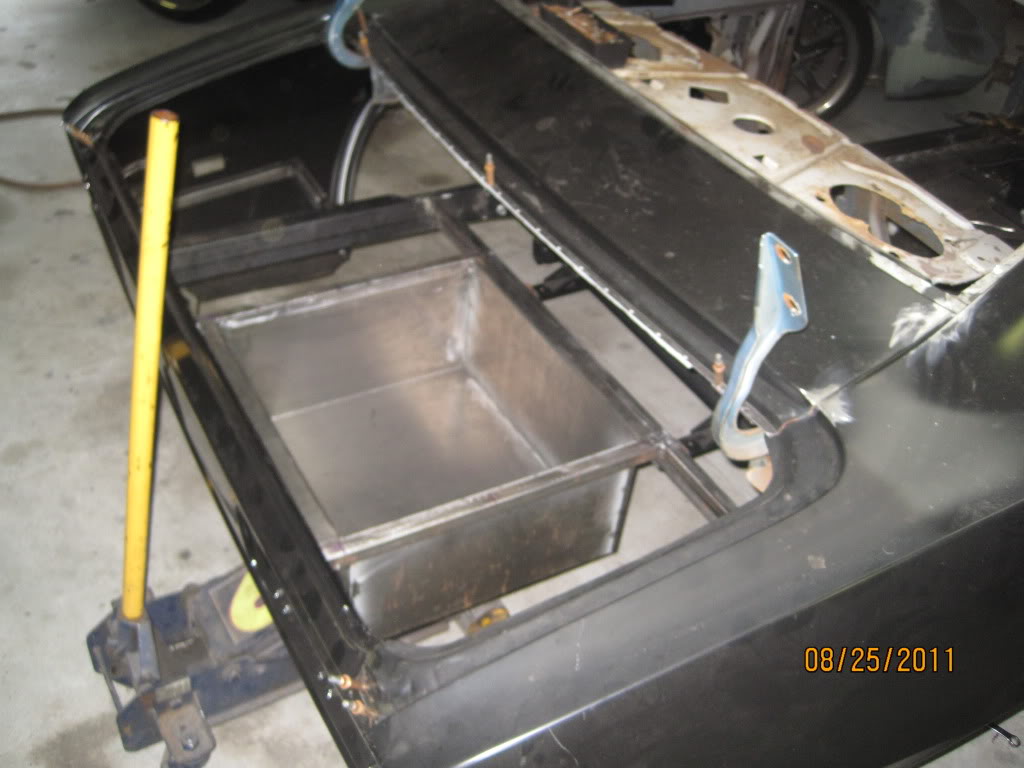
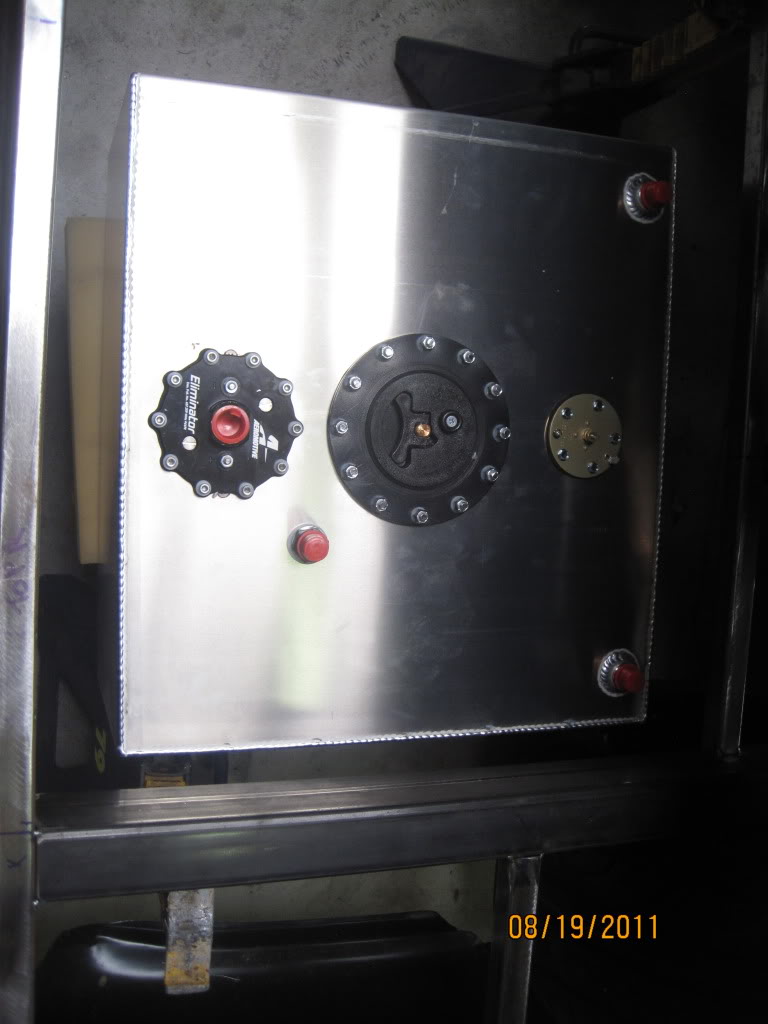
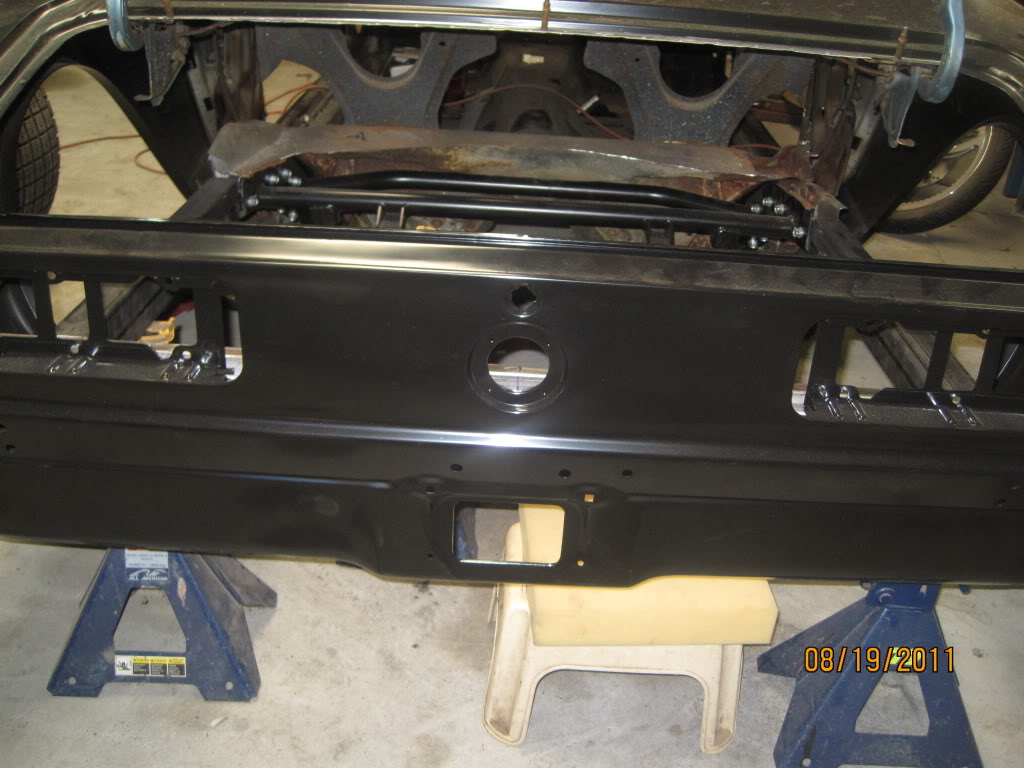
now is sorta back.. new brace made to connect to frame rail, ridetech airbar in, found out 20x10 wheels and 315/35/20 tires fit like a glove...in a bad way, so space on any side. Also, fuel cell just came in.. just sitting there. Its going to be centered in the trunk, recessed in with a battery on each side recessed in.
Name:  IMG_3293.jpg
Views: 154
Size:  72.3 KB

Name:  IMG_3294.jpg
Views: 116
Size:  103.6 KB


Name:  IMG_3295.jpg
Views: 83
Size:  106.6 KB

Name:  IMG_3296.jpg
Views: 104
Size:  106.0 KB

Name:  IMG_3298.jpg
Views: 77
Size:  46.6 KB

Name:  IMG_3299.jpg
Views: 126
Size:  98.4 KB

Name:  IMG_3291.jpg
Views: 114
Size:  141.0 KB
 
  #25  
Old 08-19-2011, 08:33 PM
juarch328's Avatar
In the Staging Lanes
Thread Starter
Join Date: Apr 2011
Posts: 64
Default

...


Name:  IMG_3278.jpg
Views: 114
Size:  141.4 KB

Name:  IMG_3281.jpg
Views: 121
Size:  98.7 KB

Name:  IMG_3282.jpg
Views: 119
Size:  103.4 KB

Name:  IMG_3283.jpg
Views: 116
Size:  105.3 KB

Name:  IMG_3285.jpg
Views: 123
Size:  130.3 KB

Name:  IMG_3287.jpg
Views: 83
Size:  112.2 KB

Name:  IMG_3288.jpg
Views: 129
Size:  84.8 KB

Name:  IMG_3289.jpg
Views: 117
Size:  92.2 KB

Name:  IMG_3290.jpg
Views: 109
Size:  94.8 KB
 
  #26  
Old 08-20-2011, 12:31 AM
Scooch's Avatar
Super Scooch
January 2009 ROTM
Join Date: Aug 2005
Location: South Carolina
Posts: 2,455
Default

man thats a lot of work. looking great so far.
 
  #27  
Old 08-20-2011, 08:16 AM
orocker's Avatar
December 2011 ROTM
Santas Little Helper
ROTM Winner's Club
Join Date: Jul 2007
Location: Casselberry, FL
Posts: 1,242
Default

Very nice. Its coming together very quickly for ya. Thanks for all the pics.
 
  #28  
Old 08-20-2011, 09:00 AM
juarch328's Avatar
In the Staging Lanes
Thread Starter
Join Date: Apr 2011
Posts: 64
Default

Originally Posted by Scooch
man thats a lot of work. looking great so far.
Yes, lots of work... thank you

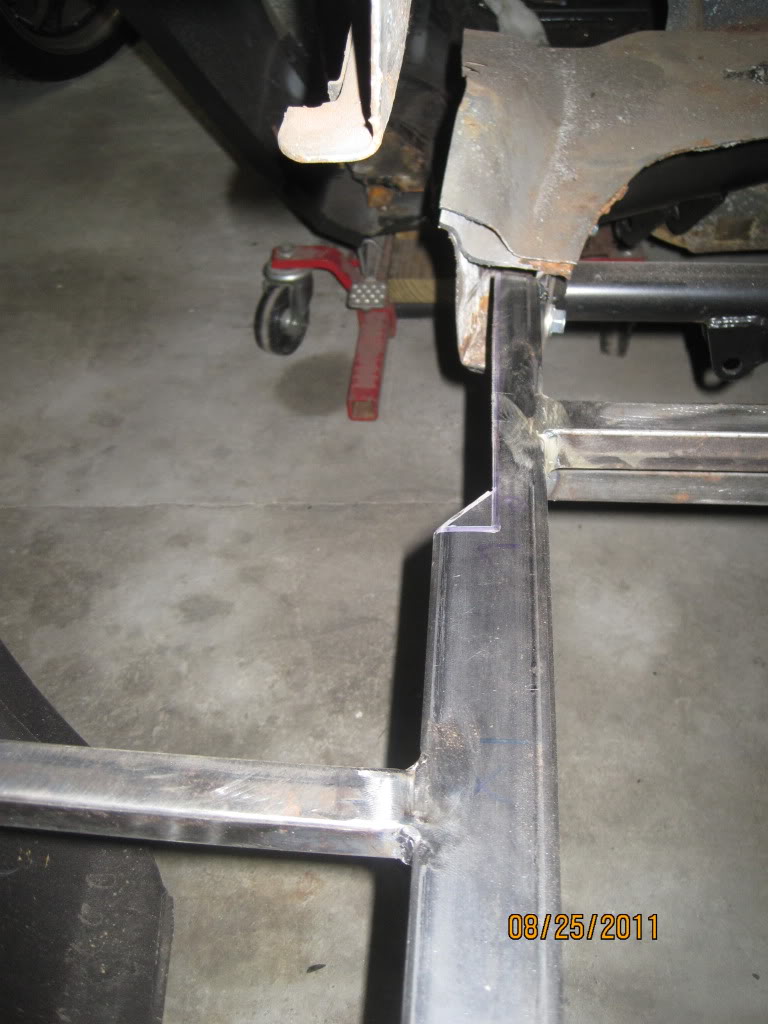
I'm very happy with the result so far, just minor bumps along the way as expected... going to go with the 18x9.5 instead of the 20x10 setup because the tall wheel would be undrivable realistically now that it was seen mocked in.. frame rail is going to be notched more along with the added custom frame.

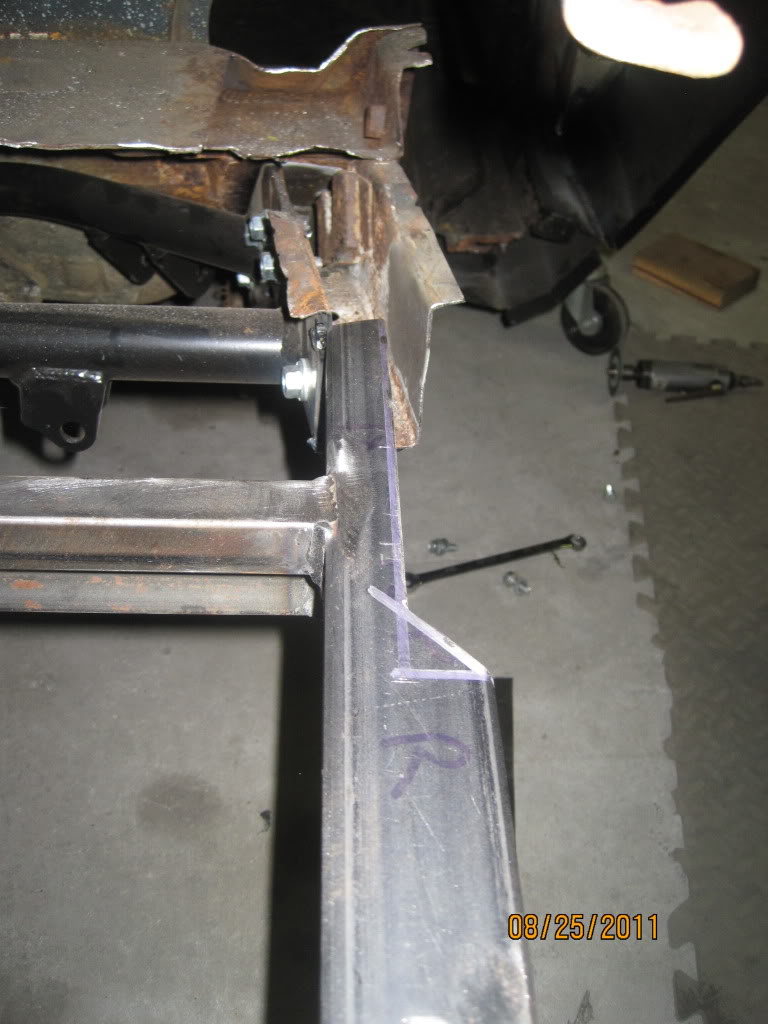
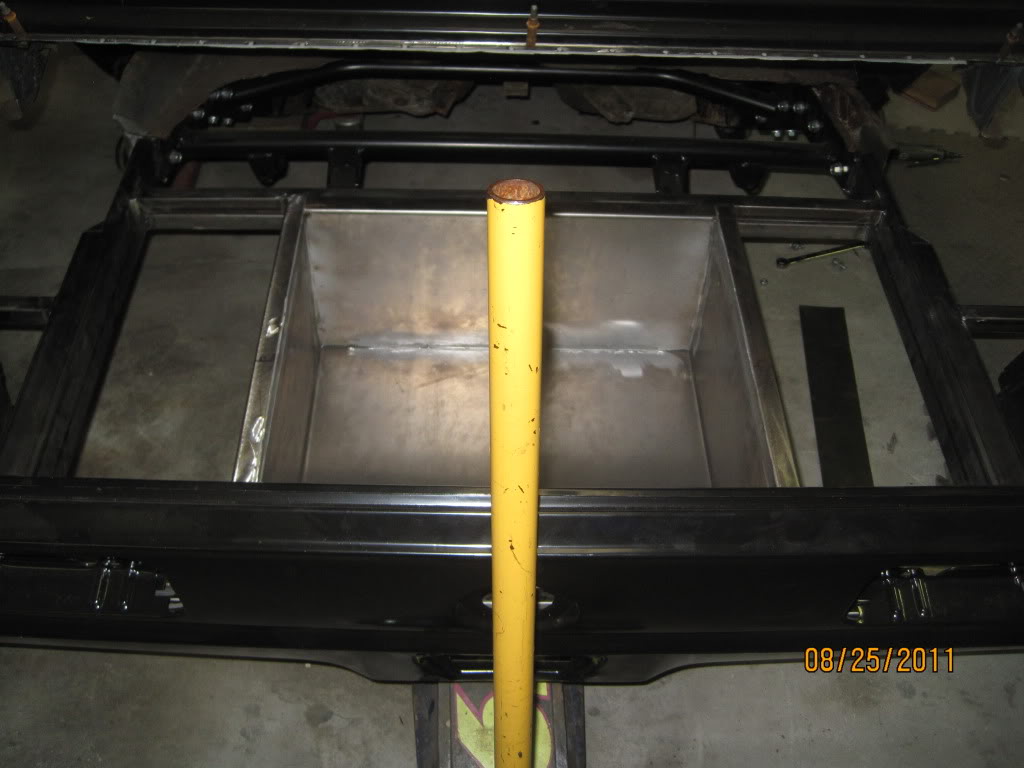
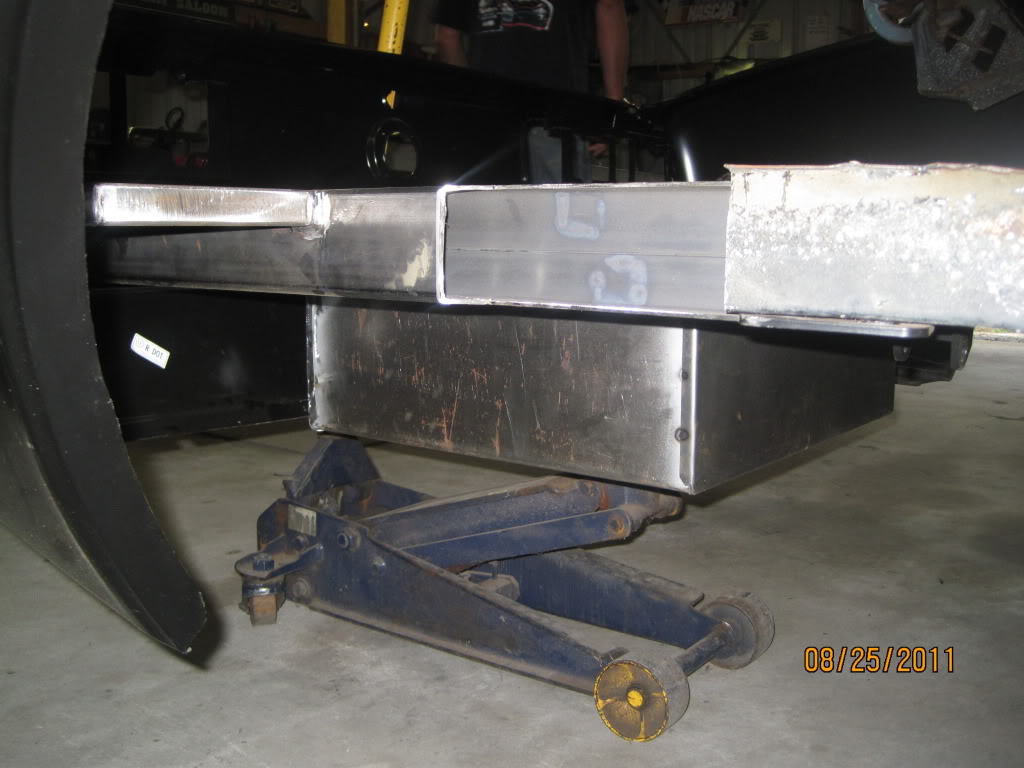
The fuel cell will be recessed flush into the custom trunk floor along with a battery on each side so when the trunk pops, there is no fuel cell or battery exposed.

Next on the list is to wait until the frame rail is notched and see for sure how much tire I can fit realistically..
 
  #29  
Old 08-20-2011, 09:06 AM
juarch328's Avatar
In the Staging Lanes
Thread Starter
Join Date: Apr 2011
Posts: 64
Default

Originally Posted by orocker
Very nice. Its coming together very quickly for ya. Thanks for all the pics.
Thank you, main focus is to finish up the metal work (most of it) and have everything in place from firewall back before the winter, then have it sit in the garage and take more overtime..

I saw a thread on your Camaro also, very nice, and I'm glad you decided to keep it.. I CAN imagine how much work that was...
 
  #30  
Old 08-25-2011, 08:26 AM
juarch328's Avatar
In the Staging Lanes
Thread Starter
Join Date: Apr 2011
Posts: 64
Default

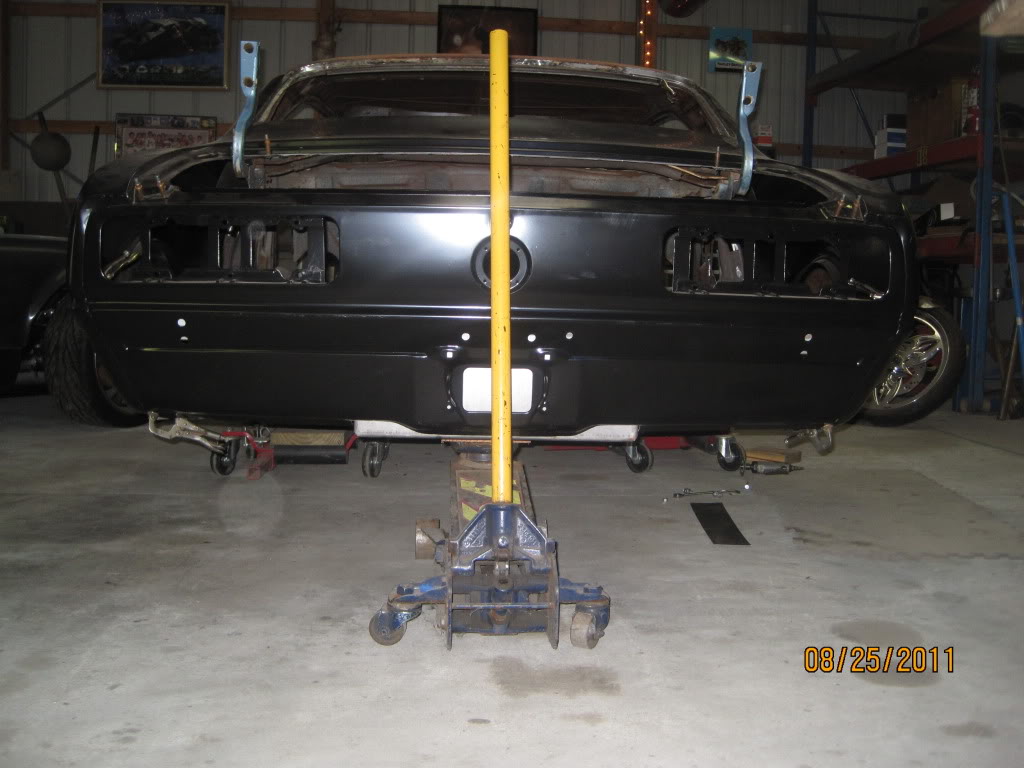
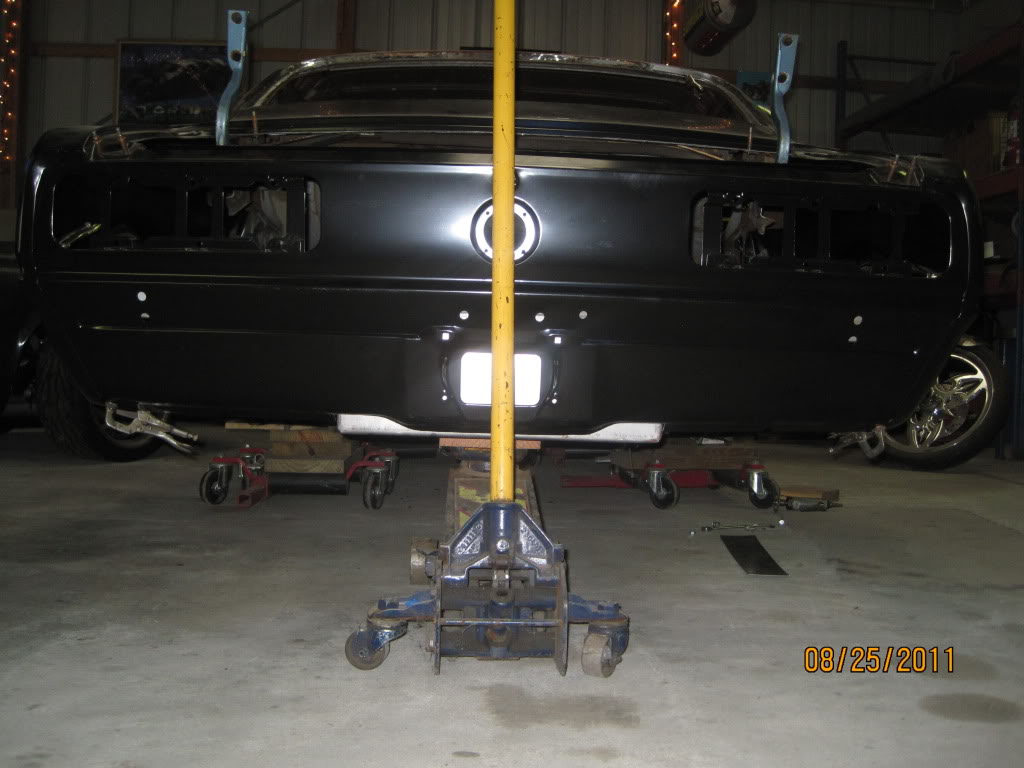
Aug. 25th update;

Name:  IMG_3321.jpg
Views: 114
Size:  95.5 KB

Name:  IMG_3312.jpg
Views: 129
Size:  96.8 KB

Name:  IMG_3311.jpg
Views: 110
Size:  92.8 KB

Name:  IMG_3320.jpg
Views: 113
Size:  76.5 KB

Name:  IMG_3316.jpg
Views: 113
Size:  89.6 KB

Name:  IMG_3323.jpg
Views: 115
Size:  88.3 KB

Name:  IMG_3327.jpg
Views: 85
Size:  81.9 KB


Quick Reply: My 68 camaro finally in the shop


All times are GMT -5. The time now is 06:45 PM.