
I'd like to introduce "El Manual" stored for 22 years


Thread Starter
|
In the Staging Lanes
Joined: Jun 2012
Posts: 38
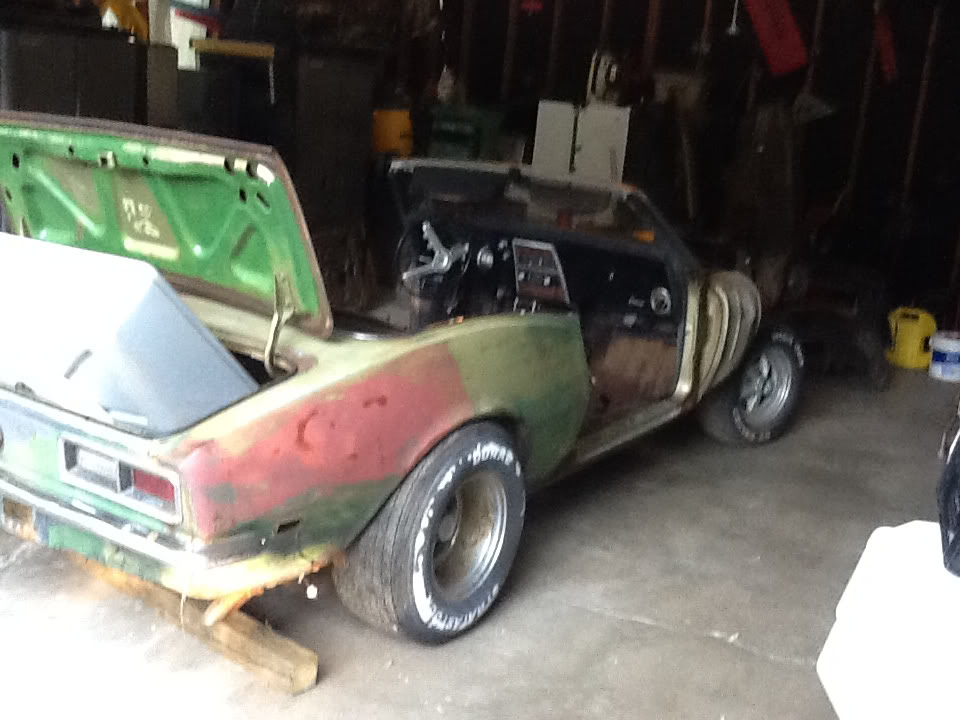
Is her name, she's a 1968 Convertible, original v6 base model. Everything is manual, which is where the name comes from. 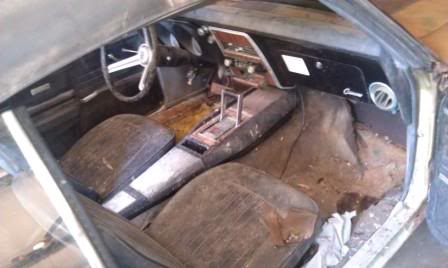
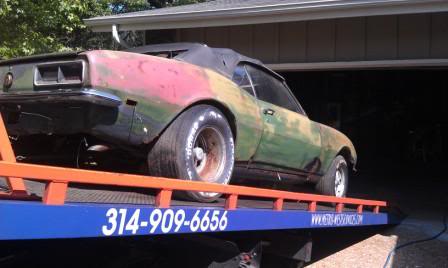
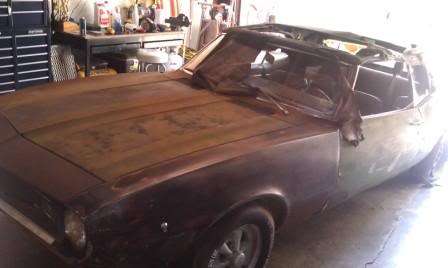
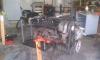
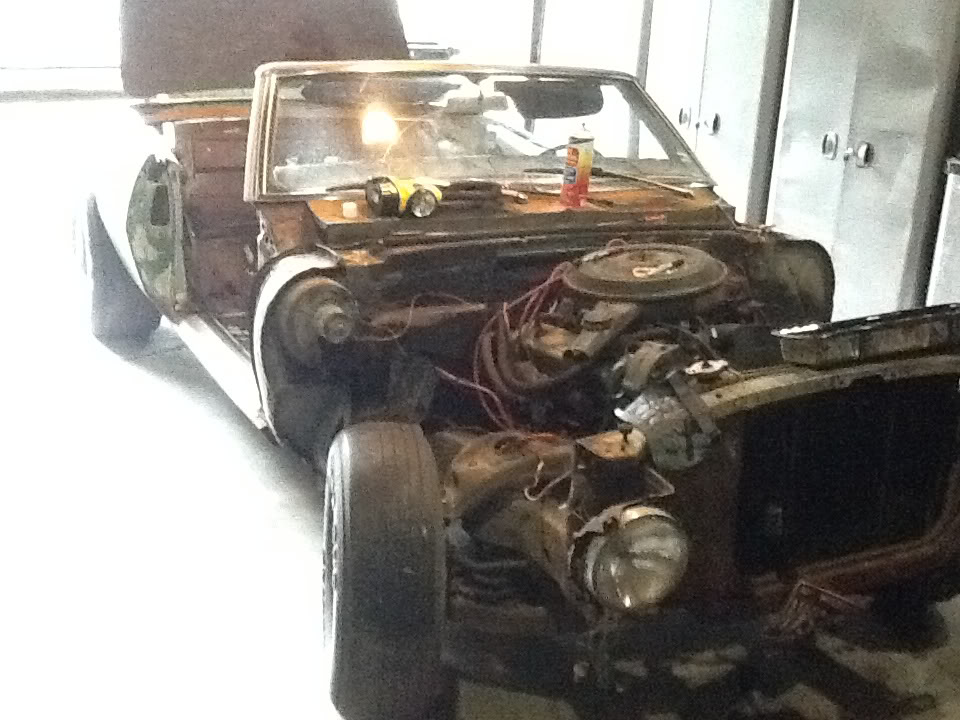
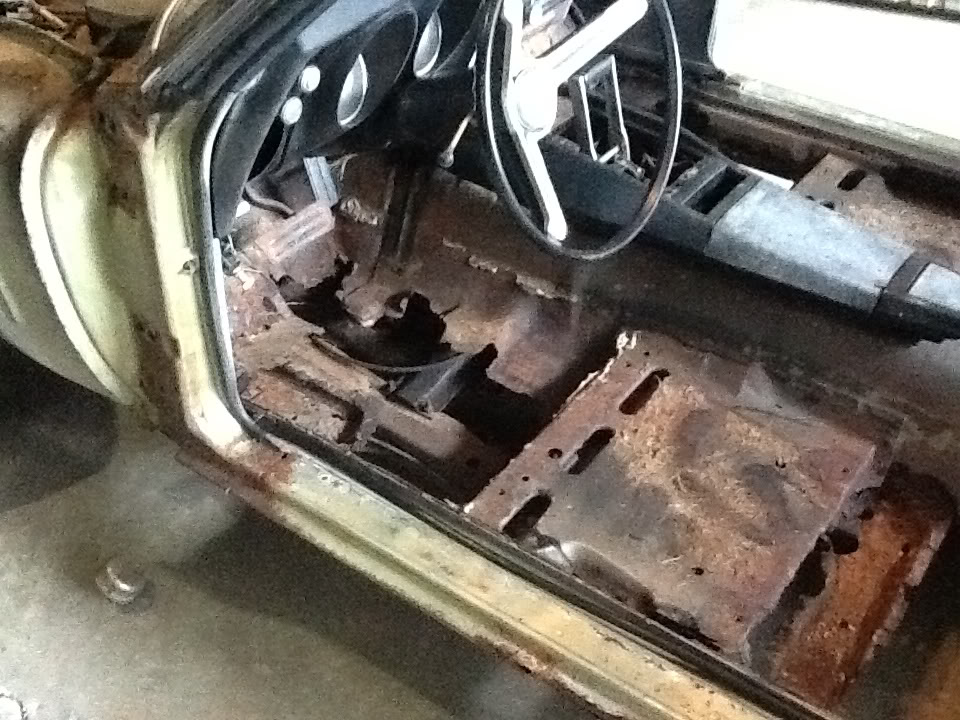
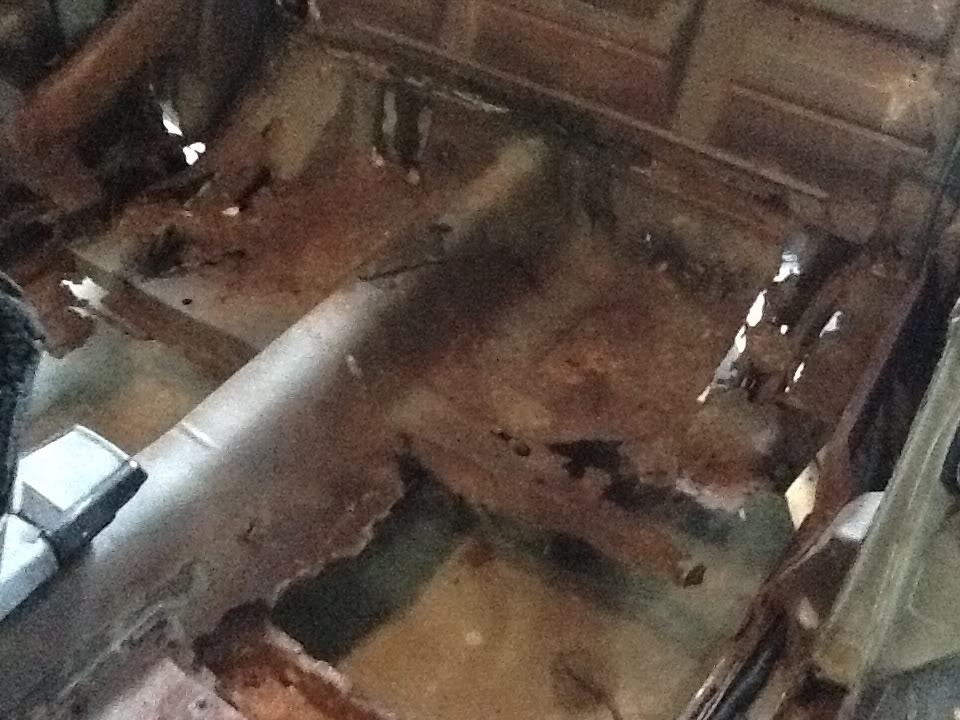
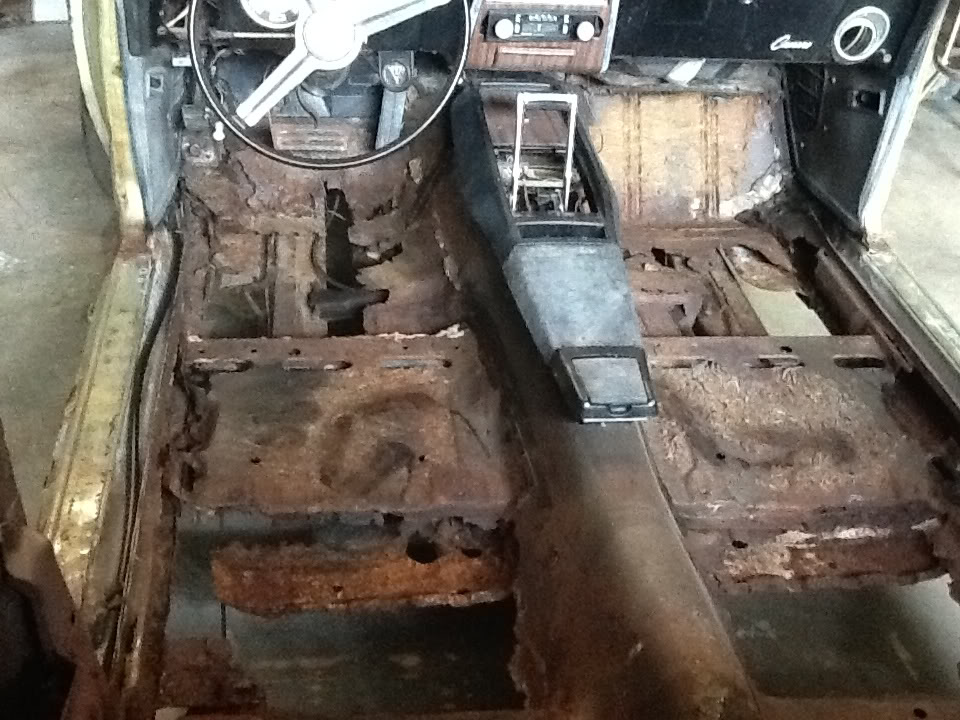
This is a recent barn find, that I had picked up today. The story goes like this. This Camaro was purchased by 2nd owner in 1980. This owner drove it for 10 years, and it was parked in 1990. It was parked in his brothers barn, until 3 years ago, when his brother sold his property. It has since then, sat outside, with a tarp covering it. Unfortunately, the "****" carpet, sitting damp for 22 years, has seriously deteriorated the floorboards. The body is rough, interior is shot, and engine is questionable. Engine cannot be started, as gas tank is rusted out.
I'm not a serious body man, but I've worked on light restoration projects for several years. This one is the worst, by far, but doable.
To do this right, what is the first step?

welcome to the forum. IMO the first place to start when restoring a car is to make a plan and a budget. do you want an original street car or a wild muscle car? do you have 10k or 30k? than go through and create a list of everything that can't be salvaged, this way you have an idea of what needs to be replaced first. pics are good too take as many as you can, when you think you have enough take more. this will be your instruction manual to reassemble.
also they make master bolt kits, basically every bolt you will need for the car with instructions, I suggest one of these.
also they make master bolt kits, basically every bolt you will need for the car with instructions, I suggest one of these.
Last edited by BasicConcepts; Jun 19, 2012 at 02:27 PM.


2nd Gear member
Joined: Jan 2012
Posts: 421
From: PA
Here's a few things I found to be very important in my build, first get a shop manual for your car, best book I ever bought, go to the grocery store and get a bunch of freezer bags, so you can label what's in them and also, I like to use those Cool Whip containers. Get a digital camera and like stated, take a lot of pictures and document things.
Then after you got your budget and plan for the car, start making a list of things you need and or want.
But the biggest thing is to make sure you got the space to do this at.
My wife is still mad that the garage is now home to my Camaro!
Then after you got your budget and plan for the car, start making a list of things you need and or want.
But the biggest thing is to make sure you got the space to do this at.
My wife is still mad that the garage is now home to my Camaro!
Thread Starter
|
In the Staging Lanes
Joined: Jun 2012
Posts: 38
Fellas, thanks for all your great tips, truly appreciated.
I had my budget in mind before I purchased the car, now I need to stick to it.
I have the space, most of the storage containers needed, and a large percentage of needed tools. This will be my 50+ vehicle repair/rebuild/restoration. However, I have yet to restore one in this condition. This car and build has been my goal for many many years! And it's finally here.
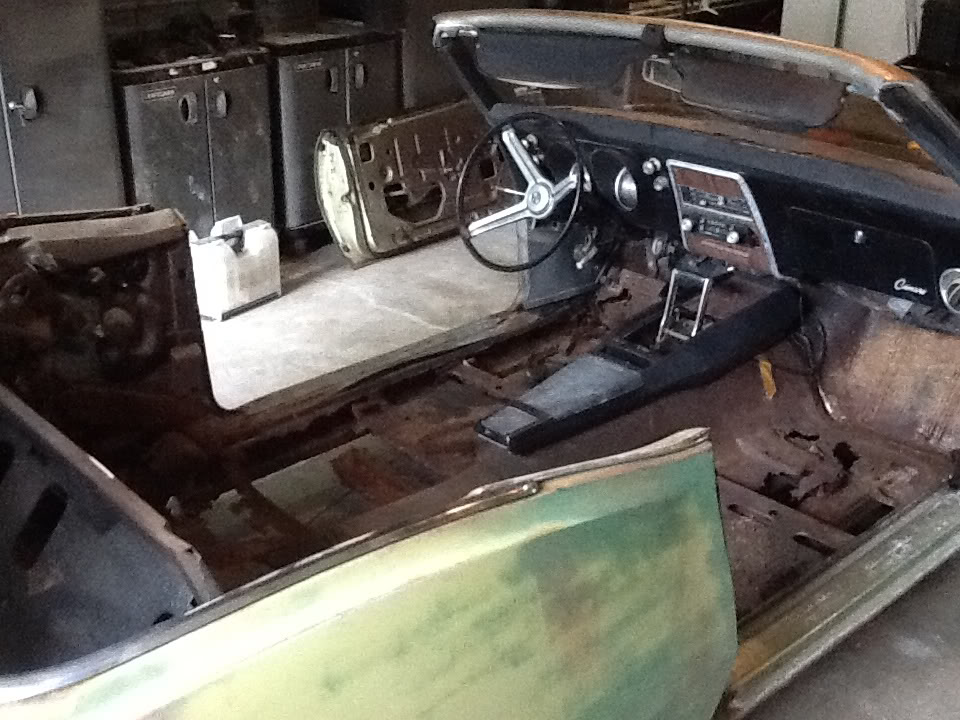
As I started the disassembly last night, removing the interior, I realized the true scope of what I was getting into. Full floor pan,inner and outer quarters, fenders and doors are questionable, and probably a few other things as I dig deeper.
I have a local blasting company, which will blast the main body, after I disassemble, for $500. I figure this is one of the best investments at this point, to clean out all the cancer!
Keep the information coming, and I will keep you updated, with pics
I had my budget in mind before I purchased the car, now I need to stick to it.
I have the space, most of the storage containers needed, and a large percentage of needed tools. This will be my 50+ vehicle repair/rebuild/restoration. However, I have yet to restore one in this condition. This car and build has been my goal for many many years! And it's finally here.
As I started the disassembly last night, removing the interior, I realized the true scope of what I was getting into. Full floor pan,inner and outer quarters, fenders and doors are questionable, and probably a few other things as I dig deeper.
I have a local blasting company, which will blast the main body, after I disassemble, for $500. I figure this is one of the best investments at this point, to clean out all the cancer!
Keep the information coming, and I will keep you updated, with pics

In the Staging Lanes
Joined: Jul 2010
Posts: 67
I just finished replacing a floor on a 67. It is really not that hard of a job. But, you had better stock up on grinding/sanding disks! I used a 1 piece re-pop floor from SS396. The real PITA is trying to save the extra supports for the convertible, under the floor. I wish I had just bought new ones. Though, it looks like you will need all new anyway.
Last edited by jno; Jun 26, 2012 at 06:44 AM.