Interior Overhaul (Paint it black)
#1
 08-17-2012, 07:04 PM


Hello all! I've been trolling these forums here for many months, and I figured that I should make an account and post something!
I was interested in doing an overhaul for my interior, however the threads that had information on it was vague at best, so I decided to do it anyways and post the results.
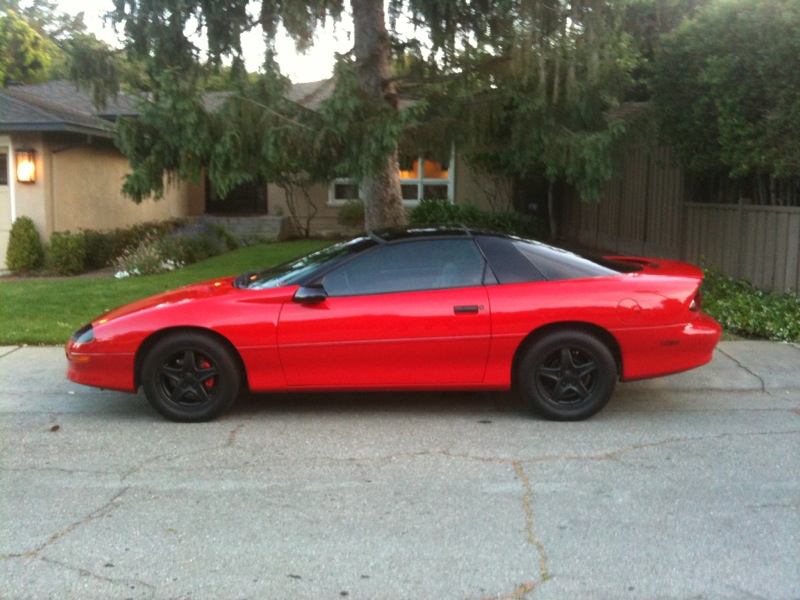
I own a 1997 camaro RS that comes stock with grey seats and a boring grey interior. I decided to spice things up a bit by doing an overhaul of the interior and repainting it all black, the results were great!
To start things off Here is a pic of my car:
What I decided to do was use was Duplicolor which is a vinyl/fabric paint that works very well!
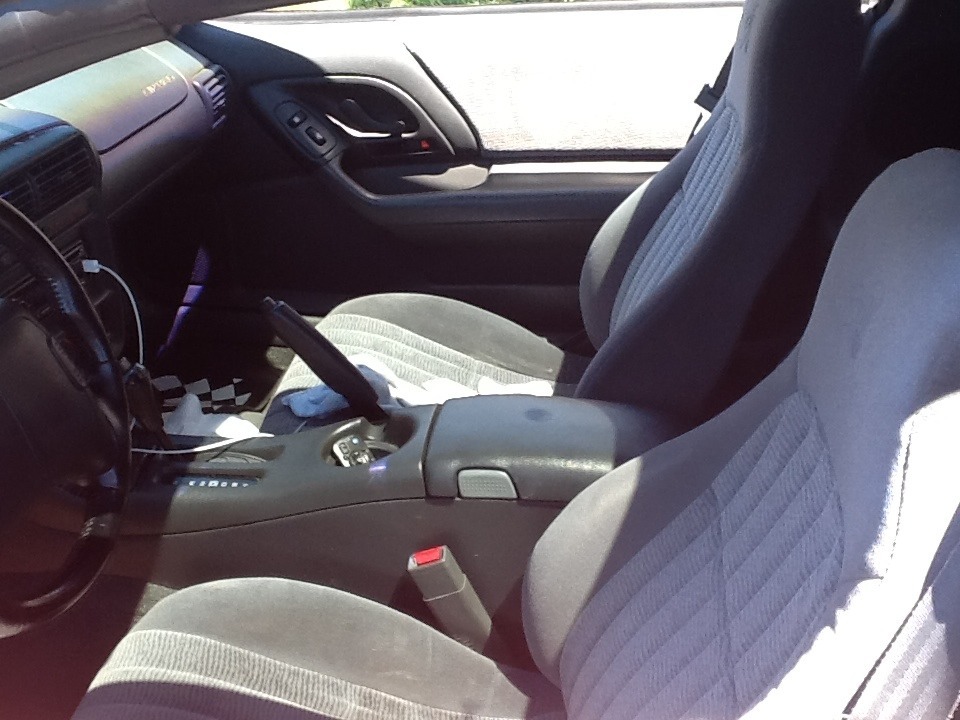
Here is a picture of the interior of my car as it was before the overhaul:
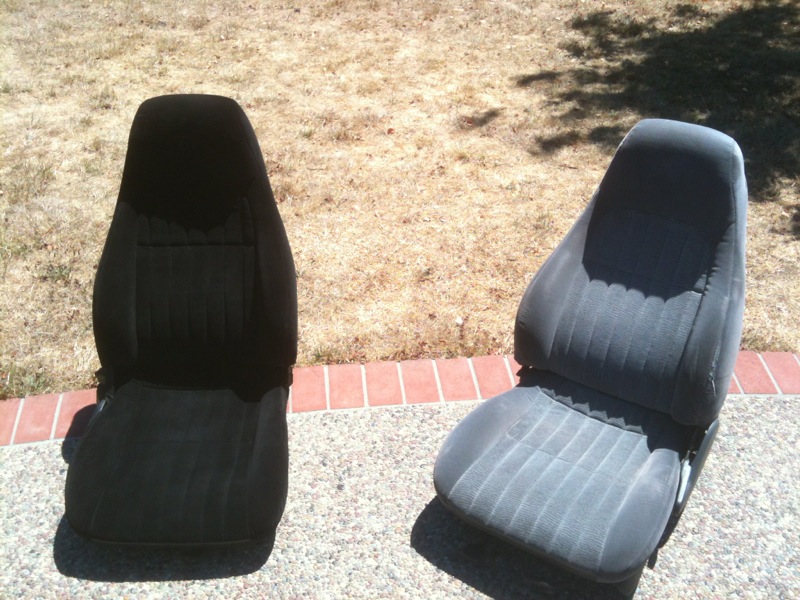
I unbolted and removed the seats to begin painting them. I used a whisk broom to remove any large particles of junk that may have been left on the seat. I sprayed 3 layers of duplicolor on the seats. This picture is after layer two, contrasting the painted seat with the unpainted one.
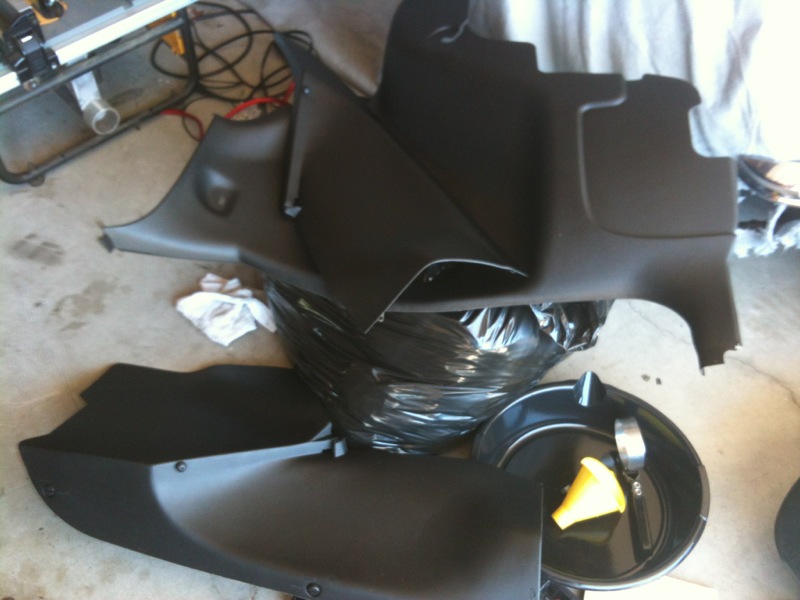
I removed and painted the interior side panels. For any large scratch I used 800 grit sandpaper, and I used 1200 grit for the rest of the panel so that the duplicolor had something to stick to. Importantly, I used a damp paper towel on the panel after sanding it in order to remove the fine pieces of vinyl that were removed from the high grit sandpaper.
It looks pretty nice when it's in the car.
The center console was pretty difficult to remove. It took my forever to realize that there were bolts under the coin carrying thingy. I (stupidly) decided to use the 800 grit sandpaper on the entire center console, which was a bad idea. There are scratch marks that are both visible and easily felt. When I do my next project (Hint: Interior lighting) I will sand down and repaint the center console using 1200 grit like I should have.

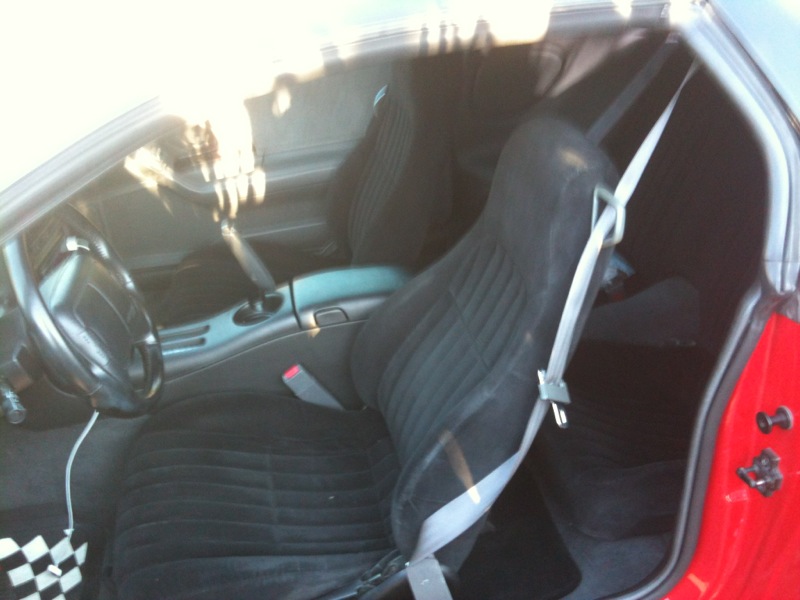
Here is a pic of the front seats. You can tell from the pic that there are splotches in the seat that are darker then the other parts. This is in part due to the fact that the seats were like that before I painted them. In order to reduce the stiffness of the seats I decided to use the 1200 grit sandpaper on the seat after each layer of paint. This dramatically increased the softness of the seat, however the seats are still much more stiff then before I painted them (duh?)
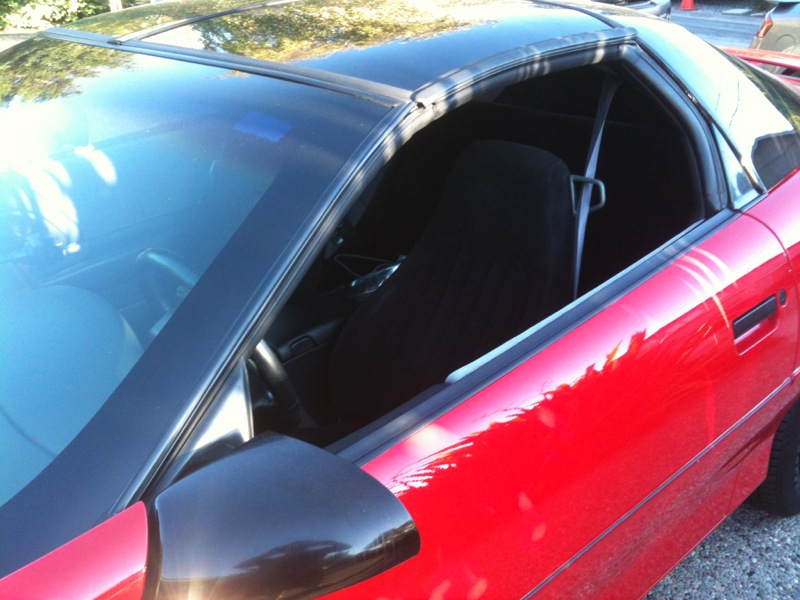
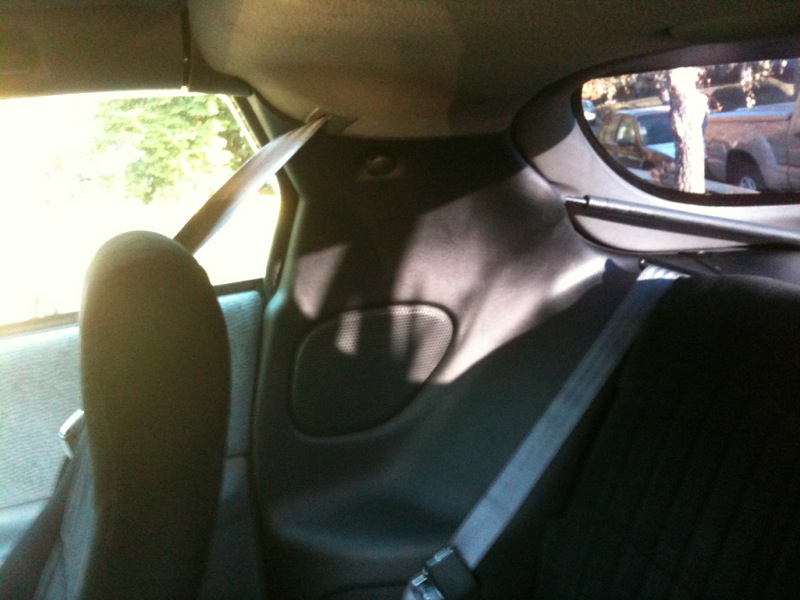
Here is a pic with the door closed. The rear of my car is tinted at 5% and the black seats/vinyl panels make the interior seem much darker, which is what I was going for.
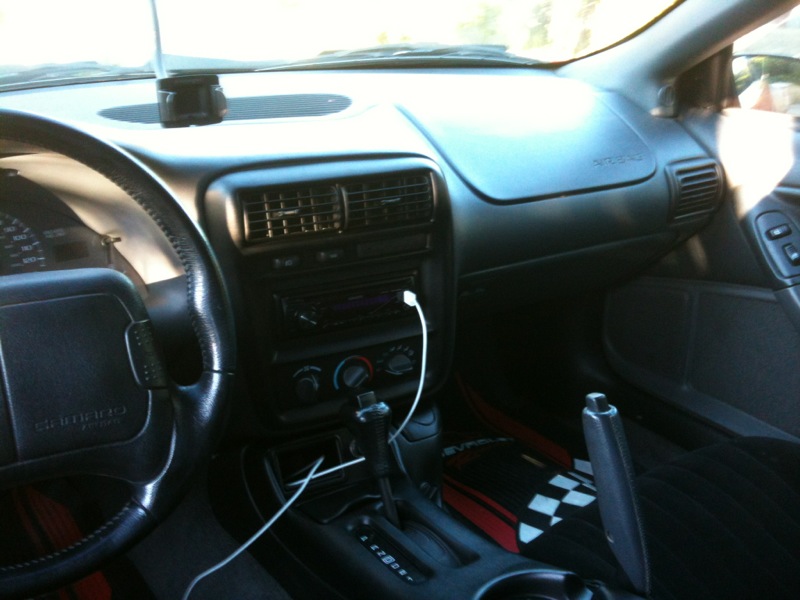
Here is a picture of the dash of my car. You can tell the color difference between the center console/dash and the vinyl in the doors of the car.
Here is a picture of the back seat of the car. You can tell that I did not get to the doors of the car yet, those are a project for a different day (hopefully soon)
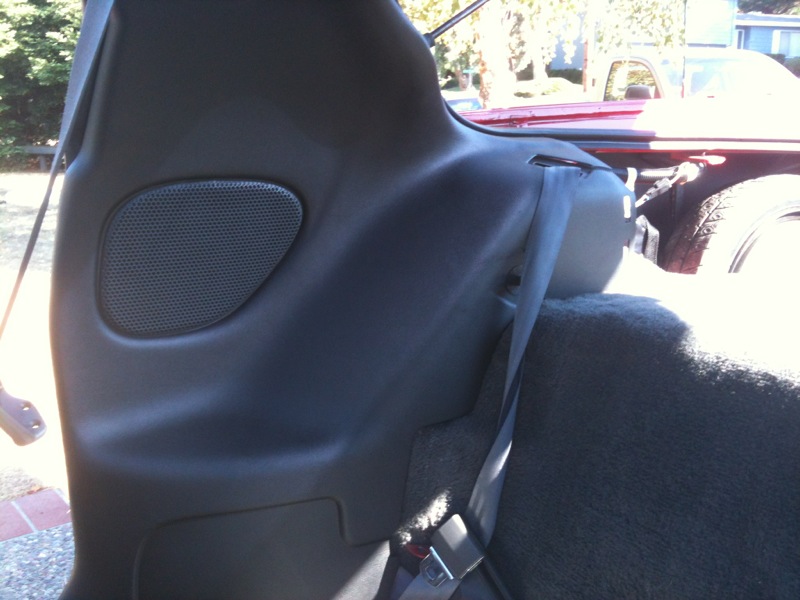
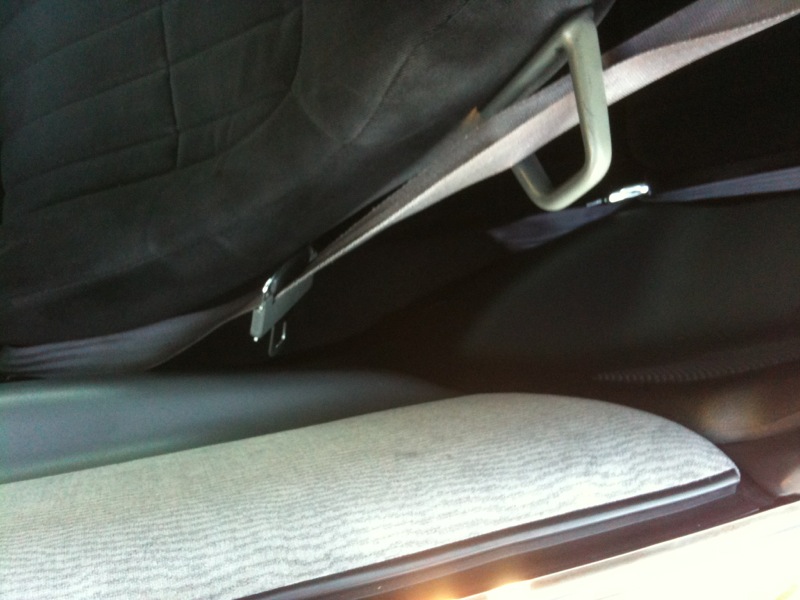
This final picture shows contrast between the black of the seat against the grey of the door fabric, and the black of the vinyl against the grey of the door's vinyl
The Pros
- Looks great
- Removes most scratches from the panels
The Cons
- Fabric is rough to the touch
- Fabric is a magnet for any and all hair and dust particles to cling to. I recommend using a lint roller to touch it up every now and then.
Overall this project turned out much better then I expected. I definitely recommend anyone who has though of doing something like this to totally go ahead and just do it. I also recommend stopping by your nearest auto parts dealer and ordering the paint ahead of time because the most that a store will have is about 4, and it took a lot of time going to about 5 different stores just to get enough cans of paint to finish the project. The seats took the most amount of paint, and the vinyl didn't take much paint at all, even doing multiple layers. Painting a single seat with a single coat took about a can and a half or so. I cheated by only painting the rear seat with one coat because it is difficult to tell a difference under normal lighting conditions. I almost forgot! When painting the seats don't forget to spread the fabric at the seams and spray the paint into the crease because if you do not then you will see unpainted areas of the seat when you sit on it. Also don't forget to paint the area of the seat that is only shown when the seat is pulled forward as if somebody were going into the back seat(which is something that I must do because I forgot)
Materials
- About 10 cans of duplicolor
- Two 8-10 hour days of labor (including breaks for lunch and trying to find more duplicolor)
I hope that this thread helps somebody out, and if anybody has any questions or would like more pictures please ask! Thanks for reading!
I was interested in doing an overhaul for my interior, however the threads that had information on it was vague at best, so I decided to do it anyways and post the results.
I own a 1997 camaro RS that comes stock with grey seats and a boring grey interior. I decided to spice things up a bit by doing an overhaul of the interior and repainting it all black, the results were great!
To start things off Here is a pic of my car:
What I decided to do was use was Duplicolor which is a vinyl/fabric paint that works very well!
Here is a picture of the interior of my car as it was before the overhaul:
I unbolted and removed the seats to begin painting them. I used a whisk broom to remove any large particles of junk that may have been left on the seat. I sprayed 3 layers of duplicolor on the seats. This picture is after layer two, contrasting the painted seat with the unpainted one.
I removed and painted the interior side panels. For any large scratch I used 800 grit sandpaper, and I used 1200 grit for the rest of the panel so that the duplicolor had something to stick to. Importantly, I used a damp paper towel on the panel after sanding it in order to remove the fine pieces of vinyl that were removed from the high grit sandpaper.
It looks pretty nice when it's in the car.
The center console was pretty difficult to remove. It took my forever to realize that there were bolts under the coin carrying thingy. I (stupidly) decided to use the 800 grit sandpaper on the entire center console, which was a bad idea. There are scratch marks that are both visible and easily felt. When I do my next project (Hint: Interior lighting) I will sand down and repaint the center console using 1200 grit like I should have.
Here is a pic of the front seats. You can tell from the pic that there are splotches in the seat that are darker then the other parts. This is in part due to the fact that the seats were like that before I painted them. In order to reduce the stiffness of the seats I decided to use the 1200 grit sandpaper on the seat after each layer of paint. This dramatically increased the softness of the seat, however the seats are still much more stiff then before I painted them (duh?)
Here is a pic with the door closed. The rear of my car is tinted at 5% and the black seats/vinyl panels make the interior seem much darker, which is what I was going for.
Here is a picture of the dash of my car. You can tell the color difference between the center console/dash and the vinyl in the doors of the car.
Here is a picture of the back seat of the car. You can tell that I did not get to the doors of the car yet, those are a project for a different day (hopefully soon)
This final picture shows contrast between the black of the seat against the grey of the door fabric, and the black of the vinyl against the grey of the door's vinyl
The Pros
- Looks great
- Removes most scratches from the panels
The Cons
- Fabric is rough to the touch
- Fabric is a magnet for any and all hair and dust particles to cling to. I recommend using a lint roller to touch it up every now and then.
Overall this project turned out much better then I expected. I definitely recommend anyone who has though of doing something like this to totally go ahead and just do it. I also recommend stopping by your nearest auto parts dealer and ordering the paint ahead of time because the most that a store will have is about 4, and it took a lot of time going to about 5 different stores just to get enough cans of paint to finish the project. The seats took the most amount of paint, and the vinyl didn't take much paint at all, even doing multiple layers. Painting a single seat with a single coat took about a can and a half or so. I cheated by only painting the rear seat with one coat because it is difficult to tell a difference under normal lighting conditions. I almost forgot! When painting the seats don't forget to spread the fabric at the seams and spray the paint into the crease because if you do not then you will see unpainted areas of the seat when you sit on it. Also don't forget to paint the area of the seat that is only shown when the seat is pulled forward as if somebody were going into the back seat(which is something that I must do because I forgot)
Materials
- About 10 cans of duplicolor
- Two 8-10 hour days of labor (including breaks for lunch and trying to find more duplicolor)
I hope that this thread helps somebody out, and if anybody has any questions or would like more pictures please ask! Thanks for reading!
Last edited by Zaitsev11; 08-17-2012 at 07:34 PM. Reason: Left out info accidentally

#4
08-17-2012, 10:32 PM


Join Date: Oct 2007
Location: The 'Burbs of Chicago
Posts: 18,306
Turned out looking pretty good.
Check out this stuff for next time: Spray Paint Upholstery Cloth Cushion Fabric Carpet Auto Interior Dye
Check out this stuff for next time: Spray Paint Upholstery Cloth Cushion Fabric Carpet Auto Interior Dye

#6
09-14-2012, 08:02 PM

Wow, the plastic panels look way better. I've got that nasty, dull, ugly, grey too and want to change it


Thread
Thread Starter
Forum
Replies
Last Post
Asimplename
82-92 Wheels, Tires and Exterior
7
07-15-2006 06:19 PM