
CraZ28's Engine Build Thread


Thread Starter
|
Banned
Joined: Feb 2010
Posts: 0
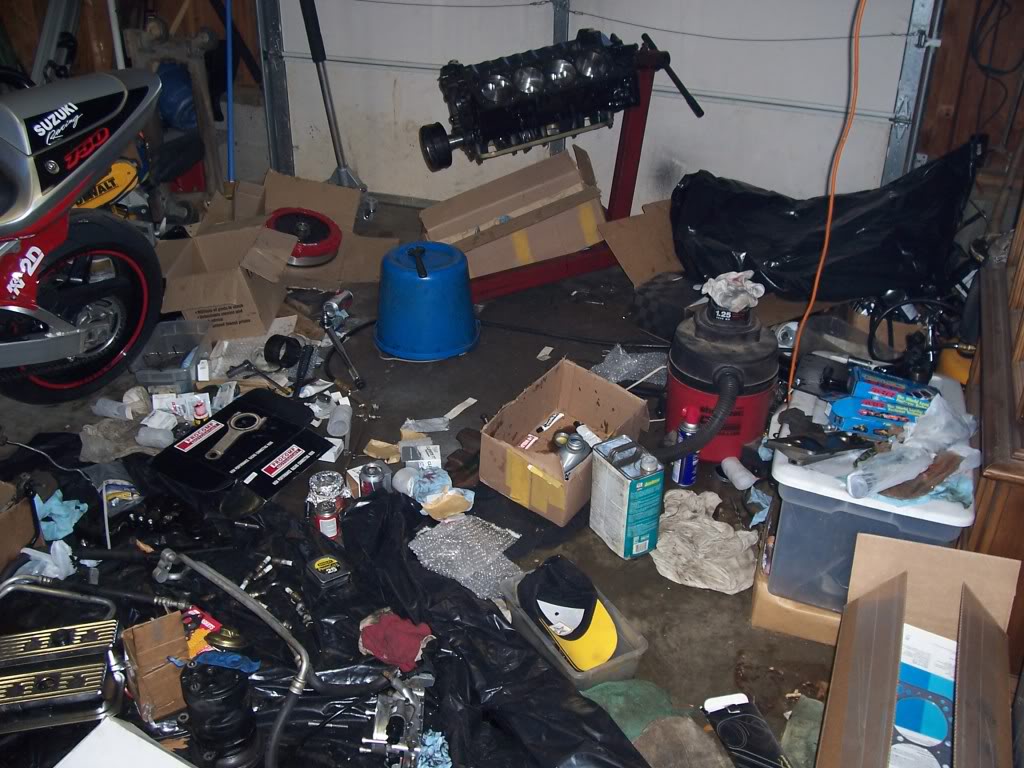
After a day of assembly, I have my doubts about this car running again. I had to grind a lot off the block to clear the rod bolts, actually going into the cooling system. I repaired and reinforced the grinding with JB weld. I know, this is a ghetto red neck build. I just don't have anything to do. The rods clear the stock cam by how much I do not know. Here is a pic of my nice clean work area
 !
!
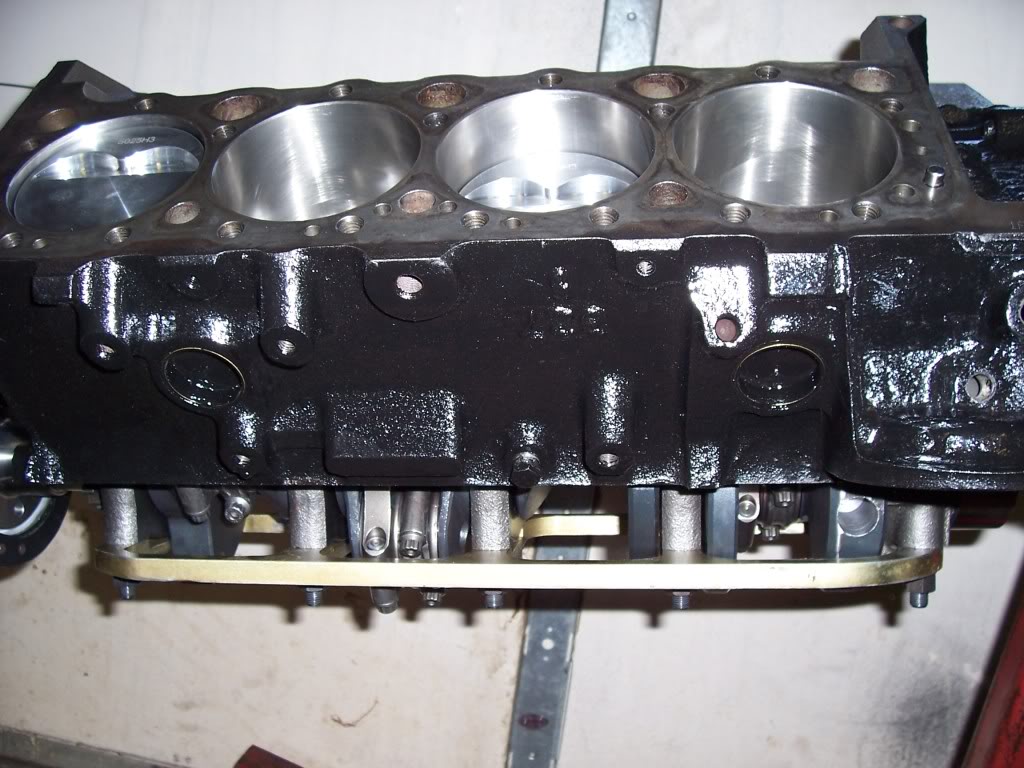
I also dropped the crank from about three feet in the air, and chipped a main cap, oopps!
!I also dropped the crank from about three feet in the air, and chipped a main cap, oopps!
Last edited by CraZ28; Mar 17, 2010 at 08:04 PM.
Thread Starter
|
Banned
Joined: Feb 2010
Posts: 0
C and C auto in Manassas has the only unleaded gasoline available. It is high octane though which sucks. I think the gasohol that you can get at the pump has fireretardents in it now.
Thread Starter
|
Banned
Joined: Feb 2010
Posts: 0
 I don't think the guys that balenced it knew what they were doing. They did'nt have a machine just a couple blocks of wood nailed together to make a jig. Funny thing is the guy said it did'nt matter if I used my stock steal flywheel or my aluminum one. Plus he sent the crank out to have metal put in the front counter weight at my expense when he drilled a big hole in it? I've lost all hope!
Thread Starter
|
Banned
Joined: Feb 2010
Posts: 0
Today was a good day. I installed my new oil pump with a copper gasket and loaded it up with lithium assembly lube to be ready for priming. A little JB weld before tapping the oil pick-up tube into place. The heads installed without a hitch. First buffing the gasket surfaces with acetone and lintless cloths, the Fel-Pro 1074's fit snug. I was very impressed with the ARP head bolts as I first cleaned all the packing grease off of them and the washers, lubed the bolt heads and washers with a new ARP super lube mixed with a little Mobile one engine oil. It has a "minty" freshness to it. Then with the ARP liquid teflon I kept a nice coating on the threads. Easing the head bolts to sixty-five foot pounds after a thirty-five initial torque, in the correct sequence, I felt accomplishment. Then installing my new roller lifters and chromoly pushrods with a little tacky red assembly lube I brought her to TDC and did a valve adjustment. The stock windage tray was installed on top of the main studs/ARP nuts, with three bolts/nuts I picked up from home depot, extending off the main studs about an inch! It was a little scary putting the oil pan on and hearing a "clunk", especially after beating the oil pan into submission to clear the main girdle. I did a little extra clearencing on the oil pan and gasket to miss the rod bolts, then realized it was just tapping the top of the pan at the front, which I took care of with a few presice blows from my Eastwing! Using all GM timing cover gaskets I was able to get the water pump seal on correctly too!
I am not half assing anything bud!
I am not half assing anything bud!
Last edited by CraZ28; Mar 18, 2010 at 07:59 PM.
Thread Starter
|
Banned
Joined: Feb 2010
Posts: 0
O'ya, anyone know the steam pipe's torque specs for the banjo bolts? I went thirty-five! Also who's got the oil cooler o'ring seals? I think the part number is 14090908?
I'm ready to prime this biotch!!!!!!!!!!!!
I'm ready to prime this biotch!!!!!!!!!!!!

ROTM Winner
Joined: May 2007
Posts: 2,222
ROTM Winner's Club
After a day of assembly, I have my doubts about this car running again. I had to grind a lot off the block to clear the rod bolts, actually going into the cooling system. I repaired and reinforced the grinding with JB weld. I know, this is a ghetto red neck build. I just don't have anything to do. The rods clear the stock cam by how much I do not know. Here is a pic of my nice clean work area !
!
I also dropped the crank from about three feet in the air, and chipped a main cap, oopps!
!I also dropped the crank from about three feet in the air, and chipped a main cap, oopps!
anyway, keep us posted on how things are going
Thread Starter
|
Banned
Joined: Feb 2010
Posts: 0
Well while doing some moc-up I rolled the engine and the crank fell out, but it landed on my knees first then fell on the floor after hitting the engine stand. I did'nt see any nicks on the journals but the center main cap had a "chip" missing. I do consider myself a red-neck though, and I live in a "wooded" ghetto.
Are you going to answer my questions or just quote me?
Are you going to answer my questions or just quote me?
Last edited by CraZ28; Mar 18, 2010 at 10:03 PM.