
4th gen HID install (sealed beams too)


Thread Starter
|
Overdrive Member
Joined: Sep 2005
Posts: 4,053
From: Granbury, TX
After many PMs, general HID install questions, and the request of one Ninja, I have decided to put together a basicHID install for the 4th gen, even those of uswho have sealed beams. Keep in mind, that pictures are from my 97 Camaro, so depending on year orvehicle, mounting locationsmay vary. All 4th gens with the exception of the 93-97 Firebirds will use 9006 for the lows, and 9005 for the highs. In general you HID kit will come with two ballasts w/brackets, two bulbs, and four sets of wires. These kits are pretty simple toplug up, but feel free to ask any questions. I didn't take pics ofany kits, as all mine are installed, and I really don't feel like taking it apart.  For the 98-02 Camaros, the install is a simple bulb swap, but I will show you how I routed the wires and where I mounted the ballasts. For those who have sealed beams there are two options to install the HID bulb.
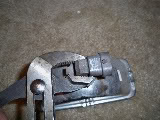
Twist old bulb off... Then seal in new bulb using RTV.
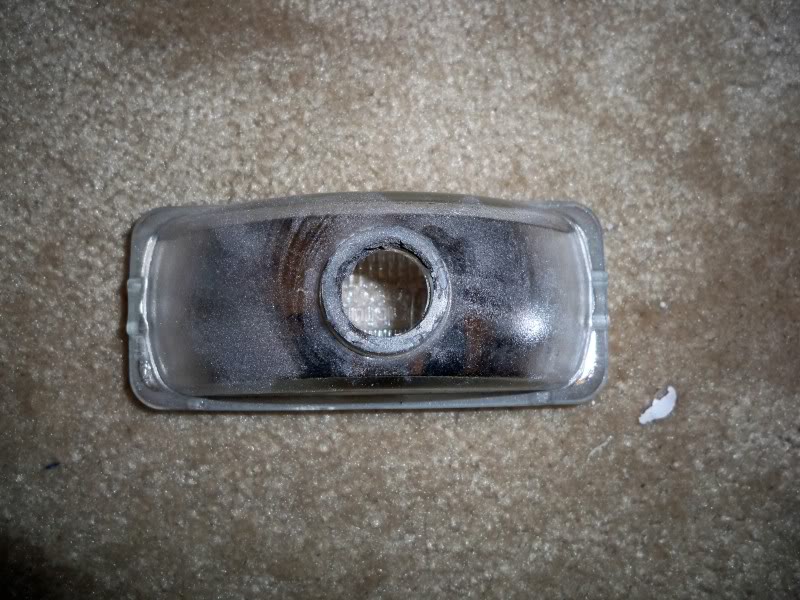
Or you can purchase new housing from www.eurolamps.com. Picture will show you what the back of the housing is like.
First, you will need to find how/where you want to run your wires. You will havetwo sets of wires per bulb. One set plugs into the stock headlight harness and into the ballast. Then the other set plugs into the ballast and HID bulb.
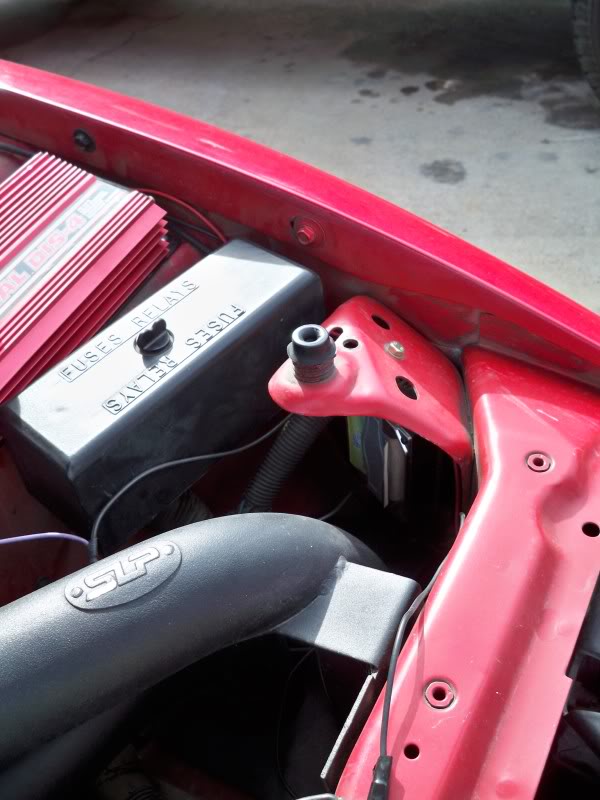
On the drivers side, I ran the wires through what looks like used to be a stock air duct.
 The duct I am referring to is the black piece at the bottom.
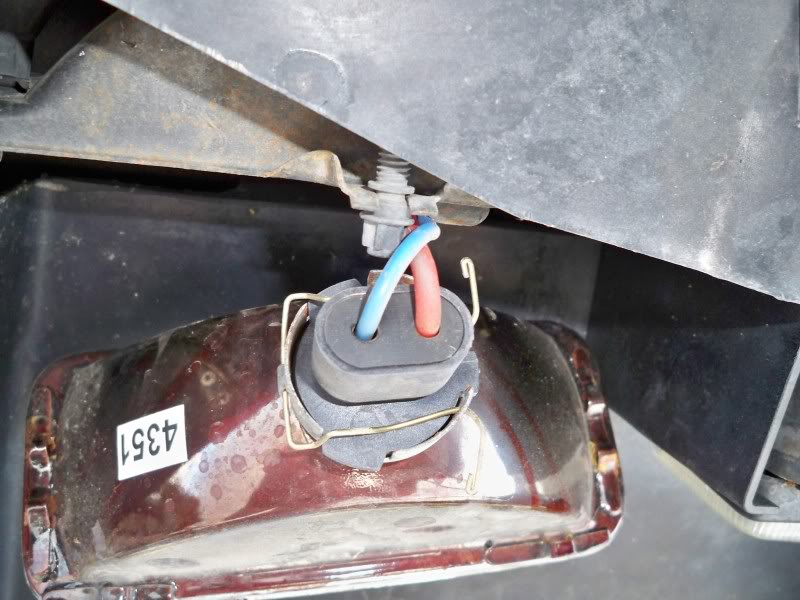
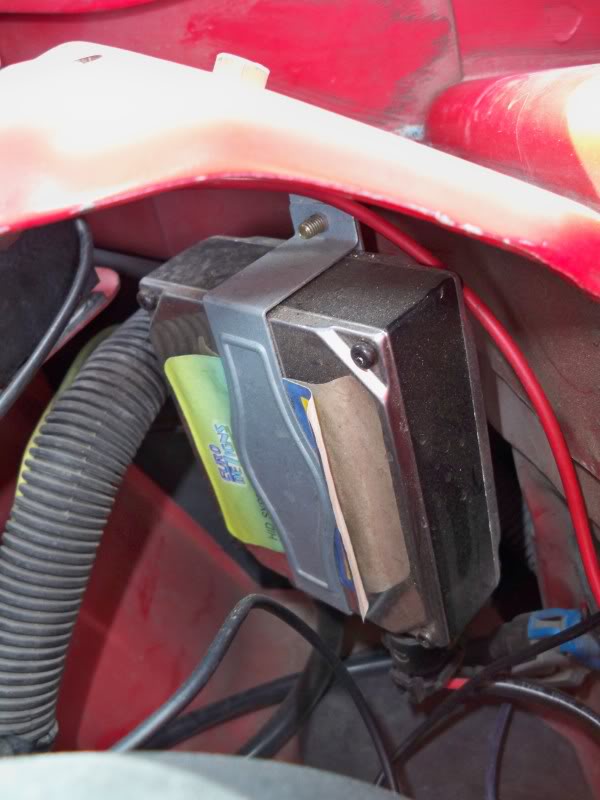
Driver side ballast install
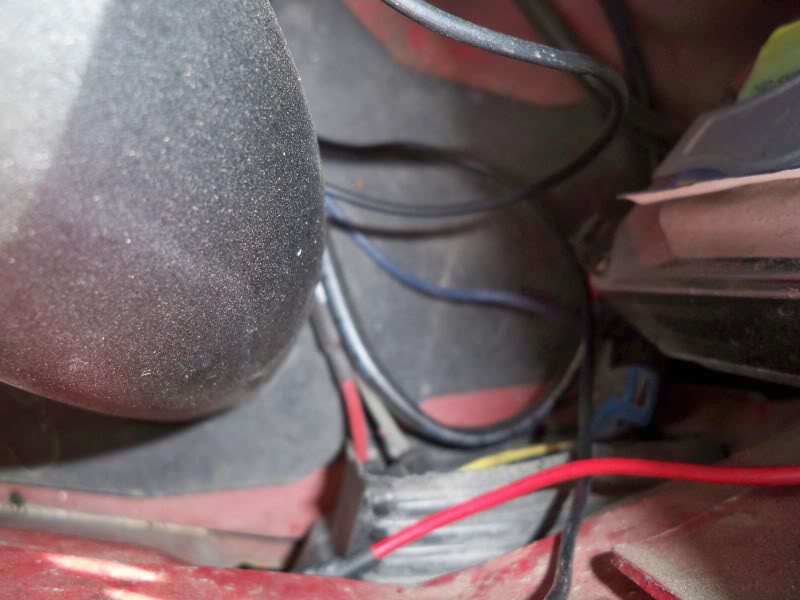
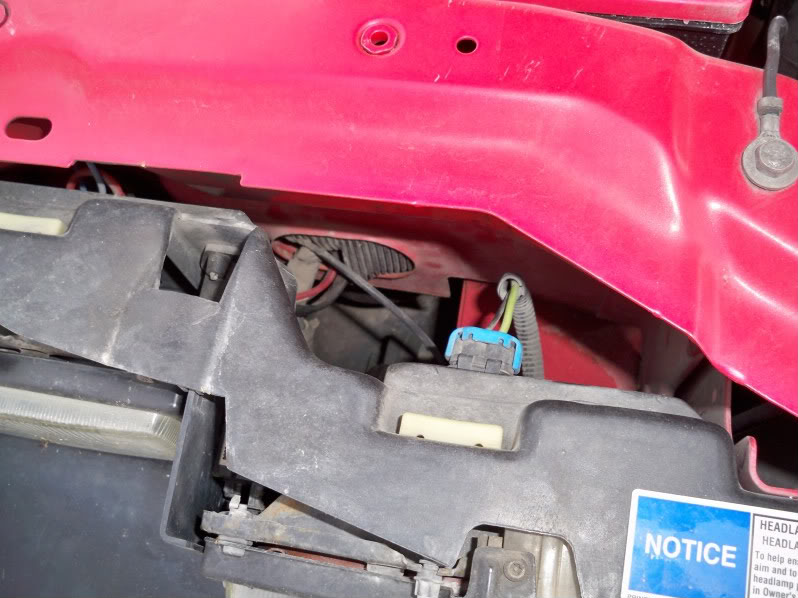
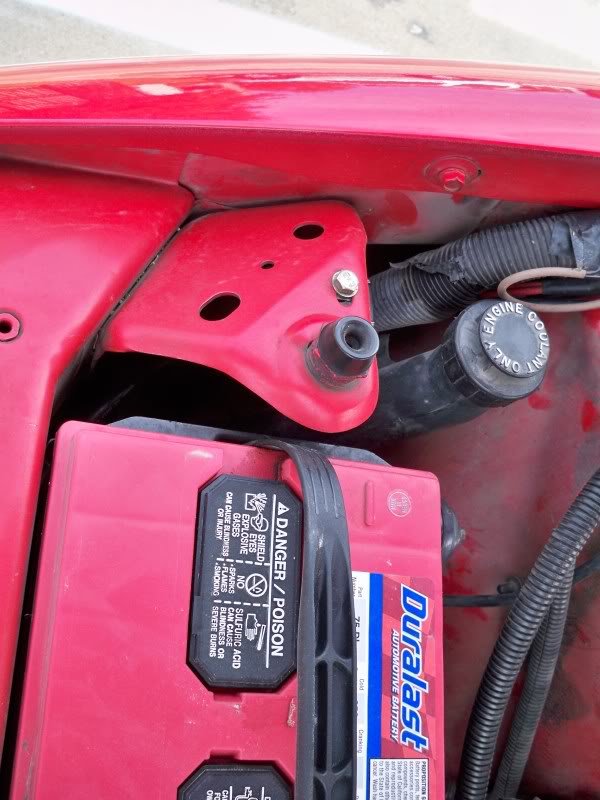
For the passenger side I ran the wires with some other wires that go behind the battery. Battery must be removed to access them.
In pic you will see the headlights on passenger side. Wire passage mentioned is almost right in the middle of the pic.
Pic is sideways...
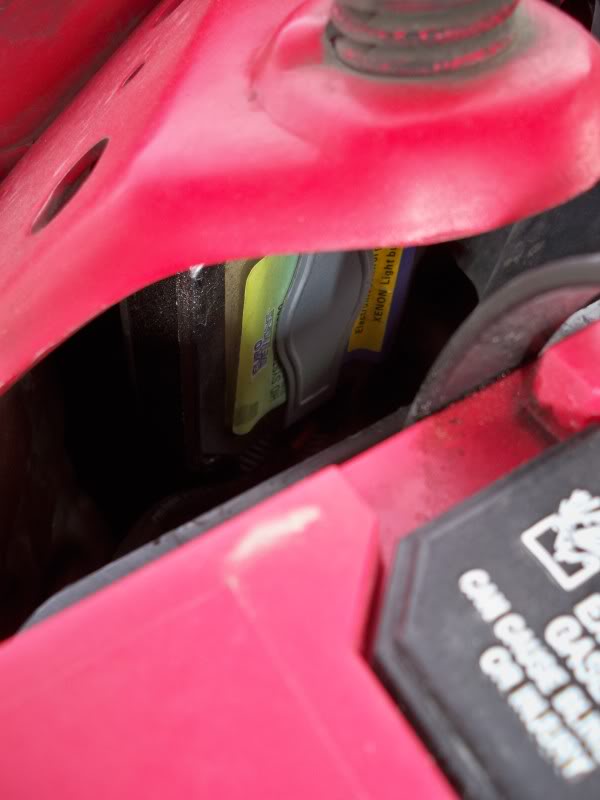
Last but not least. Passenger side ballast install.
Not really that hard. Just time consuming. Ballasts are just hanging from the brackets that came with my kit. Some kits come with tie wraps instead of brackets. Feel free to ask any questions.
For the 98-02 Camaros, the install is a simple bulb swap, but I will show you how I routed the wires and where I mounted the ballasts. For those who have sealed beams there are two options to install the HID bulb. Twist old bulb off... Then seal in new bulb using RTV.
Or you can purchase new housing from www.eurolamps.com. Picture will show you what the back of the housing is like.
First, you will need to find how/where you want to run your wires. You will havetwo sets of wires per bulb. One set plugs into the stock headlight harness and into the ballast. Then the other set plugs into the ballast and HID bulb.
On the drivers side, I ran the wires through what looks like used to be a stock air duct.
The duct I am referring to is the black piece at the bottom.Driver side ballast install
For the passenger side I ran the wires with some other wires that go behind the battery. Battery must be removed to access them.
In pic you will see the headlights on passenger side. Wire passage mentioned is almost right in the middle of the pic.
Pic is sideways...
Last but not least. Passenger side ballast install.
Not really that hard. Just time consuming. Ballasts are just hanging from the brackets that came with my kit. Some kits come with tie wraps instead of brackets. Feel free to ask any questions.
Thread Starter
|
Overdrive Member
Joined: Sep 2005
Posts: 4,053
From: Granbury, TX
Thanks. http://eurolamps.com/eurolamps/camaro_headlights.htm
That is link to sealed beam conversion housings. Has some for the 98+ Firebirds/Trans Ams. You can probably get them without the bulbs, but not sure.
That is link to sealed beam conversion housings. Has some for the 98+ Firebirds/Trans Ams. You can probably get them without the bulbs, but not sure.

Ninja Administrator
Joined: Jun 2007
Posts: 6,172
From: Potato

wait, i havent had to change a bulb in the TA yet, but they arent sealed are they? i should be able to follow ur writeup and just have to mount the ballasts where they wont interfere with the lights as they flip up.
Thread Starter
|
Overdrive Member
Joined: Sep 2005
Posts: 4,053
From: Granbury, TX
Just a heads up... I do not have HID installed for the brights, for two reasons. 1) I rarely have an opportunity to use them, and 2) repeated on/off cycles will wear them out faster.

1st Gear Member
Joined: Mar 2008
Posts: 102
nice demo, thanks for putting this up for us. but on the driver's side, you referred tosomething that"looks like it used to be a stock air duct". what modifying did you do to not make this area an air duct anymore? im still a little bit of a novice, so please bear with me.[sm=smiley23.gif]
1st Gear Member
Joined: Mar 2008
Posts: 102
i think i see what youre talking about. are the ballasts or the wires theirselves hanging from those holes? (the ones along the bottom edge of the underhood area, not the sides)