
Caspa - Gh0st's 96 Camaro RS Thread (LOTS OF PICS!)


Thread Starter
|
In the Staging Lanes
Joined: Feb 2011
Posts: 70
From: Disco Bay
Hey Everyone,
This is a tread to show all the work I have done to my Camaro along with future plans, ideas that y'all might have or any issues/questions anyone may have. I know I have had my fair share of issues when modifying my Camaro so I'm here to help.
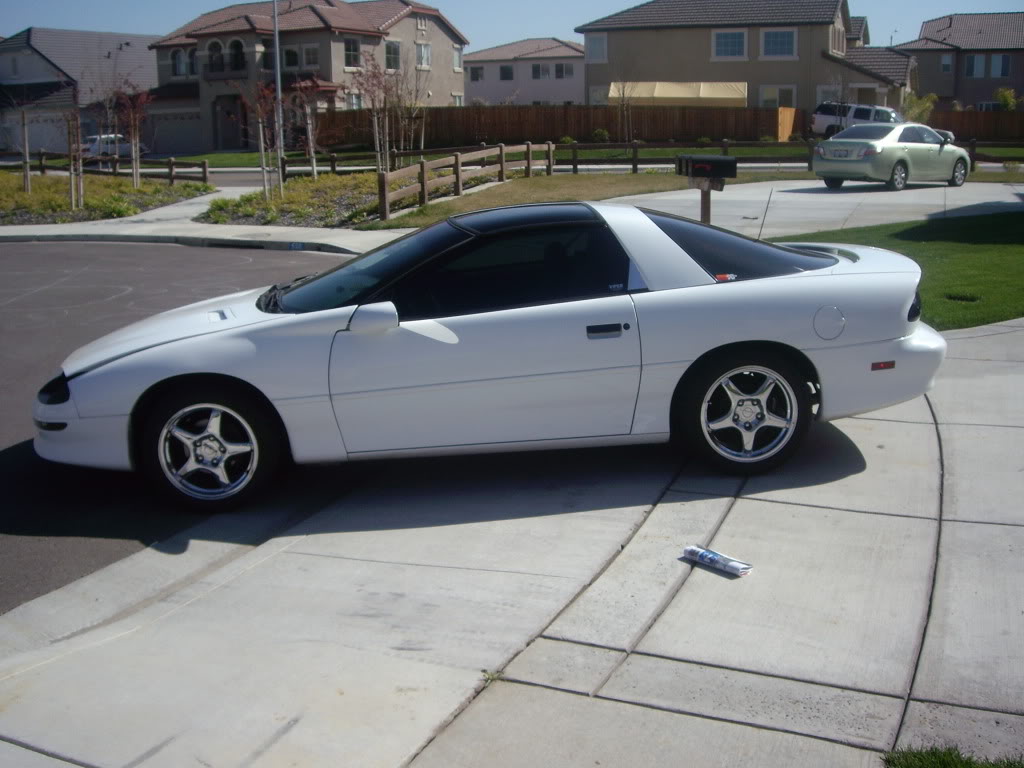
Let me first start off with I have a 1996 Camaro RS Convert. (I'm still hunting down the original sticker to verify if it is indeed an RS or just a Base. Not that it really matters because I'm not calling it an SS or Z/28.)
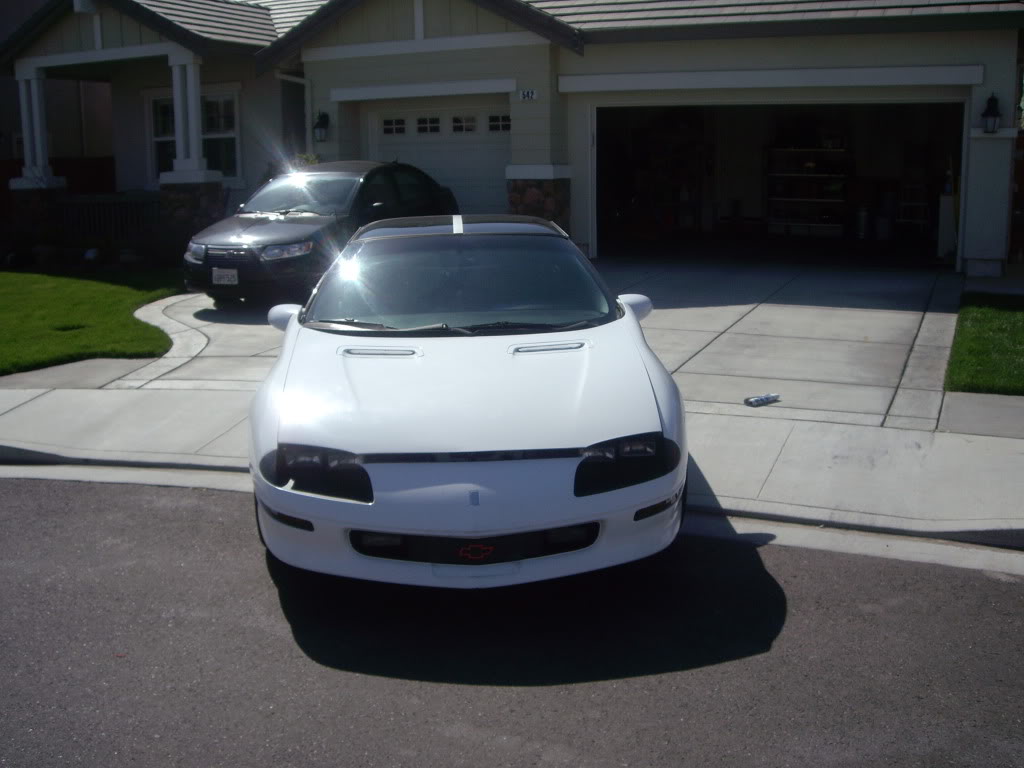
STOCK (Just Purchased. 06/01/2008)
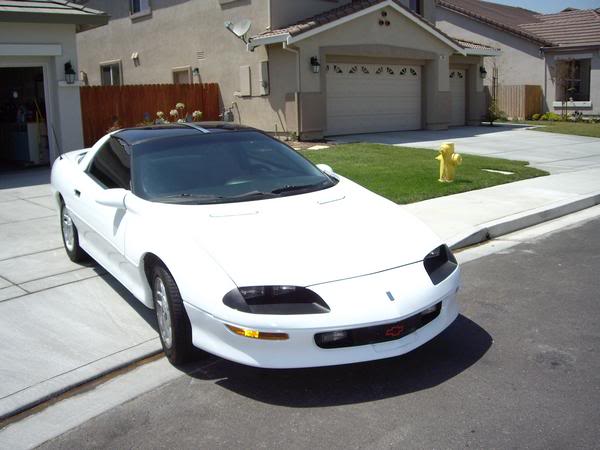
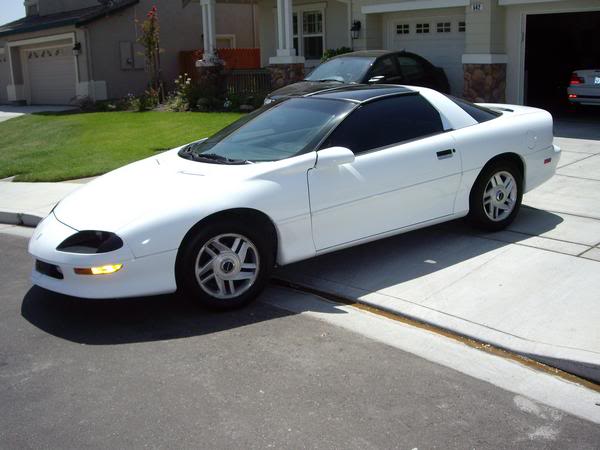
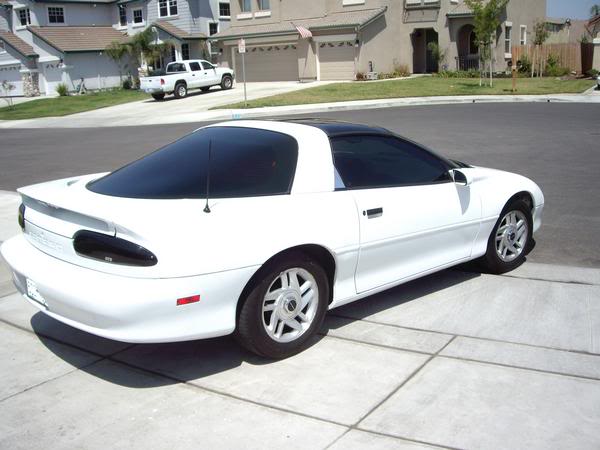
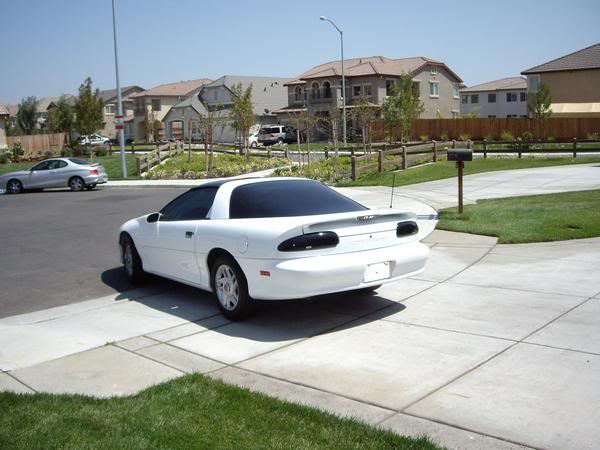
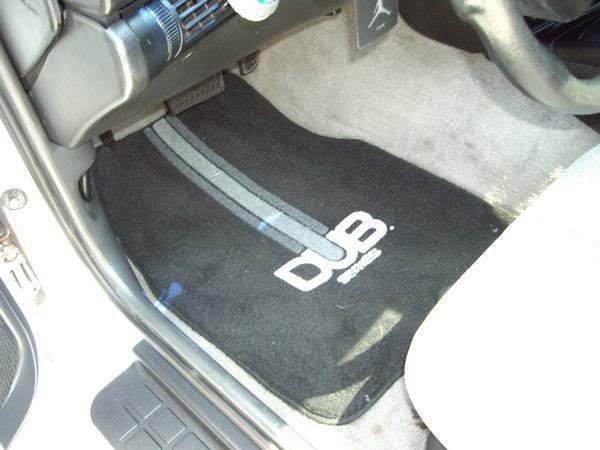
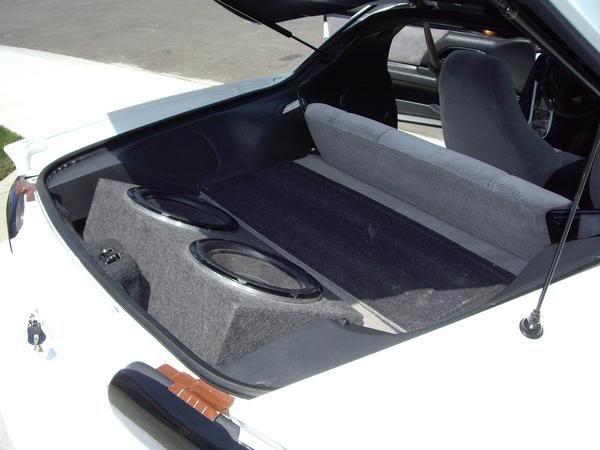
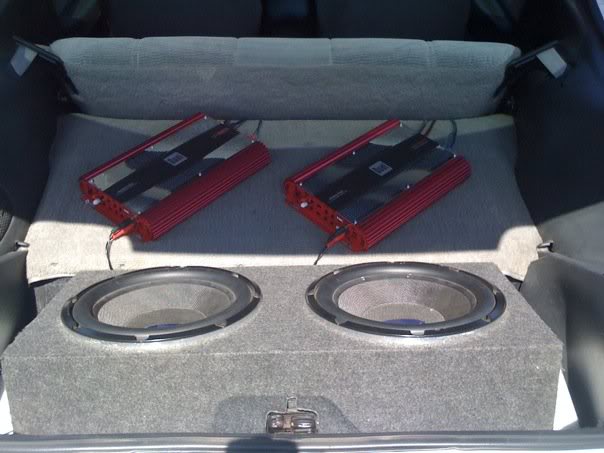
That was what she looked like when I bought her. The sub box and subs are mine. I was starting to do the stereo when I figured I should take some before pictures. :P I also removed the DUB floor mats and the sticker on the rear tail light.
UPGRADE/MODIFICATION SET ONE (MagnaFlow Turndowns. 07/14/2008)
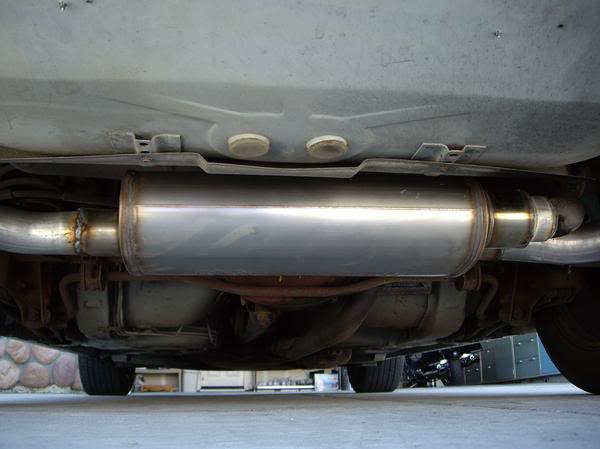
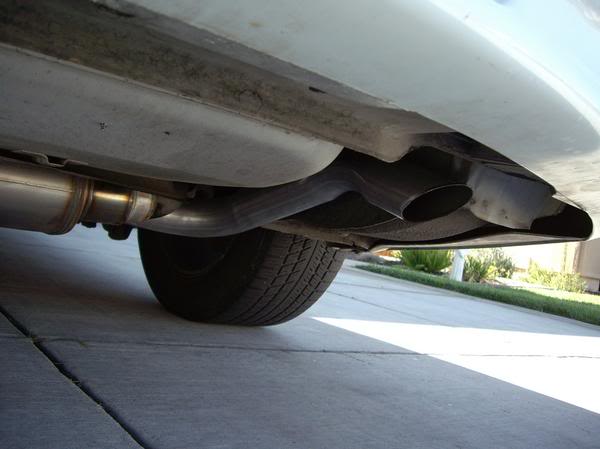
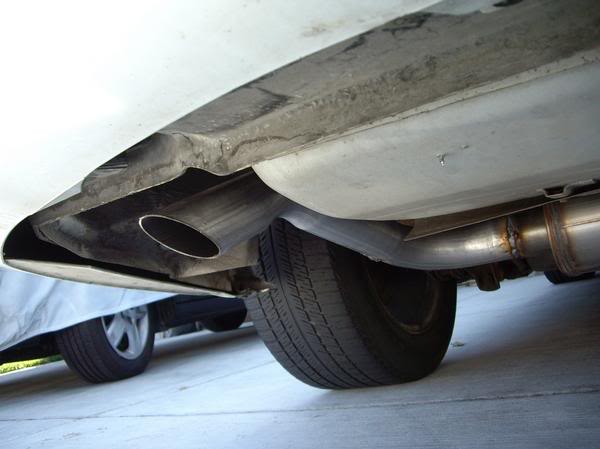
^- I had my MagnaFlow exhaust installed by a local muffler shop and he had the system on hand, most muffler shops will have MagnaFlow/FlowMaster & Borla on hand if not they can order it.
UPGRADE/MODIFICATION SET TWO (Fixing the Viper Alarm 08/01/2008)
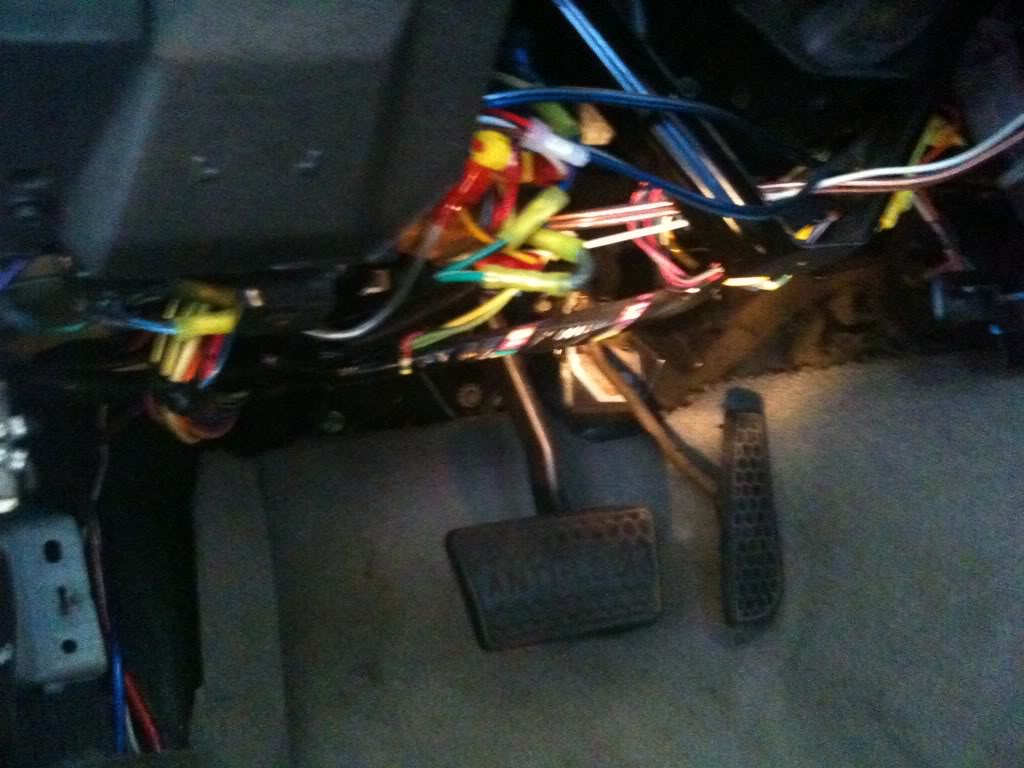
^- Before
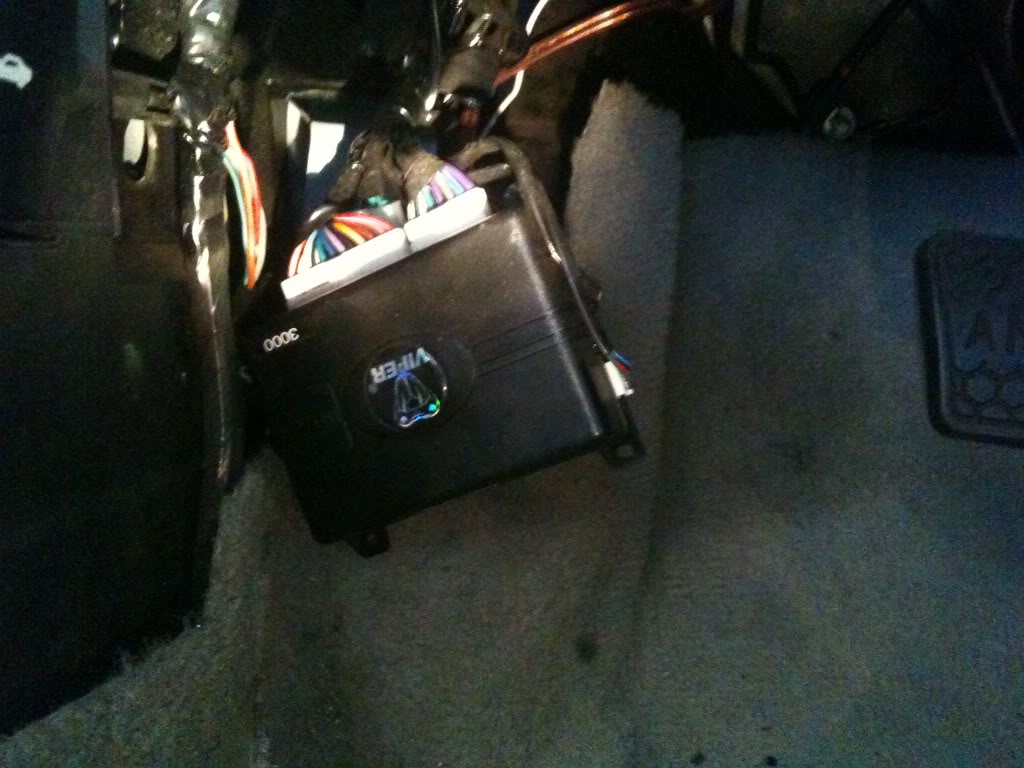
^- After (This was such a pain in the @$$ but, It was required because my alarm brain would keep falling and set off my alarm at random times, plus the wiring looked like a 3rd grader had done it.)
UPGRADE/MODIFICATION SET THREE (K&N CAI, Smoked Side Markers 03/01/2009)
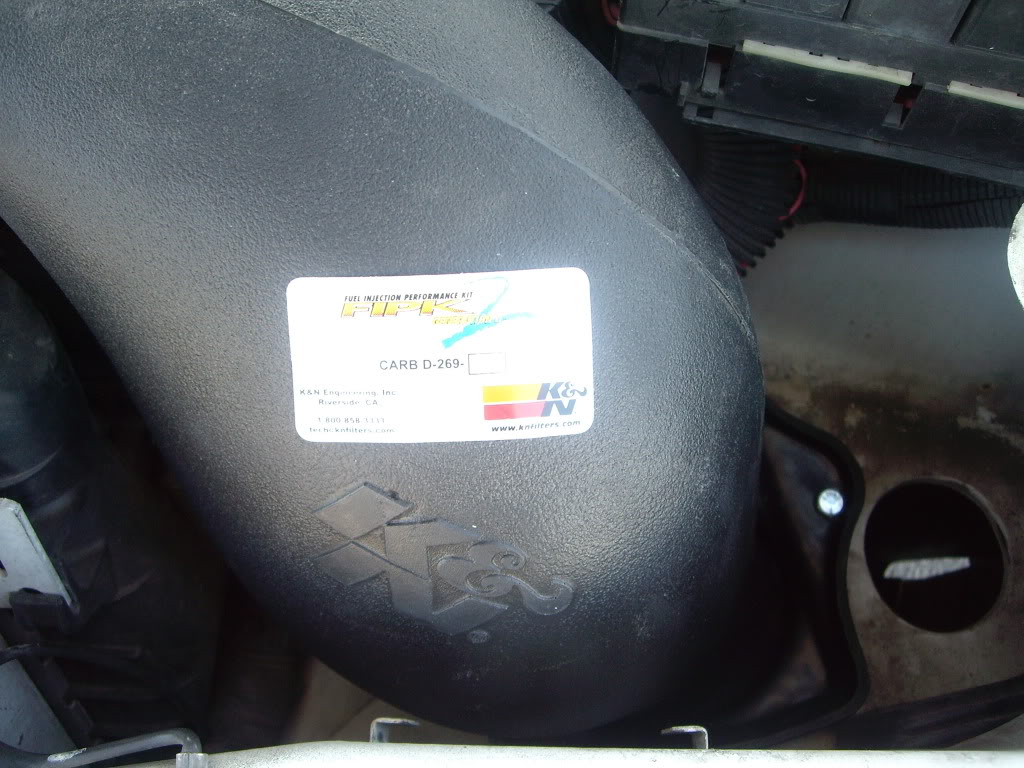
I purchased my K&N CAI through K&N (Click Here.) -$249.00. At the time of purchase K&N was advertising this for the 3.8L as well as the 5.7L. When I received my CAI it would not bolt on as advertised. I contacted K&N and was told that they do not make an CAI for the 3.8L even though my instructions said for 3.8L models as well as the box. Since, they have changed it to say 5.7L on their website, however, with a few slight modifications you can install it on a 3.8L. I also lost my CARB ID sticker, so I had to remove my CAI every time I needed to get it smogged.

I purchased my turn signal covers through RKSport. (Click Here.) -$35.00.
This is a tread to show all the work I have done to my Camaro along with future plans, ideas that y'all might have or any issues/questions anyone may have. I know I have had my fair share of issues when modifying my Camaro so I'm here to help.
Let me first start off with I have a 1996 Camaro RS Convert. (I'm still hunting down the original sticker to verify if it is indeed an RS or just a Base. Not that it really matters because I'm not calling it an SS or Z/28.)
STOCK (Just Purchased. 06/01/2008)
That was what she looked like when I bought her. The sub box and subs are mine. I was starting to do the stereo when I figured I should take some before pictures. :P I also removed the DUB floor mats and the sticker on the rear tail light.
UPGRADE/MODIFICATION SET ONE (MagnaFlow Turndowns. 07/14/2008)
^- I had my MagnaFlow exhaust installed by a local muffler shop and he had the system on hand, most muffler shops will have MagnaFlow/FlowMaster & Borla on hand if not they can order it.
UPGRADE/MODIFICATION SET TWO (Fixing the Viper Alarm 08/01/2008)
^- Before
^- After (This was such a pain in the @$$ but, It was required because my alarm brain would keep falling and set off my alarm at random times, plus the wiring looked like a 3rd grader had done it.)
UPGRADE/MODIFICATION SET THREE (K&N CAI, Smoked Side Markers 03/01/2009)
I purchased my K&N CAI through K&N (Click Here.) -$249.00. At the time of purchase K&N was advertising this for the 3.8L as well as the 5.7L. When I received my CAI it would not bolt on as advertised. I contacted K&N and was told that they do not make an CAI for the 3.8L even though my instructions said for 3.8L models as well as the box. Since, they have changed it to say 5.7L on their website, however, with a few slight modifications you can install it on a 3.8L. I also lost my CARB ID sticker, so I had to remove my CAI every time I needed to get it smogged.
I purchased my turn signal covers through RKSport. (Click Here.) -$35.00.
Last edited by Gh0st; Feb 4, 2011 at 02:08 AM. Reason: Changed Spacing and Colors
Thread Starter
|
In the Staging Lanes
Joined: Feb 2011
Posts: 70
From: Disco Bay
UPGRADE/MODIFICATION SET FOUR (Moved AMP, Installed 2nd AMP and Wheel/Tires 06/13/2009)
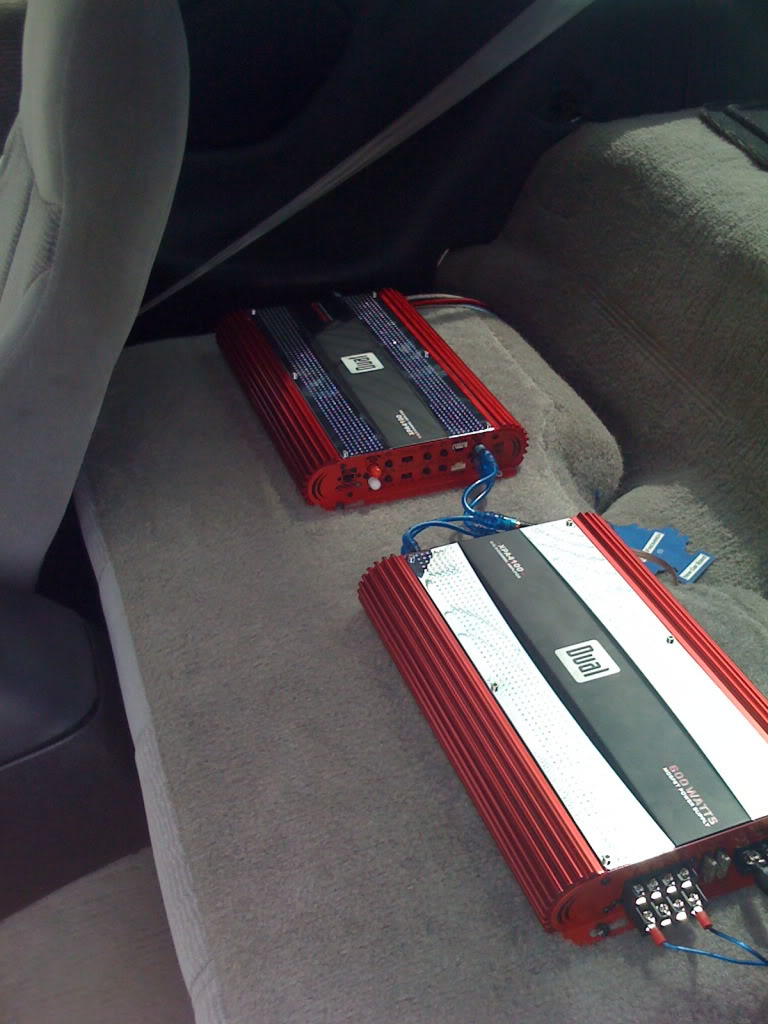
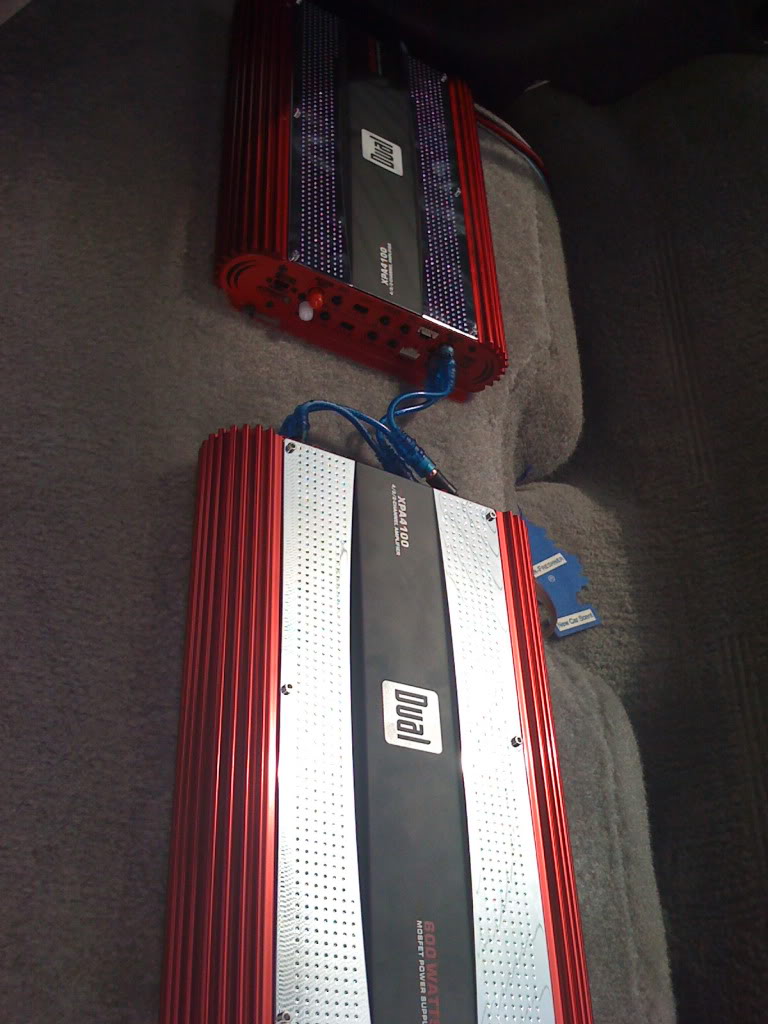
^- I never ever had anyone in my backseat.. So, I placed my amp's on them for a while.
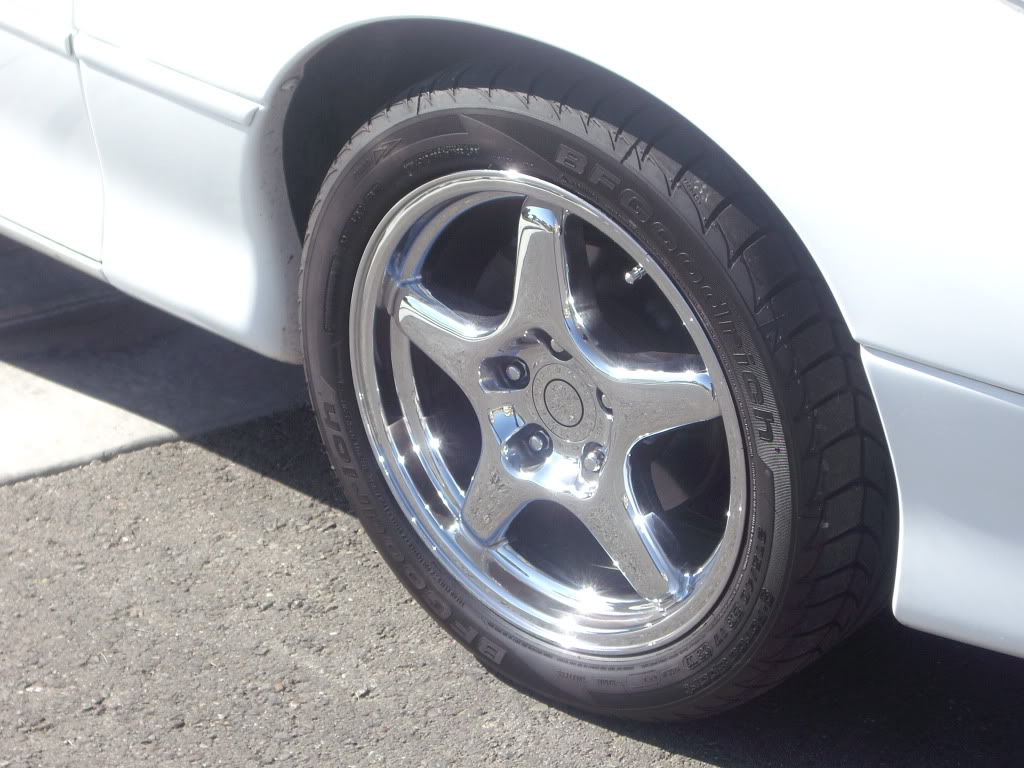
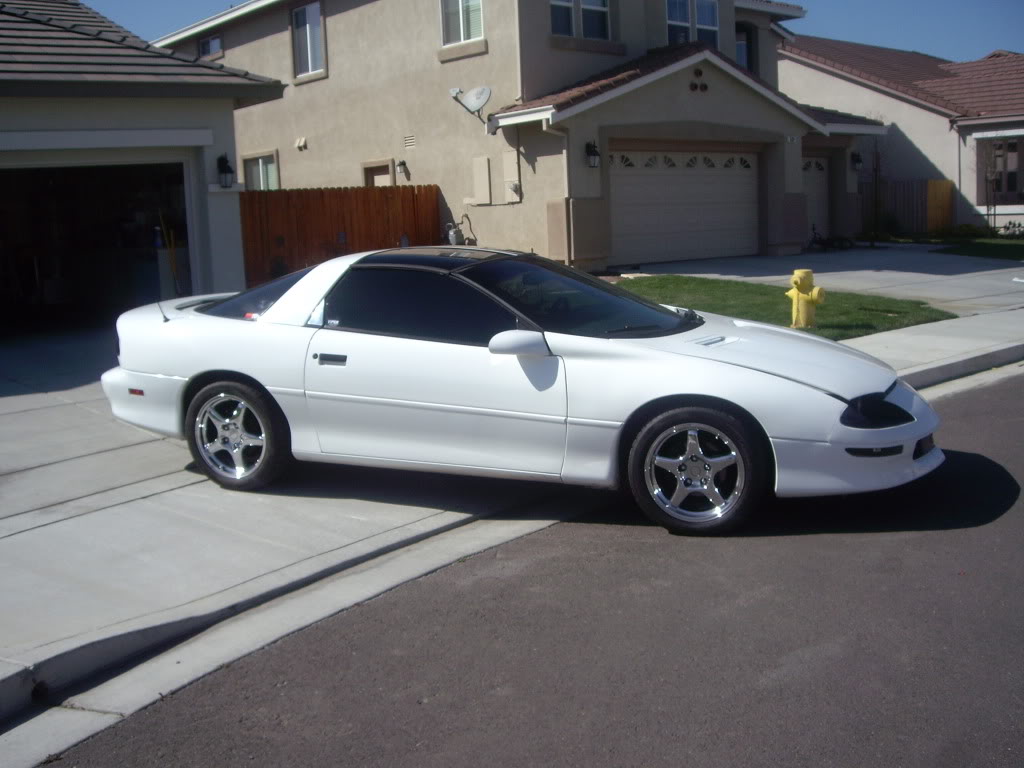
^- 17" ZR1 Corvette Wheels & BFGoodrich g-Force Sport. (Purchased & Installed $1000 OTD from America's Tires) When I ordered my wheels, I also ordered some crappy tires as well because I didn't have the money to put good tires on the car. Fortunately for me, the guy forgot to order my tires so instead of getting some crappy off-brand tires I got BFGoodrich.
^- I never ever had anyone in my backseat.. So, I placed my amp's on them for a while.
^- 17" ZR1 Corvette Wheels & BFGoodrich g-Force Sport. (Purchased & Installed $1000 OTD from America's Tires) When I ordered my wheels, I also ordered some crappy tires as well because I didn't have the money to put good tires on the car. Fortunately for me, the guy forgot to order my tires so instead of getting some crappy off-brand tires I got BFGoodrich.
Last edited by Gh0st; Feb 1, 2011 at 09:05 PM. Reason: Update.
Thread Starter
|
In the Staging Lanes
Joined: Feb 2011
Posts: 70
From: Disco Bay
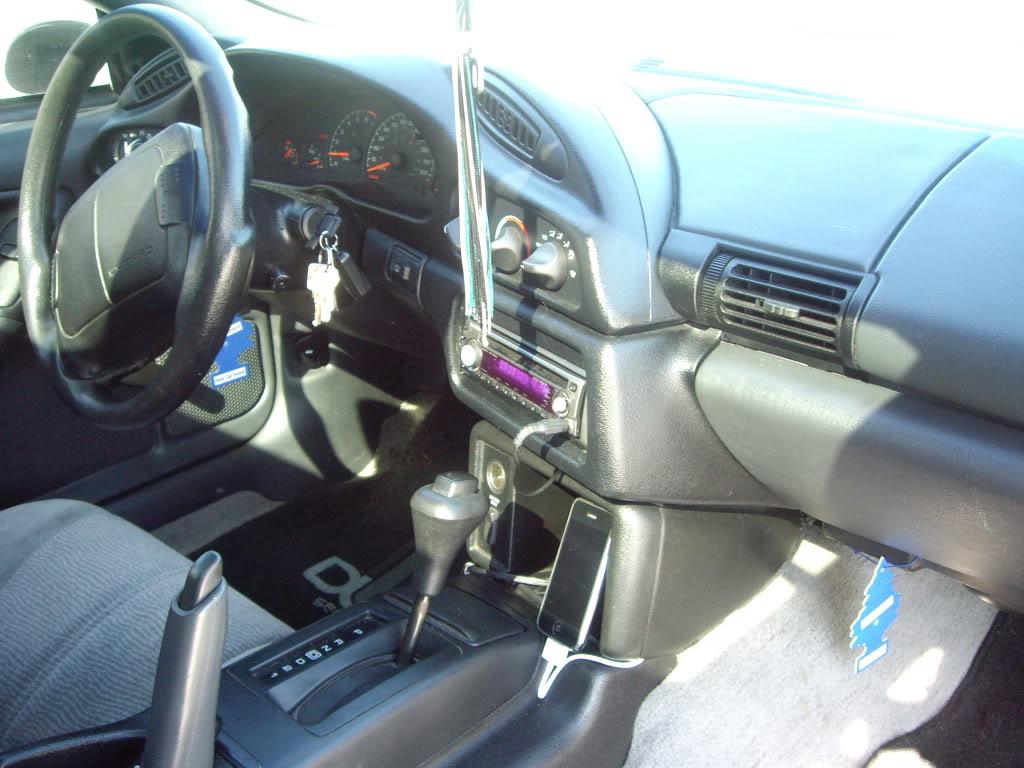
UPGRADE/MODIFICATION SET FIVE (Moved AMP's again and Installed Upgraded Deck 08/13/2010)
^- Yep.. I moved my AMP's again... LOL. That was really all I did at this stage.
(Original Deck)
^- I know it's a bad picture of it but, this was my original deck that came with the car when I bought it.
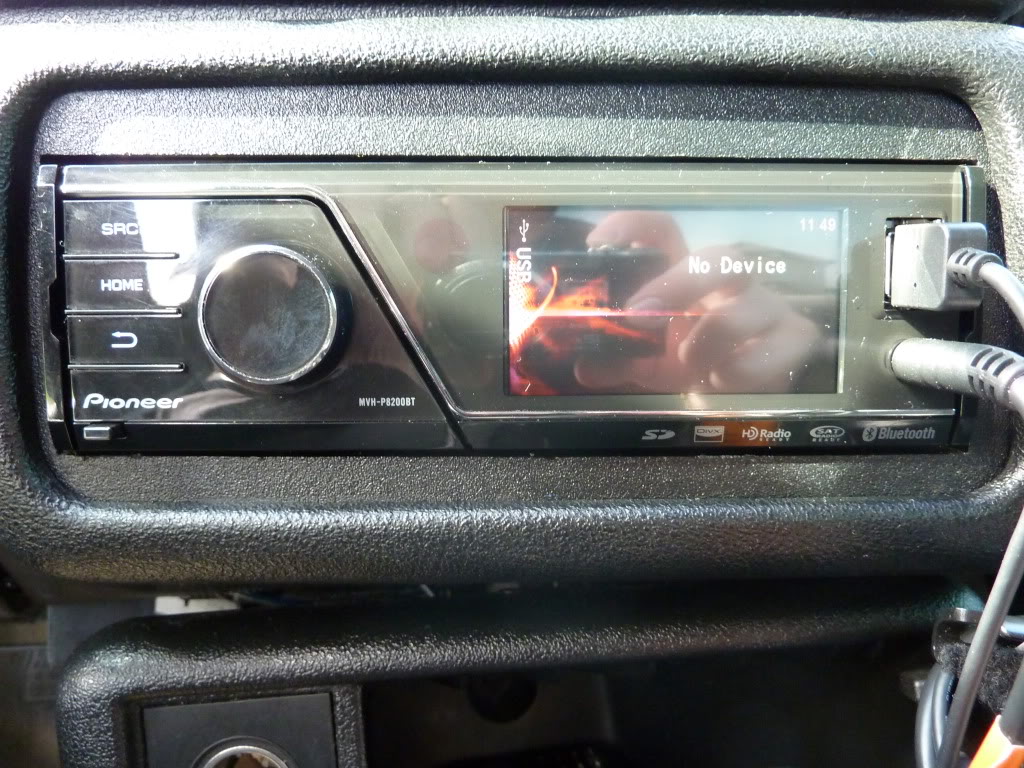
(New Updated Deck)
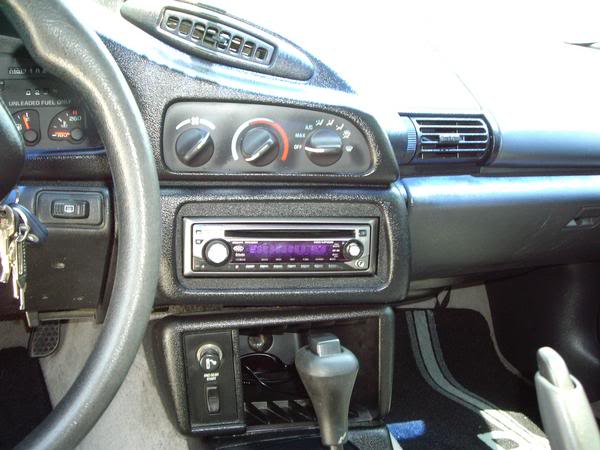
^- This is the deck I had taken out of my Honda Civic when I sold it. They are the exact same style but, my deck was a version newer and allowed USB connections in the back along with more watts.
YES, I AM AWARE THAT I TOLD YOU I TOOK THE MATS OUT DAYS AGO, WHICH I DID.. HOWEVER, WHEN I WORK ON THE CAR I THROW THE OLD CRAPPY DUB MATS IN JUST TO COLLECT THE FALLING DUST AND CRAP.
^- Yep.. I moved my AMP's again... LOL. That was really all I did at this stage.
(Original Deck)
^- I know it's a bad picture of it but, this was my original deck that came with the car when I bought it.
(New Updated Deck)
^- This is the deck I had taken out of my Honda Civic when I sold it. They are the exact same style but, my deck was a version newer and allowed USB connections in the back along with more watts.
YES, I AM AWARE THAT I TOLD YOU I TOOK THE MATS OUT DAYS AGO, WHICH I DID.. HOWEVER, WHEN I WORK ON THE CAR I THROW THE OLD CRAPPY DUB MATS IN JUST TO COLLECT THE FALLING DUST AND CRAP.
Last edited by Gh0st; Feb 4, 2011 at 02:06 AM. Reason: Update.
Thread Starter
|
In the Staging Lanes
Joined: Feb 2011
Posts: 70
From: Disco Bay
UPGRADE/MODIFICATION SET SIX (Installation of T-Bar/T-Top Sun Shades 08/16/2010)
(Stock T-Tops)
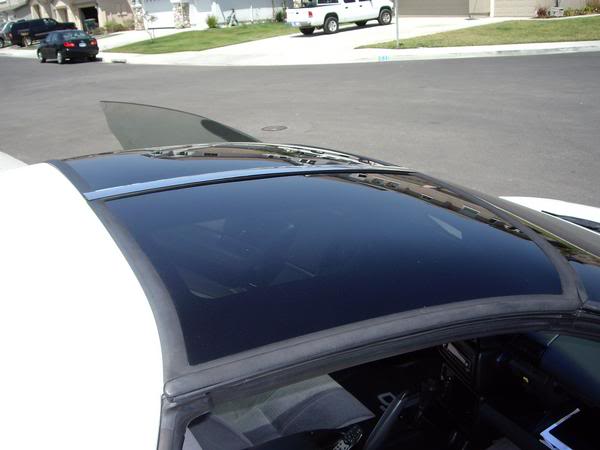
^- You can somewhat see that there is no Sun Shades through the tint on the first picture and you can see them much better on the second. I can take a better picture if requested.
(Sun Shaded T-Tops)
^- Can't seem to find a picture right now. I will take one tomorrow when I go to install my new LED Gauge Clusters. I purchased my sun shades from ebay for $35.00. You can purchase them through Specialized Stainless for $55.00.
(Stock T-Tops)
^- You can somewhat see that there is no Sun Shades through the tint on the first picture and you can see them much better on the second. I can take a better picture if requested.
(Sun Shaded T-Tops)
^- Can't seem to find a picture right now. I will take one tomorrow when I go to install my new LED Gauge Clusters. I purchased my sun shades from ebay for $35.00. You can purchase them through Specialized Stainless for $55.00.
Last edited by Gh0st; Feb 4, 2011 at 02:06 AM. Reason: Added T-Top Info
Thread Starter
|
In the Staging Lanes
Joined: Feb 2011
Posts: 70
From: Disco Bay
UPGRADE/MODIFICATION SET SEVEN (Installation of Headers, Replacement of EGR and CAI 10/01/2010)
I don't have pictures of the stock manifold nor of the actual installation of the headers. So you guys will just have to look at your own Camaro's and take my word for it. Also, When I install my HID's in the next week I will jack up the car and take a few pictures of the headers from below.
I purchased my headers through Jegs. The direct link for 3.8L V6's is (Here). A list of all their V6 headers and parts (Here). I had a coupon w/ Jegs plus they were offering free next day shipping at the time so I got my headers for $305 and they cost me about $290 to have them installed putting me at about $500 total.
(Pacesetter Mid-Tube Headers)
^- Passenger Side
^- Driver Side w/ RTV Gasket on the EGR to Manifold bracket.
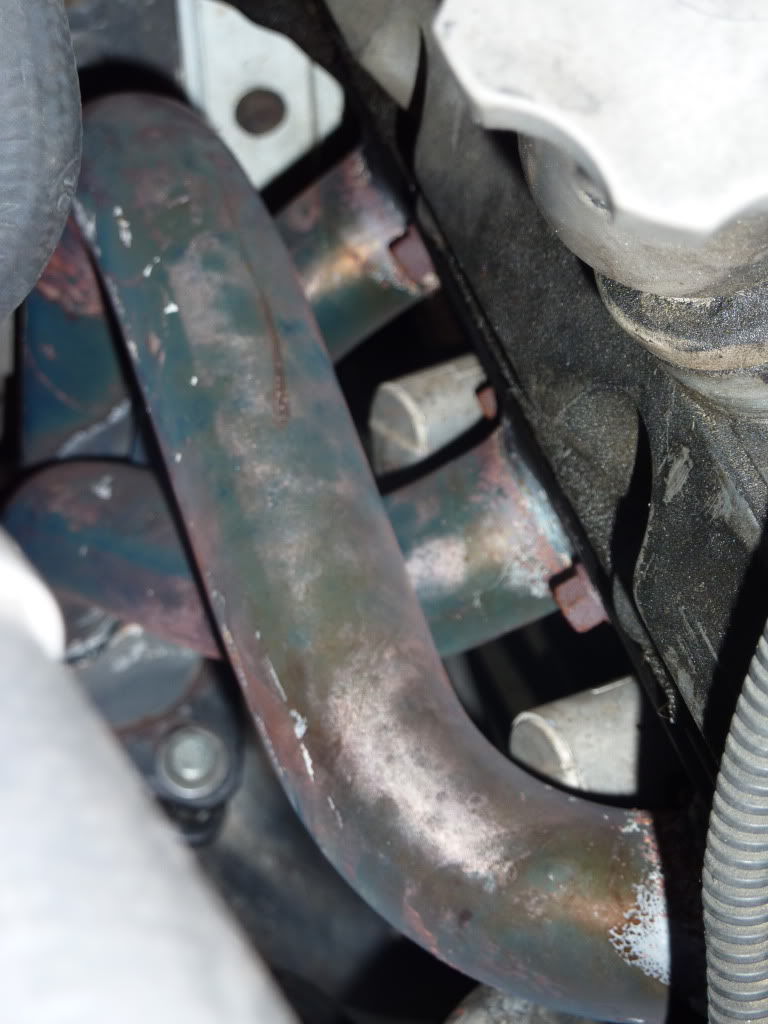
So, after installation of my headers.. They sounded great w/ the MagnaFlow Turndowns.. However, I started to develop an exhaust leak, as seen below.
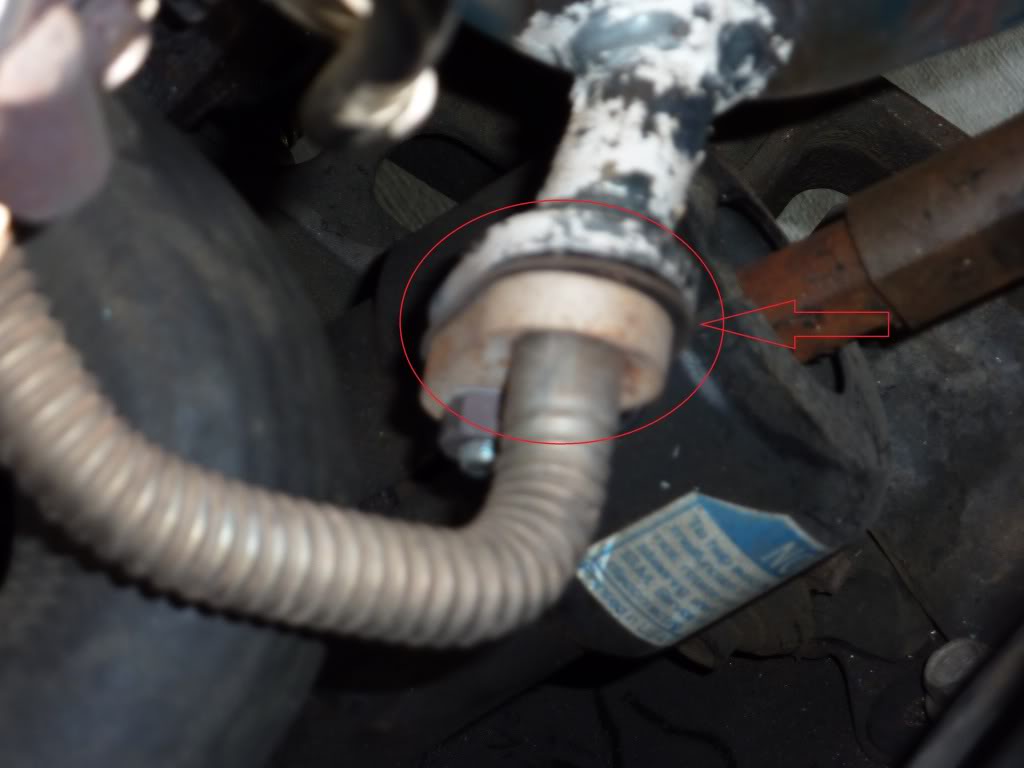
^- Upon further inspection I found that the leak was coming from here. I returned to my exhaust guys and asked if they could fix it. It was returned as seen below.
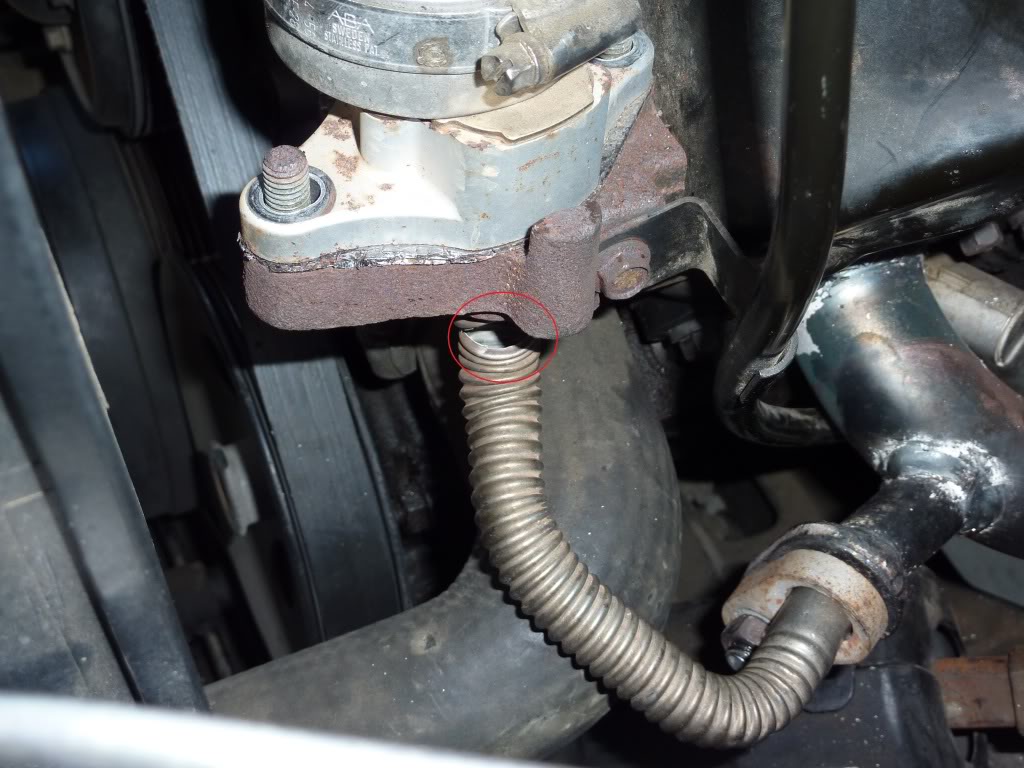
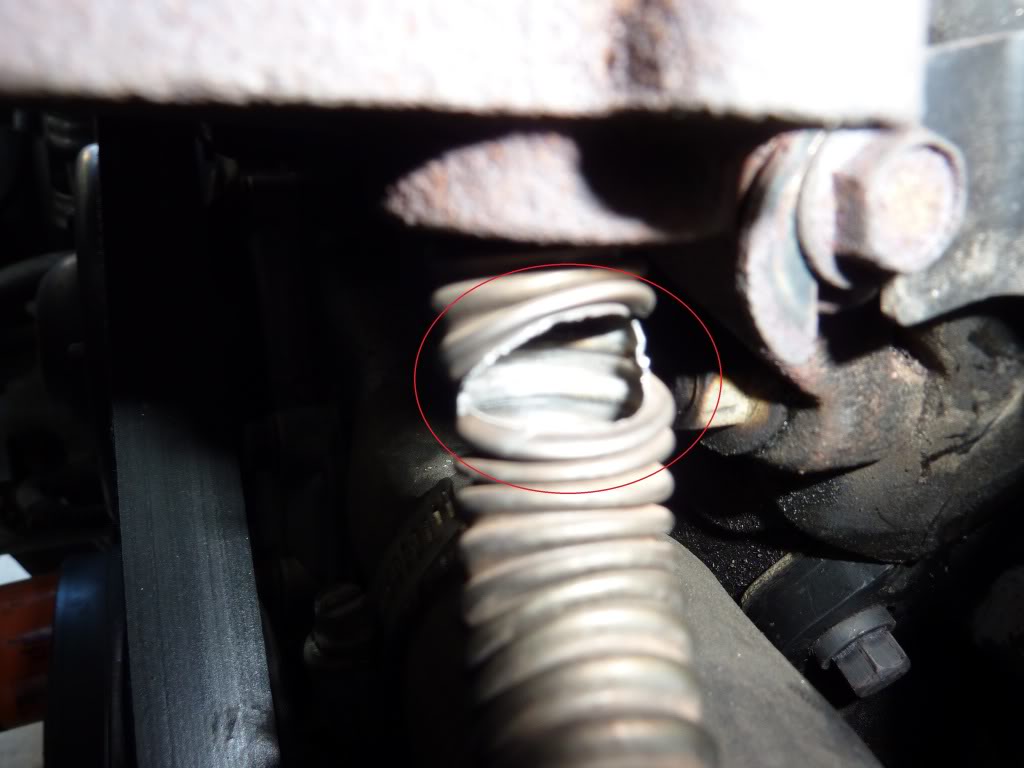
^- They insisted that my EGR was like that when they installed the headers and said they could not cover it. Basically, FCK you and you can pay for it because you have no proof. I didn't want to deal with all the BS so I hunted down an entirely new EGR system... Which is no easy.. Fortunately, I found one and fixed it.. However, it still had the same leak from that first picture. Nothing some RTV can't fix. =D
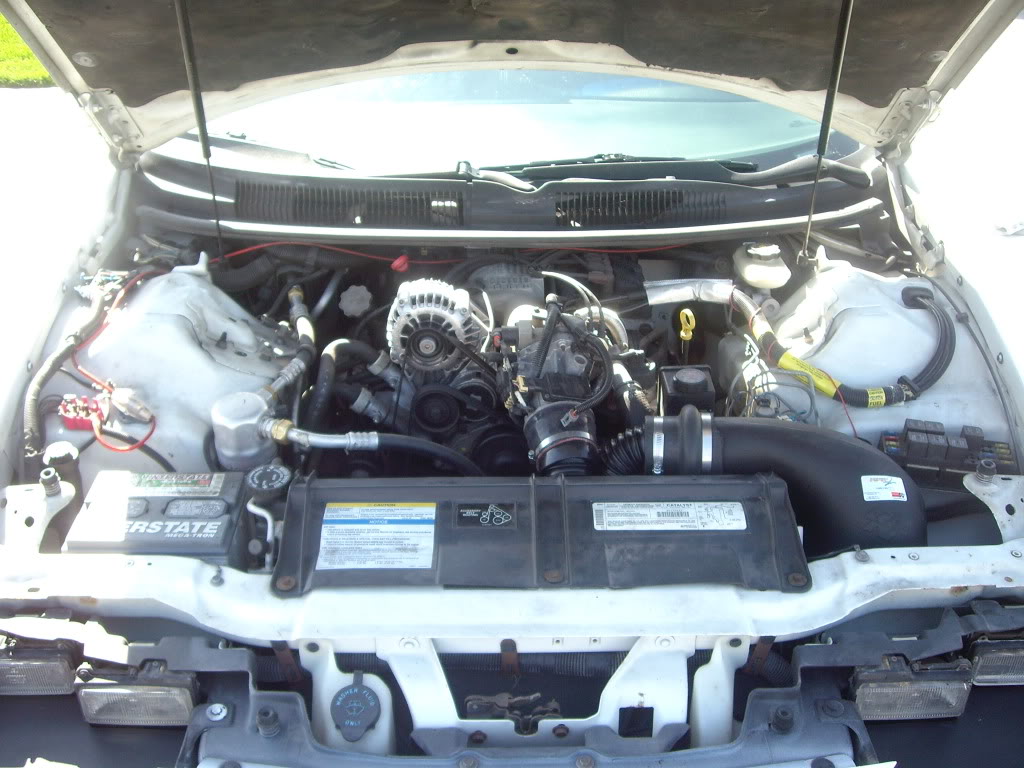
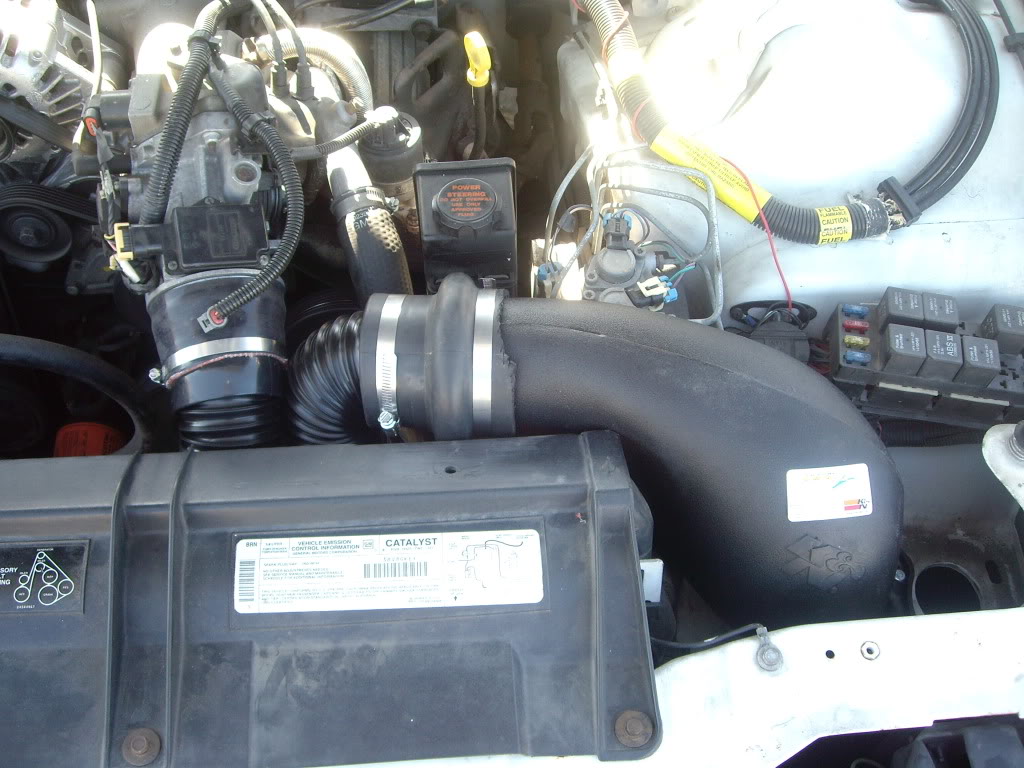
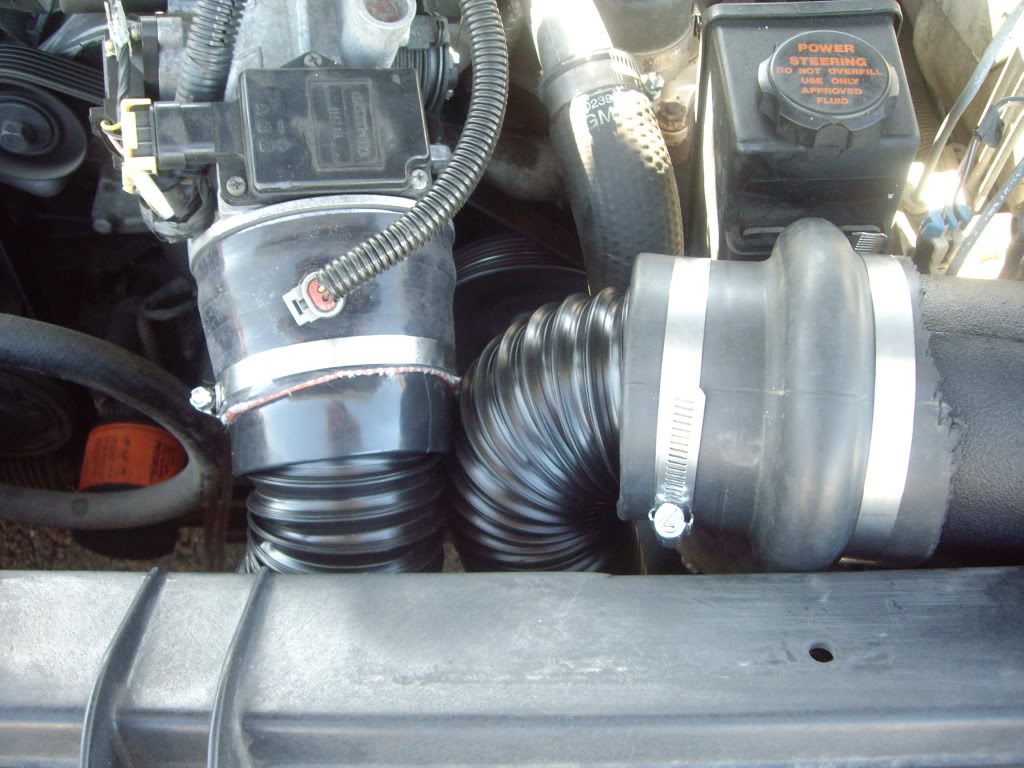
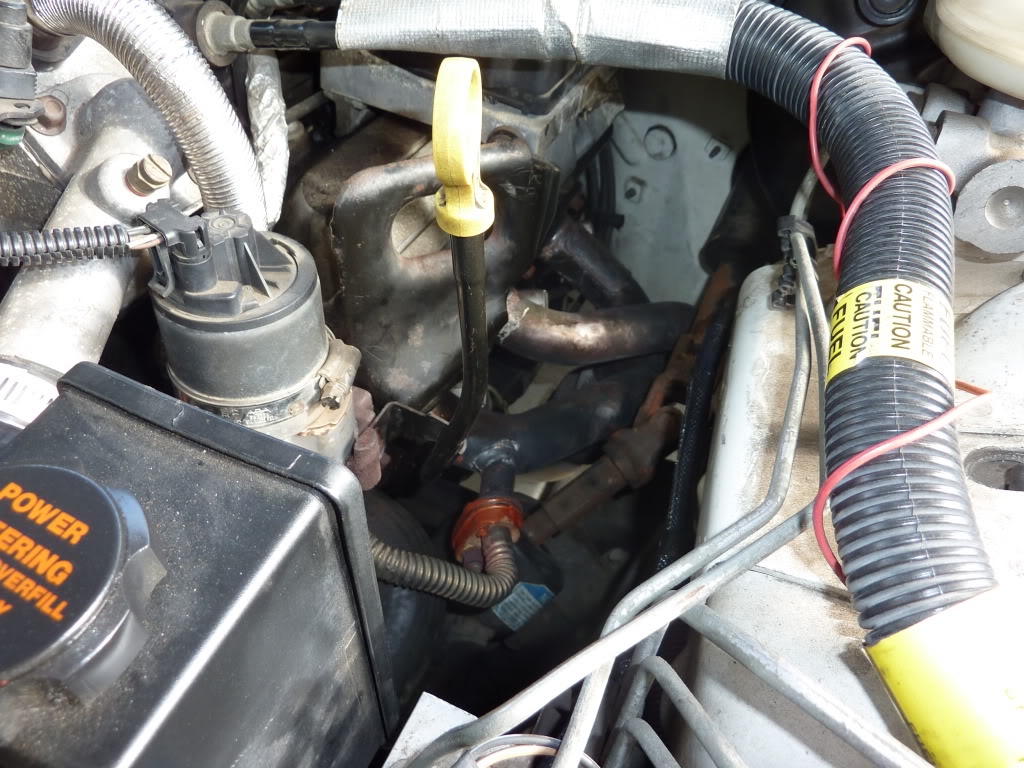
(NEW CAI SETUP)


^- Let me know what you guys think. Should I put the original K&N one on and just modify the intake better or look for an SLP Lid style for the 3.8's.. If anyone has a place where I can get the Lid Style like (Here) for the 3.8L that would be awesome!
I don't have pictures of the stock manifold nor of the actual installation of the headers. So you guys will just have to look at your own Camaro's and take my word for it. Also, When I install my HID's in the next week I will jack up the car and take a few pictures of the headers from below.
I purchased my headers through Jegs. The direct link for 3.8L V6's is (Here). A list of all their V6 headers and parts (Here). I had a coupon w/ Jegs plus they were offering free next day shipping at the time so I got my headers for $305 and they cost me about $290 to have them installed putting me at about $500 total.
(Pacesetter Mid-Tube Headers)
^- Passenger Side
^- Driver Side w/ RTV Gasket on the EGR to Manifold bracket.
So, after installation of my headers.. They sounded great w/ the MagnaFlow Turndowns.. However, I started to develop an exhaust leak, as seen below.
^- Upon further inspection I found that the leak was coming from here. I returned to my exhaust guys and asked if they could fix it. It was returned as seen below.
^- They insisted that my EGR was like that when they installed the headers and said they could not cover it. Basically, FCK you and you can pay for it because you have no proof. I didn't want to deal with all the BS so I hunted down an entirely new EGR system... Which is no easy.. Fortunately, I found one and fixed it.. However, it still had the same leak from that first picture. Nothing some RTV can't fix. =D
(NEW CAI SETUP)
^- Let me know what you guys think. Should I put the original K&N one on and just modify the intake better or look for an SLP Lid style for the 3.8's.. If anyone has a place where I can get the Lid Style like (Here) for the 3.8L that would be awesome!
Last edited by Gh0st; Feb 4, 2011 at 02:06 AM. Reason: Added Header/EGR/CAI Info
Thread Starter
|
In the Staging Lanes
Joined: Feb 2011
Posts: 70
From: Disco Bay
UPGRADE/MODIFICATION SET EIGHT (Installation of Xeon-Charged Headlights and Luminics 11/01/2010)
I was tired of seeing the same lame halogen light with the same yellowish white. I really wanted Angel Eyes or Halo's but, without extensive front end modifications it's just not possible. I searched and searched and found out a way to change your OEM headlights to after market. There is two ways; One; (The Hard Way) You can follow this tutorial (Here) by cracking your mold and replacing the OEM lights with aftermarket ones. Two; (The Easy Way) You can purchase pre-made headlamps from Eurolights which basically you would just remove your OEM housing like you would if replacing with a new "bulb" and from then on you would just place 9006/9005 lights in for Low/Hi. EUROLIGHTS IS EXPENSIVE BUT, IF YOU DON'T WANT TO GO THROUGH THE TROUBLE OF CRACKING YOUR HOUSING AND EVERYTHING IN THE TUTORIAL THIS IS WELL WORTH THE $$$. (Here) for the Eurolight housings and headlights.
(EUROLIGHT's HOUSINGS AND XEON-CHARGED LIGHTS)
^- Right is OEM light's. Left is the housing and Xeon-Charged light's from Eurolights. They come white with a hint of blue. I really didn't like them so I changed them to other lights I had around the house. (LOWS ONLY)
^- Again, same deal this time w/ Low/Hi.
(Luminics Pure Blue Bulbs, 12K w/ Eurolights Housings)
^- I know people always say that the lights are less of the color than in the picture/video. Trust me when I say these are BLUE and BRIGHT. These are great lights. My only issue with them is you have horrible visibility and if it raining or foggy. You are screwed.
As I said, I purchased my Lo's (9006) through Luminics. They are their pure blue ones and can be found (Here). A list of all camaro lights can be found (Here).
Currently I have my Low's as the Luminics Pure Blue the High's as the Xeon-Charged lights from Eurolights and the fog are OEM.
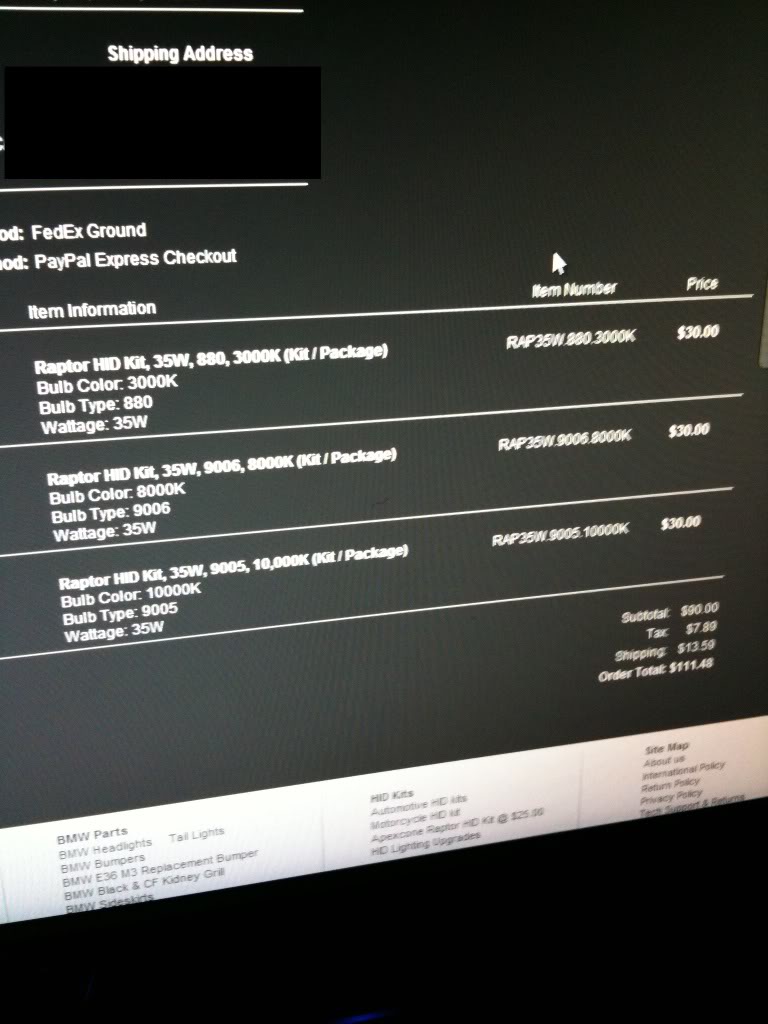
I just ordered my HID's from DDMTuning last week and they should be here shortly. I got Fog; 3000K, Low; 8000K and High; 10000K. I wanted to get 12000K for all of them which would have been blue'er than the ones I have on now but, it would have just been to much visibility reduction for me. I have a buddy who has a H2 with 10000K HID's on all Fog and Hi/Low. They are way to bright for me.
(HID's ON ORDER)
I was tired of seeing the same lame halogen light with the same yellowish white. I really wanted Angel Eyes or Halo's but, without extensive front end modifications it's just not possible. I searched and searched and found out a way to change your OEM headlights to after market. There is two ways; One; (The Hard Way) You can follow this tutorial (Here) by cracking your mold and replacing the OEM lights with aftermarket ones. Two; (The Easy Way) You can purchase pre-made headlamps from Eurolights which basically you would just remove your OEM housing like you would if replacing with a new "bulb" and from then on you would just place 9006/9005 lights in for Low/Hi. EUROLIGHTS IS EXPENSIVE BUT, IF YOU DON'T WANT TO GO THROUGH THE TROUBLE OF CRACKING YOUR HOUSING AND EVERYTHING IN THE TUTORIAL THIS IS WELL WORTH THE $$$. (Here) for the Eurolight housings and headlights.
(EUROLIGHT's HOUSINGS AND XEON-CHARGED LIGHTS)
^- Right is OEM light's. Left is the housing and Xeon-Charged light's from Eurolights. They come white with a hint of blue. I really didn't like them so I changed them to other lights I had around the house. (LOWS ONLY)
^- Again, same deal this time w/ Low/Hi.
(Luminics Pure Blue Bulbs, 12K w/ Eurolights Housings)
^- I know people always say that the lights are less of the color than in the picture/video. Trust me when I say these are BLUE and BRIGHT. These are great lights. My only issue with them is you have horrible visibility and if it raining or foggy. You are screwed.
As I said, I purchased my Lo's (9006) through Luminics. They are their pure blue ones and can be found (Here). A list of all camaro lights can be found (Here).
Currently I have my Low's as the Luminics Pure Blue the High's as the Xeon-Charged lights from Eurolights and the fog are OEM.
I just ordered my HID's from DDMTuning last week and they should be here shortly. I got Fog; 3000K, Low; 8000K and High; 10000K. I wanted to get 12000K for all of them which would have been blue'er than the ones I have on now but, it would have just been to much visibility reduction for me. I have a buddy who has a H2 with 10000K HID's on all Fog and Hi/Low. They are way to bright for me.
(HID's ON ORDER)
Last edited by Gh0st; Feb 4, 2011 at 02:07 AM.
Thread Starter
|
In the Staging Lanes
Joined: Feb 2011
Posts: 70
From: Disco Bay
UPGRADE/MODIFICATION SET EIGHT (The *NEW* System 12/01/2010)
It got close to XMAS and I was passing all my College classes so I chose to treat myself with a better system.
Currently Installed:
Deck; Pioneer MVH-P8200 (Purchased at BestBuy for $245.00)
Door/Rear Panel Speakers; 4x Kicker KS600 (Purchased at BestBuy for $55.00/pair.)
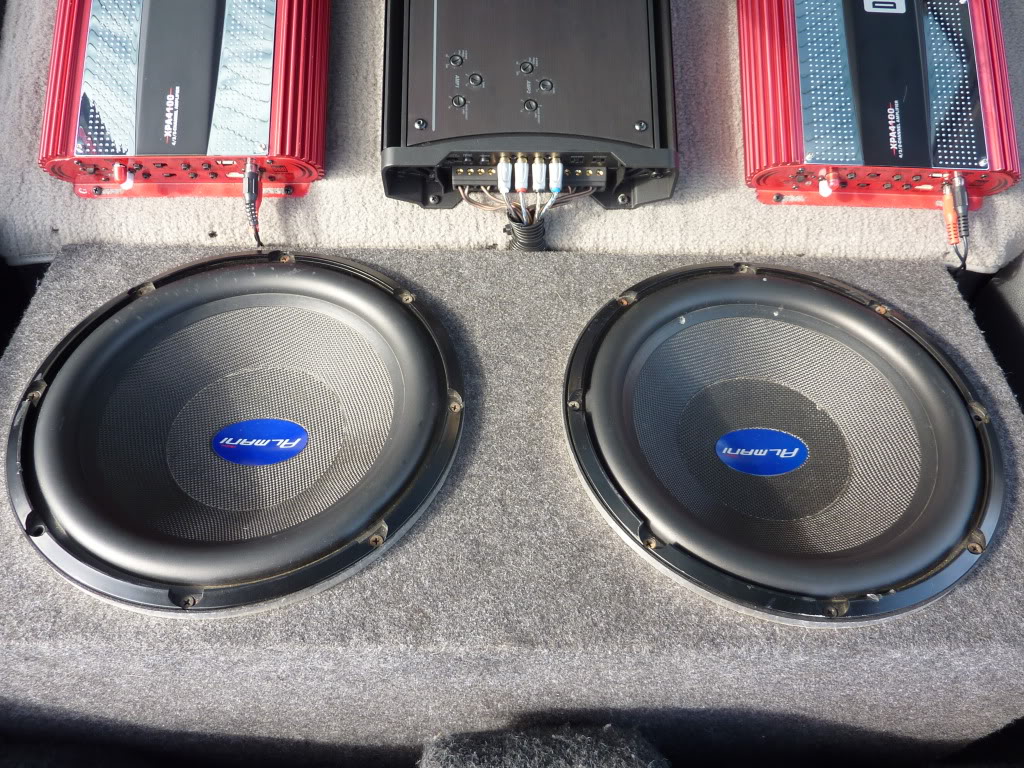
Subs; 2x Almani S7-12 (These are not my exact subs, I cannot find an exact link, but these are the closest to what I can find through Almanis site.)
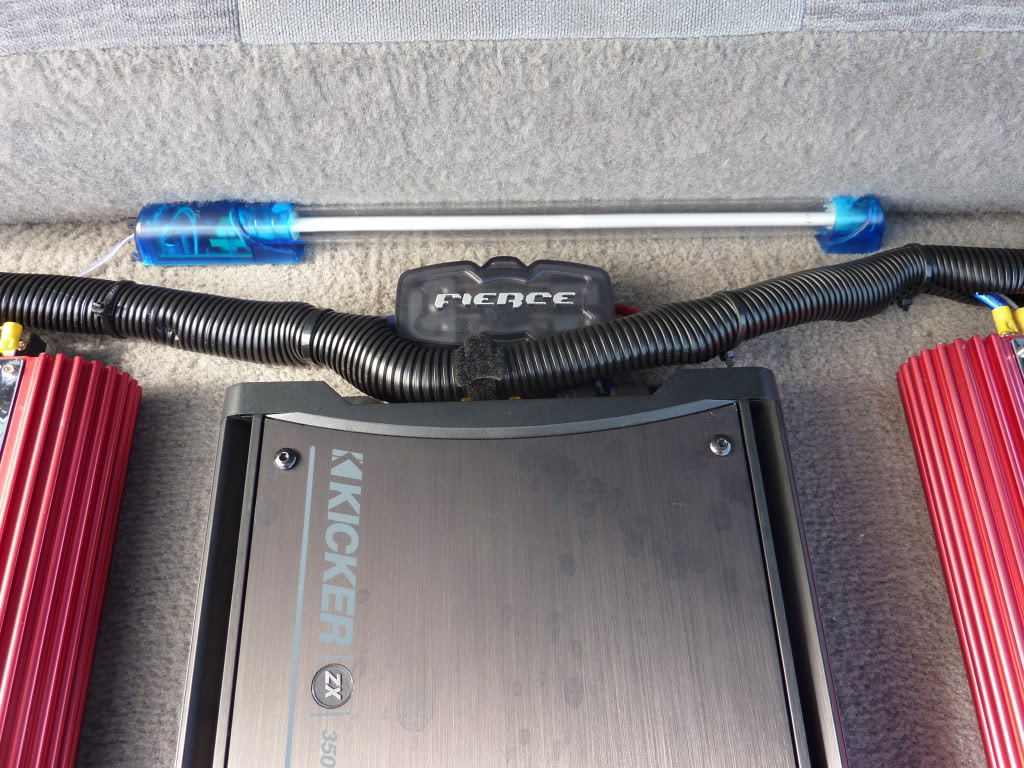
Amps for Subs; 2x Dual Audio XPA4100 (I have two of them bridged at 1200w peek and they sound great but, seriously still under power the subs. UPGRADES TO KICKERS SOON. Purchased at O'Reilly Auto Parts for $85.00/e.)
Door Speaker's Amp; Kicker ZX Series 350W (Purchased at BestBuy for $205.00)
Pictures below of the new setup and system. I will have to take a few pictures of the door speakers I can't seem to find them right now.
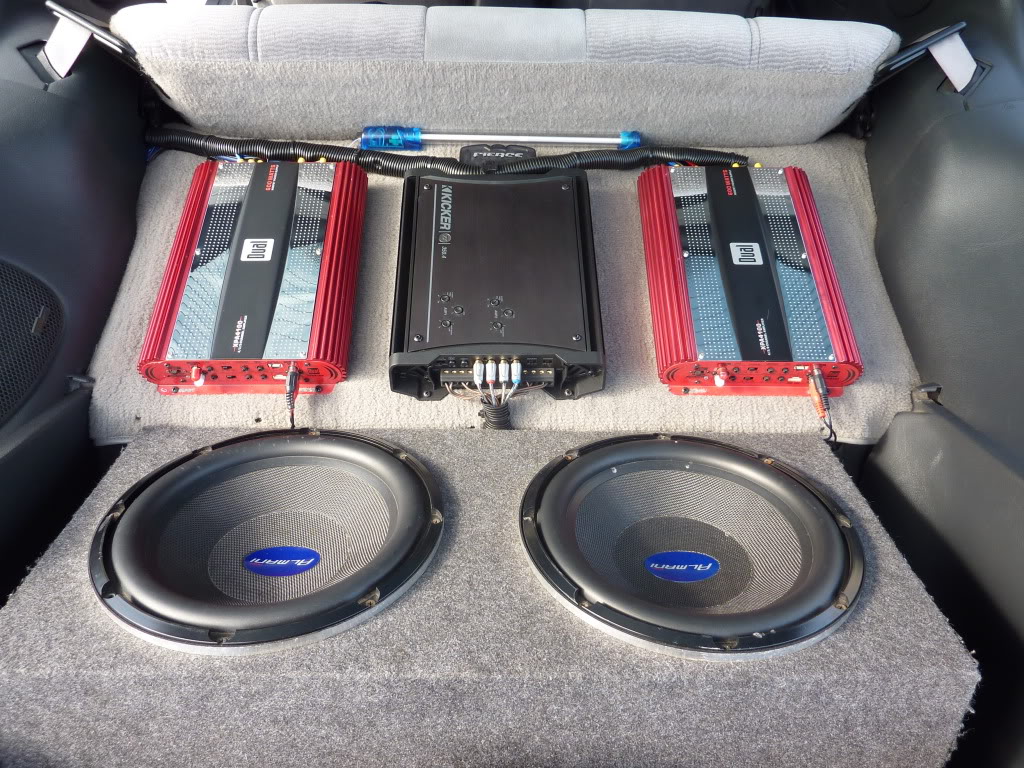
I wanted to make a plexiglass housing to go over the amps and around the subs just so I can use my trunk somewhat still but, the plexiglass just shattered when I was cutting it.
PLEASE FEEL FREE TO POST PICTURES OF YOUR AUDIO SETUP. I WOULD LOVE TO SEE WHAT Y'ALL HAVE DONE TO SOLVE THE TRUNK ISSUE.
It got close to XMAS and I was passing all my College classes so I chose to treat myself with a better system.
Currently Installed:
Deck; Pioneer MVH-P8200 (Purchased at BestBuy for $245.00)
Door/Rear Panel Speakers; 4x Kicker KS600 (Purchased at BestBuy for $55.00/pair.)
Subs; 2x Almani S7-12 (These are not my exact subs, I cannot find an exact link, but these are the closest to what I can find through Almanis site.)
Amps for Subs; 2x Dual Audio XPA4100 (I have two of them bridged at 1200w peek and they sound great but, seriously still under power the subs. UPGRADES TO KICKERS SOON. Purchased at O'Reilly Auto Parts for $85.00/e.)
Door Speaker's Amp; Kicker ZX Series 350W (Purchased at BestBuy for $205.00)
Pictures below of the new setup and system. I will have to take a few pictures of the door speakers I can't seem to find them right now.
I wanted to make a plexiglass housing to go over the amps and around the subs just so I can use my trunk somewhat still but, the plexiglass just shattered when I was cutting it.
PLEASE FEEL FREE TO POST PICTURES OF YOUR AUDIO SETUP. I WOULD LOVE TO SEE WHAT Y'ALL HAVE DONE TO SOLVE THE TRUNK ISSUE.
Last edited by Gh0st; Feb 4, 2011 at 02:07 AM.
Thread Starter
|
In the Staging Lanes
Joined: Feb 2011
Posts: 70
From: Disco Bay
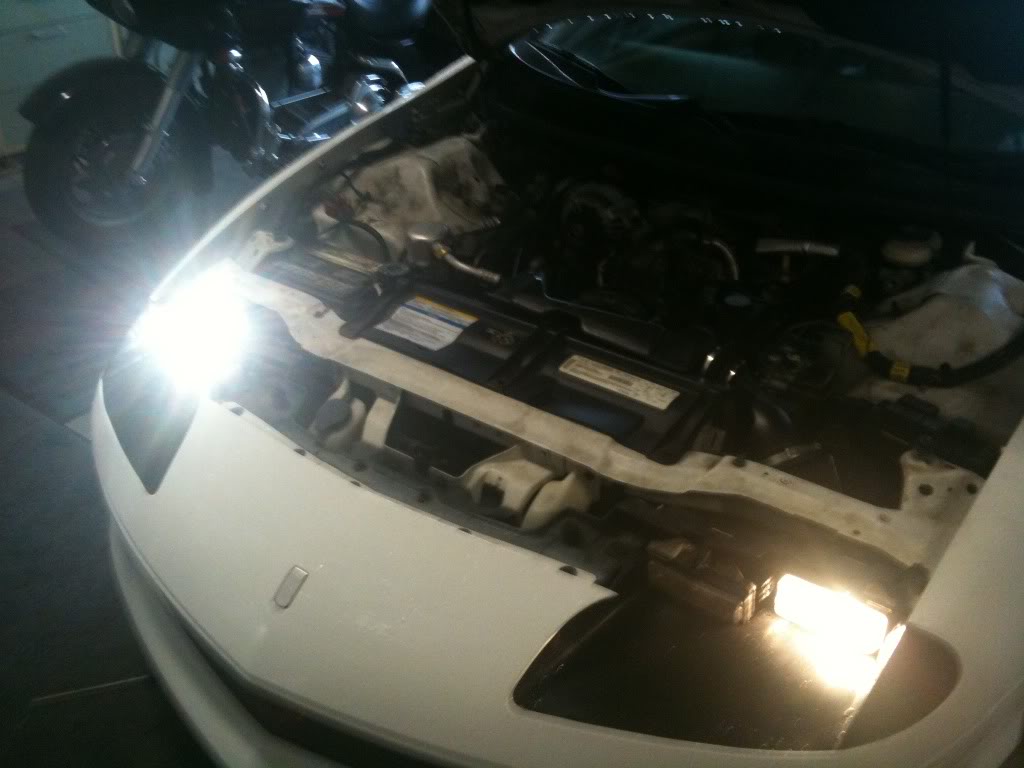
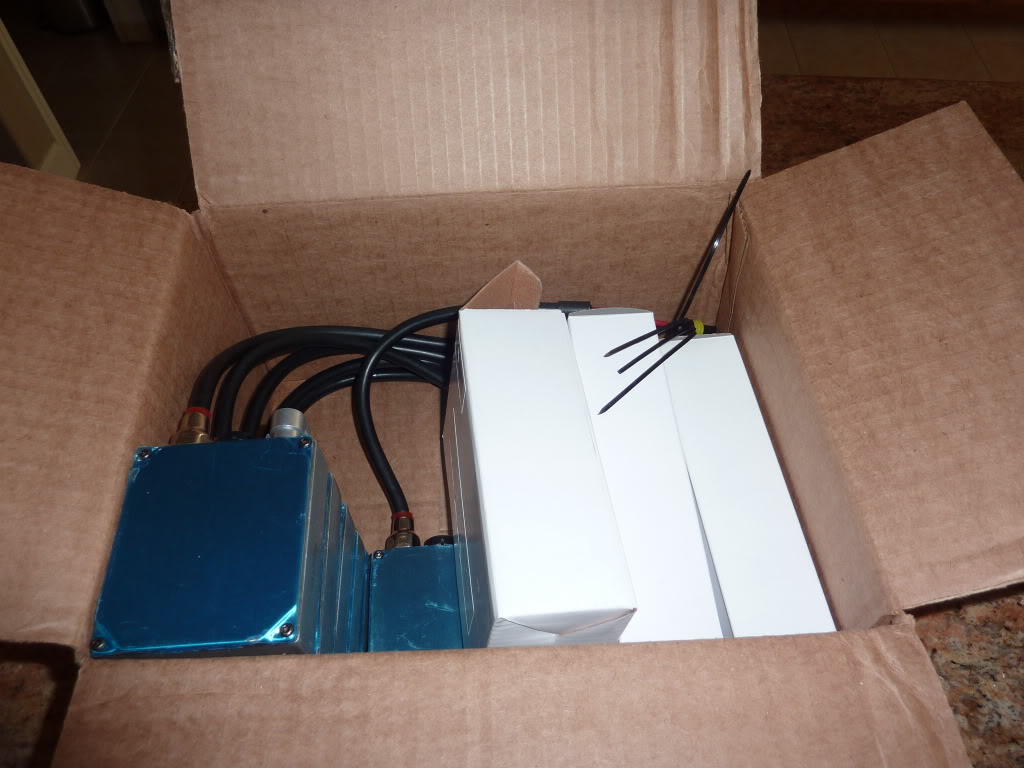
UPGRADE/MODIFICATION SET NINE (HID's 2/04/2011)
FINALLY! My HID's came! I woke up to this on my kitchen counter.
So, Of course the first thing I did was install them!
(INSTALLATION)
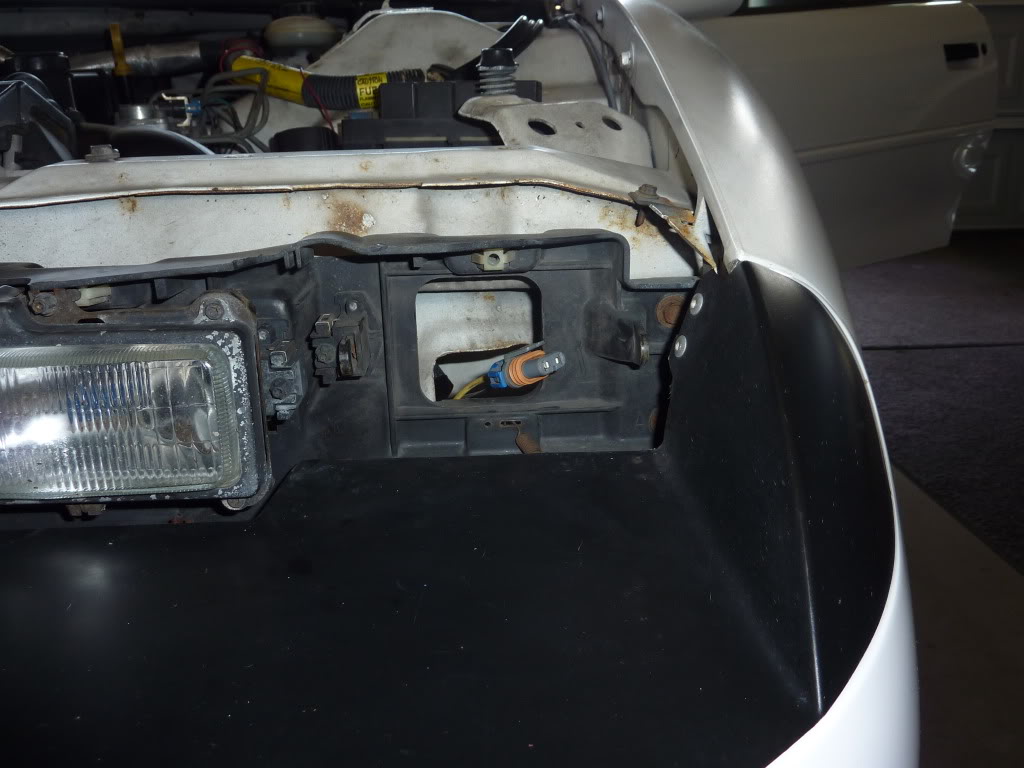

^- I had to check and see if they worked. They didn't. I had to call DDM Tuning. APPARENTLY, CHEVY IS REV POLARITY. SO YOU HAVE TO REVERSE THE WIRES WHEN CONNECTING THEM.
NOTE: I forgot to take pictures of Driver side ballasts. I will take one tomorrow and post it.
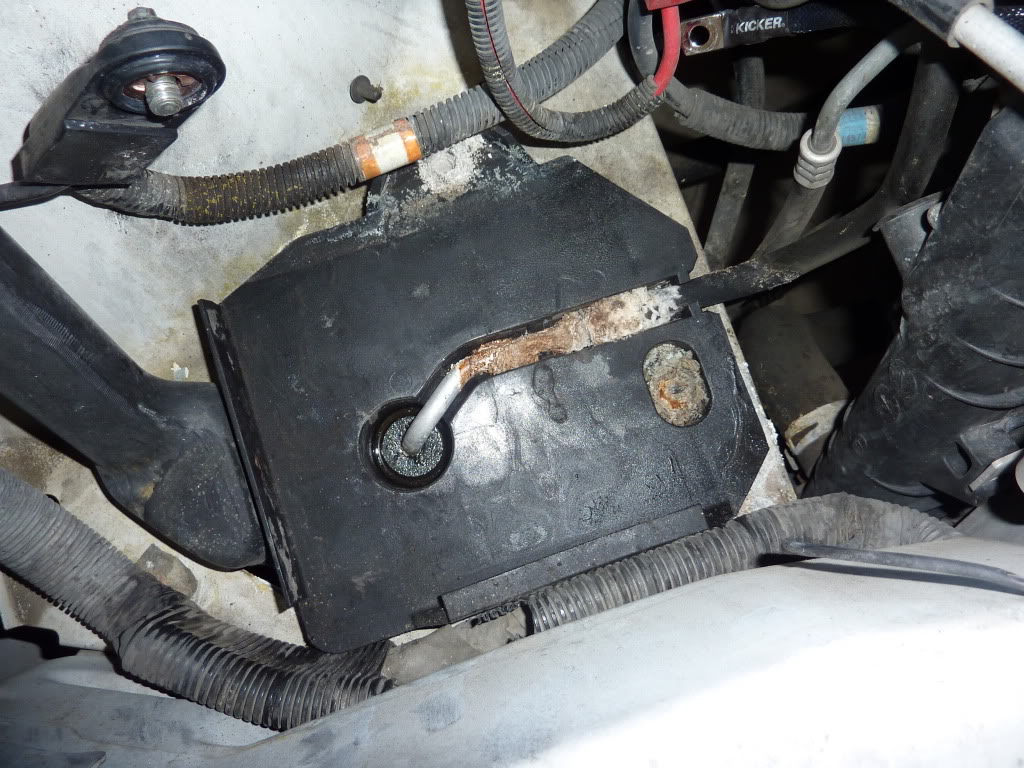
^- Had to remove the effing battery to get the HID wires ran.

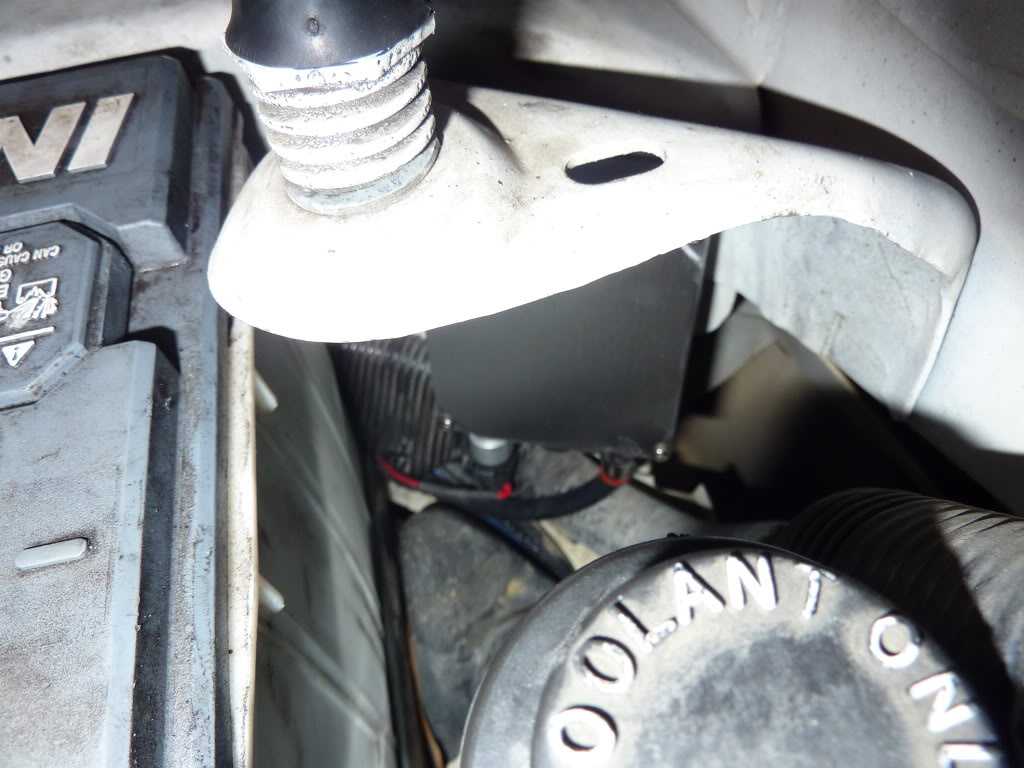
^- High Ballast
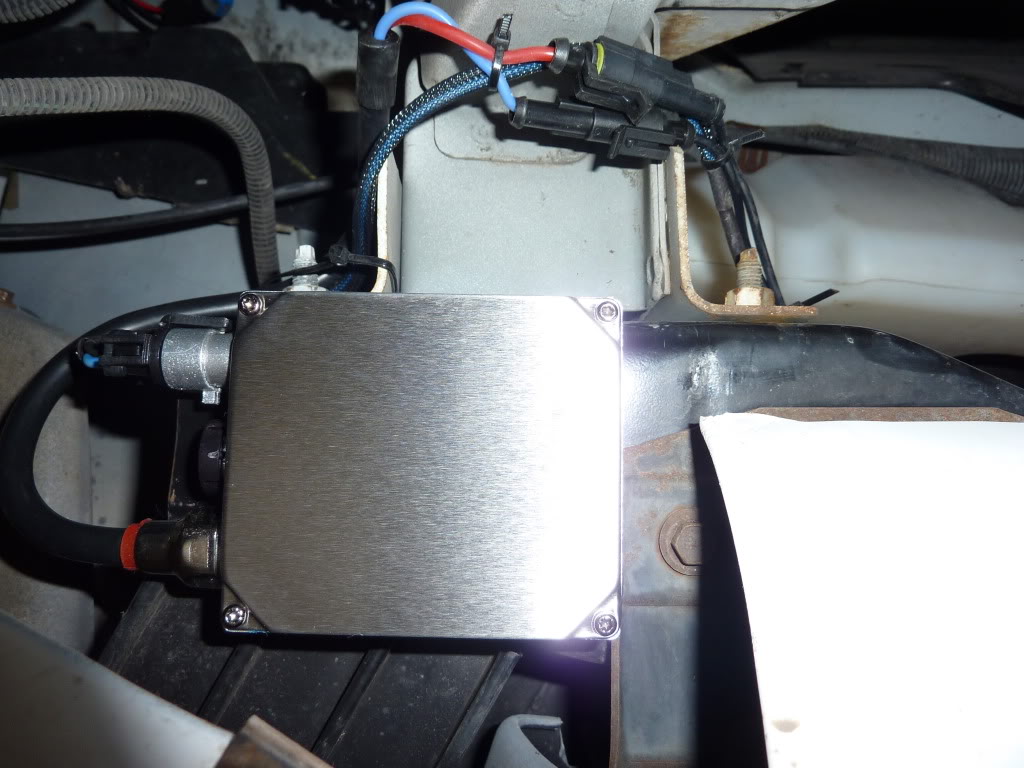
^- Low Ballast

^- Both
^- Driver Fog Ballast
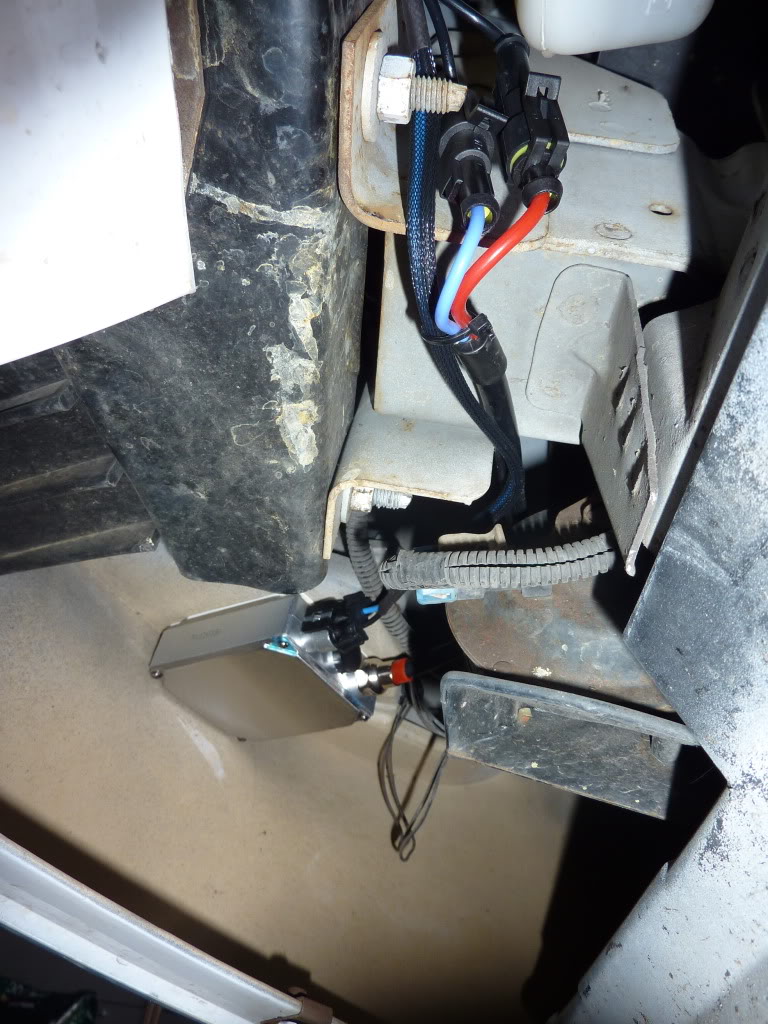
^- Passenger Fog Ballast
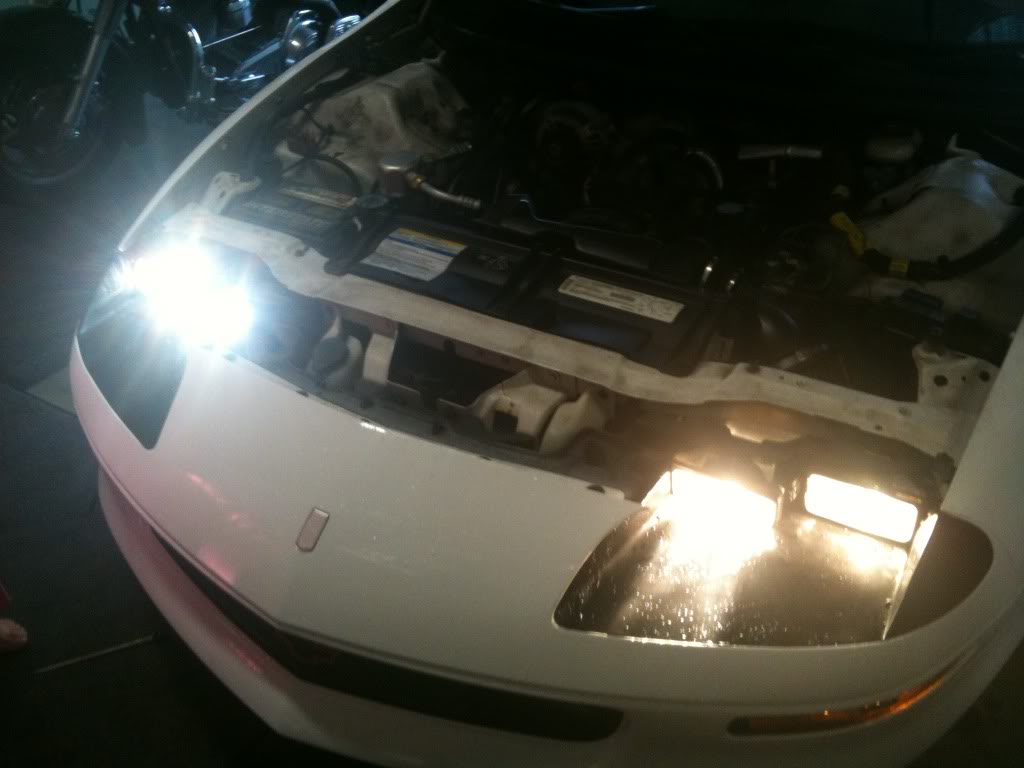
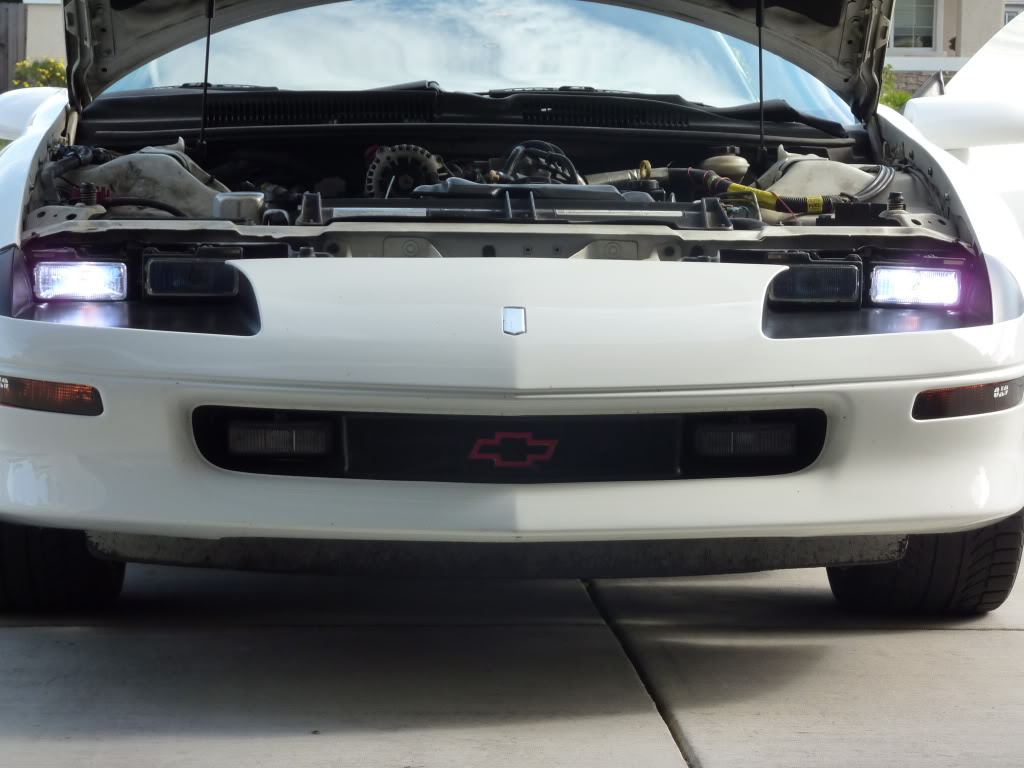
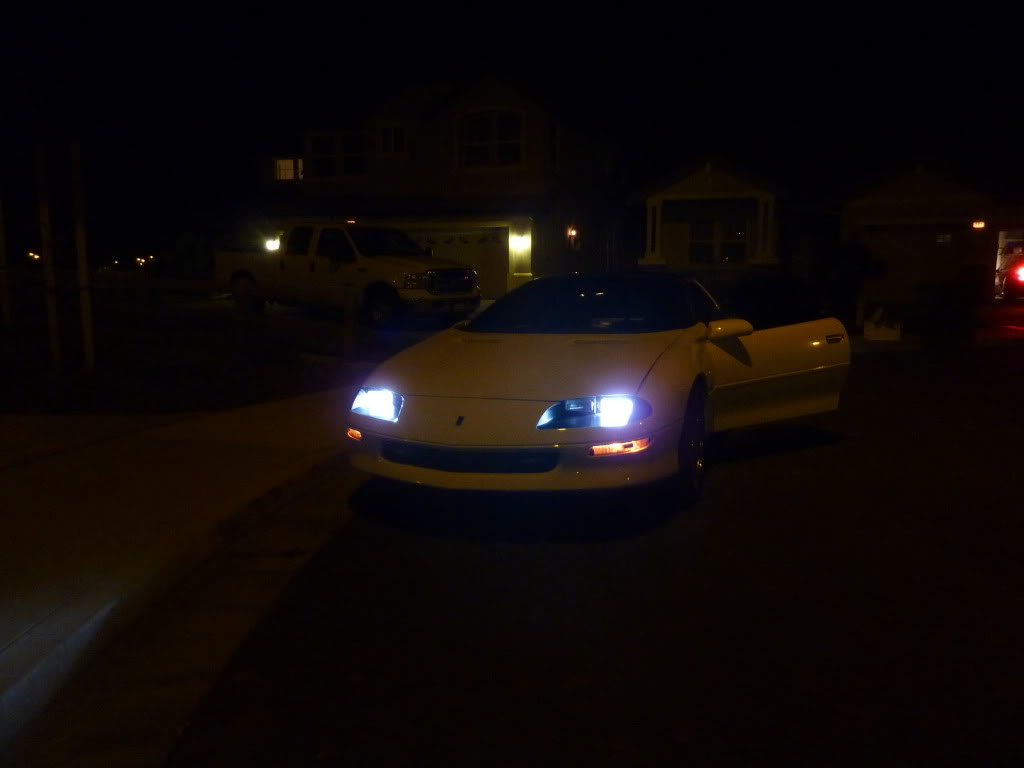
(FINISHED PRODUCT)
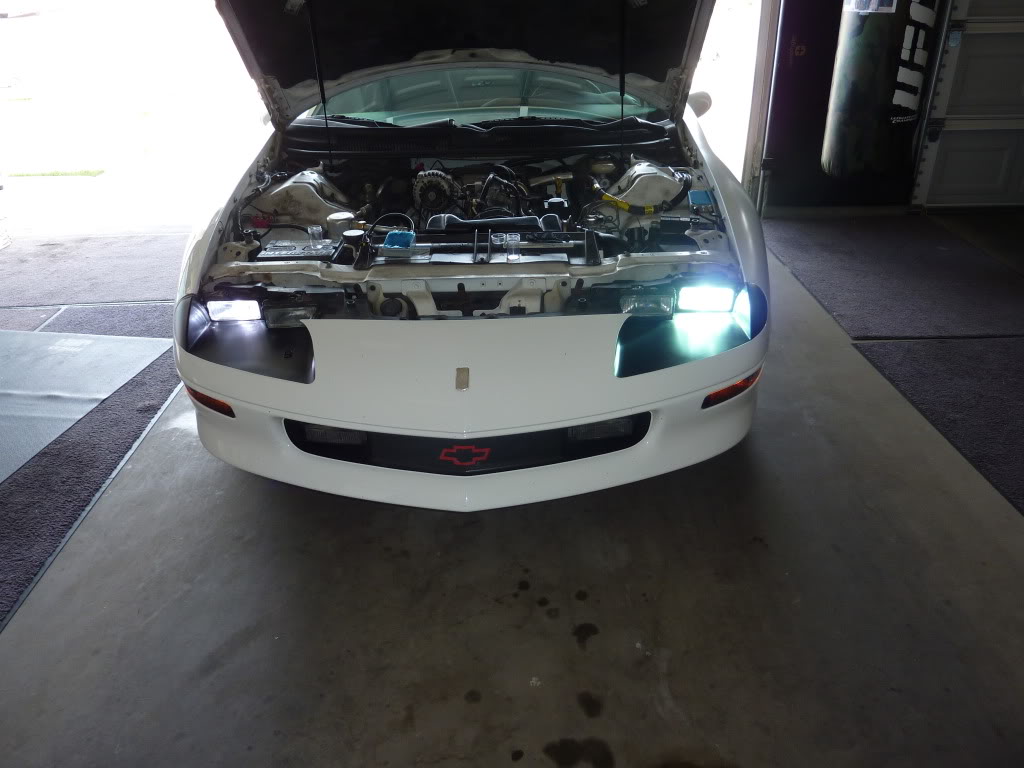
^- Passenger side is the Luminics Pure Blue bulbs I had in prior to getting the HID's. Driver side is the 8000K HID from DDM Tuning. (LOWS)
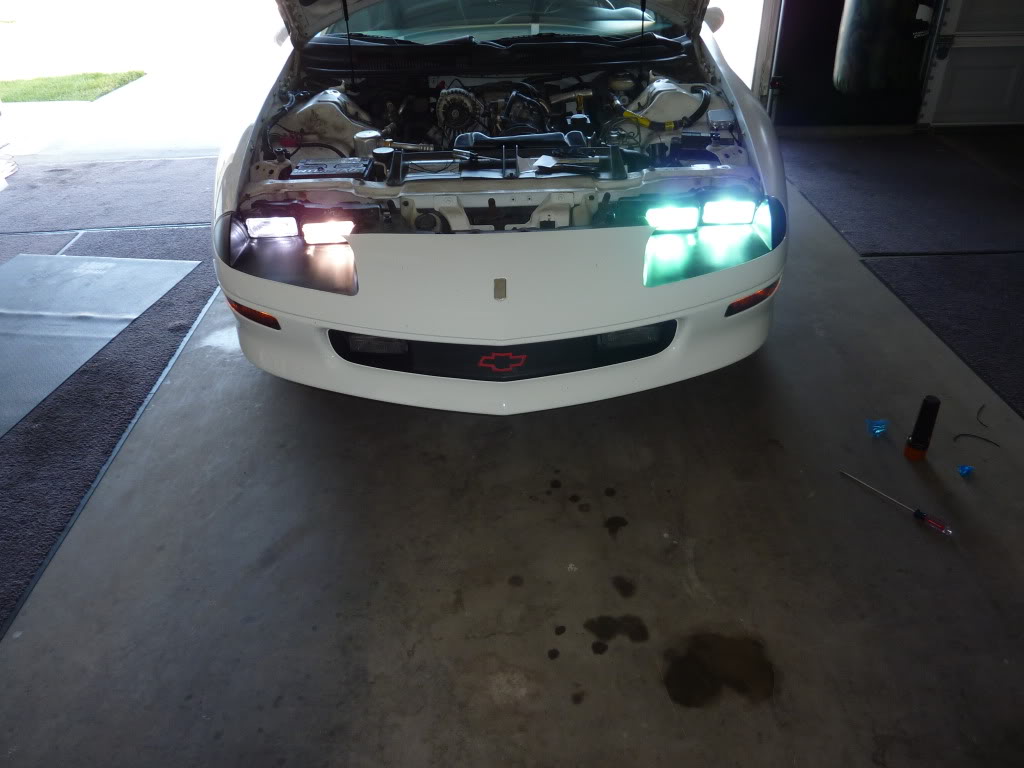
^- Passenger side is Luminics(Low) and Xeon-Charged(High) from Eurolights. Driver side is 8000K(Low) and 10000K(HIGH) HID's fromDDM Tuning.(LOW/HIGH)
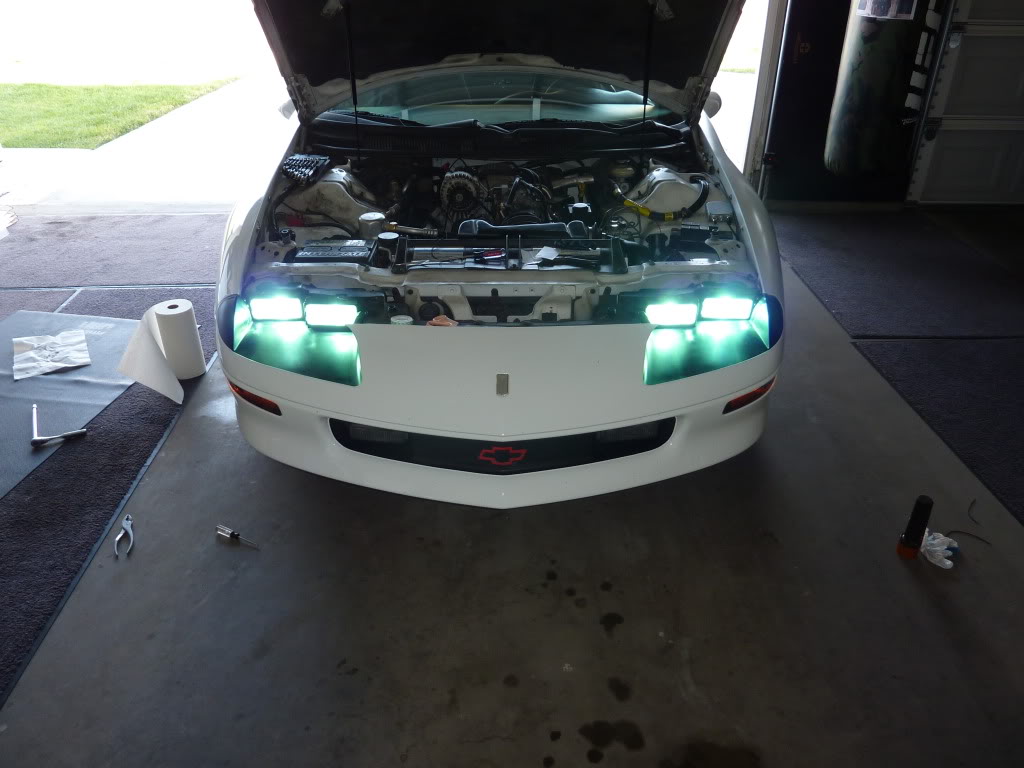
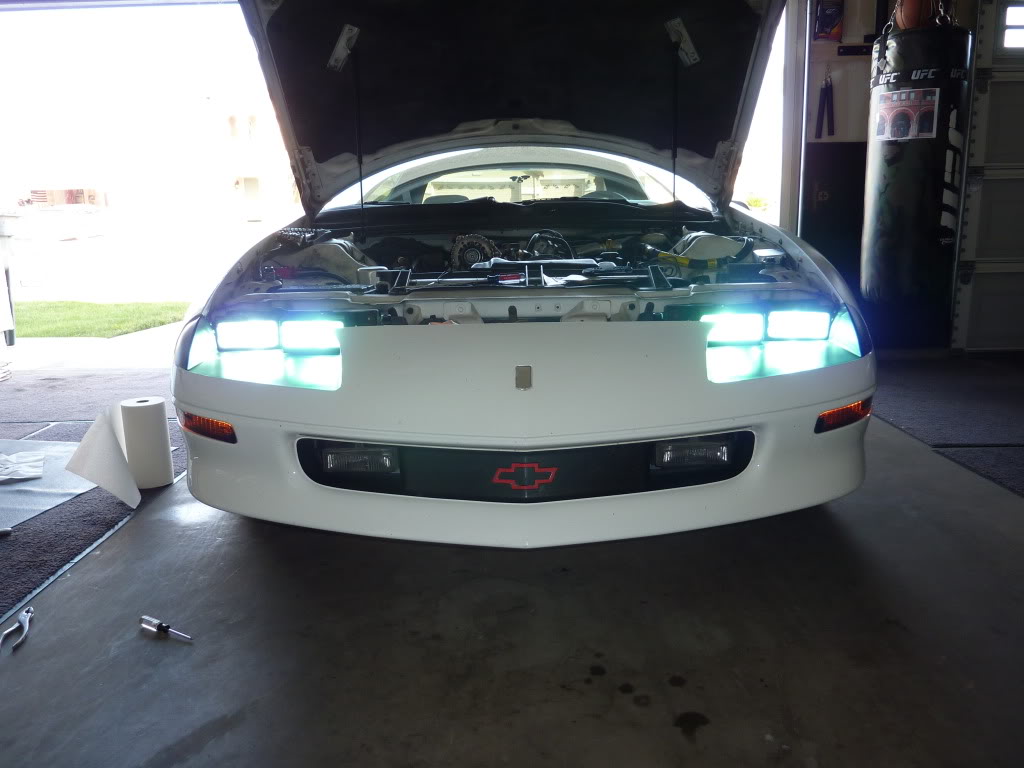
^- High/Low's HID's from DDM Tuning.
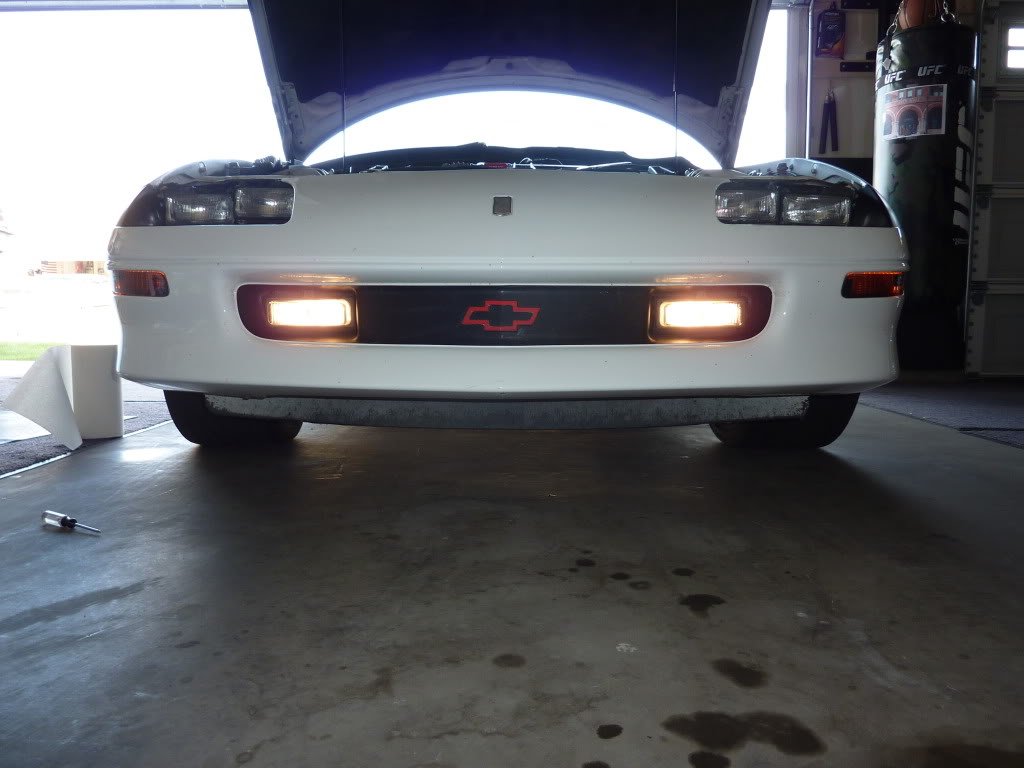
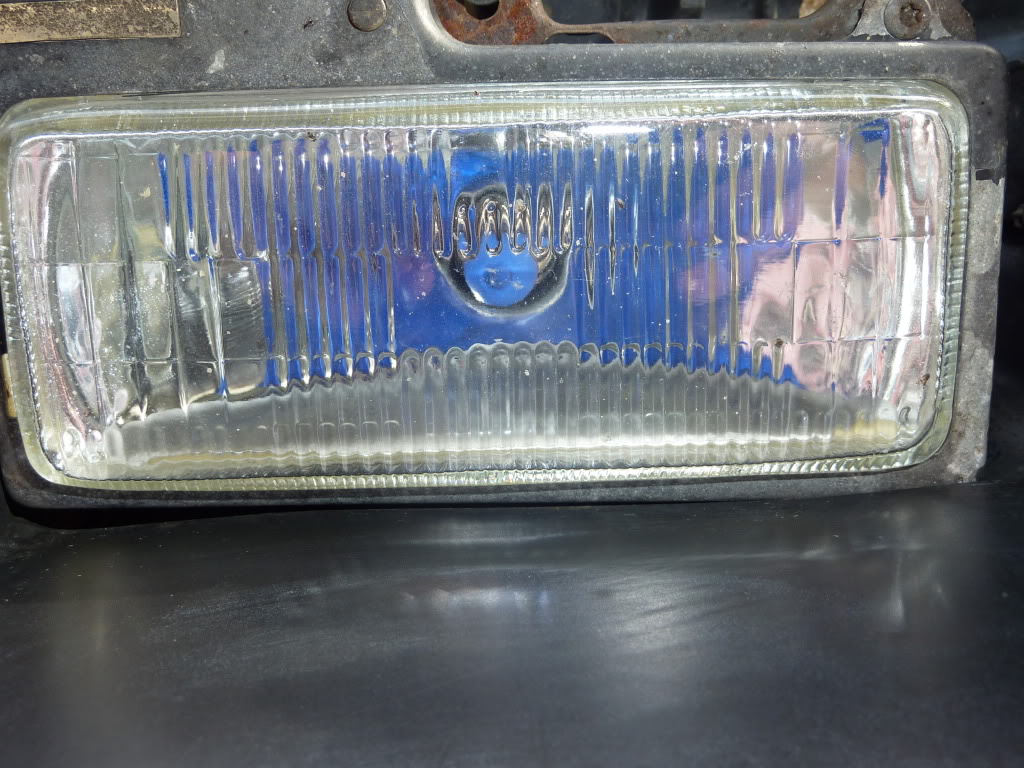
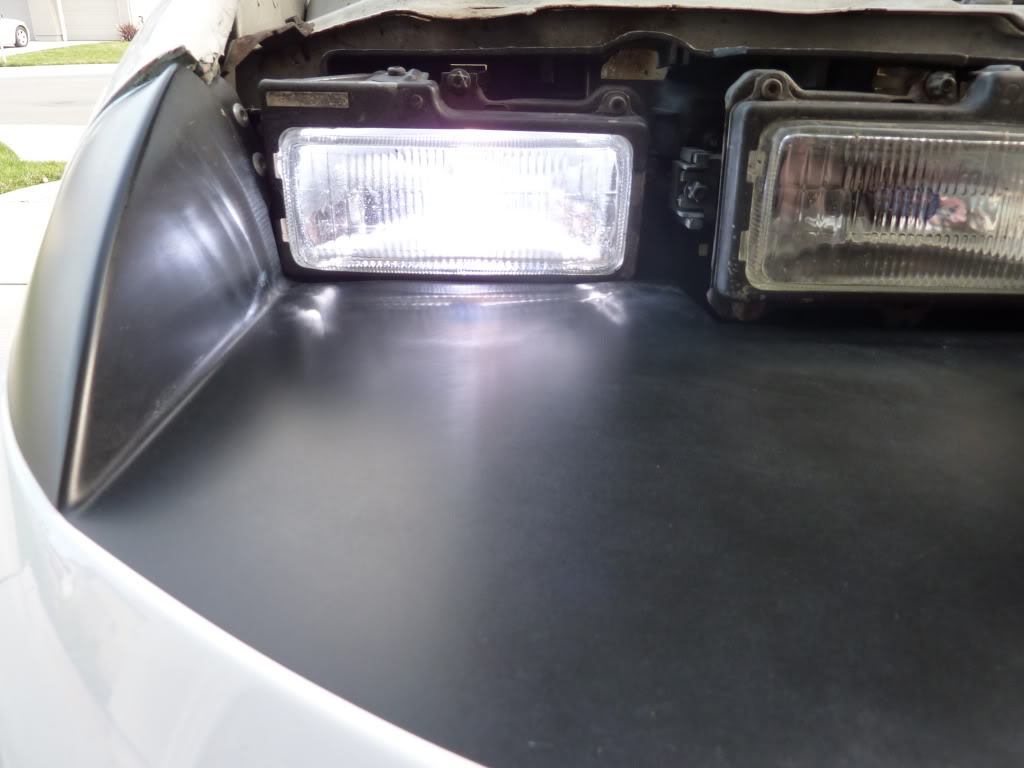
^-OEM Foglights
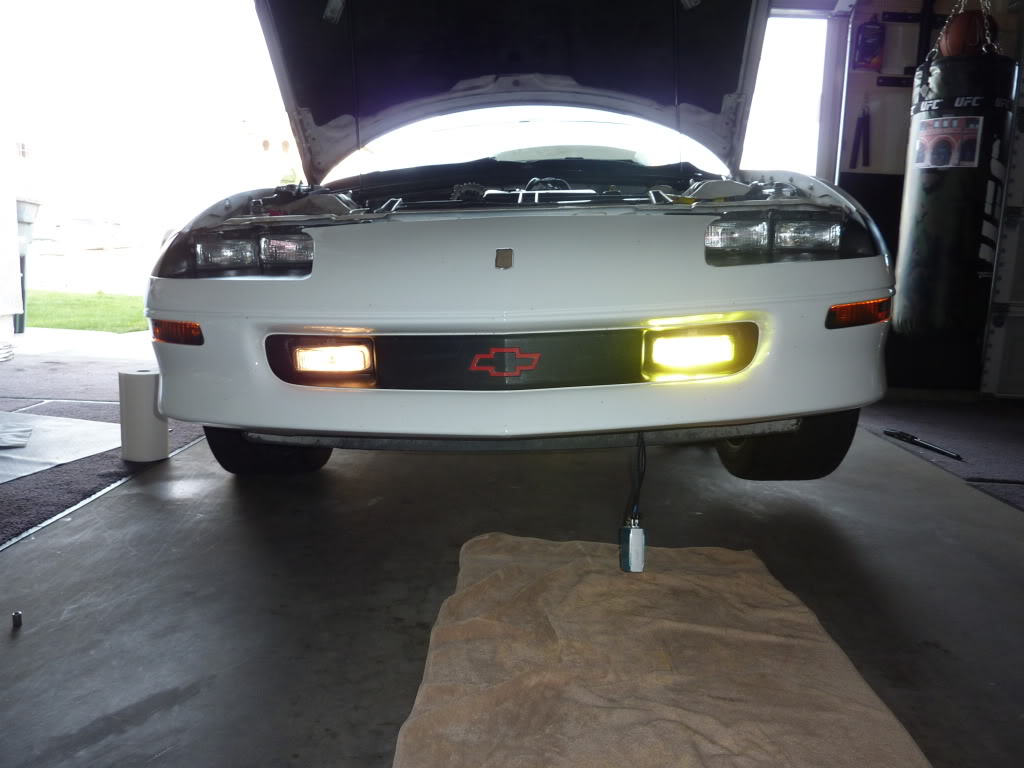
^- Passenger OEM Fog. Driver 300K HID from DDM Tuning.
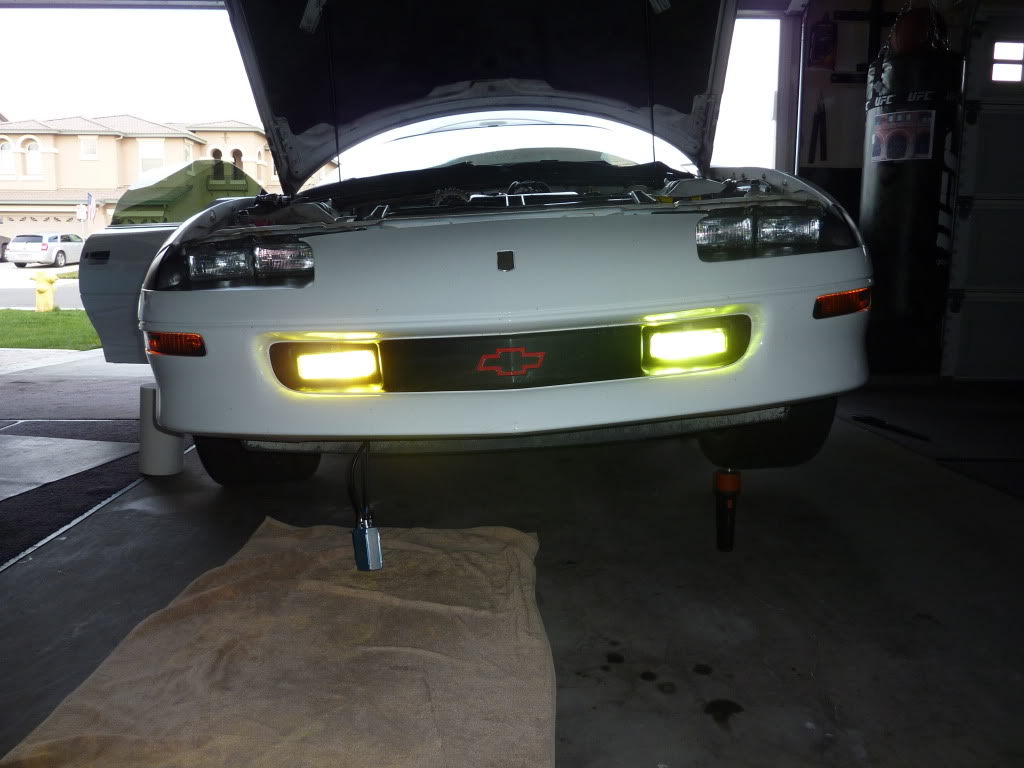
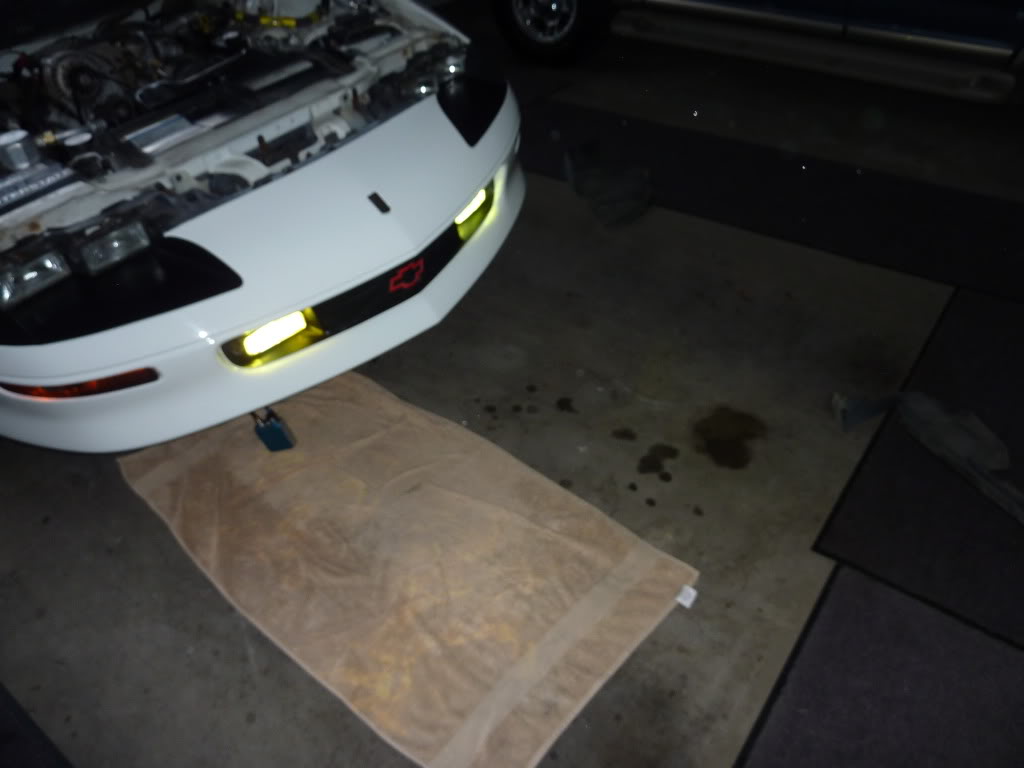
^- Both Fog HID's
I purchased my HID's from DDMTuning. They were $30.00 per ballast. You will not need the wiring harness or code eliminators from a 1995 year Camaro. However, If you are running a 2000W+ system you may need the wiring harness to power-up the HID's unless you swap and power one up at a time and not both the HID's and Stereo. Here is the link for the HID kits.
Gauge Cluster and Interior Lights with new LED's from SuperBrightLed
FINALLY! My HID's came! I woke up to this on my kitchen counter.
So, Of course the first thing I did was install them!
(INSTALLATION)
^- I had to check and see if they worked. They didn't. I had to call DDM Tuning. APPARENTLY, CHEVY IS REV POLARITY. SO YOU HAVE TO REVERSE THE WIRES WHEN CONNECTING THEM.
NOTE: I forgot to take pictures of Driver side ballasts. I will take one tomorrow and post it.
^- Had to remove the effing battery to get the HID wires ran.
^- High Ballast
^- Low Ballast
^- Both
^- Driver Fog Ballast
^- Passenger Fog Ballast
(FINISHED PRODUCT)
^- Passenger side is the Luminics Pure Blue bulbs I had in prior to getting the HID's. Driver side is the 8000K HID from DDM Tuning. (LOWS)
^- Passenger side is Luminics(Low) and Xeon-Charged(High) from Eurolights. Driver side is 8000K(Low) and 10000K(HIGH) HID's fromDDM Tuning.(LOW/HIGH)
^- High/Low's HID's from DDM Tuning.
^-OEM Foglights
^- Passenger OEM Fog. Driver 300K HID from DDM Tuning.
^- Both Fog HID's
I purchased my HID's from DDMTuning. They were $30.00 per ballast. You will not need the wiring harness or code eliminators from a 1995 year Camaro. However, If you are running a 2000W+ system you may need the wiring harness to power-up the HID's unless you swap and power one up at a time and not both the HID's and Stereo. Here is the link for the HID kits.
Gauge Cluster and Interior Lights with new LED's from SuperBrightLed
Last edited by Gh0st; Feb 4, 2011 at 11:08 PM. Reason: Added HID's
Thread Starter
|
In the Staging Lanes
Joined: Feb 2011
Posts: 70
From: Disco Bay
COMING SOON:
TO DO LIST:
KILL LIST:
1994 Accura Integra VTEC
1995 BMW 525I
2002 Charger R/T - (This dude seriously didn't know how to drive. I could have walked faster.)
2000 Saturn ION2
???? Lexus IS300
That is all I can think of off the top of my head. Feel free to post any ideas you may have, or comment on what you think of mine.
(RANDOM PICTURES of CASPA)
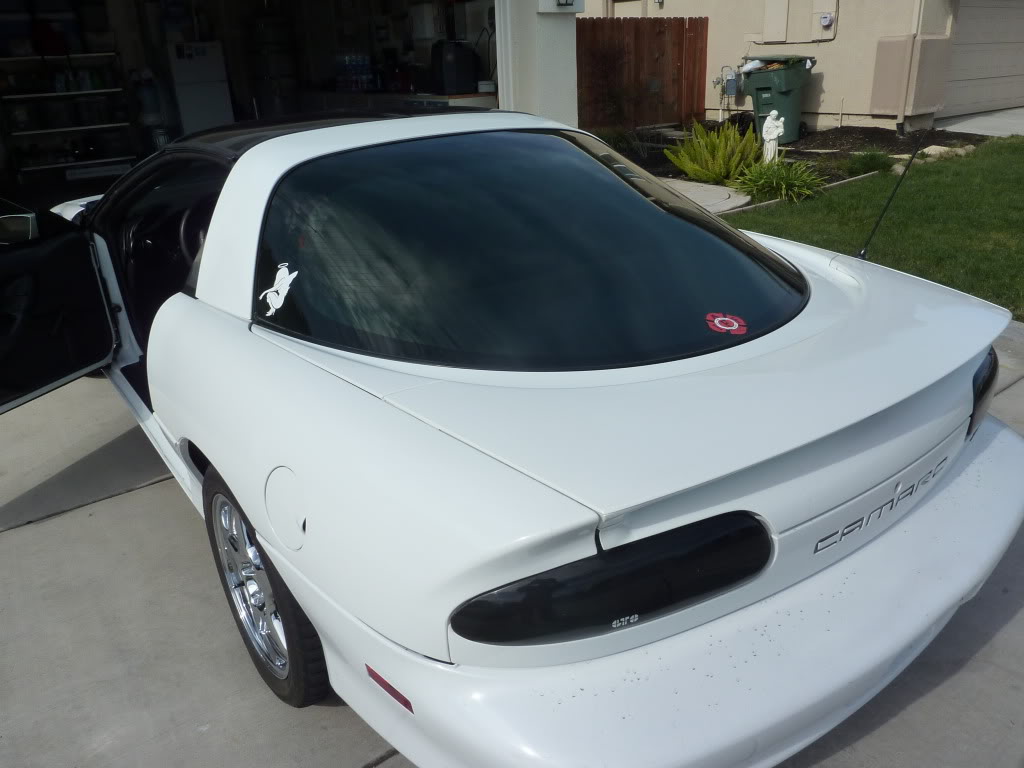
^- Angel/Demon Decals & Firefighter's Maltese Cross
^- Blue Neon Bar.. I have a red sitting under the sub box that I need to move between the subs and the rear trunk panel.
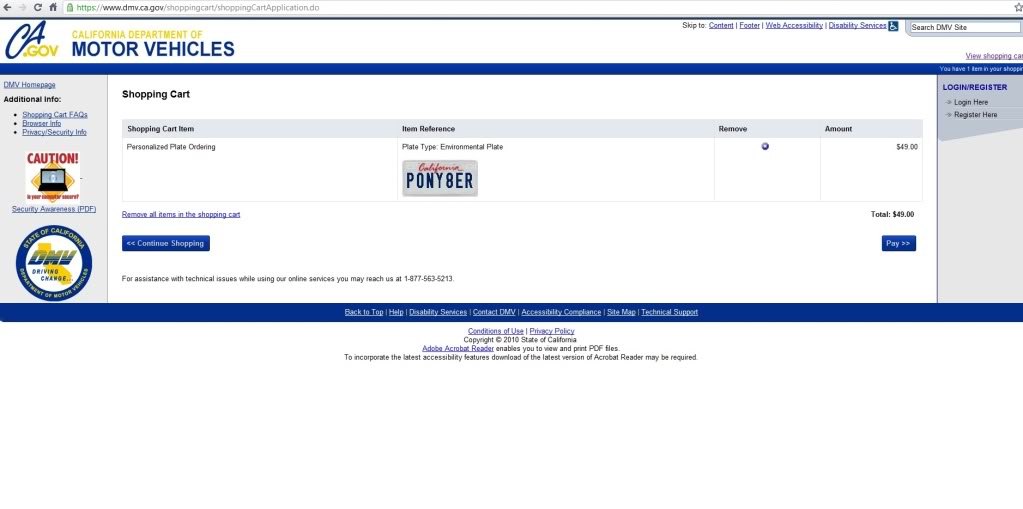
- Personal Plates
TO DO LIST:
- RS Ground Effects
- Sway Bar
- Suspension
- Cam
- Brembo Breaks
- Paint>WHITE
- SS Hood
- K&N RAM CIA
KILL LIST:
1994 Accura Integra VTEC
1995 BMW 525I
2002 Charger R/T - (This dude seriously didn't know how to drive. I could have walked faster.)
2000 Saturn ION2
???? Lexus IS300
That is all I can think of off the top of my head. Feel free to post any ideas you may have, or comment on what you think of mine.
(RANDOM PICTURES of CASPA)
^- Angel/Demon Decals & Firefighter's Maltese Cross
^- Blue Neon Bar.. I have a red sitting under the sub box that I need to move between the subs and the rear trunk panel.
Last edited by Gh0st; Feb 6, 2011 at 02:25 PM. Reason: Added TODO and KILL Lists

Overdrive Member
Joined: Apr 2010
Posts: 3,354
From: Spanaway, WA
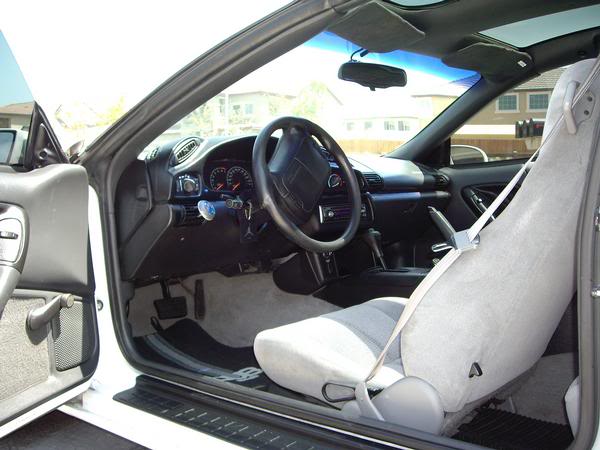
I can tell from the pics that your car is not a true RS. The True RS cars could be had without the body kit but they would have had leather and power everything. I see cloth seats so that just about rules it out.
Your CAI is choking your engine! the tube that you have connecting the CAI to the intake is causing airflow distrubances and will slow down the air flow. Also with the tube going down by the radiator like that it will just reheat the air in the tube. I have seen others here make the 5.7L CAI work using 4" pvc pipe and the stock 90� elbow on the manifold. The factory unit was not that bad on these engines, the small tube that fed the filter box was too small. The corrigations in the stock plumbing also didnt help.
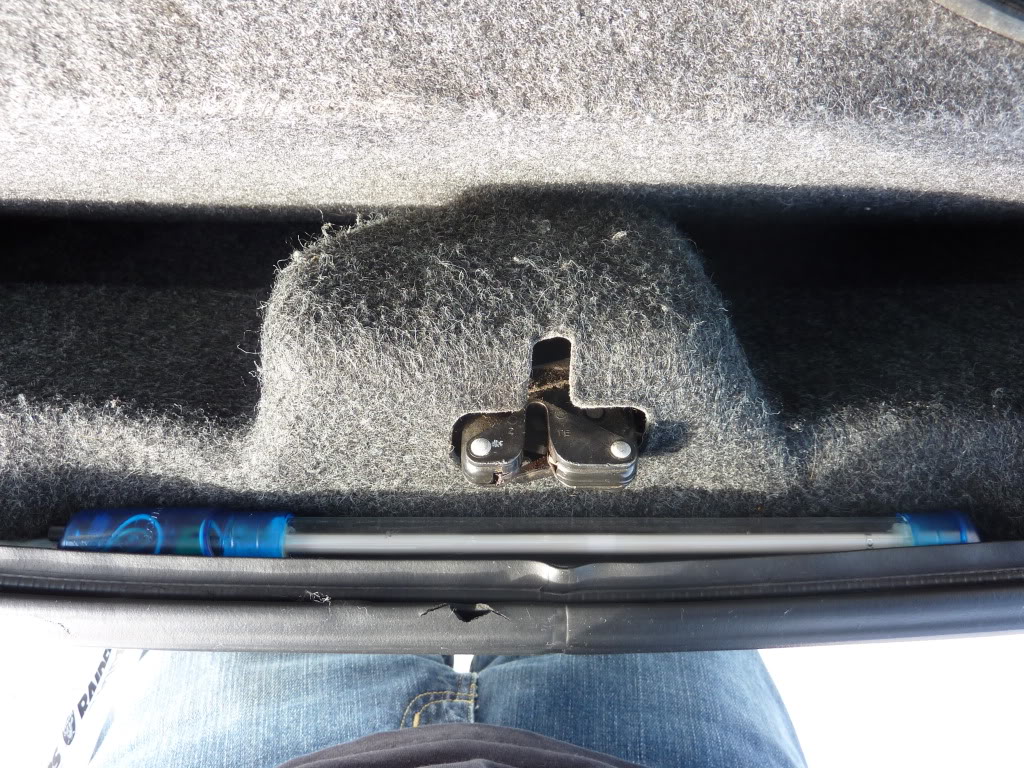
All and all a nice looking car. Oh yea also it is not a convert. It is a T-top car. The well in the back where your subs are is where the tops go when they are stored. Careful storing them in other places in the car, they are tempered glass and when they break there is glass everywhere.
Massey
Your CAI is choking your engine! the tube that you have connecting the CAI to the intake is causing airflow distrubances and will slow down the air flow. Also with the tube going down by the radiator like that it will just reheat the air in the tube. I have seen others here make the 5.7L CAI work using 4" pvc pipe and the stock 90� elbow on the manifold. The factory unit was not that bad on these engines, the small tube that fed the filter box was too small. The corrigations in the stock plumbing also didnt help.
All and all a nice looking car. Oh yea also it is not a convert. It is a T-top car. The well in the back where your subs are is where the tops go when they are stored. Careful storing them in other places in the car, they are tempered glass and when they break there is glass everywhere.
Massey