Project "Wamaro" Build Thread

Thread Tools
 
Search this Thread
 
  #11  
Old 09-14-2011, 08:21 PM
marten's Avatar
In the Staging Lanes
Join Date: Dec 2010
Location: Hinesville GA.
Posts: 85
Default

your lucky you have access to all the machinery
 
  #12  
Old 09-15-2011, 07:53 AM
iLL95's Avatar
I Like to Party
Super Member
Join Date: Aug 2011
Location: South TX
Posts: 1,112
Default

Lookin good so far.
 
  #13  
Old 09-15-2011, 06:03 PM
NorthernCrew454's Avatar
1st Gear Member
Thread Starter
Join Date: Mar 2011
Location: Neenah, Wisconsin
Posts: 195
Default

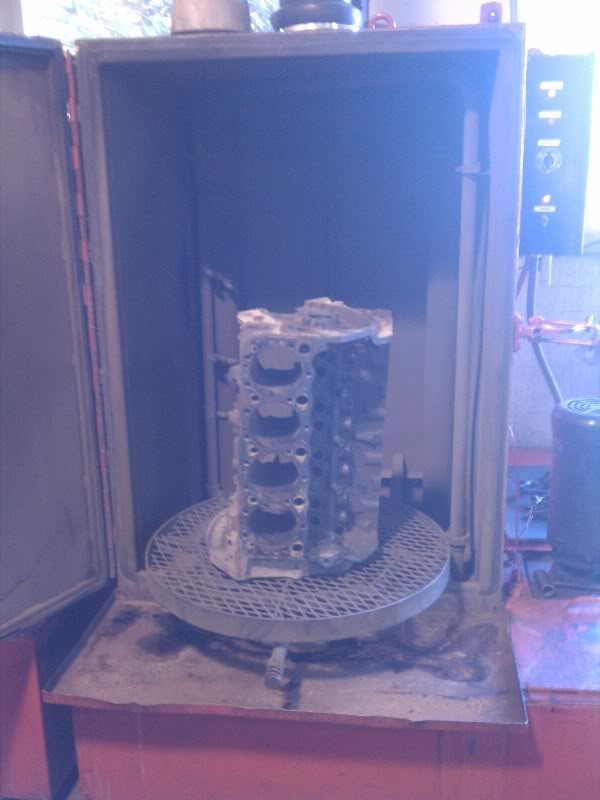
Got the block in the pressure washer, 180 degree water for 15 minutes.
Name:  IMG_20110915_164409.jpg
Views: 98
Size:  41.8 KB
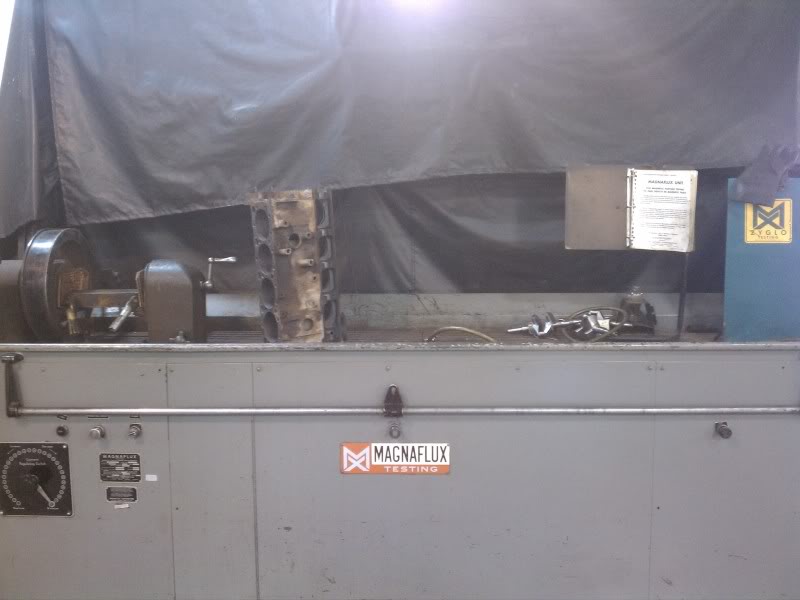
Next it goes in the magnaflux machine to look for cracks. There were none!
Name:  IMG_20110915_172954.jpg
Views: 119
Size:  41.8 KB

Then the block is put back into the washer to clean the magnaflux solution off and comes out nice and clean!
Name:  IMG_20110915_172612.jpg
Views: 156
Size:  61.1 KB
Name:  IMG_20110915_183916.jpg
Views: 90
Size:  65.4 KB
Name:  IMG_20110915_183922.jpg
Views: 99
Size:  70.9 KB
 
  #14  
Old 09-15-2011, 06:05 PM
NorthernCrew454's Avatar
1st Gear Member
Thread Starter
Join Date: Mar 2011
Location: Neenah, Wisconsin
Posts: 195
Default

Next Wednesday I plan to cut the splayed caps in and maybe line bore
 
  #15  
Old 09-28-2011, 07:20 PM
NorthernCrew454's Avatar
1st Gear Member
Thread Starter
Join Date: Mar 2011
Location: Neenah, Wisconsin
Posts: 195
Default

Got a bit done tonight.

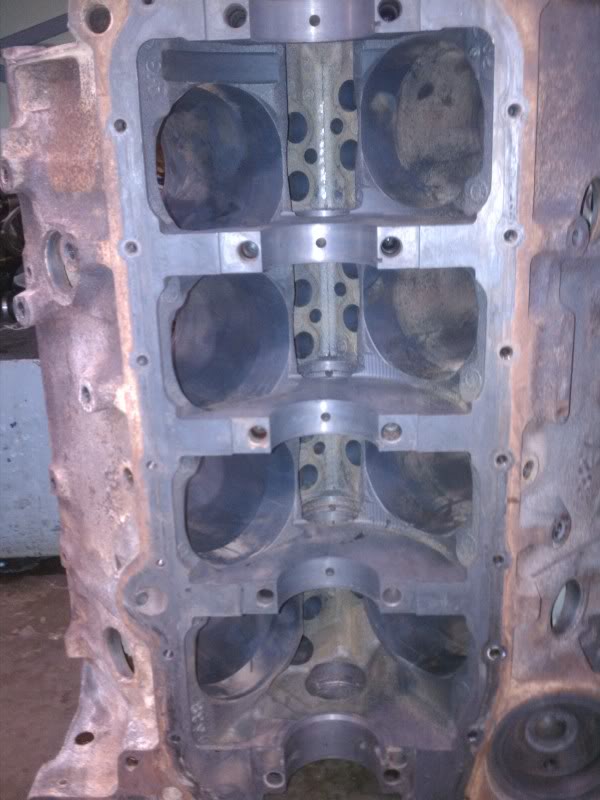
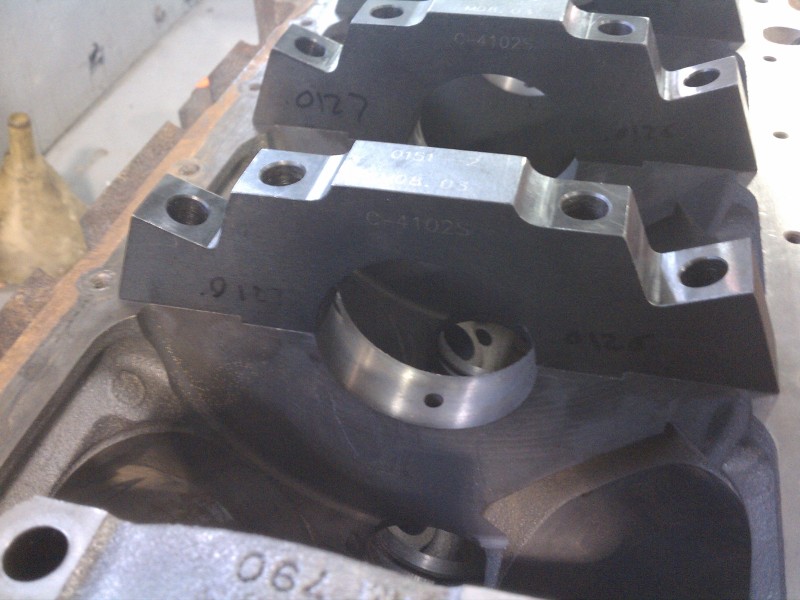
Cut the caps to the correct clearance in the block, milodon says .003 Max
Name:  IMG_20110928_170816.jpg
Views: 111
Size:  122.3 KB

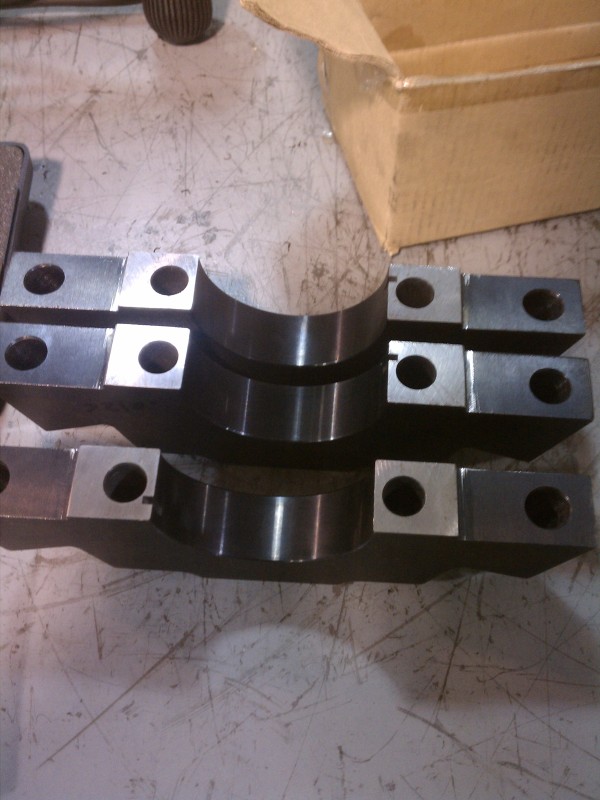
The overall width of the caps did not fit, so i had to cut them to have a .005 interference fit.
Name:  IMG_20110928_174150.jpg
Views: 143
Size:  130.3 KB
Name:  IMG_20110928_174155.jpg
Views: 109
Size:  131.9 KB
Then the caps all fit!
Name:  IMG_20110928_182115.jpg
Views: 114
Size:  119.6 KB
Name:  IMG_20110928_182131.jpg
Views: 123
Size:  124.5 KB
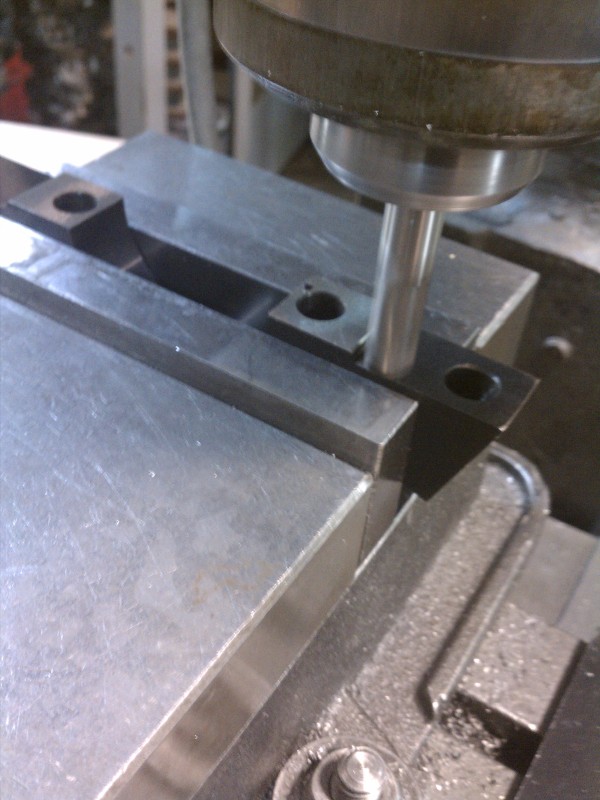
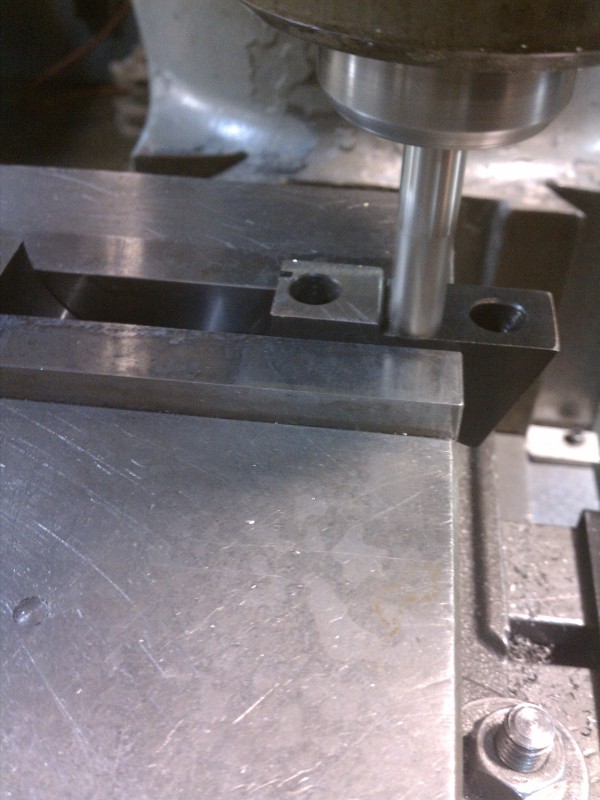
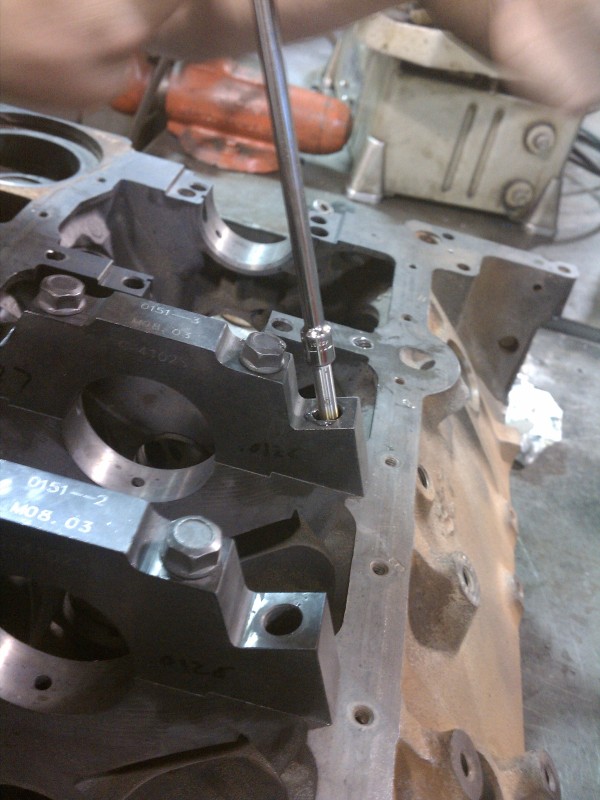
I only had enough time to drill one of the splayed bolt holes in the block. I will finish them tomorrow and thread them also.
Name:  IMG_20110928_185806.jpg
Views: 98
Size:  136.2 KB
 
  #16  
Old 09-29-2011, 07:07 PM
NorthernCrew454's Avatar
1st Gear Member
Thread Starter
Join Date: Mar 2011
Location: Neenah, Wisconsin
Posts: 195
Default

After all the holes where drilled, none into the water jacket, the holes are tapped
Name:  IMG_20110929_183401.jpg
Views: 116
Size:  138.4 KB
Then finished off with a flat bottom tap
Name:  IMG_20110929_185101.jpg
Views: 113
Size:  140.8 KB
everything done!
Name:  IMG_20110929_190301.jpg
Views: 110
Size:  149.8 KB

Next line bore and hone!
 
  #17  
Old 09-29-2011, 08:11 PM
craby's Avatar
April 2011 ROTM
ROTM Winner's Club
Join Date: Mar 2009
Location: Tokeland, Washington
Posts: 21,645
Default

is that a special bit holder so it stays in line when drilling?

Name:  IMG_20110928_185806.jpg
Views: 142
Size:  136.2 KB
 

Last edited by craby; 09-29-2011 at 08:13 PM.
  #18  
Old 09-29-2011, 09:00 PM
NorthernCrew454's Avatar
1st Gear Member
Thread Starter
Join Date: Mar 2011
Location: Neenah, Wisconsin
Posts: 195
Default

yes its a guide for drilling
 
  #19  
Old 10-05-2011, 08:34 PM
NorthernCrew454's Avatar
1st Gear Member
Thread Starter
Join Date: Mar 2011
Location: Neenah, Wisconsin
Posts: 195
Default

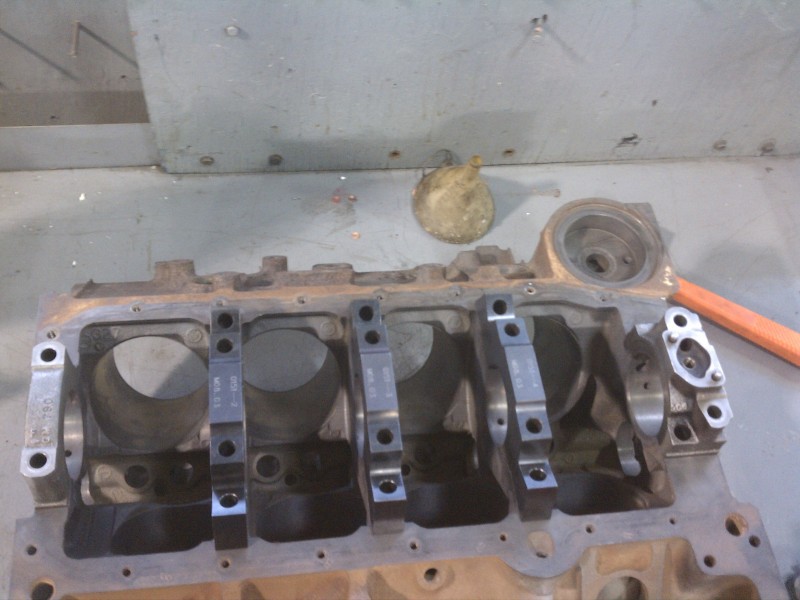
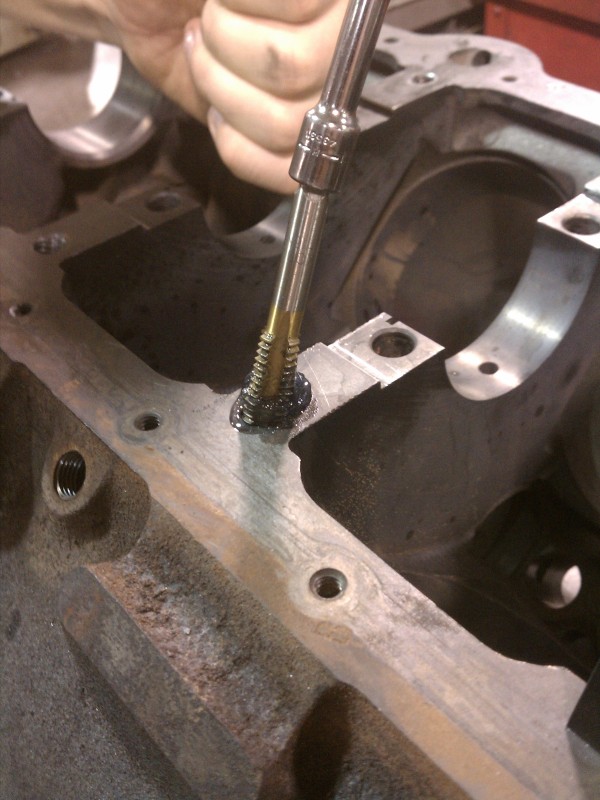
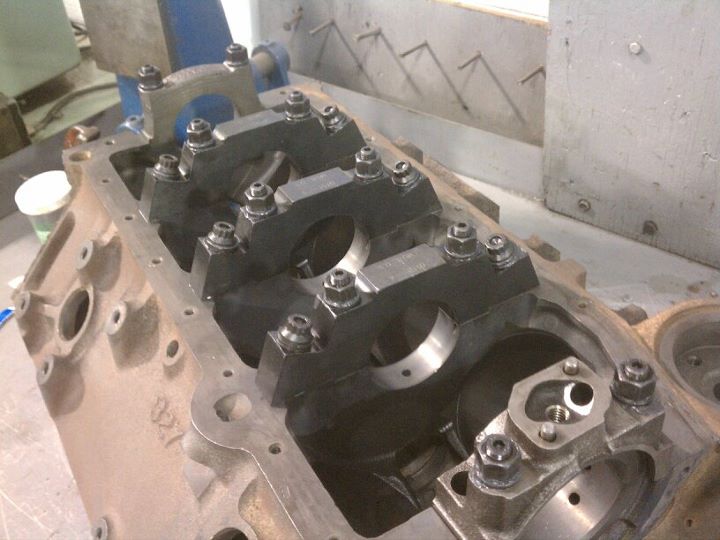
Finished bottom tapping and cleaned in the jet washer


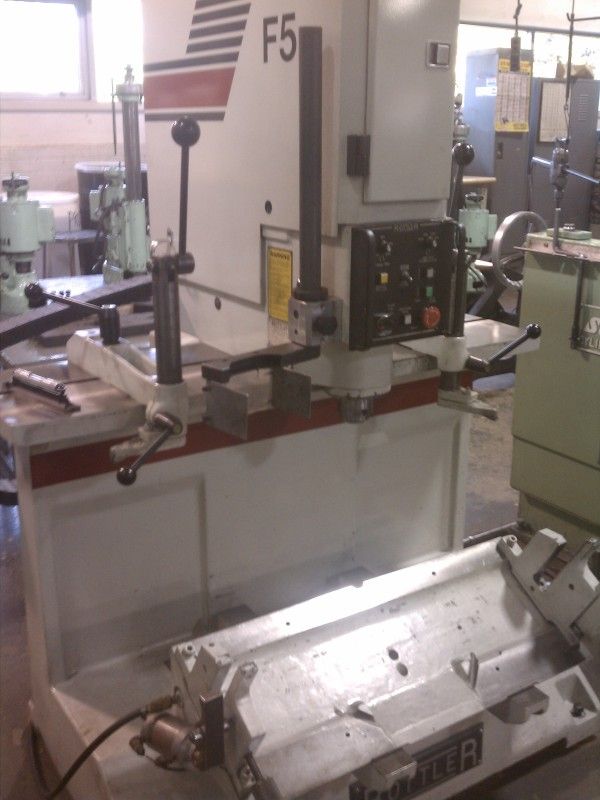
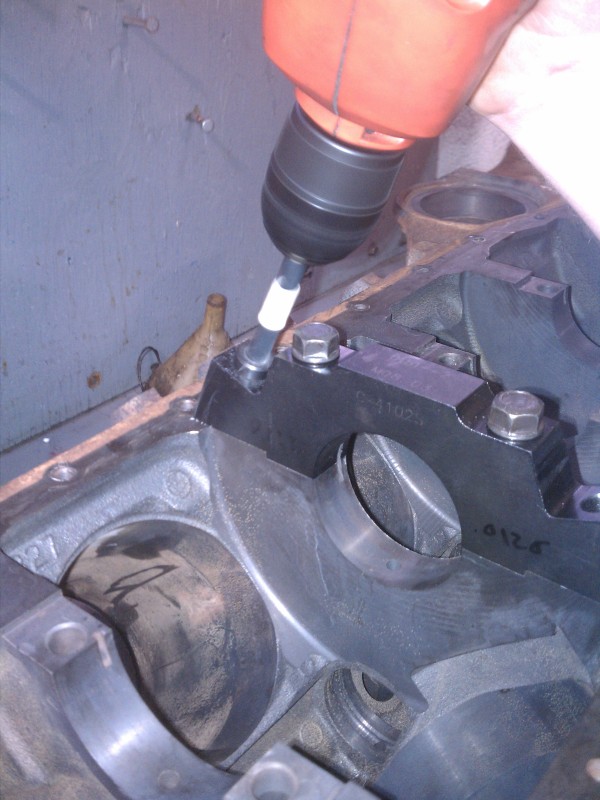
Main studs installed, i have the longer studs for the windage tray, but since i had the short ones form the ARP kit i used them so i can mount the block to the boring machine without problems.
Name:  IMG_20111005_185819.jpg
Views: 111
Size:  134.1 KB
Studs all torqued down for cylinder boring on Wednesday and then line boring/honing next week
Name:  312847_10150866441885198_692970197_21359665_13494050_n.jpg
Views: 113
Size:  56.1 KB
 

Last edited by NorthernCrew454; 10-10-2011 at 08:46 PM.
  #20  
Old 10-12-2011, 07:44 PM
NorthernCrew454's Avatar
1st Gear Member
Thread Starter
Join Date: Mar 2011
Location: Neenah, Wisconsin
Posts: 195
Default

Completed all the boring tonight, bore size of 4.025, leaving .005 for honing for a total bore of 4.030. The machine is a Rottler F5.

Name:  IMG_20111012_184111.jpg
Views: 102
Size:  130.4 KB
Name:  IMG_20111012_191705.jpg
Views: 130
Size:  128.3 KB
Name:  IMG_20111012_191714.jpg
Views: 160
Size:  120.9 KB
Name:  IMG_20111012_184103.jpg
Views: 108
Size:  122.2 KB


Quick Reply: Project "Wamaro" Build Thread


All times are GMT -5. The time now is 02:33 AM.