How to replace your (Auto) shift knob (1995)
#1
 12-04-2012, 07:50 PM


Join Date: Sep 2012
Location: SW Ontario, Canada
Posts: 146
Step by step instructions on how to replace your automatic shift **** with an aftermarket replacement:
For the aftermarket ****, I used a custom one from SickSpeed
Total cost less than $100, shipping included, and that also includes the hat pin that I sent them to embed in the ****.
We will start with this:
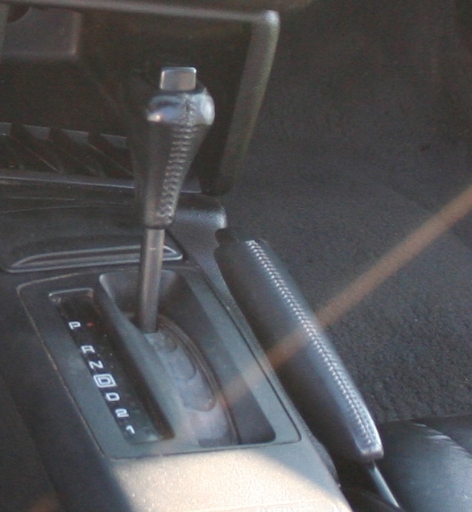
On the front side of your shift **** (facing the front of the car) there is a small indentation that holds a clip to hold the **** on the shaft. Carefully remove the clip. You may have to pick at the leather wrap a bit to get it out of the way, or if you never plan to use the OEM **** again, simply cut the leather off to get at the clip like I did.
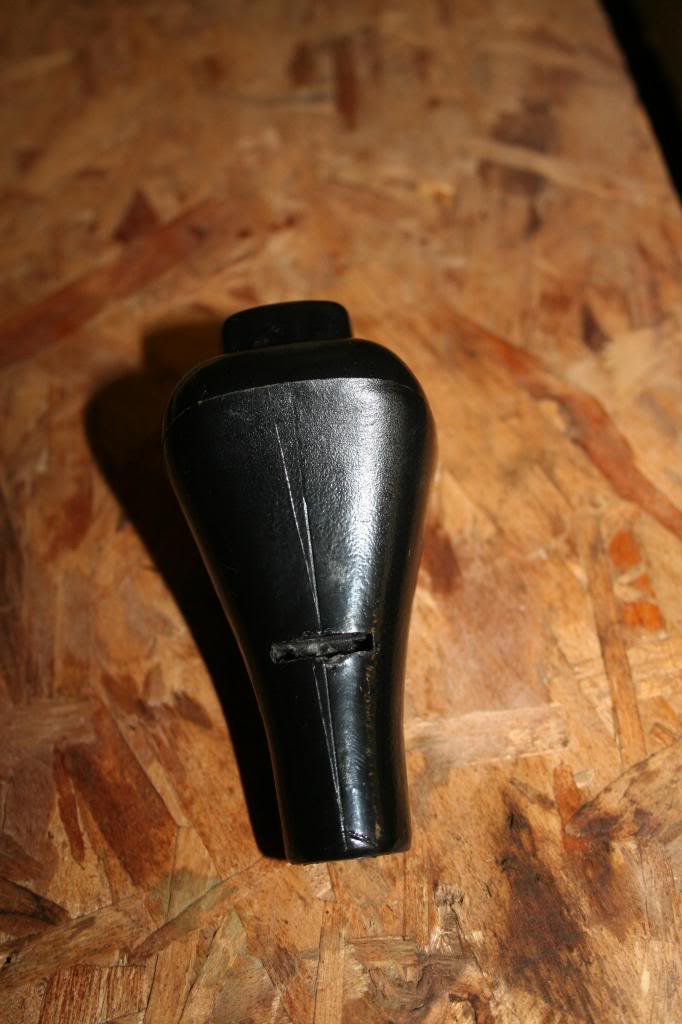
Once you have removed the clip, pull straight up on the **** to remove it from the shaft. It is still VERY tightly on there. It takes a fair bit of force to remove it.
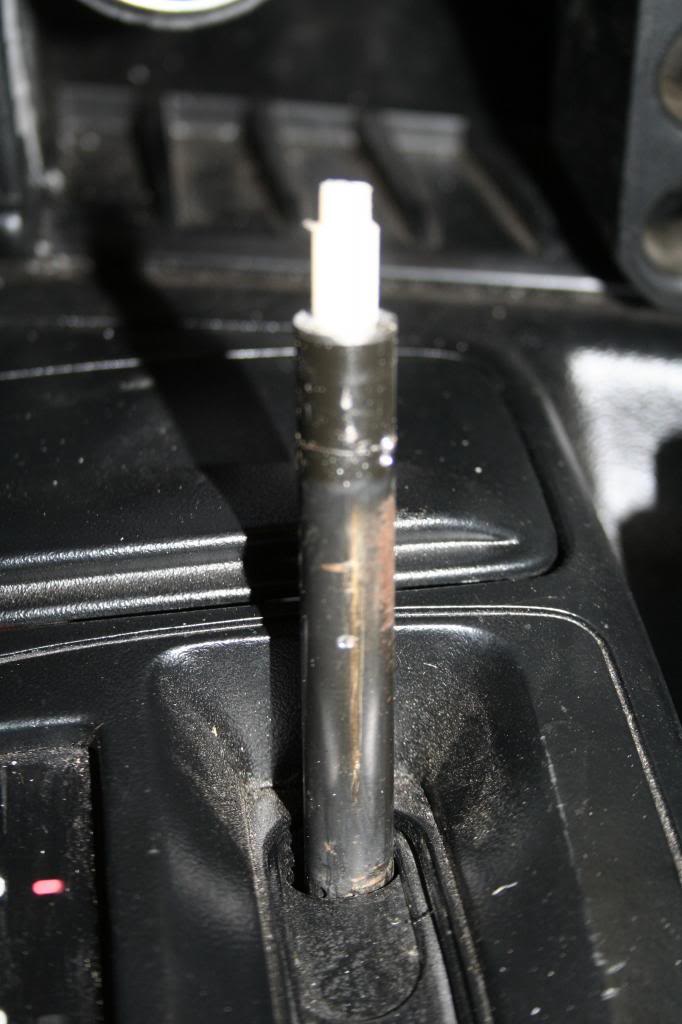
With the **** removed you will have a metal shaft with a plastic insert exposed: (note, I have already trimmed the plastic insert in this pic, yours will be longer than this!)
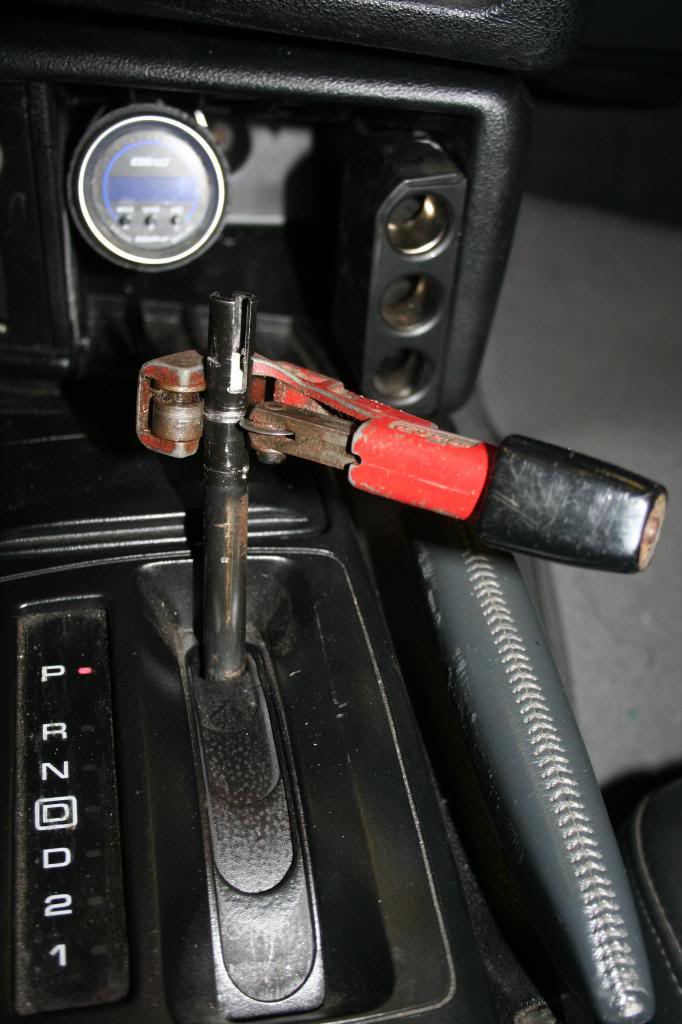
You will need to trim the metal shaft down by about 1 1/4" I used a regular tube cutter for this so as not to damage the interior plastic shaft formerly used by the release button.
NOTE: when you first cut the steel shaft it will be VERY hard to remove from the plastic shaft. The tube cutters will compress the edge of the steel onto the plastic. CAREFULLY wiggle and twist it back and forth while pulling upward on the cut piece. This will eventually get it up and over the plastic shaft.
You will now notice that your plastic shaft no longer moves up and down in the steel tube. PANIC! Actually, don't. Again the steel has compressed from the tube cutters. Get a small hammer and GENTLY tap town on the plastic shaft until it moves in the steel tube. It will shave a bit of the plastic off as it moves. Once it has moved down a 1/2" or so, grab the plastic with a pair of pliers and pull it back up again. Repeat this motion until the shaft moves freely and you are getting a bit weirded out by the motion.
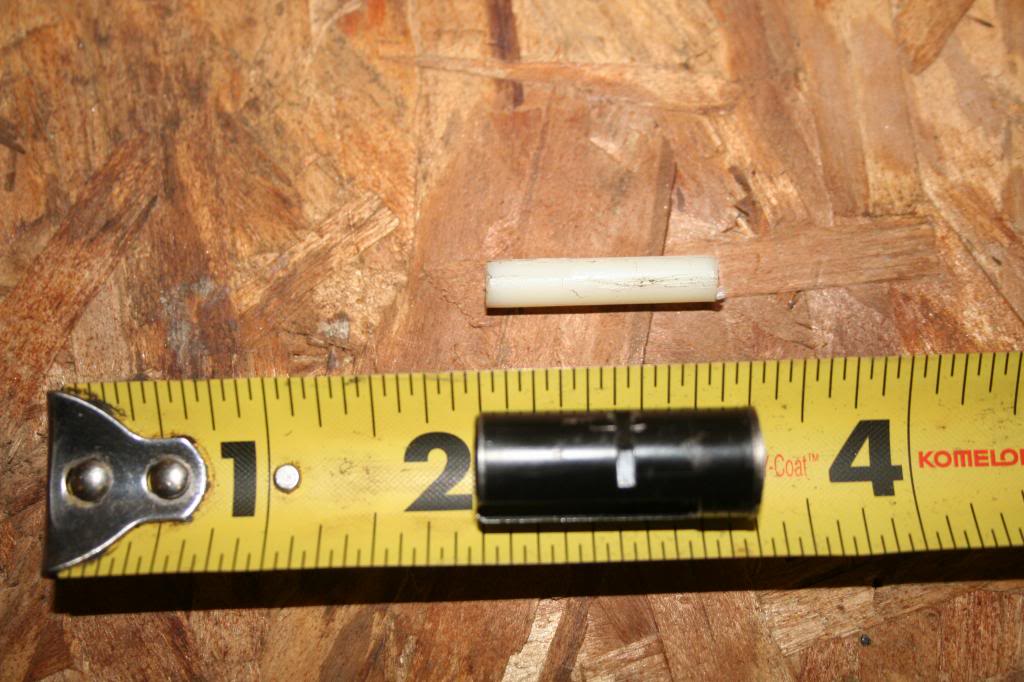
You will now need to trim some of the plastic shaft off the top as well. About the same amount as you took off the steel shaft. When you are done, it will look something like this:
That was the hard part. (not too hard, was it?)
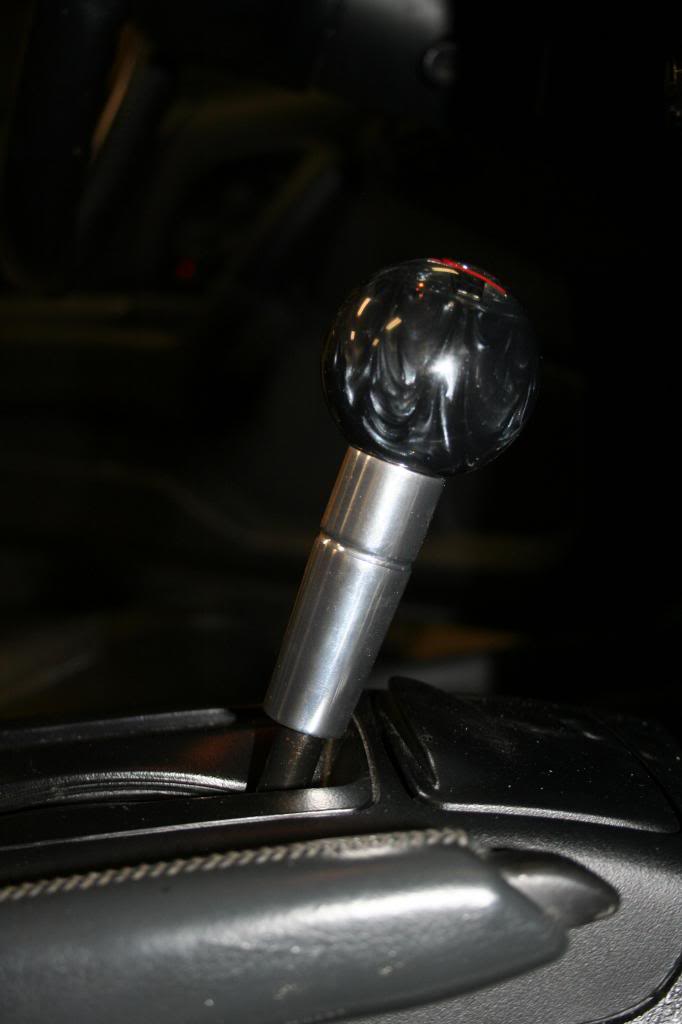
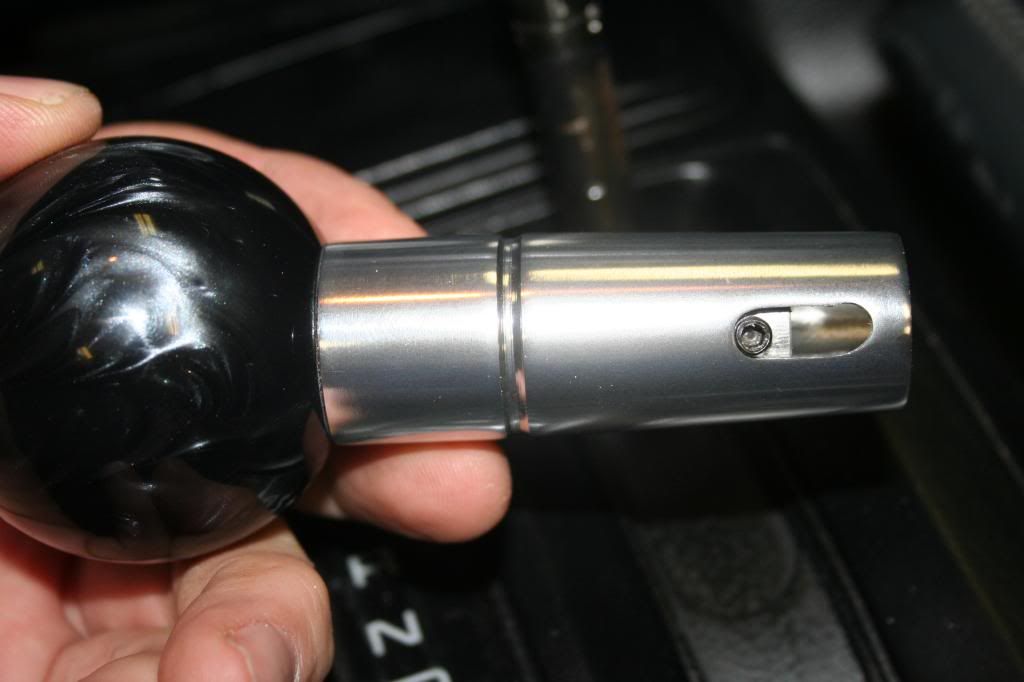
Now, simply slide the **** with the adapter over the shaft fully, and tighten the set screw with the provided allen key, immediately stripping the tiny, weak, lame set screw.

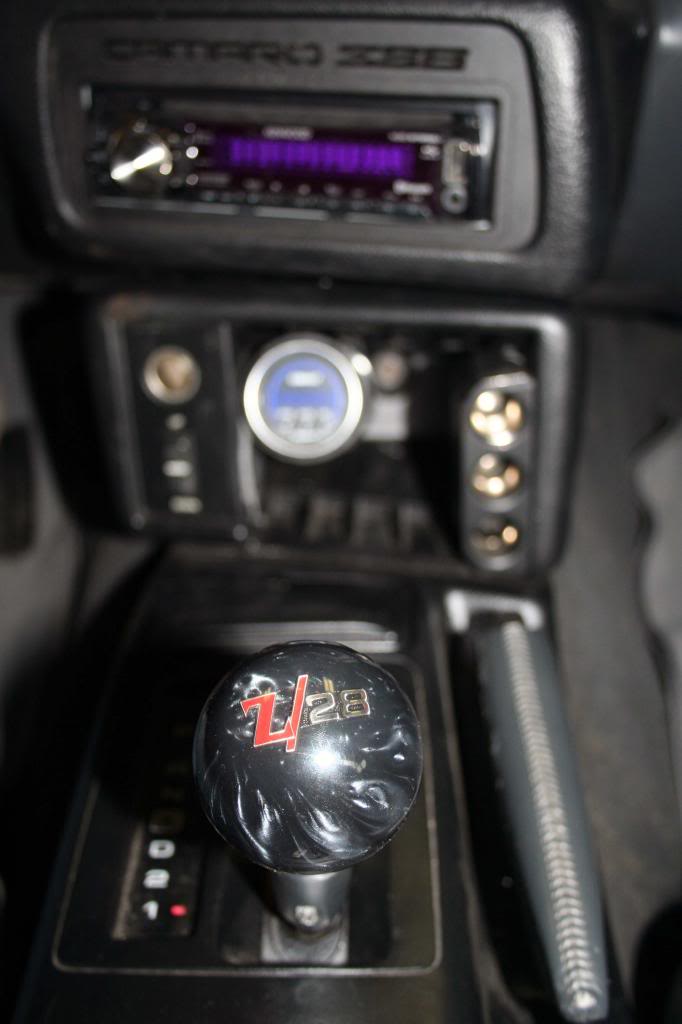
Go grab another set screw from the package it came with (you WERE wondering why it came with 3 set screws, now you know...) and GENTLY tighten it in, ensuring that the logo/whatever you put on the top of the **** is correctly aligned.
It should look like this when you are done.
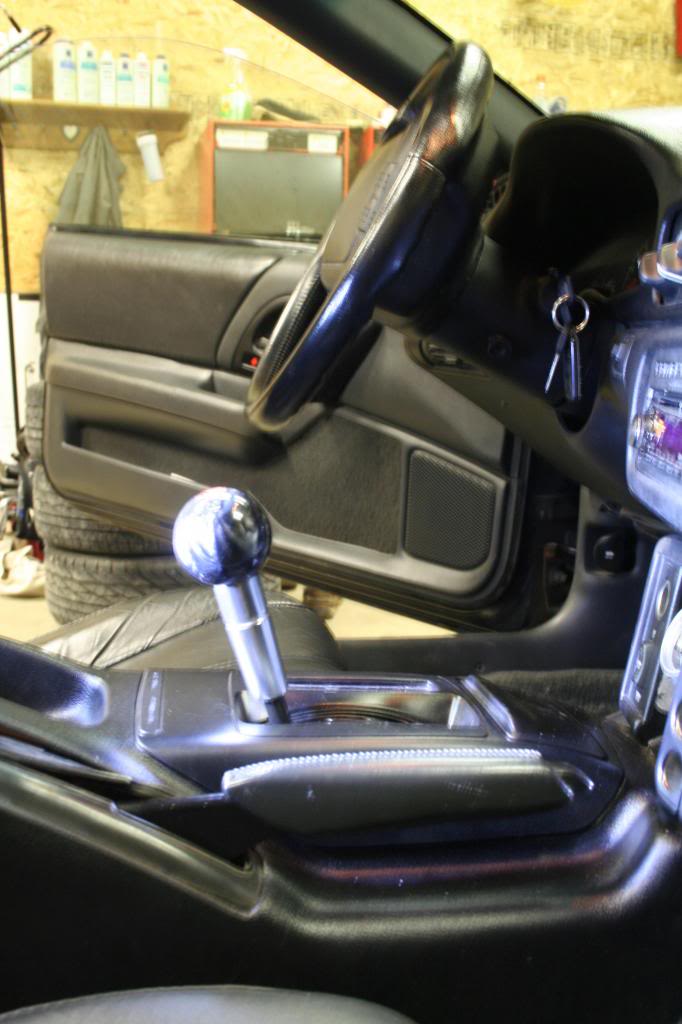
Total install time, less than 15 minutes.
For the aftermarket ****, I used a custom one from SickSpeed
Total cost less than $100, shipping included, and that also includes the hat pin that I sent them to embed in the ****.
We will start with this:
On the front side of your shift **** (facing the front of the car) there is a small indentation that holds a clip to hold the **** on the shaft. Carefully remove the clip. You may have to pick at the leather wrap a bit to get it out of the way, or if you never plan to use the OEM **** again, simply cut the leather off to get at the clip like I did.
Once you have removed the clip, pull straight up on the **** to remove it from the shaft. It is still VERY tightly on there. It takes a fair bit of force to remove it.
With the **** removed you will have a metal shaft with a plastic insert exposed: (note, I have already trimmed the plastic insert in this pic, yours will be longer than this!)
You will need to trim the metal shaft down by about 1 1/4" I used a regular tube cutter for this so as not to damage the interior plastic shaft formerly used by the release button.
NOTE: when you first cut the steel shaft it will be VERY hard to remove from the plastic shaft. The tube cutters will compress the edge of the steel onto the plastic. CAREFULLY wiggle and twist it back and forth while pulling upward on the cut piece. This will eventually get it up and over the plastic shaft.
You will now notice that your plastic shaft no longer moves up and down in the steel tube. PANIC! Actually, don't. Again the steel has compressed from the tube cutters. Get a small hammer and GENTLY tap town on the plastic shaft until it moves in the steel tube. It will shave a bit of the plastic off as it moves. Once it has moved down a 1/2" or so, grab the plastic with a pair of pliers and pull it back up again. Repeat this motion until the shaft moves freely and you are getting a bit weirded out by the motion.
You will now need to trim some of the plastic shaft off the top as well. About the same amount as you took off the steel shaft. When you are done, it will look something like this:
That was the hard part. (not too hard, was it?)
Now, simply slide the **** with the adapter over the shaft fully, and tighten the set screw with the provided allen key, immediately stripping the tiny, weak, lame set screw.
Go grab another set screw from the package it came with (you WERE wondering why it came with 3 set screws, now you know...) and GENTLY tighten it in, ensuring that the logo/whatever you put on the top of the **** is correctly aligned.
It should look like this when you are done.
Total install time, less than 15 minutes.


#4
06-12-2013, 07:50 PM

Forgive me for asking this but, Im assuming when you need to go from Park, to D or any other gear, you push down on **** to do so right? Im just curious because the stock shift **** has the button on the top to be able to put the car into the other gears.. I would like to do this mod in the near future but want some more insight... looks awesome tho, great job

#7
07-02-2013, 05:49 PM

Thread
Thread Starter
Forum
Replies
Last Post