


Custom Shift Knob


Thread Starter
|
1st Gear Member
Joined: Sep 2012
Posts: 146
From: SW Ontario, Canada
 Custom Shift ****
So, my new shift **** came in today from the guys at SickSpeed.
I didn't see any of their stock ***** that I liked, so after some emails back and forth, I sent them a hat pin of a the classic Z/28 logo to embed in one.
This is how it turned out.
Black pearl base **** with the embedded pin:
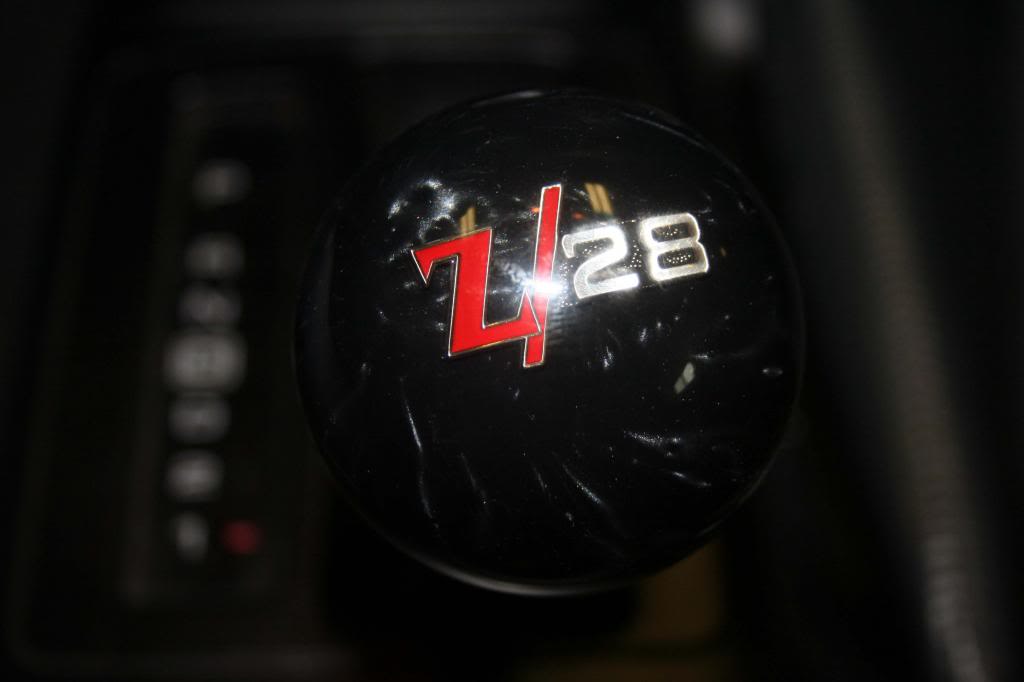
I had to chop the shaft down an inch or so. With the auto-adapter it stuck up WAY too high.
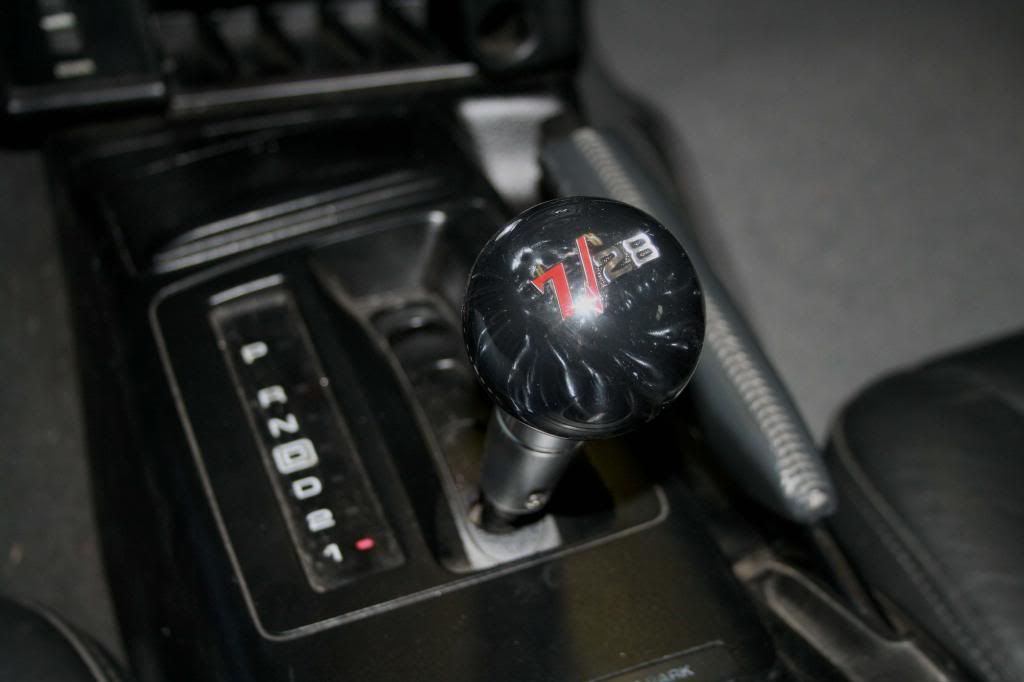
This one shows off the pearl a bit better. Taking pics in the shop with the flash really doesn't do it justice. You can just see the DPIC gauge in the background on t his one too.
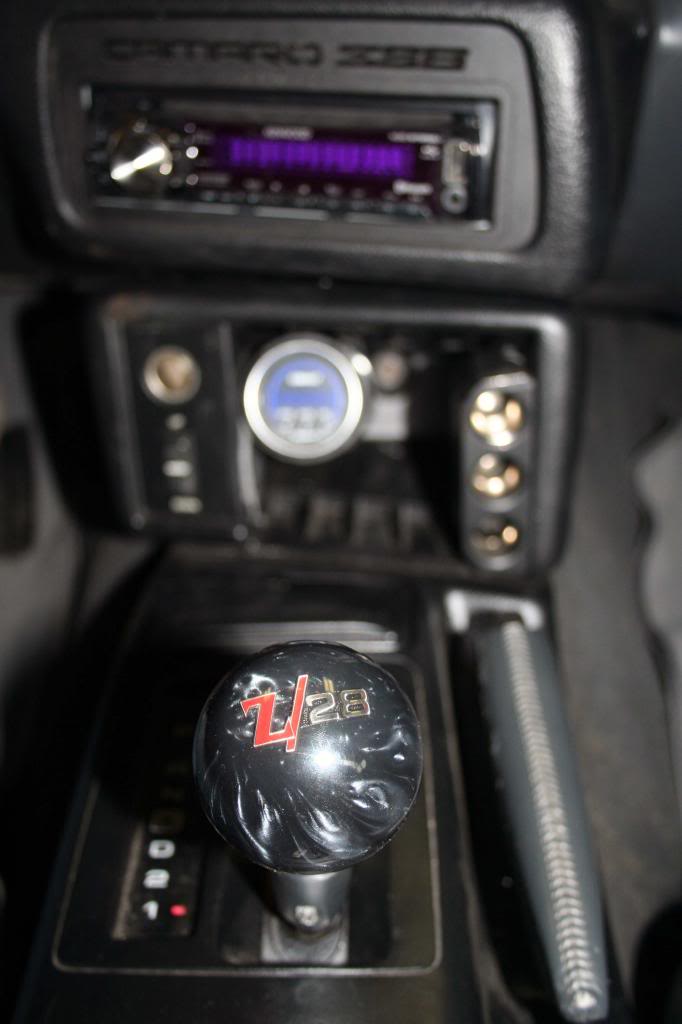
I need to do a bit of clean up and paint touch up on that console again. Amazing what you notice when you start taking pictures in there.
I didn't see any of their stock ***** that I liked, so after some emails back and forth, I sent them a hat pin of a the classic Z/28 logo to embed in one.
This is how it turned out.
Black pearl base **** with the embedded pin:
I had to chop the shaft down an inch or so. With the auto-adapter it stuck up WAY too high.
This one shows off the pearl a bit better. Taking pics in the shop with the flash really doesn't do it justice. You can just see the DPIC gauge in the background on t his one too.
I need to do a bit of clean up and paint touch up on that console again. Amazing what you notice when you start taking pictures in there.
Last edited by Randy Bilyea; Dec 3, 2012 at 03:17 PM.



Thread Starter
|
1st Gear Member
Joined: Sep 2012
Posts: 146
From: SW Ontario, Canada
Yep, just push down on the **** for the shift release.
It took a minute to free that plastic shaft up after I cut down the outer metal shaft, as I used tube cutters to do it, which compressed the steel a bit onto the plastic.
works good now though.
It took a minute to free that plastic shaft up after I cut down the outer metal shaft, as I used tube cutters to do it, which compressed the steel a bit onto the plastic.
works good now though.

Thread Starter
|
1st Gear Member
Joined: Sep 2012
Posts: 146
From: SW Ontario, Canada
I will take some "install" pics and a side view pic after supper...
If I put the top down I can get a LOT more light in there for better pics too..

Thread
Thread Starter
Forum
Replies
Last Post
CFI
2010+ General
3
Jan 3, 2012 07:44 PM


