Test-N-Tune, X half a dozen!
#81
 07-29-2017, 08:00 AM


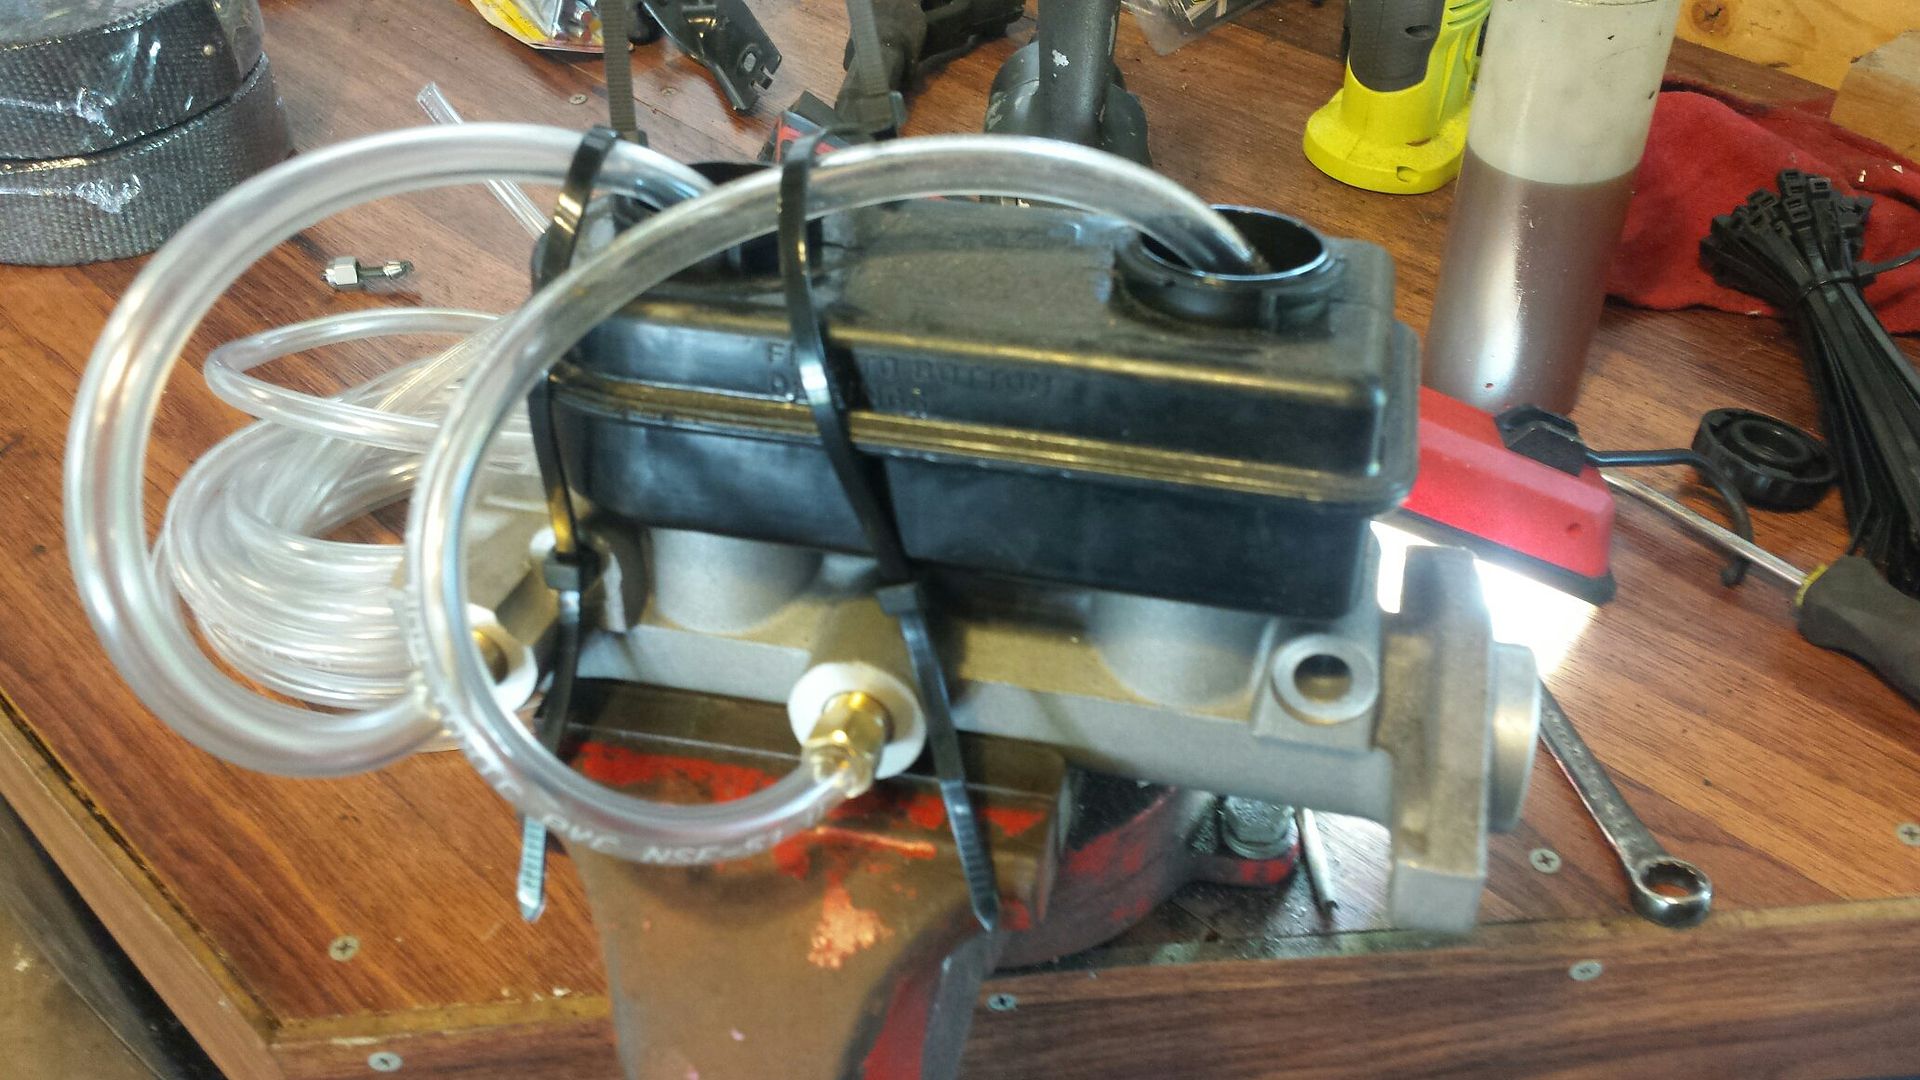
First thing i needed to do was remove the master cylinder (after bending new lines) and bench bleed it for final install. This is the contraption I made to cycle the fluid back into the reservoir. It took about 20 full pumps to remove all air bubbles.
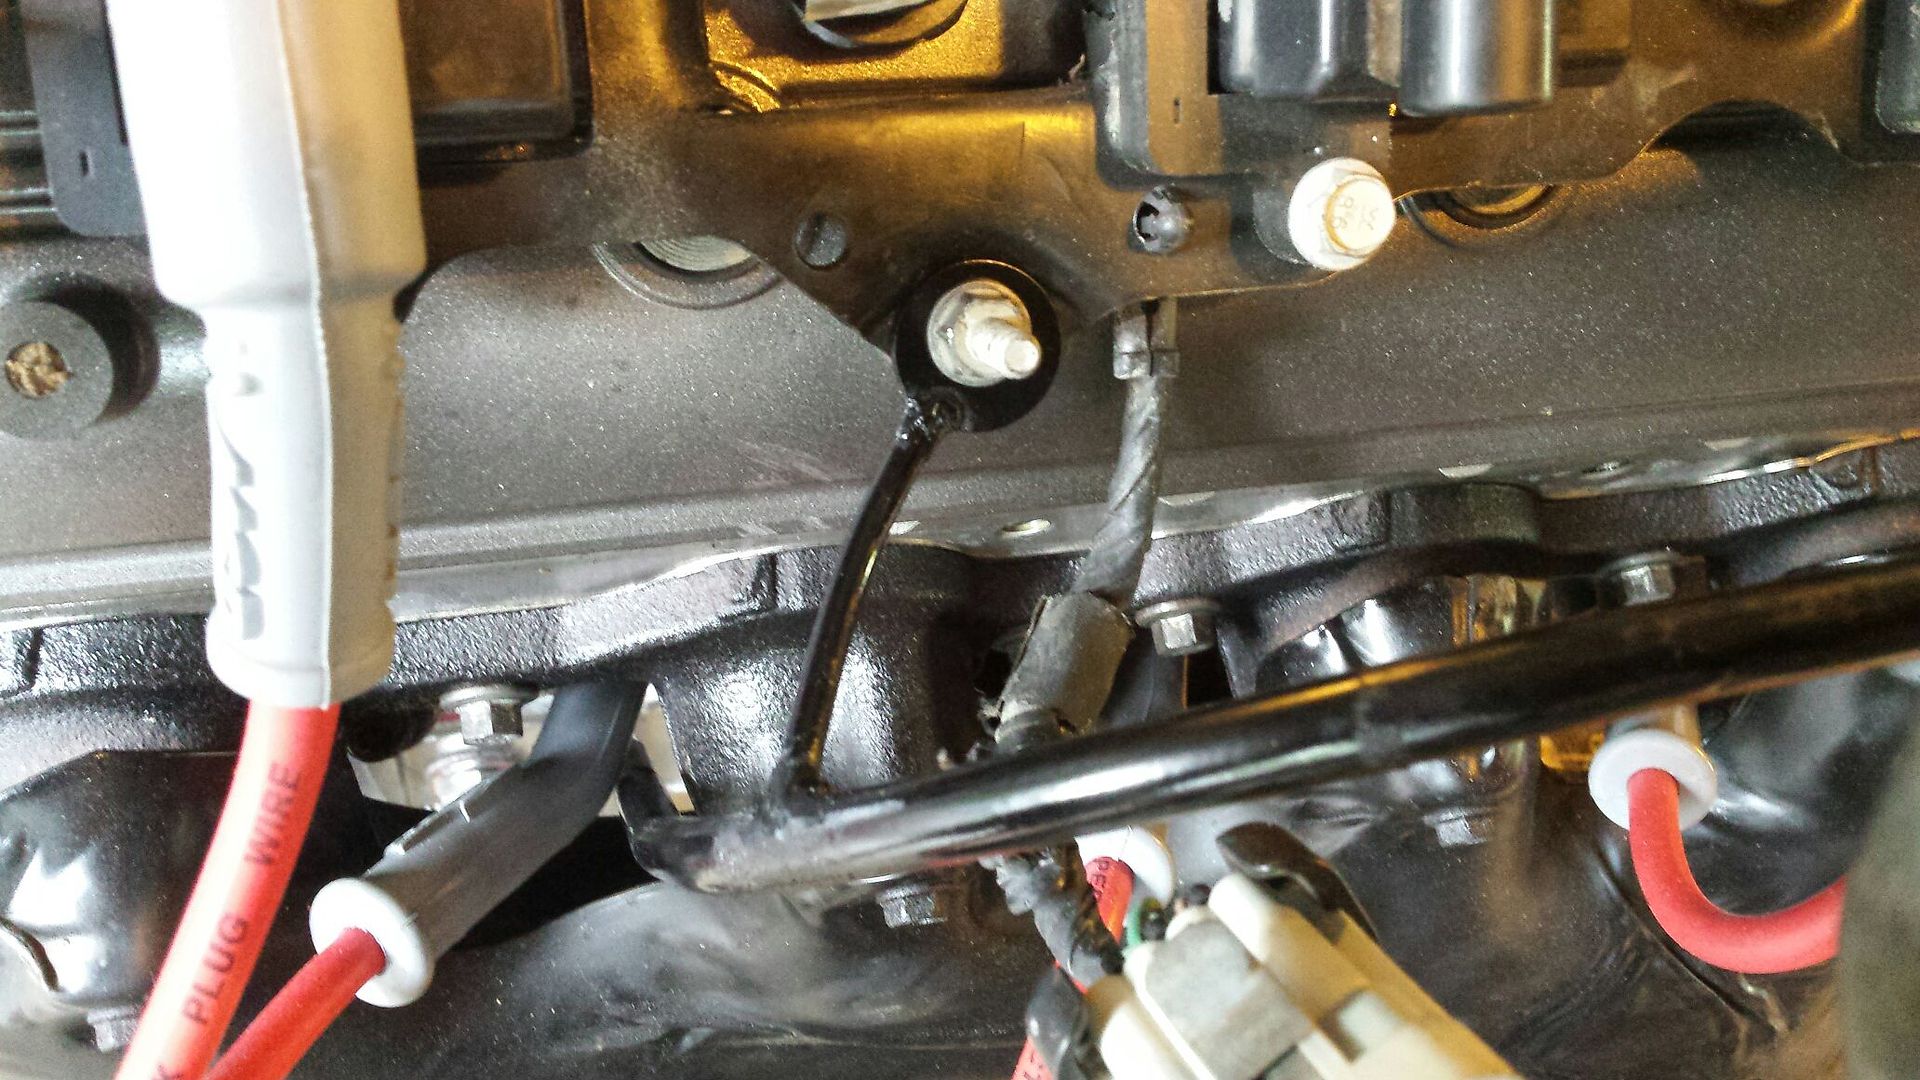
Not sure what happened to the oil dipstick bracket but all i had left was a tube with no way to stabilize it. I took a washer, and a small piece of (probably) 3/16th stainless rod, bent it, and welded them together to make a makeshift bracket that attaches to a coil pack bracket bolt.
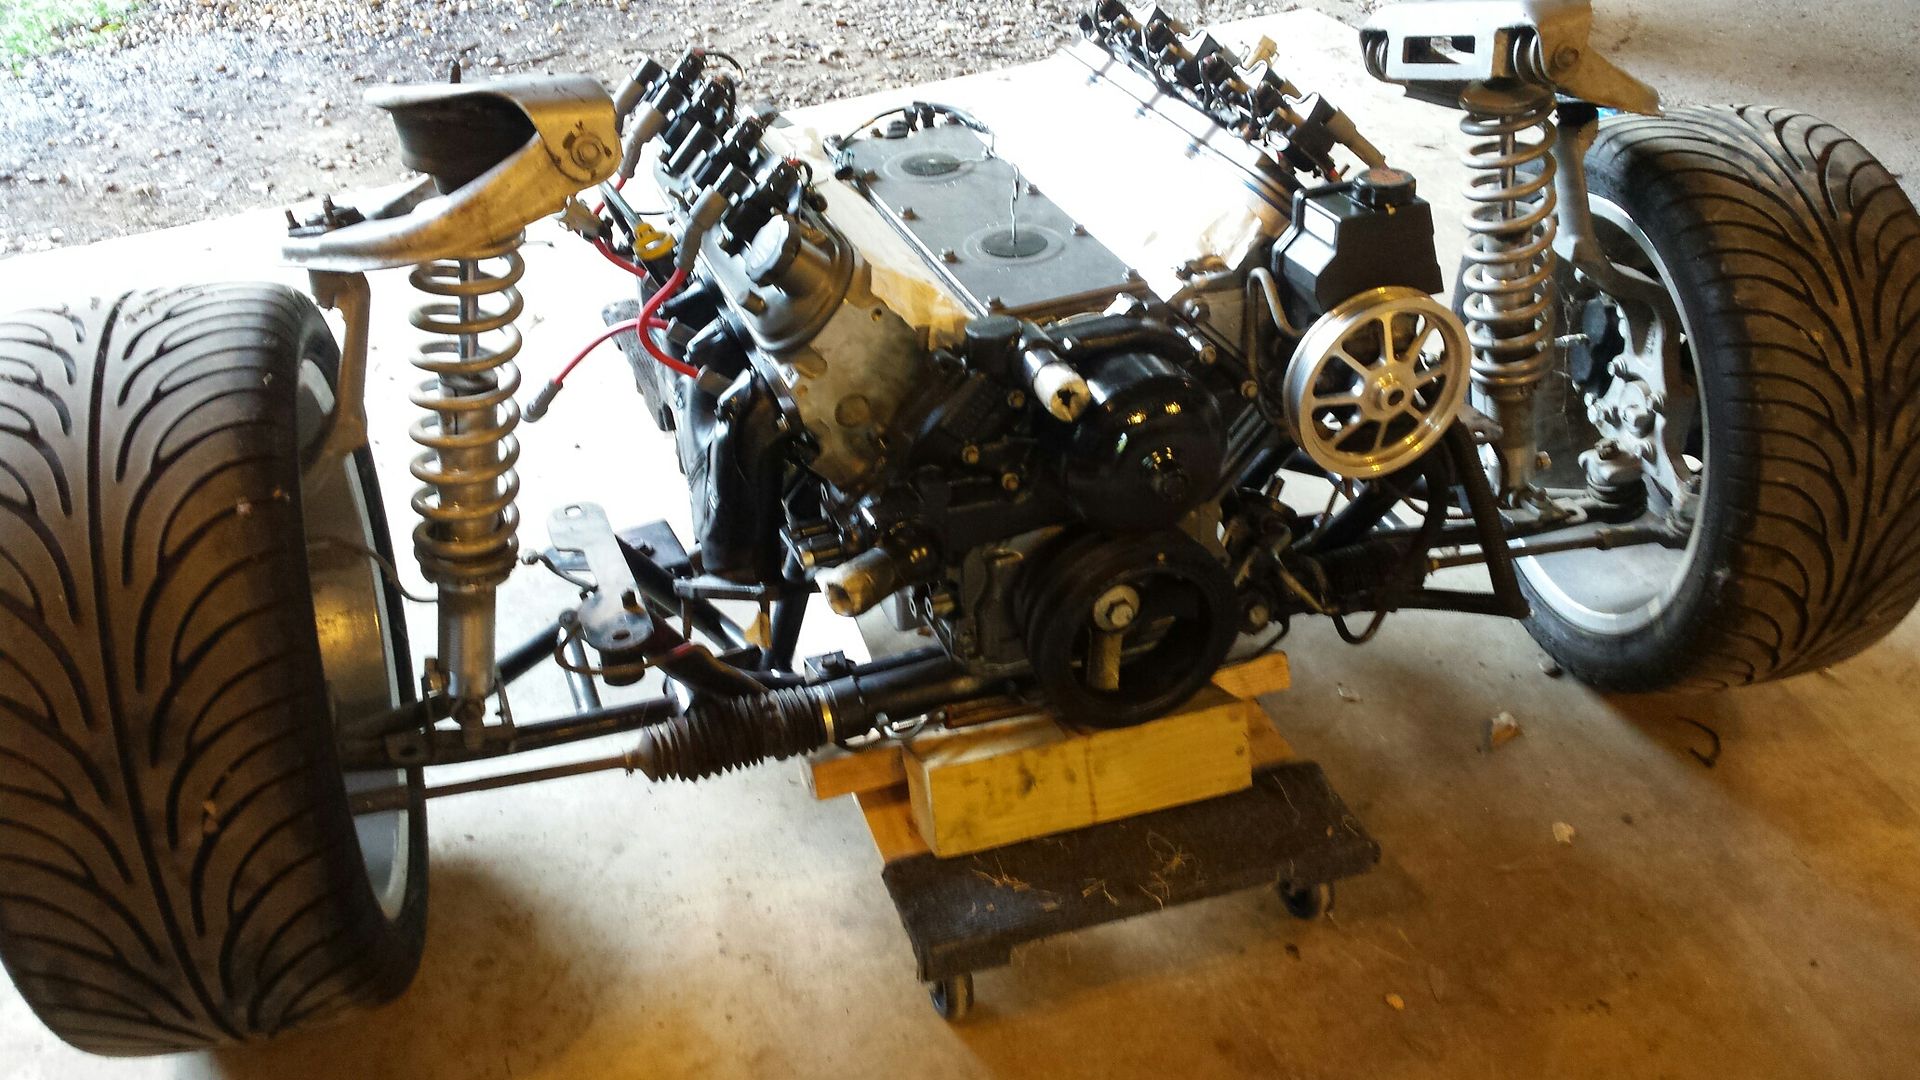
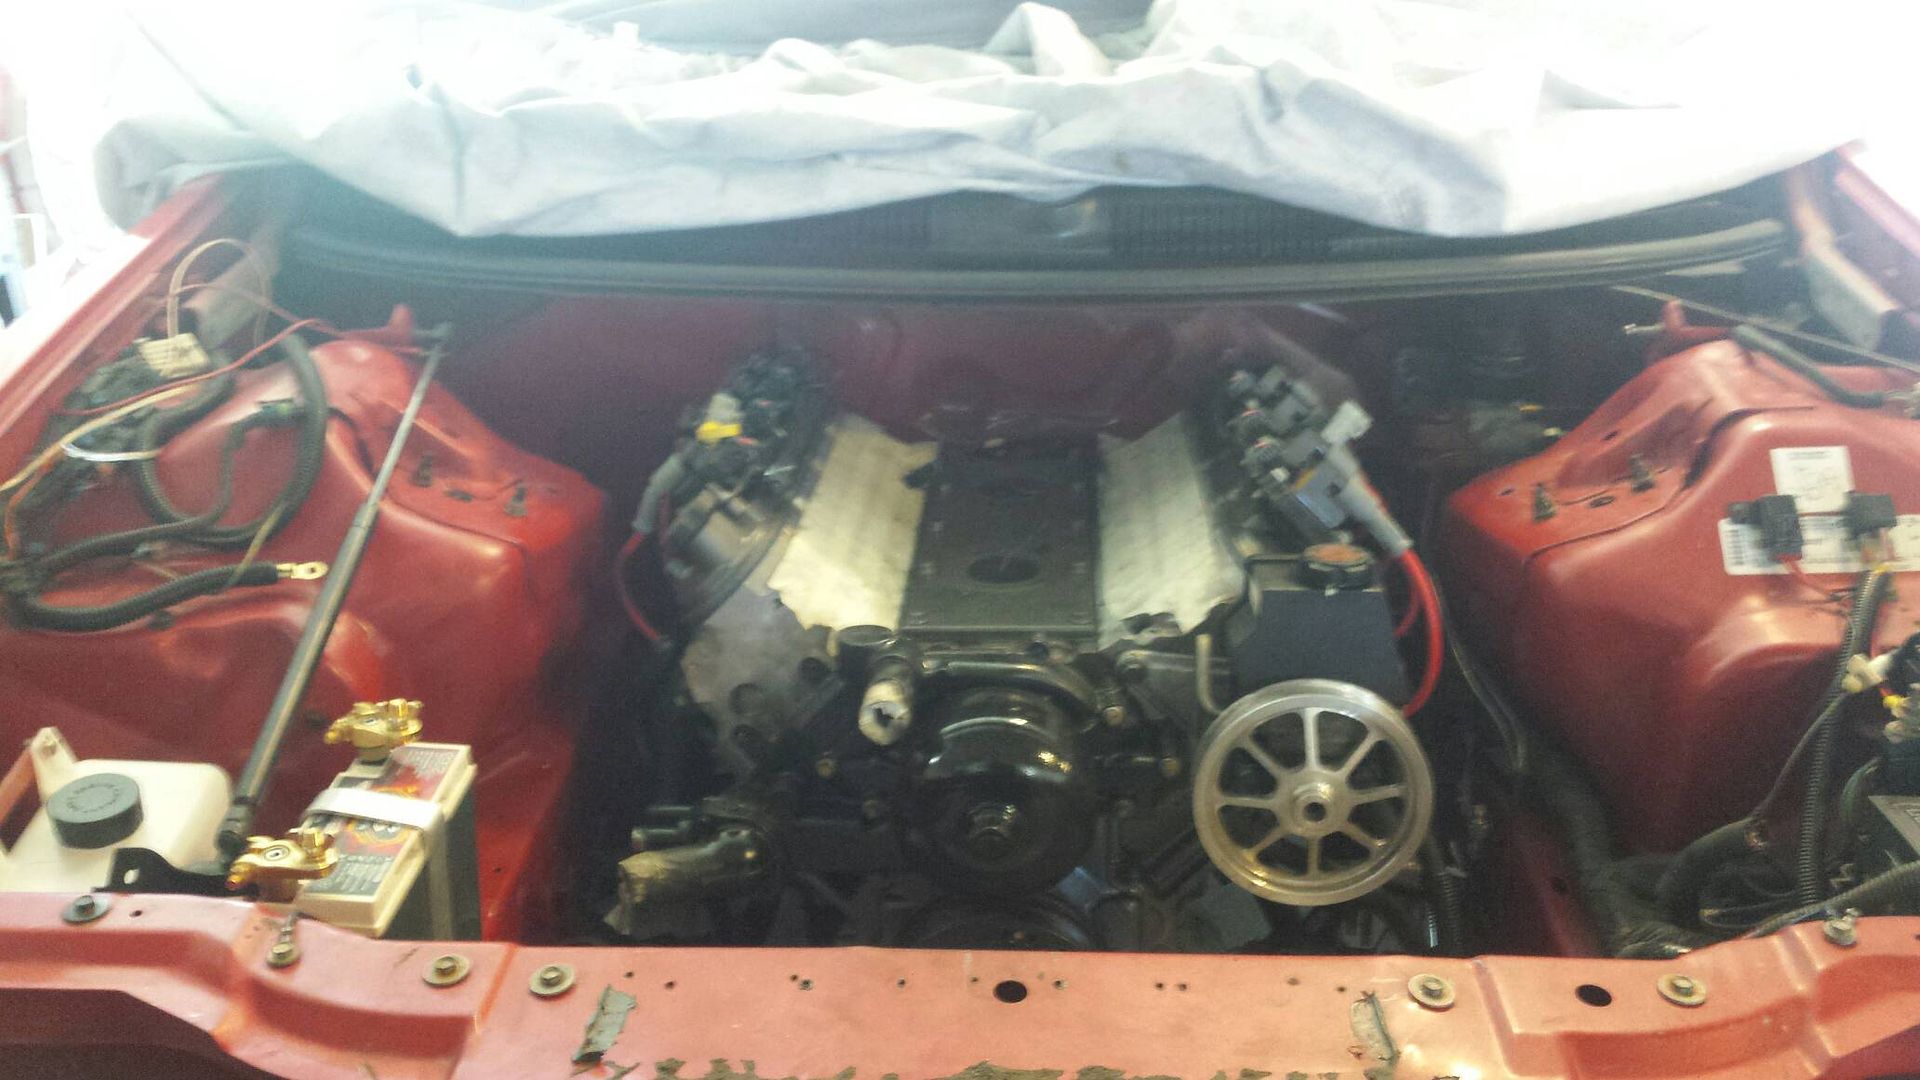
Dropped the motor on the k member
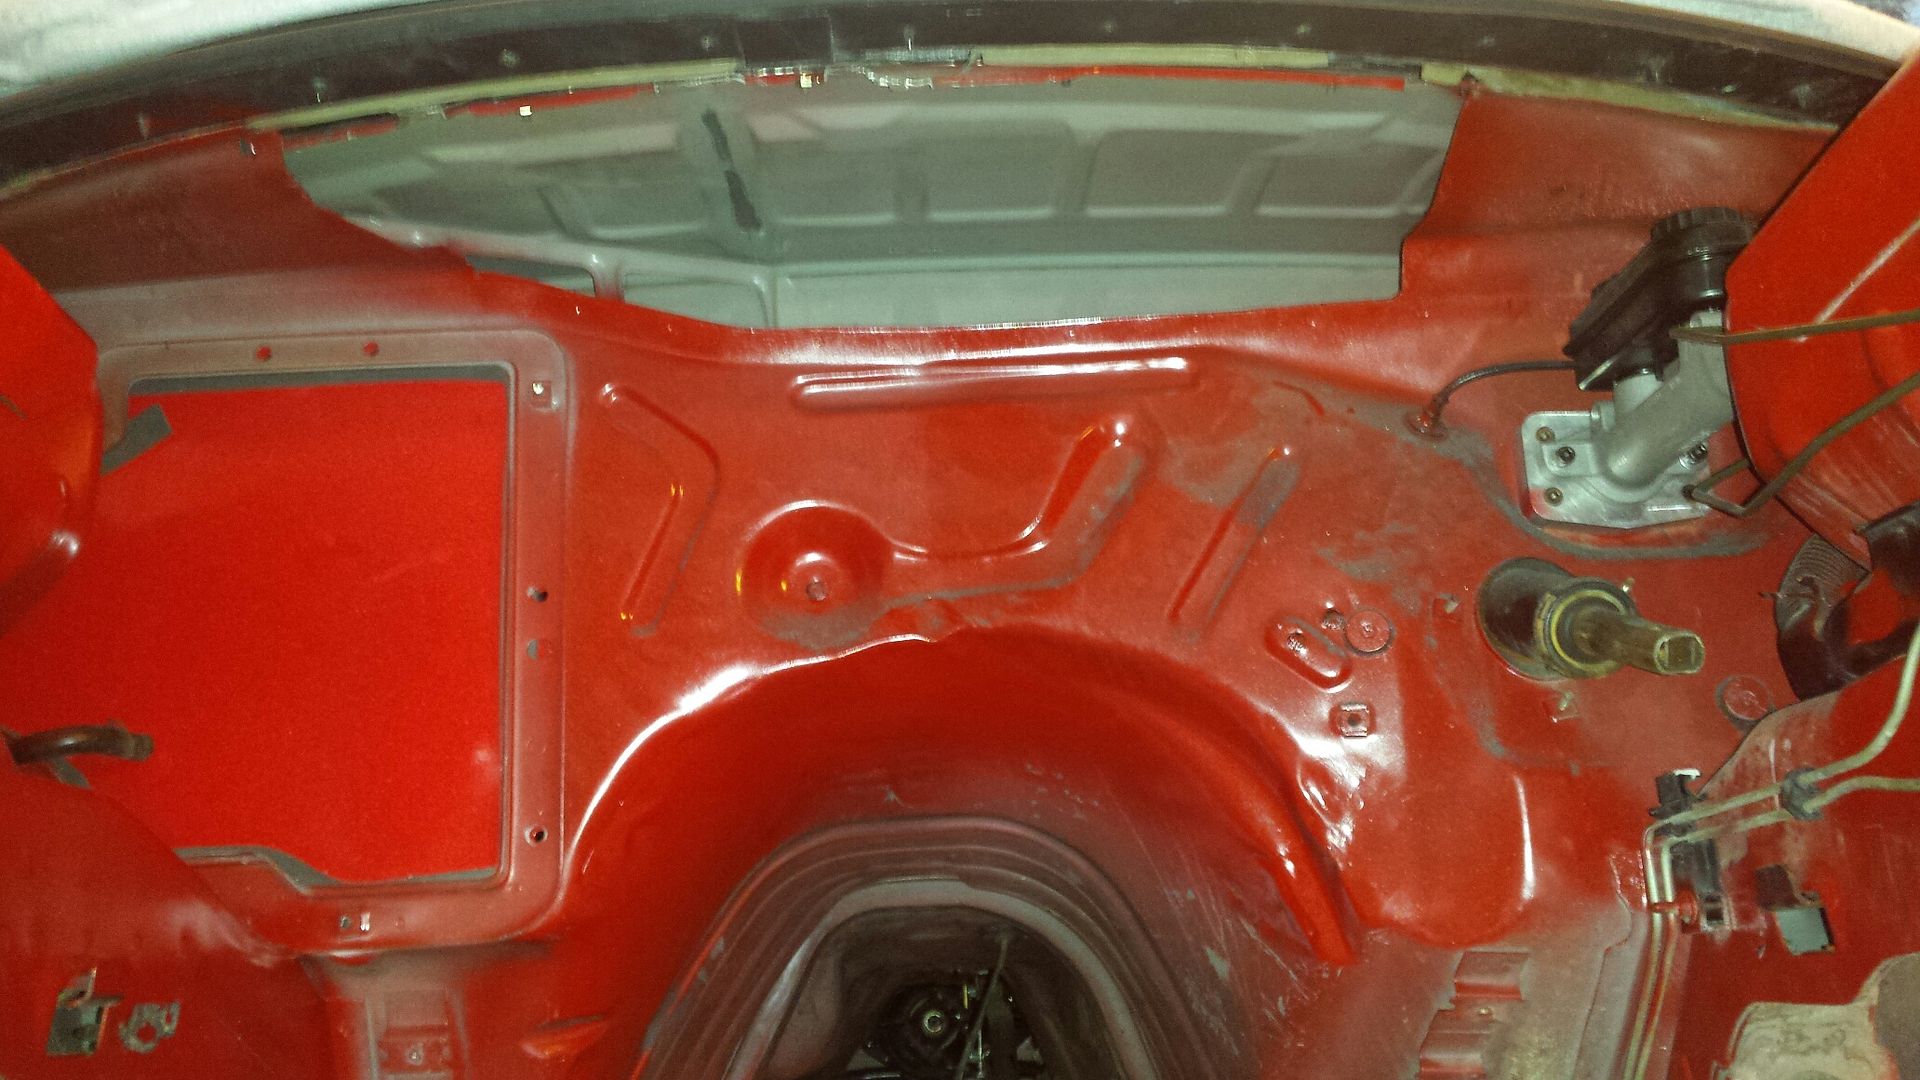
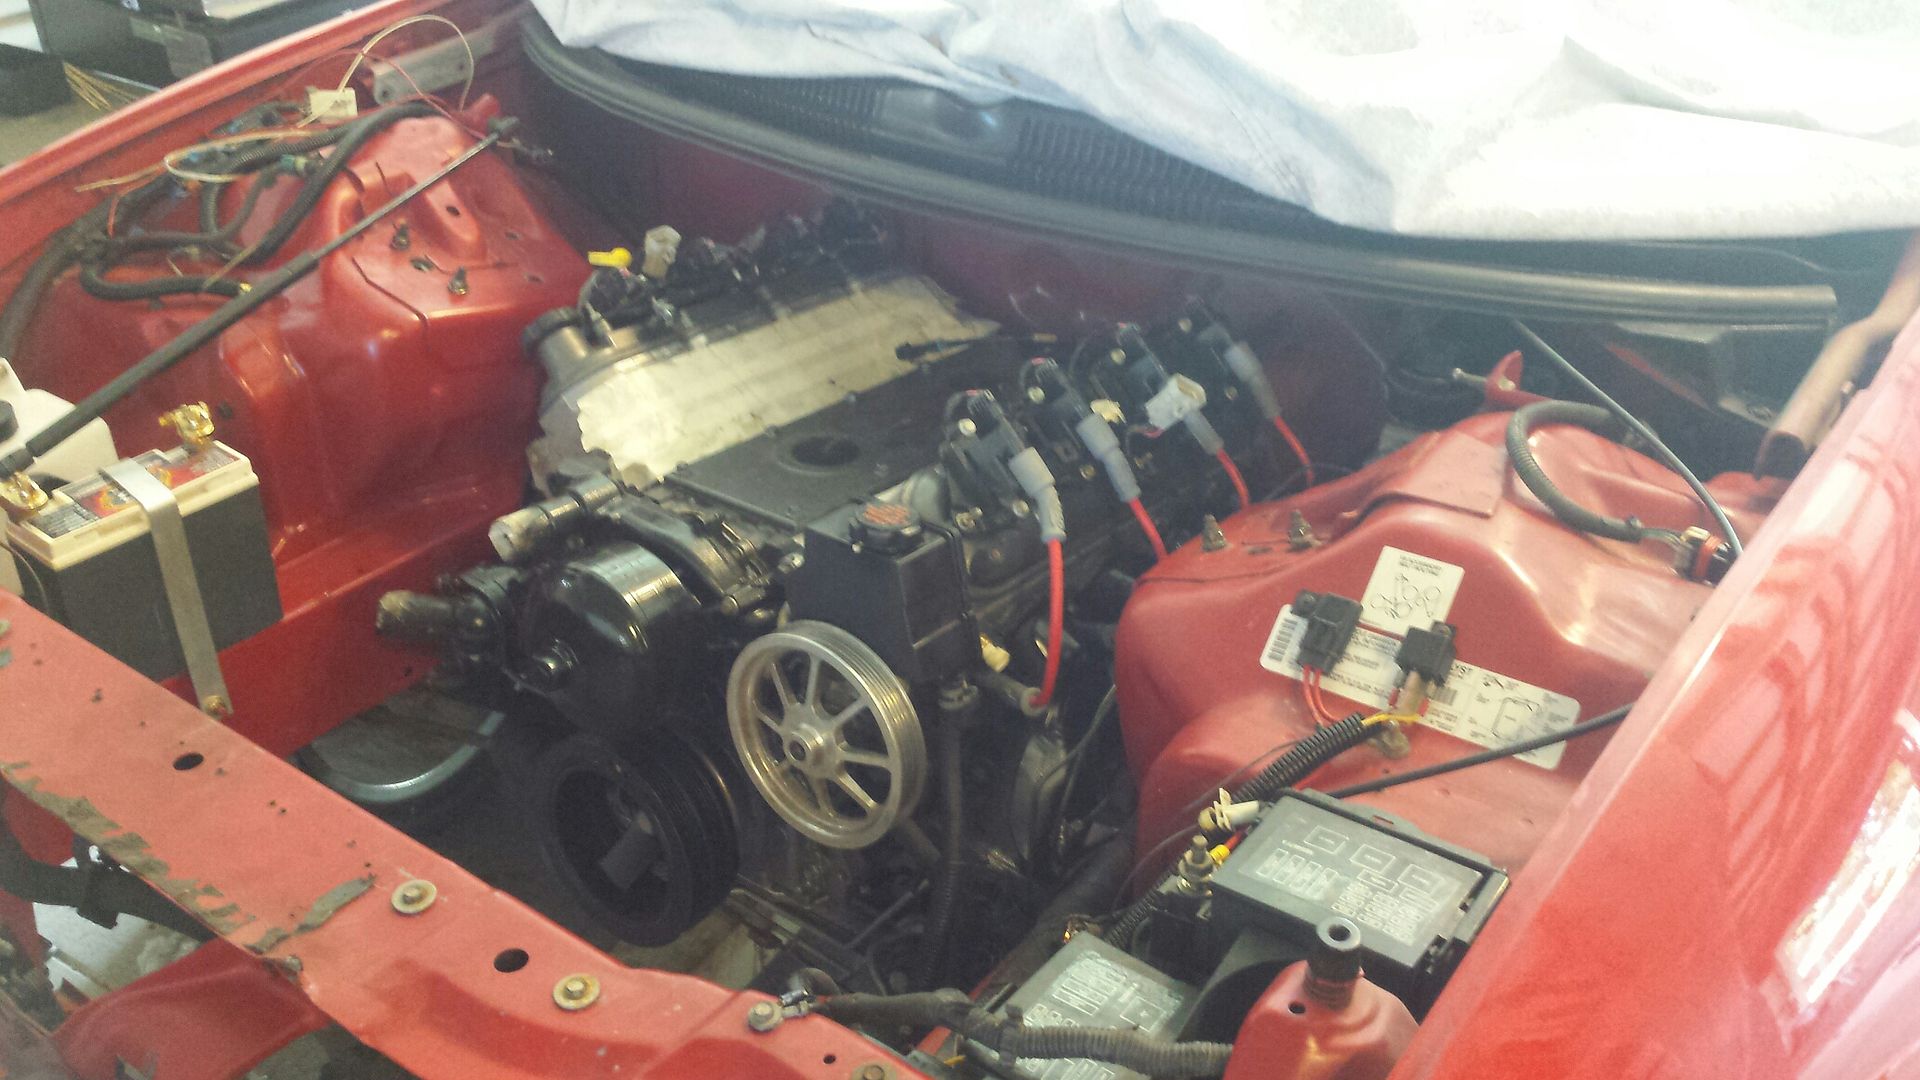
I originally took the wipers out and cut some of the cowl back (under the windshield). I did the best I could with the engine in the car. It was time consuming and I had to make a bunch of small cuts. Now that the engine is out I wasnt gonna waste the opportunity to complete the cut. My focus was the metal over the engine, and since i kept the plastic cowl cover, i have to leave some metal at the ends to support it. Here is what it looks like after we got through. This will make working on the top and rear of the engine so much easier.
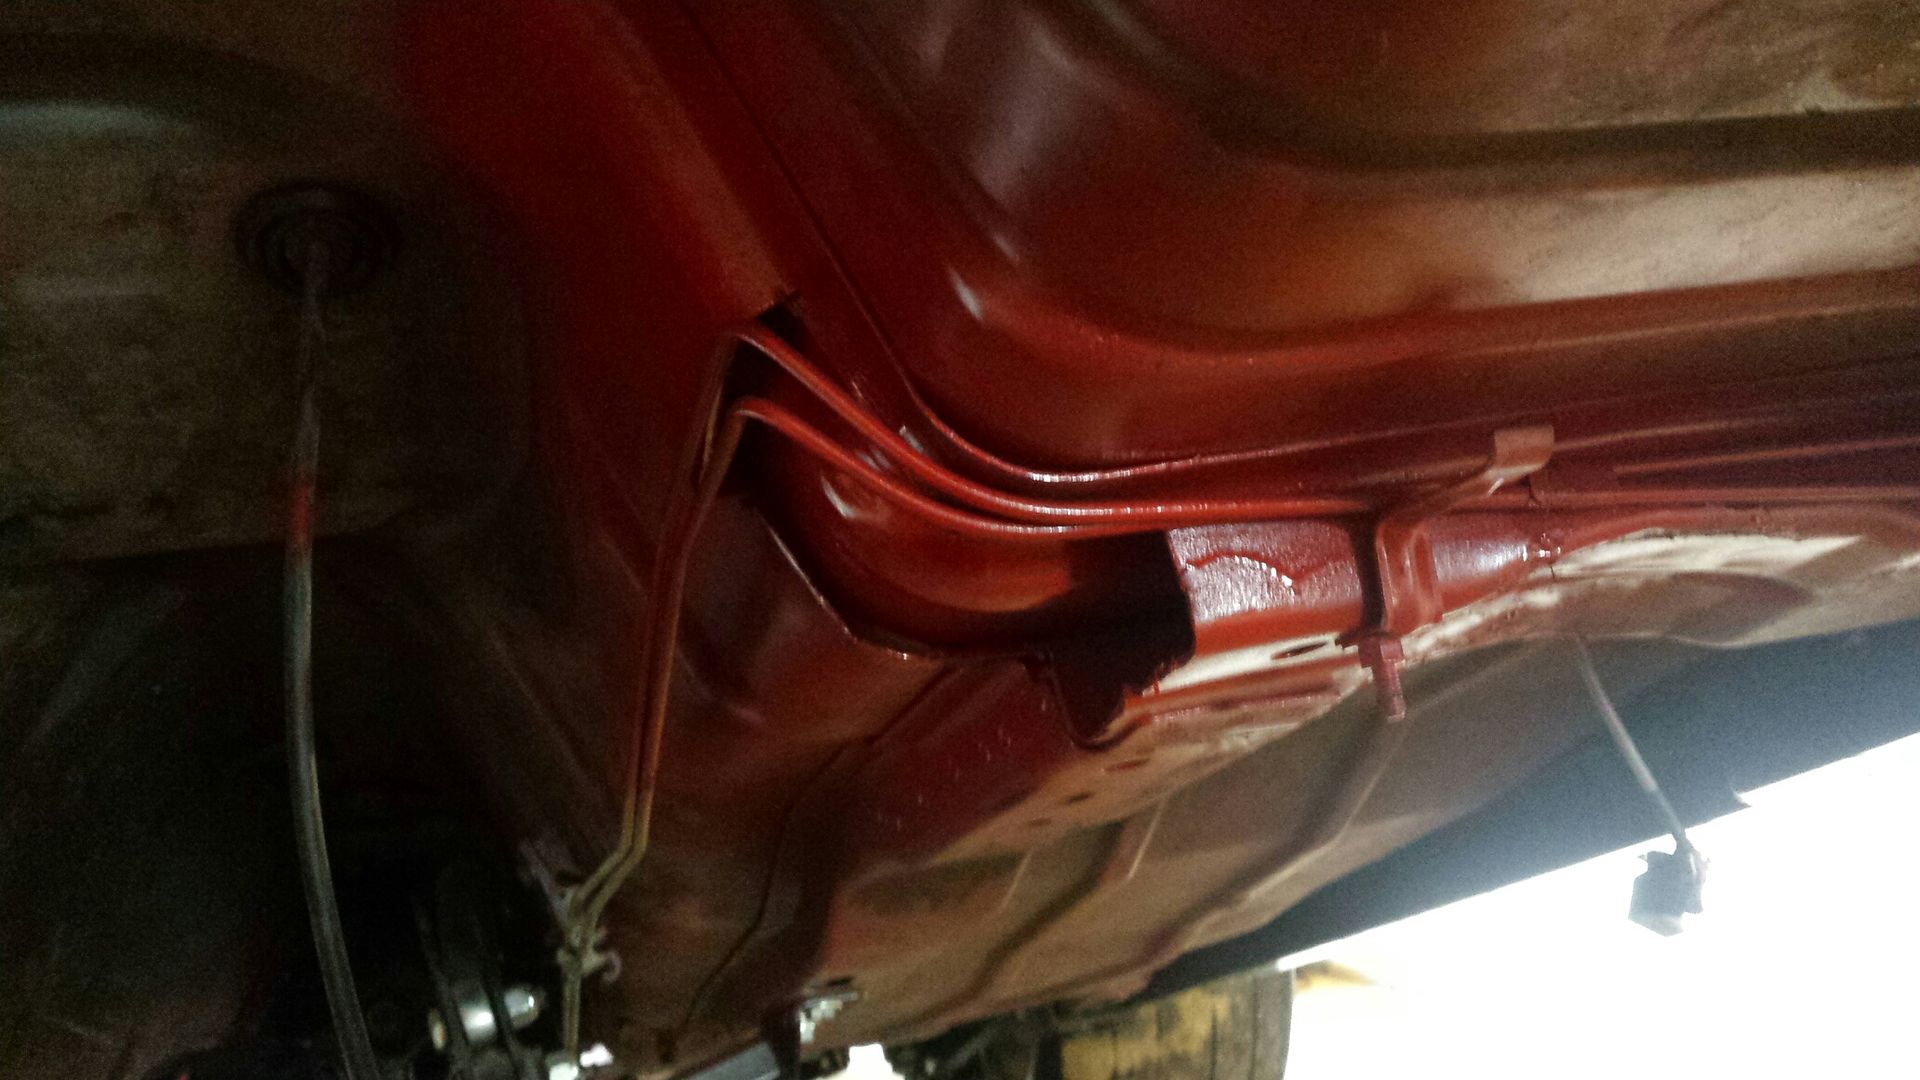
Cut the floorboard for the trans plug and put some red paint on the cuts. Red brake lines never hurt nobody. This is required or you wont be able to plug the trans in.
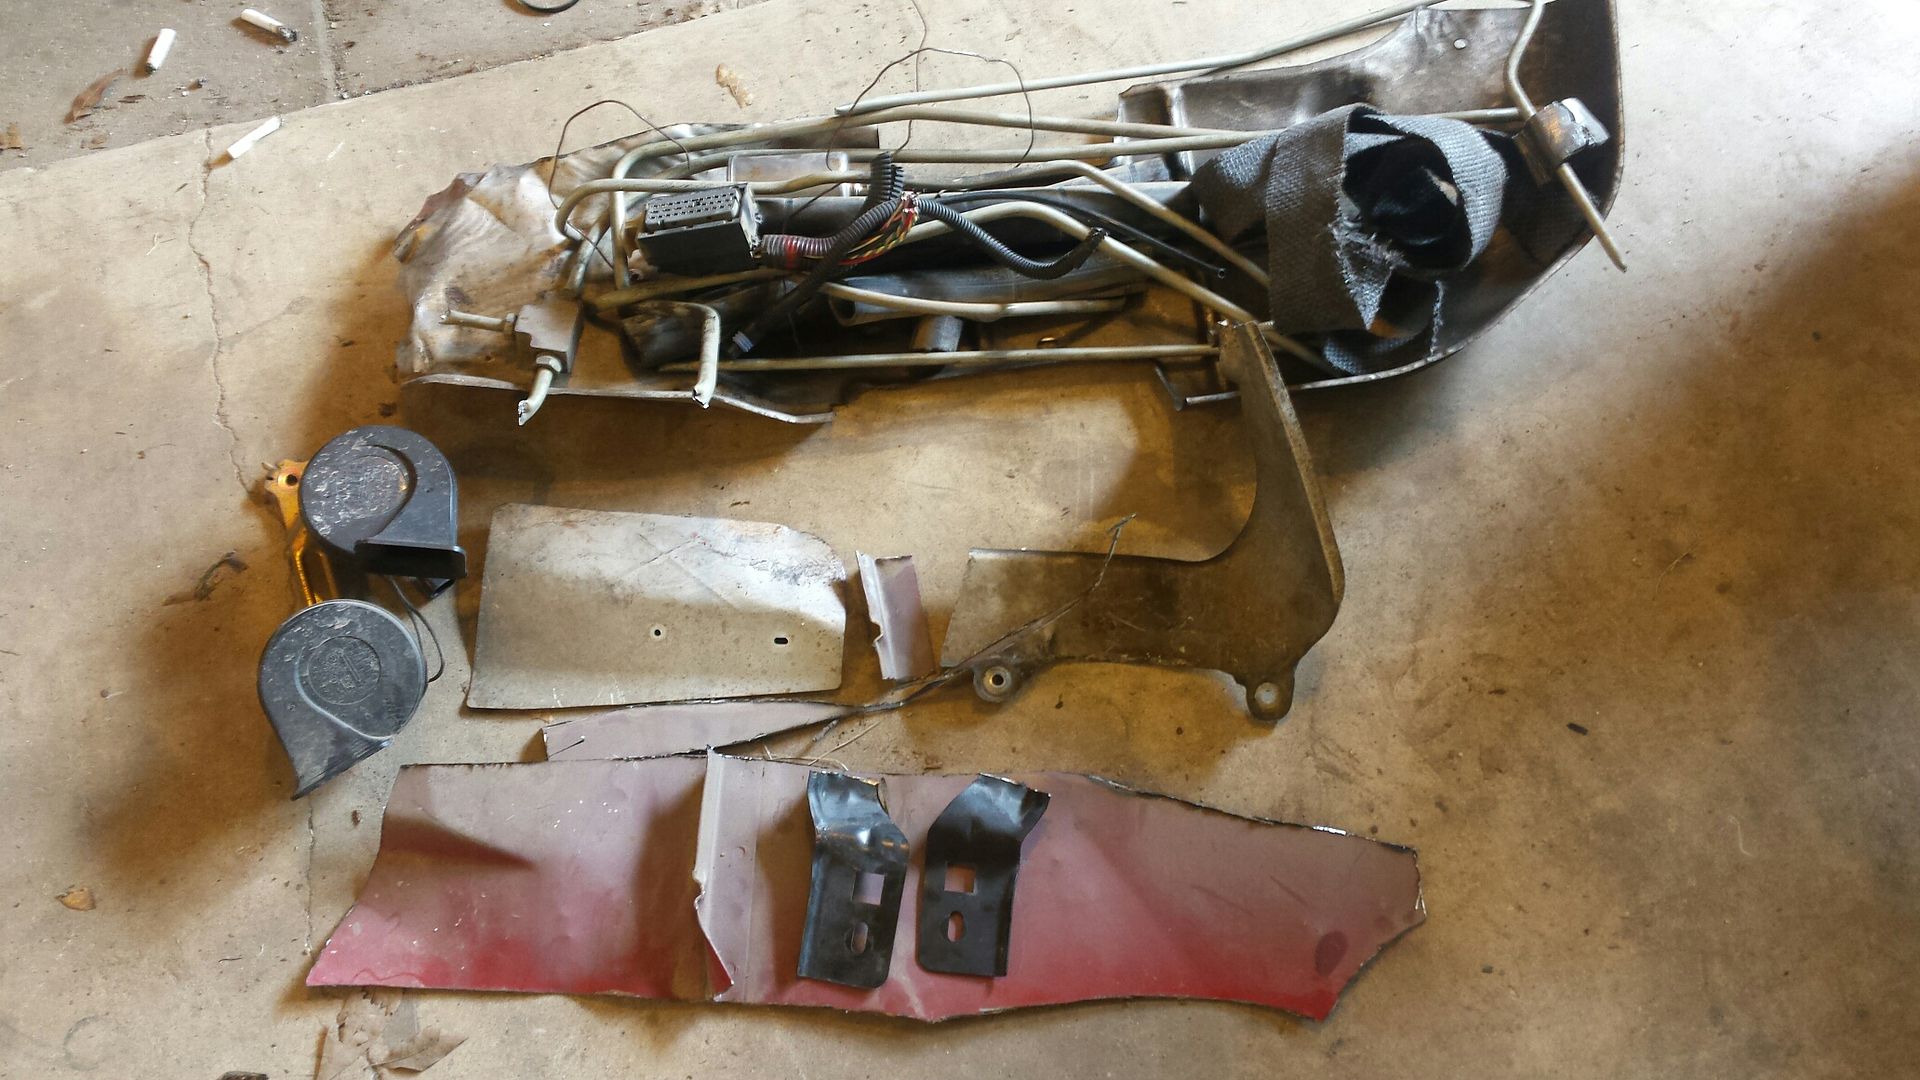
Here is most of the stuff I removed from the car. The red is the cowl, the black brackets are for fog lights, horns on the left, then you have metal fuel line and metal exhaust shields. I threw this whole pile behind my wife's bushes in the back yard.
A few cuss words and a couple hours later.....

Not sure what happened to the oil dipstick bracket but all i had left was a tube with no way to stabilize it. I took a washer, and a small piece of (probably) 3/16th stainless rod, bent it, and welded them together to make a makeshift bracket that attaches to a coil pack bracket bolt.

Dropped the motor on the k member

I originally took the wipers out and cut some of the cowl back (under the windshield). I did the best I could with the engine in the car. It was time consuming and I had to make a bunch of small cuts. Now that the engine is out I wasnt gonna waste the opportunity to complete the cut. My focus was the metal over the engine, and since i kept the plastic cowl cover, i have to leave some metal at the ends to support it. Here is what it looks like after we got through. This will make working on the top and rear of the engine so much easier.

Cut the floorboard for the trans plug and put some red paint on the cuts. Red brake lines never hurt nobody. This is required or you wont be able to plug the trans in.

Here is most of the stuff I removed from the car. The red is the cowl, the black brackets are for fog lights, horns on the left, then you have metal fuel line and metal exhaust shields. I threw this whole pile behind my wife's bushes in the back yard.

A few cuss words and a couple hours later.....


#83
08-02-2017, 08:01 AM
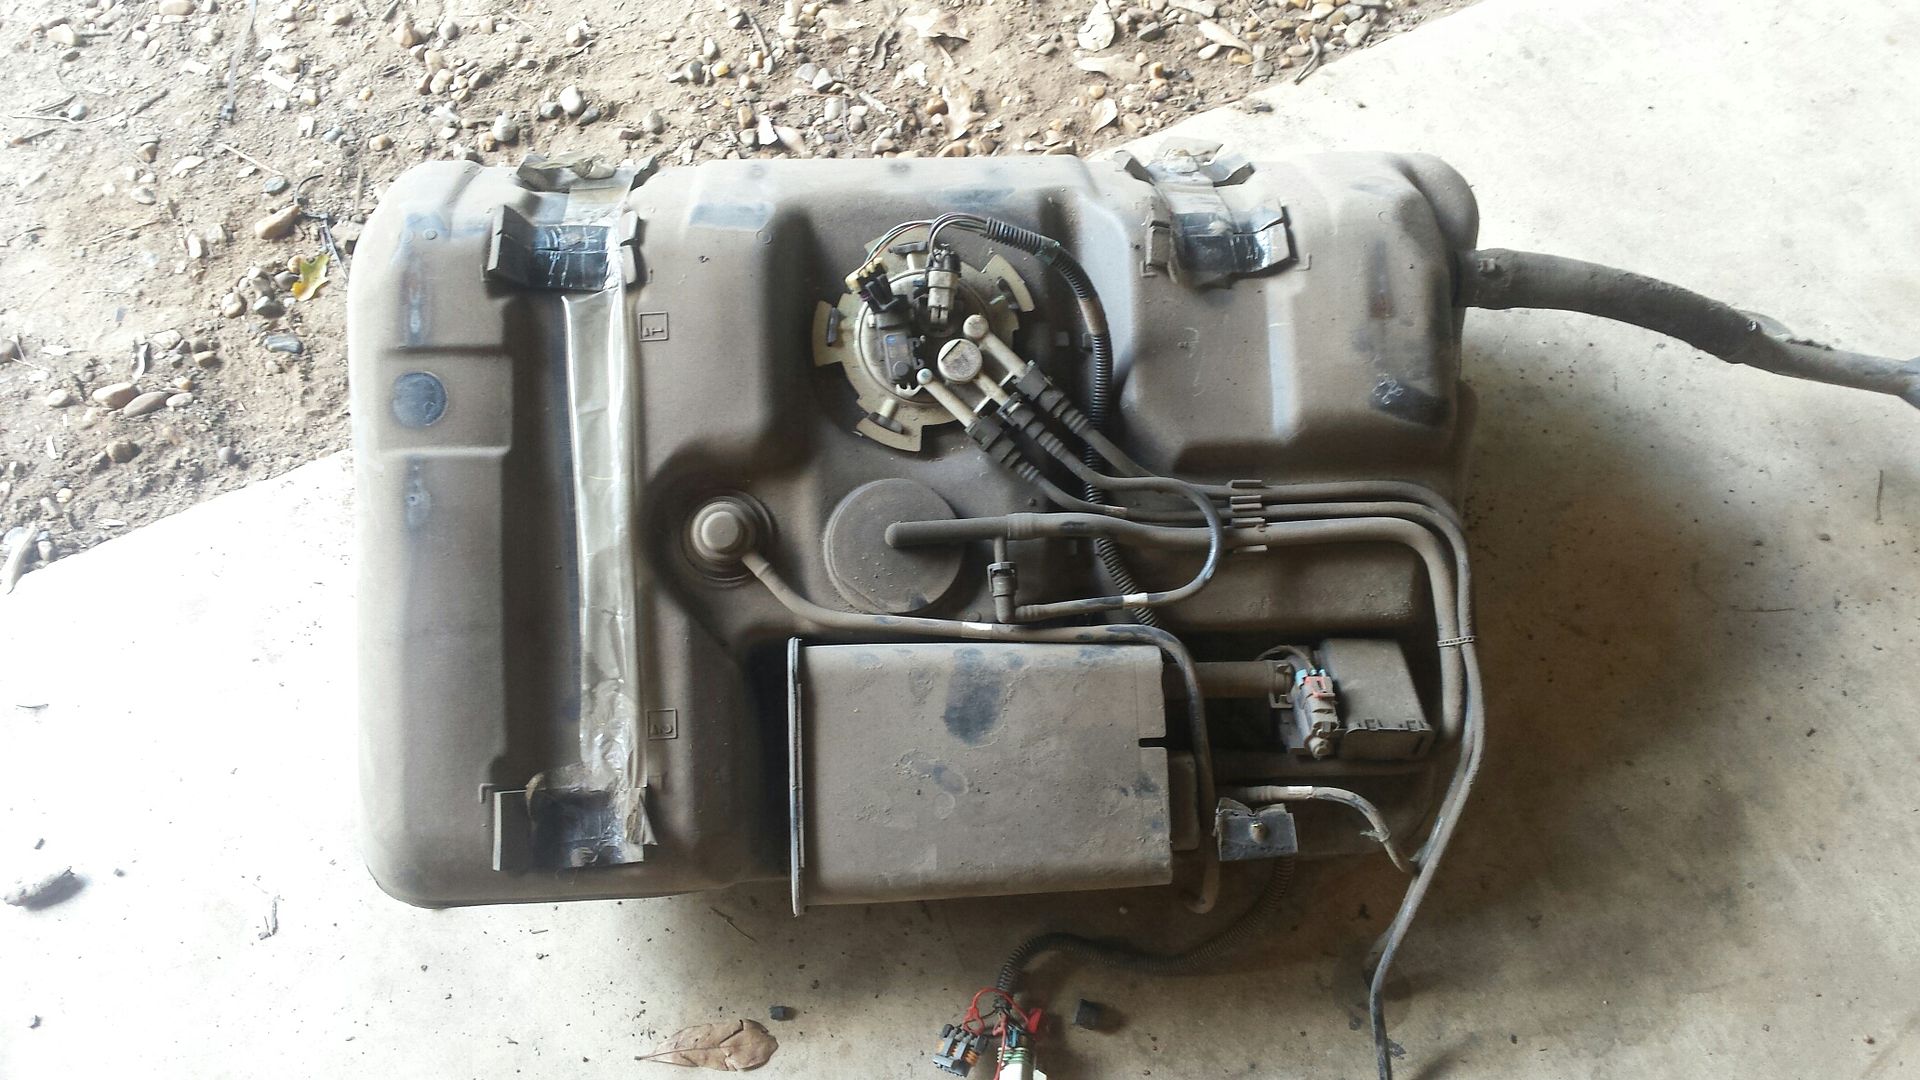
Figured as i STILL dont have the turbo piping i would move to the rear of the car and get a few things done there. I dropped the fuel tank.......you can see in this pic the excess lines and charcoal canister. Yep you guessed it, thats all going away.
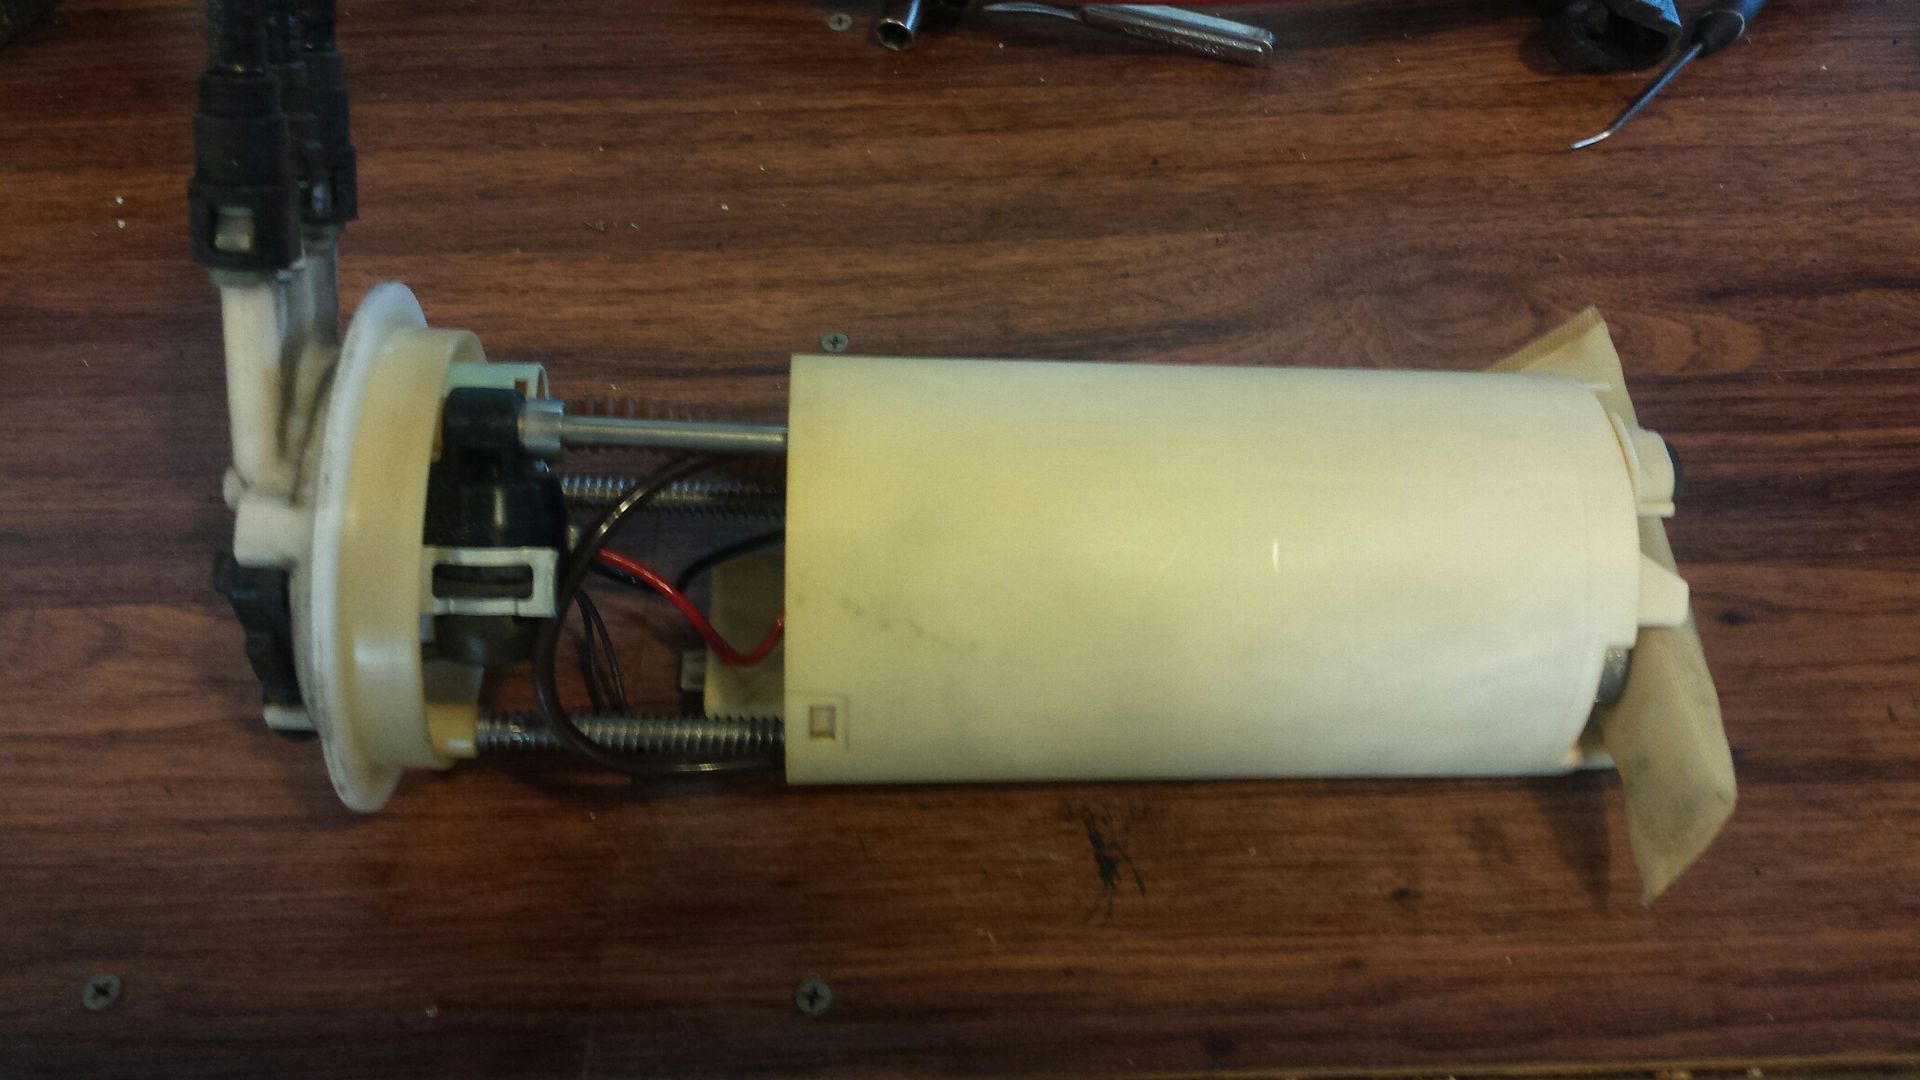
Stock bucket, and it has a Racetronix 255 pump installed. I had to remove the float assembly and transfer it to the dual pump setup. I was able to sell this locally on FB in like 4 hours!
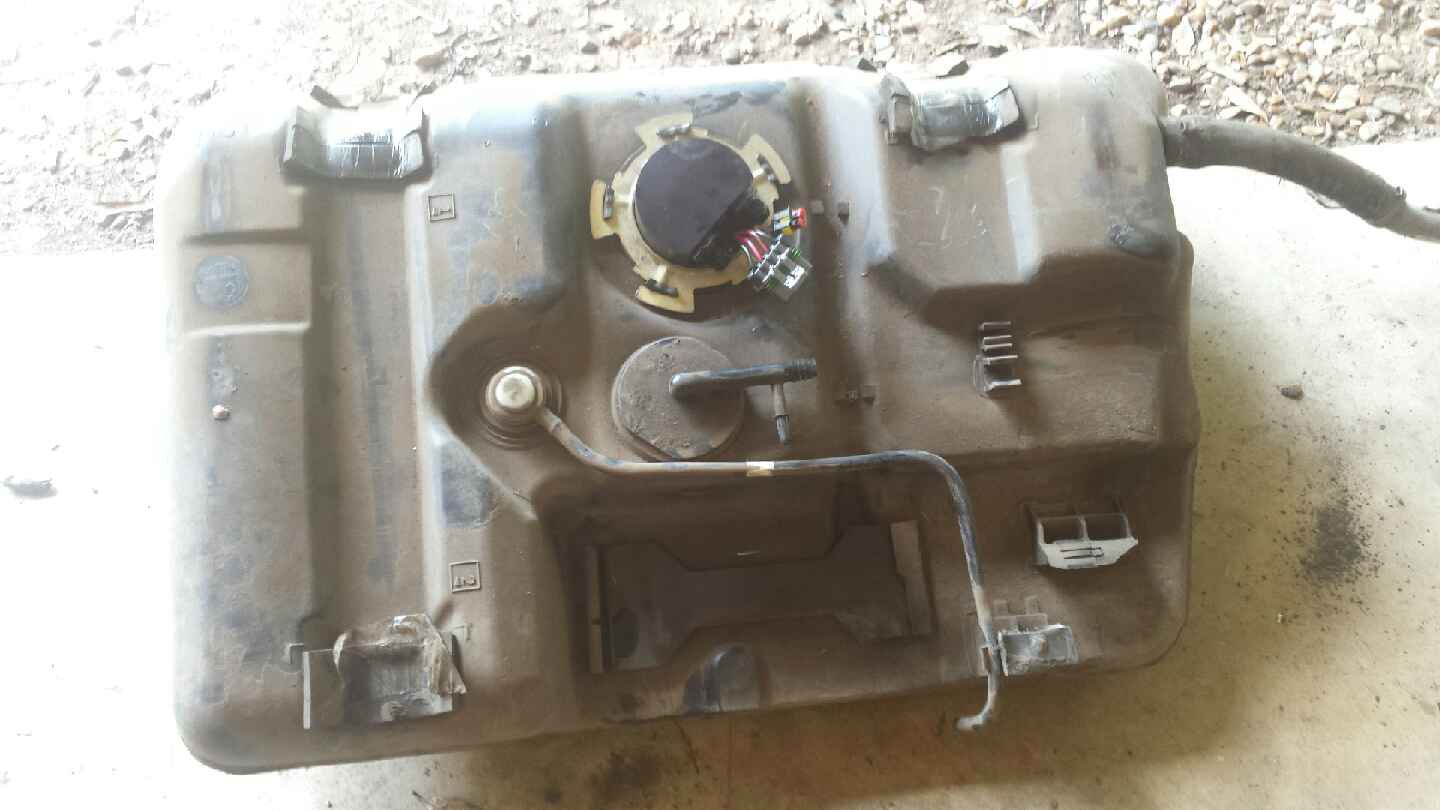
Here's all the extra crap gone and the dual 450s installed. They were actually easier then I figured. This is basically ready to go back in the car.....but ah, not just yet, I've got something up my sleeve.
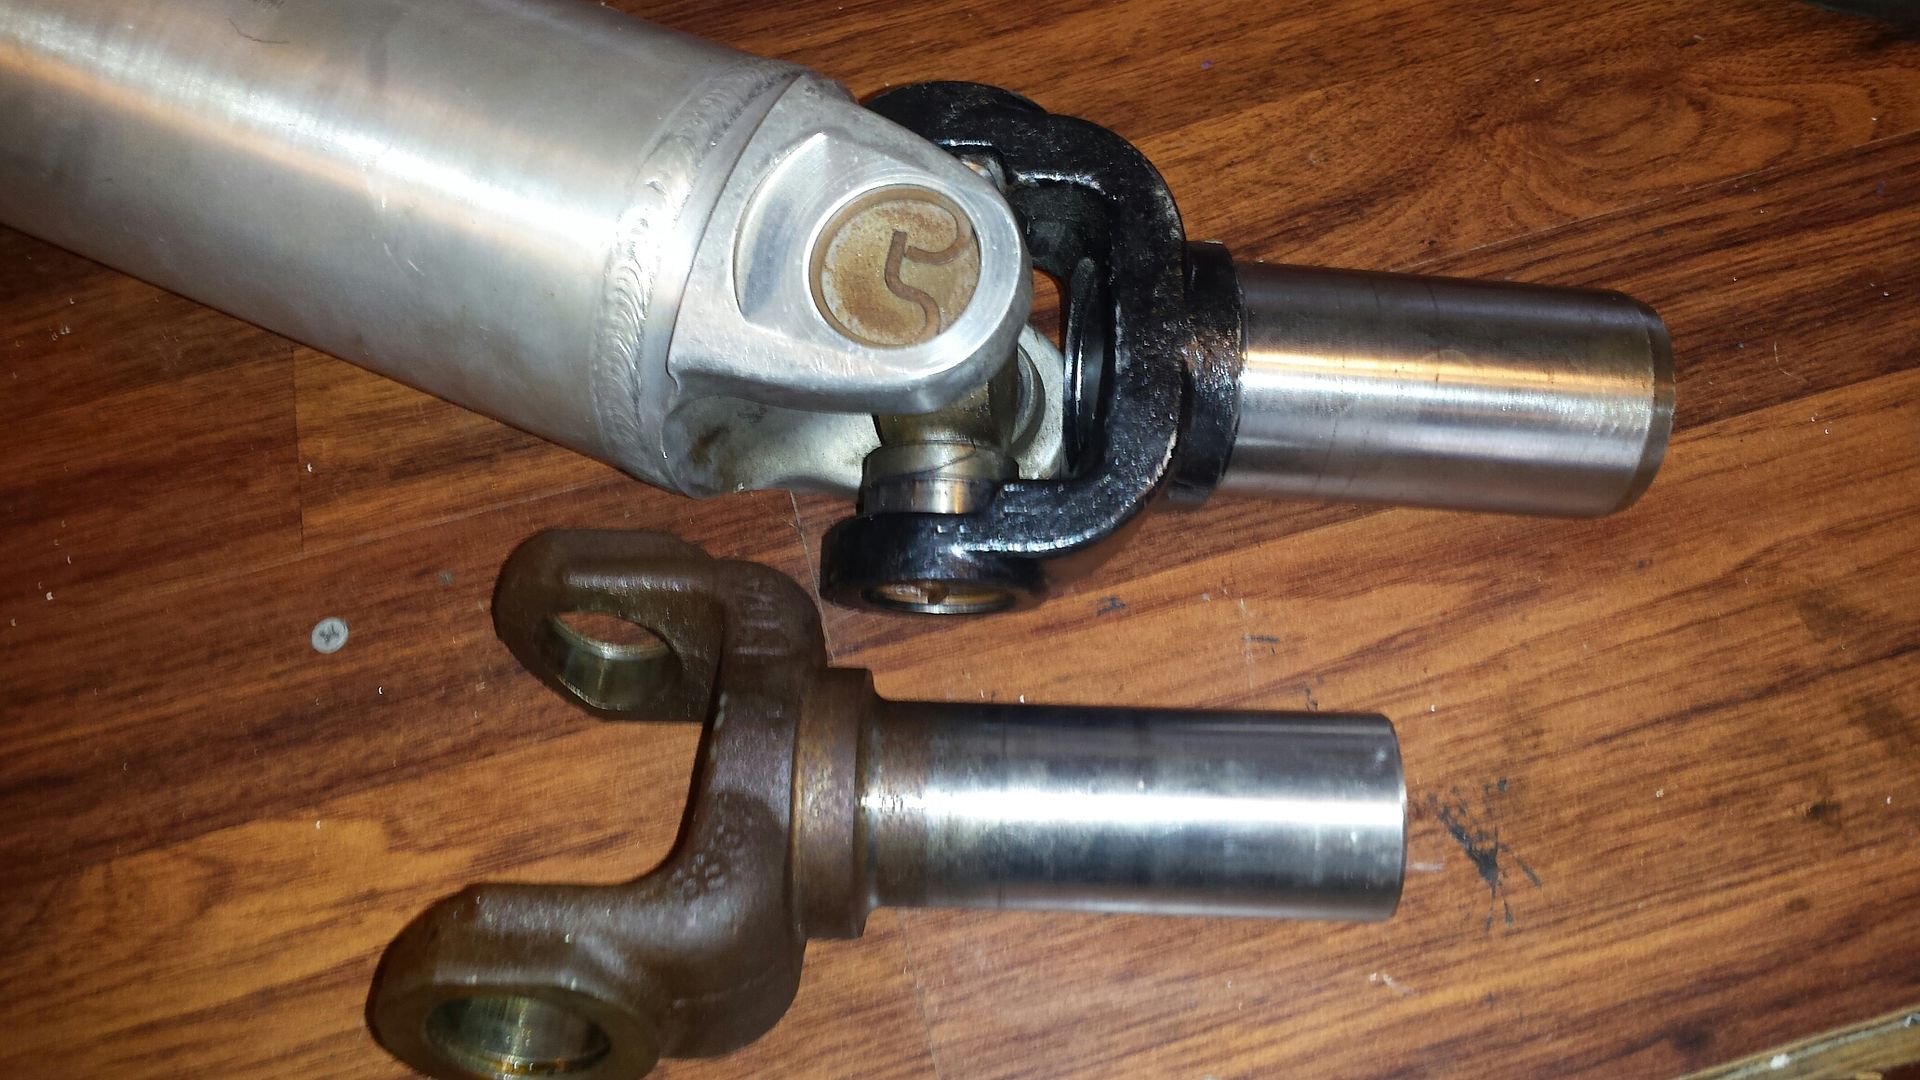
Here is the new PST forged yoke installed on my old DS, with the 4l60e yoke next to it for reference. Quick little mock up under the car seems its going to fit correctly.
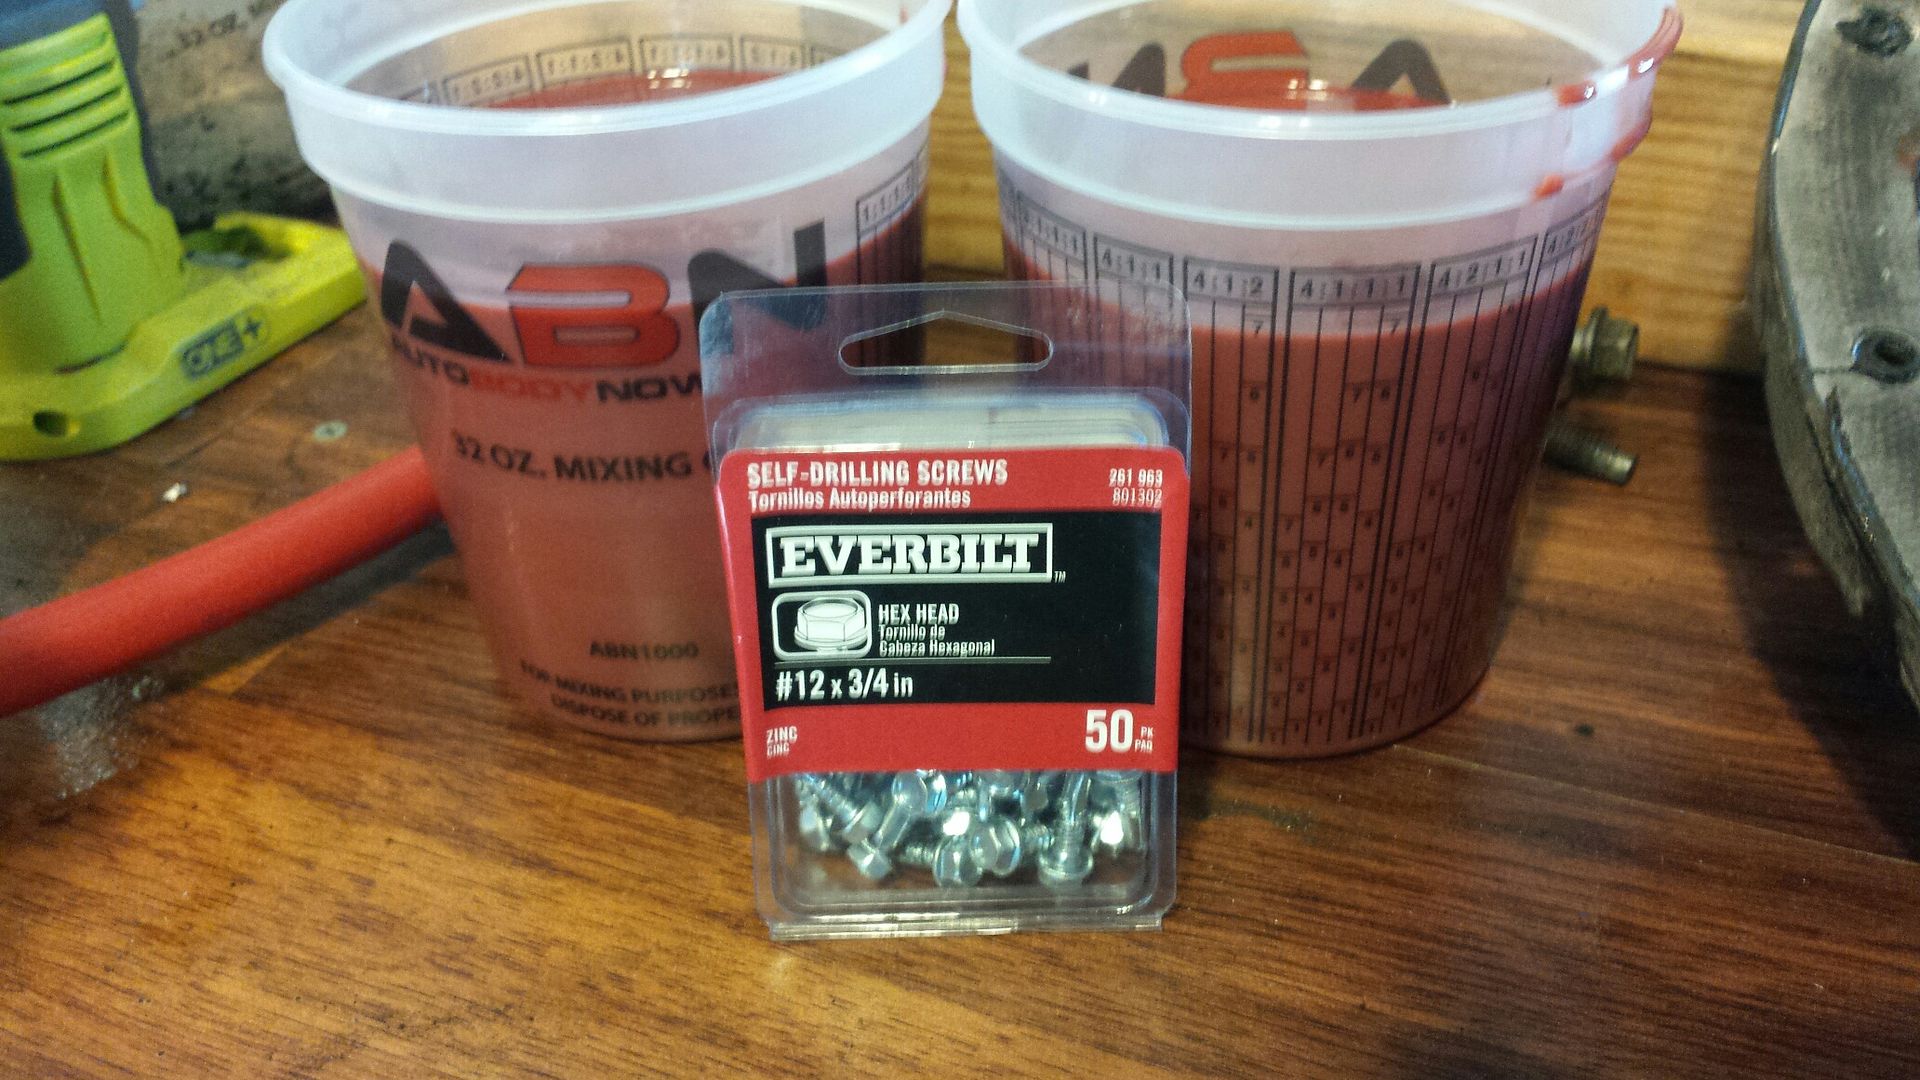
Went to home depot and picked up some screws that I think will work on the fuel line clamps, these should go right through the floor and hold well....but we shall see. Also, I drained the rear diff. That is redline shockproof oil I just put in it so I plan on reusing it since its $$.
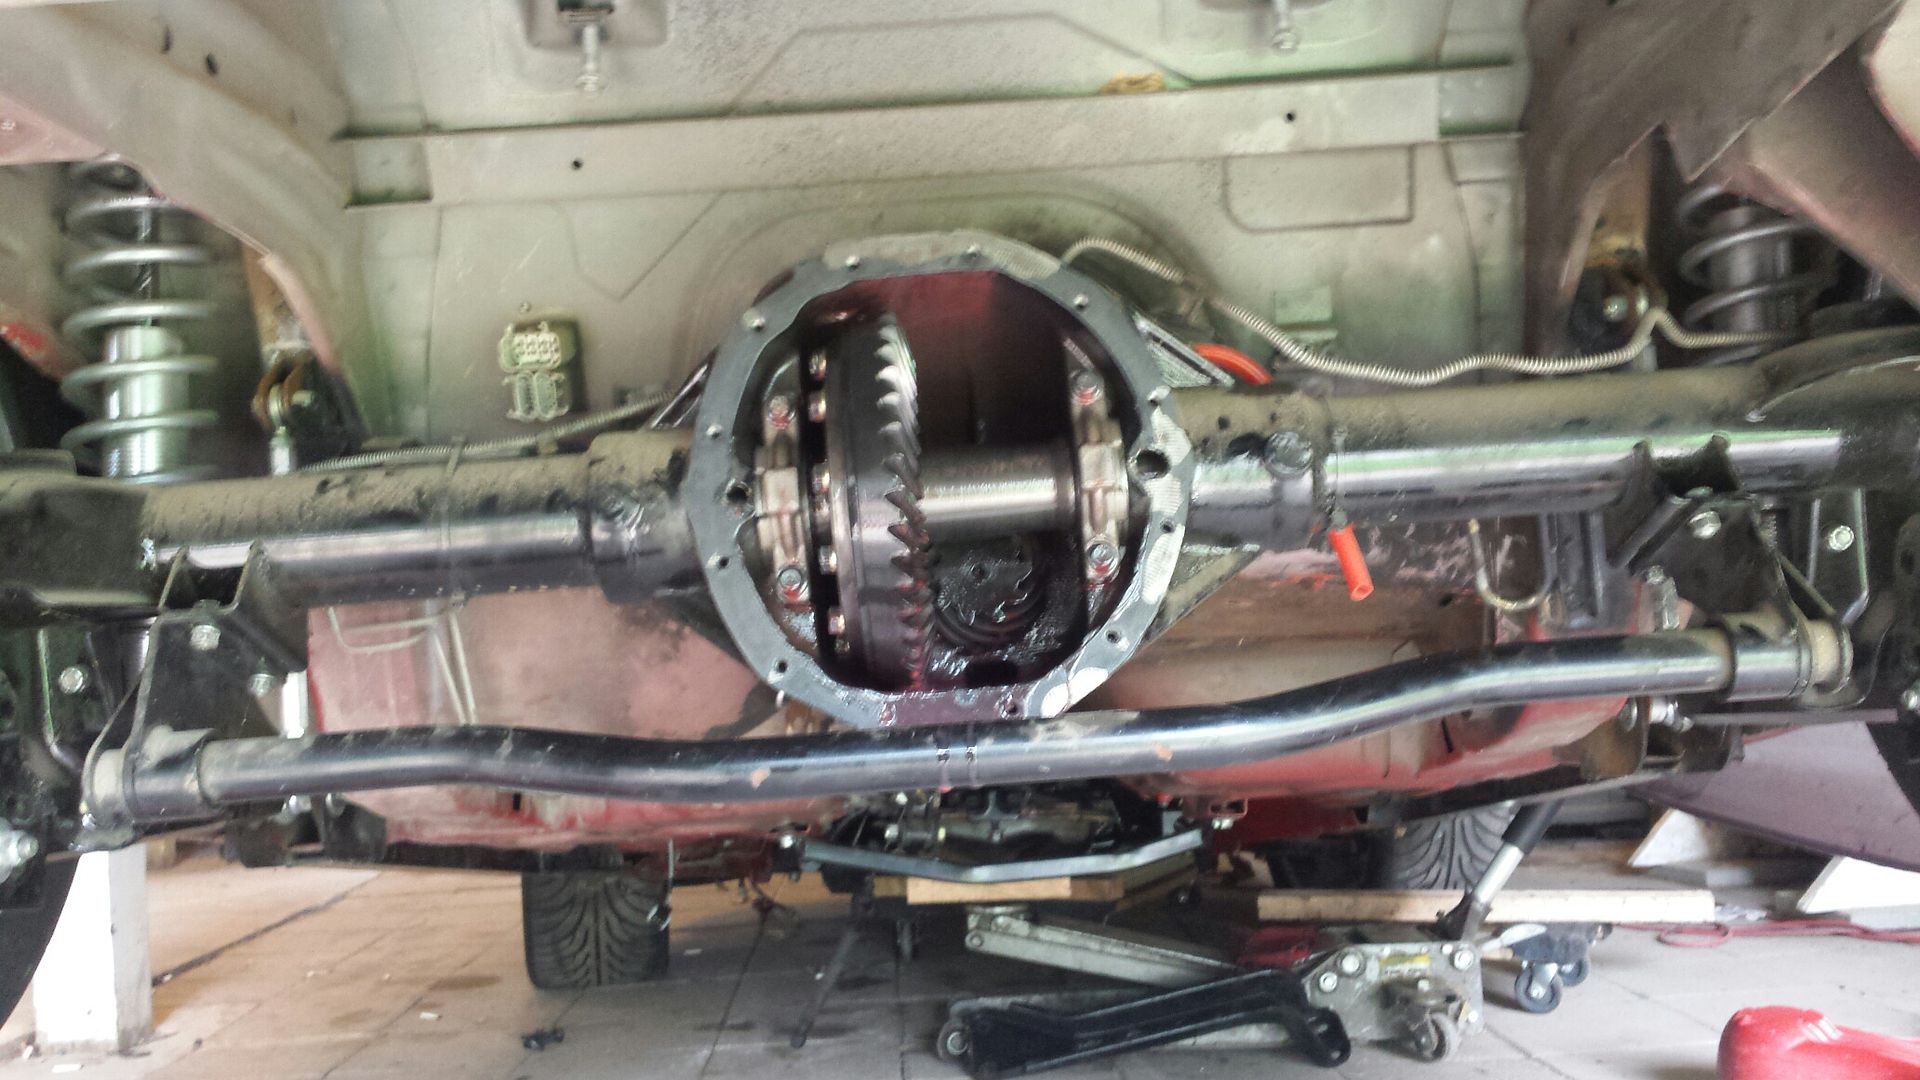
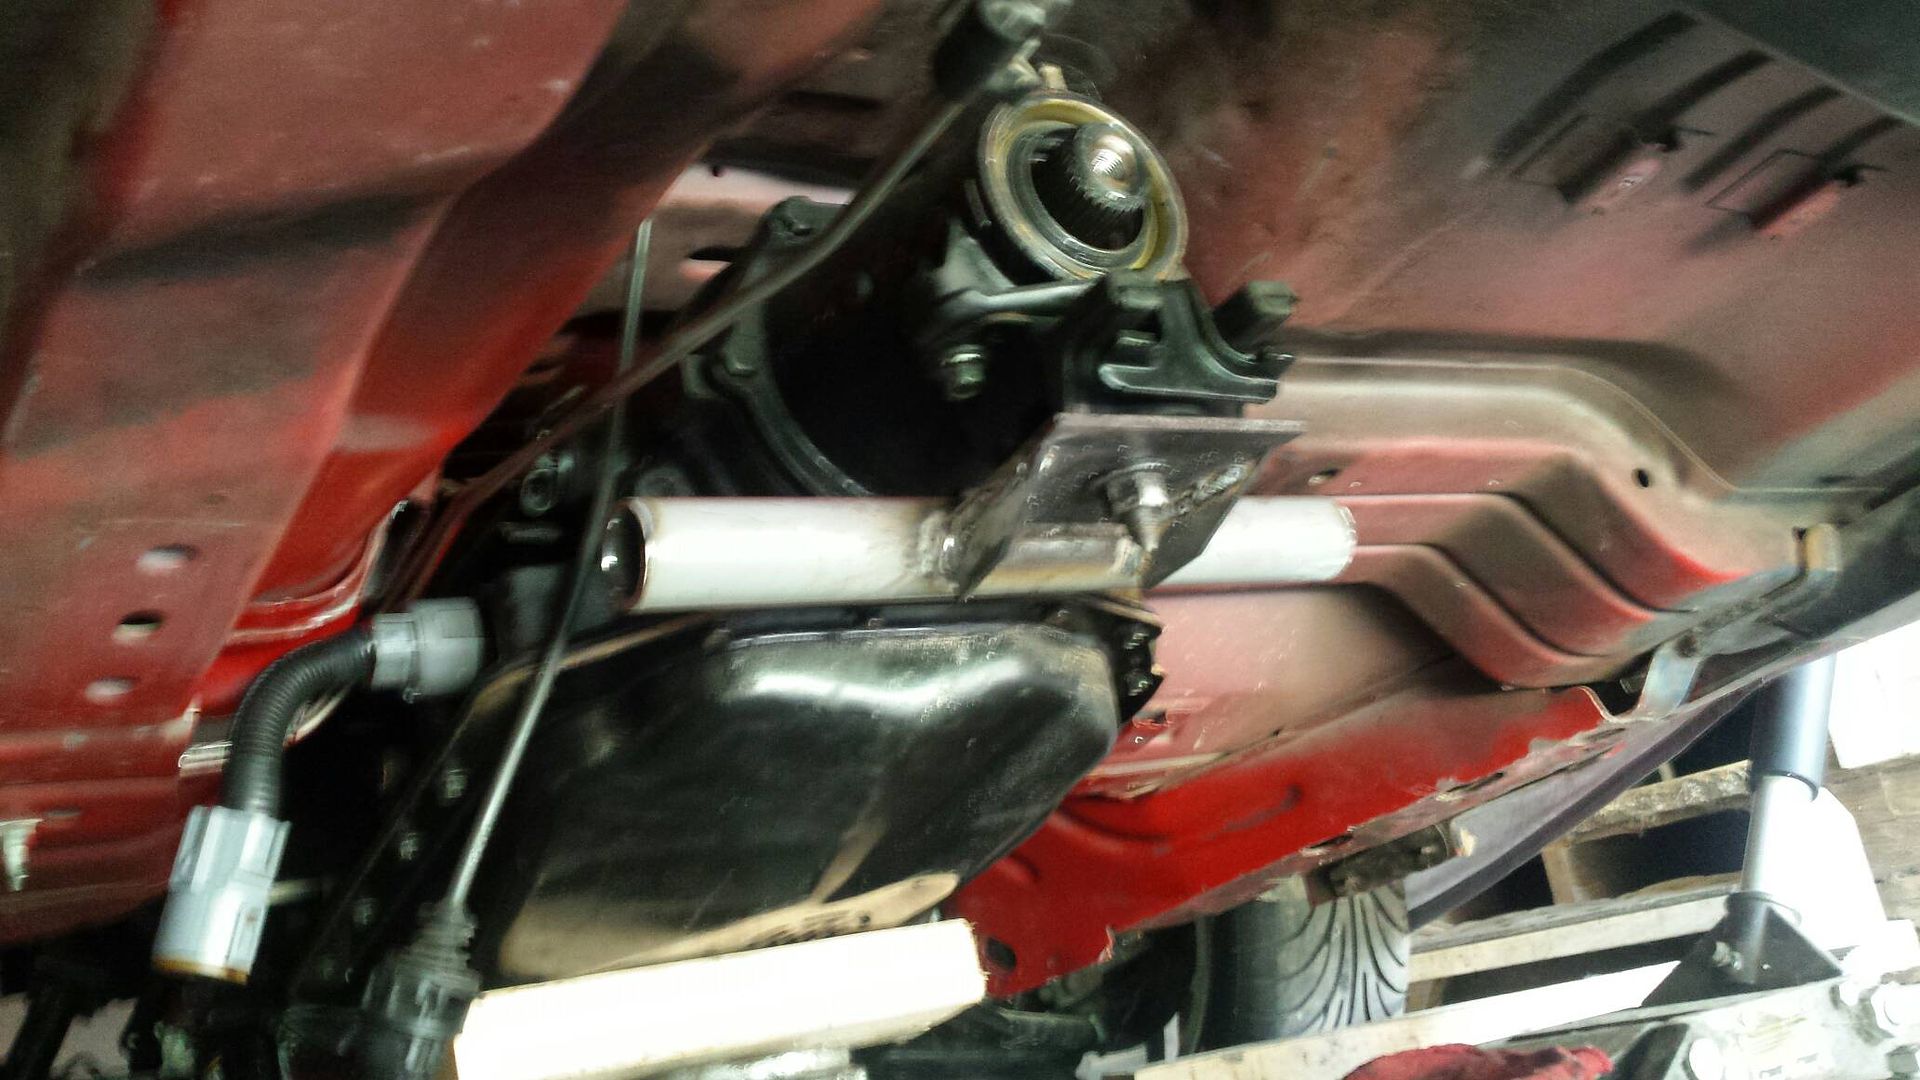
Here's where I stopped for the day. I also got the brake pedal rod installed, and adjusted so that I can go ahead and bleed these back brakes. Basically I am going to do a quick 4.10>3.73 gear swap. I had bought a new pinion seal but figured out yesterday I had no cover gasket and I'd like to replace the ring gear bolts, so I ordered those two things. Also, you can see the jack under the trans, the stock crossmember is nowhere close to working, and the rear oil port is almost against the floorpan in the tunnel. Since my cooler has 45 bends on it i ordered some 90s which will help, but Im still gonna have to alter the floor for the rear one and completely fab a crossmember from scratch. Stay tuned.

Stock bucket, and it has a Racetronix 255 pump installed. I had to remove the float assembly and transfer it to the dual pump setup. I was able to sell this locally on FB in like 4 hours!

Here's all the extra crap gone and the dual 450s installed. They were actually easier then I figured. This is basically ready to go back in the car.....but ah, not just yet, I've got something up my sleeve.

Here is the new PST forged yoke installed on my old DS, with the 4l60e yoke next to it for reference. Quick little mock up under the car seems its going to fit correctly.

Went to home depot and picked up some screws that I think will work on the fuel line clamps, these should go right through the floor and hold well....but we shall see. Also, I drained the rear diff. That is redline shockproof oil I just put in it so I plan on reusing it since its $$.

Here's where I stopped for the day. I also got the brake pedal rod installed, and adjusted so that I can go ahead and bleed these back brakes. Basically I am going to do a quick 4.10>3.73 gear swap. I had bought a new pinion seal but figured out yesterday I had no cover gasket and I'd like to replace the ring gear bolts, so I ordered those two things. Also, you can see the jack under the trans, the stock crossmember is nowhere close to working, and the rear oil port is almost against the floorpan in the tunnel. Since my cooler has 45 bends on it i ordered some 90s which will help, but Im still gonna have to alter the floor for the rear one and completely fab a crossmember from scratch. Stay tuned.

#87
08-07-2017, 07:50 AM
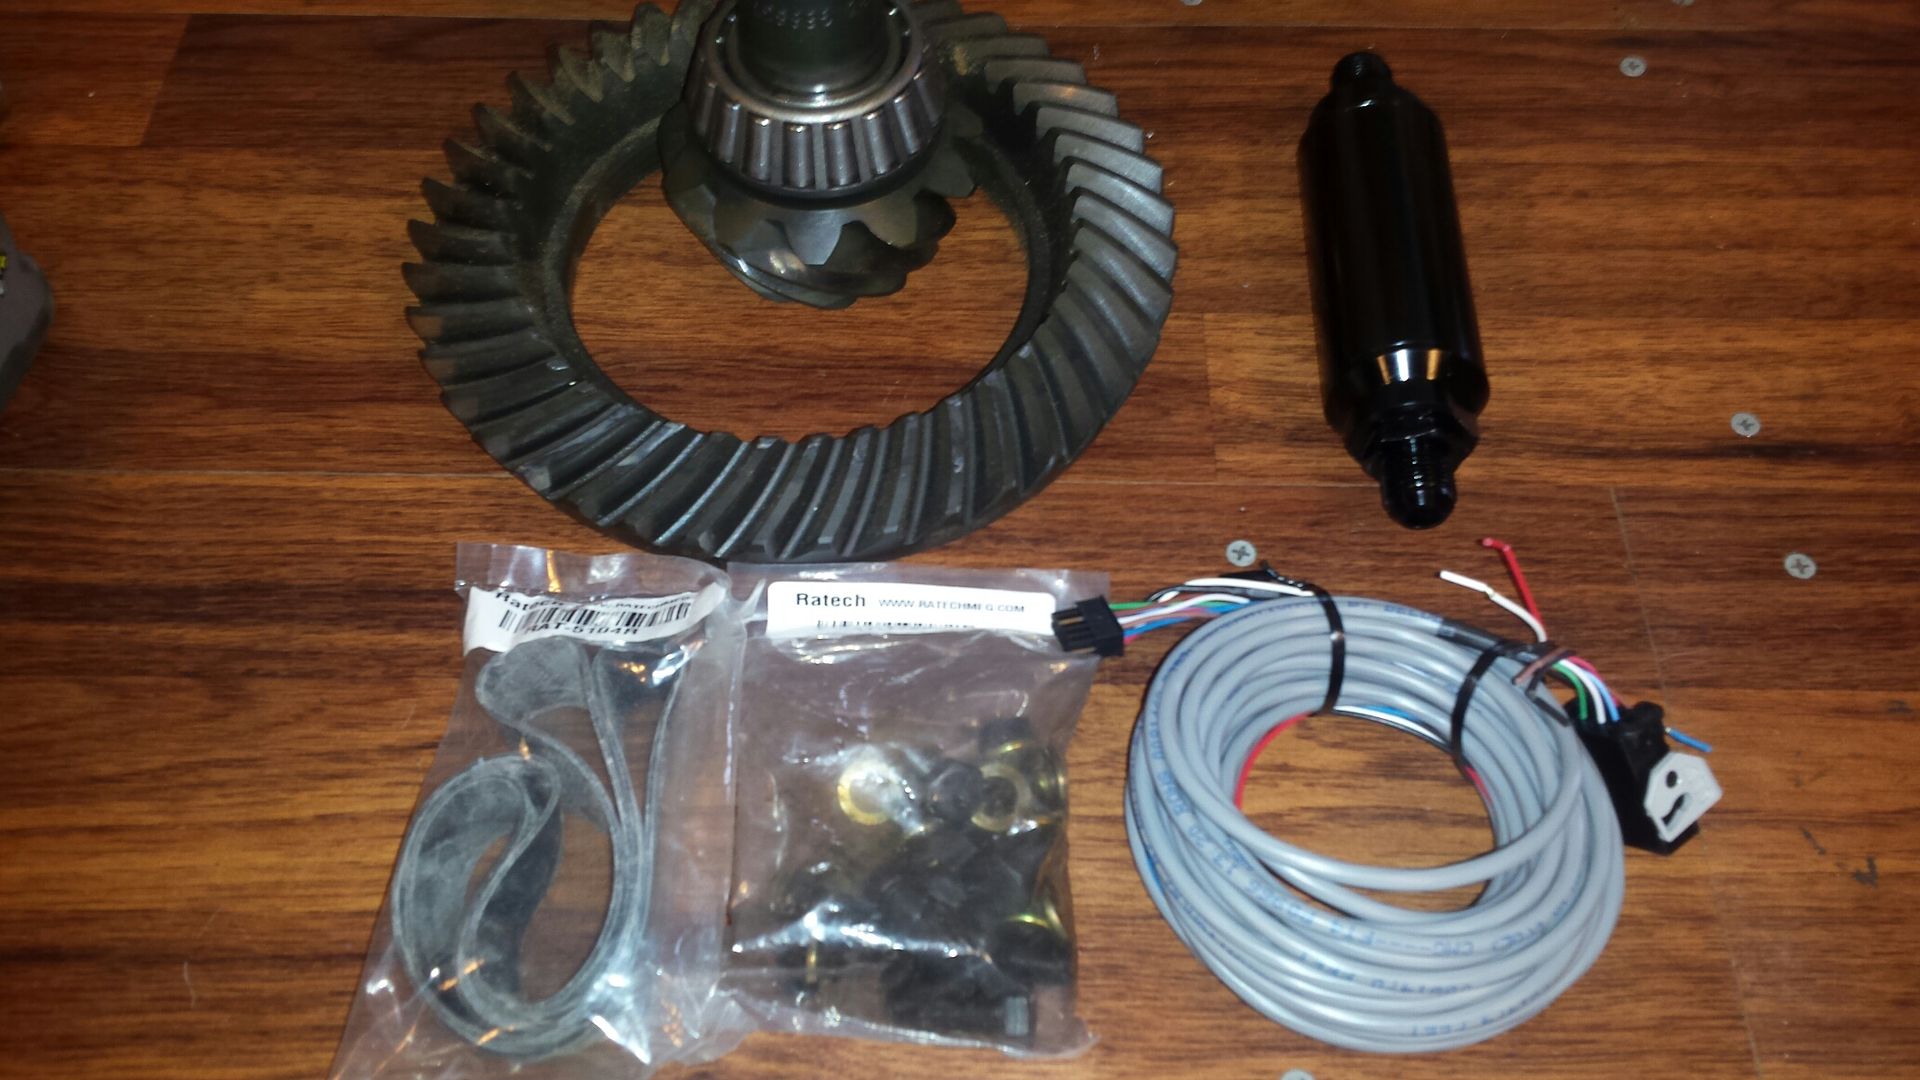
Got some parts in, bottom left is the new ring gear bolts and cover gasket for the 12 bolt, bottom right is wideband o2 harness extension, top right is a fuel filter with the stainless washable element, left is the 3.73 gears I'm reinstalling.
Wasn't gonna buy a prefab crossmember to the tune of $180 dollars so I decided I'd make one. As I sat there thinking about material size, type, thickness I spied the driver door bar I pulled out earlier in the year. Its about 1.5" seemless steel tube with a decent wall thickness, that should do the trick and the best part is, it was zero dollars. I made a mount for the trans out of maybe 5/16 plate I had, then cut a 1 foot section of the door bar, welded them together and add small gussets under the plate for extra strength.....also, in this pic you can see the clearance and why i cut for the electrical connector.
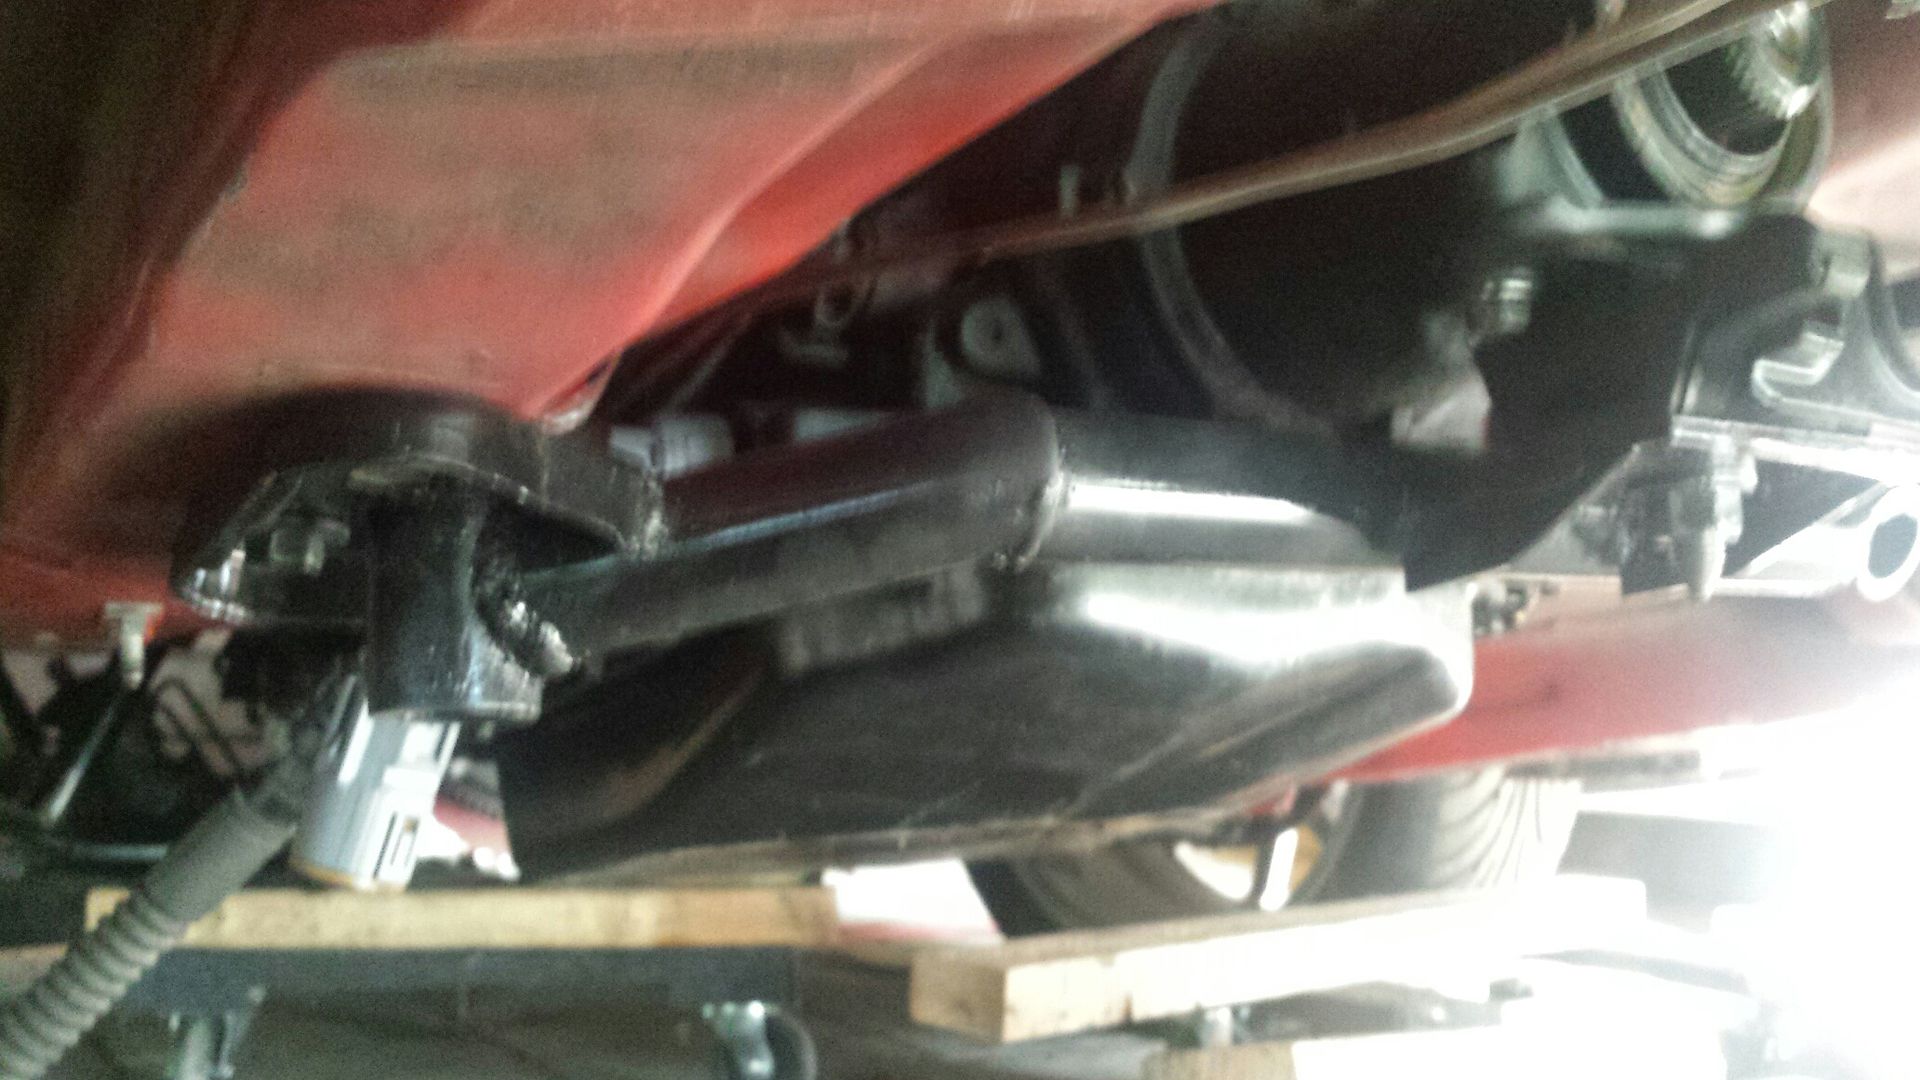
Late evening pic (washout), but you get the idea of the finished product. I was going to make new sides plates where this bolts to the car but after looking at the stock crossmember I was like **** it i will just cut the ends off and make it work. In this pic you can see I used a small section to drop down vertically, then I hand notched the tubing to get a decent fit going back to the original 12" piece. Got the trans in place and this thing didnt budge as i set the weight down on it, it should be fine.
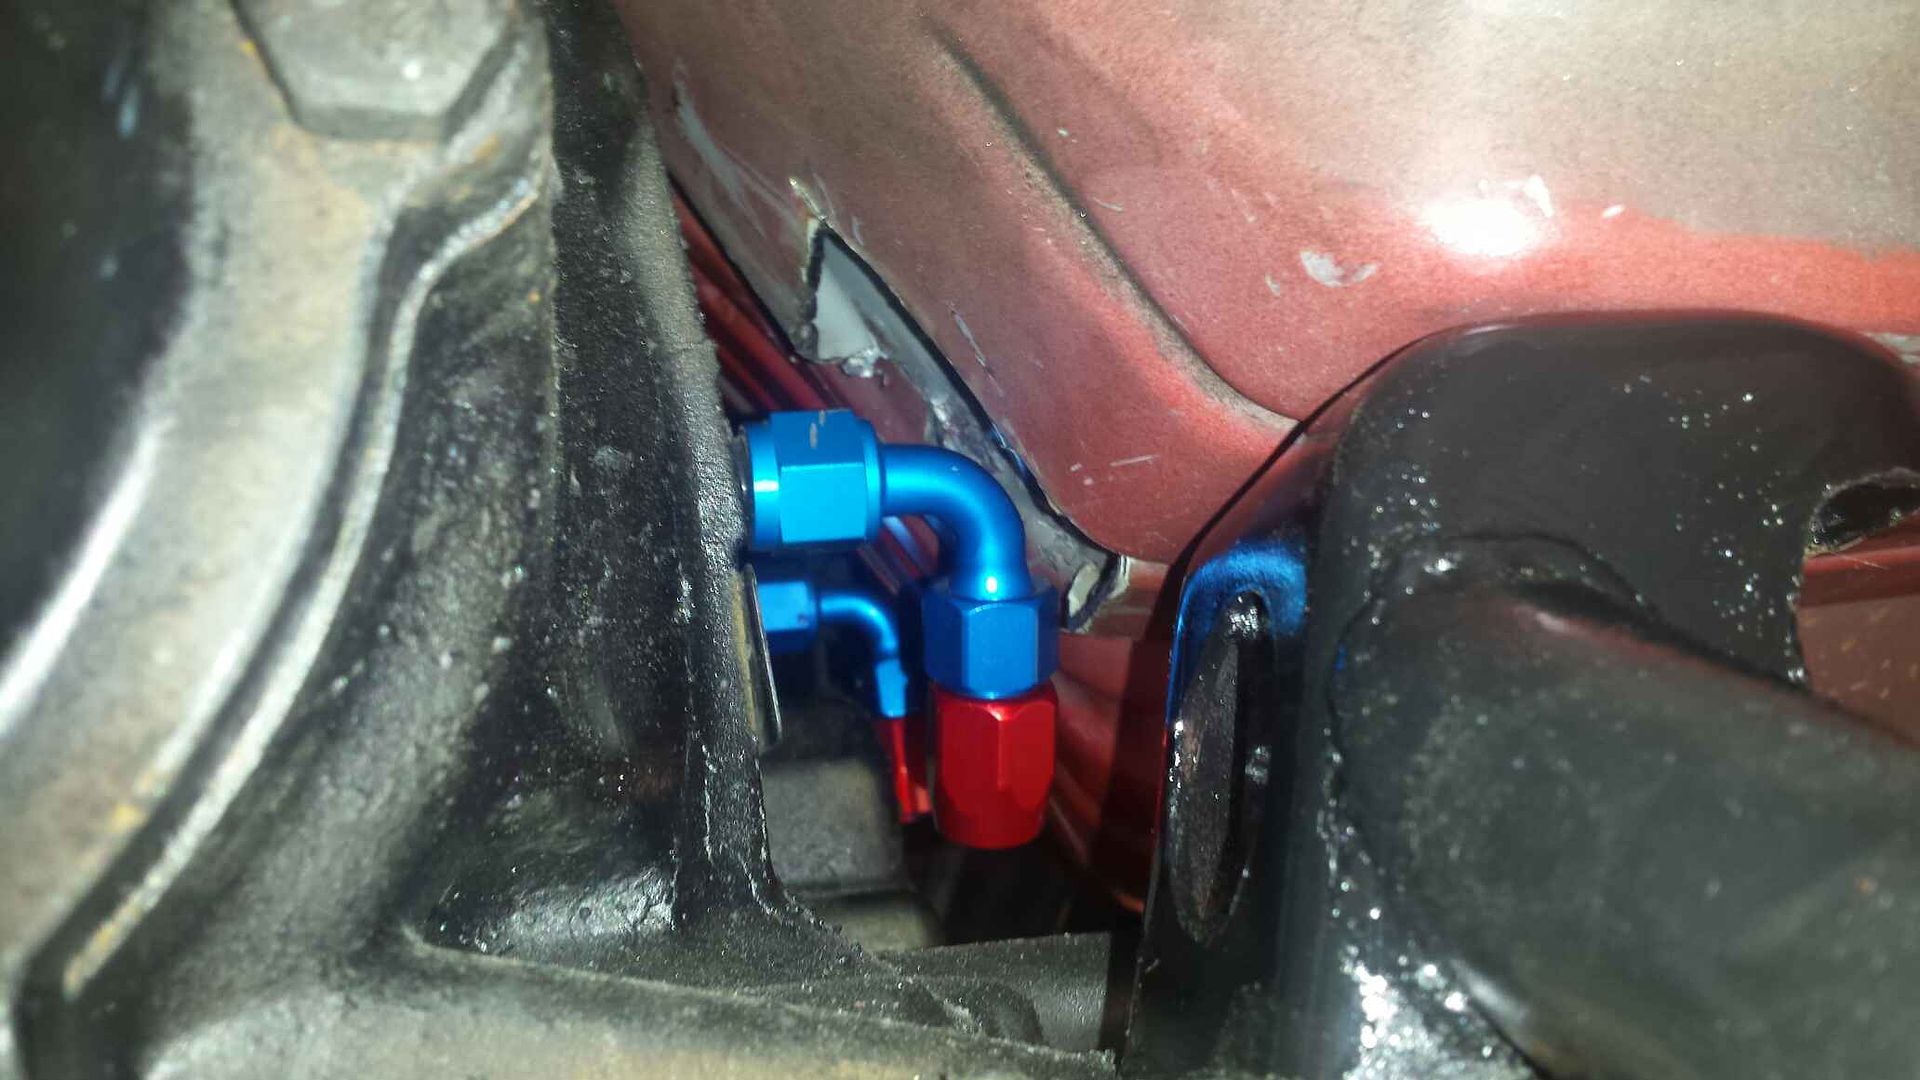
My cooler lines have 45s on them. I knew that wouldn't fit so I ordered 90s. I was wondering if they would clear so I put them on the trans to give me an idea. The front line has about 1/4" clearance from the body, the rear one, no chance in hell getting it on there. I quickly lowered the trans tail and snuck my grinder in there. After some hot sparks it does fit, but I only have about 30 degrees of rotation, looking at the trans and fitting it will swivel from about 2 to 5 oclock.....so the rear line will have to exit towards the front and loop back around. You can see both fittings in this pic.

#88
08-07-2017, 11:11 AM
i am going to 3.42 in my 10 bolt beef it up,as i dont race anymore ,my 10 bolt has surpized me holding strong after 3 years an the near 500tlbs the 406 puts out ,but i know just a few hard runs would break something ,strethening the 10 bolt supposed to.handle up to 550 hp.should be safe from spending 3k ,at like 400.00 for the rebuild. but for guys that race alot yes the 12 bolt is the way to go
#89
08-12-2017, 08:01 AM
First thing first I had to finish the 4.10 to 3.73 gear swap. Here is the 3.73 mounted to the Strange lightweight steel spool.
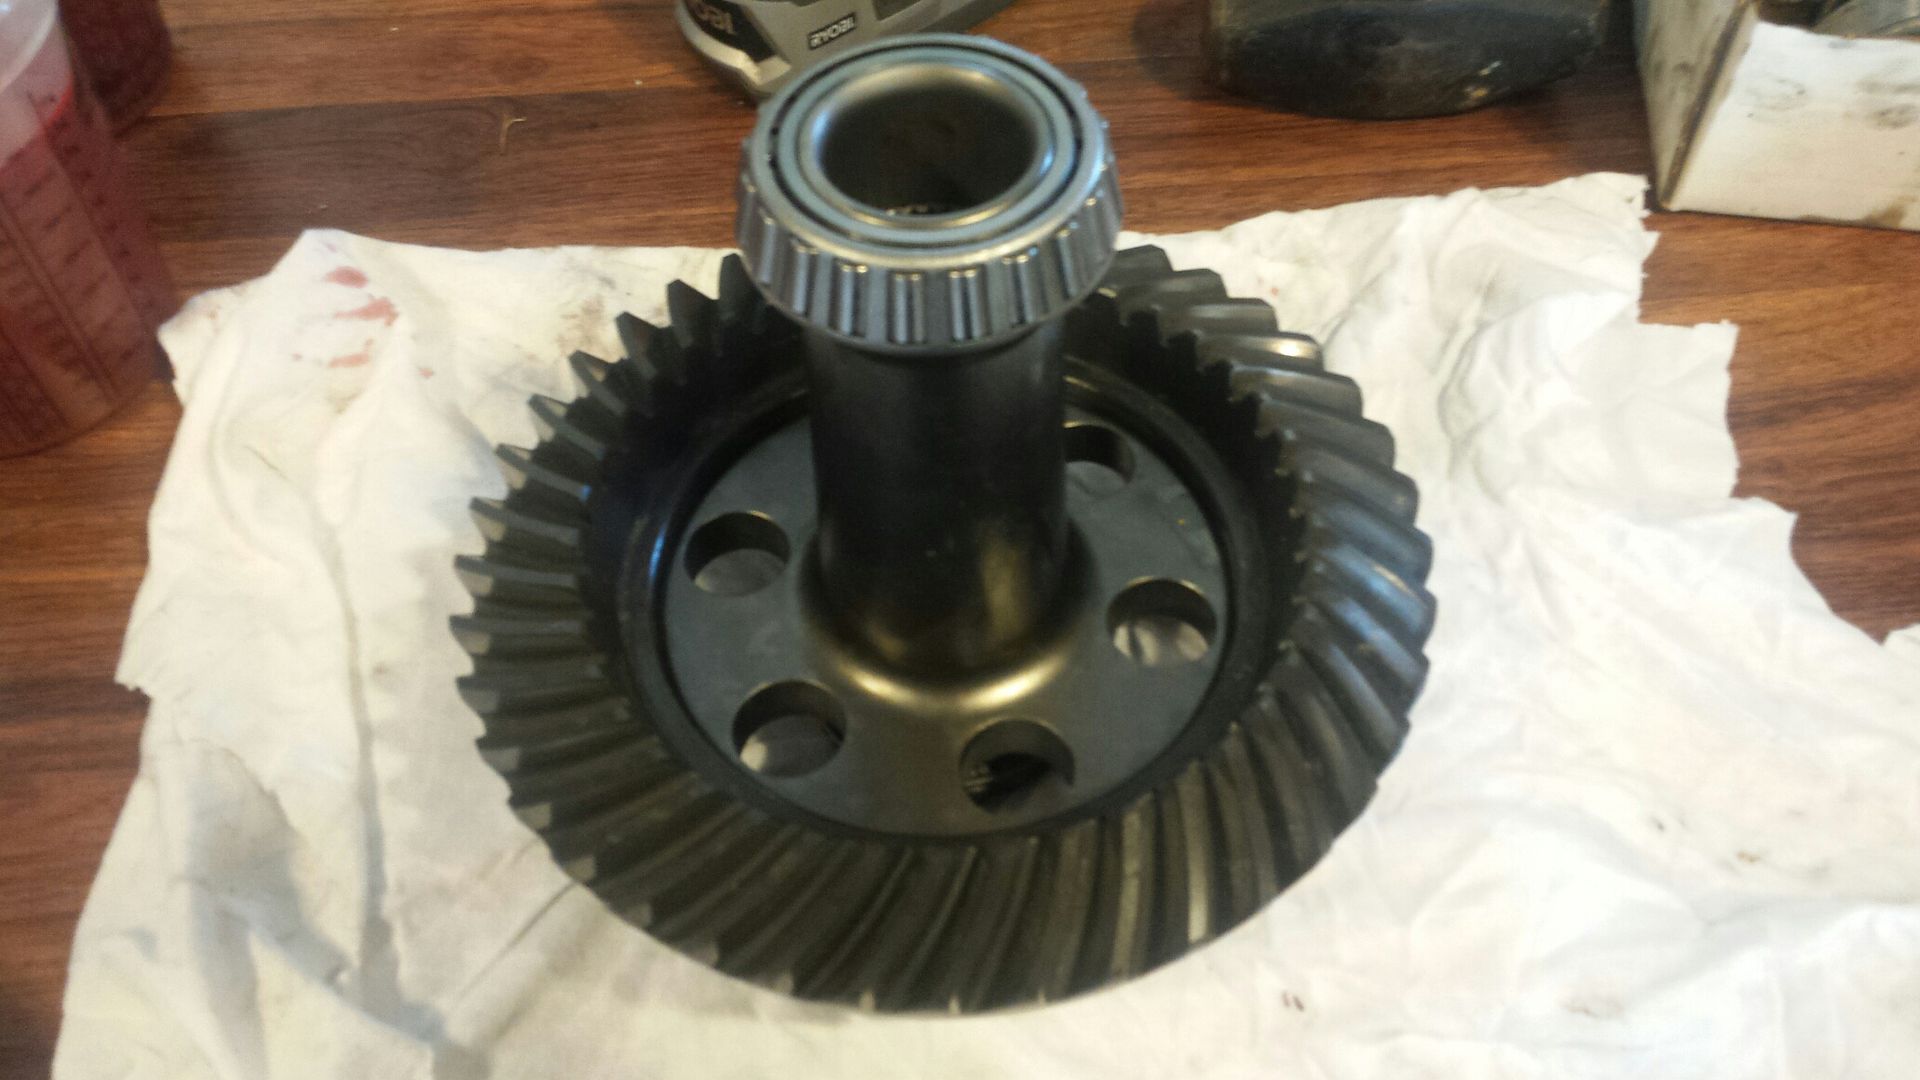
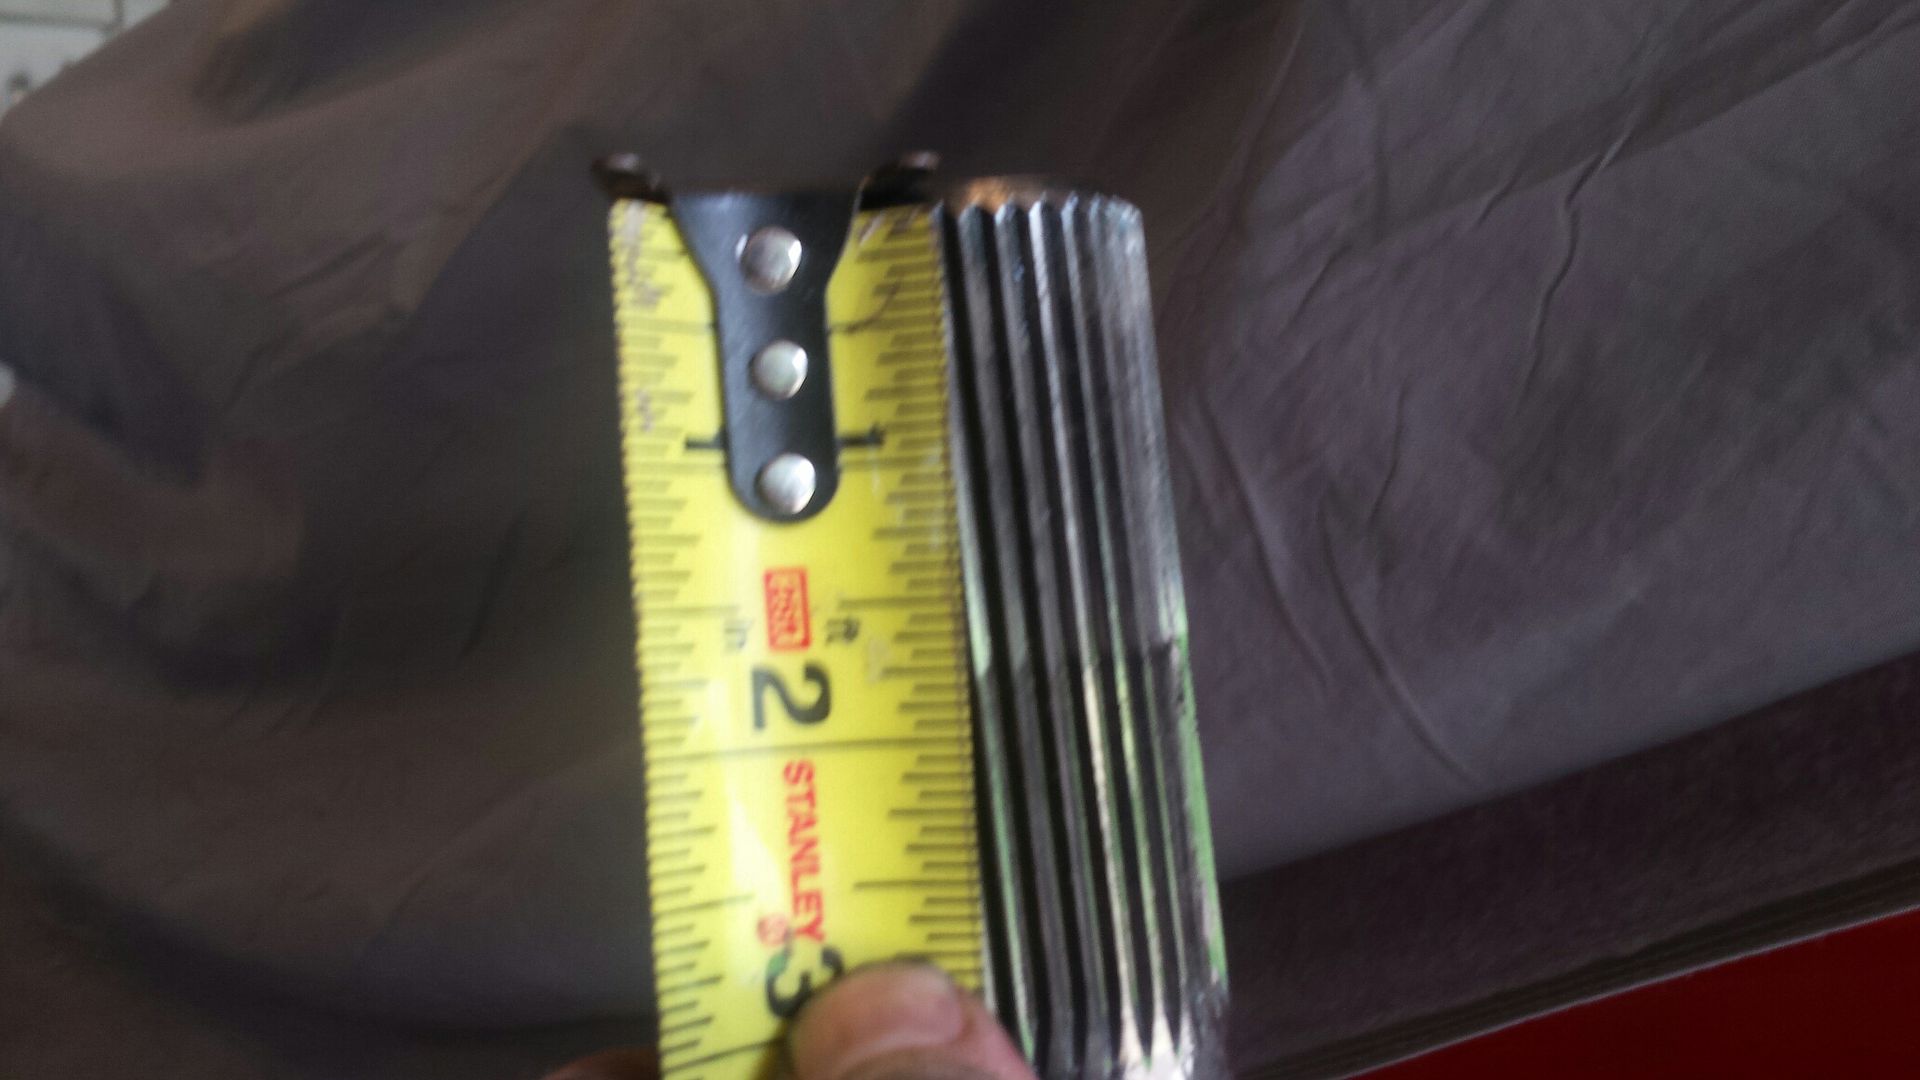
Before final assembly I inspected the axles closely, I also measured engagement just due to curiosity. No damage and everything looked good.
Once the rear end was reassembled I wanted to test fit the driveshaft. Even bottomed out in the trans it wouldn't fit, it was too long. I had pulled the rear end forward to fit (center) the 28" slicks. I made a quick adjustment and moved the rear end back about an inch and had plenty of room to get the DS in. I also reset pinion angle to -2. Im planning on trimming some on the back bumper for the tires (since I moved them back) but this may need a final adjustment later.
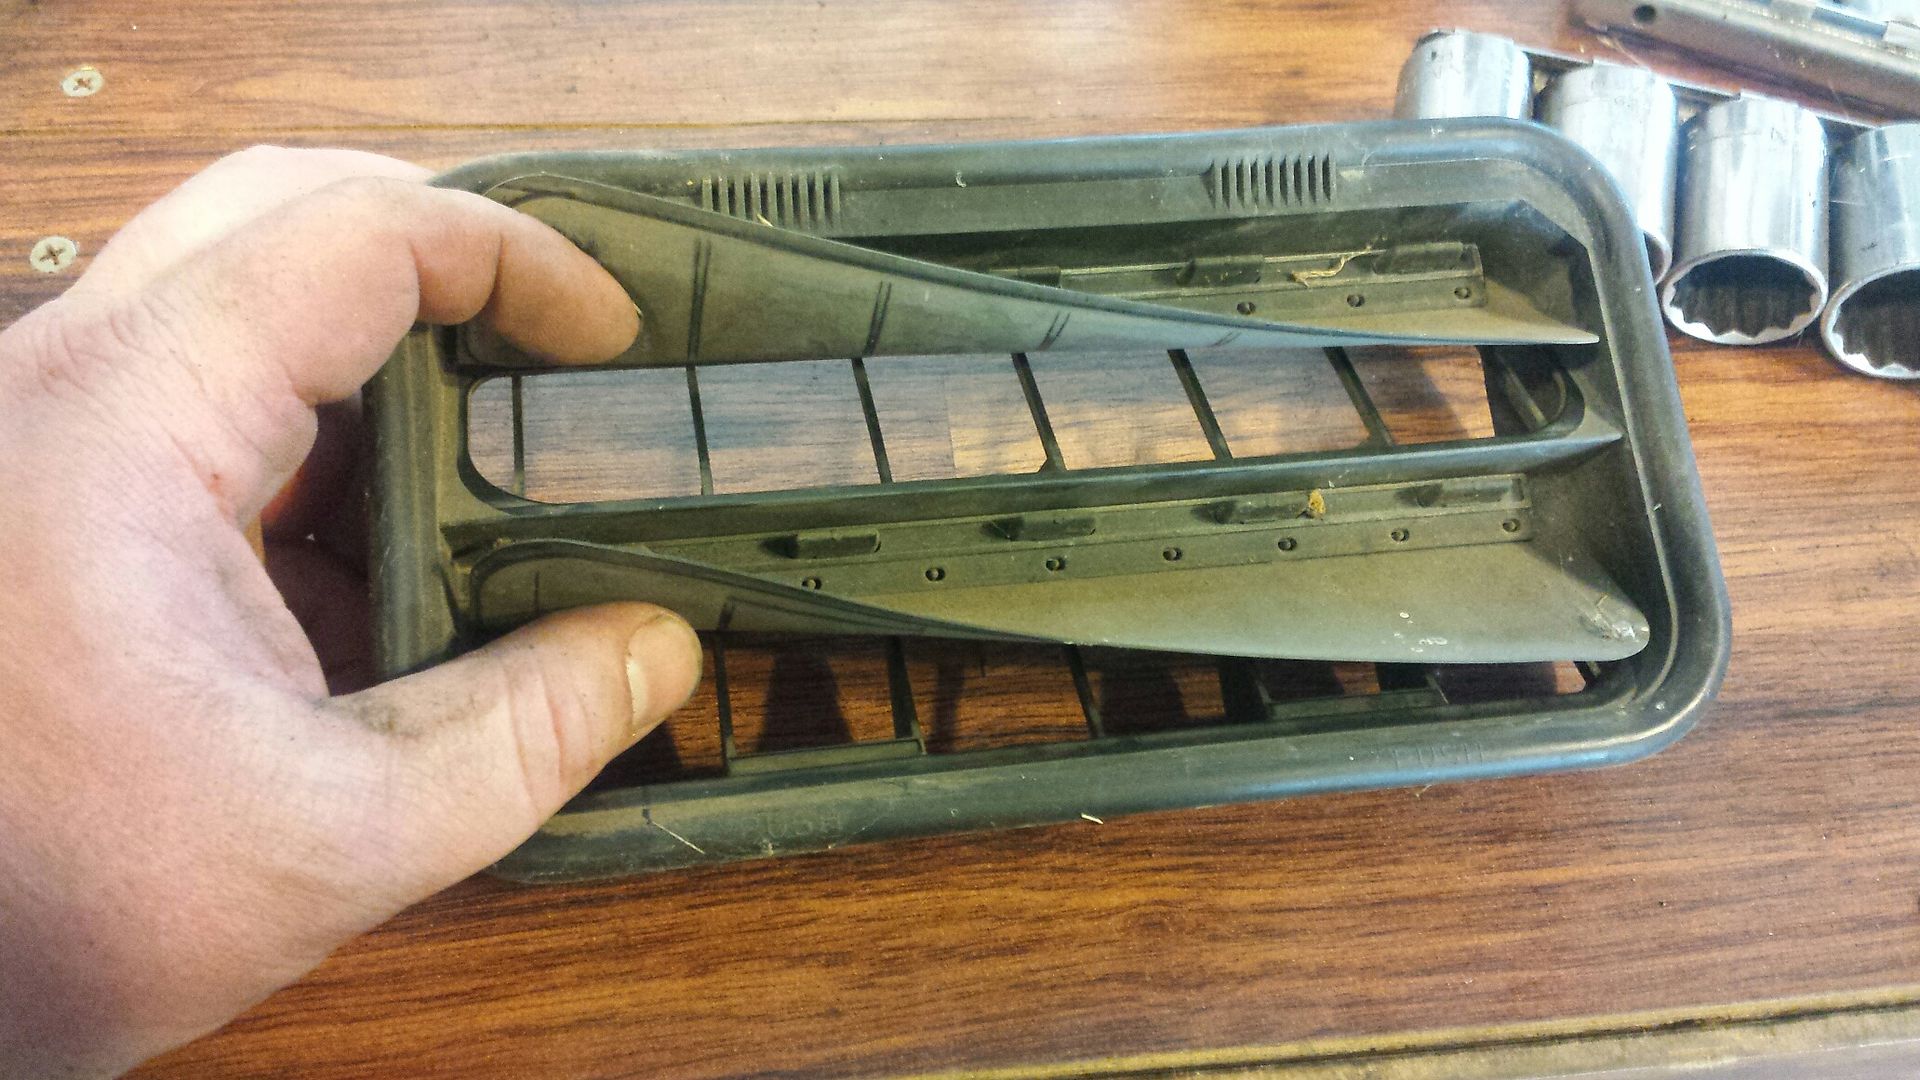
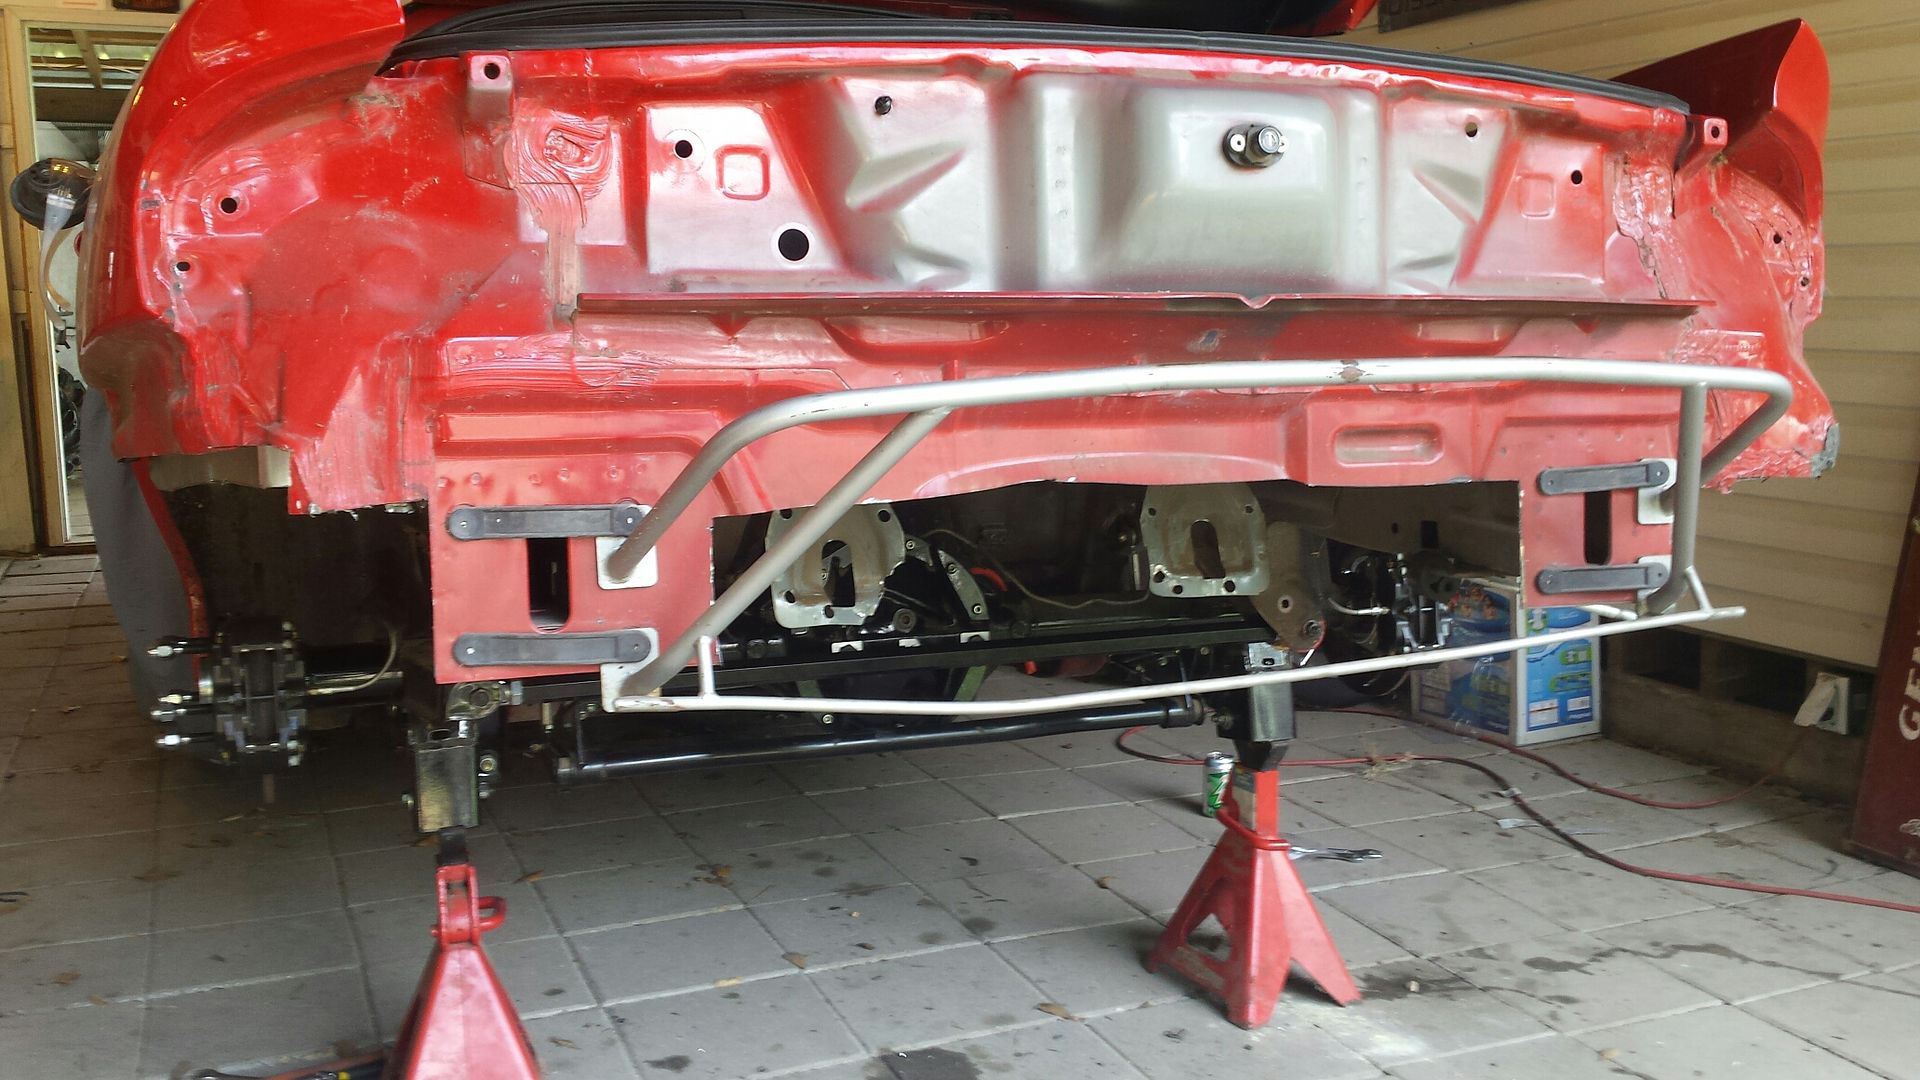
Bring on the grinder!!!! Notice on the driver's side that black flapper thingy, that's a cab vent that prevents air lock in the cab when you shut the door. I'm gonna try and reinstall it.
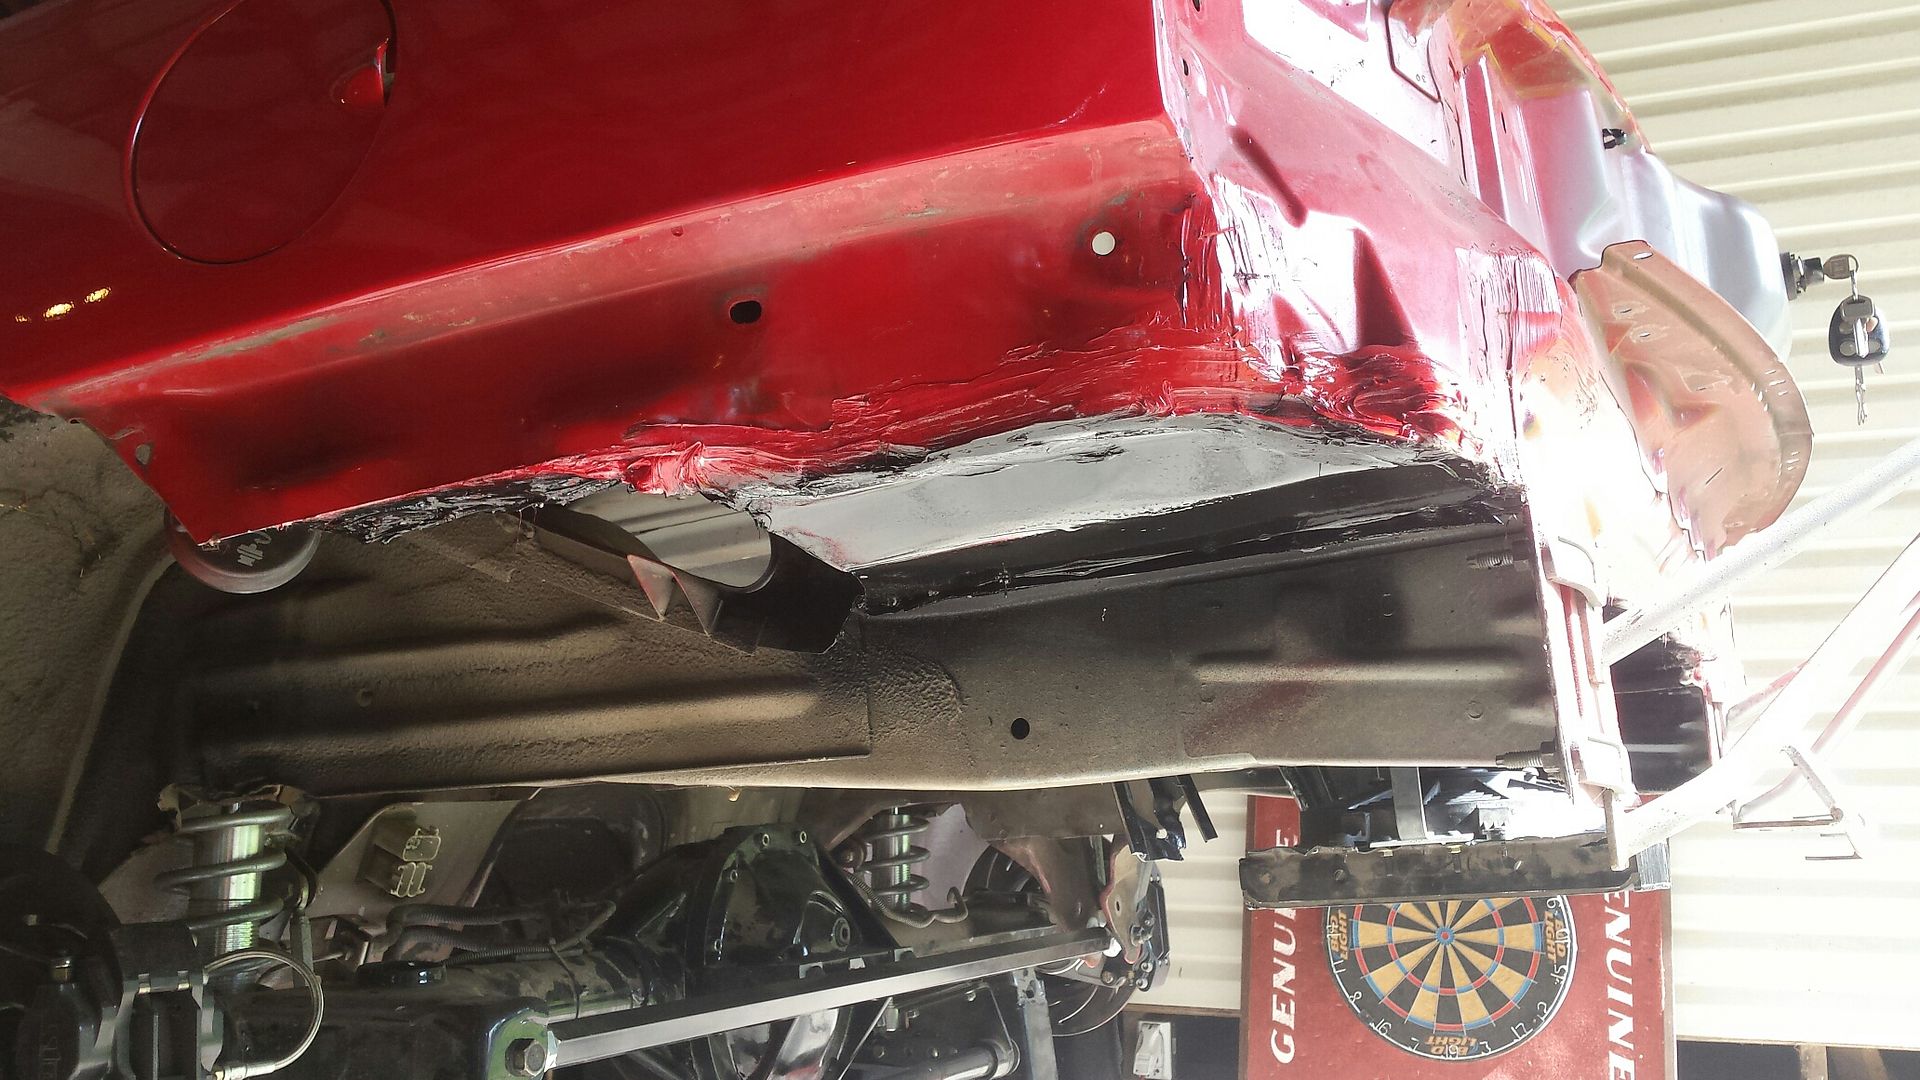
A closer look.
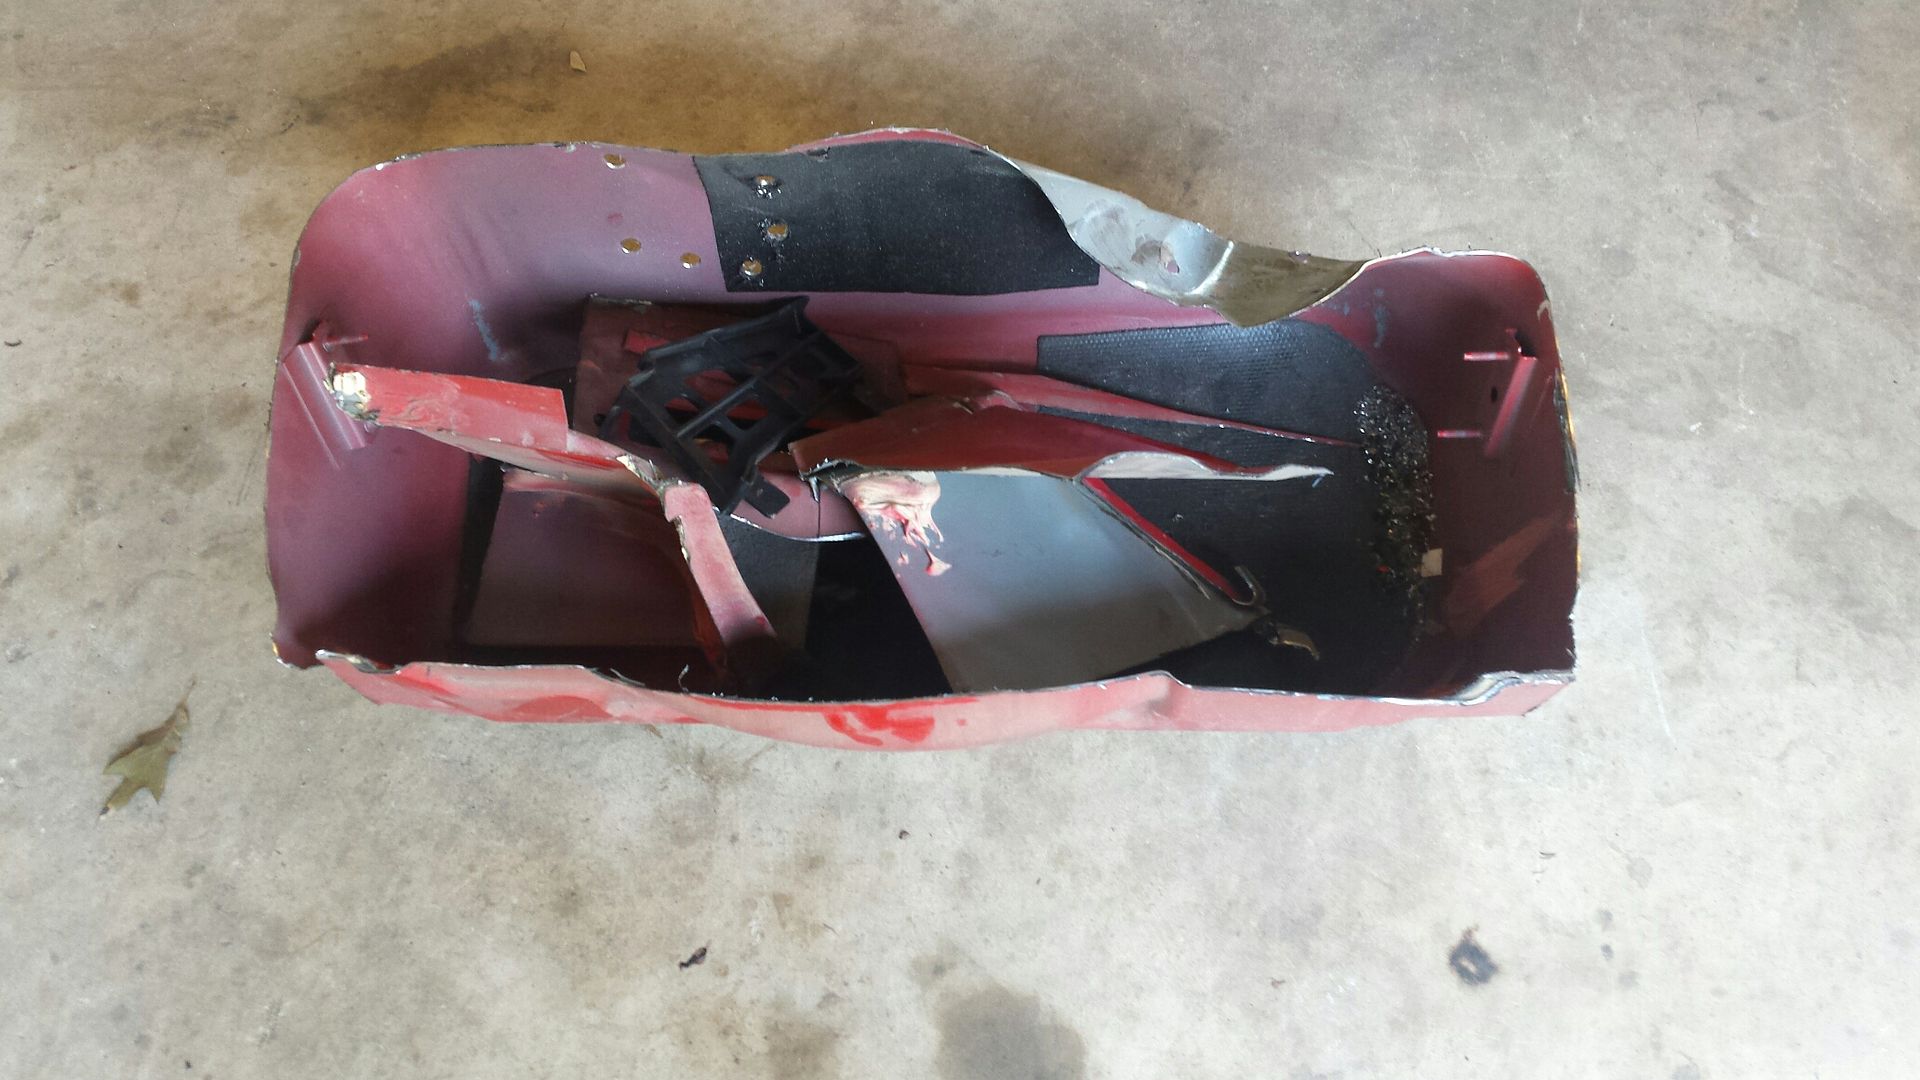
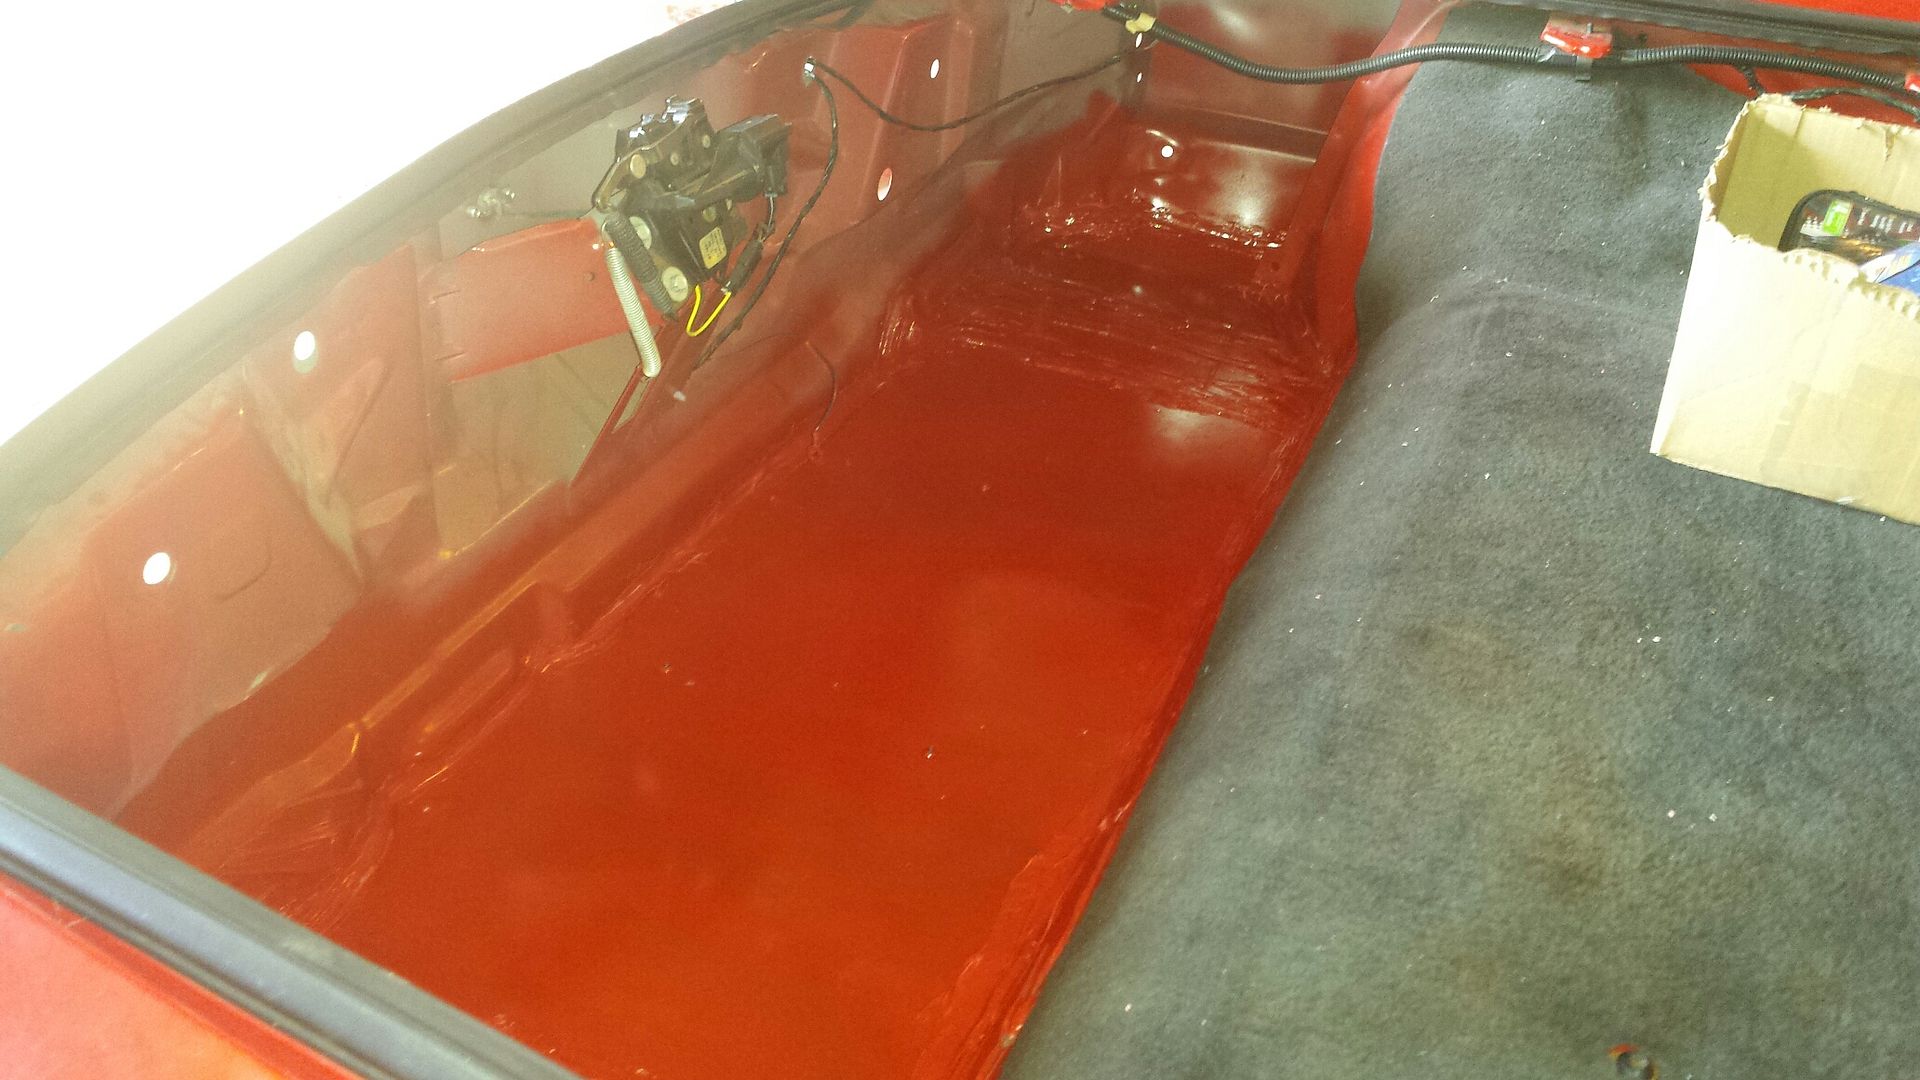
T top well and driver cubbie. I removed he passenger side tub (spare tire well) about a year or two ago.
On the scale, 20.2 pounds
All the cuts will be covered by the bumper. Ive got the main replacement panel rough cut but i ran out of time so I didnt get a chance to get it fitted. I will be relocating the trans cooler to the rear bumper area to make room for the intercooler up front.

Before final assembly I inspected the axles closely, I also measured engagement just due to curiosity. No damage and everything looked good.

Once the rear end was reassembled I wanted to test fit the driveshaft. Even bottomed out in the trans it wouldn't fit, it was too long. I had pulled the rear end forward to fit (center) the 28" slicks. I made a quick adjustment and moved the rear end back about an inch and had plenty of room to get the DS in. I also reset pinion angle to -2. Im planning on trimming some on the back bumper for the tires (since I moved them back) but this may need a final adjustment later.
Bring on the grinder!!!! Notice on the driver's side that black flapper thingy, that's a cab vent that prevents air lock in the cab when you shut the door. I'm gonna try and reinstall it.

A closer look.

T top well and driver cubbie. I removed he passenger side tub (spare tire well) about a year or two ago.

On the scale, 20.2 pounds

All the cuts will be covered by the bumper. Ive got the main replacement panel rough cut but i ran out of time so I didnt get a chance to get it fitted. I will be relocating the trans cooler to the rear bumper area to make room for the intercooler up front.

#90
08-16-2017, 08:53 AM
Driver bucket I finished off with 22G sheetmetal. I painted the bottom black and sides red to make it appear somewhat factory.
16g center panel, 2.5 tubes of seam sealer, and yes it is strong enough for me to stand on it. Total weight that went back IN the car is about 10. So this saves me 10 pounds however we are killing two birds with one stone...
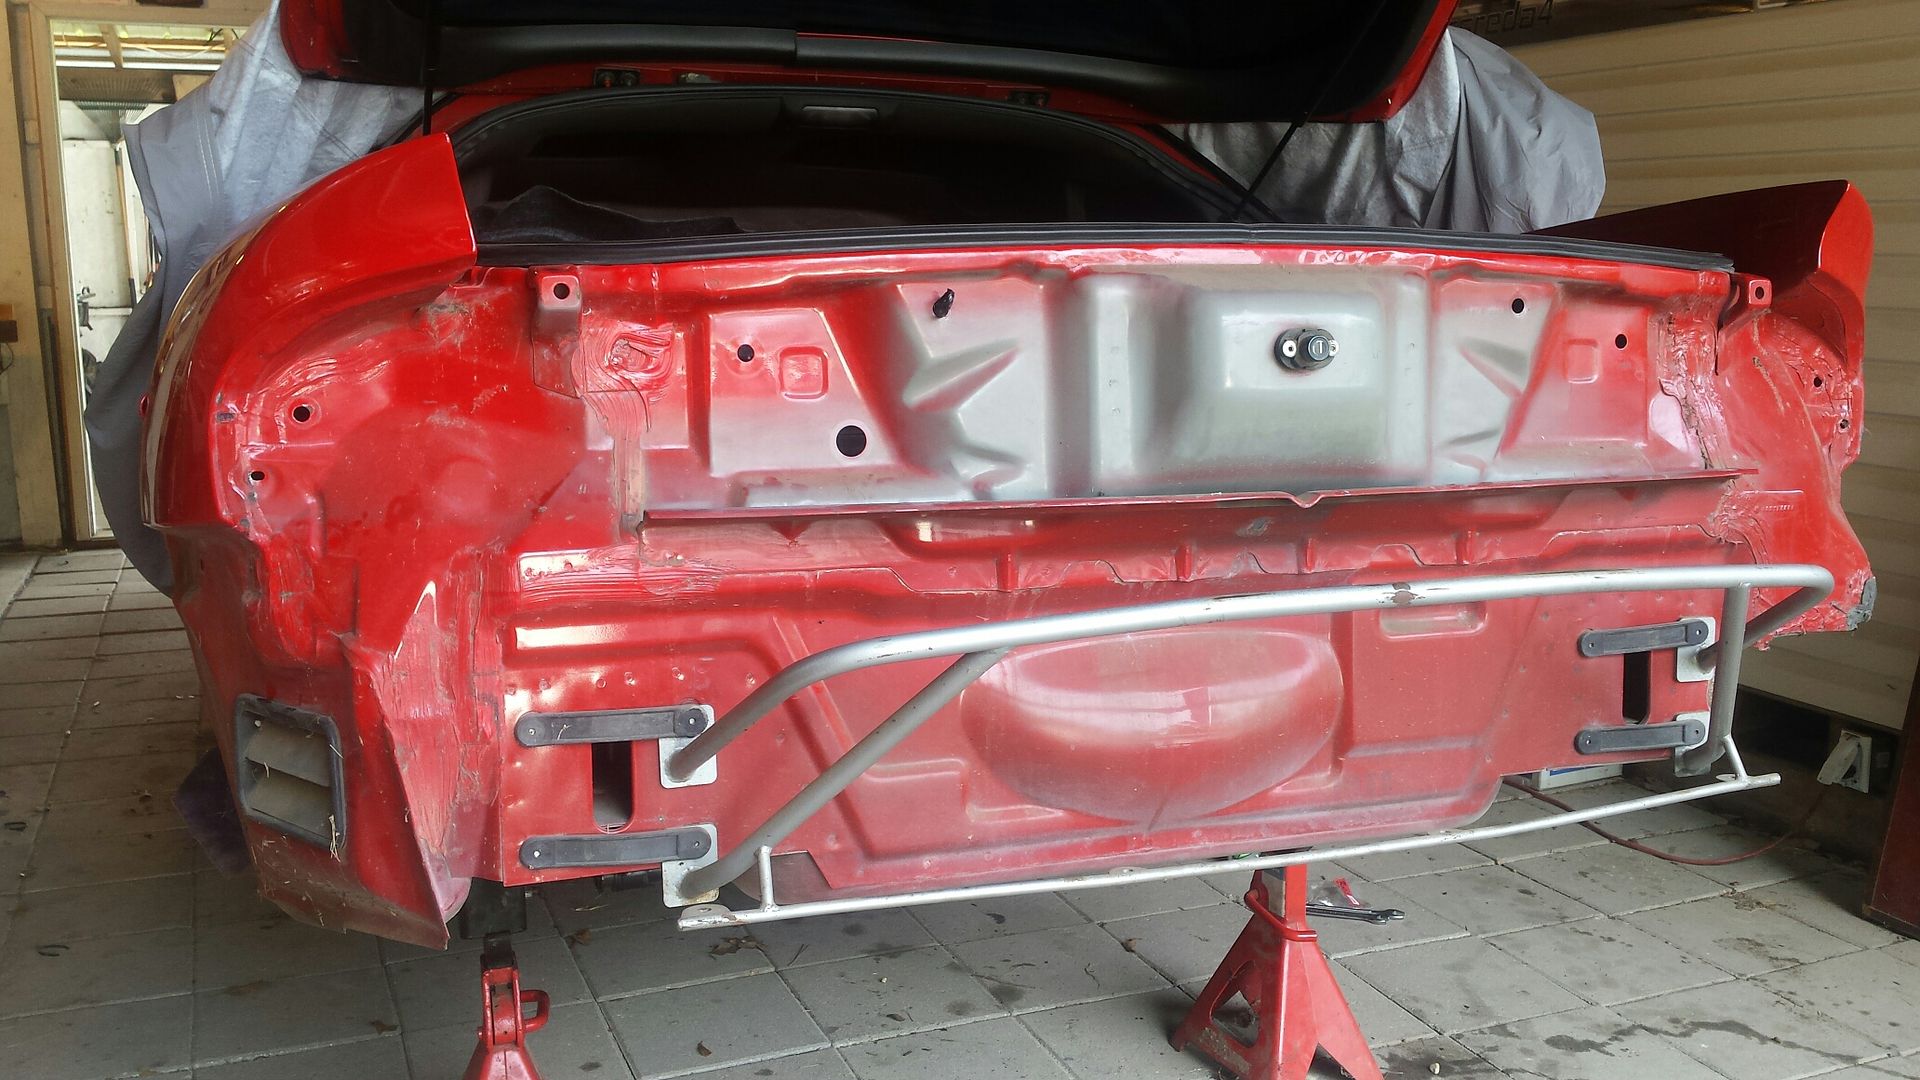
There she is, I left as much of an air gap without leaving it hanging under bumper level. I did not want it to be visible from the rear.
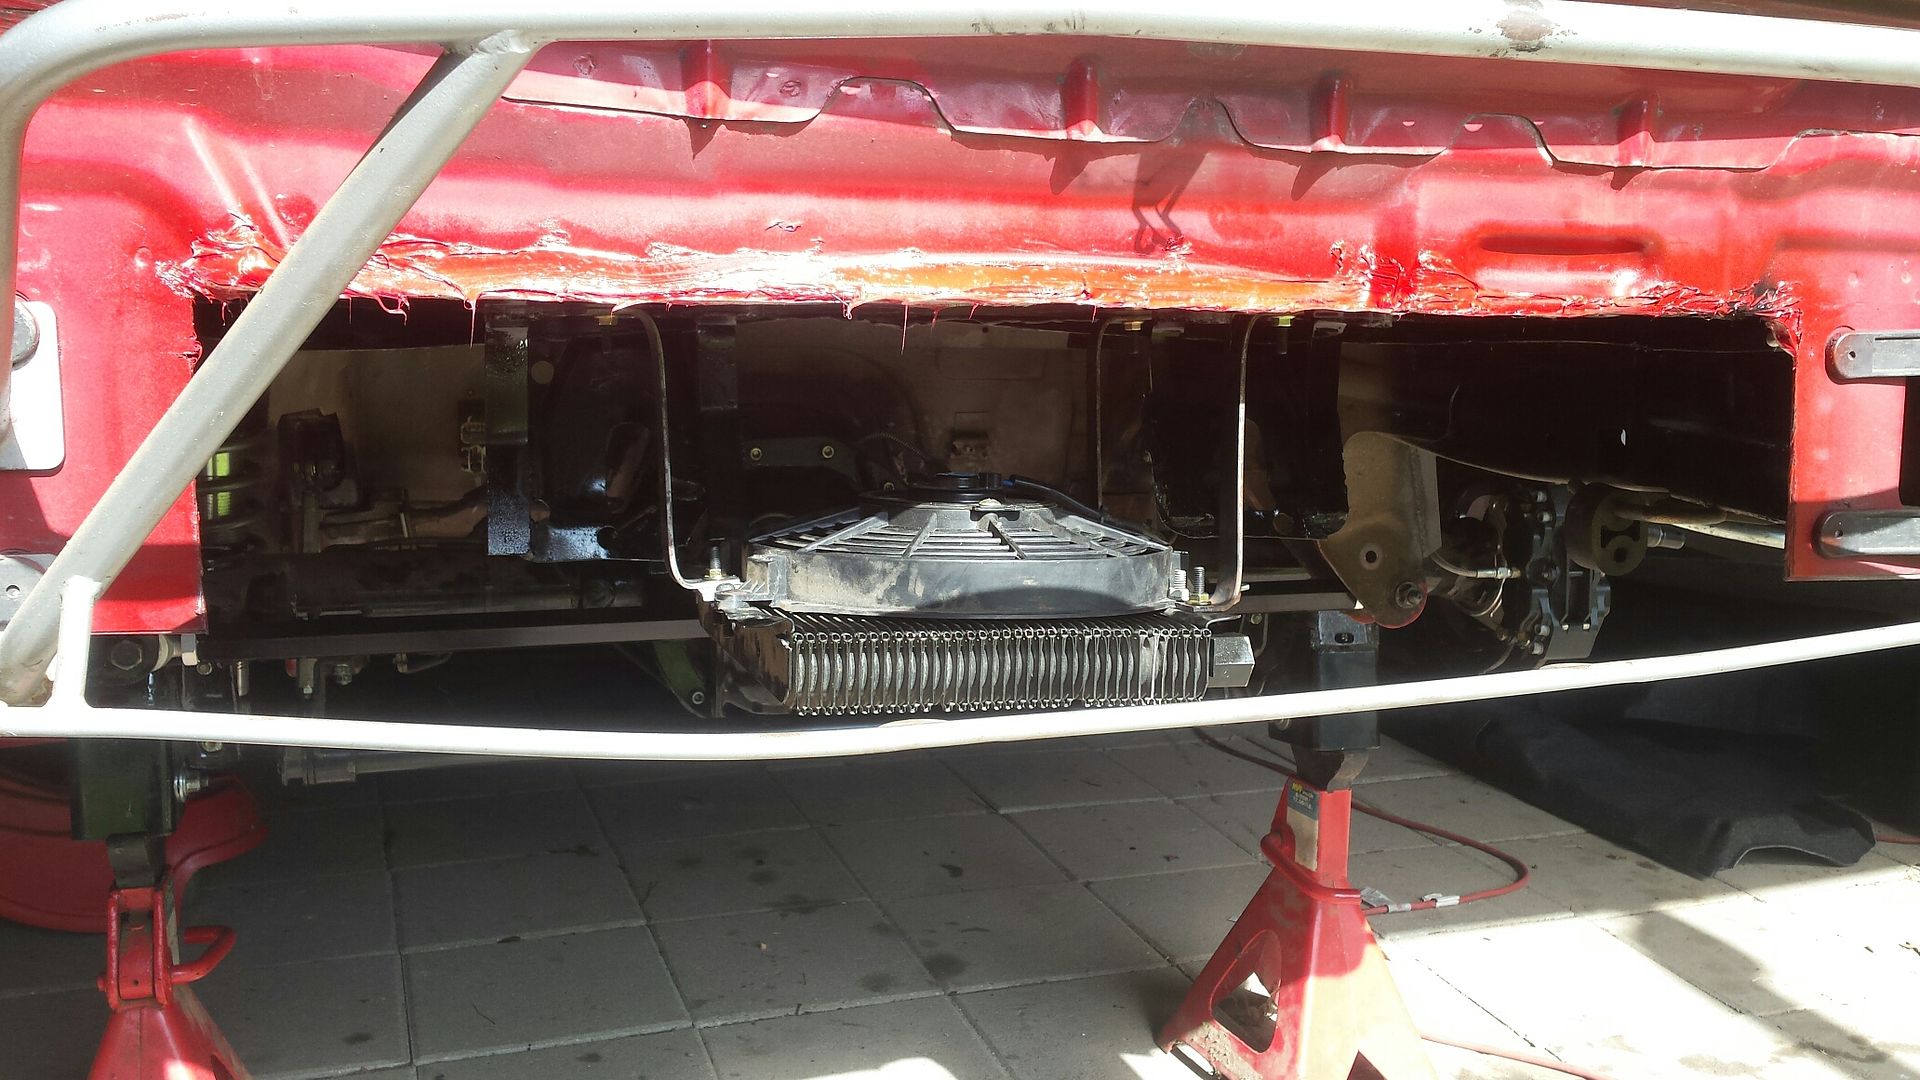
In this pic you can see i made 3 S shaped brackets out of flat bar to attach it to the floor. Its all bolted so if i change coolers at some point i don't have brackets welded to the floor. Also, you can see the L shaped brackets i used to brace the stock gas tank strap holder thingys.

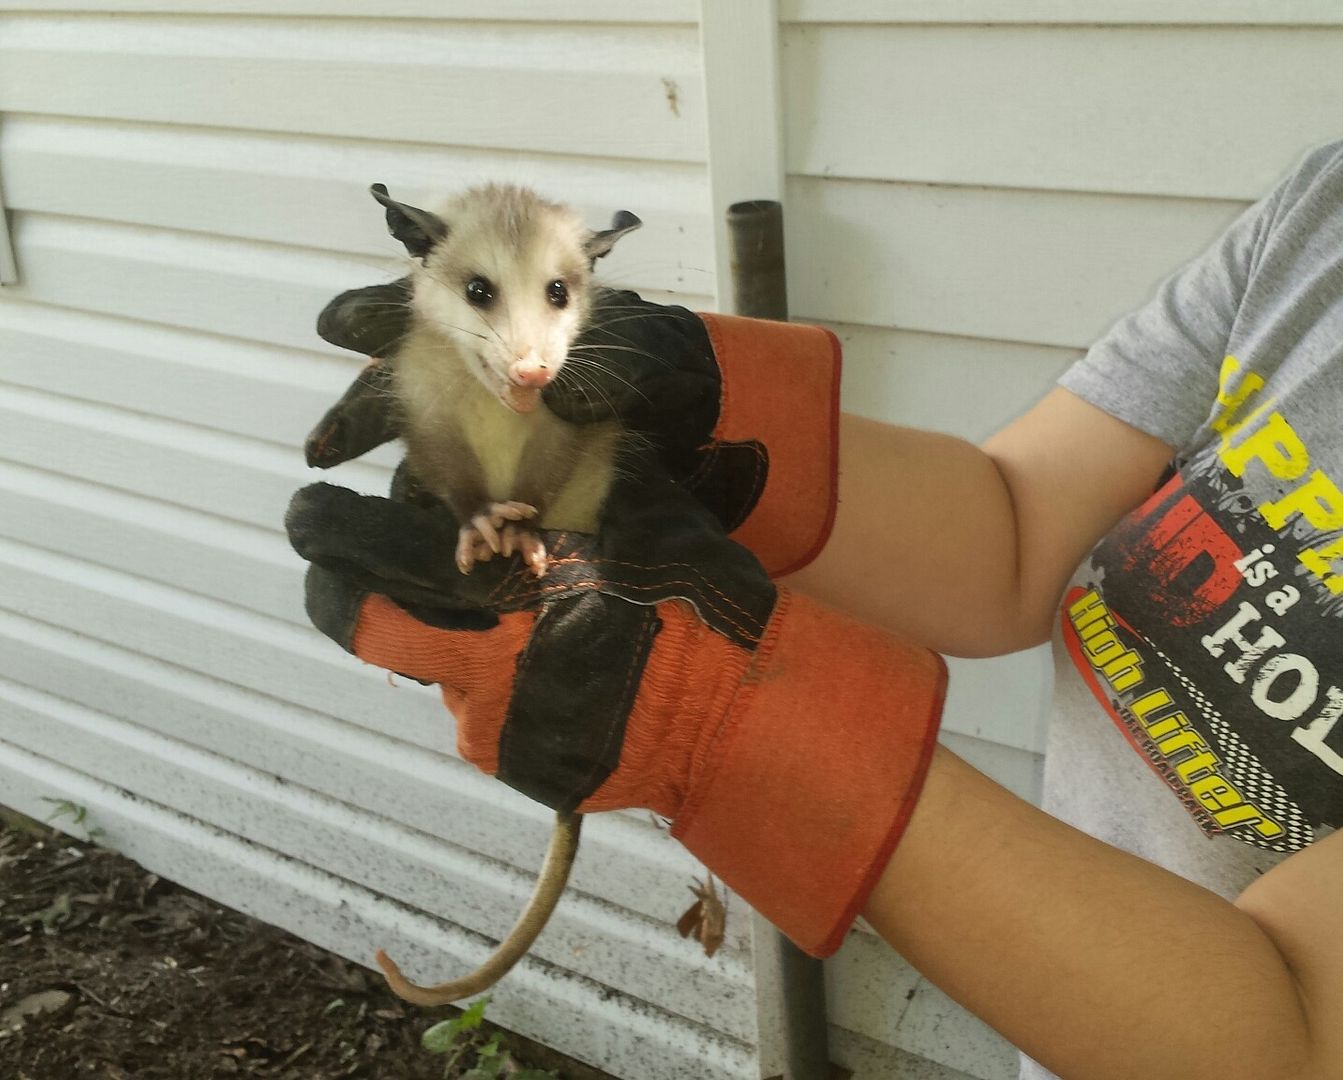
Found this guy wandering around the shop. Old lady asked if she could pick him up, I said sure! Take my welding gloves.
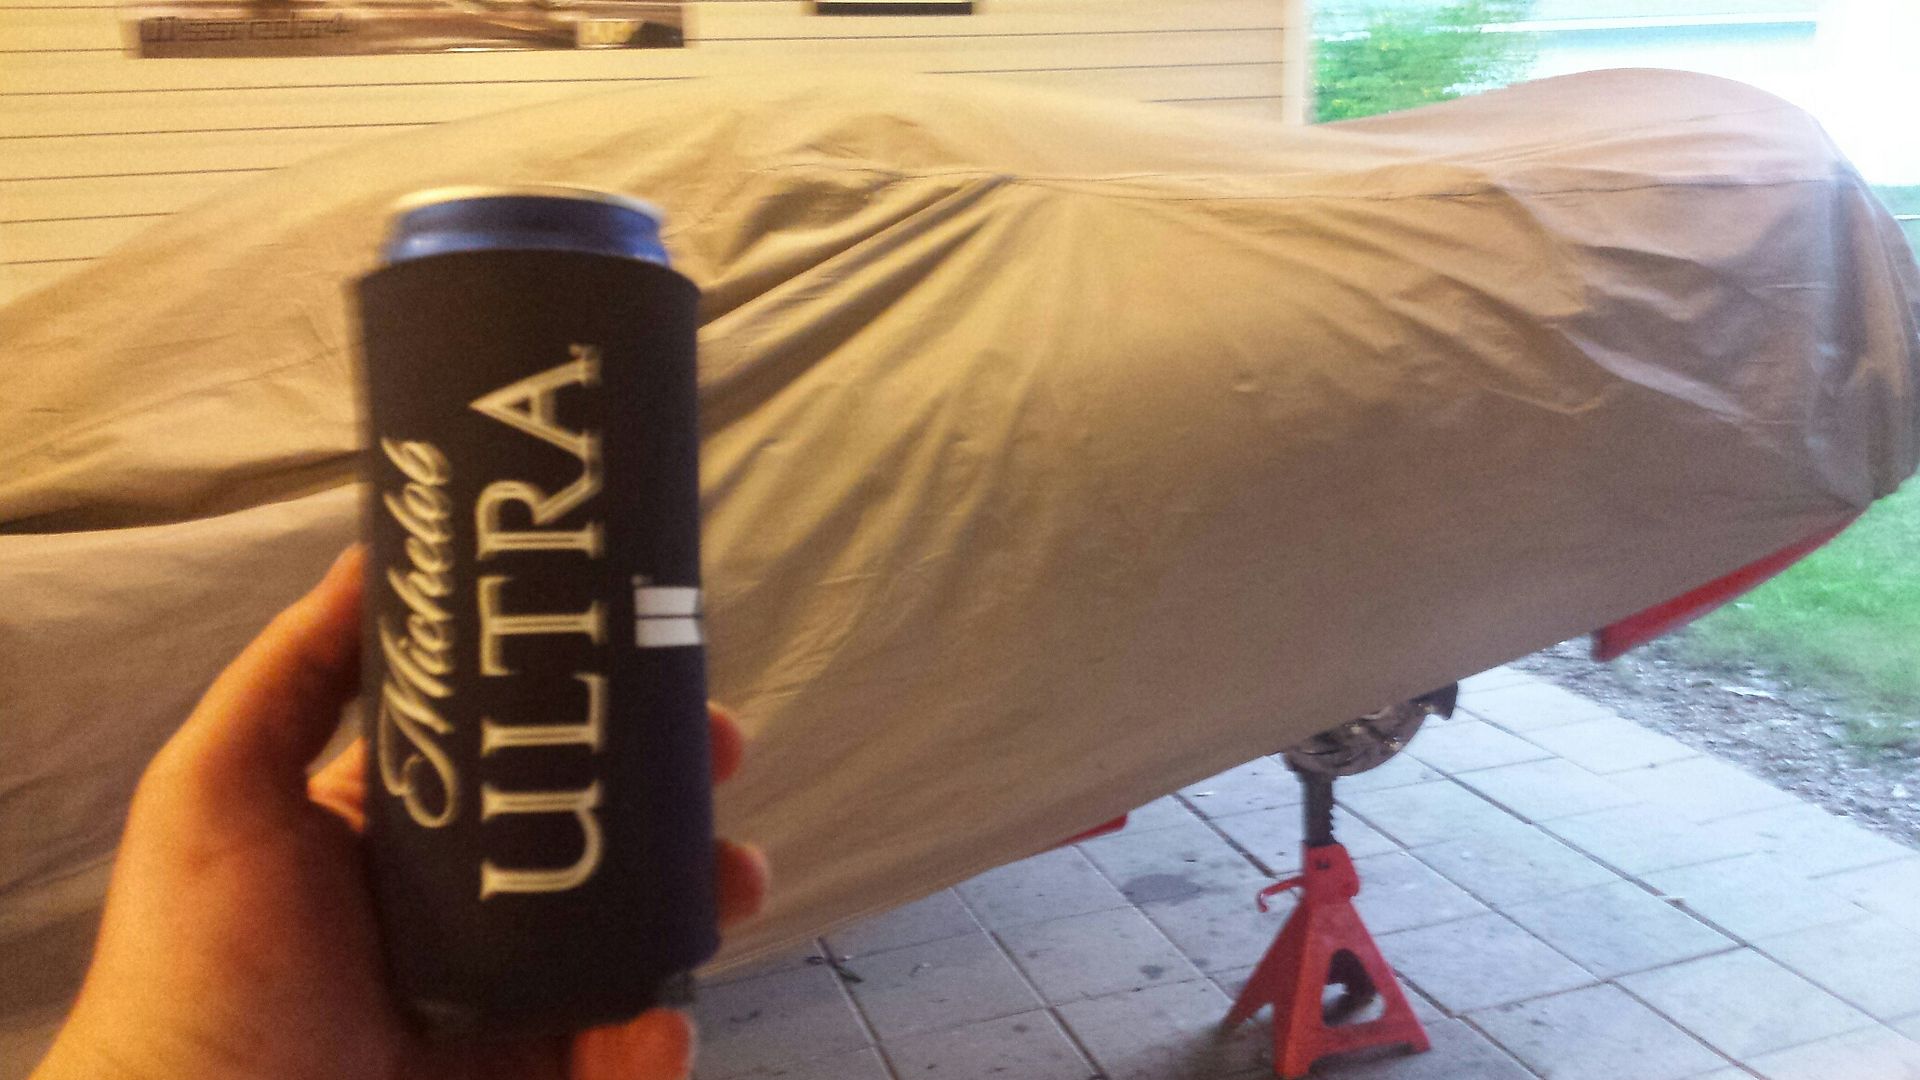
Long two afternoons of work. She is put to bed, time to relax.
So the panels are done, cooler is done except for the lines needing to be run. I reinstalled the fuel tank (boo no pic), got the hot wire relays mounted, and got fuel lines and fuel filter mounted and run up to about the tail of the trans and got the rear bumper/lights reinstalled. I also bled the brakes. First thing next go round is to get the cooler lines done (and fan wiring), then I will be working towards the front of the car where i have a list of things a mile long to do.....but we are making good progress. I still have no piping for the turbo kit so.....should be here soon though.

16g center panel, 2.5 tubes of seam sealer, and yes it is strong enough for me to stand on it. Total weight that went back IN the car is about 10. So this saves me 10 pounds however we are killing two birds with one stone...

There she is, I left as much of an air gap without leaving it hanging under bumper level. I did not want it to be visible from the rear.

In this pic you can see i made 3 S shaped brackets out of flat bar to attach it to the floor. Its all bolted so if i change coolers at some point i don't have brackets welded to the floor. Also, you can see the L shaped brackets i used to brace the stock gas tank strap holder thingys.

Found this guy wandering around the shop. Old lady asked if she could pick him up, I said sure! Take my welding gloves.

Long two afternoons of work. She is put to bed, time to relax.

So the panels are done, cooler is done except for the lines needing to be run. I reinstalled the fuel tank (boo no pic), got the hot wire relays mounted, and got fuel lines and fuel filter mounted and run up to about the tail of the trans and got the rear bumper/lights reinstalled. I also bled the brakes. First thing next go round is to get the cooler lines done (and fan wiring), then I will be working towards the front of the car where i have a list of things a mile long to do.....but we are making good progress. I still have no piping for the turbo kit so.....should be here soon though.