
Test-N-Tune, X half a dozen!


Thread Starter
|
1st Gear Member
Joined: Mar 2015
Posts: 190
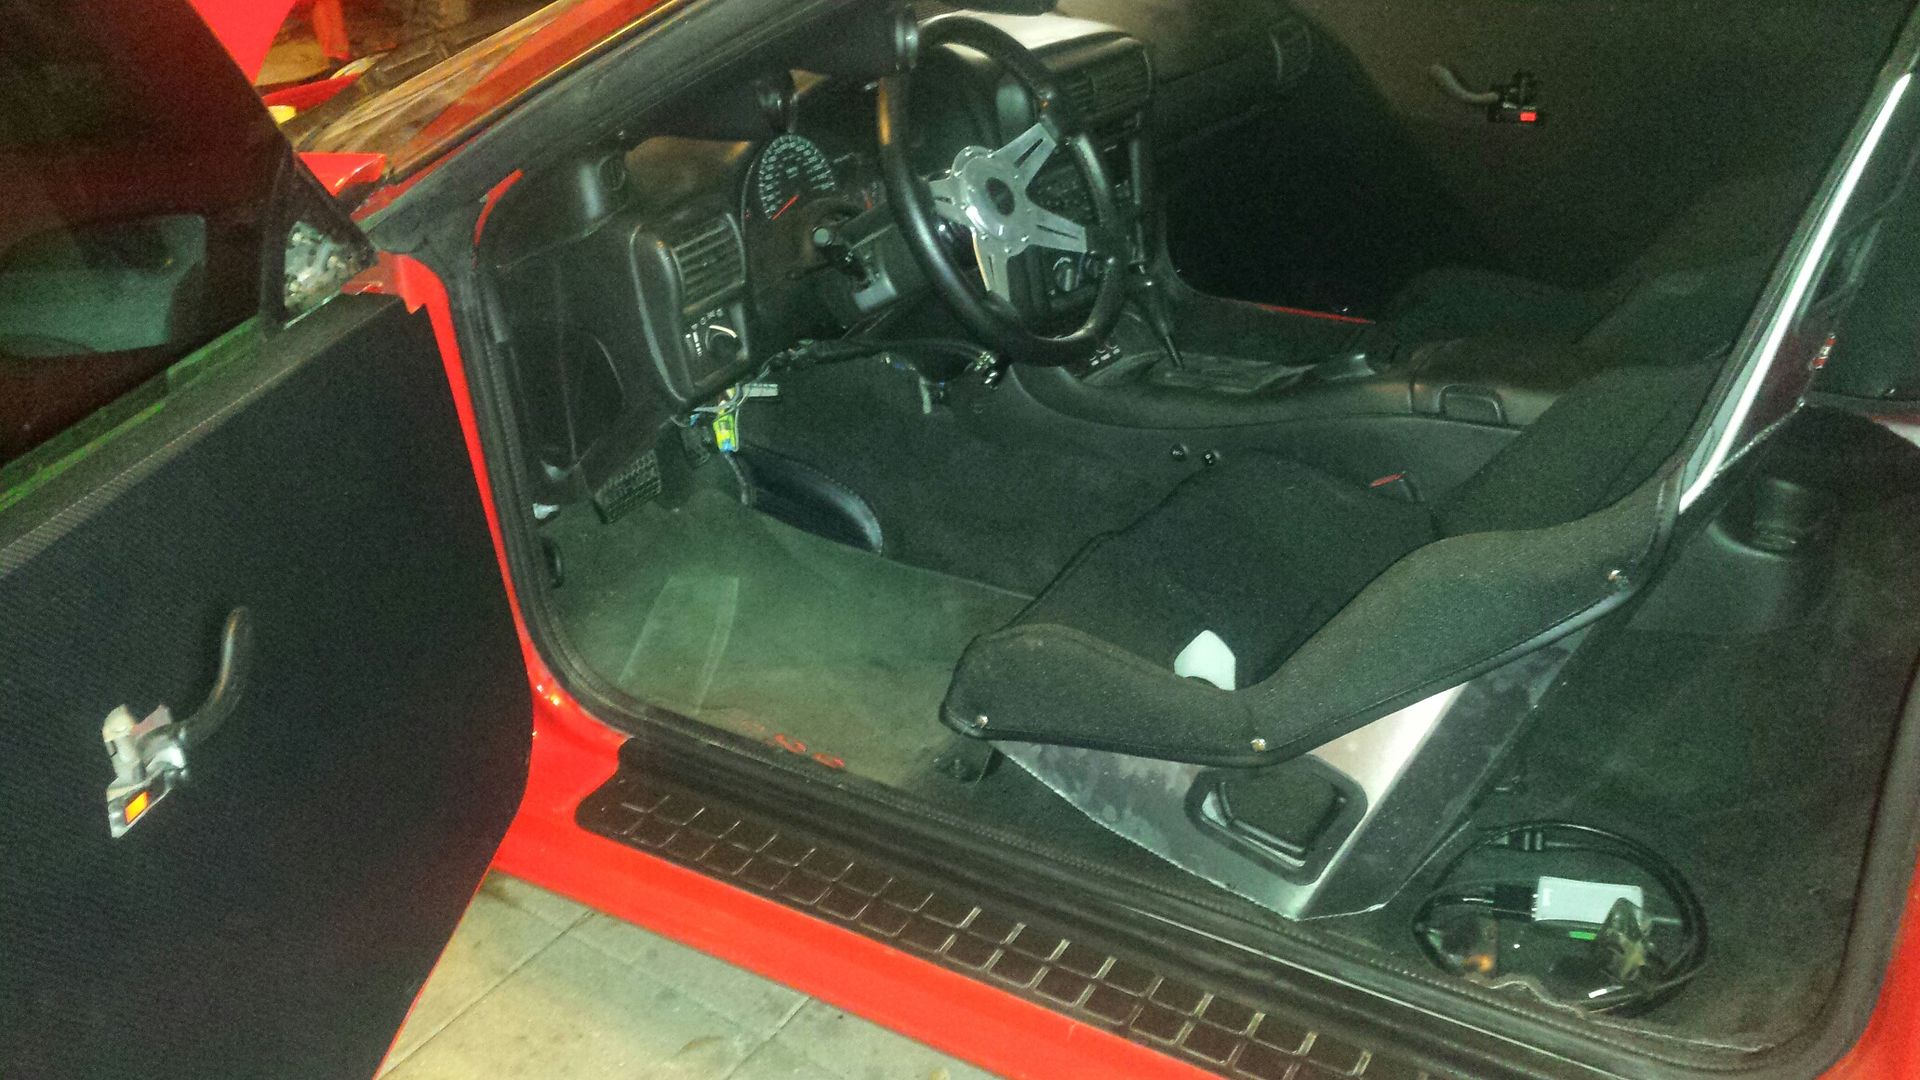
Finally got the passenger rear seat delete done. They sent me the wrong color carpet so I sent it back. Not sure what Im gonna do so Im just leaving it for now. May get a wild hair and order some one day soon.
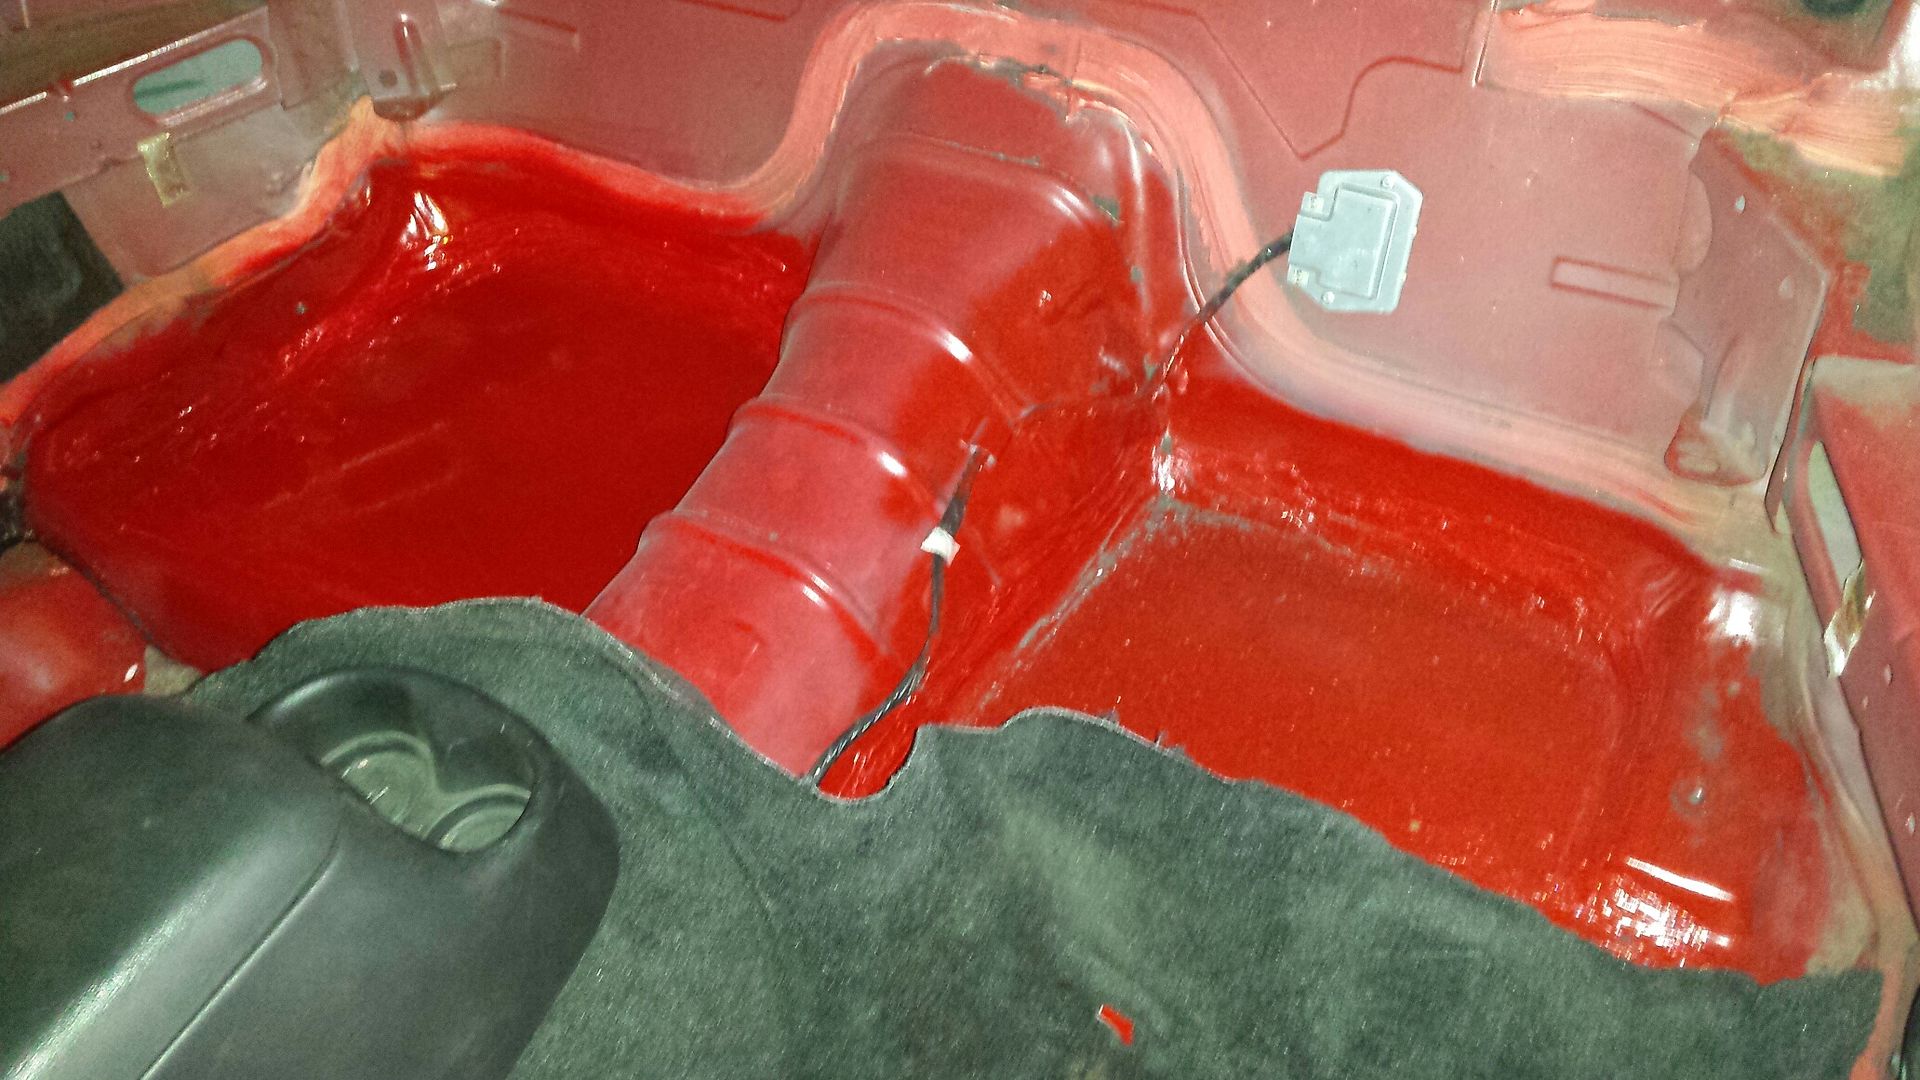
I need to wire the door switches, then put the finishing trim on the doors and the interior, at least the front half. I think the tune is more important so I will focus on that as the weather cooperates and fool with the back half later. May leave it out until i cage it. Brake pedal has been spongy so I re-bled the rears and put the slicks back on, it wasn't gonna be tuned safely on the drag radials. May add a temporary back brace to the seats.

I need to wire the door switches, then put the finishing trim on the doors and the interior, at least the front half. I think the tune is more important so I will focus on that as the weather cooperates and fool with the back half later. May leave it out until i cage it. Brake pedal has been spongy so I re-bled the rears and put the slicks back on, it wasn't gonna be tuned safely on the drag radials. May add a temporary back brace to the seats.

Thread Starter
|
1st Gear Member
Joined: Mar 2015
Posts: 190
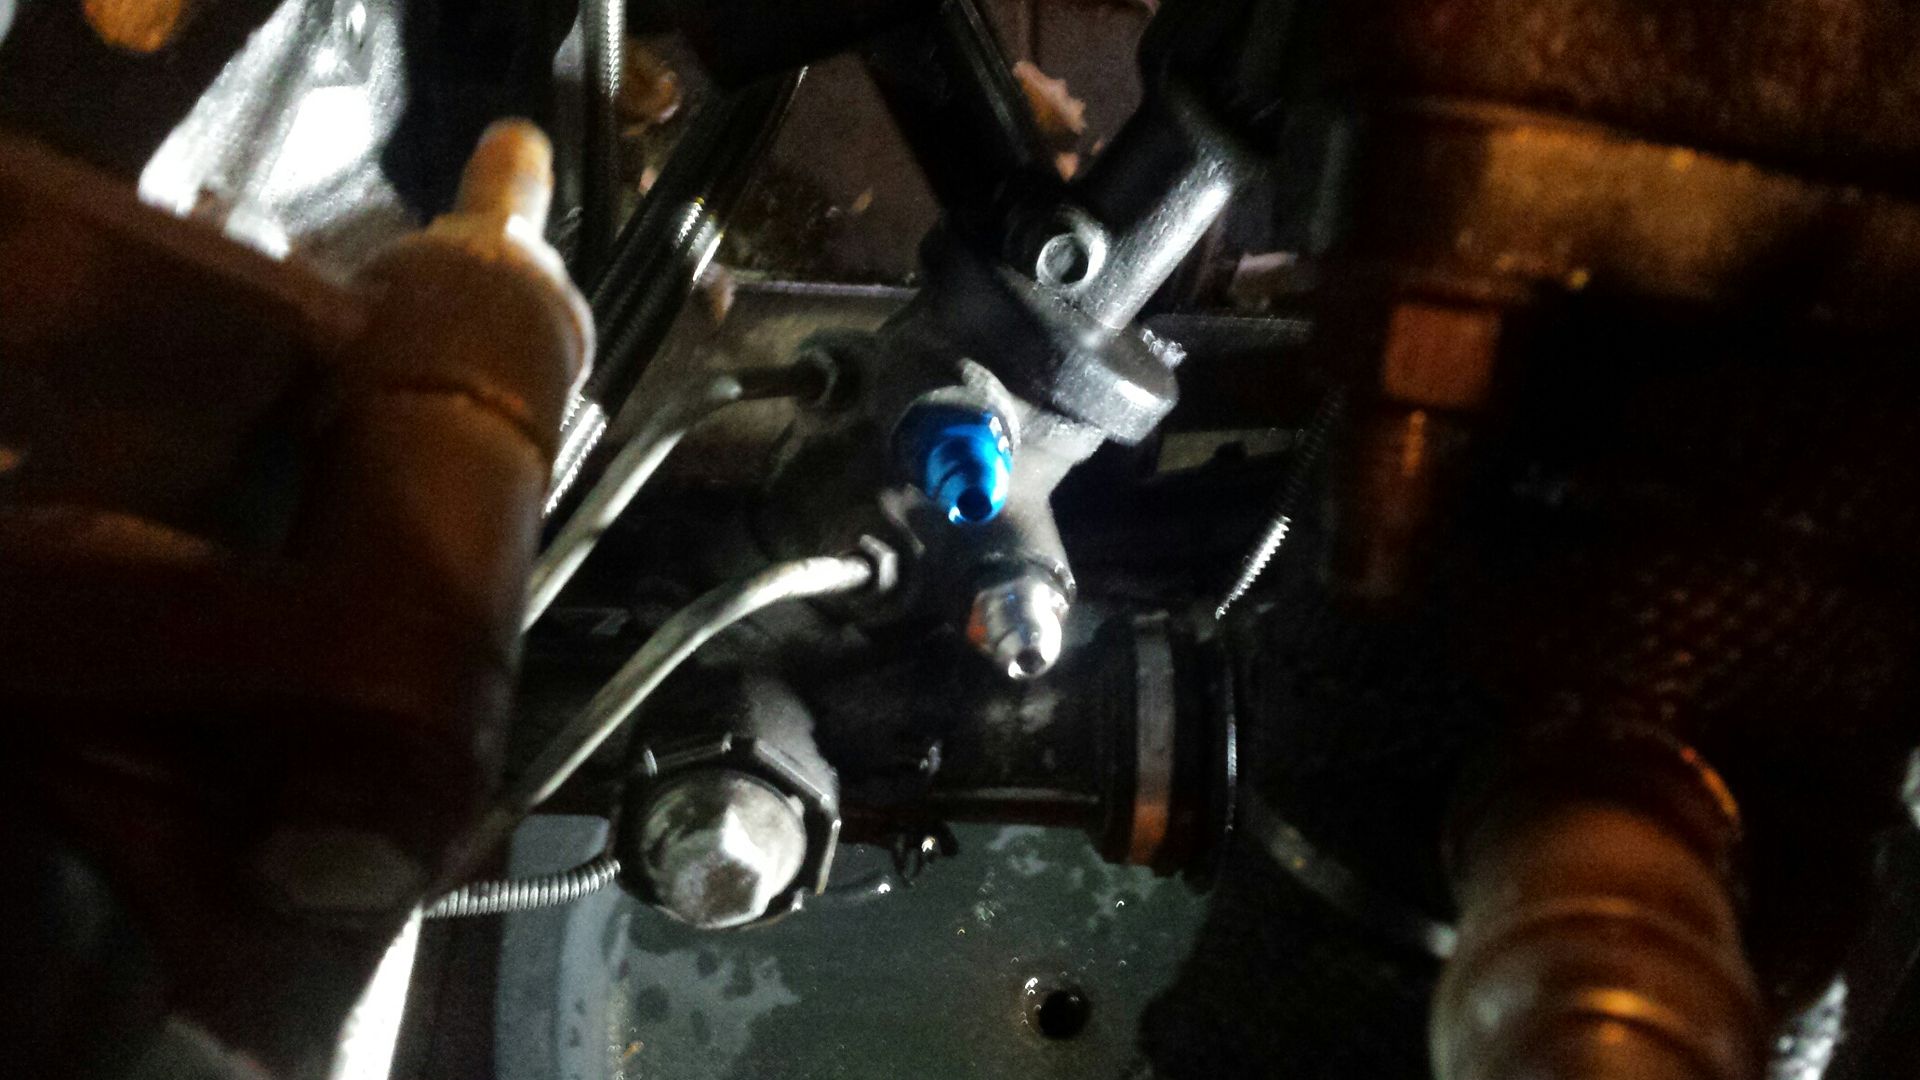
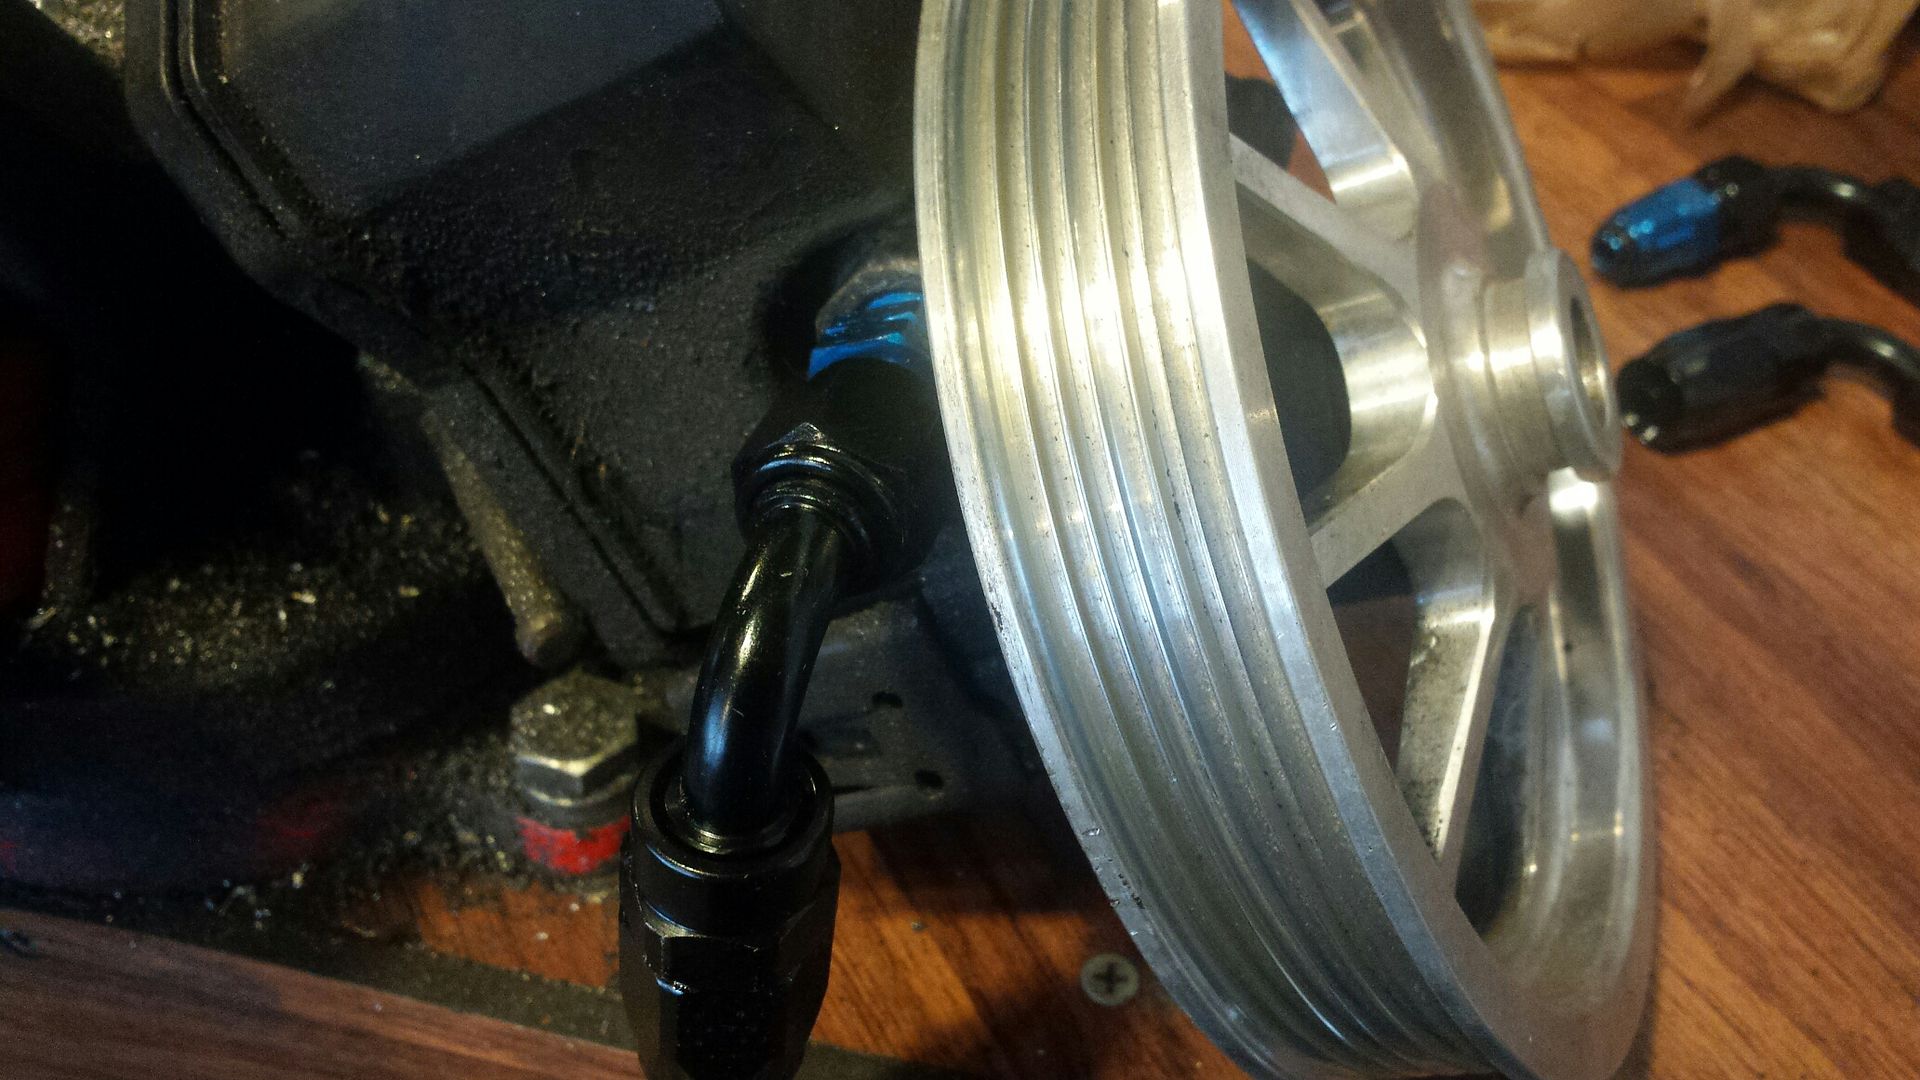
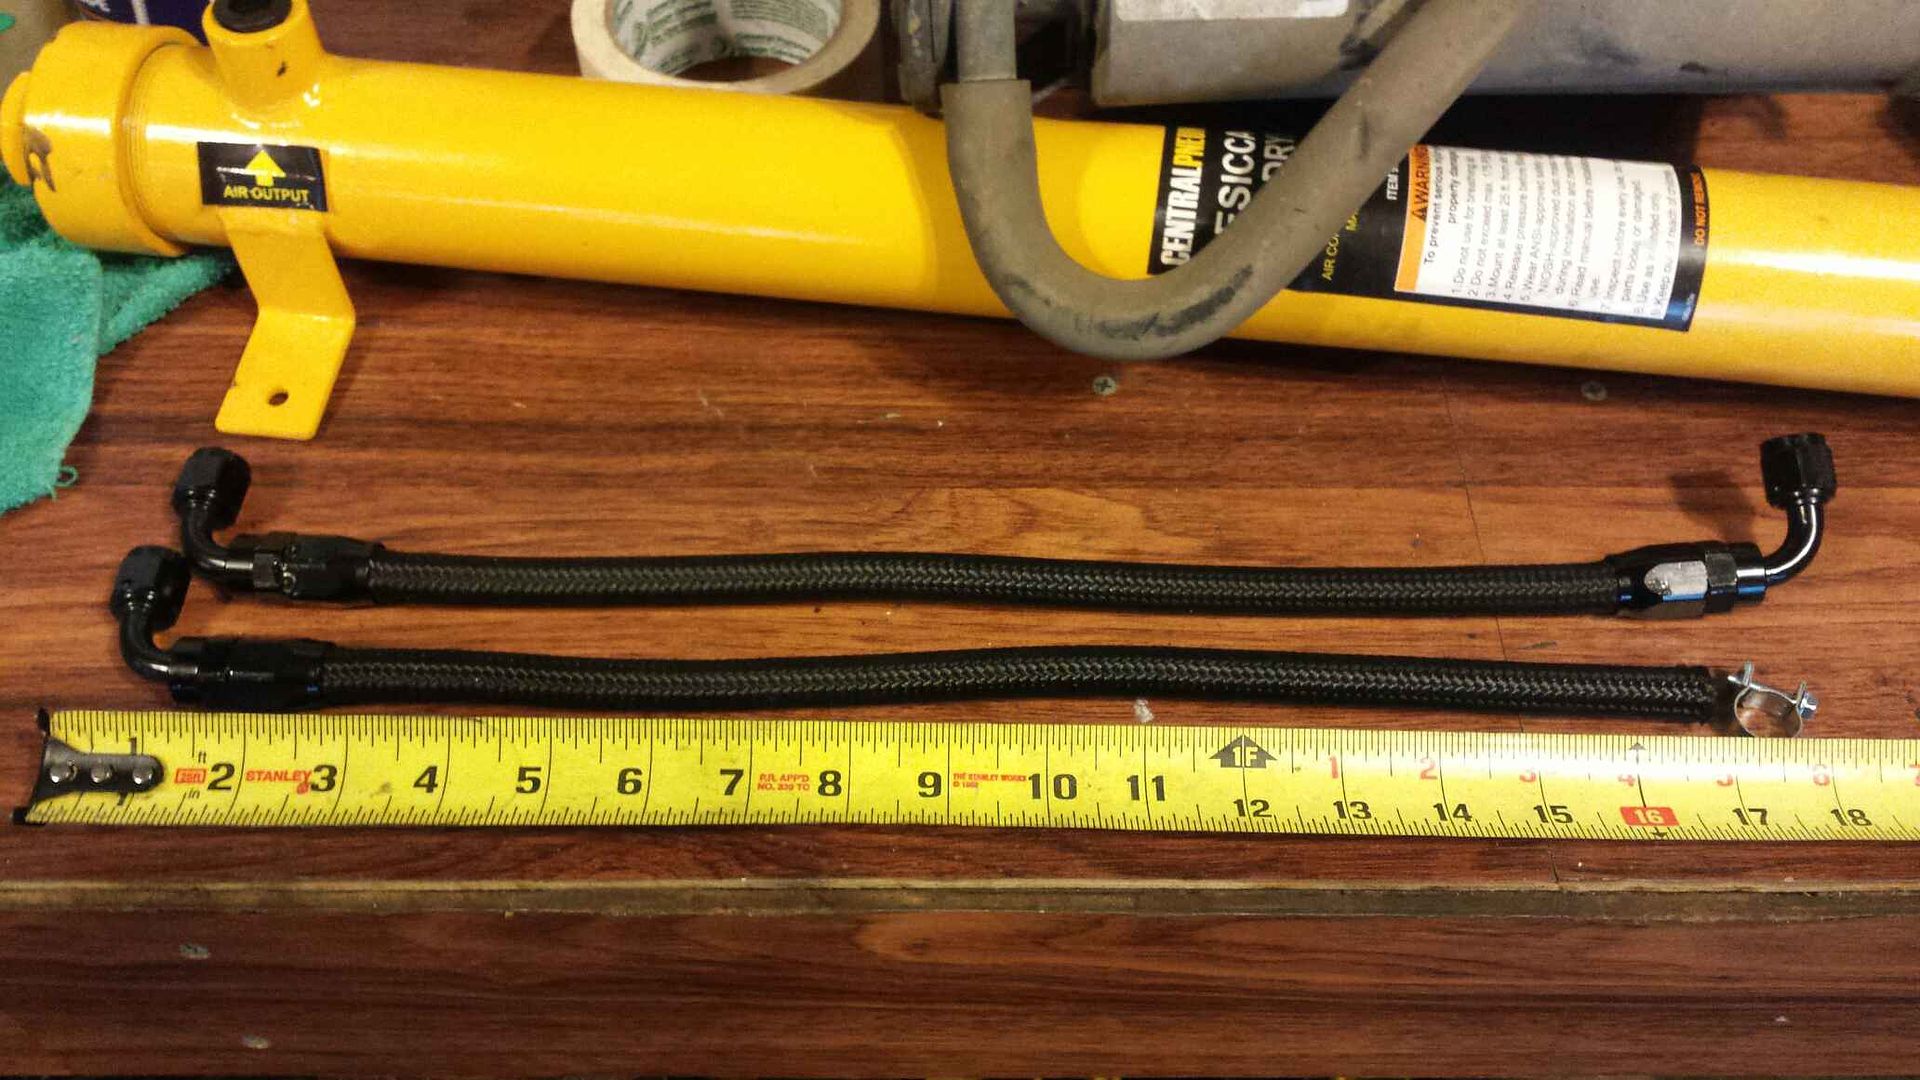
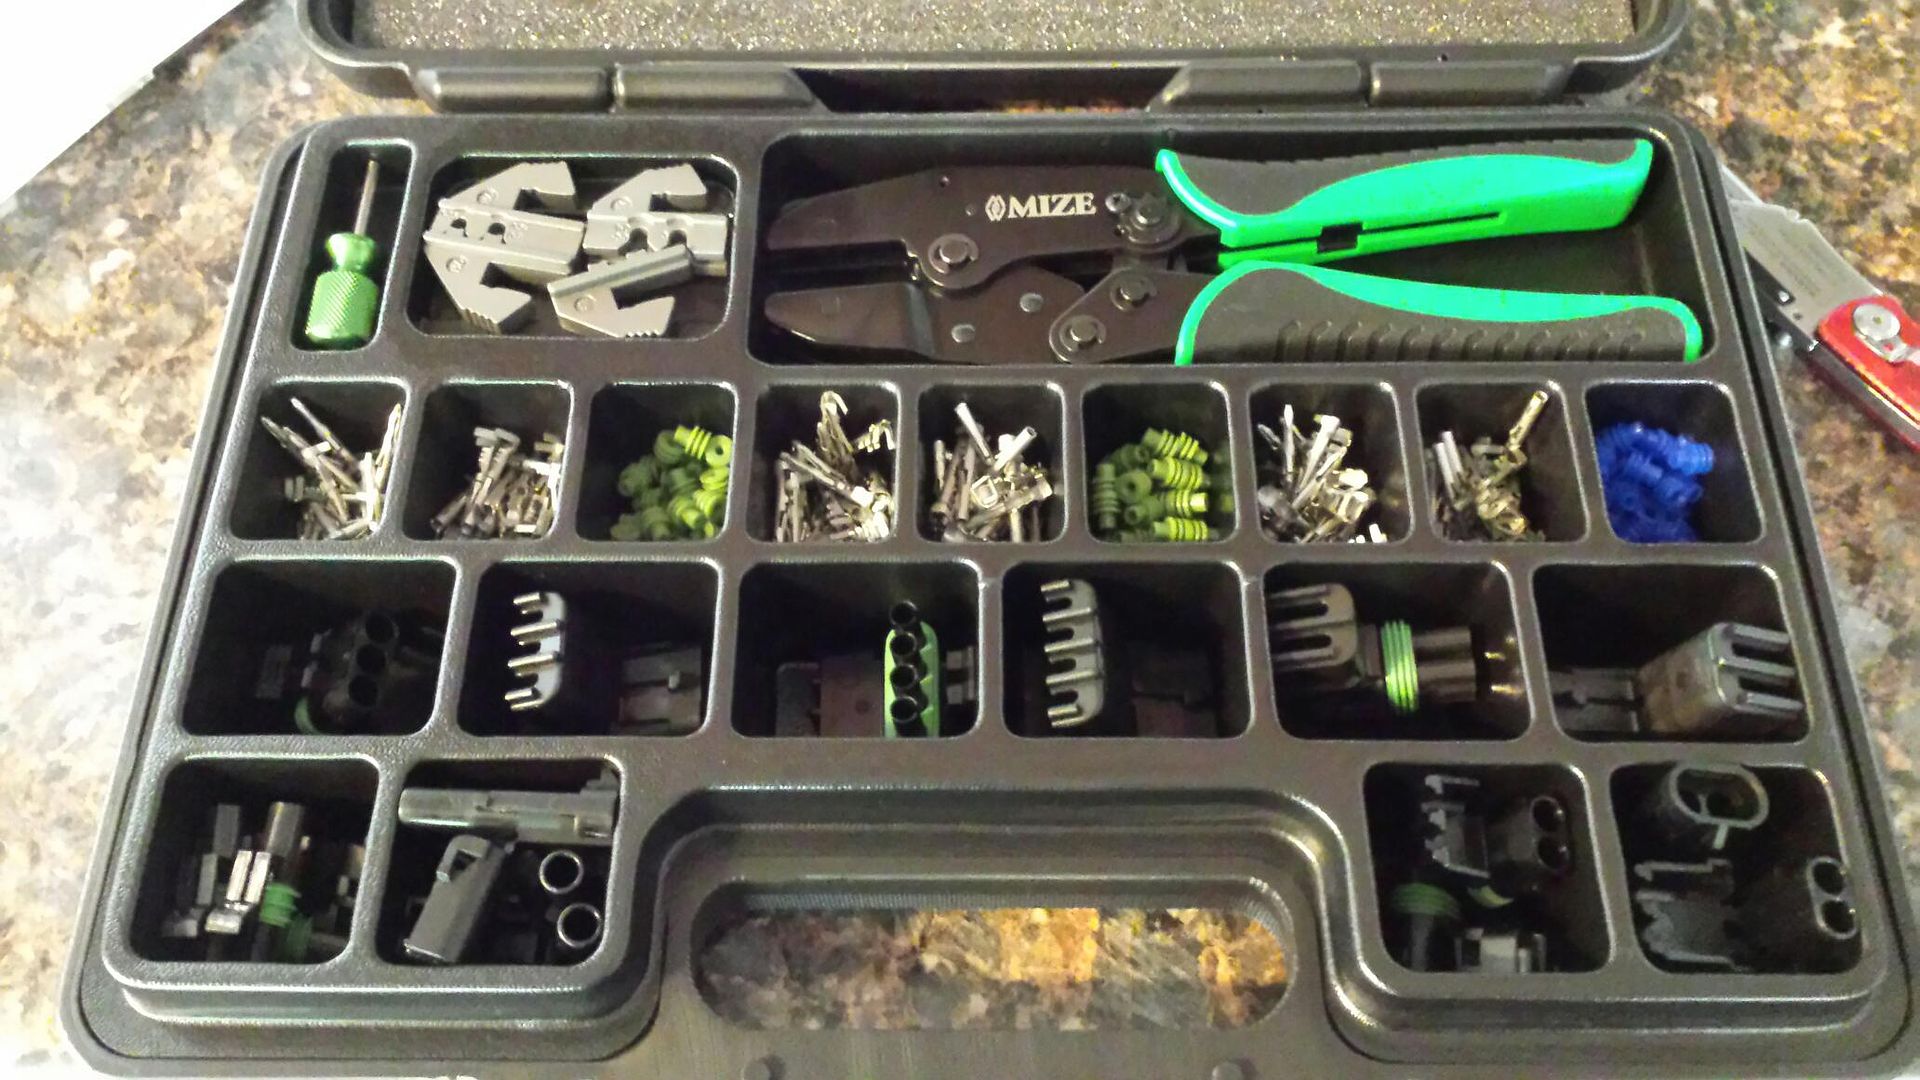
First step, remove belt, PS pump, and hoses. Install your two fittings in the rack. Lower fitting is the pressure line.
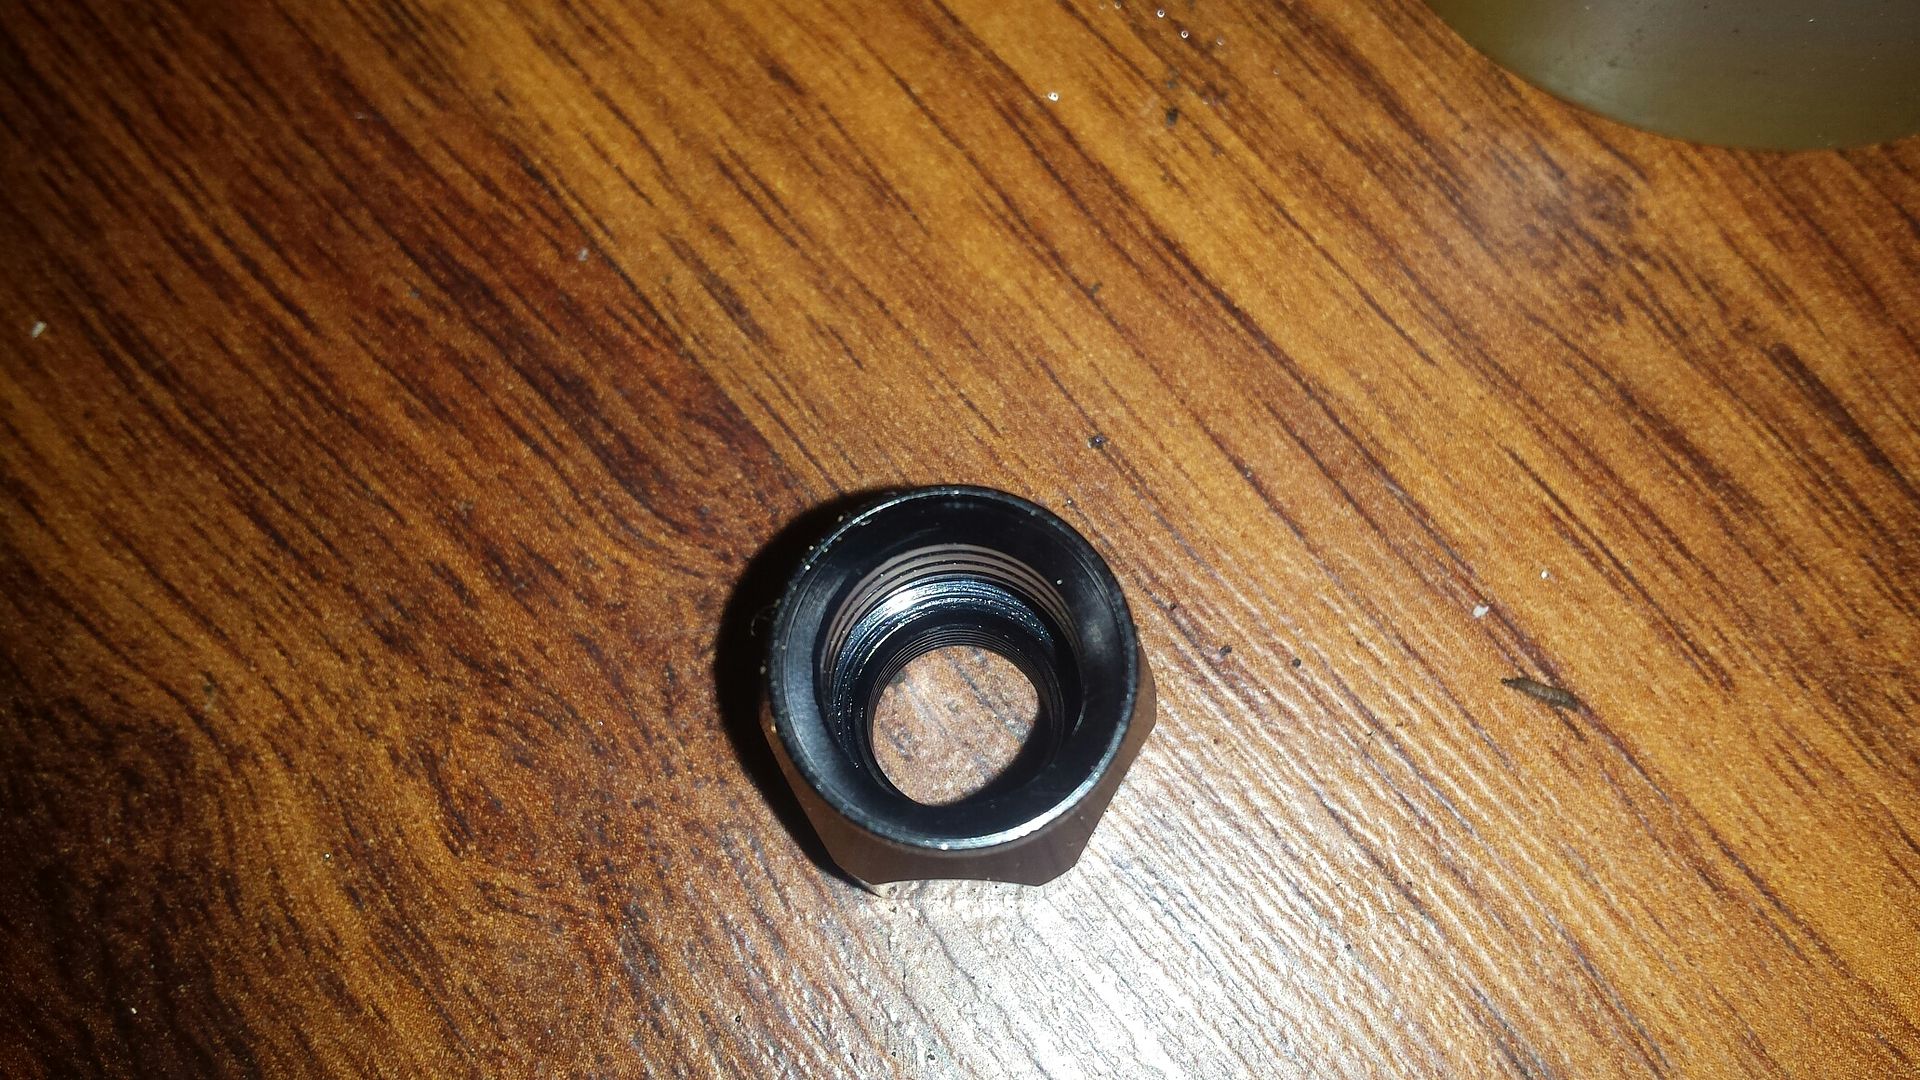
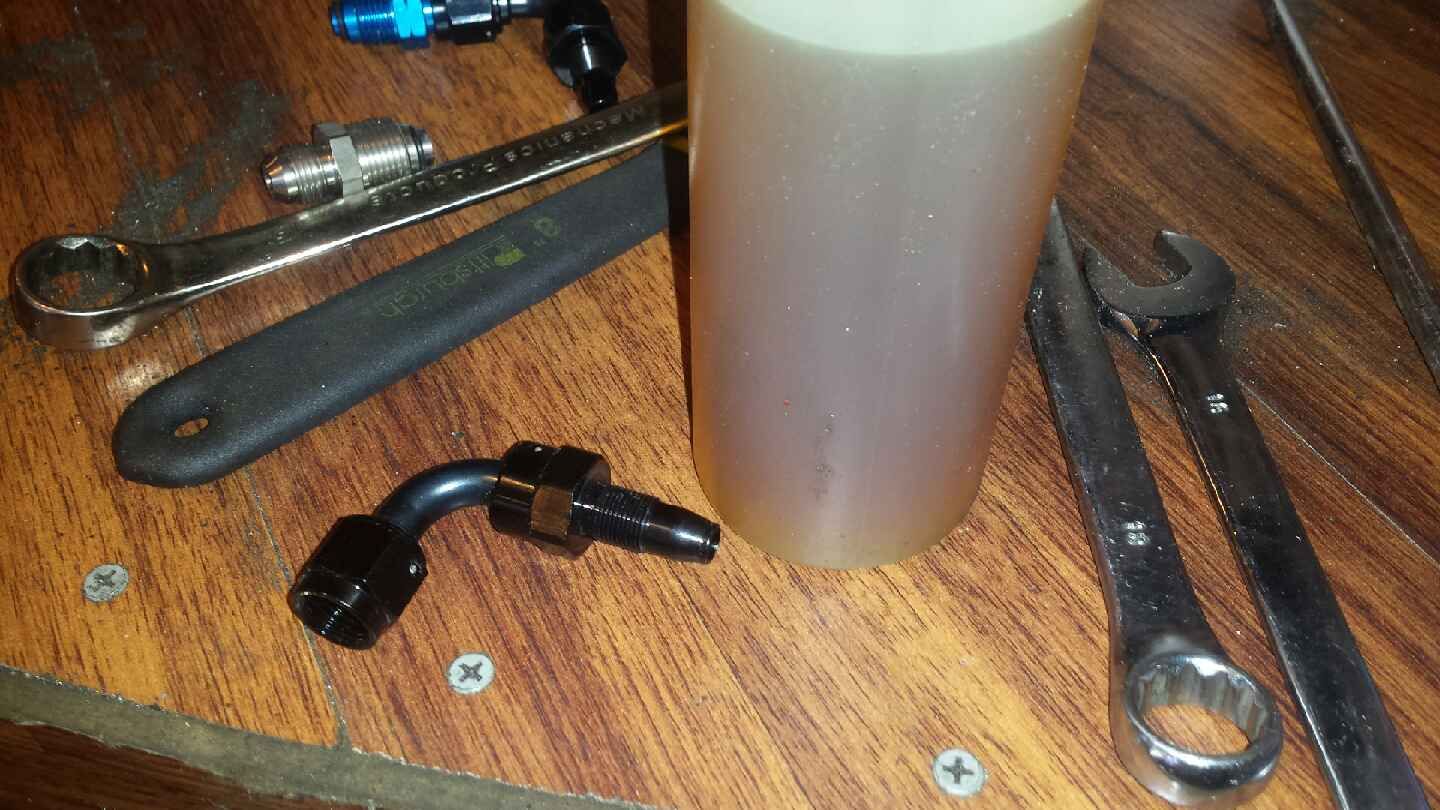
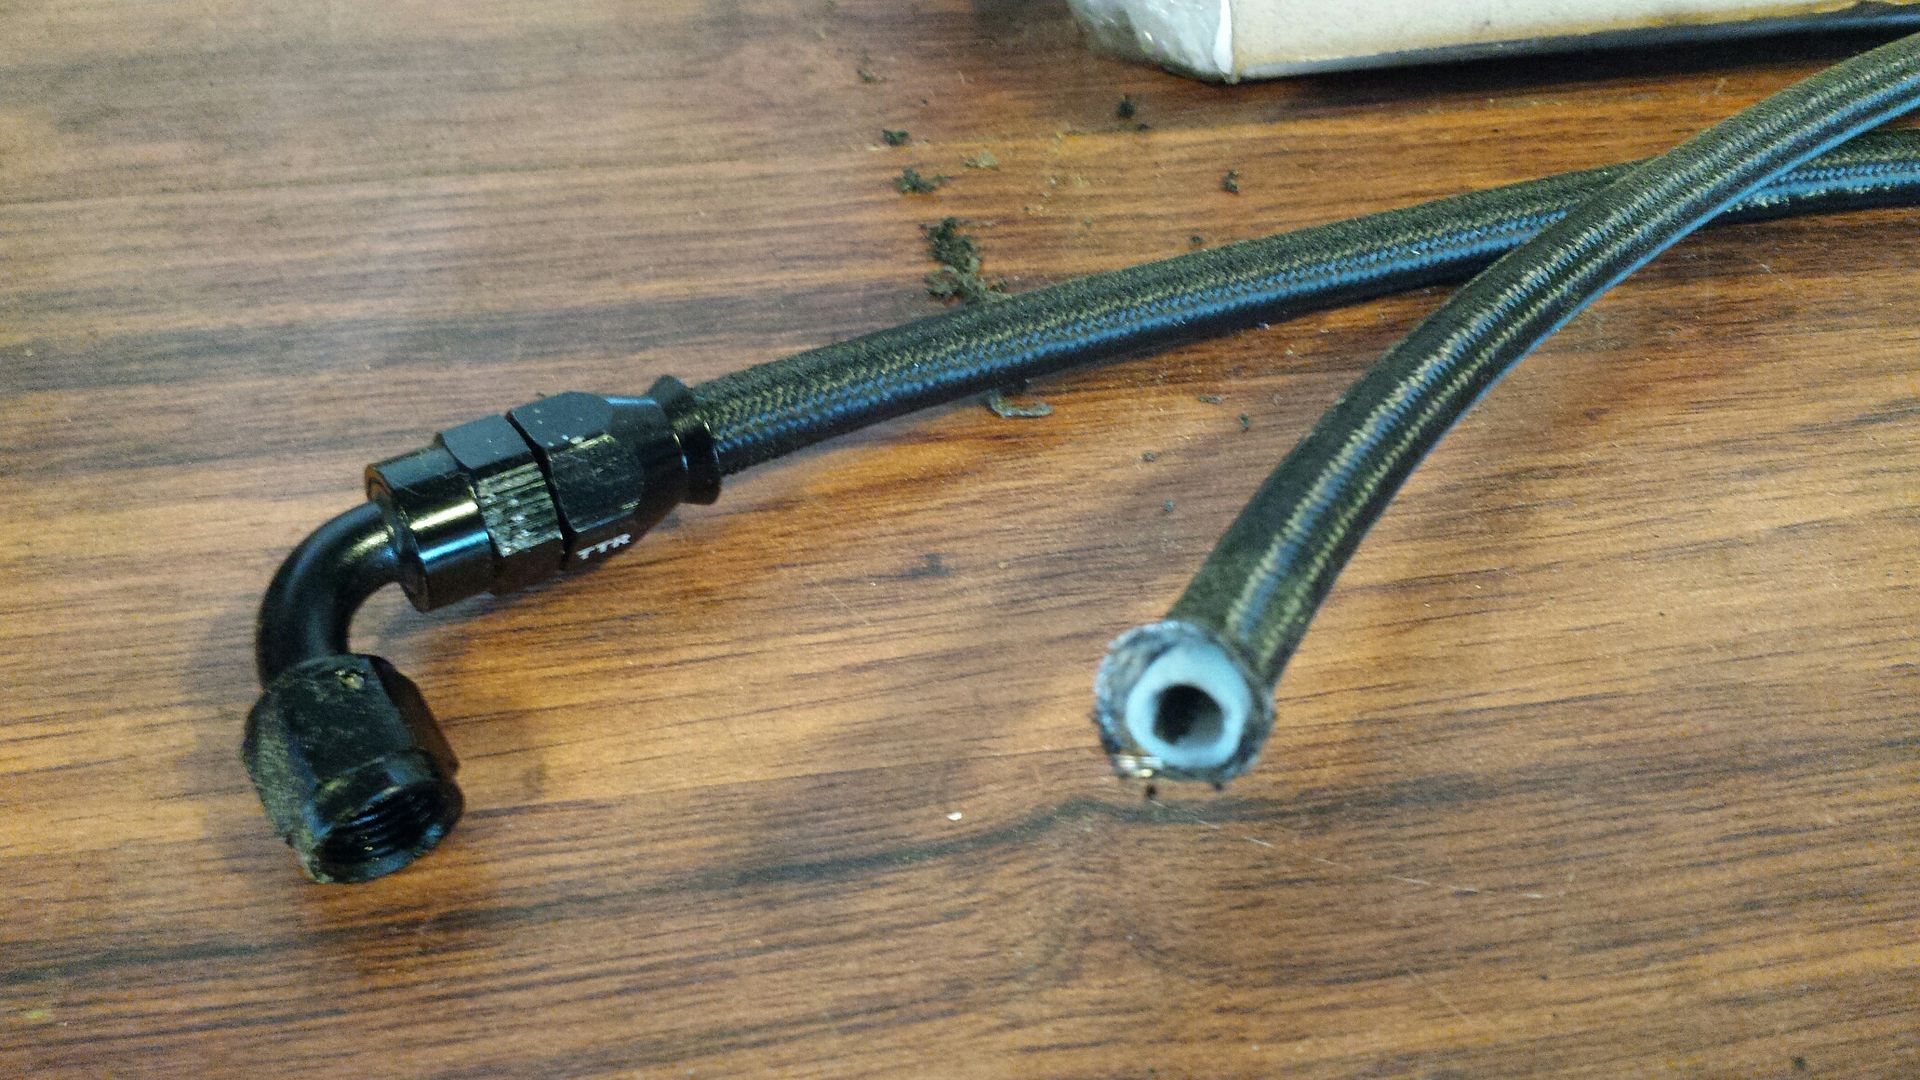
Fitting side of AN fitting

Hose side of AN fitting. The ridges hold the hose, and there is a stop collar.
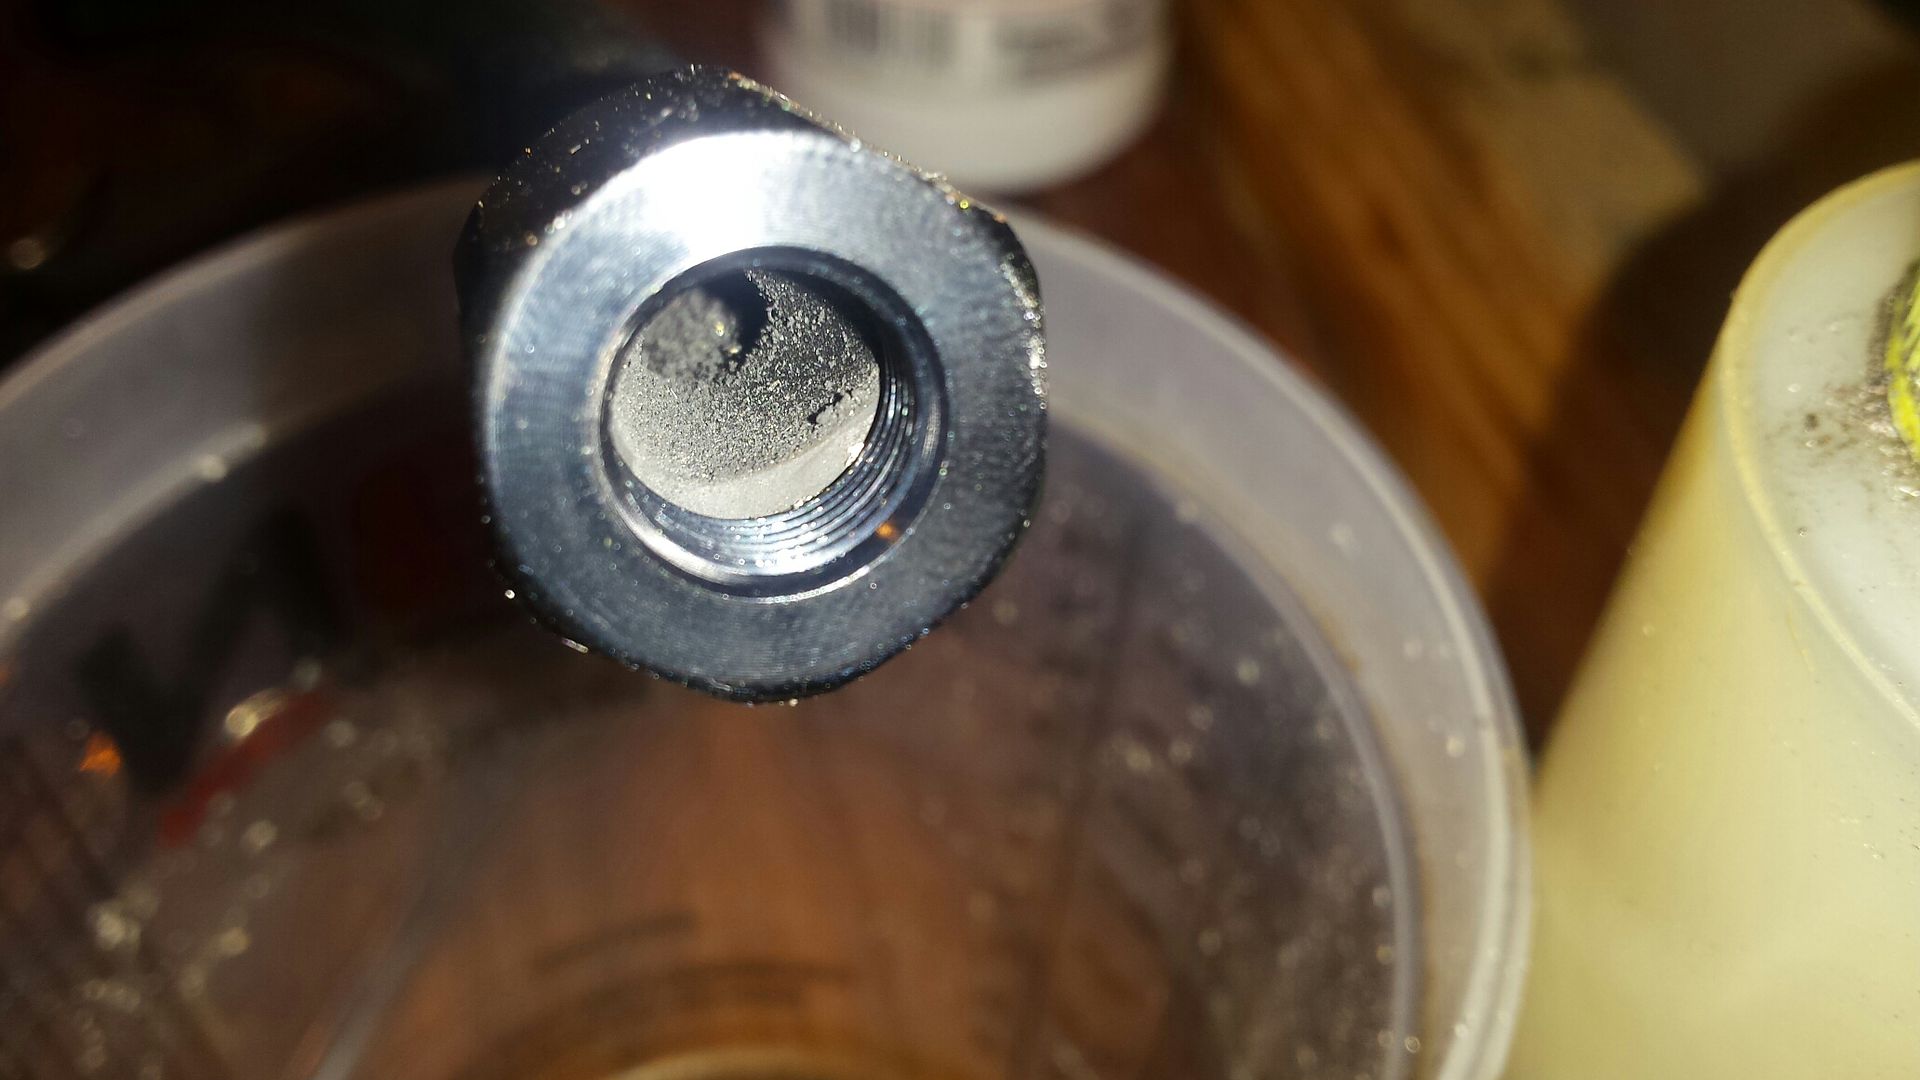
Insert the hose fully till it stops on the stop collar ridge. You'll notice the debris from the cutting. You'll need to flush the line before final install.
Oil the threads and the angled section. I use any type of oil in a $1 ketchup squirter from the dollar store.
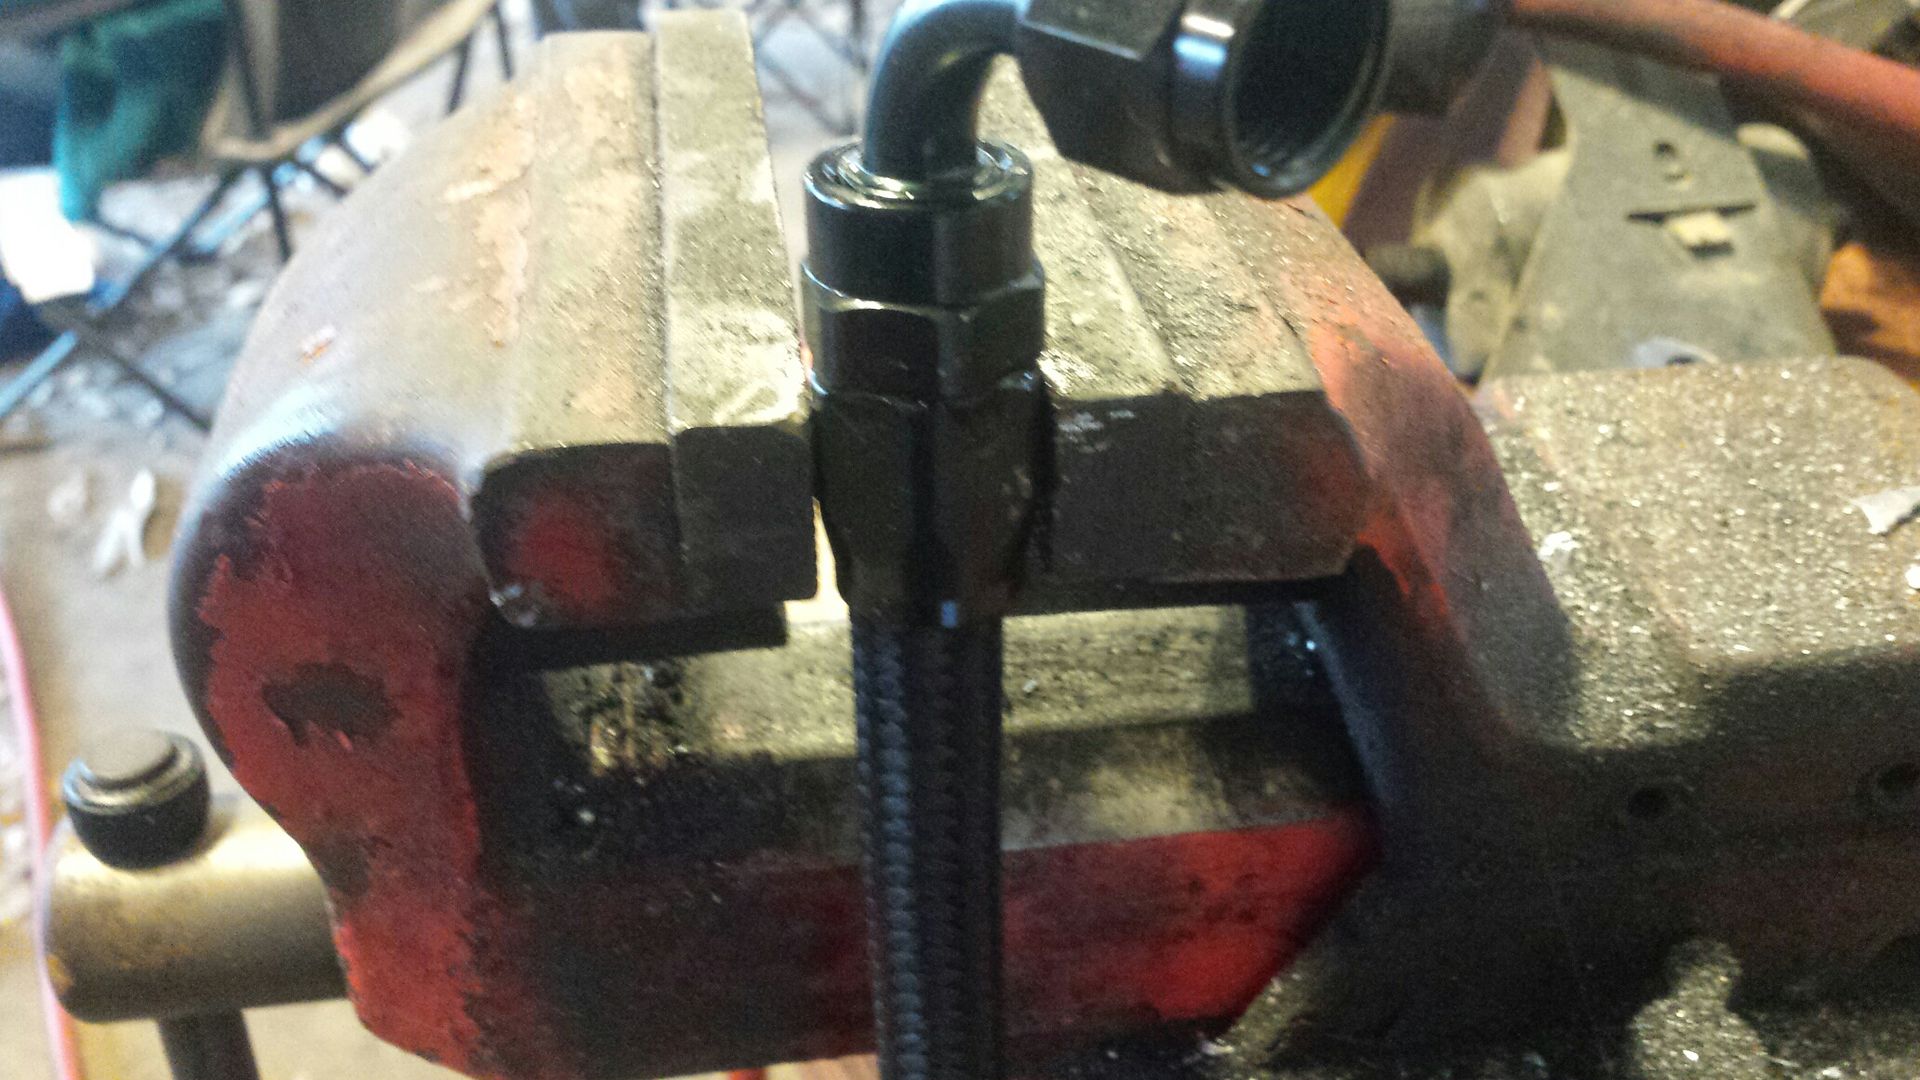
Clamp the lower and thread it in carefully.
Mock everything up so you know length. This fitting needs to be vertical, not slanted in the pic.
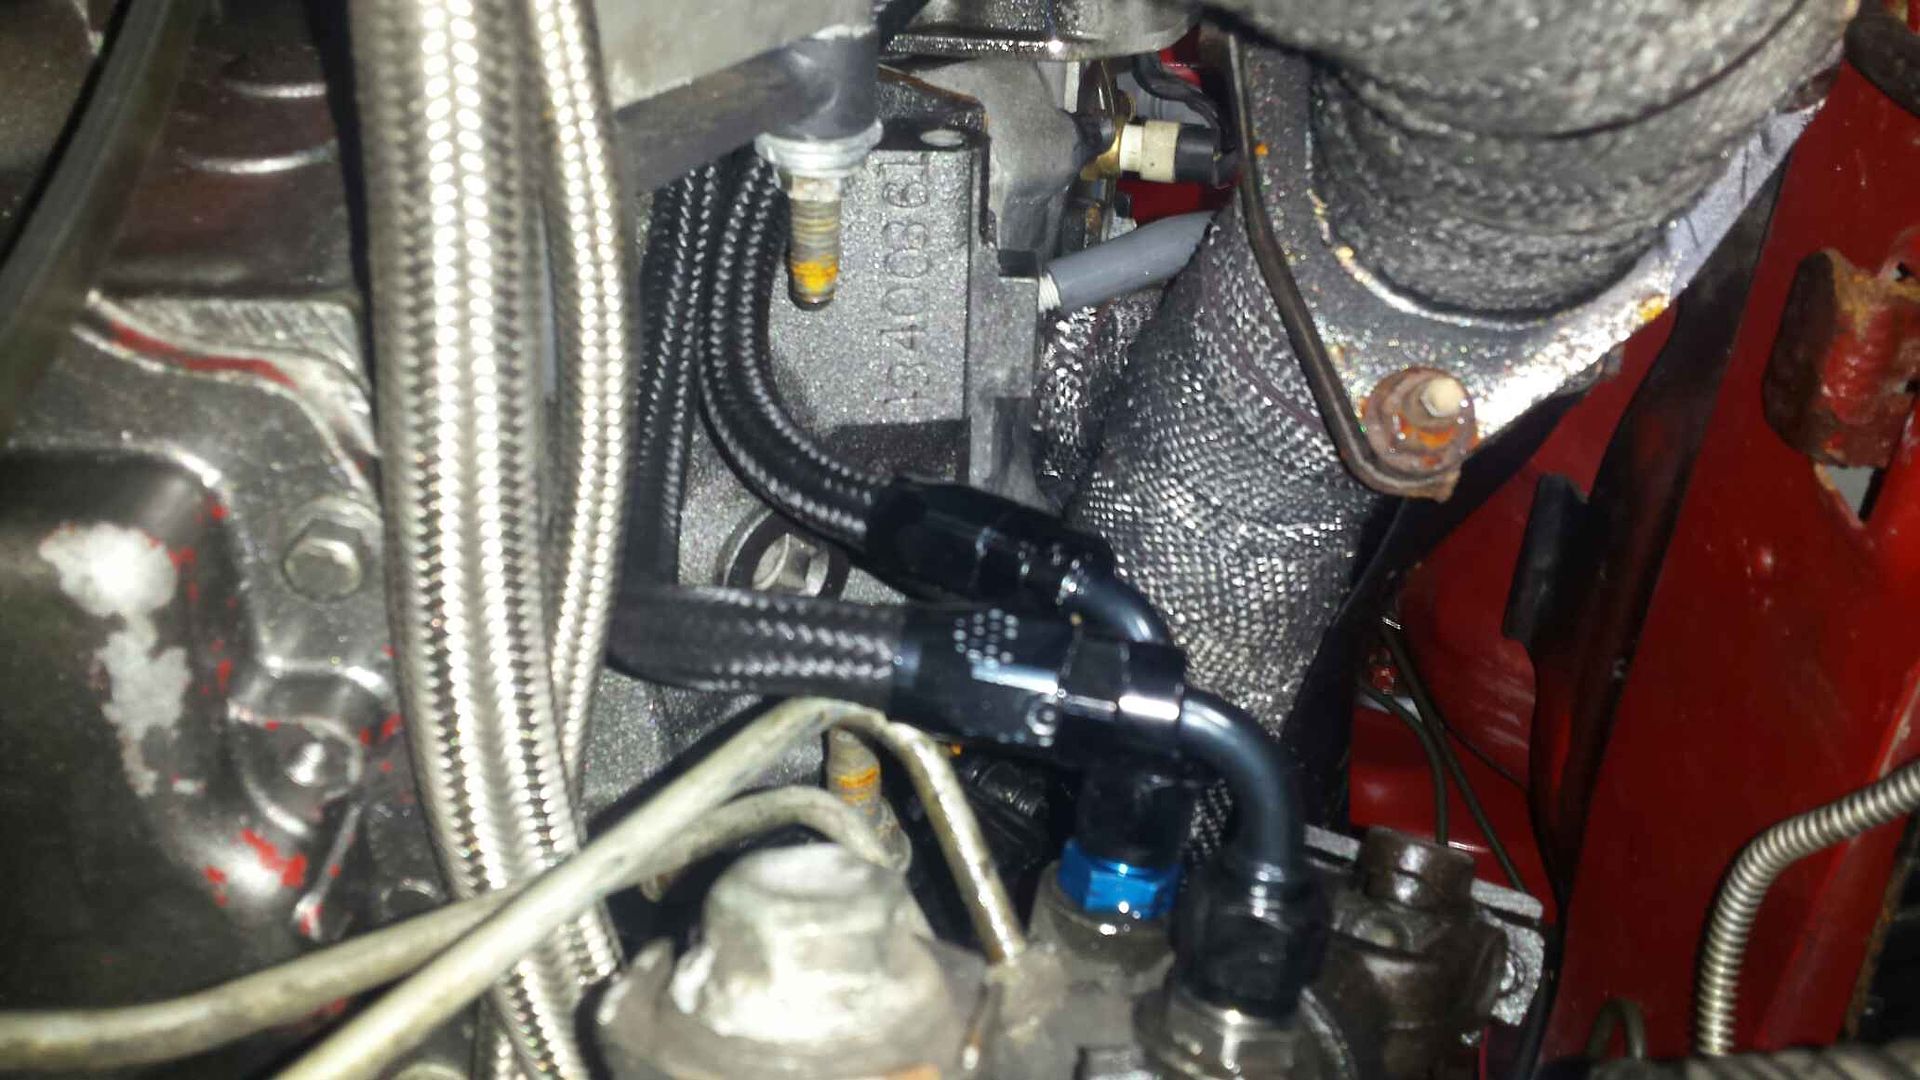
Cut to length and assemble. Done. Notice I'm using a fuel injection type clamp. This will keep it from digging into the exterior during tightening.
The final result hugs the motor instead of the hotside.
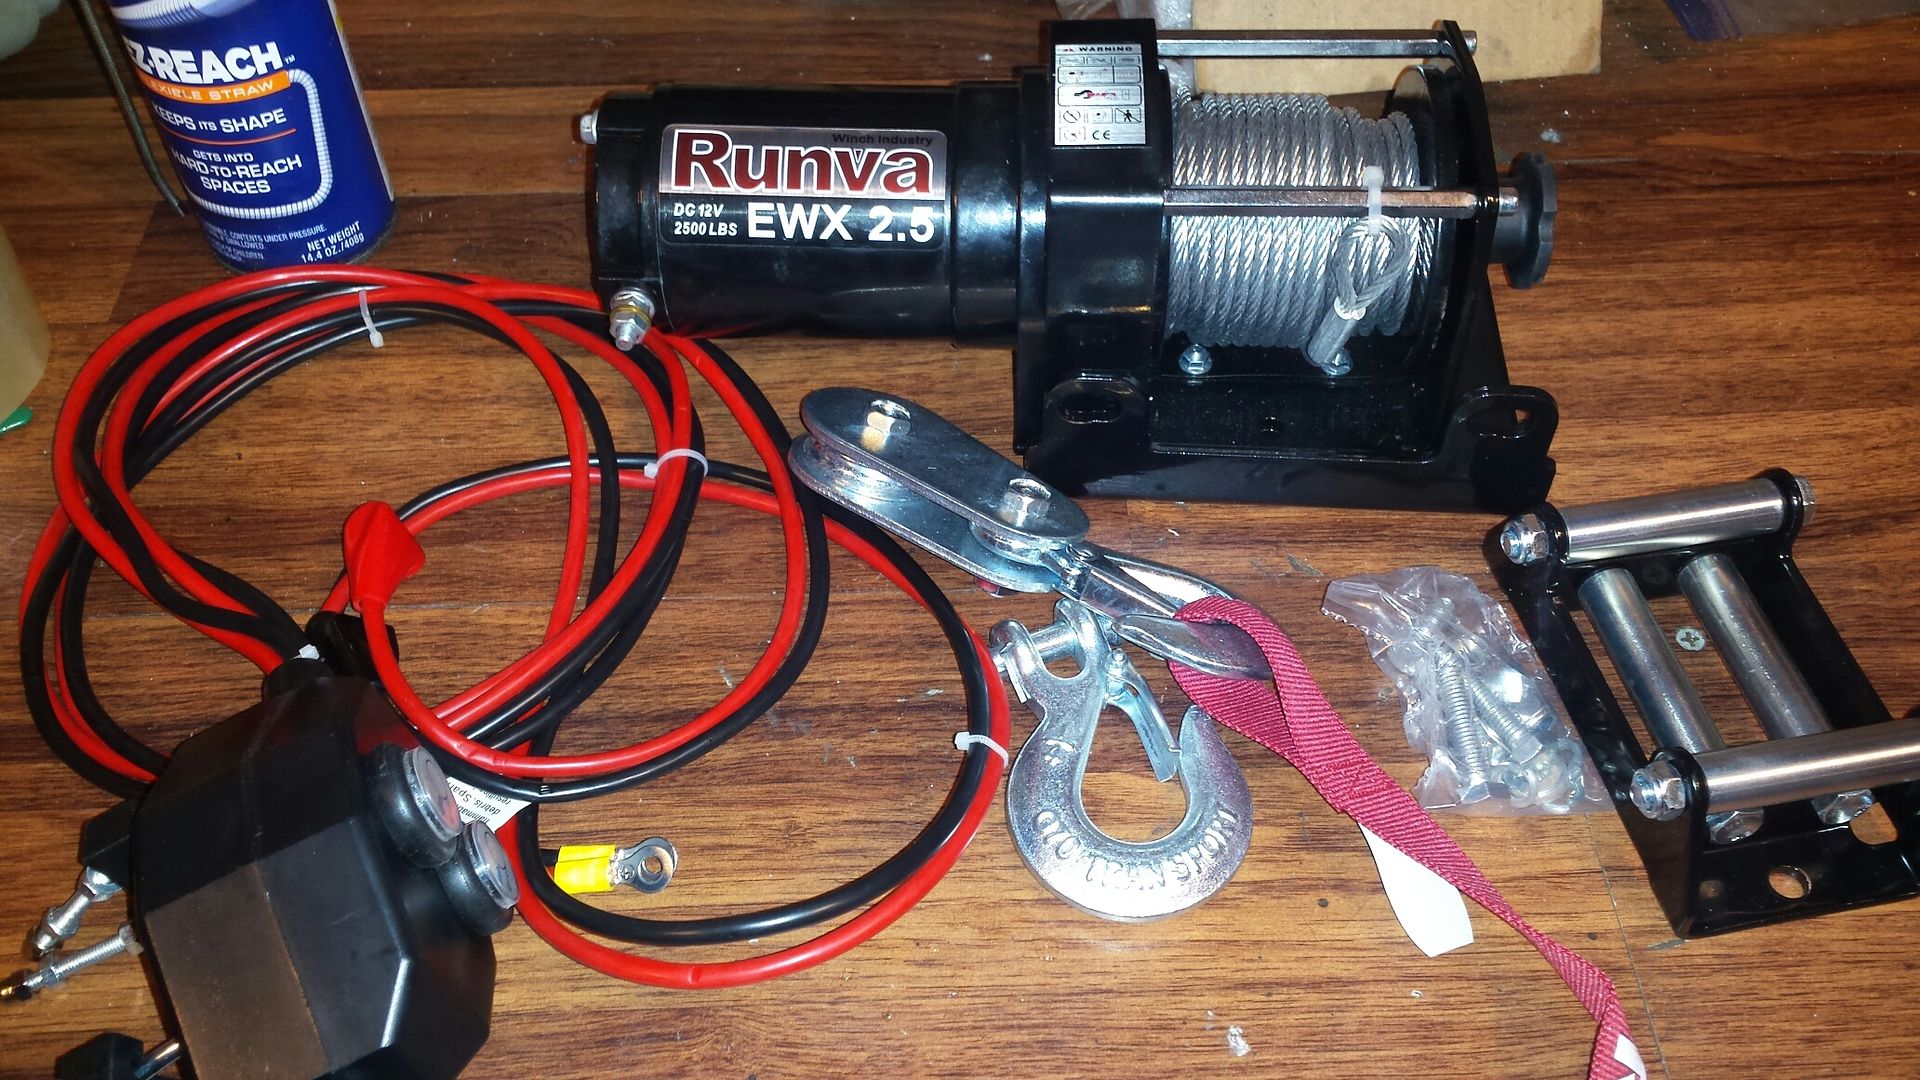
Car hauler is getting a winch soon!! Cause we KNOW something is gonna break.

Fitting side of AN fitting

Hose side of AN fitting. The ridges hold the hose, and there is a stop collar.

Insert the hose fully till it stops on the stop collar ridge. You'll notice the debris from the cutting. You'll need to flush the line before final install.

Oil the threads and the angled section. I use any type of oil in a $1 ketchup squirter from the dollar store.

Clamp the lower and thread it in carefully.

Mock everything up so you know length. This fitting needs to be vertical, not slanted in the pic.

Cut to length and assemble. Done. Notice I'm using a fuel injection type clamp. This will keep it from digging into the exterior during tightening.

The final result hugs the motor instead of the hotside.

Car hauler is getting a winch soon!! Cause we KNOW something is gonna break.

Thread Starter
|
1st Gear Member
Joined: Mar 2015
Posts: 190
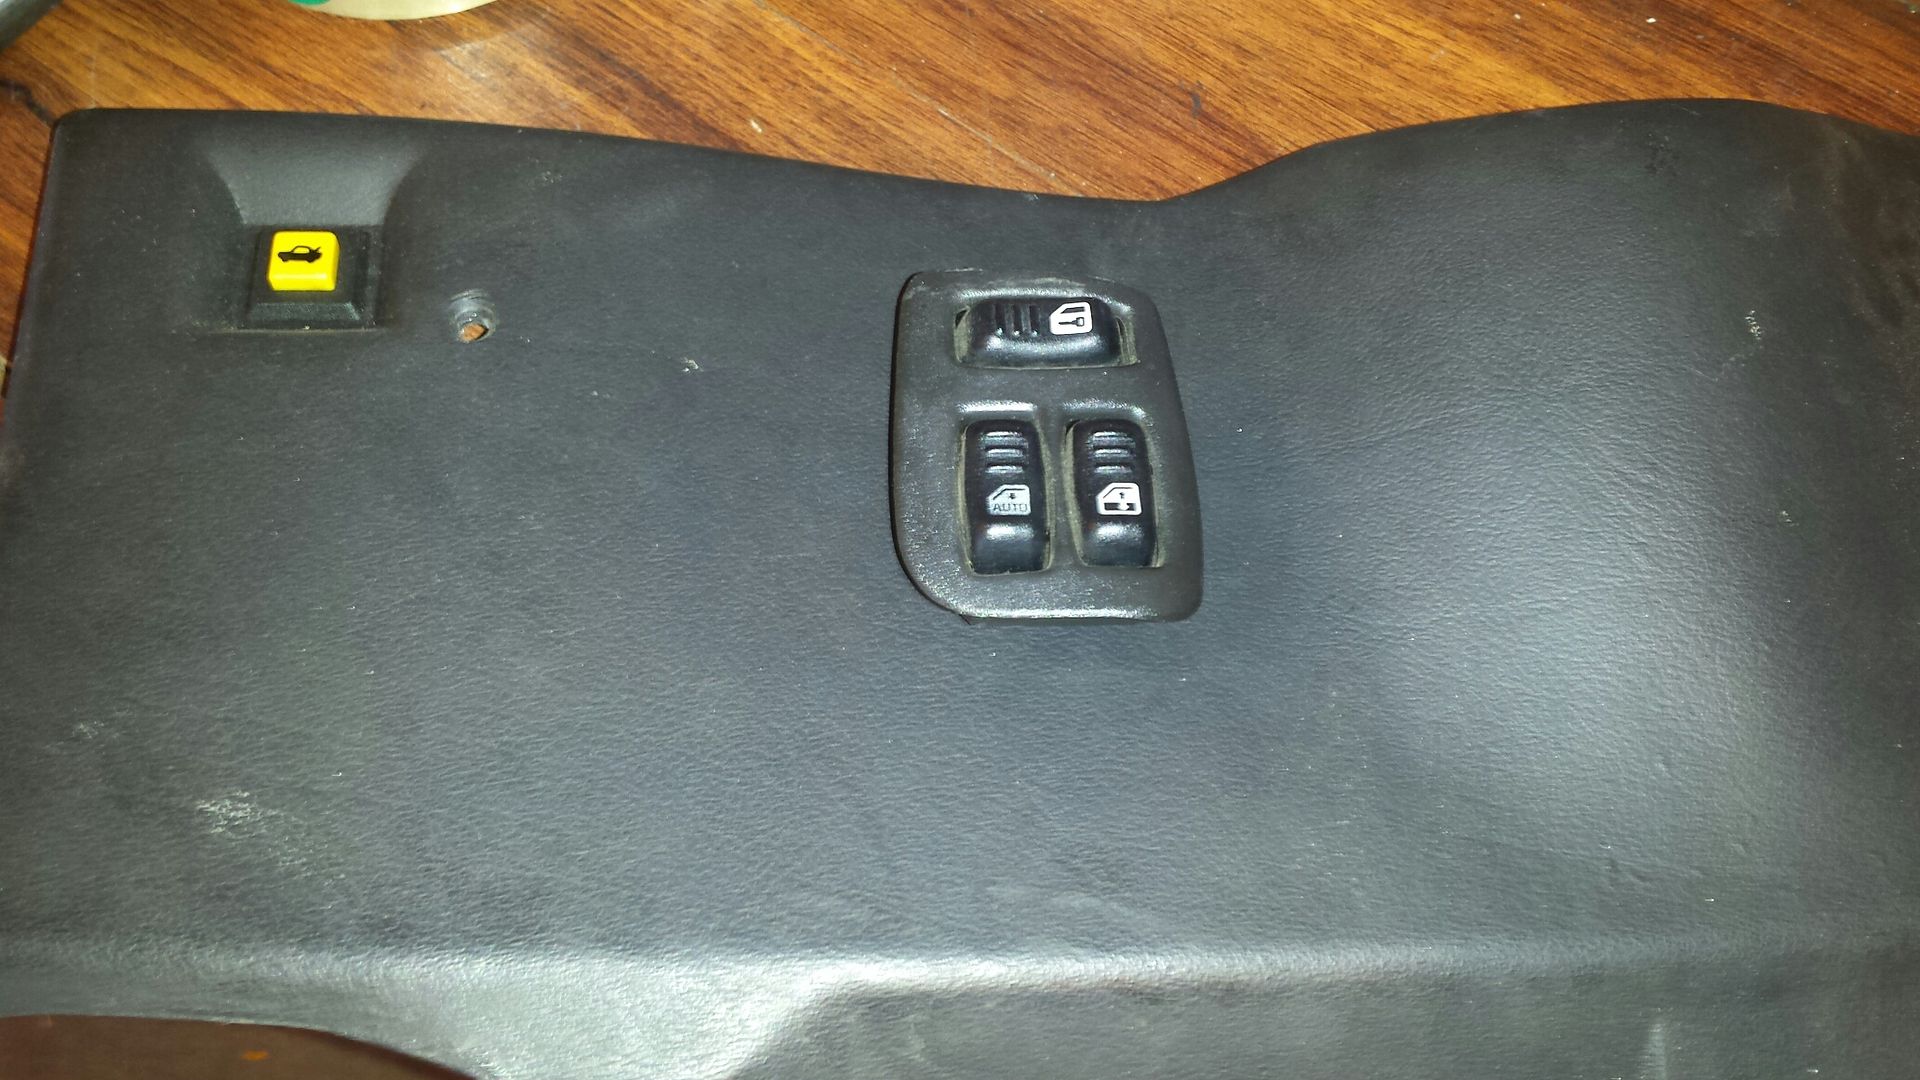
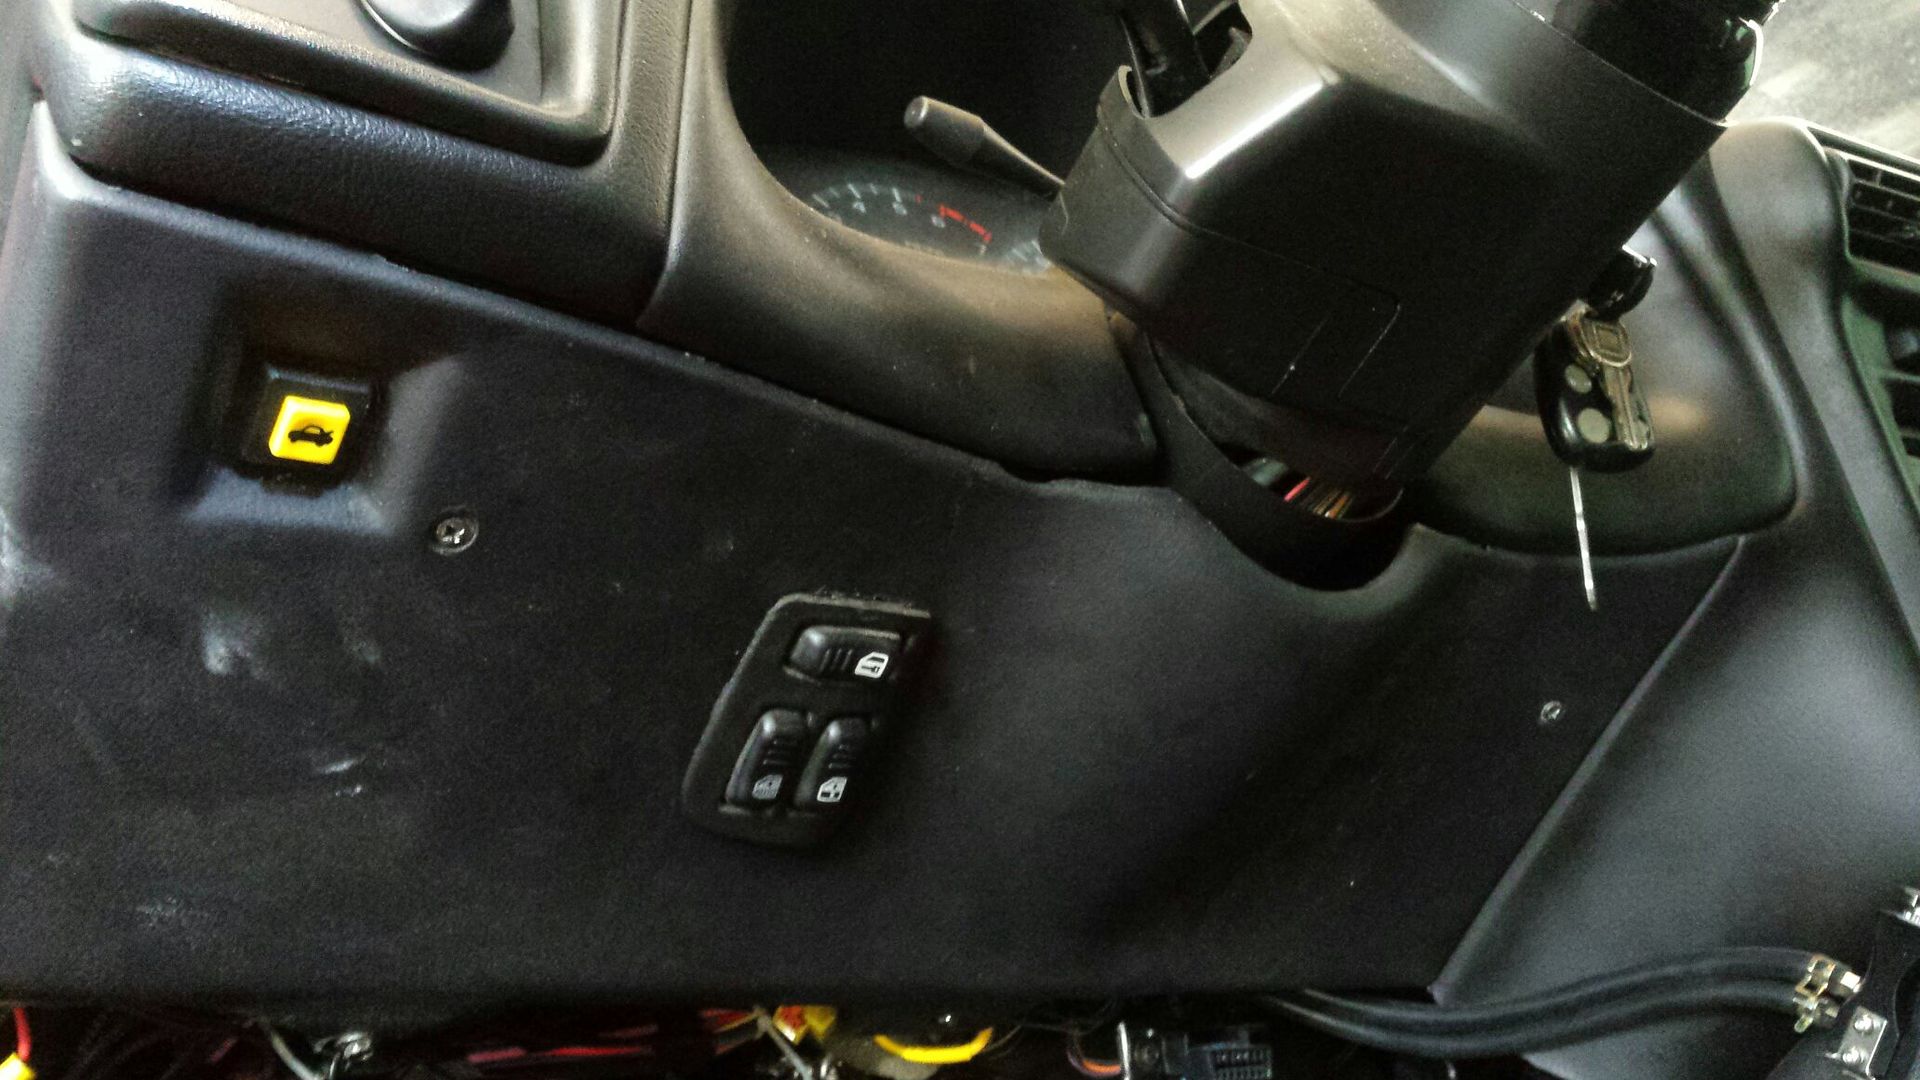
So, in conclusion to the door panel portion of the thread.....I selected to lose power mirrors, and dash mount the switch. After careful consideration it seemed like the best choice for ease of installation and aesthetics. I carefully trimmed off the mirror control off the top of the master switch, no need for it anymore. I selected this spot on the underdash panel due to clearance in that area. Make a hole, insert, hot glue from the backside.
If you dont wanna cut/splice/extend, the stock harness will reach your new location. The issue is there are about 25 wires in the door, and about 5 need to stay. So you'll need to separate what goes to the switch, delete what you dont want, then pull it back through the boot. The long strand i have hung on the door is the plug in for the switch, separated and wrapped in tape and just propped up for the pic. The small strand coming out of the kickpanel next to it is power mirror and switch light wiring thats been cut and not needed.
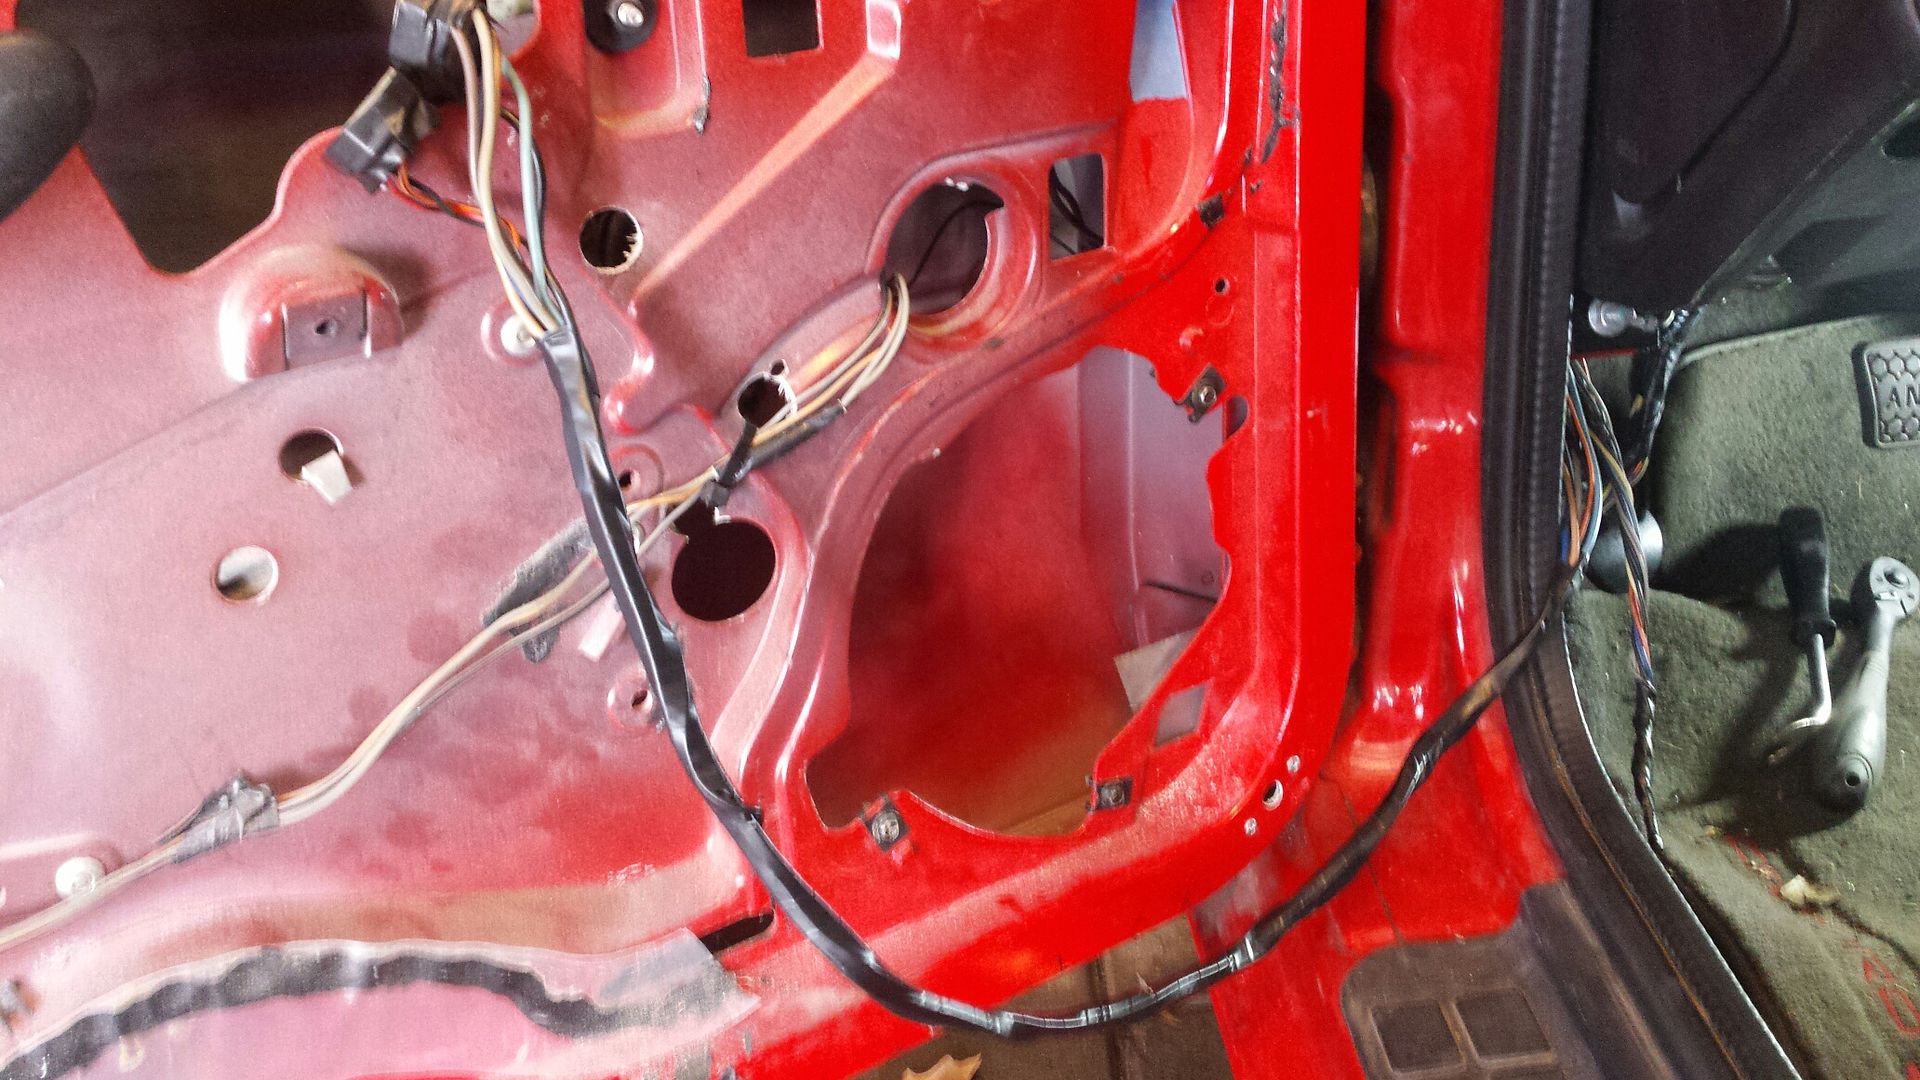
Here's final install. Panel has probably been in storage for a year so its a little dusty but you get the idea. Works great and i can almost reach it when i pretend I'm strapped into a 5 point harness.

Thread Starter
|
1st Gear Member
Joined: Mar 2015
Posts: 190
Big converter issues. Figured why not go ahead and add the deep pan. Adds like 4Q 16oz more then a stock pan.

Not gonna get super technical, but a GM PS pump can put out 12/1300 psi under full load. AN hose is rated around 350psi with a burst strength of like triple that. PTFE AN hose has a rating of 1250psi. Its better suited for the high pressure line. So i bought some and swapped out the pressure side of the power steering. You can see the teflon lining inside the hose.
I guess I can let the cat out of the bag. Placed an order through Wolfe for their 10 point chromoly cage. Likely gonna add swingouts to it. Im really not going for tech in a racing class, Im doing it for safety and piece of mind. Also told them what the hell, add wheel tubs to the order too.


Not gonna get super technical, but a GM PS pump can put out 12/1300 psi under full load. AN hose is rated around 350psi with a burst strength of like triple that. PTFE AN hose has a rating of 1250psi. Its better suited for the high pressure line. So i bought some and swapped out the pressure side of the power steering. You can see the teflon lining inside the hose.

I guess I can let the cat out of the bag. Placed an order through Wolfe for their 10 point chromoly cage. Likely gonna add swingouts to it. Im really not going for tech in a racing class, Im doing it for safety and piece of mind. Also told them what the hell, add wheel tubs to the order too.

Thread Starter
|
1st Gear Member
Joined: Mar 2015
Posts: 190
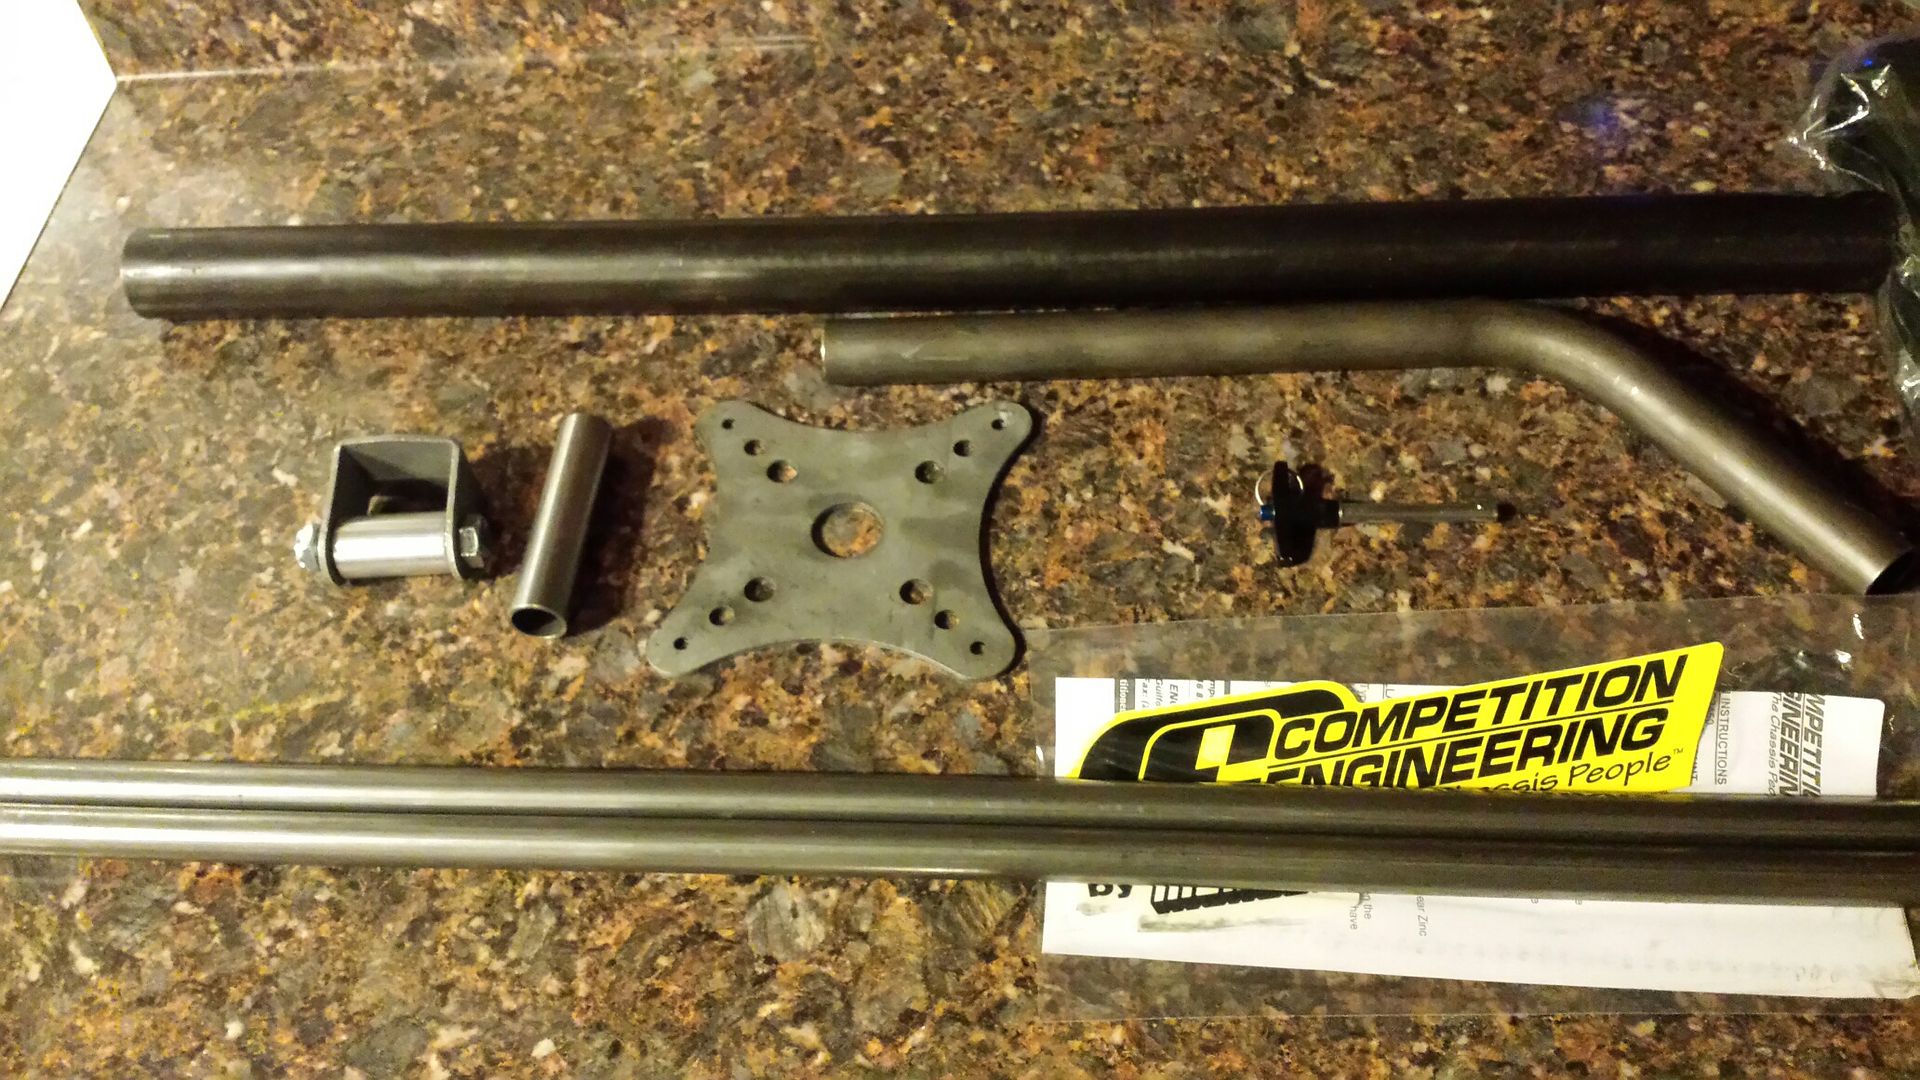
Parachute Mount: CEE-3450, CEE-3451
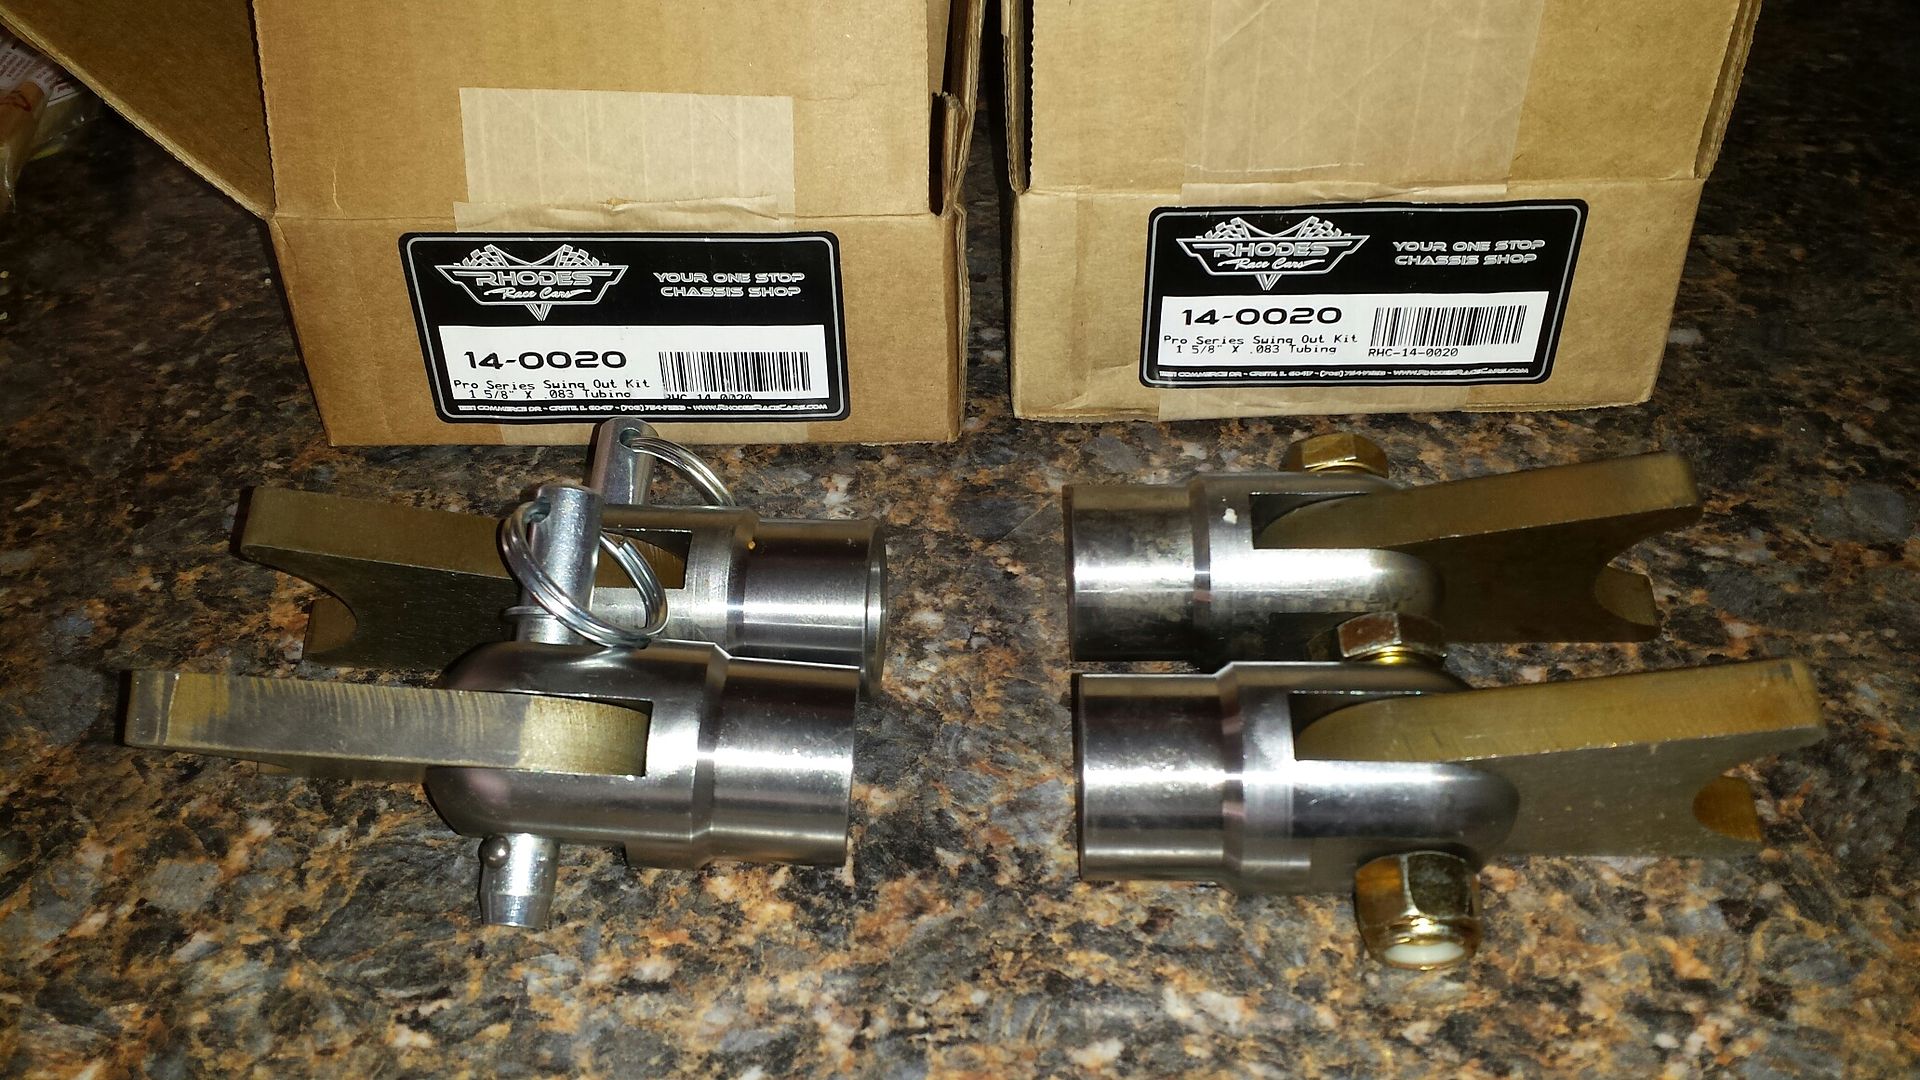
Door bar kit: RHC-14-0020
5 point harness: RJS 1032001
Going to make the chute mount from scratch, and add in the door swingouts to the cage (wasn't an option from Wolfe).
Door bar kit: RHC-14-0020
5 point harness: RJS 1032001
Going to make the chute mount from scratch, and add in the door swingouts to the cage (wasn't an option from Wolfe).


Thread Starter
|
1st Gear Member
Joined: Mar 2015
Posts: 190
Good news. We all know times change, and as much hard work and money as we spend, and when we take time to document it we want it to reach as many people as possible. With that being said you FB users can come visit the new page. My plan is to organize pics and info in an easy to find setup and reach more people. So if youre on FB come like the page.
https://www.facebook.com/01ssreda4/
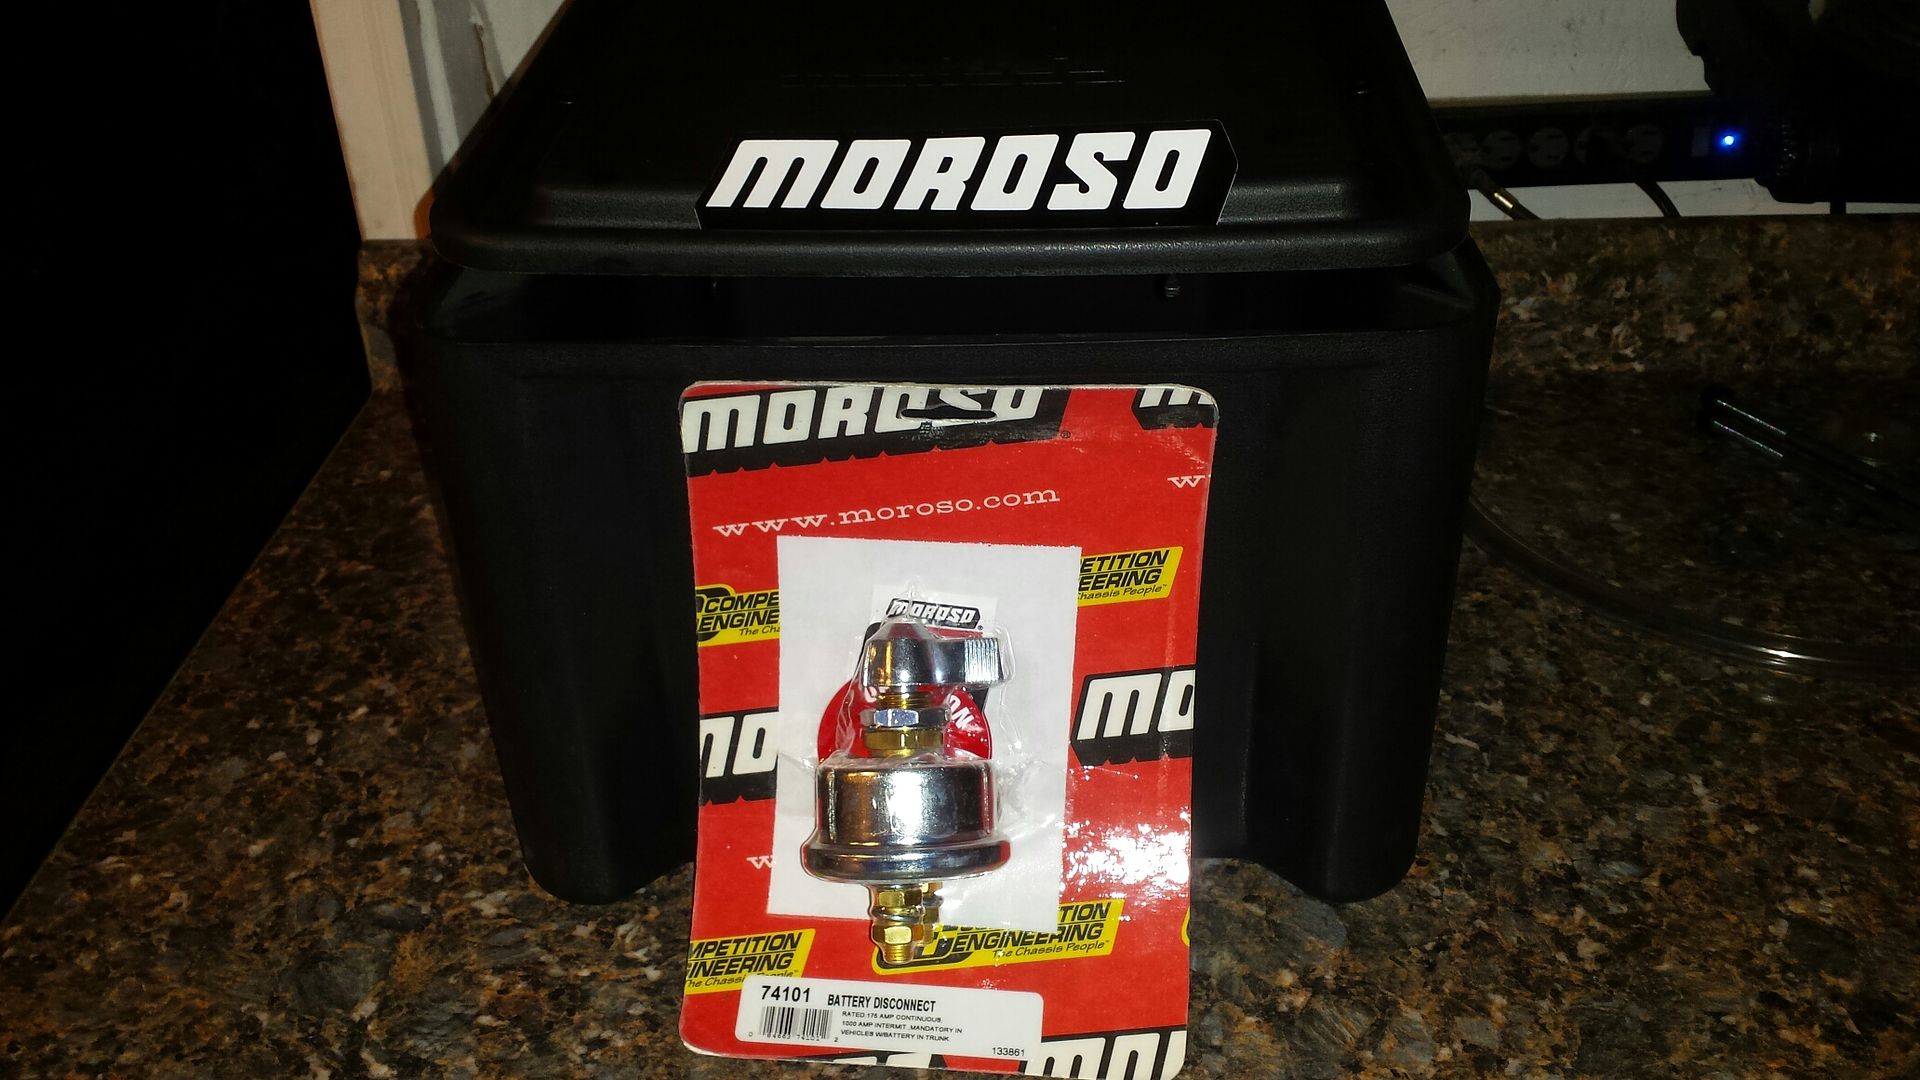
I have sold my XSPower battery, and replaced it with this. Didnt look at the battery size code (not in the pic) but I will get the part numbers for all of it once everything is here and i start the install.
https://www.facebook.com/01ssreda4/
I have sold my XSPower battery, and replaced it with this. Didnt look at the battery size code (not in the pic) but I will get the part numbers for all of it once everything is here and i start the install.

Thread Starter
|
1st Gear Member
Joined: Mar 2015
Posts: 190
Still accumulating stuff, no time to work on it due to having some paying jobs i need to finish first. We are at 1 month wait on the cage/tubs, maybe i will get lucky and get it next week.
Quick recap, on the to-do list: 10 point chromoly cage with swingouts, rear wheel tubs, rear mount battery/box, 5 point harnesses, custom parachute mount. Also, I been looking at the RSM tubular front end kit. I like it, but i think I could make it and save $600. However, the wiring on the front of the car would need to be redone for it to look nice. Im considering moving the fuse boxes and all available wiring to under the dash. IF that happens, I may go straight from this into a tubular front end setup. If Im rewiring the heavy gauge wire for the battery, and the dash is out, its a perfect time to explore these options.. Wouldnt mind the PCM inside the car too for a cleaner look......Hmmm
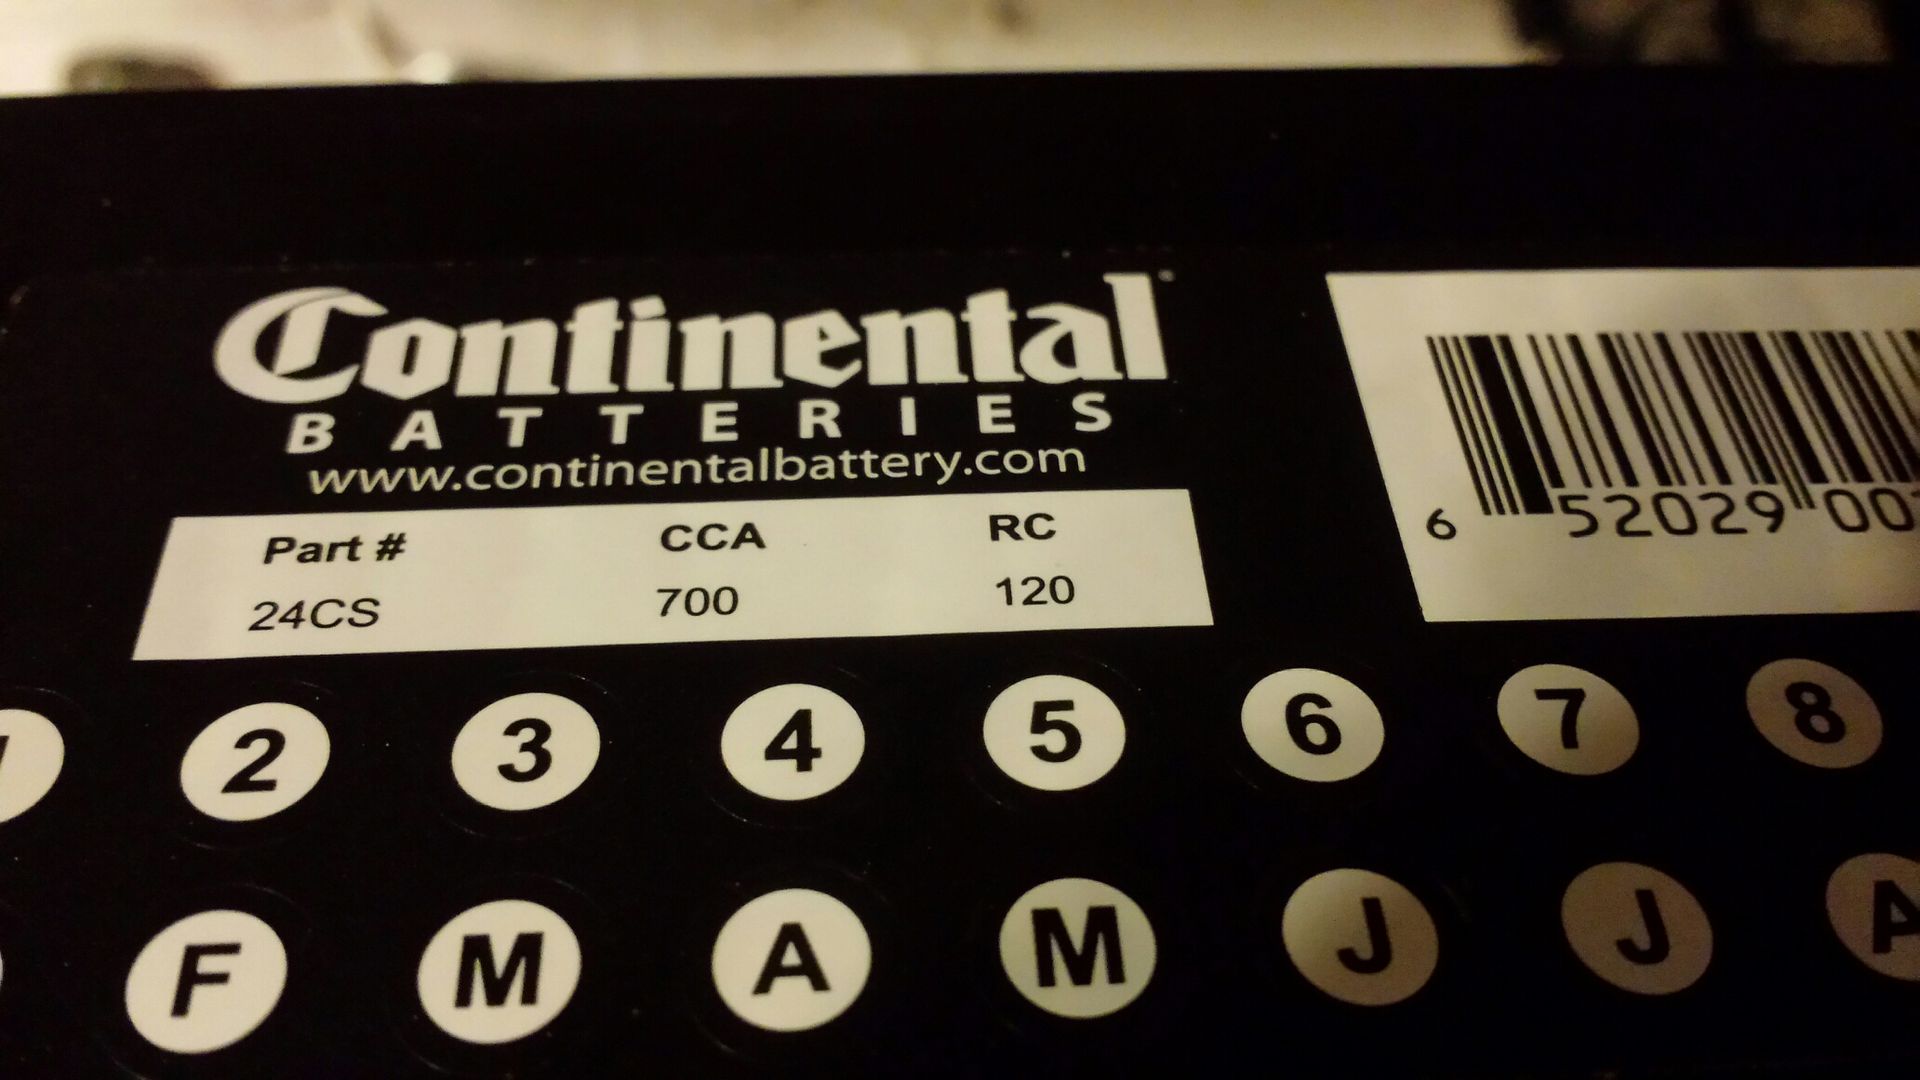
This is the initial buy, 25ft 2g black and 25ft 2g red, 20ft 4g red. 20 piece 2g terminals, local store battery. Will add stuff as needed as I lay the wire out in the car.

Battery size, fits the box like a glove.
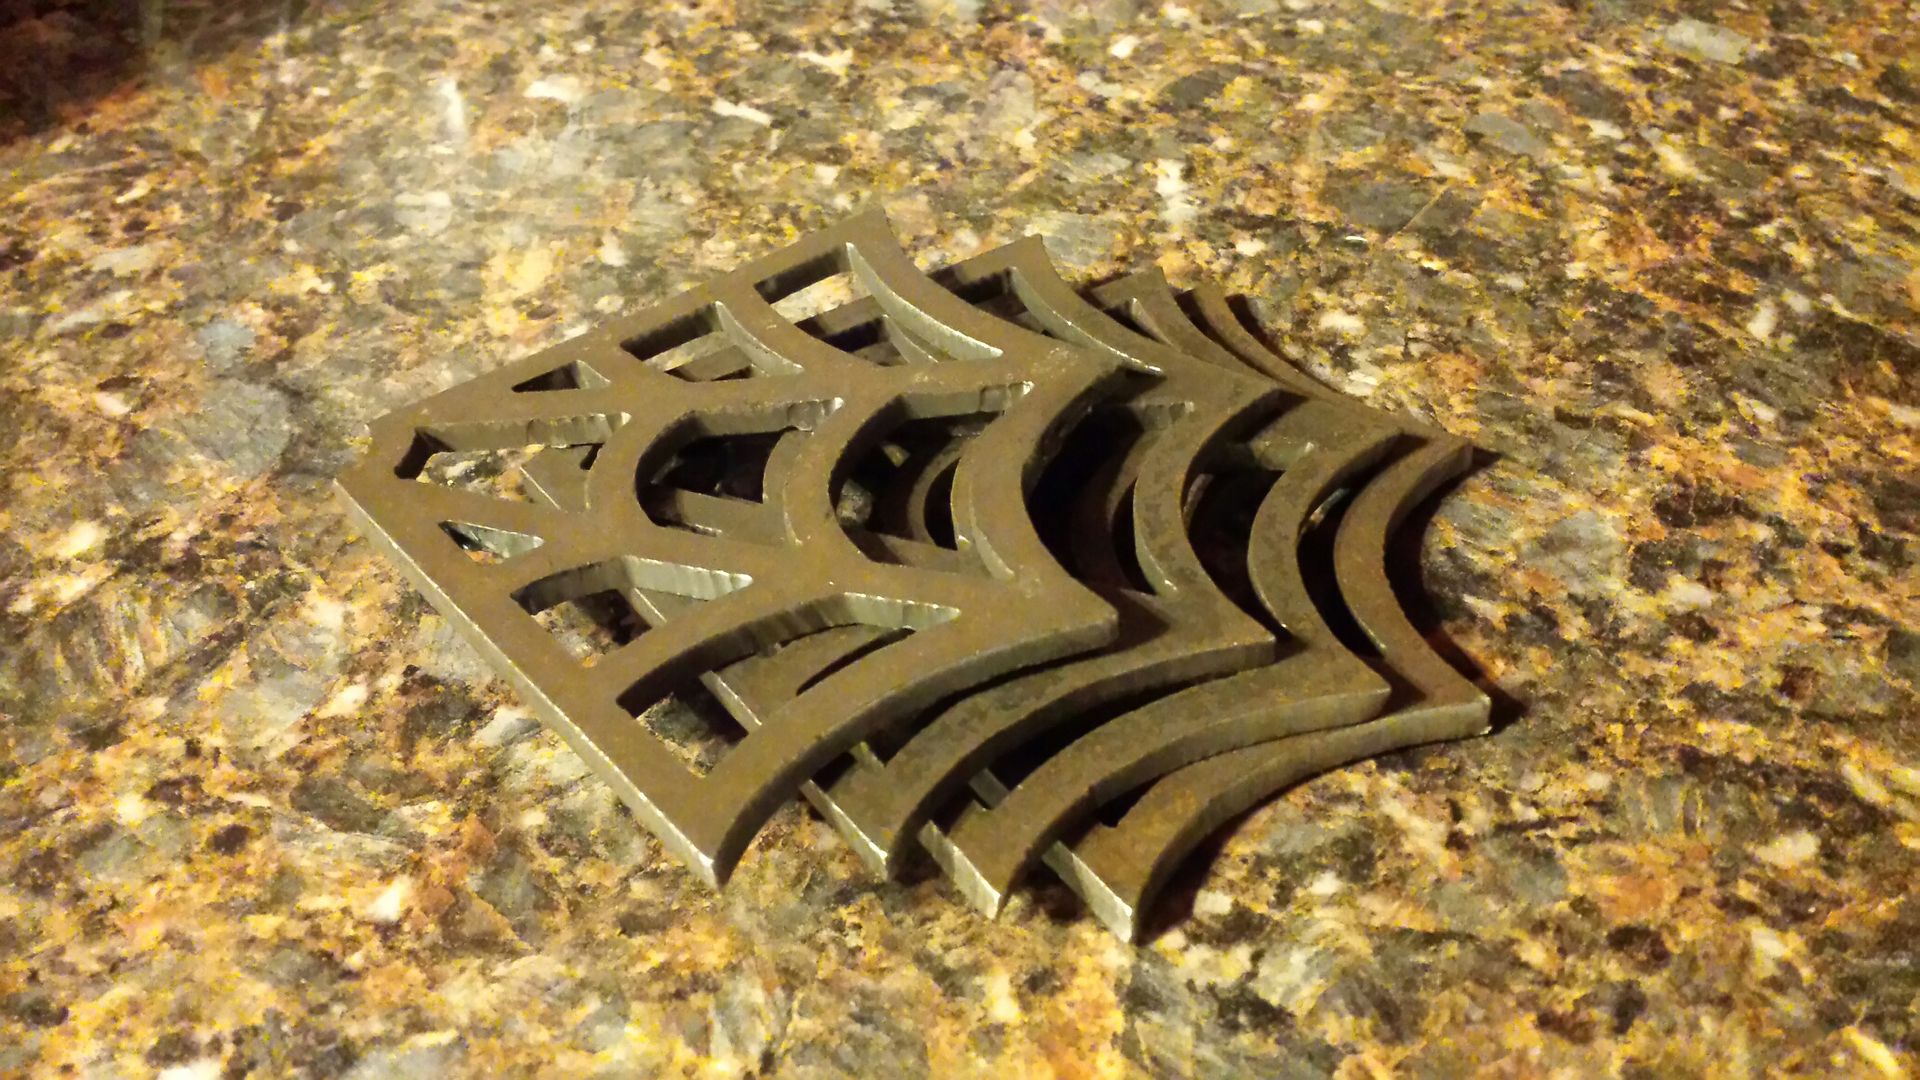
Some roll cage gussets. Not sure why i bought these, and dont know where I'm gonna put them, will figure it out once the cage is in. These measure 4"x4".
Figured I'd step up my wiring game some so I bought this. Biggest available bulkhead weather pack Ive found is 22 wires. My plan is to hook up the big battery, pull all fuses under the hood i dont "think" i need, then check to make sure everything works (lights, engine runs, door locks, hatch pops, etc). Once i get down to only the circuits i need, I can count how many wires need to be moved/extended and how many can be deleted to give me an idea of the difficulty level of this job. What I would really like is maybe to trim the rear side of the glovebox door off (basically make it a flat swingout panel), then make it when you open the door the fuse blocks are there to service. Will look more into that later.

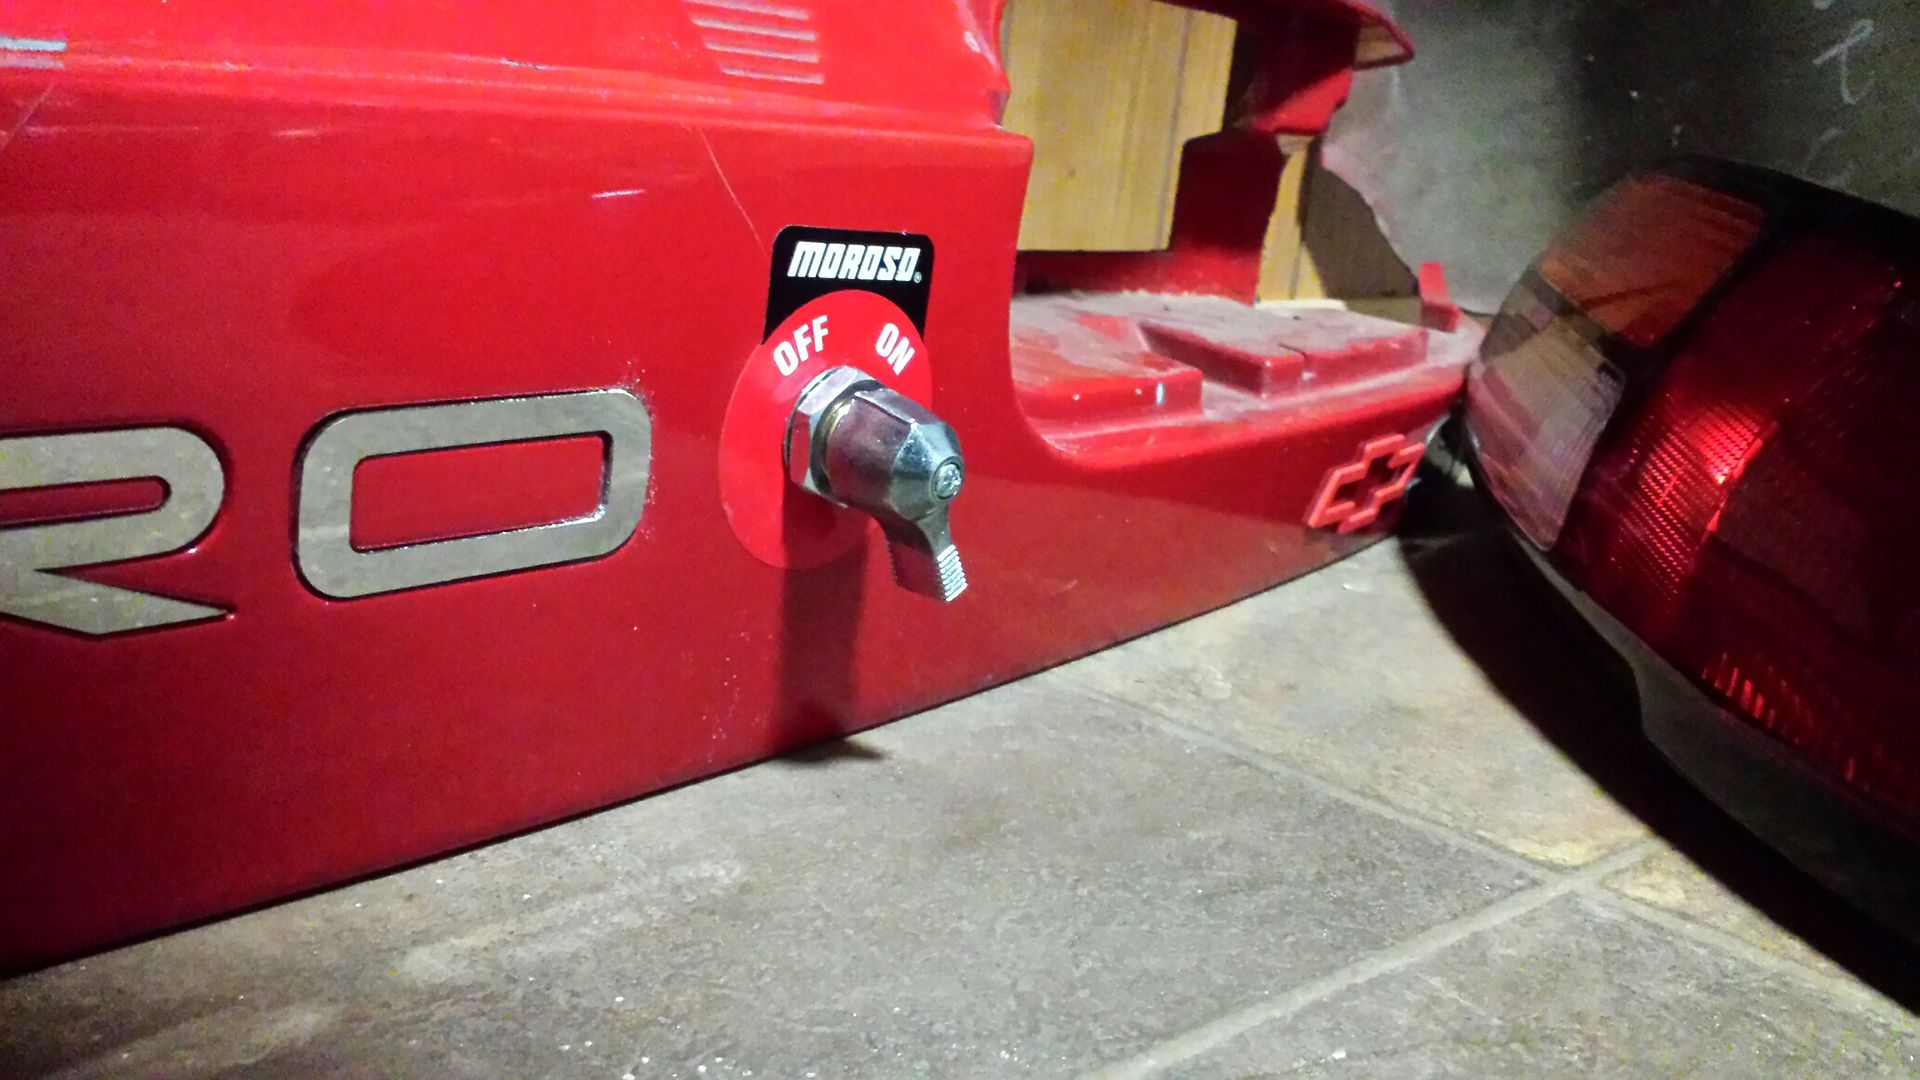
I think the very first thing Im gonna tackle is the chute mount and battery cutoff switch in the rear of the car. Its about the only part of this project thats not intertwined with some other part.
Quick recap, on the to-do list: 10 point chromoly cage with swingouts, rear wheel tubs, rear mount battery/box, 5 point harnesses, custom parachute mount. Also, I been looking at the RSM tubular front end kit. I like it, but i think I could make it and save $600. However, the wiring on the front of the car would need to be redone for it to look nice. Im considering moving the fuse boxes and all available wiring to under the dash. IF that happens, I may go straight from this into a tubular front end setup. If Im rewiring the heavy gauge wire for the battery, and the dash is out, its a perfect time to explore these options.. Wouldnt mind the PCM inside the car too for a cleaner look......Hmmm
This is the initial buy, 25ft 2g black and 25ft 2g red, 20ft 4g red. 20 piece 2g terminals, local store battery. Will add stuff as needed as I lay the wire out in the car.

Battery size, fits the box like a glove.

Some roll cage gussets. Not sure why i bought these, and dont know where I'm gonna put them, will figure it out once the cage is in. These measure 4"x4".

Figured I'd step up my wiring game some so I bought this. Biggest available bulkhead weather pack Ive found is 22 wires. My plan is to hook up the big battery, pull all fuses under the hood i dont "think" i need, then check to make sure everything works (lights, engine runs, door locks, hatch pops, etc). Once i get down to only the circuits i need, I can count how many wires need to be moved/extended and how many can be deleted to give me an idea of the difficulty level of this job. What I would really like is maybe to trim the rear side of the glovebox door off (basically make it a flat swingout panel), then make it when you open the door the fuse blocks are there to service. Will look more into that later.


I think the very first thing Im gonna tackle is the chute mount and battery cutoff switch in the rear of the car. Its about the only part of this project thats not intertwined with some other part.
Thread Starter
|
1st Gear Member
Joined: Mar 2015
Posts: 190
New toy:
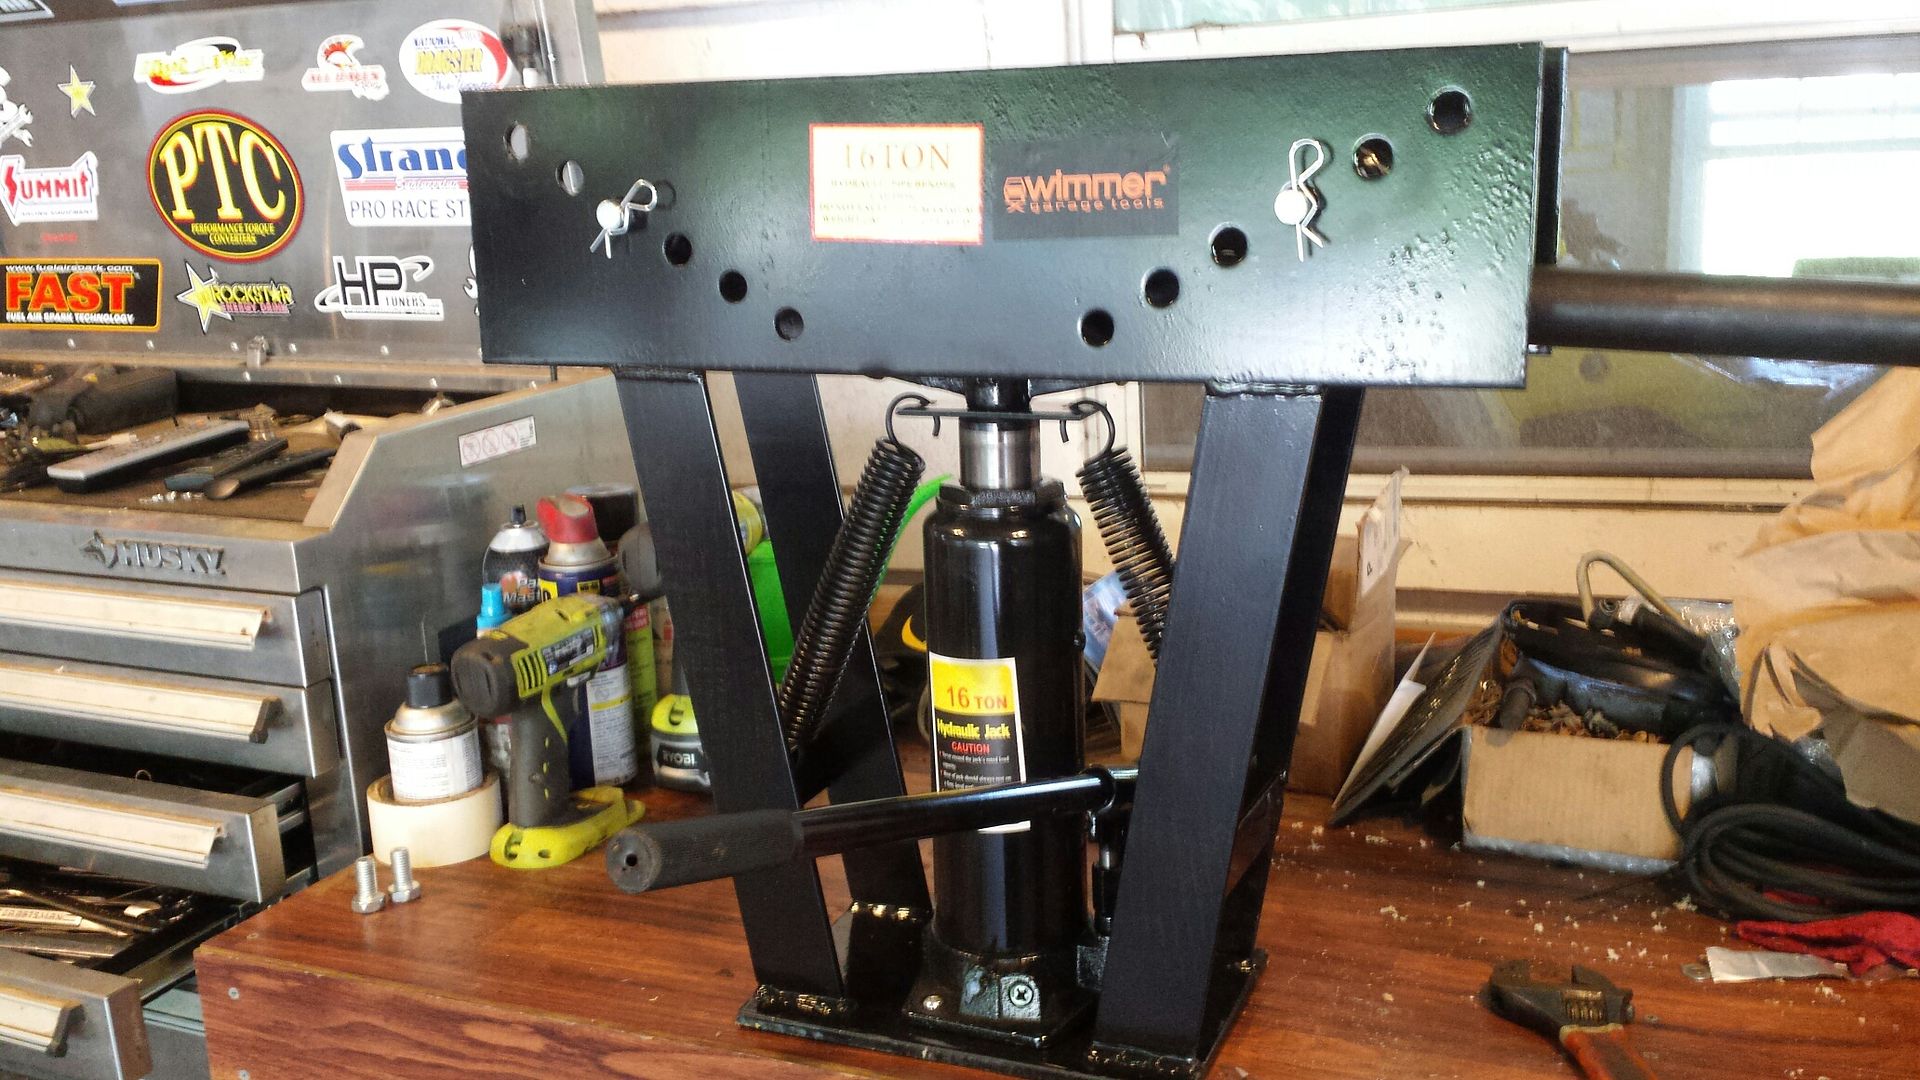
Took my 6x6 plates and drilled holes:
Needed about 45" of pipe. The old driver door bar needed just a little trimmed off.
Plan to add some gussets and do powder coat this week coming up.
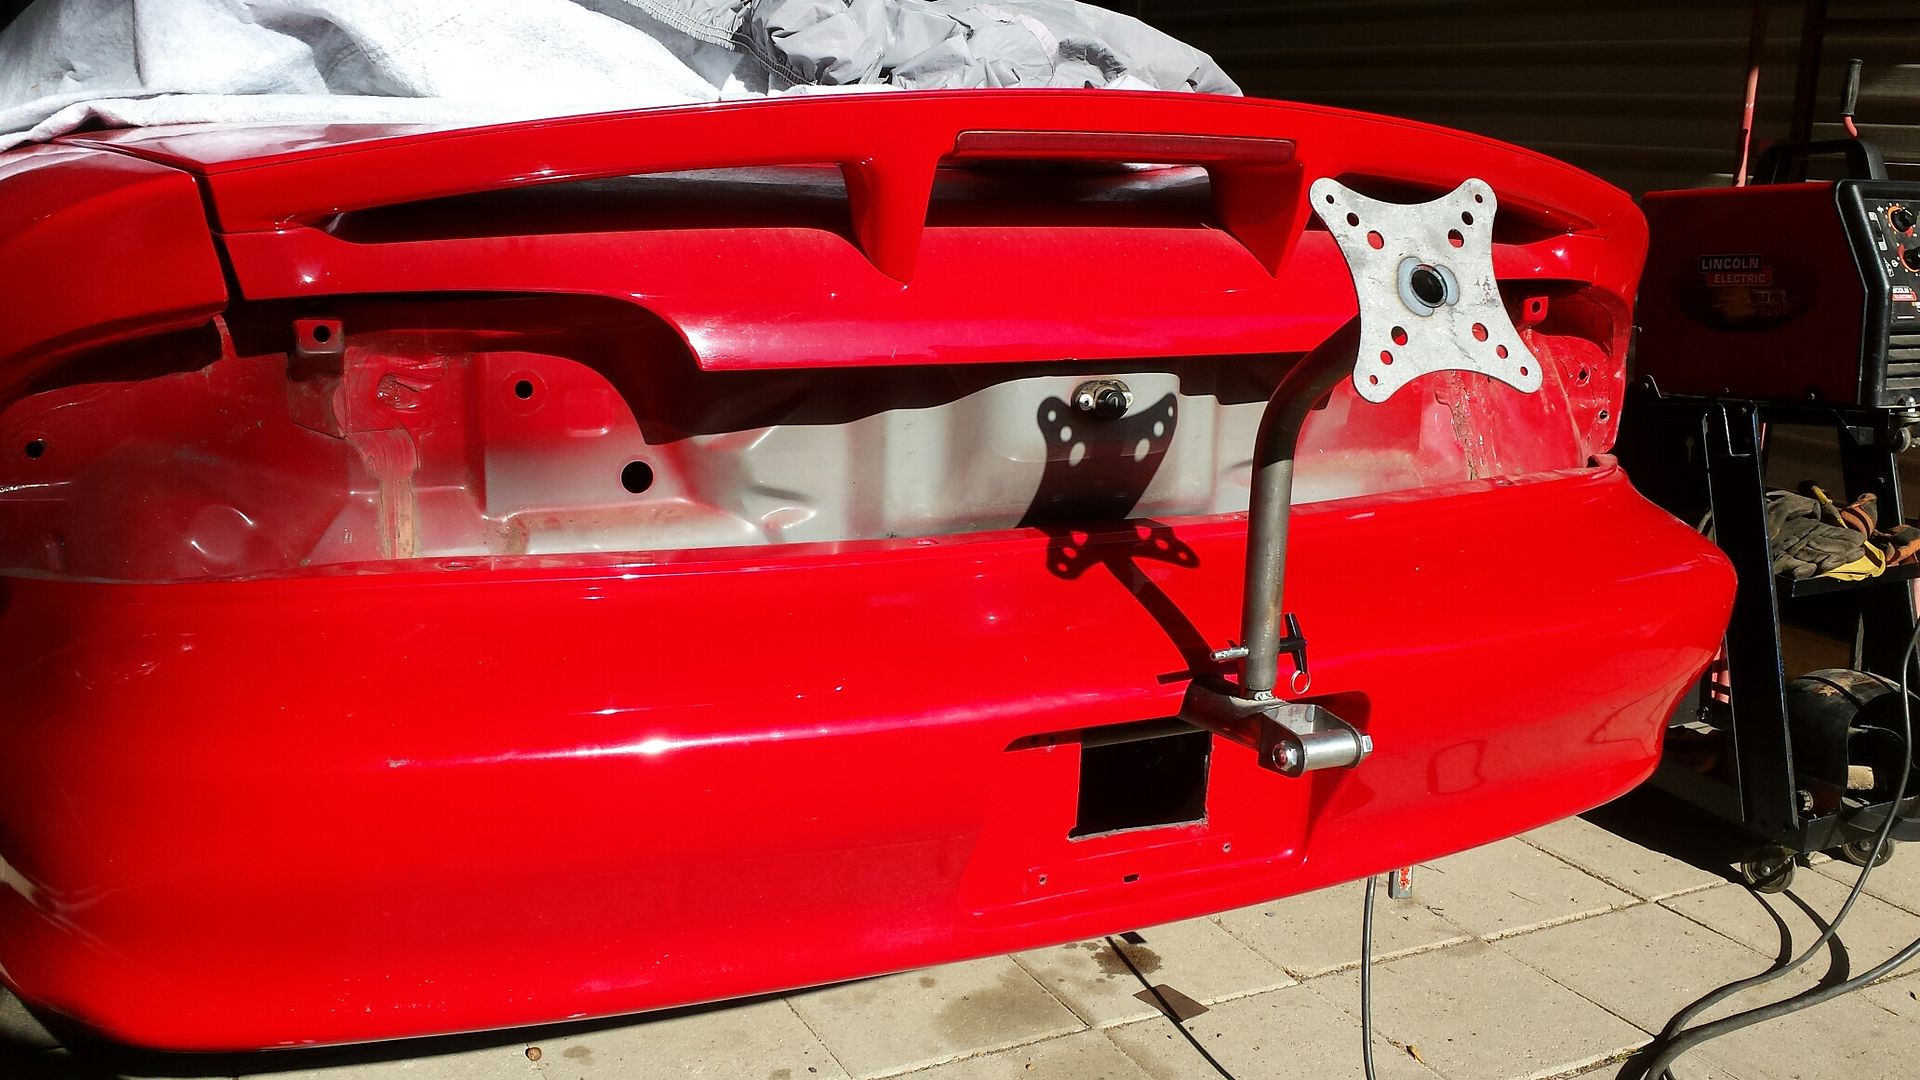
Test fit....

Took my 6x6 plates and drilled holes:

Needed about 45" of pipe. The old driver door bar needed just a little trimmed off.

Plan to add some gussets and do powder coat this week coming up.

Test fit....

Thread Starter
|
1st Gear Member
Joined: Mar 2015
Posts: 190
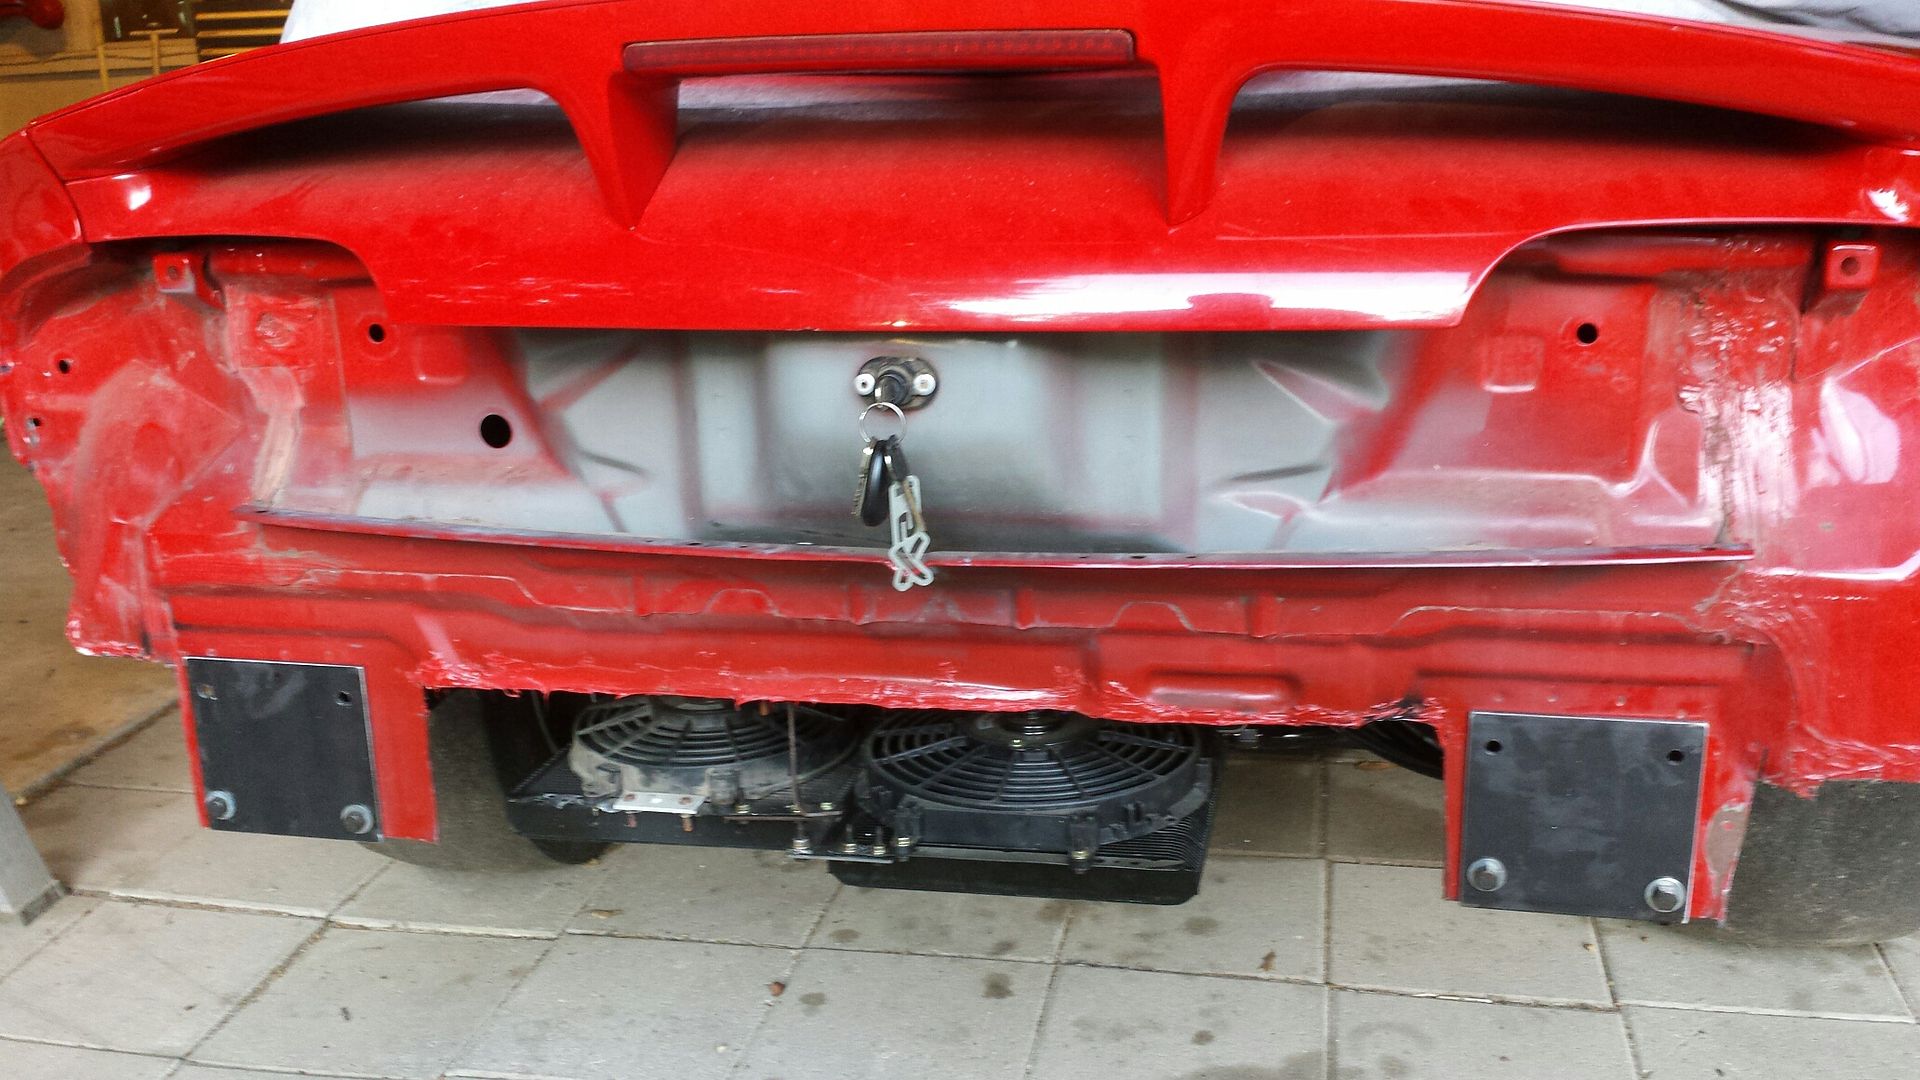
Removed the mismatched coolers and added a second matching cooler, all new brackets, and got lucky and only had to modify one AN line even though i changed their orientation.
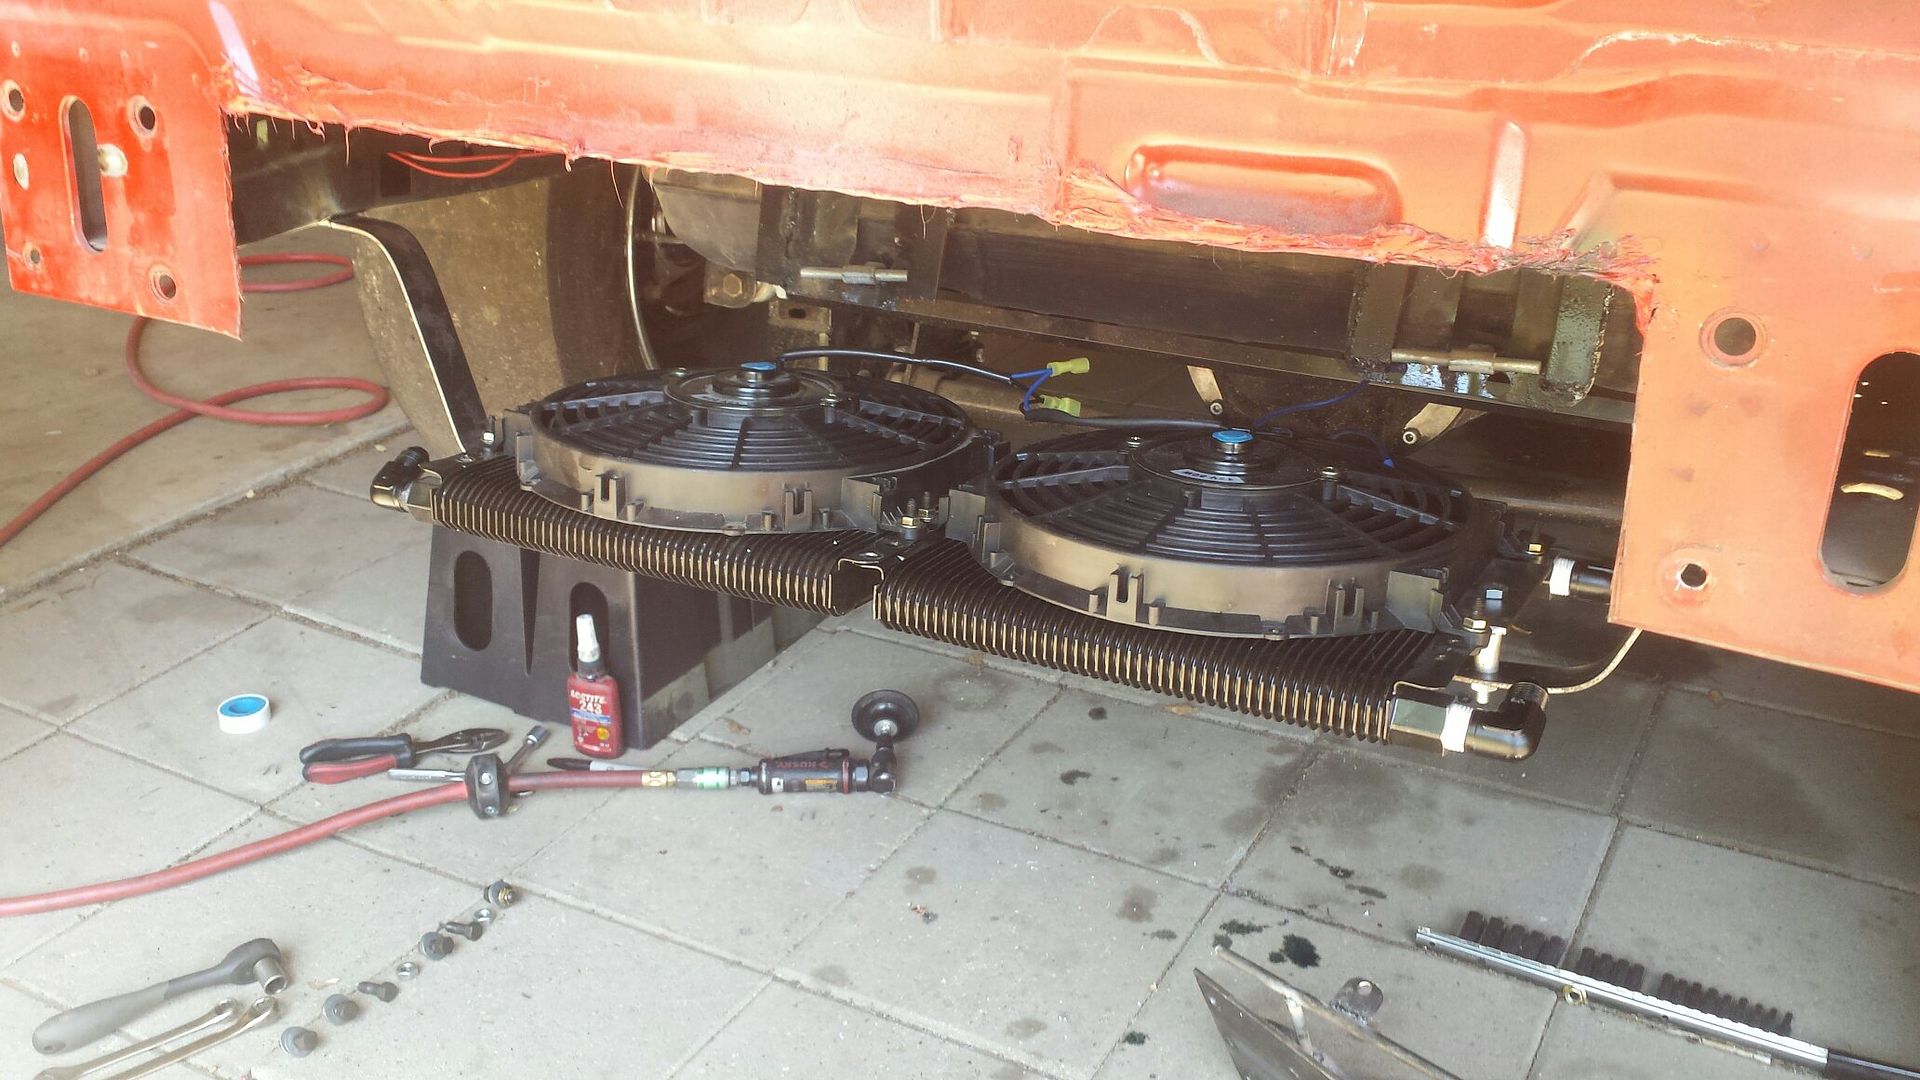
Getting closer.
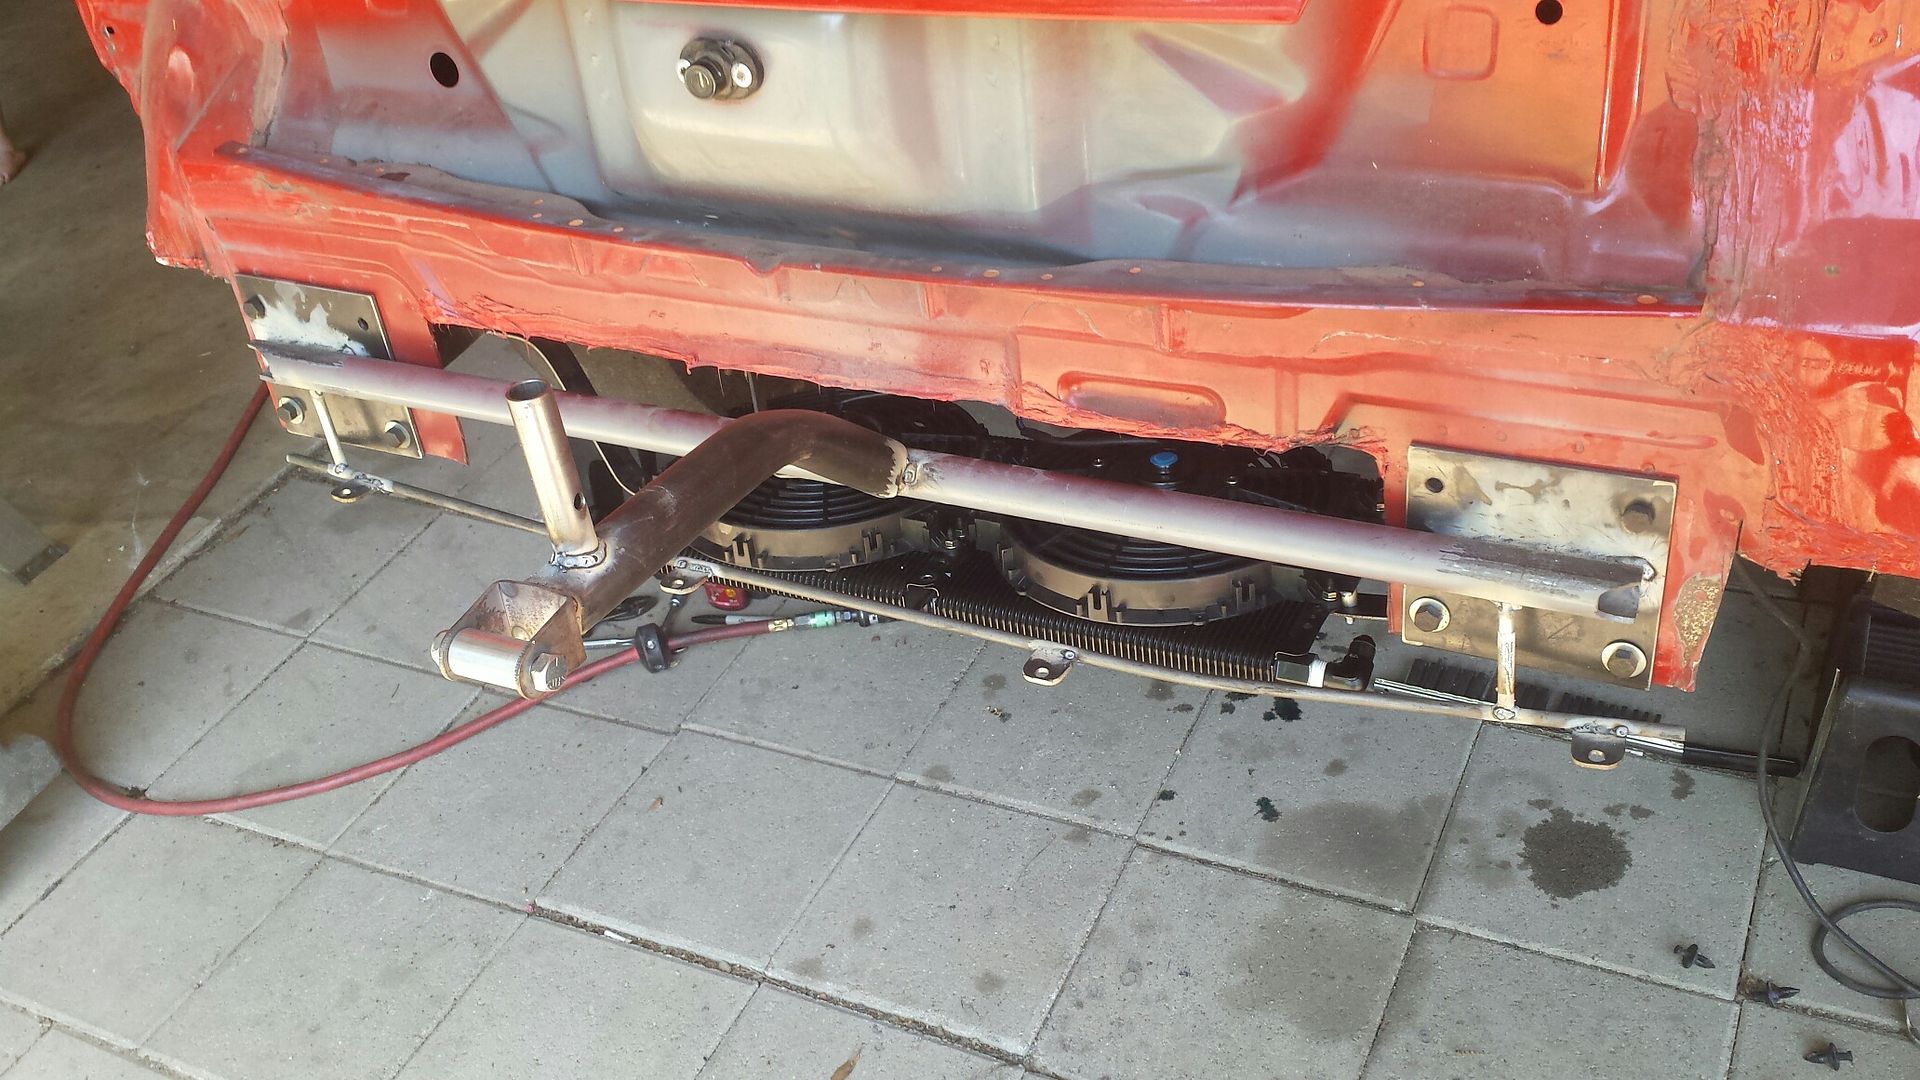
Added some cross bracing and its off to the powder coat shop.

Getting closer.

Added some cross bracing and its off to the powder coat shop.

Thread Starter
|
1st Gear Member
Joined: Mar 2015
Posts: 190
Slow progress.
Bought this little dealie. Spot weld cutter.
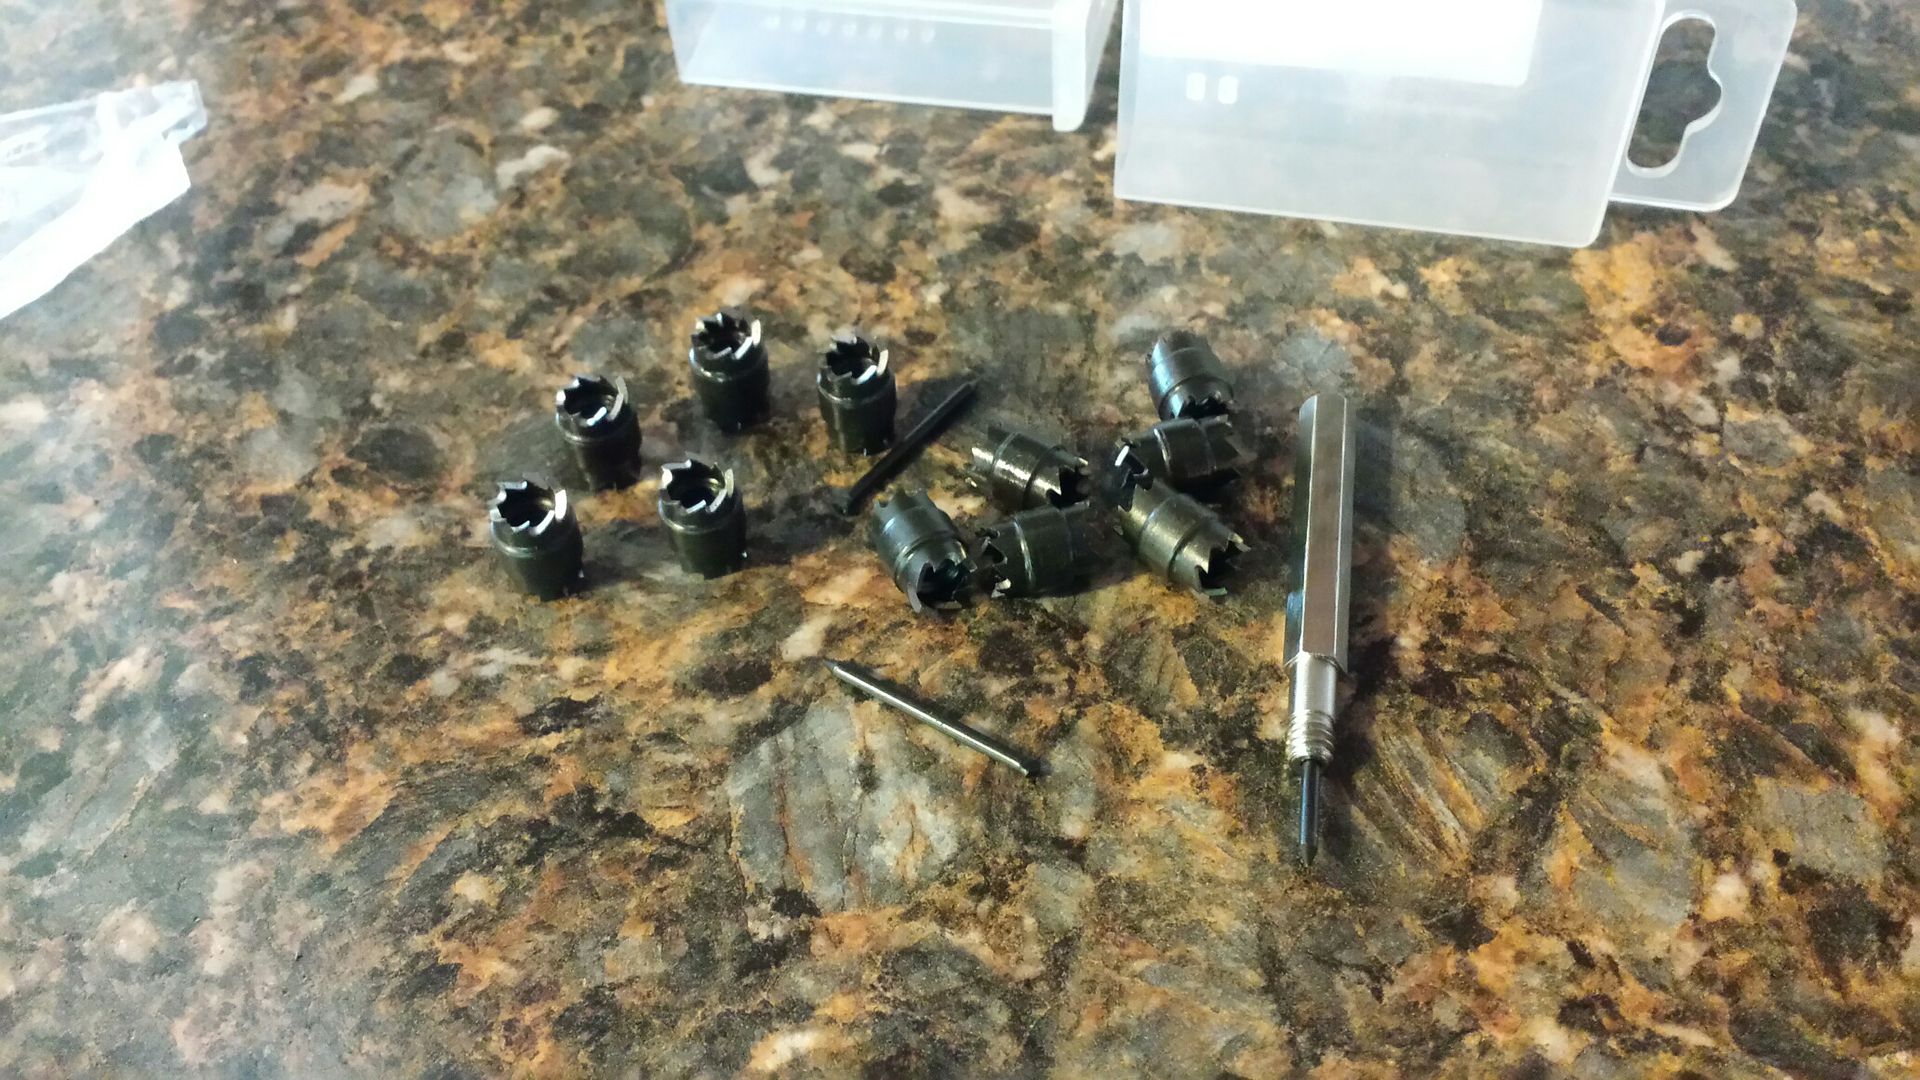
Works pretty good. Lets see what else I can F up.
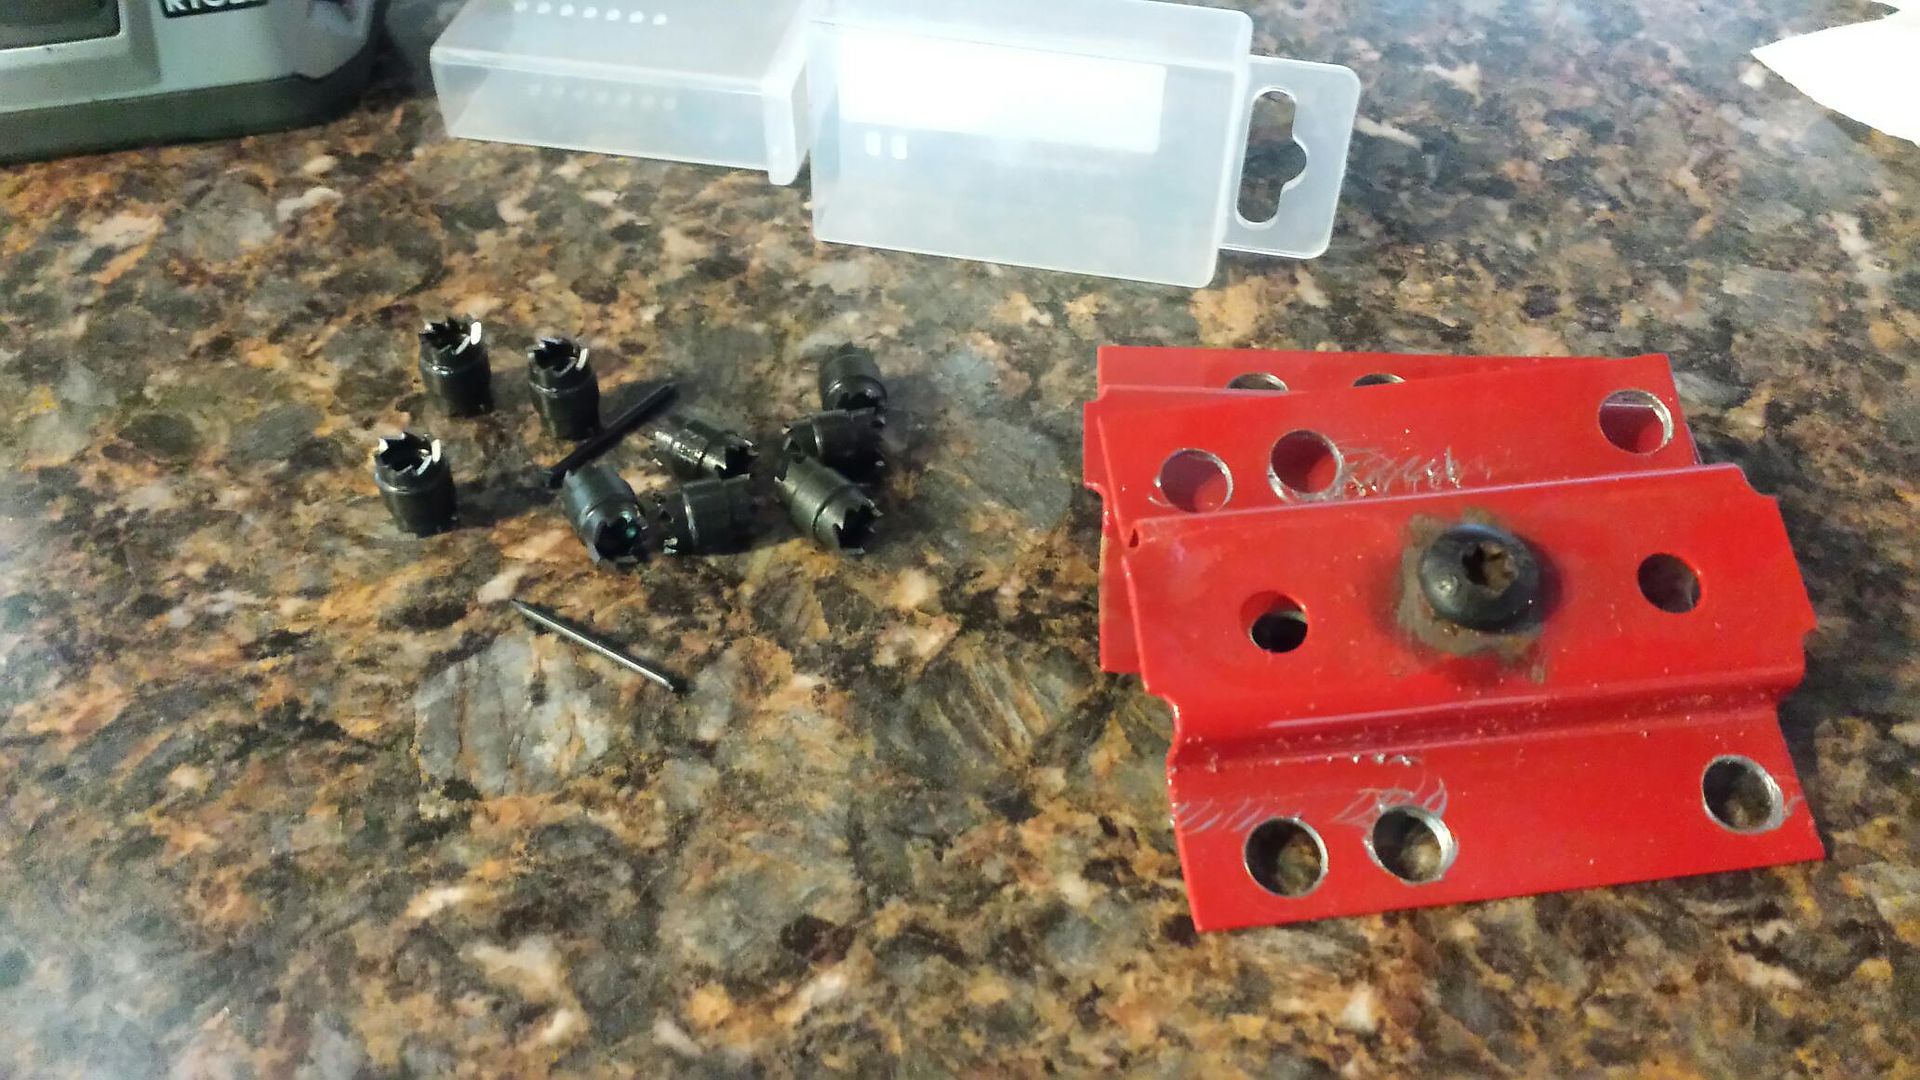
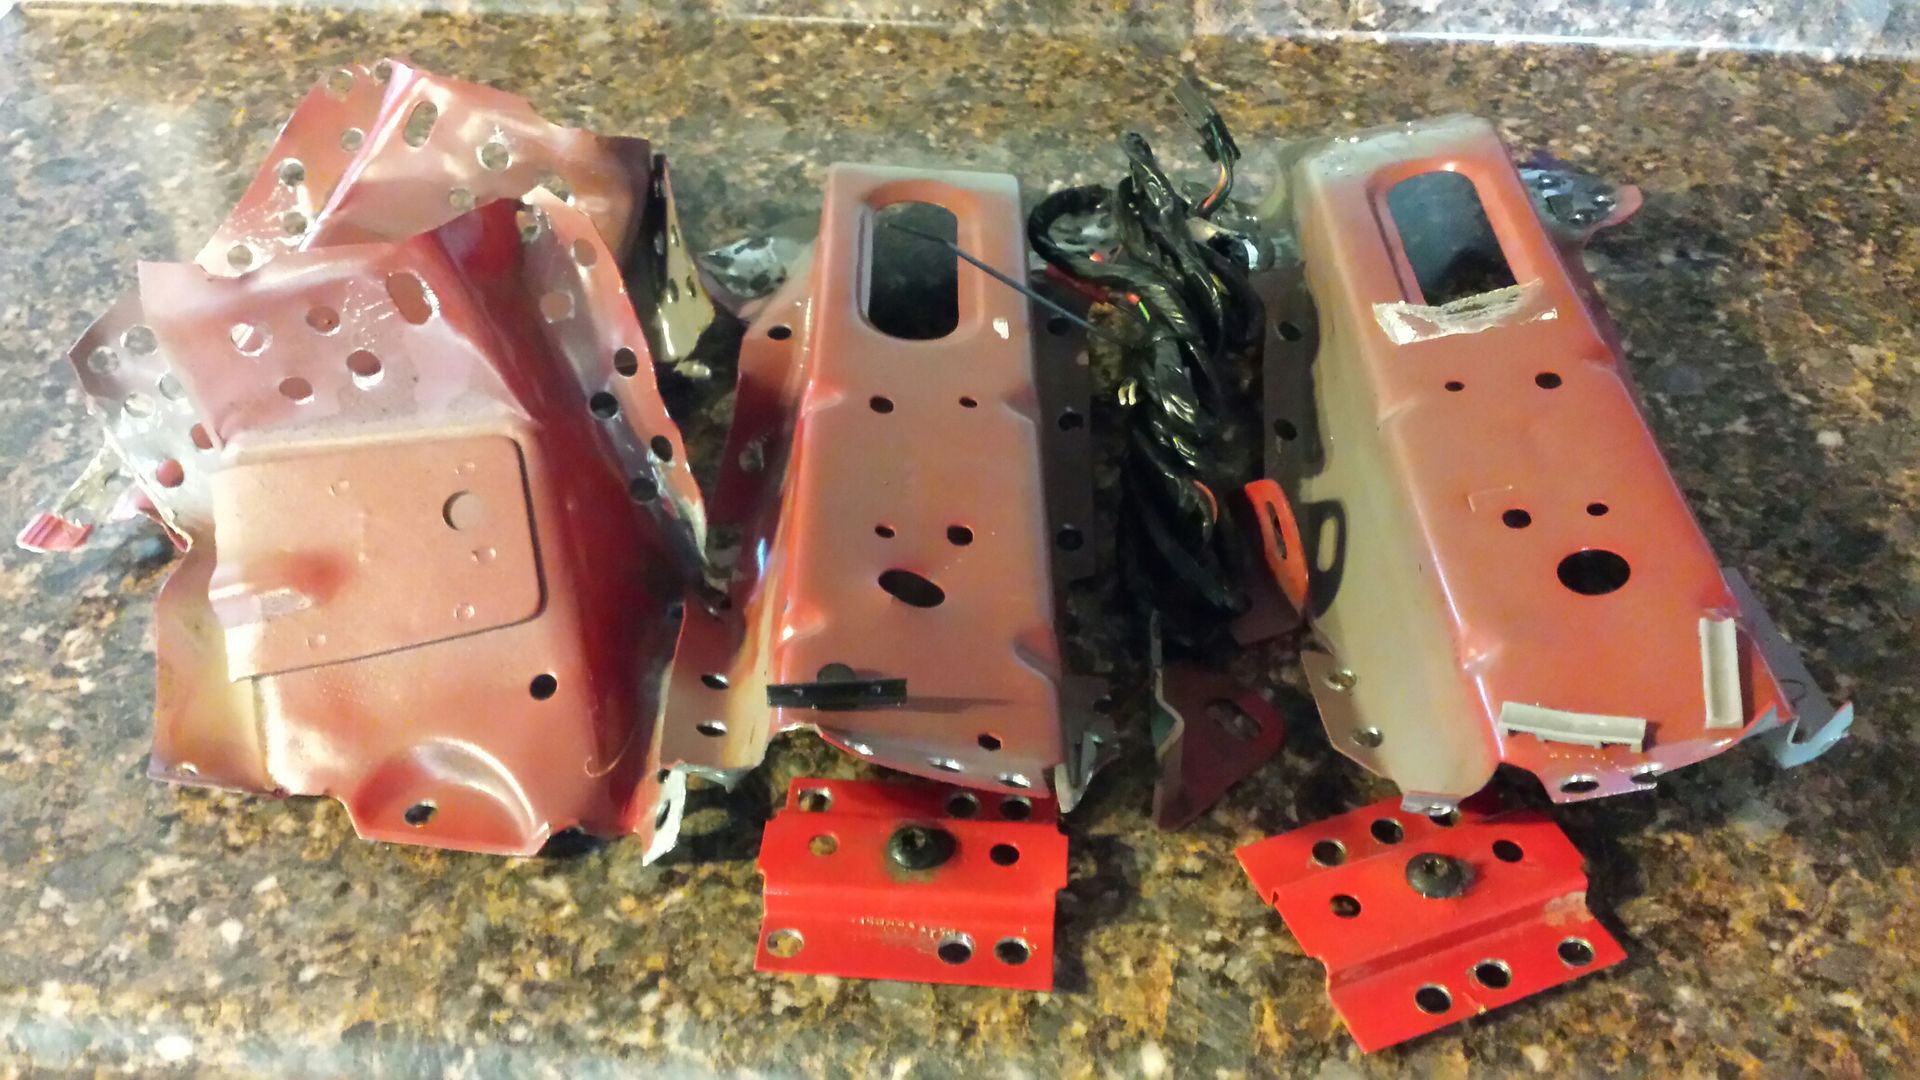
Back seat armrests kicked my butt. Not removing the rest of the brackets because they will get cut out with the tubs.
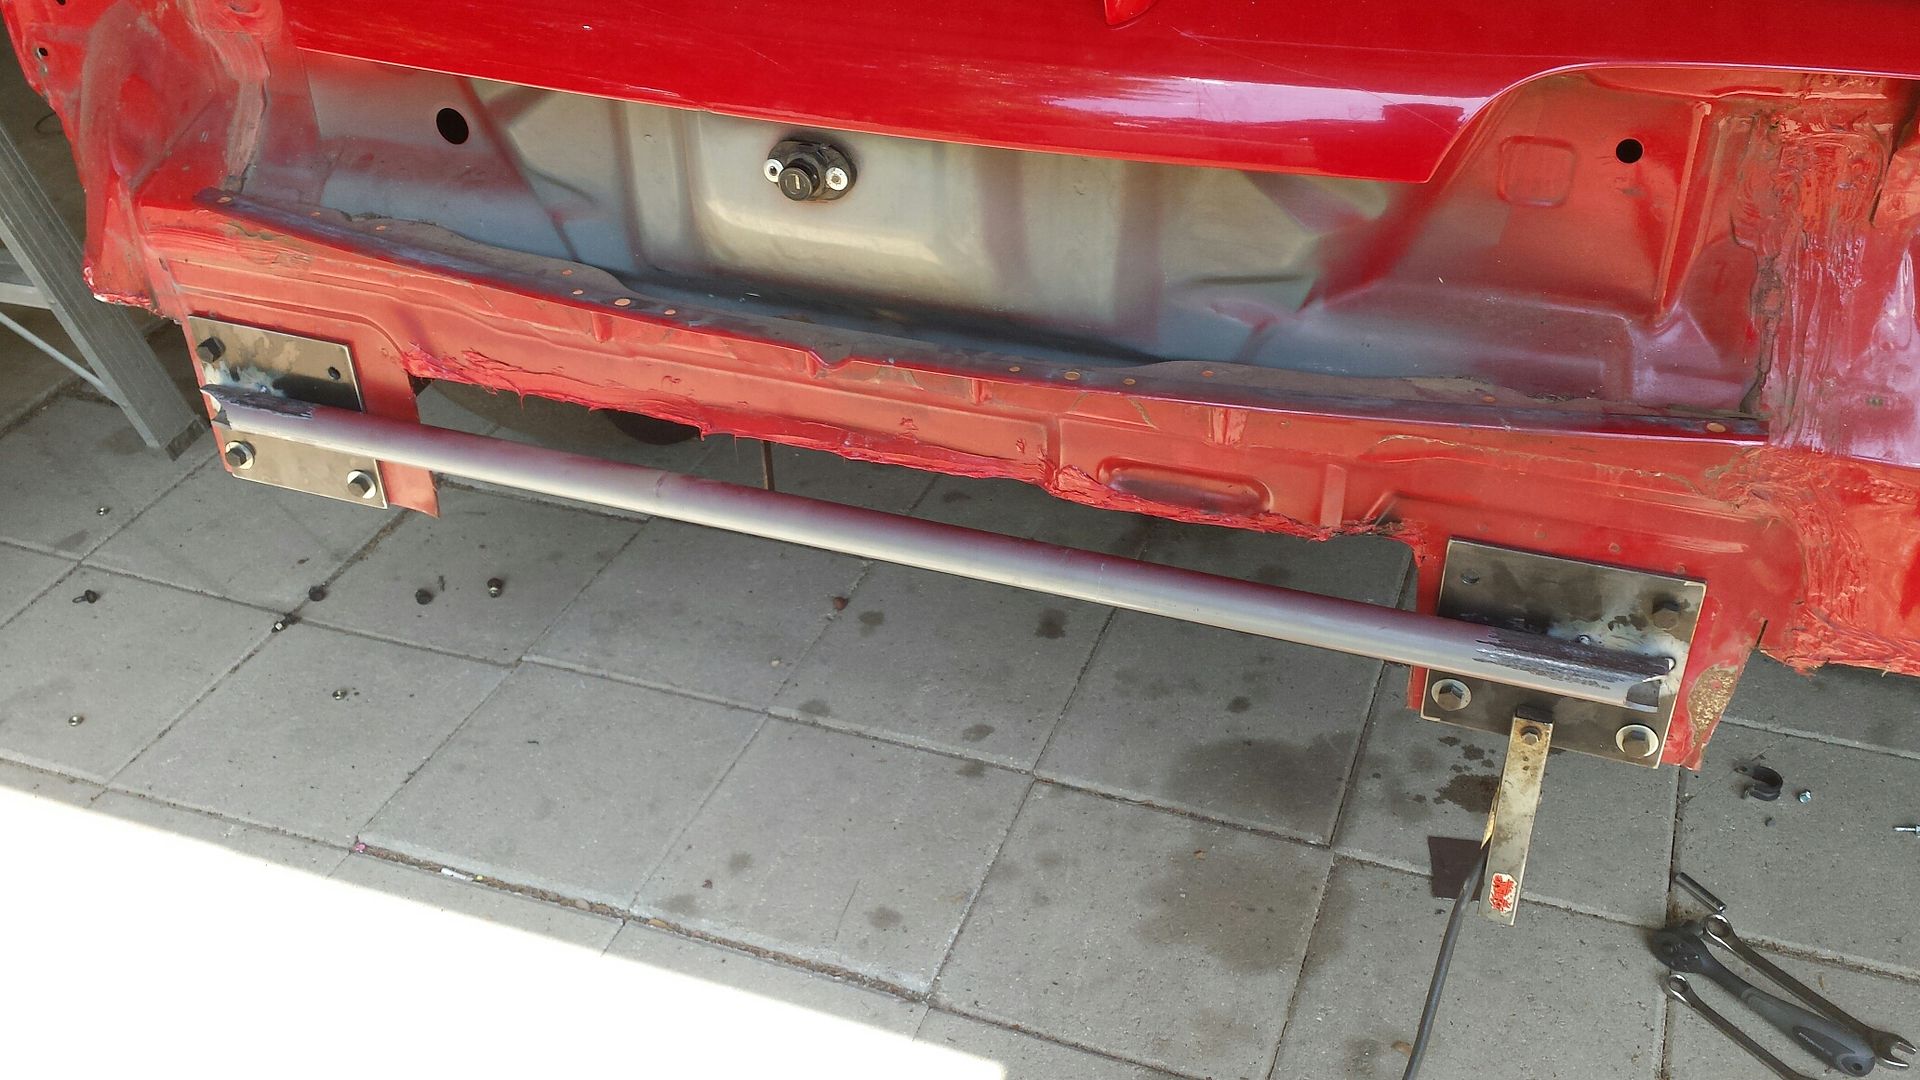
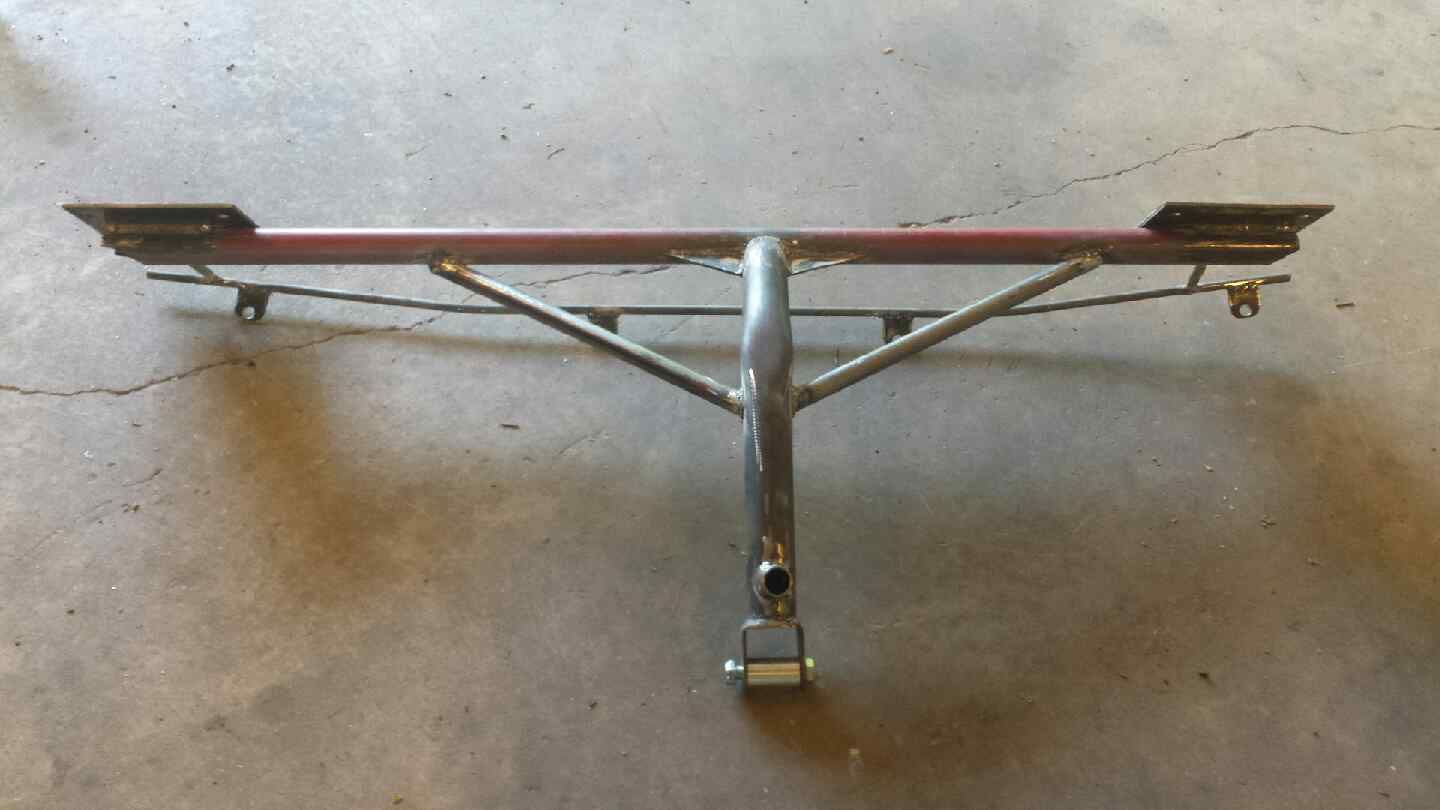
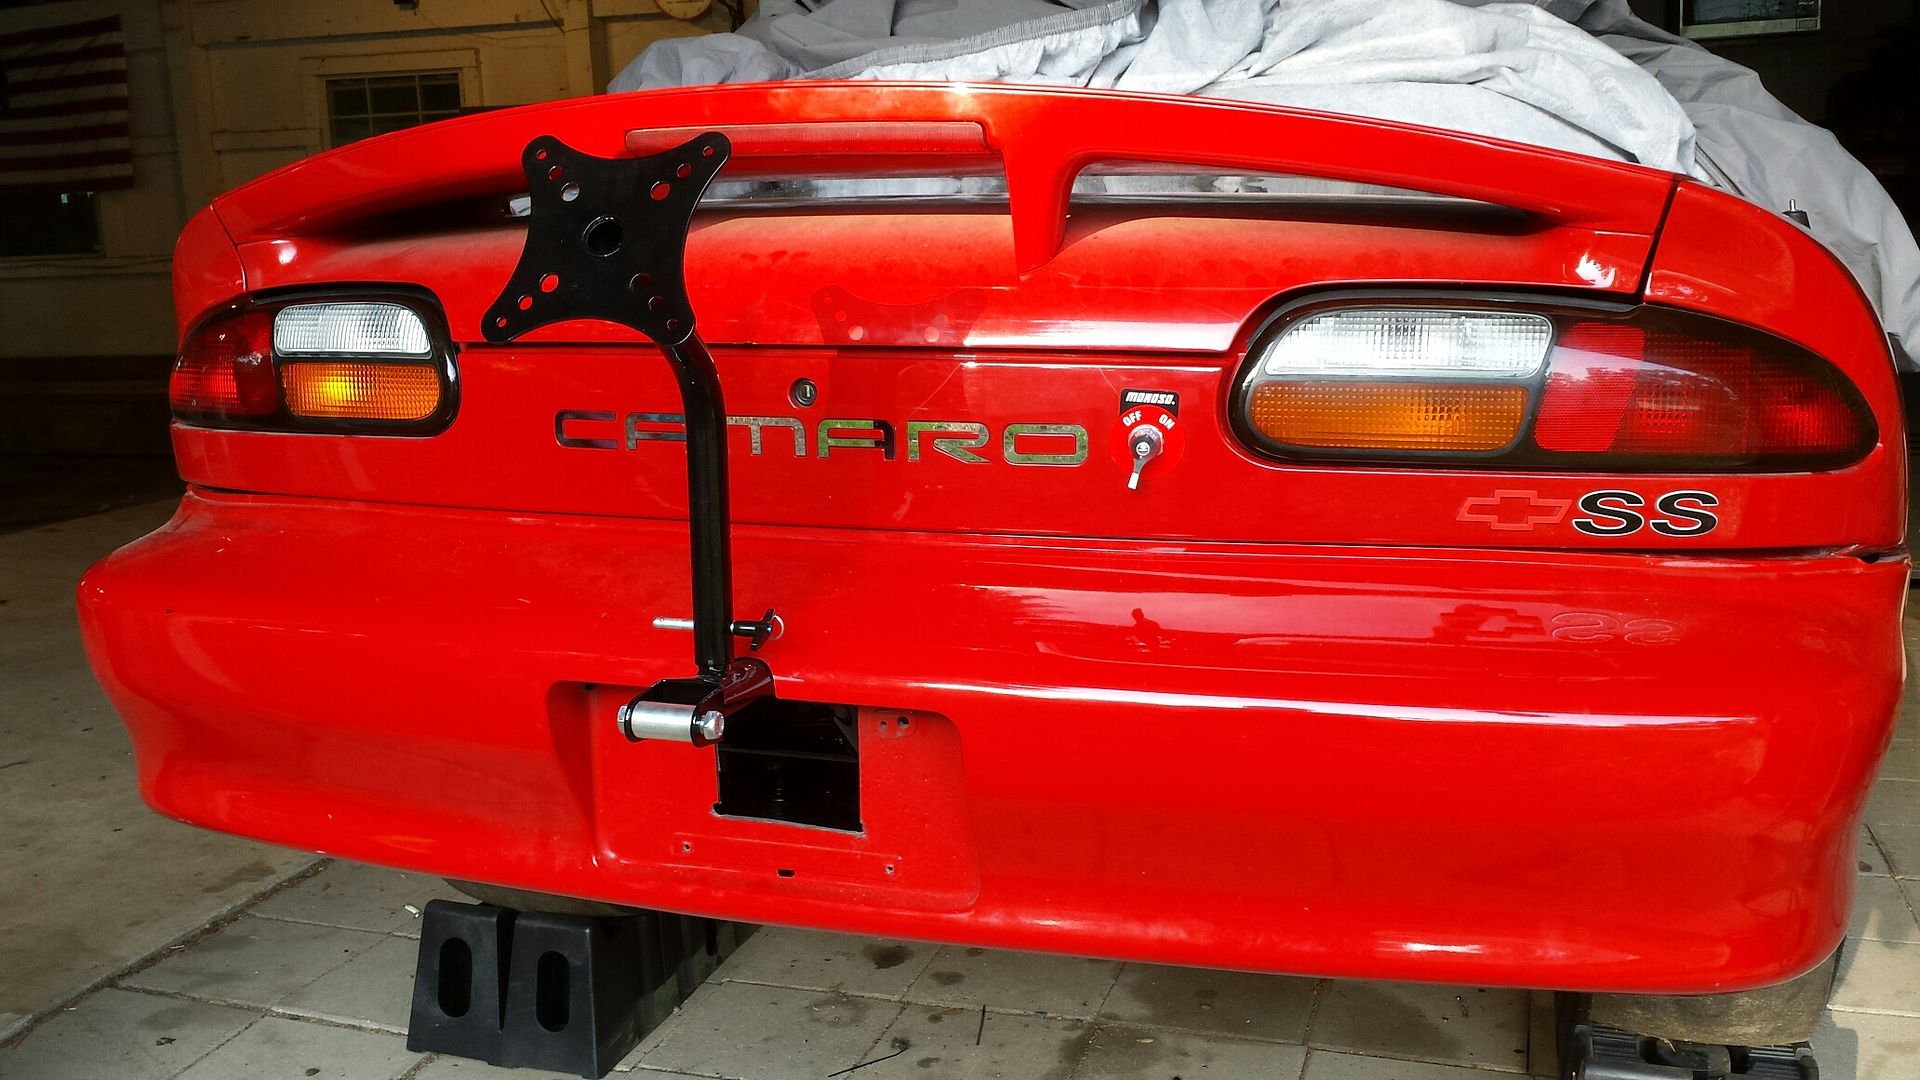
Mount back from powder coat.
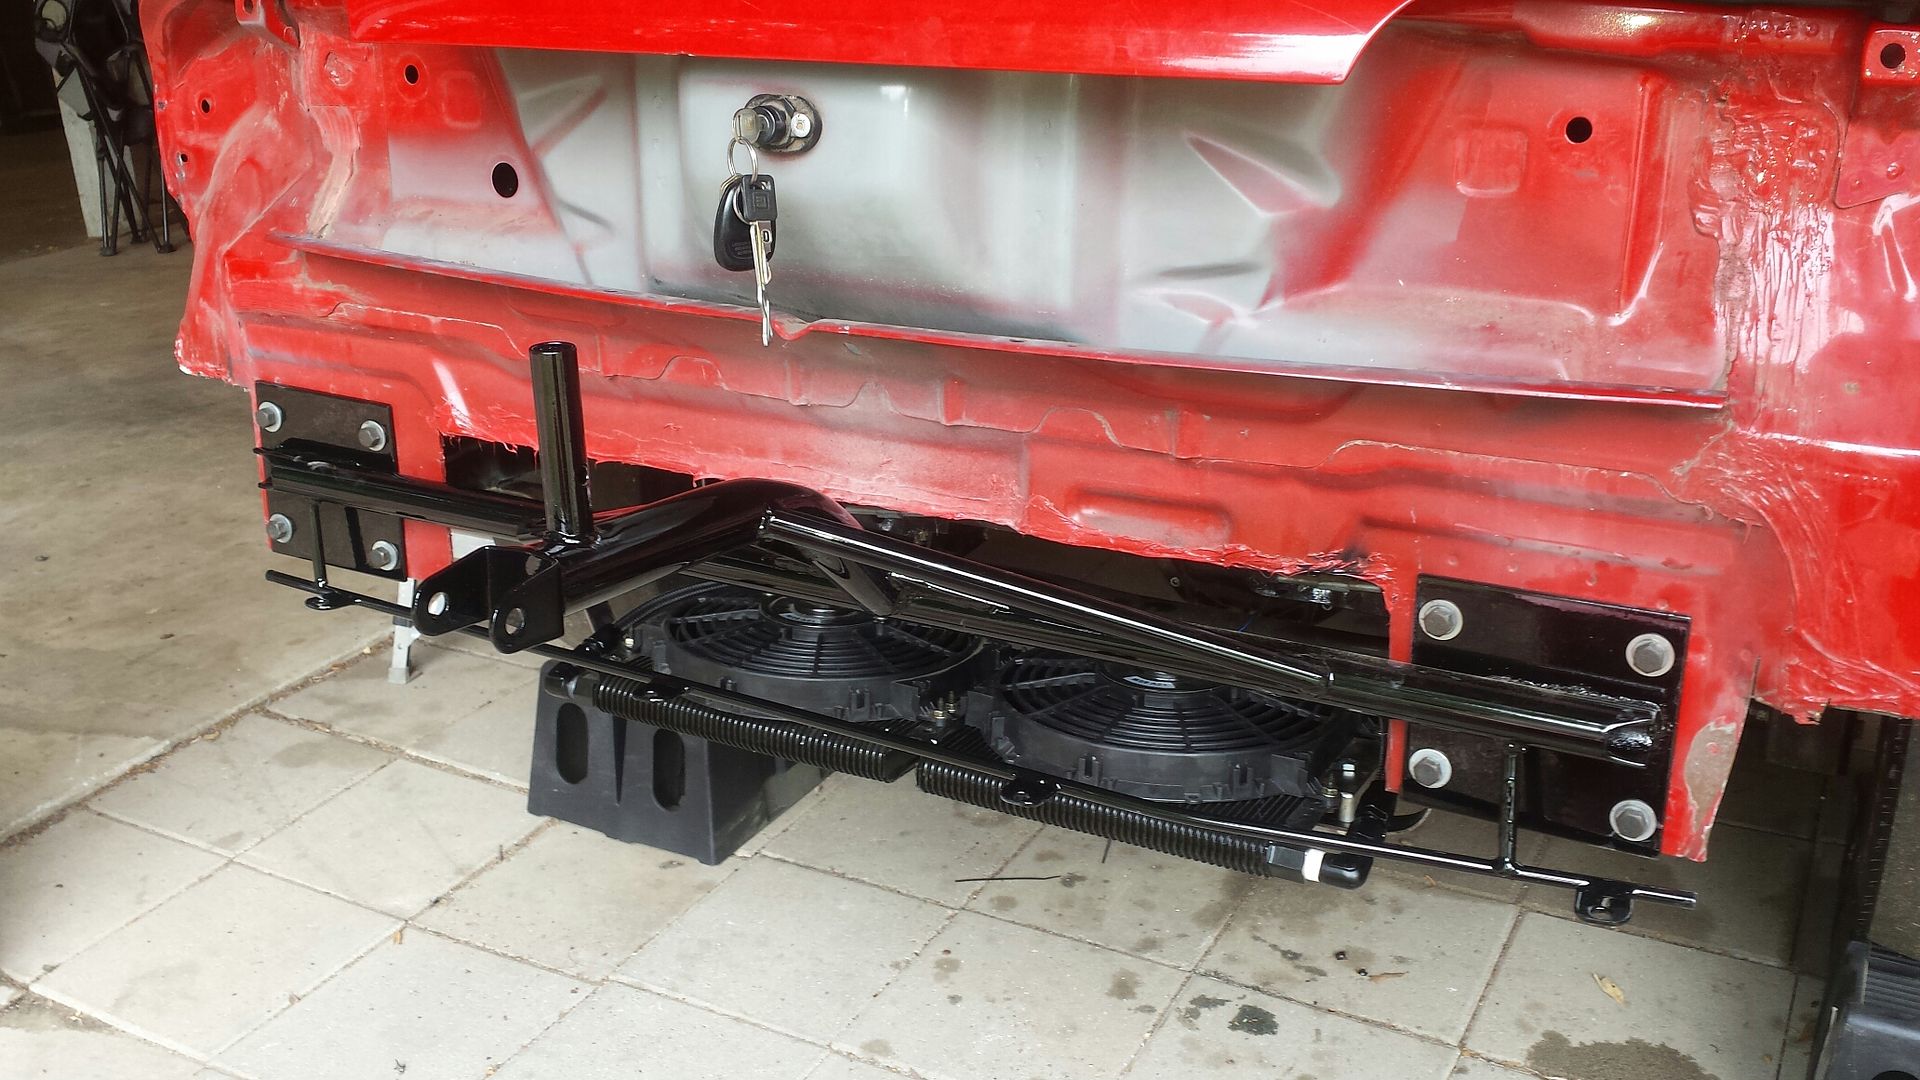
Quick mock-up, no bolts in the bumper.
Got the battery box mounted to the floor.
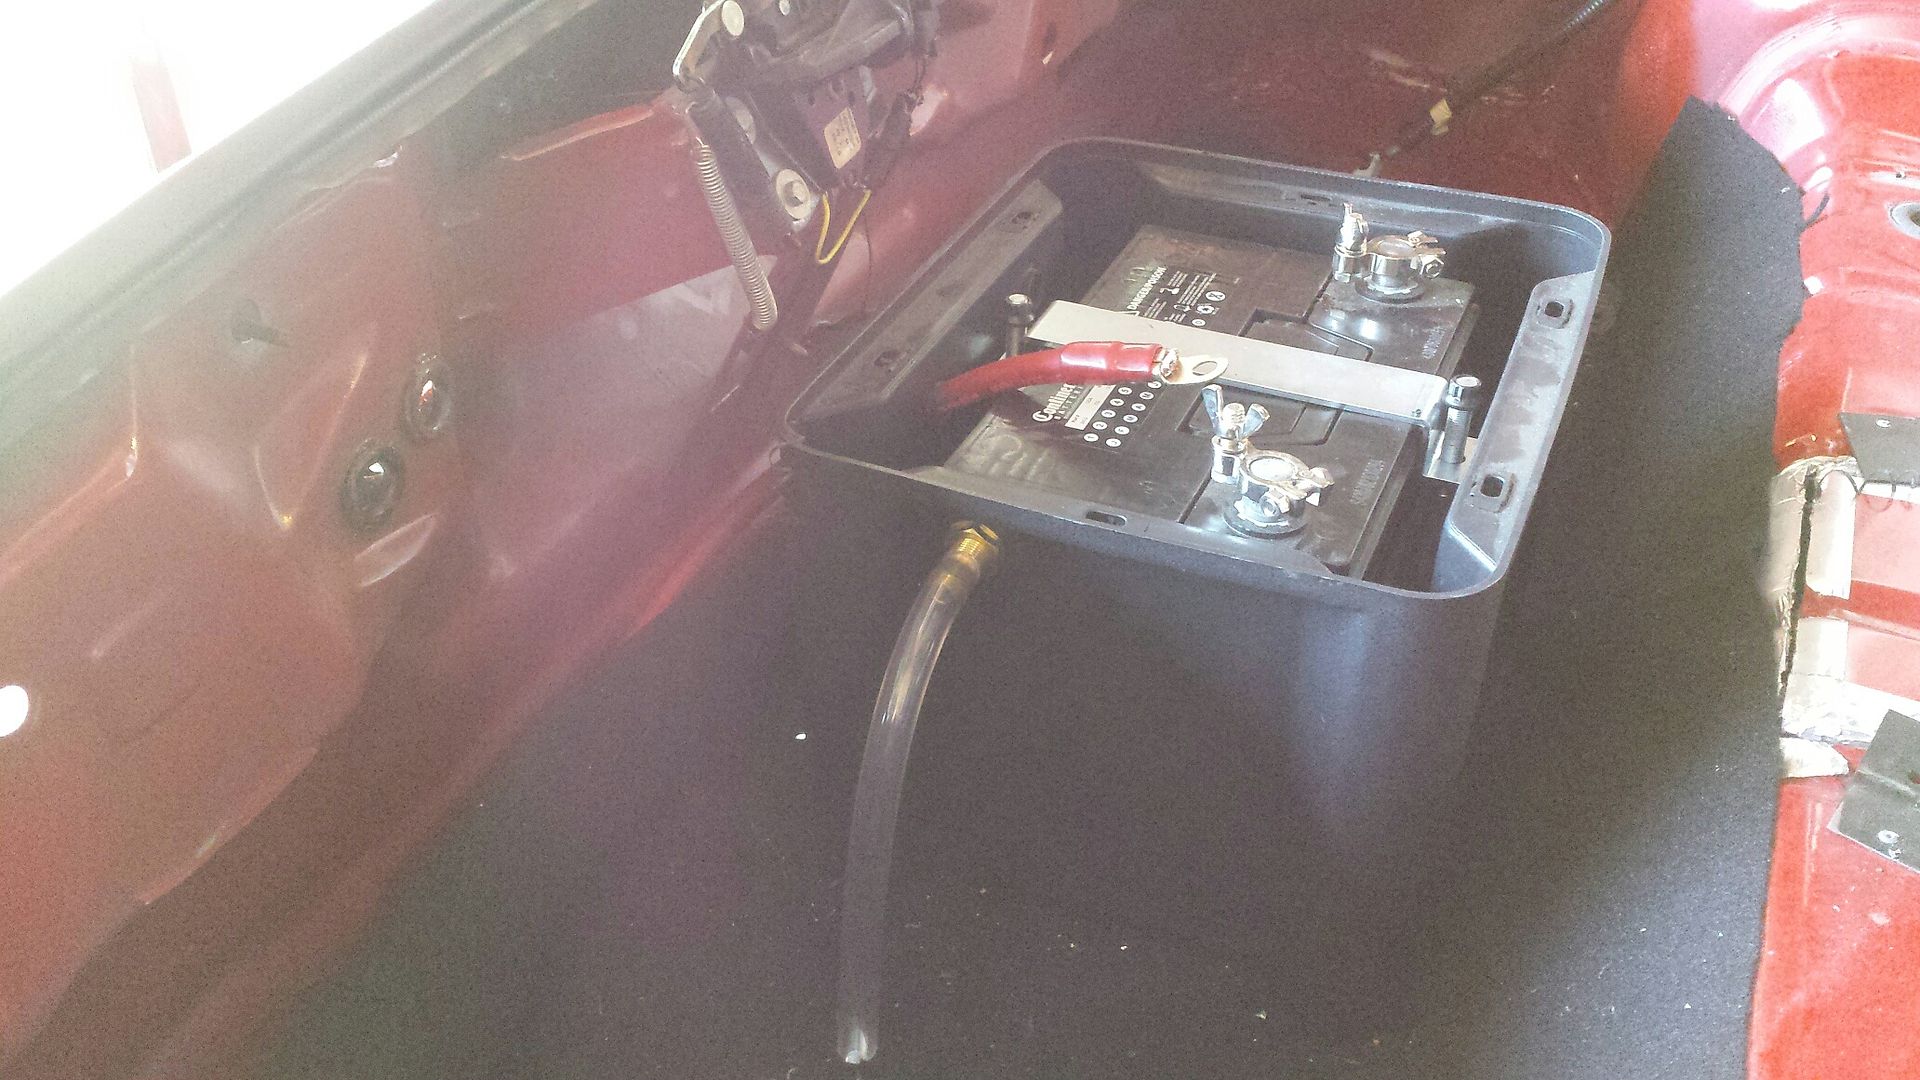
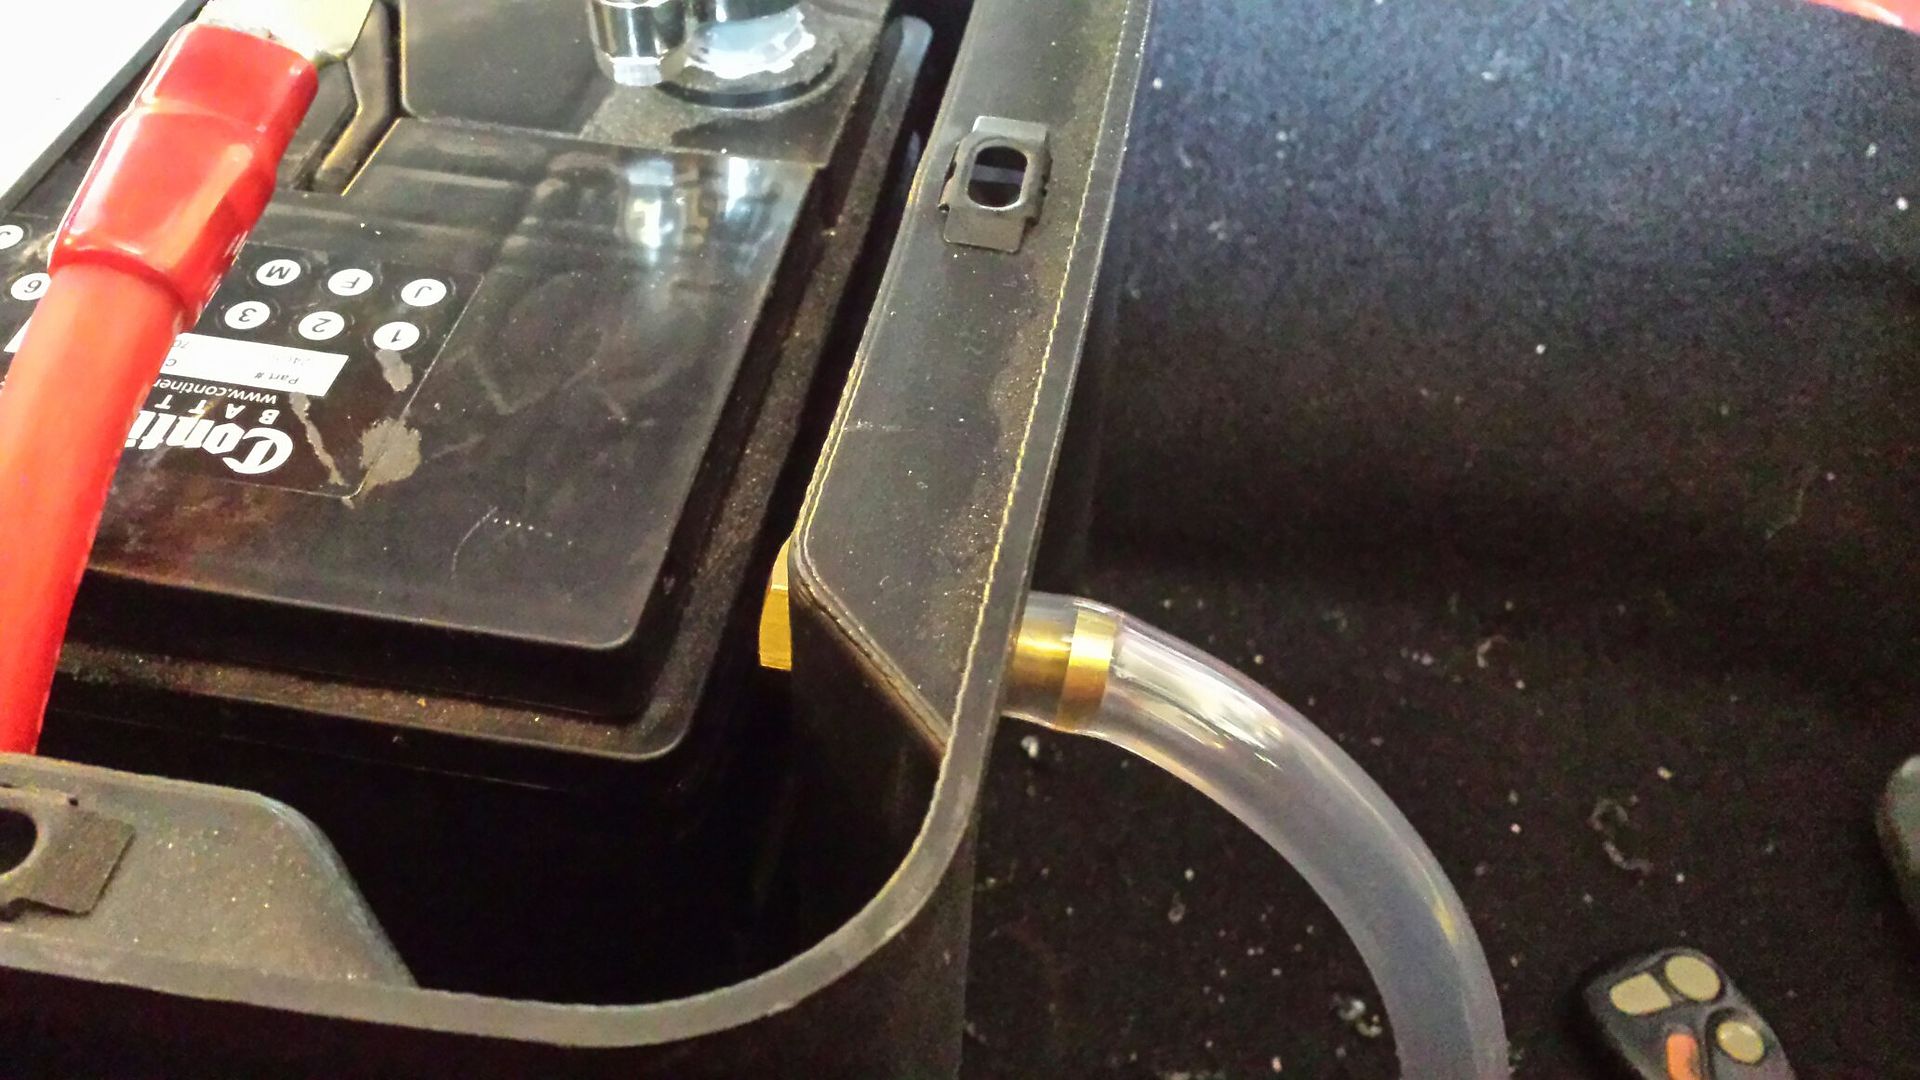
Bought a brass 3/8" bulkhead, trimmed the inner side off, and hooked the box's vent tube to it.
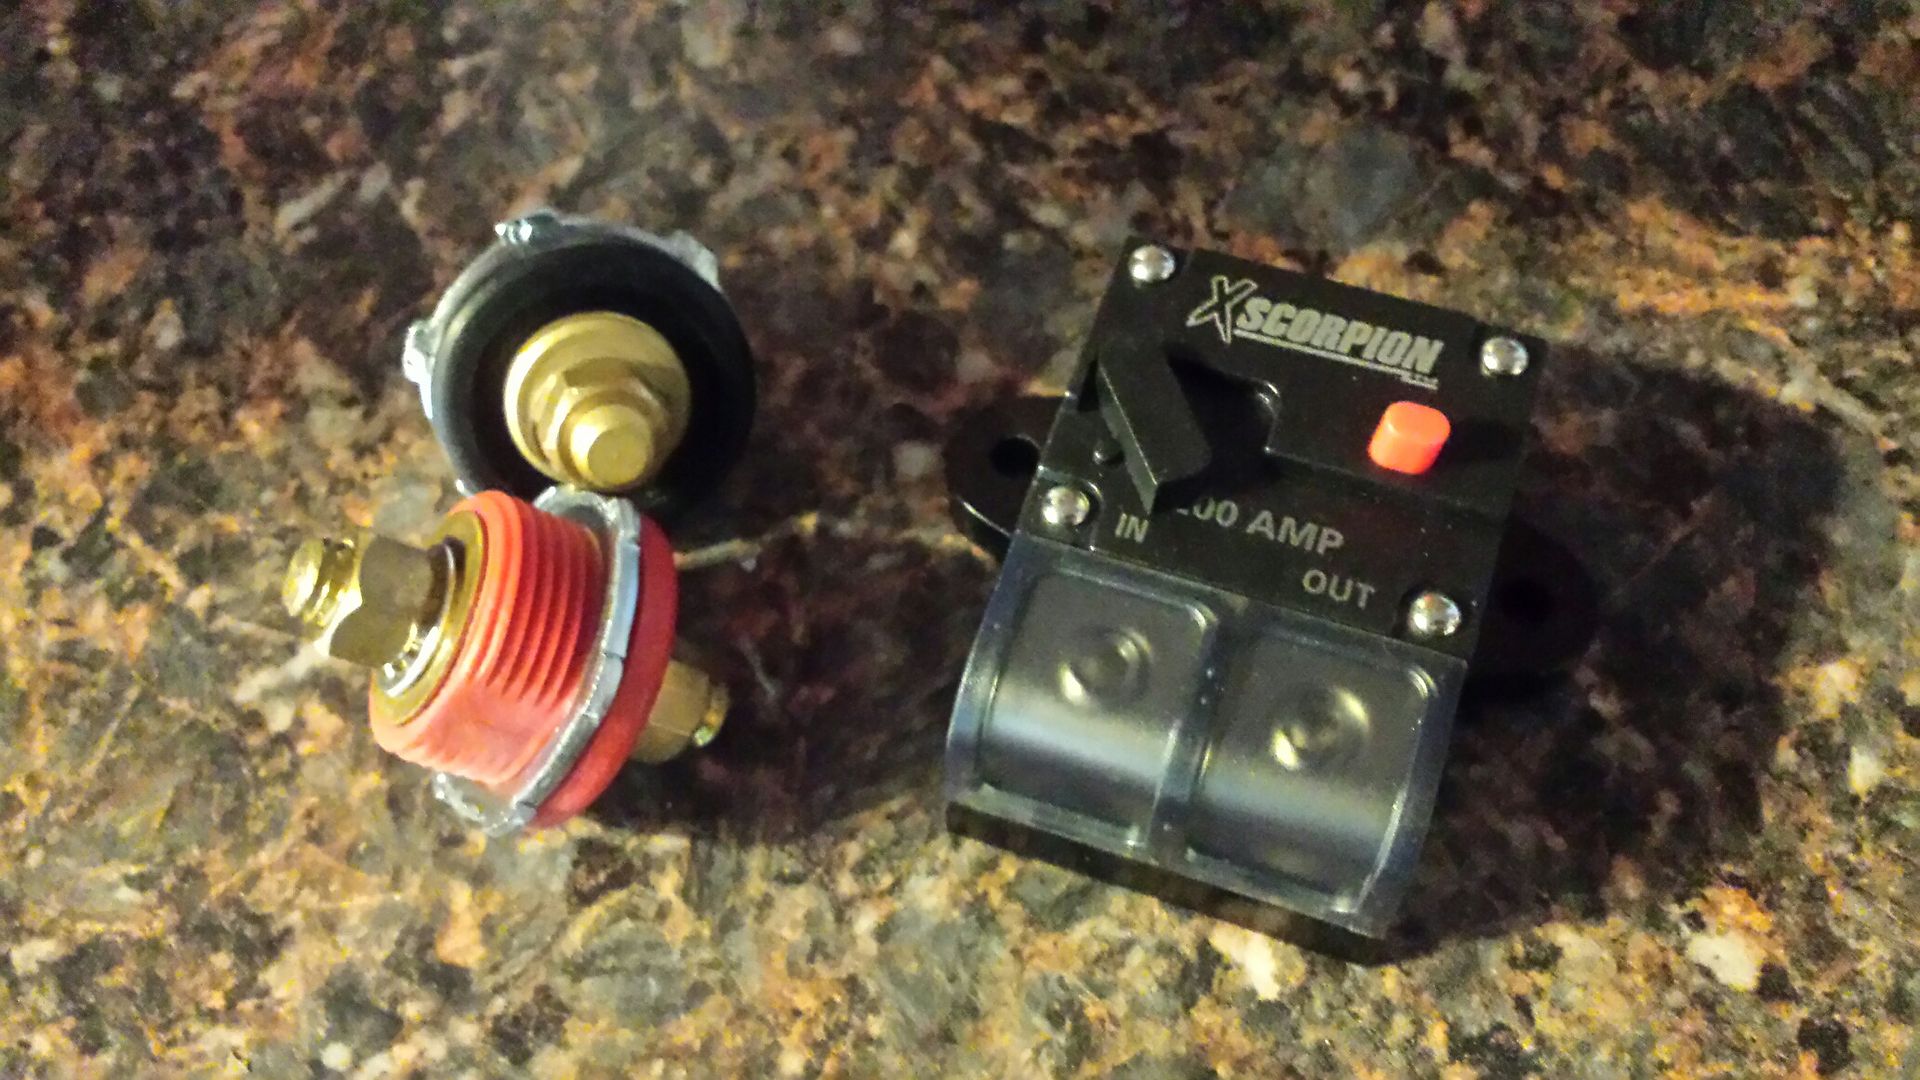
These are terminal bulkheads, and a shut off breaker. Shut off breaker will control the alt, so in the event of a wreck (short) the alt line is killed. The rest of the + power will go to the bulkhead on the firewall and be distributed from there. All that will get killed by the external switch of the back panel. The alt will stay live during a power down to save the diodes inside it.
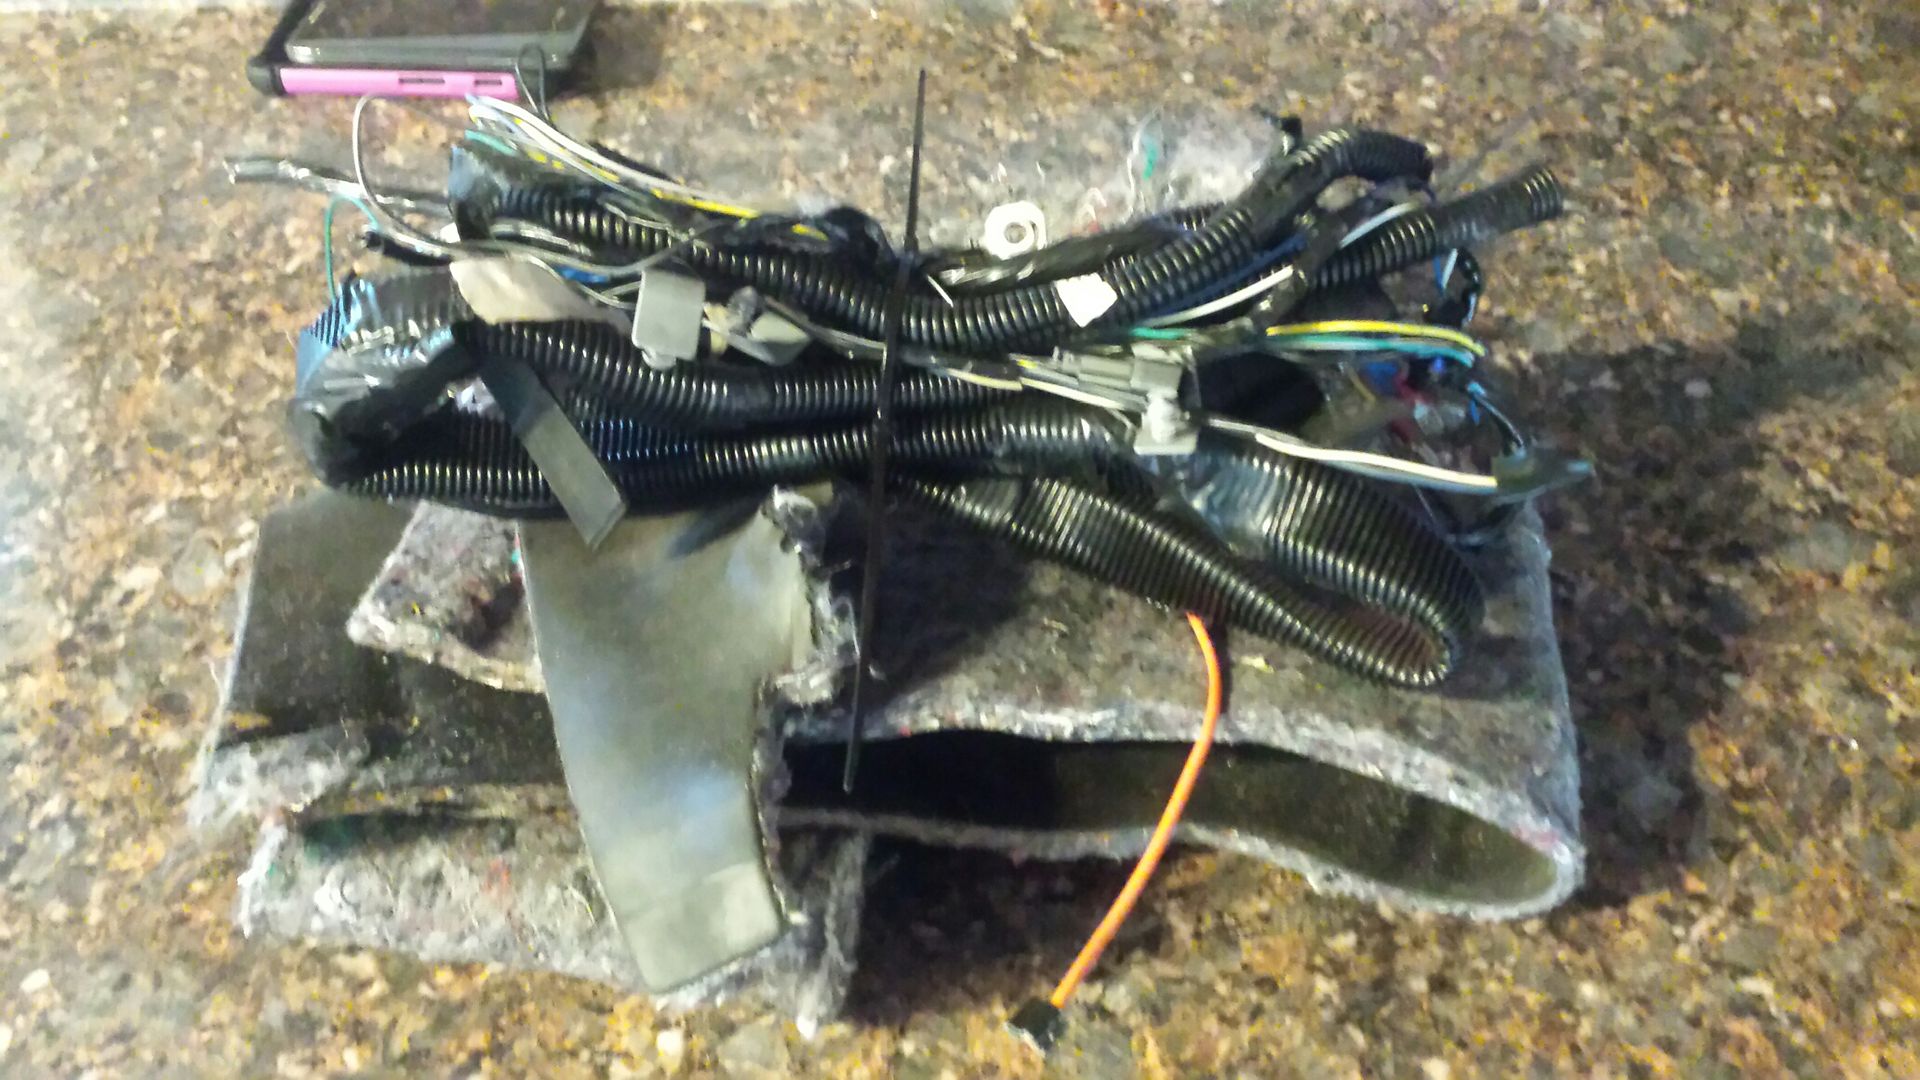
Car is gutted except the dash. This is trans tunnel padding and all the remaining wire thats not needed from the dash back. Including all audio, center console airbag, power driver seat, and power mirror. If it doesnt make the engine run, lights work, or gauges work, its gone. The exception will be electronic hatch release, and power windows and locks.
Next up is under dash wiring. Wish me luck!!!
Bought this little dealie. Spot weld cutter.

Works pretty good. Lets see what else I can F up.

Back seat armrests kicked my butt. Not removing the rest of the brackets because they will get cut out with the tubs.

Mount back from powder coat.

Quick mock-up, no bolts in the bumper.

Got the battery box mounted to the floor.

Bought a brass 3/8" bulkhead, trimmed the inner side off, and hooked the box's vent tube to it.

These are terminal bulkheads, and a shut off breaker. Shut off breaker will control the alt, so in the event of a wreck (short) the alt line is killed. The rest of the + power will go to the bulkhead on the firewall and be distributed from there. All that will get killed by the external switch of the back panel. The alt will stay live during a power down to save the diodes inside it.

Car is gutted except the dash. This is trans tunnel padding and all the remaining wire thats not needed from the dash back. Including all audio, center console airbag, power driver seat, and power mirror. If it doesnt make the engine run, lights work, or gauges work, its gone. The exception will be electronic hatch release, and power windows and locks.

Next up is under dash wiring. Wish me luck!!!