
Swapping Engines, 2nd time


Thread Starter
|
1st Gear Member
Joined: Mar 2015
Posts: 190
Right down to business. The reason why we are here is (you did read the first thread right?) fast forward 1300 miles.
And a loud bang happens, motor oil a foot wide on the street for 200 feet and a cloud of smoke that would make a dragster
envious. I tow it home, and look underneath. The oil pan is still installed.
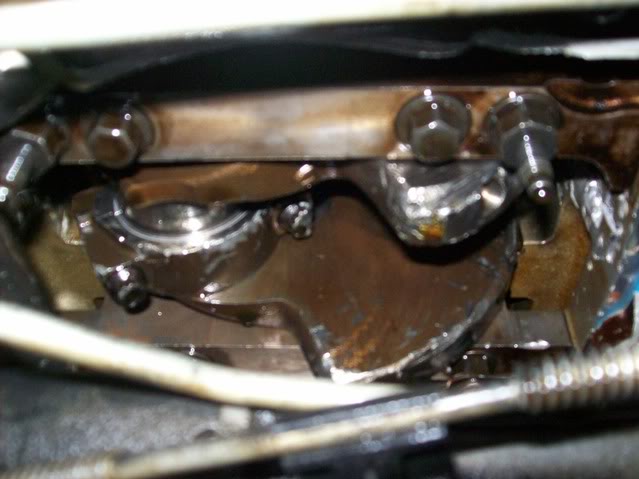
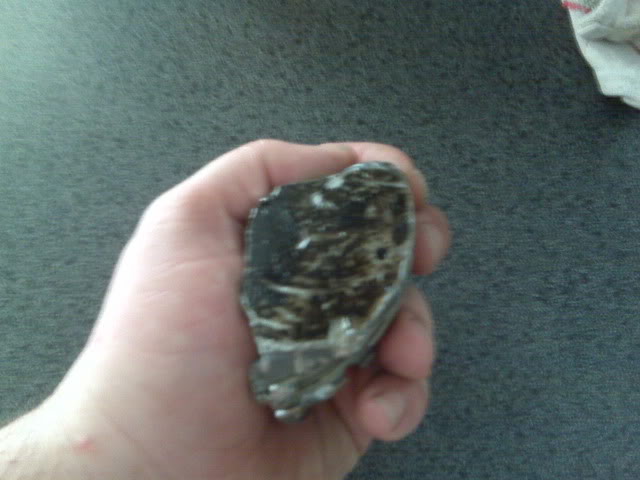
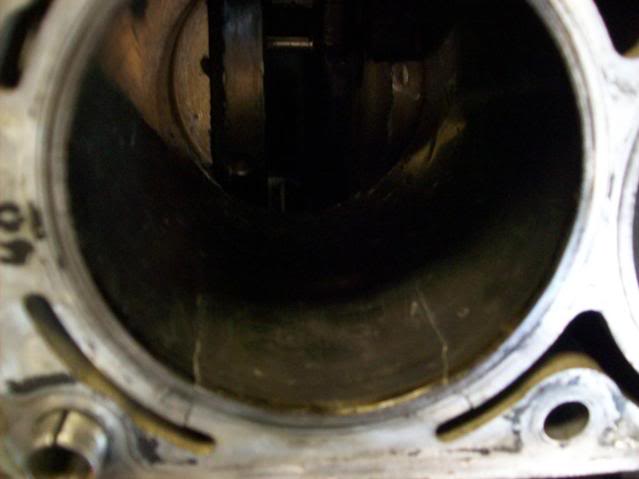
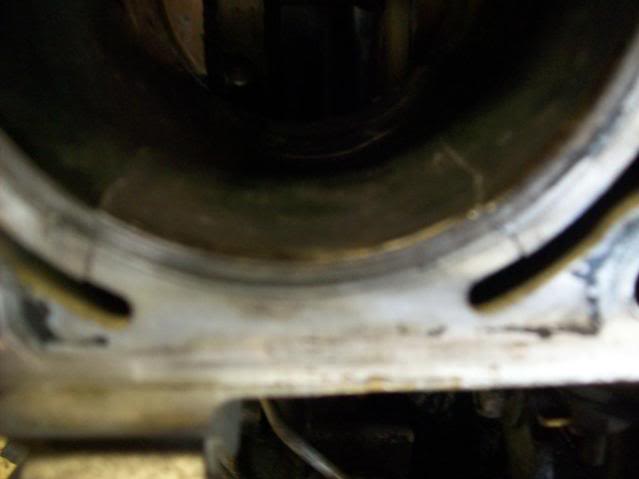
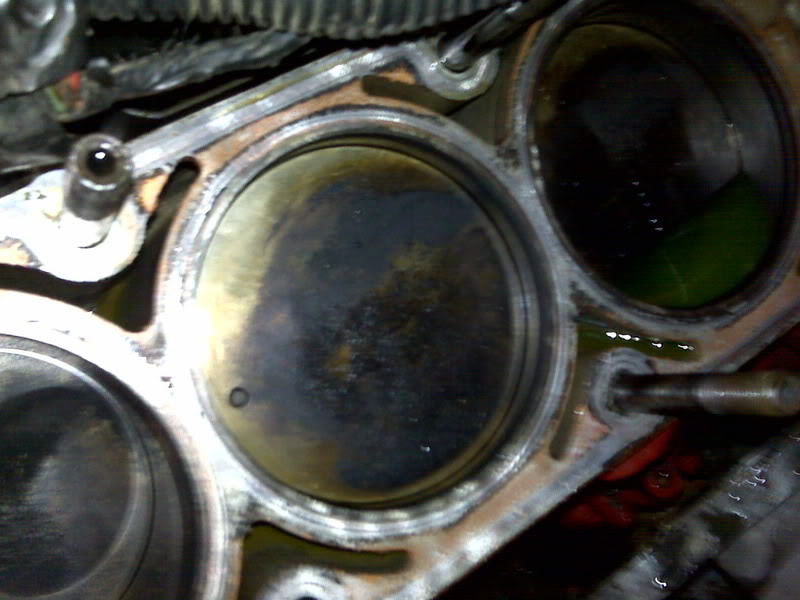
I found this resting on the k member.
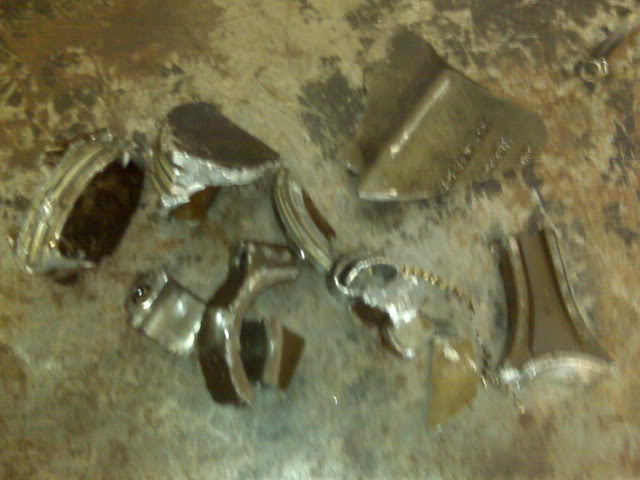
That's piston.
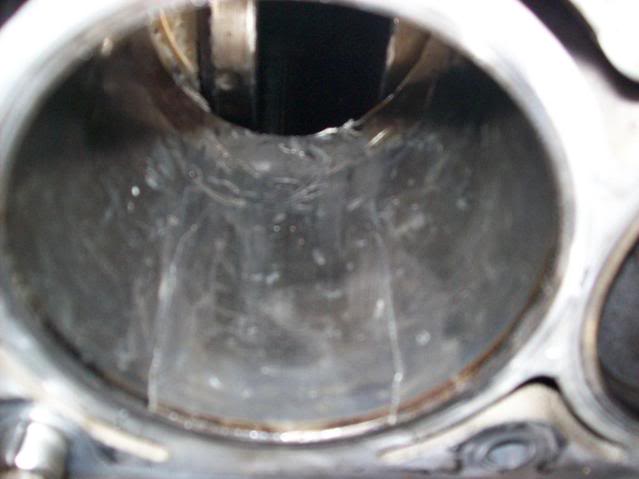
I found this in almost every intake port. Filled with Mobil 1.
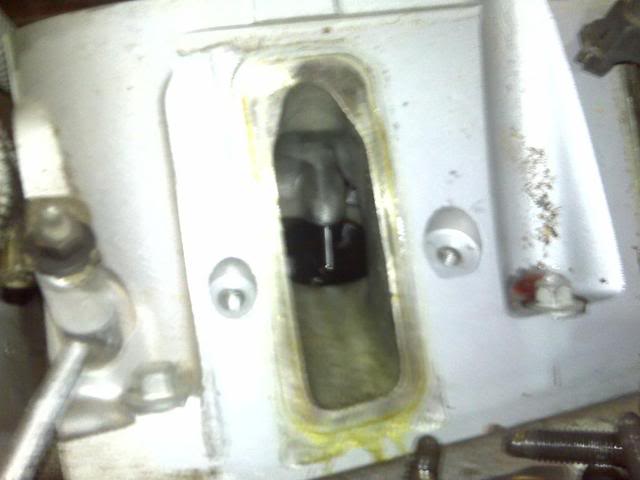
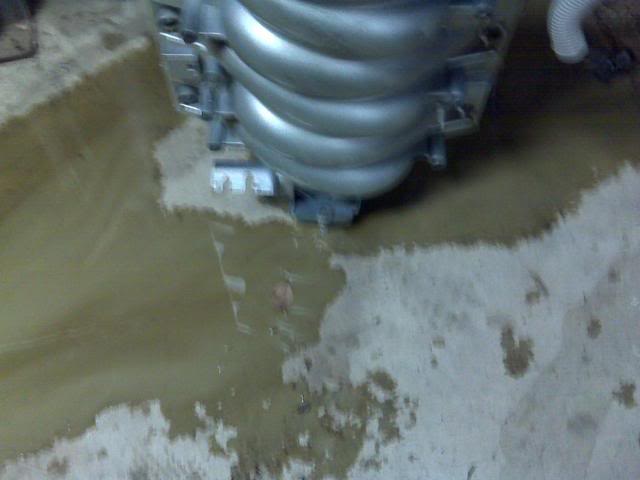
I tipped the intake over and found out it had some "juices" in it.
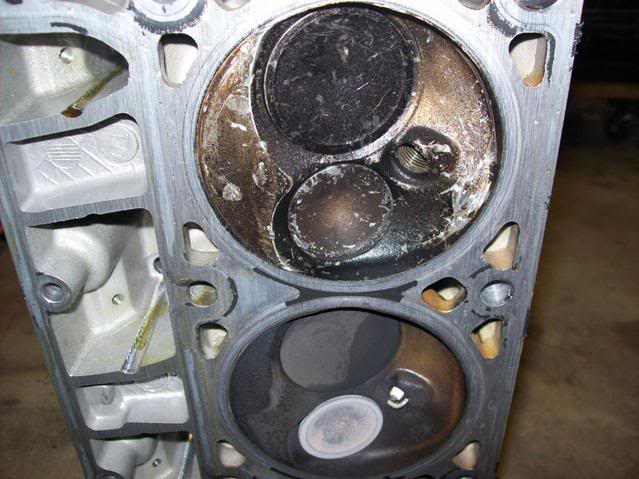
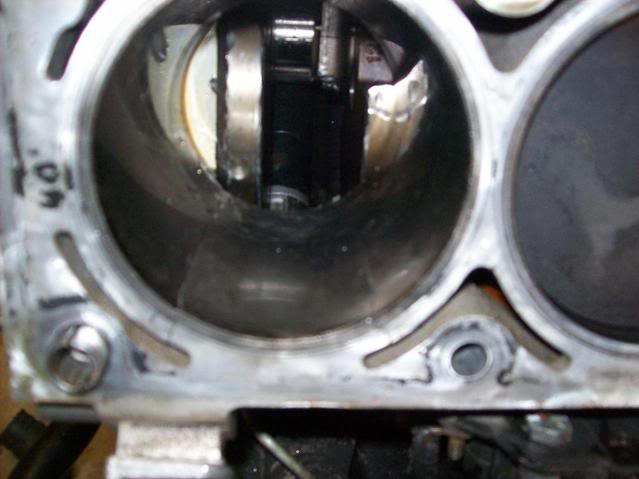
The driver cylinder head.
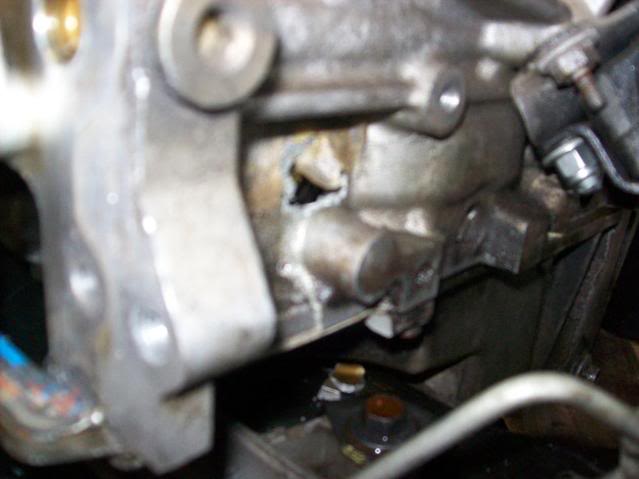
Auto oil drain. It's for when you want to lube the concrete.
And a loud bang happens, motor oil a foot wide on the street for 200 feet and a cloud of smoke that would make a dragster
envious. I tow it home, and look underneath. The oil pan is still installed.
I found this resting on the k member.
That's piston.
I found this in almost every intake port. Filled with Mobil 1.
I tipped the intake over and found out it had some "juices" in it.
The driver cylinder head.
Auto oil drain. It's for when you want to lube the concrete.
Thread Starter
|
1st Gear Member
Joined: Mar 2015
Posts: 190
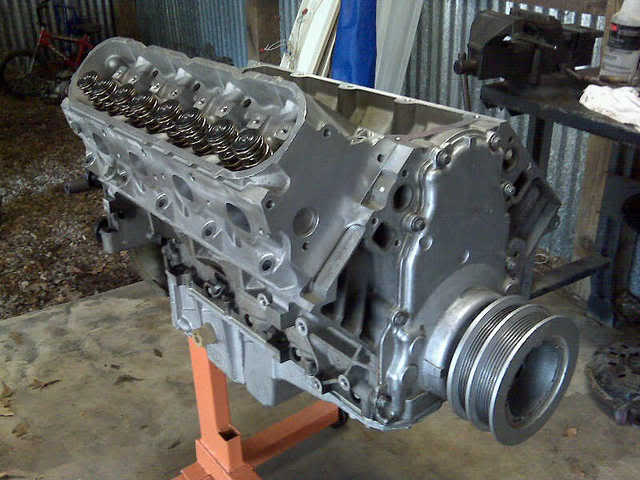
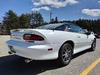
So I buy this.......an 04 LS6
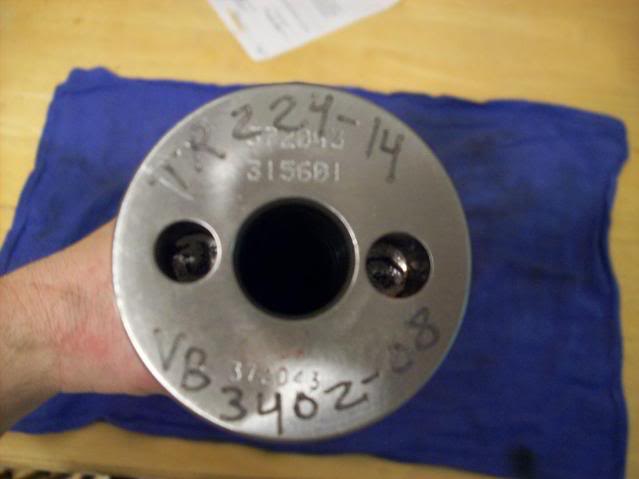
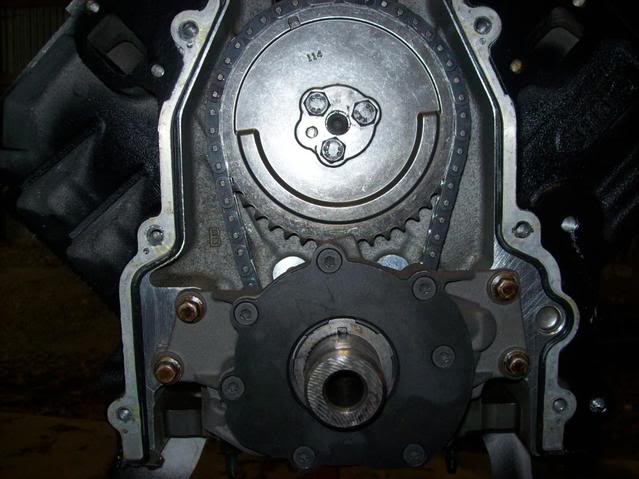
Its been a great cam.....but it's time to move forward. The old: TR224 114
Some sound clips of said cam:
tr224 114 sound clip - LS1TECH
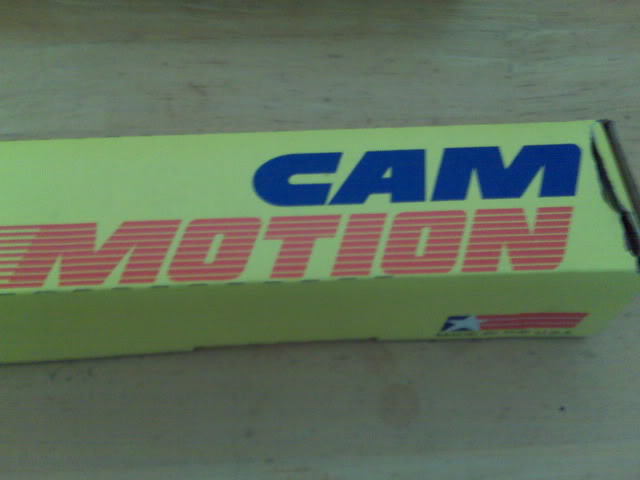
The new.........22x/23x .6xx/.6xx
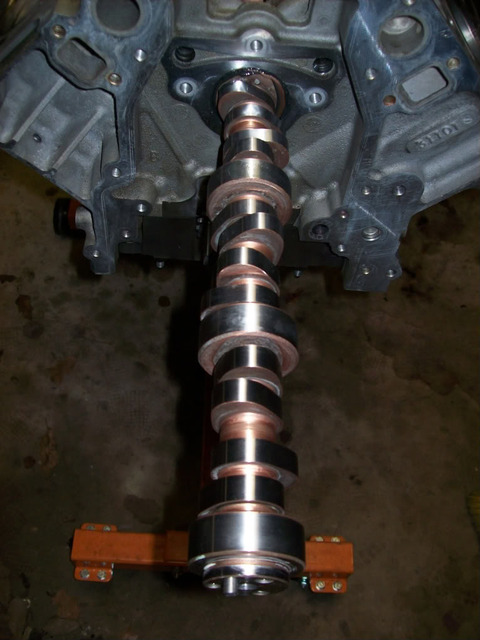
Lets pause for a photo op..........
Decided to throw a new Melling 10295 high pressure pump on it.
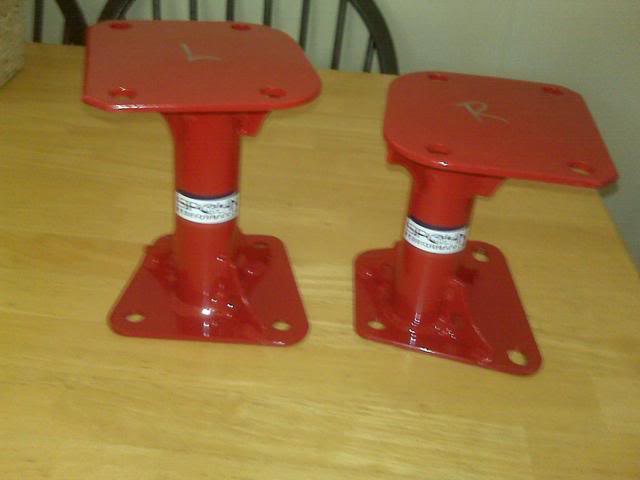
Gonna replace the Prothane polys with these.
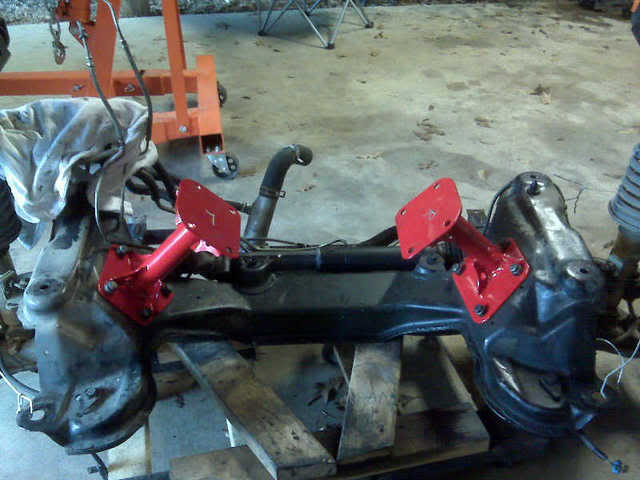
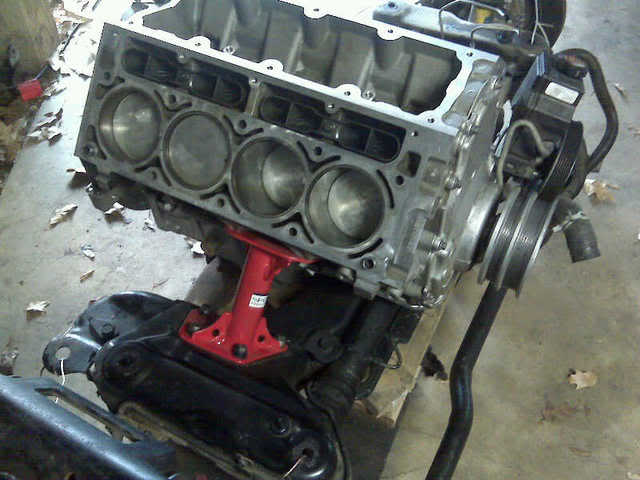
Test fit.
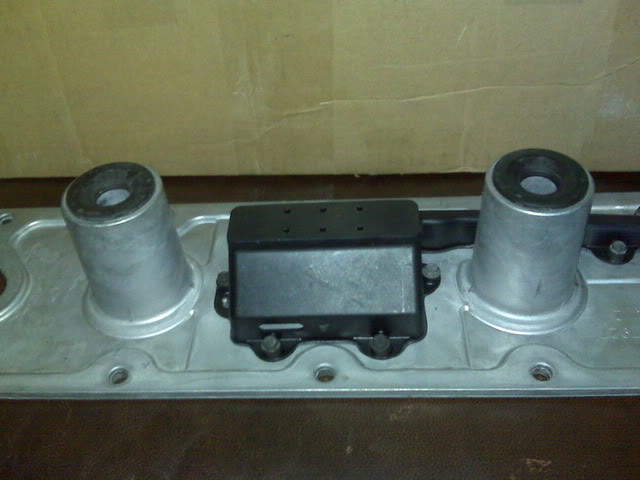
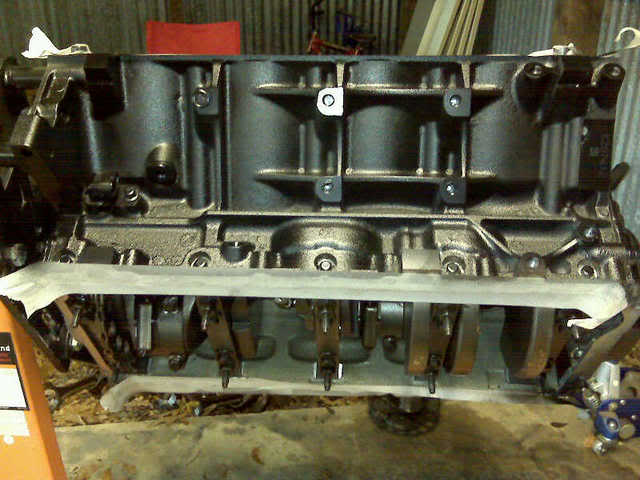
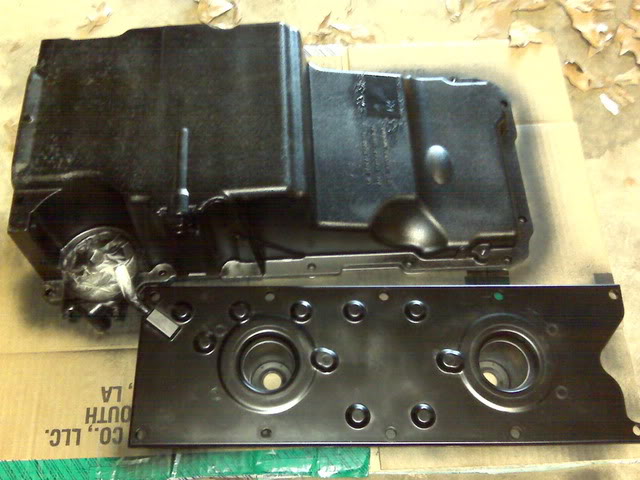
Decided to upgrade to the newer LS6 style valley cover
Thread Starter
|
1st Gear Member
Joined: Mar 2015
Posts: 190
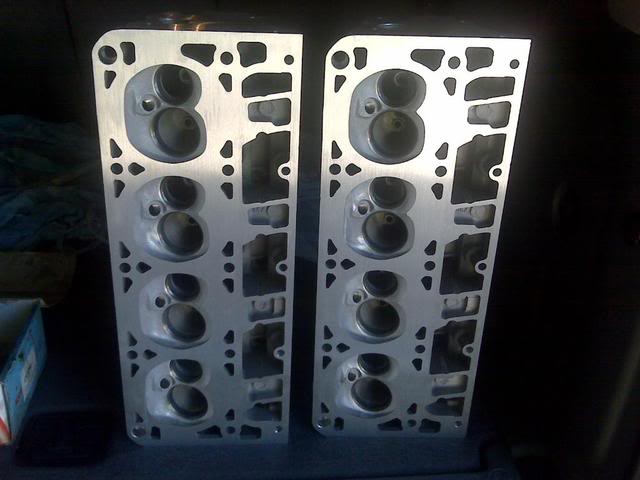
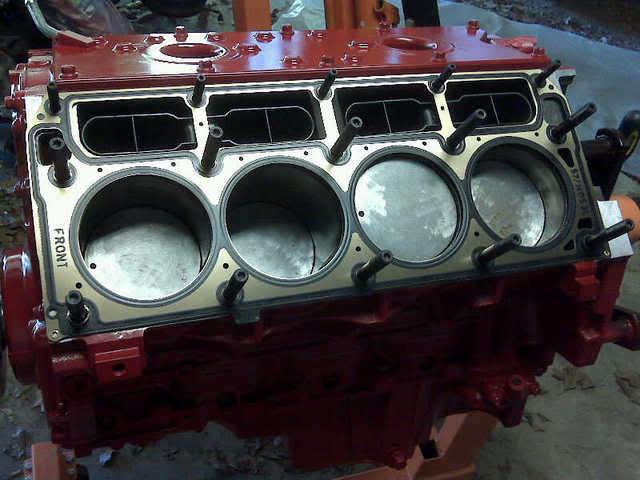
799 casting heads just back from the machine shop
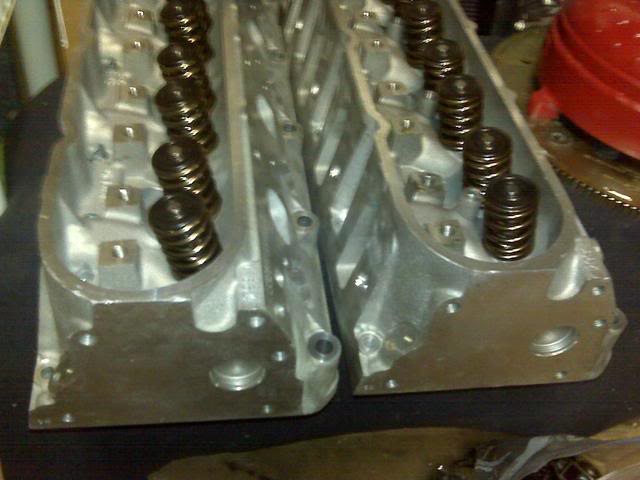
They get a set of Lunati Golds
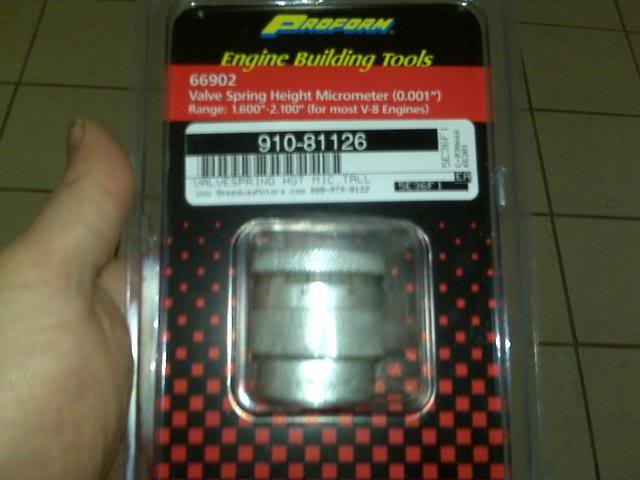
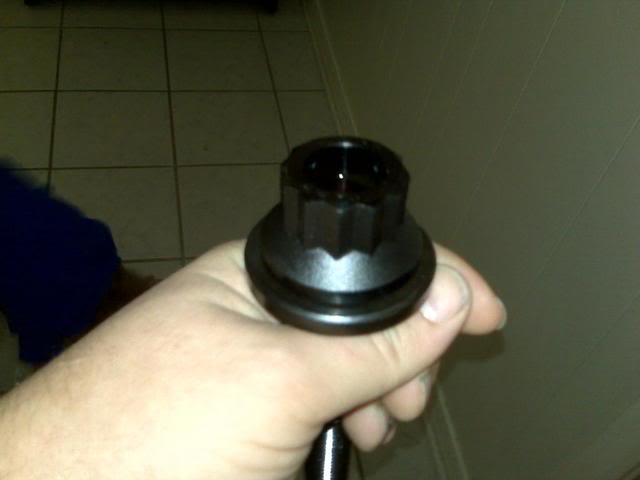
I measured installed height with this.
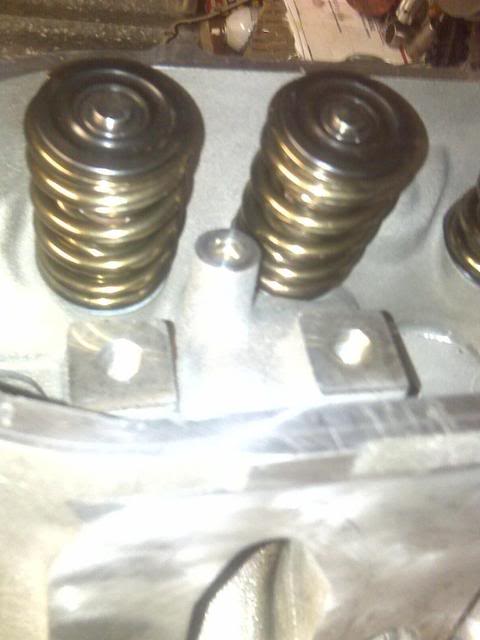
Mock up to check my PTV clearance
The prettiest single bolt I have ever purchased, and likely the most expensive.
Time to freshen, renew, rejuvenate......
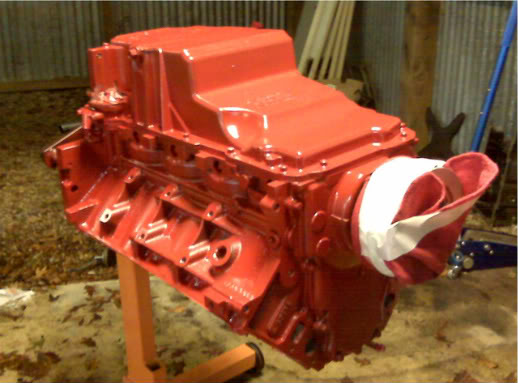
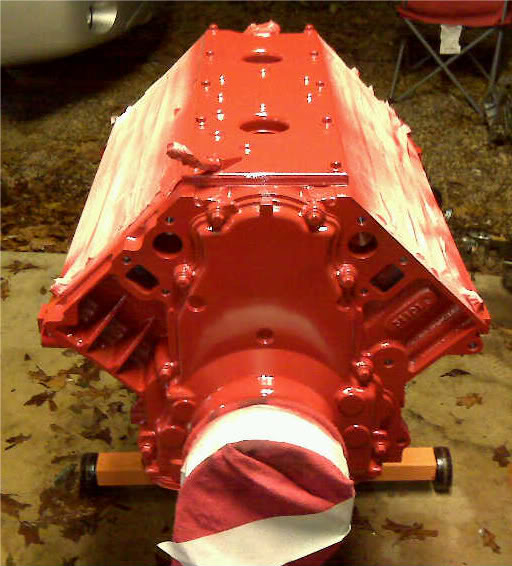
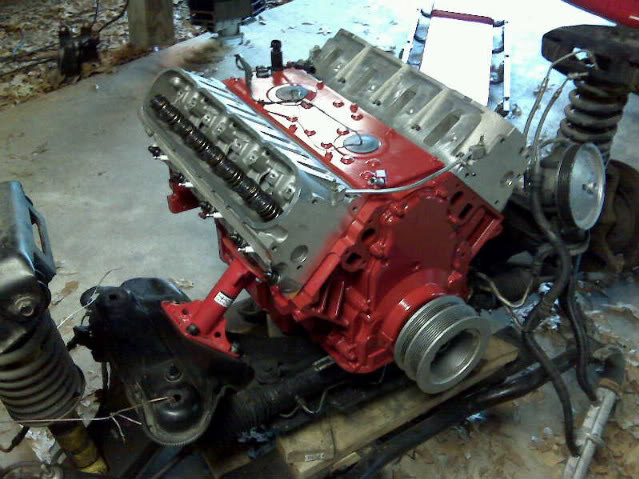
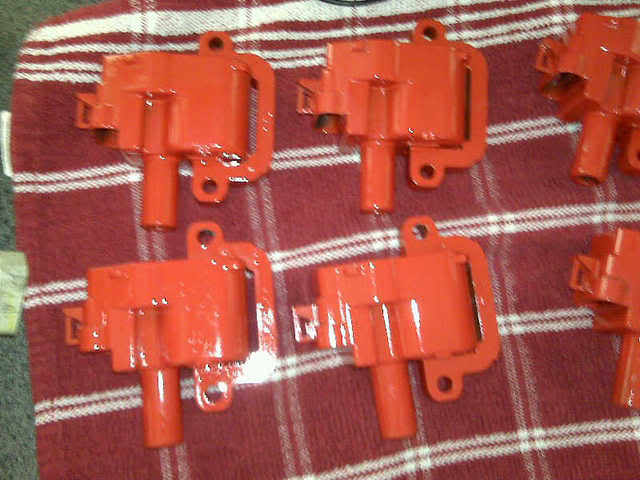
Time for some color yo................how about fire engine red!!!
They get a set of Lunati Golds
I measured installed height with this.
Mock up to check my PTV clearance
The prettiest single bolt I have ever purchased, and likely the most expensive.
Time to freshen, renew, rejuvenate......
Time for some color yo................how about fire engine red!!!
Thread Starter
|
1st Gear Member
Joined: Mar 2015
Posts: 190
ARP heads studs with GM MLS gaskets
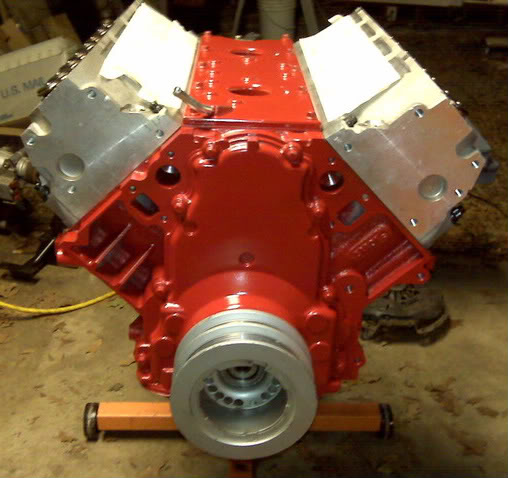
Final assembly
Decided to put these on as well

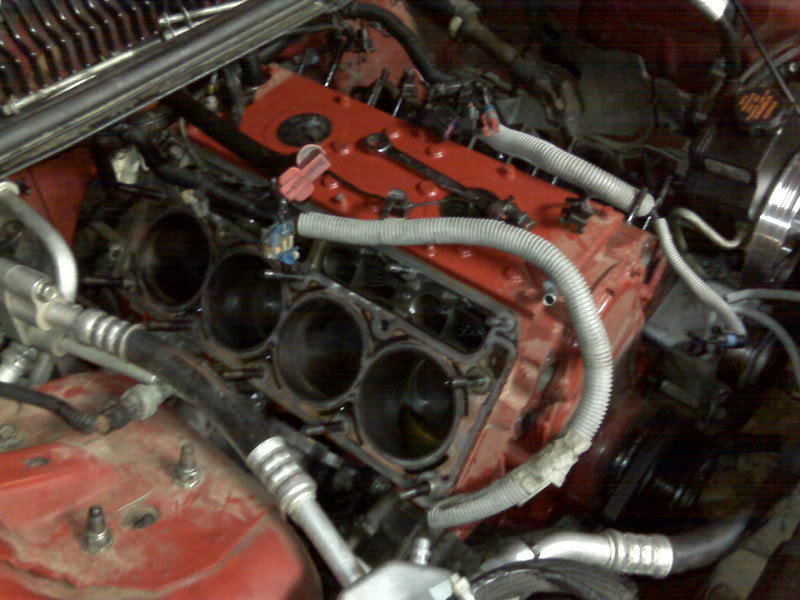
Reunited and it feels so good.
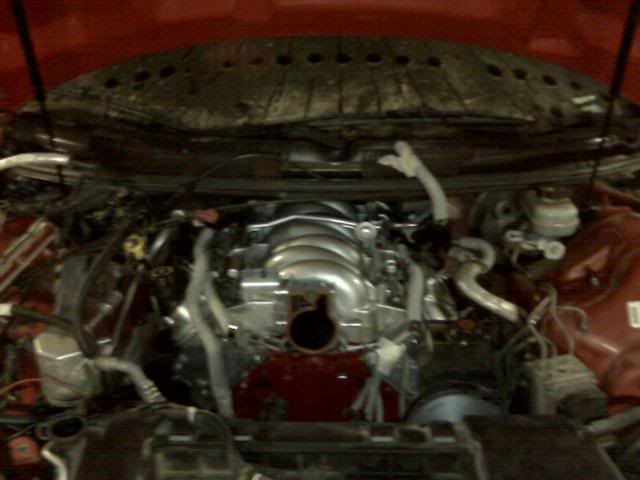
First start up.
Now I can finally put this on and enjoy it.

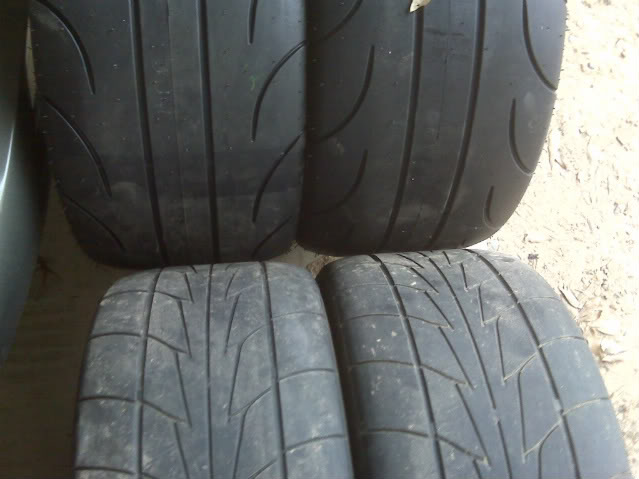
Replaced the Nittos on the bottom with the ET Streets on the top.
Update, this motor went to the track........
Vs equally modded M6 with 315 Nittos in the far lane
Vs H/C/I with ET Streets in the far lane
Final assembly
Decided to put these on as well
Reunited and it feels so good.
First start up.
Now I can finally put this on and enjoy it.
Replaced the Nittos on the bottom with the ET Streets on the top.
Update, this motor went to the track........
Vs equally modded M6 with 315 Nittos in the far lane
Vs H/C/I with ET Streets in the far lane
Thread Starter
|
1st Gear Member
Joined: Mar 2015
Posts: 190
Gonna be throwing in some new pics soon. I decided to change up a few things....
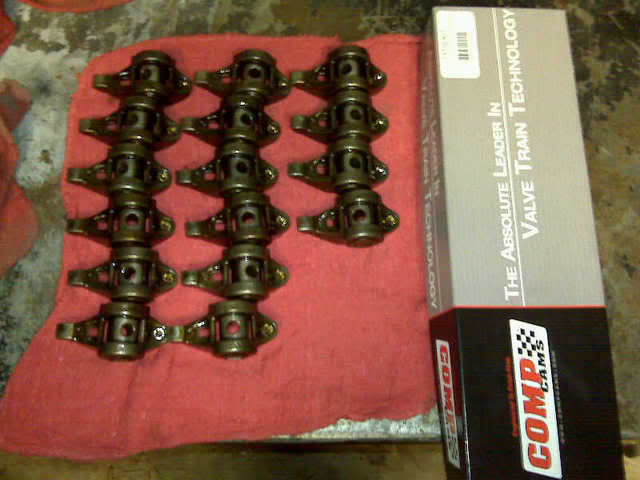
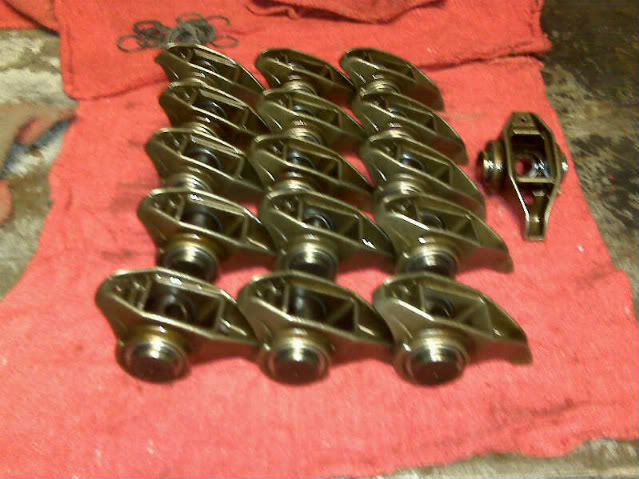
First up is a Comp trunion upgrade:
Using a Harbor Freight Arbor Press got me to this point really fast:
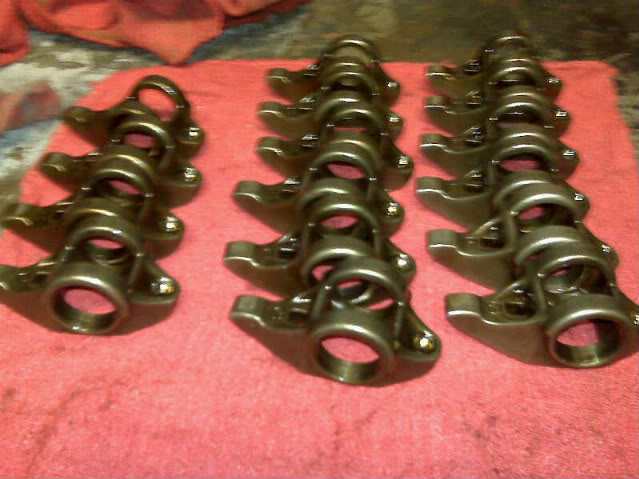
Completed except for the snap rings. Man that was fast.
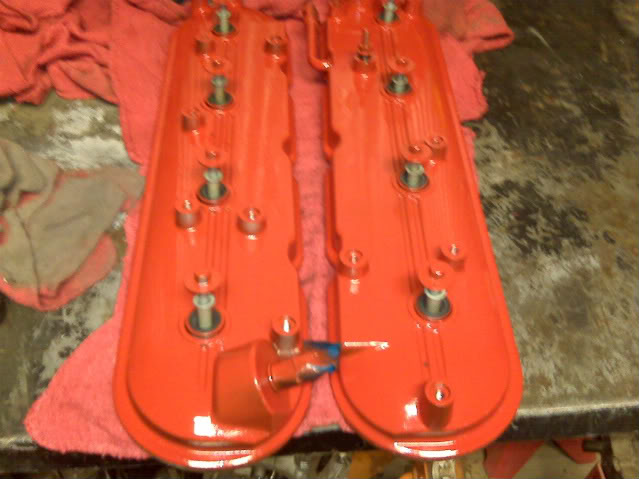
I'm gonna do red valve covers, silver coil pack brackets, and red coils. Should be very MSDish.
First up is a Comp trunion upgrade:
Using a Harbor Freight Arbor Press got me to this point really fast:
Completed except for the snap rings. Man that was fast.
I'm gonna do red valve covers, silver coil pack brackets, and red coils. Should be very MSDish.
Thread Starter
|
1st Gear Member
Joined: Mar 2015
Posts: 190
On the list of changes. I ****ing hate the solid motor mounts. I have a mint set of stockers (rubber), a worn out set of stockers, and a new set of Prothane inserts.......decisions decisions. I also have this:
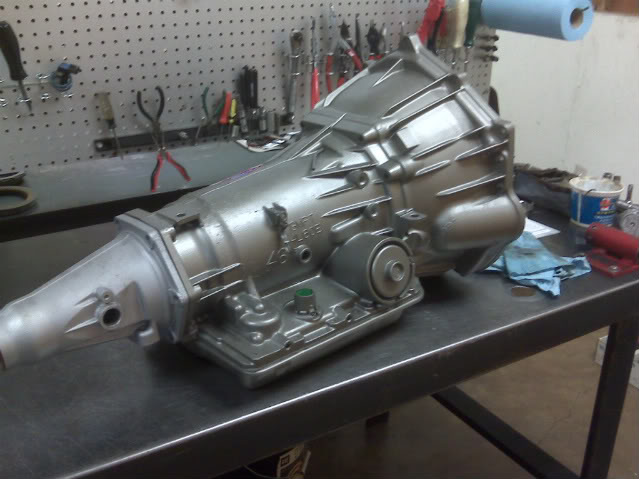
Its got all the good stuff, Trans-Go HD2, Beast sunshell, roller sprag or some ****. Lots of good parts. I don't have the build sheet memorized. I'm really considering a red intake to match the valve covers as well....Still thinking on that one. I also have a new exhaust thread I will be doing soon. I'm ditching my 4 inch Flowmaster and going to a 4 inch cut-out then reduced into a Magnaflow cat-back. So lots of fun things coming.
Its got all the good stuff, Trans-Go HD2, Beast sunshell, roller sprag or some ****. Lots of good parts. I don't have the build sheet memorized. I'm really considering a red intake to match the valve covers as well....Still thinking on that one. I also have a new exhaust thread I will be doing soon. I'm ditching my 4 inch Flowmaster and going to a 4 inch cut-out then reduced into a Magnaflow cat-back. So lots of fun things coming.

Thread Starter
|
1st Gear Member
Joined: Mar 2015
Posts: 190
Here's where we are at today, with about 500-750 miles on this engine. Radiator level drops each time you drive it, radiator bubbles up to an open cap while the engine is running, and steam comes out of the tailpipes basically 24/7. Oh and a distinctive miss for about 10 seconds when you first crank it for the day.
Took me 5 hours to get this far. You get stuff done quick with no distractions.
Installed one of Wazee's billet PS pump pulleys.
This guy sure is clean. Had a matching clean tipped spark plug to go with it.
Took me 5 hours to get this far. You get stuff done quick with no distractions.
Installed one of Wazee's billet PS pump pulleys.
This guy sure is clean. Had a matching clean tipped spark plug to go with it.
4th Gear Member
Joined: Aug 2014
Posts: 2,315
From: troy NH
what kinda radiator you using a stock ,is the engine stock ,I was told if I go with more powerful engine ,I need a 3 to 4 core ,,did you put a new one in it ?,more power is more heat ,sound though like you got more then just heat issues