My Roll-On Paint Job!
#1
 07-01-2012, 12:53 AM

Join Date: Feb 2011
Posts: 293
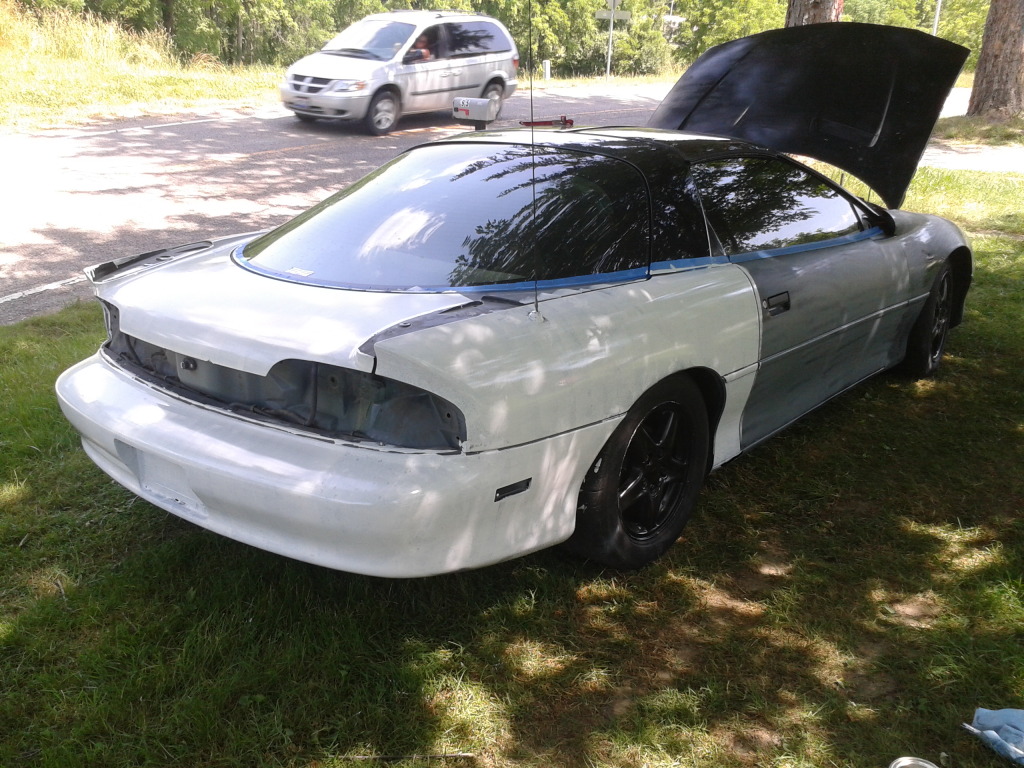
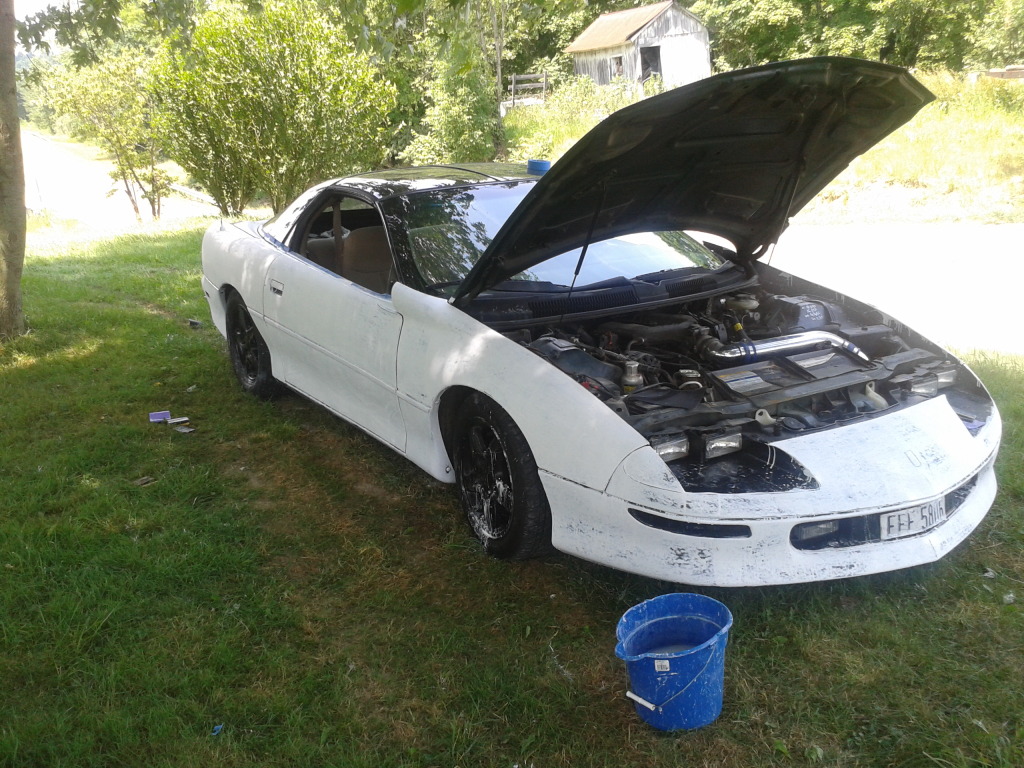
I figured I would do a little write-up on how to achieve a decent, easy, and cheap paint job! I did this in about 5 days while also driving the car daily for work purposes delivering pizza's.
First things first you need supplies:
2 quarts of Rustoleum Oil Based paint
1 container of mineral spirits
1 Roller with foam roller brushes (they must be foam!)
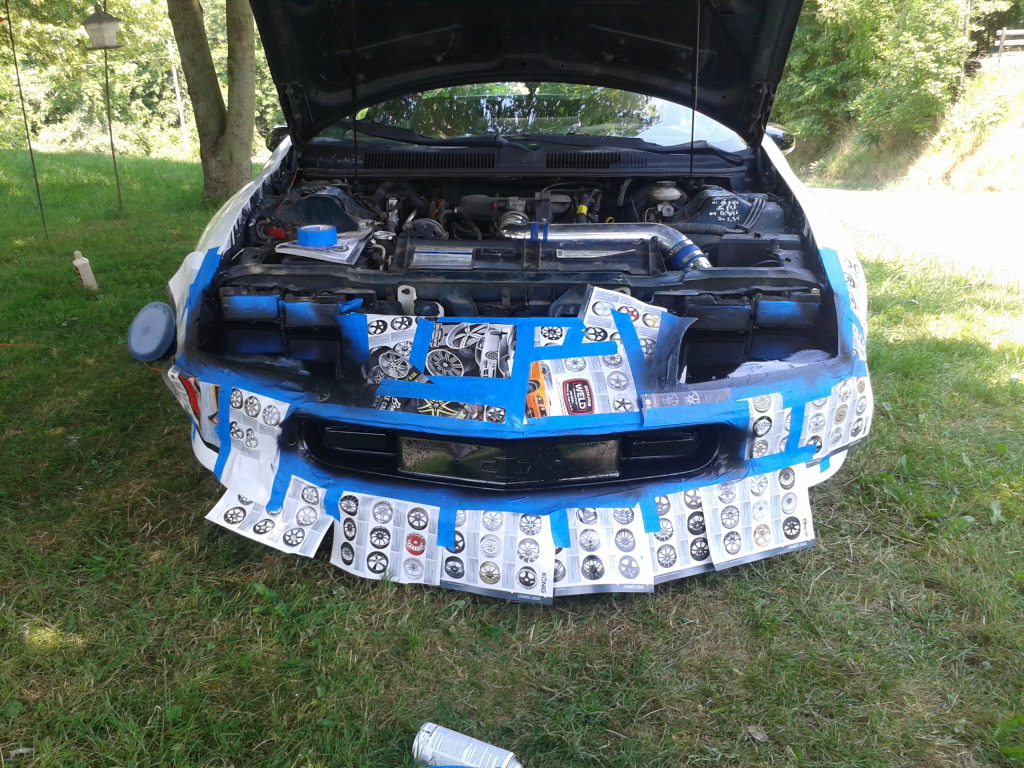
1 Roll of masking tape. I used the 3M blue painters tape.
3-4 Cans of Rustoleum 2x coverage primer (optional)
Sand paper: 220, 400, 1000, 1500, 2000
Step 1 was prep:
This step is the most important part. This is where the body work gets taken care of. When the body is fixed, wet sand the entire portion of the car that you are painting with 220 grit sand paper. Once the car is sanded clean the car with soap and water. I used dawn to make sure all the oil and such was removed. I then wiped the car down with the mineral spirits as an extra precaution. Then follows primer, I started o but found it wasn't necessary as long as the prep was done correctly.
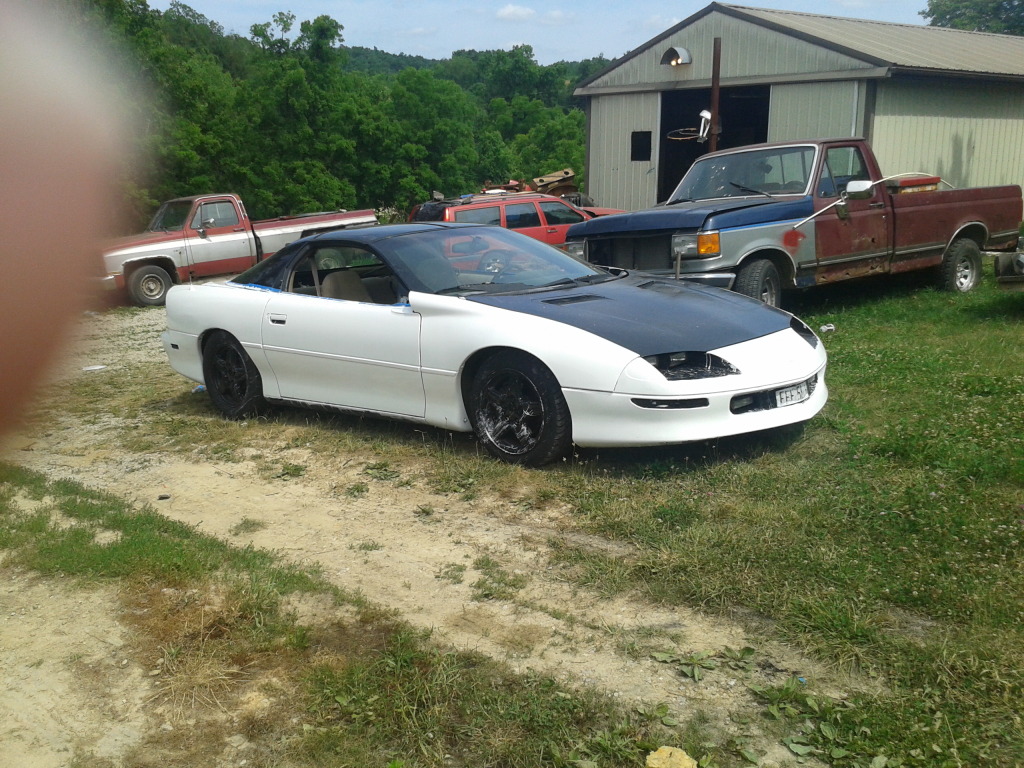
Step 2:
Now we get to paint! Mixture is completely up to you. I started using a 4:1 mix but found it was easier to go by the number of seconds it took before the paint would drip from the stirring stick. For the first 4 coats I mixed it until the paint/mineral spirits mixture took 5-6 seconds began to drip. Its as simple as rolling the paint on the car. Do not expect complete coverage from the first coat. Allow the paint to dry for a total of 6 hours before the next coat gets put on. You will notice little air bubbles form as you roll the paint on but the will go away. Another thing you will notice is the paint will run a little, do not be alarmed, this will blend in when you sand. Do not sand this coat!!!
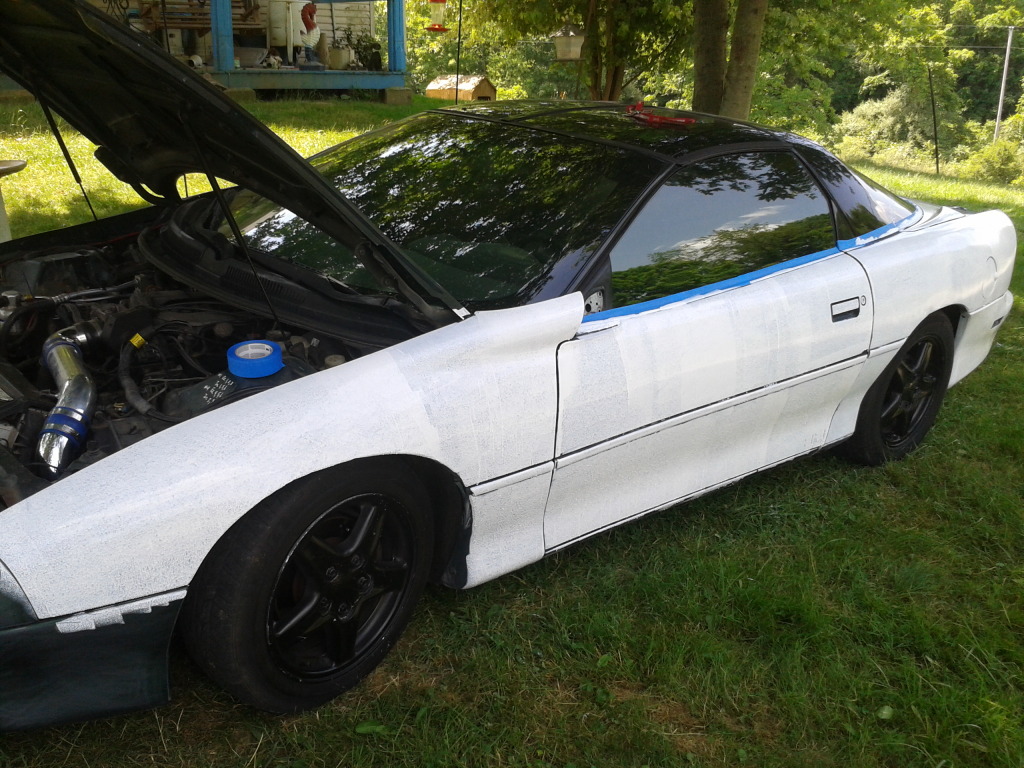
Step 3:
After 6 hours or more its time to roll on the second coat. If when you rolled on the first one you experienced places where the paint did not stick and "fish-eyed", then sand down that spot and get the wax or whatever is there off. The second coat goes on just like the first and you should start noticing much better coverage this time. After the paint is on and dry you can wet sand! Actually its not as exciting as you would think. For this coat break out the 400 grit and wet sand the painted area. Do not apply too much pressure as you will remove the two coats you just applied. The point of sanding is just to blend the paint together and remove most of the impurities. Then wash the car with soap and water to remove the residue of wet sanding. Continue this for the next 2 coats.
Step 4:
By this time you should have 4 coats on and all the paint should have covered. Now it comes to the last coat. For this coat the mixture will change. This time mix the mineral spirits and paint until it takes 4 seconds to begin dripping. Roll this coat on as carefully as possible because it is the last one, unless you plan to do more. Wait another 6 hours to completely dry. Parking the car in the sunlight helps.
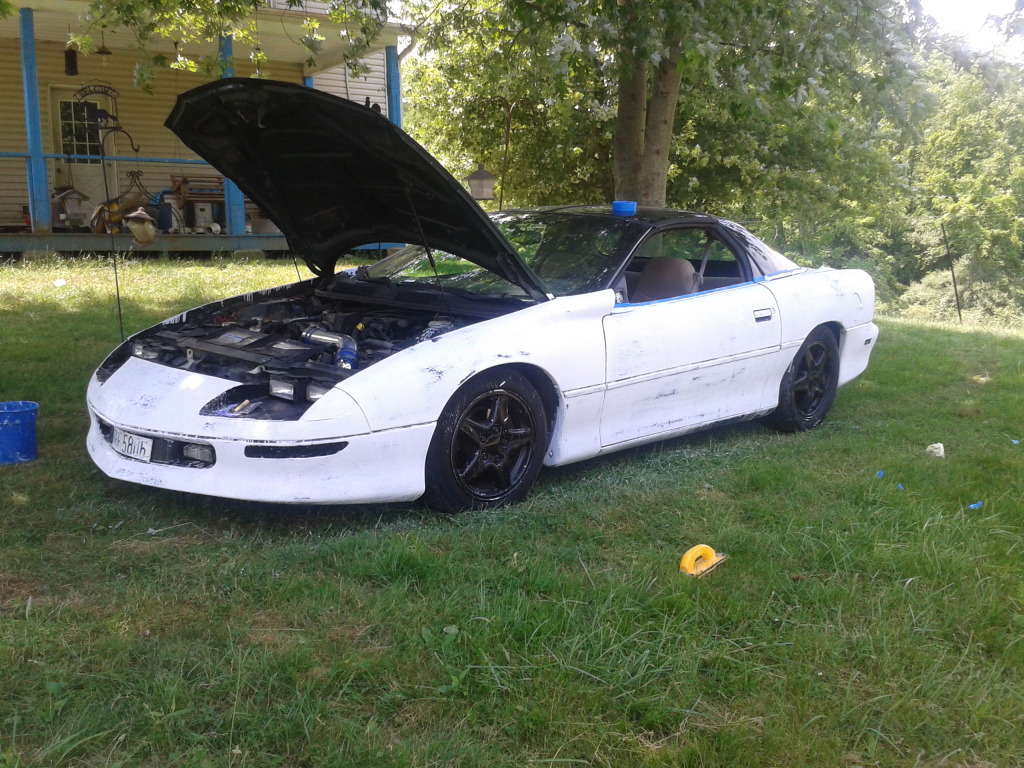
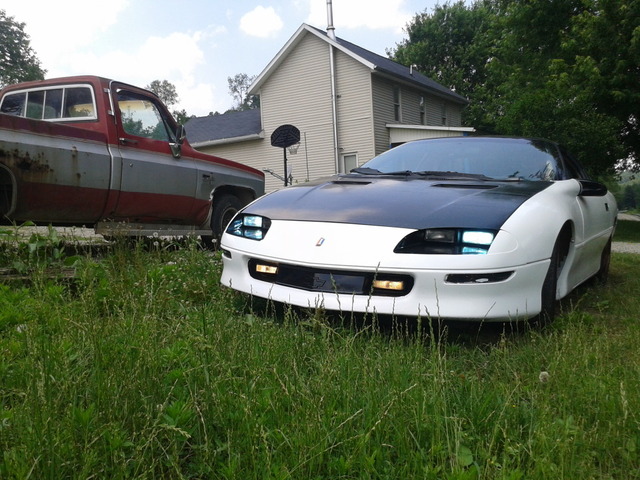
Step 5:
At this point you have to make a decision, whether to clear coat the car or not. I chose not to. I just wet sanded the car with 1000 grit, followed by a light wet sand with the 1500 grit, then a final wet sand with 2000 grit. The paint should be thick enough to handle all the sanding. I then buffed the whole car with Meguiars Mirror Glaze Compound Power Cleaner. Then followed with Meguiars Swirl Remover. Then I used a final wax with Meguiars cleaner wax to achieve a mirror-like shine. From just the paint! No clear coat was used.
Step 6:
Now is where you clean up all the sections that got dripped on during painting. And once all this is done then you have a nice new paint job. As for durability I've had my car painted for 3 weeks now and have no issues with flaking and such. My town was hit by a huge storm and I had to take a dirt road with limbs, rocks, and all those things brushing up along the side of my car and not a single scratch. The benefit is the paint is not hard to match. If you have a scratch that didn't go all the way to the original paint then all you have to do is roll on another coat on that section and buff it out.
If you have any questions or have any inputs to make this write-up better feel free to post!
First things first you need supplies:
2 quarts of Rustoleum Oil Based paint
1 container of mineral spirits
1 Roller with foam roller brushes (they must be foam!)
1 Roll of masking tape. I used the 3M blue painters tape.
3-4 Cans of Rustoleum 2x coverage primer (optional)
Sand paper: 220, 400, 1000, 1500, 2000
Step 1 was prep:
This step is the most important part. This is where the body work gets taken care of. When the body is fixed, wet sand the entire portion of the car that you are painting with 220 grit sand paper. Once the car is sanded clean the car with soap and water. I used dawn to make sure all the oil and such was removed. I then wiped the car down with the mineral spirits as an extra precaution. Then follows primer, I started o but found it wasn't necessary as long as the prep was done correctly.
Step 2:
Now we get to paint! Mixture is completely up to you. I started using a 4:1 mix but found it was easier to go by the number of seconds it took before the paint would drip from the stirring stick. For the first 4 coats I mixed it until the paint/mineral spirits mixture took 5-6 seconds began to drip. Its as simple as rolling the paint on the car. Do not expect complete coverage from the first coat. Allow the paint to dry for a total of 6 hours before the next coat gets put on. You will notice little air bubbles form as you roll the paint on but the will go away. Another thing you will notice is the paint will run a little, do not be alarmed, this will blend in when you sand. Do not sand this coat!!!
Step 3:
After 6 hours or more its time to roll on the second coat. If when you rolled on the first one you experienced places where the paint did not stick and "fish-eyed", then sand down that spot and get the wax or whatever is there off. The second coat goes on just like the first and you should start noticing much better coverage this time. After the paint is on and dry you can wet sand! Actually its not as exciting as you would think. For this coat break out the 400 grit and wet sand the painted area. Do not apply too much pressure as you will remove the two coats you just applied. The point of sanding is just to blend the paint together and remove most of the impurities. Then wash the car with soap and water to remove the residue of wet sanding. Continue this for the next 2 coats.
Step 4:
By this time you should have 4 coats on and all the paint should have covered. Now it comes to the last coat. For this coat the mixture will change. This time mix the mineral spirits and paint until it takes 4 seconds to begin dripping. Roll this coat on as carefully as possible because it is the last one, unless you plan to do more. Wait another 6 hours to completely dry. Parking the car in the sunlight helps.
Step 5:
At this point you have to make a decision, whether to clear coat the car or not. I chose not to. I just wet sanded the car with 1000 grit, followed by a light wet sand with the 1500 grit, then a final wet sand with 2000 grit. The paint should be thick enough to handle all the sanding. I then buffed the whole car with Meguiars Mirror Glaze Compound Power Cleaner. Then followed with Meguiars Swirl Remover. Then I used a final wax with Meguiars cleaner wax to achieve a mirror-like shine. From just the paint! No clear coat was used.
Step 6:
Now is where you clean up all the sections that got dripped on during painting. And once all this is done then you have a nice new paint job. As for durability I've had my car painted for 3 weeks now and have no issues with flaking and such. My town was hit by a huge storm and I had to take a dirt road with limbs, rocks, and all those things brushing up along the side of my car and not a single scratch. The benefit is the paint is not hard to match. If you have a scratch that didn't go all the way to the original paint then all you have to do is roll on another coat on that section and buff it out.
If you have any questions or have any inputs to make this write-up better feel free to post!
#2
07-02-2012, 07:44 AM

it looks better than chipped and faded paint.
did you know that if you cut it enough you can spray rustoleum through an hvlp gun?
also, please, please please consider painting the rims chrome.
did you know that if you cut it enough you can spray rustoleum through an hvlp gun?
also, please, please please consider painting the rims chrome.
#3
07-04-2012, 01:56 AM
Join Date: Feb 2011
Posts: 293
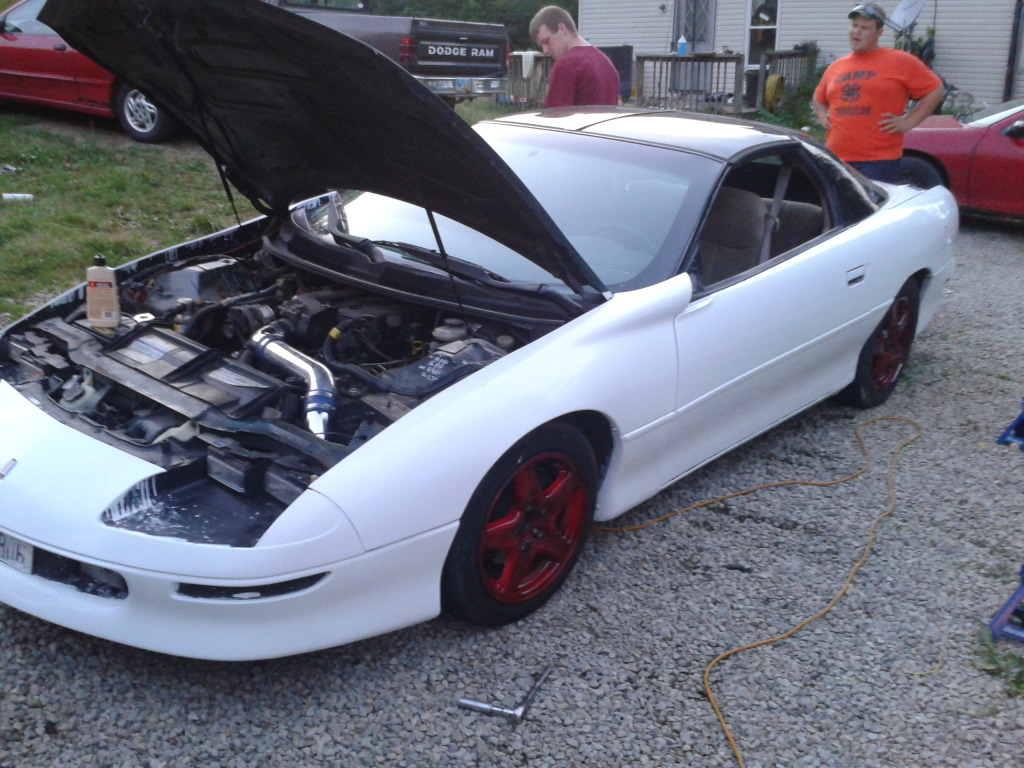
I also knew you could spray it through a gun, I just wanted to do something different.
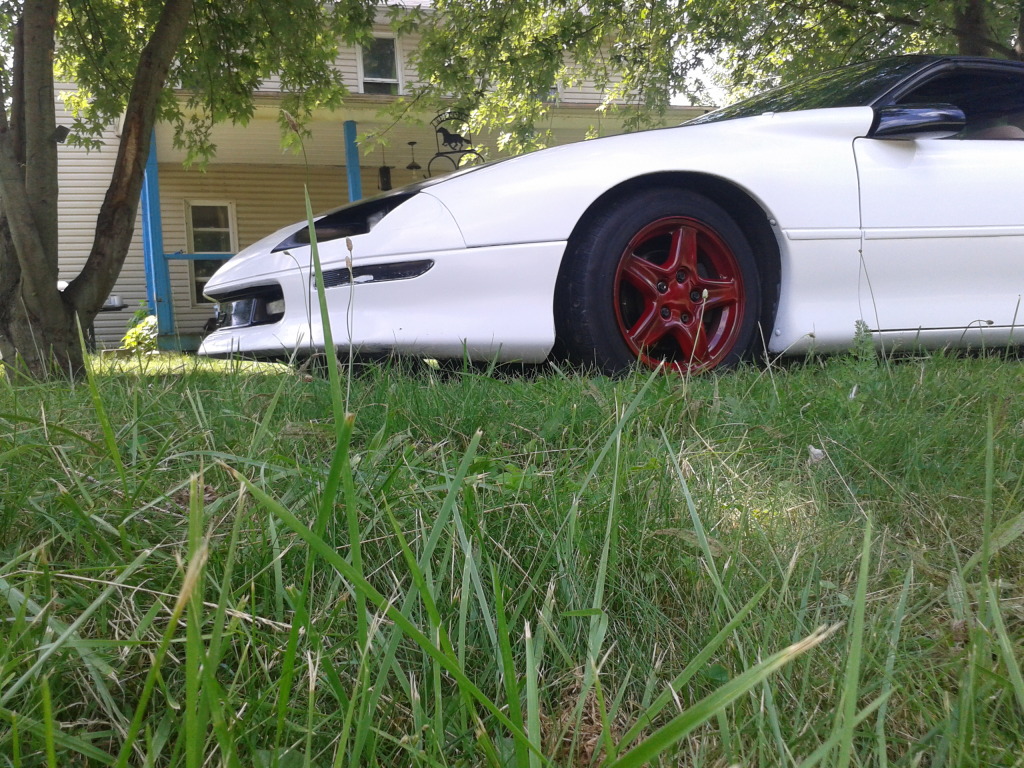
And I honestly love the color choice of the rims, its different and get quite a few intrigued glances. I have honestly gotten more compliments painting it I have when it was green.
#4
07-04-2012, 06:44 AM

Nice write up. As a guy that used to work in a body shop when I first saw the "Paint your car with a roller" artical in hot rod about 4 years ago I thought it was funny. But when I thought about it why drive around in something that is all prmer or mismatched? I always tell people if you are going for the real paint job anytime soon grab a rattle can and cover the primer to protect it anyways. The nice part is the Rustoleum will protect your car and is easy to remove.
Anyone one thinking about doing this should check out ou tube, there are dozens of how to videos and you can pick up a lot of tricks.
Anyone one thinking about doing this should check out ou tube, there are dozens of how to videos and you can pick up a lot of tricks.
#5
07-04-2012, 07:43 AM
Nice write up. As a guy that used to work in a body shop when I first saw the "Paint your car with a roller" artical in hot rod about 4 years ago I thought it was funny. But when I thought about it why drive around in something that is all prmer or mismatched? I always tell people if you are going for the real paint job anytime soon grab a rattle can and cover the primer to protect it anyways. The nice part is the Rustoleum will protect your car and is easy to remove.
Anyone one thinking about doing this should check out ou tube, there are dozens of how to videos and you can pick up a lot of tricks.
Anyone one thinking about doing this should check out ou tube, there are dozens of how to videos and you can pick up a lot of tricks.
agreed
the one tip which is repeated time and again is
sand
sand
sand
sand
sand
I'm lazy so I spray
#6
07-04-2012, 07:47 AM
Join Date: Feb 2011
Posts: 293
Yeah I just heard about it about a year ago when one of my classmates at UNOH was talking about doing this to his 240sx...i kinda laughed inside but it intrigued me. I have also never did a write-up on anything so I thought I would attempt one. I watched a ton of youtube vids and there are somecool tricks, although using the hair dryer while rolling it on is a PITA! It takes ten times longer and if the mixture is right then yo shouldnt need it.
#7
07-04-2012, 07:48 AM
It is definitely better looking than the old paint.
I also knew you could spray it through a gun, I just wanted to do something different.
And I honestly love the color choice of the rims, its different and get quite a few intrigued glances. I have honestly gotten more compliments painting it I have when it was green.
I also knew you could spray it through a gun, I just wanted to do something different.
And I honestly love the color choice of the rims, its different and get quite a few intrigued glances. I have honestly gotten more compliments painting it I have when it was green.
I too would say something like, wow, those rims are "unique" or "different" but please do not ever mistake that for a compliment. It's a polite way of saying.........c'mon man
but, refer back to my Baskin and Robbins statement; to each his own
kudos for undertaking a painting project. I'd rather rebuild an entire car and interior than do body work. I'm spraying base/clear today on the 4th gen (happy 4th) and just got done the frikkin sanding and priming. Masking takes forever and sanding all of the little grooves is a royal pain in the butt
#8
07-04-2012, 07:49 AM
Join Date: Feb 2011
Posts: 293
And torque i agree it is annoying sanding over and over again. I got gloves after sanding the second coat and sanding the top layer of skin on my fingers off, and nearly half a thumbnail lol

Thread
Thread Starter
Forum
Replies
Last Post