


3rd Gen Camaro Street Stock build thread


Thread Starter
|
Newbie
Joined: May 2009
Posts: 16

Zane

Newbie
Joined: May 2009
Posts: 20
From: Hawaii
x4... SWEET!!! Bro 

Thread Starter
|
Newbie
Joined: May 2009
Posts: 16
Nick sent me this picture from his cell phone. He took the car back up to Mark's shop to finish up all of the tube work and other fab stuff.
This is our solution to the strut tower being integrated into the inner fender. It is not finished, but he got it on there. There will be some more tubes for reinforcement, and provisions for adjustability when we are done with it, but I thought I'd post this picture anyway. As soon as Nick gets some more pics uploaded I will give a full update.
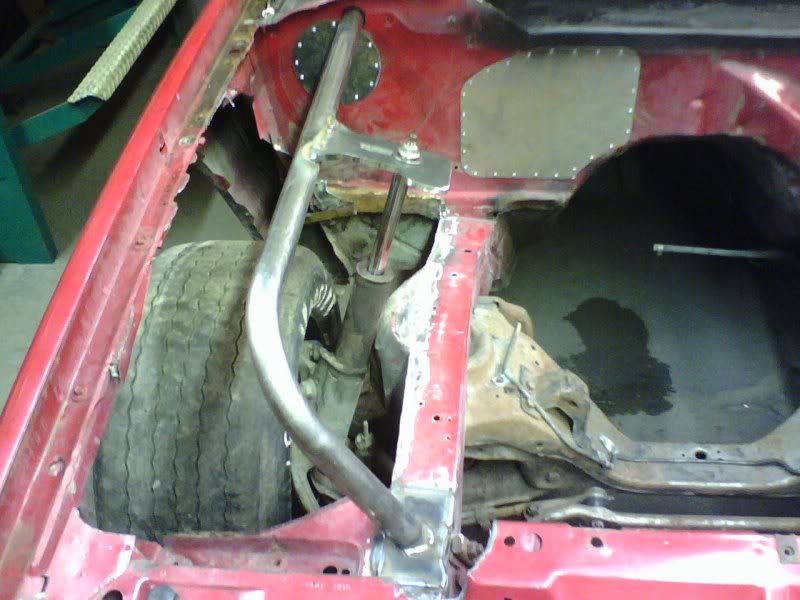
This is our solution to the strut tower being integrated into the inner fender. It is not finished, but he got it on there. There will be some more tubes for reinforcement, and provisions for adjustability when we are done with it, but I thought I'd post this picture anyway. As soon as Nick gets some more pics uploaded I will give a full update.
Thread Starter
|
Newbie
Joined: May 2009
Posts: 16
More pics as promised.
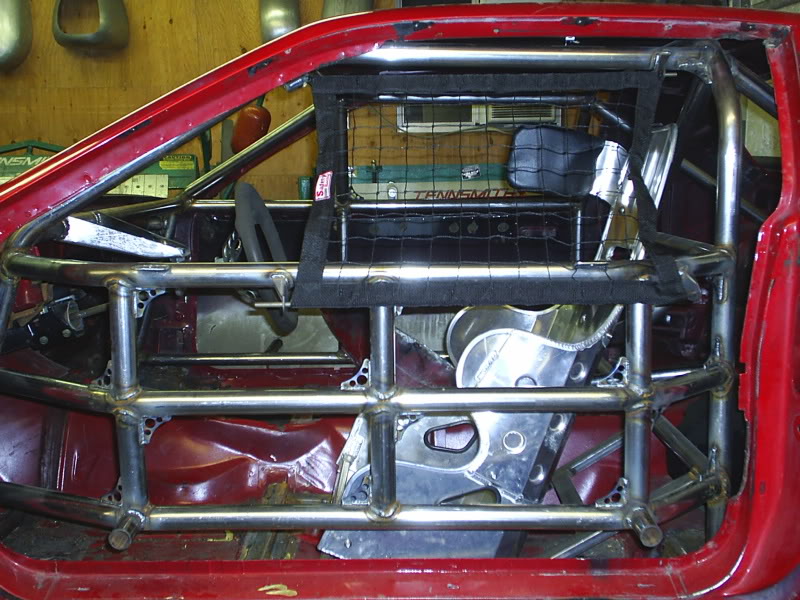
Nick got the window net and some of the cage gussets installed:
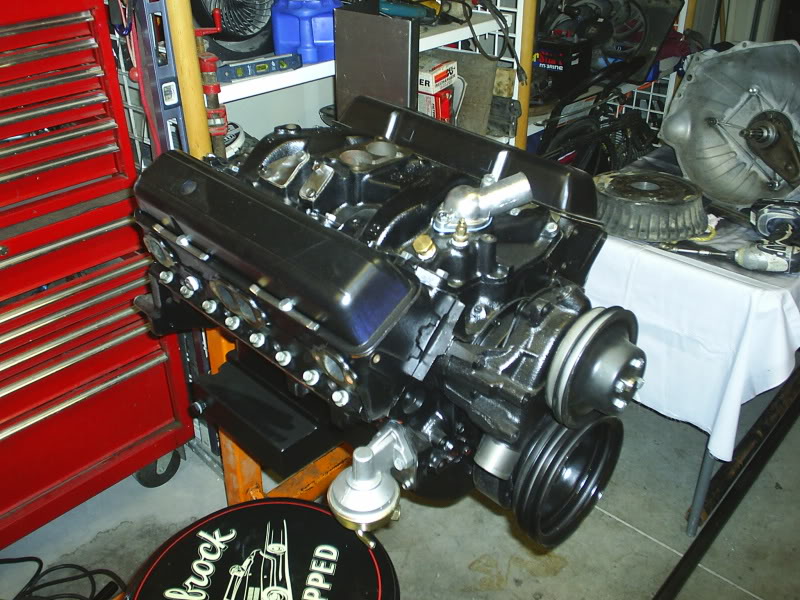
Here's a shot of the engine that is waiting to go in:
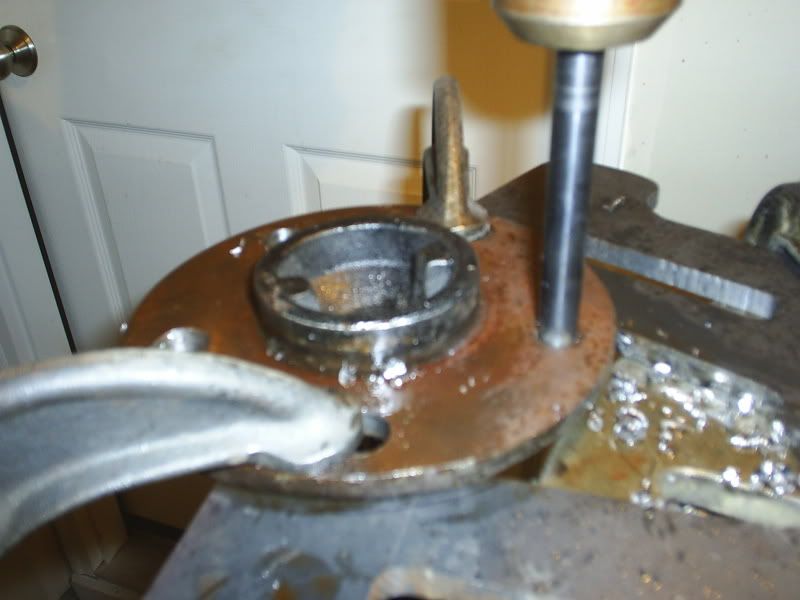
We installed the 5/8" studs on the rear axle. You have to be very careful to get the hole centered, so we used a transfer punch that was the same diameter as the existing holes to get it all lined up before clamping in place and drilling:
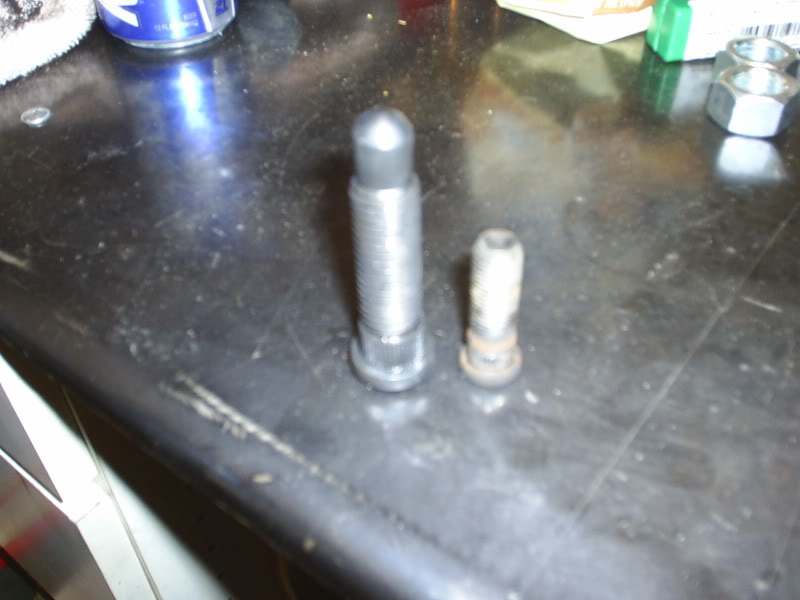
This next picture is kind of blurry, but it gives an idea of how big those studs are compared to the existing studs:
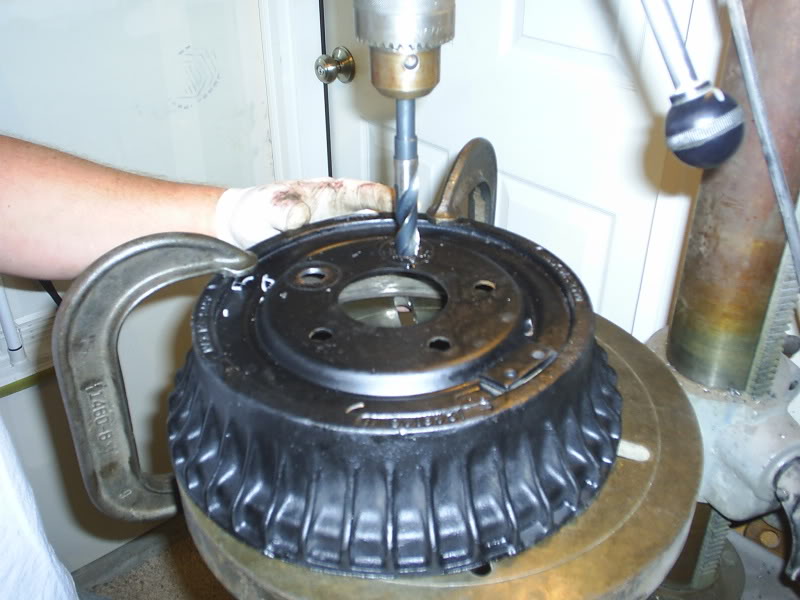
Of course we had to drill the drums as well:
That's all the pictures for this go around...
Nick got the window net and some of the cage gussets installed:
Here's a shot of the engine that is waiting to go in:
We installed the 5/8" studs on the rear axle. You have to be very careful to get the hole centered, so we used a transfer punch that was the same diameter as the existing holes to get it all lined up before clamping in place and drilling:
This next picture is kind of blurry, but it gives an idea of how big those studs are compared to the existing studs:
Of course we had to drill the drums as well:
That's all the pictures for this go around...

Thread Starter
|
Newbie
Joined: May 2009
Posts: 16
Well, we got some more stuff done to the car over the weekend.
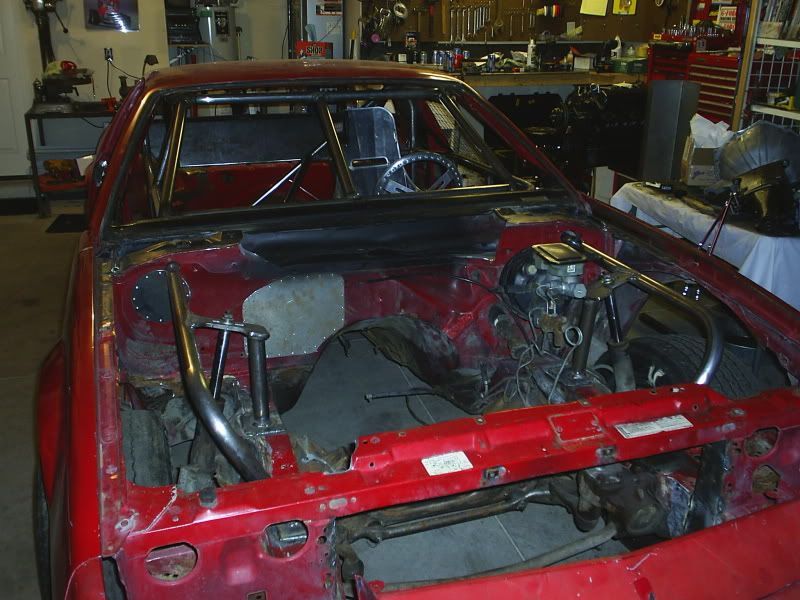
The front hoops and strut towers are finished. The plates are 1/2" cold rolled. We measured the location and angles of the existing towers, then built our towers to locate in the same place, adjusted slightly for the suspension geometry we plan to run. We will have to wait until the engine and trans are installed before we can measure and see how bad we screwed them up. Nick also finished welding in a few more bars in the cage. He installed a tire bar in the window and a long diagonal bar from the angled hoop support down to the pass side front cage tie-in. Unfortunately, he hasn't uploaded all of the pictures I took of the cage interior, but here is one that shows the tire bar, and if you look real close you can see the diagonal bar:
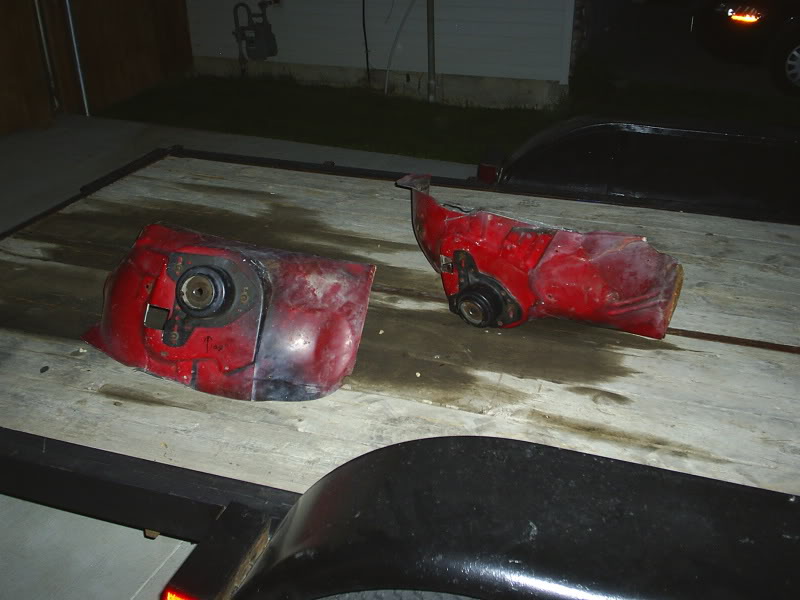
It was nice being able to get rid of these things:
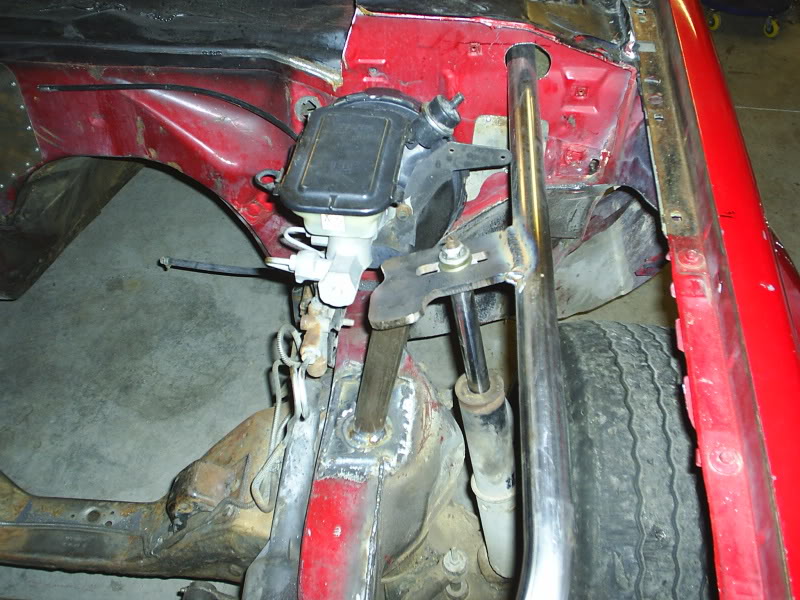
We clearanced this plate for the master cylinder, but it actually ended up being located far enough away as to not matter. Another 15 minutes of our time we won't get back. You can see a kind of a tab area off to the side of the slot in this picture. Both sides are like that. We plan to run a removable cross bar between these two points to stiffen it up.
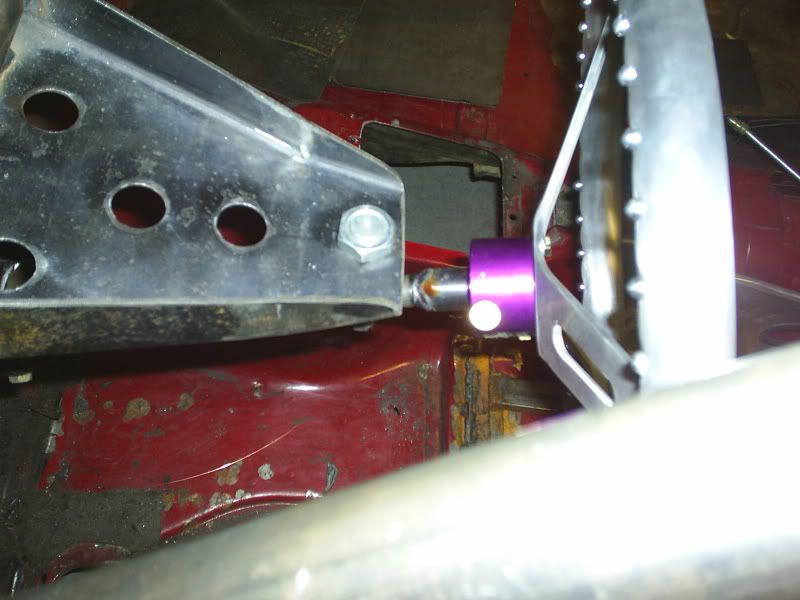
Nick TIG welded the quick release hub to the steering shaft:
(continued...)
The front hoops and strut towers are finished. The plates are 1/2" cold rolled. We measured the location and angles of the existing towers, then built our towers to locate in the same place, adjusted slightly for the suspension geometry we plan to run. We will have to wait until the engine and trans are installed before we can measure and see how bad we screwed them up. Nick also finished welding in a few more bars in the cage. He installed a tire bar in the window and a long diagonal bar from the angled hoop support down to the pass side front cage tie-in. Unfortunately, he hasn't uploaded all of the pictures I took of the cage interior, but here is one that shows the tire bar, and if you look real close you can see the diagonal bar:
It was nice being able to get rid of these things:
We clearanced this plate for the master cylinder, but it actually ended up being located far enough away as to not matter. Another 15 minutes of our time we won't get back. You can see a kind of a tab area off to the side of the slot in this picture. Both sides are like that. We plan to run a removable cross bar between these two points to stiffen it up.
Nick TIG welded the quick release hub to the steering shaft:
(continued...)

