


1973 Camaro build


Thread Starter
|
In the Staging Lanes
Joined: Oct 2017
Posts: 38
 1973 Camaro build
Hey all,
Have this one in the shop, a 73 that needs substantial rust repair (Southern Ontario, go figure)
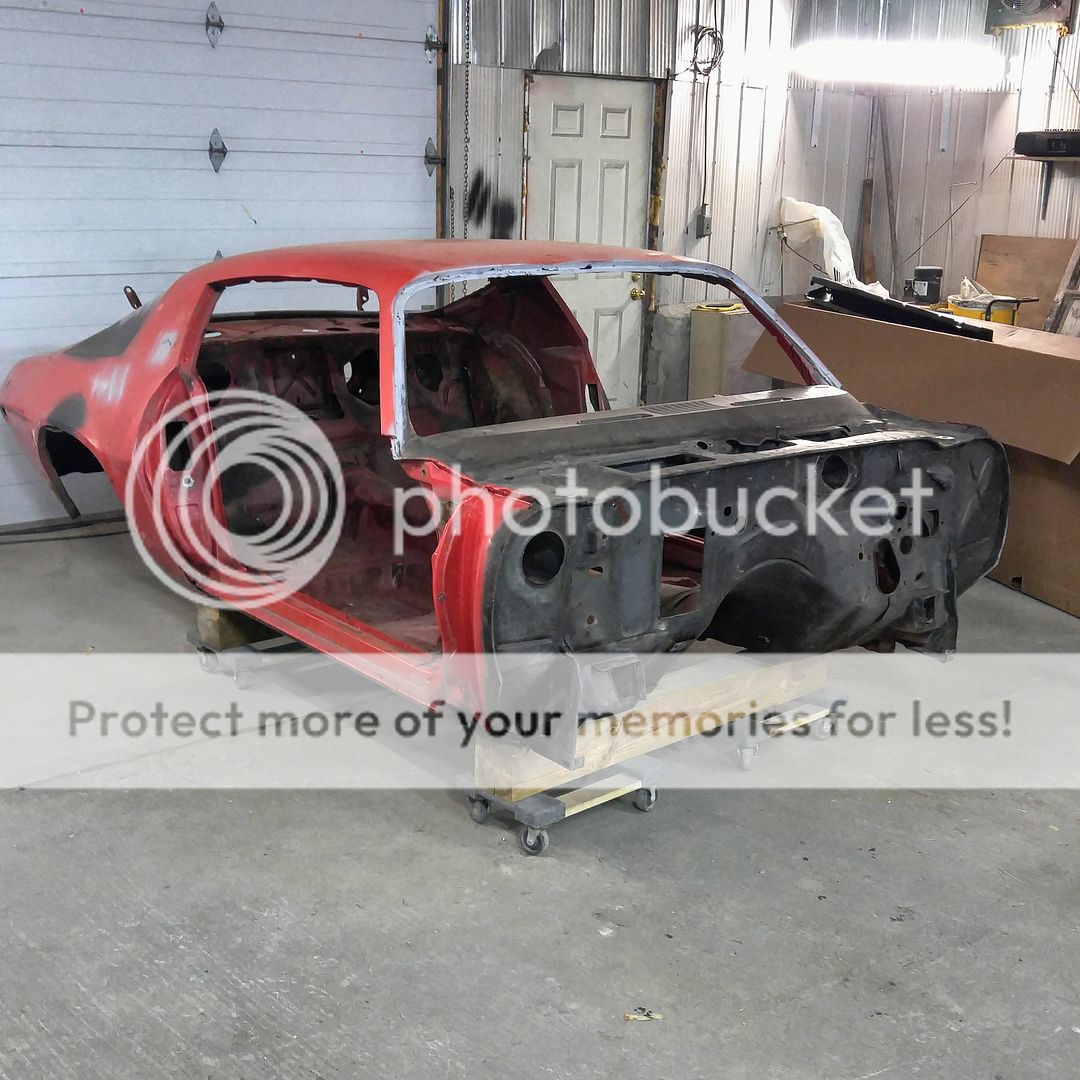
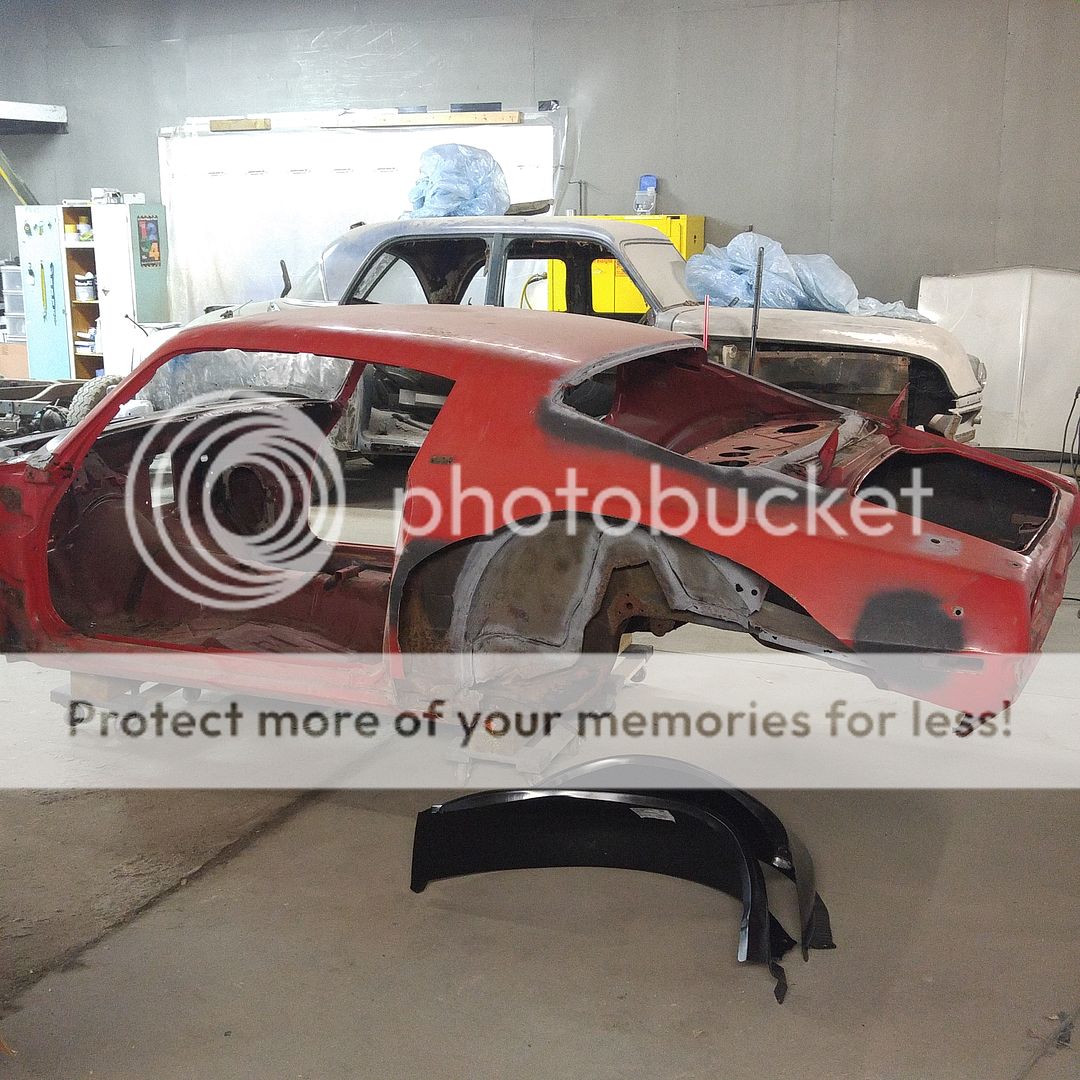
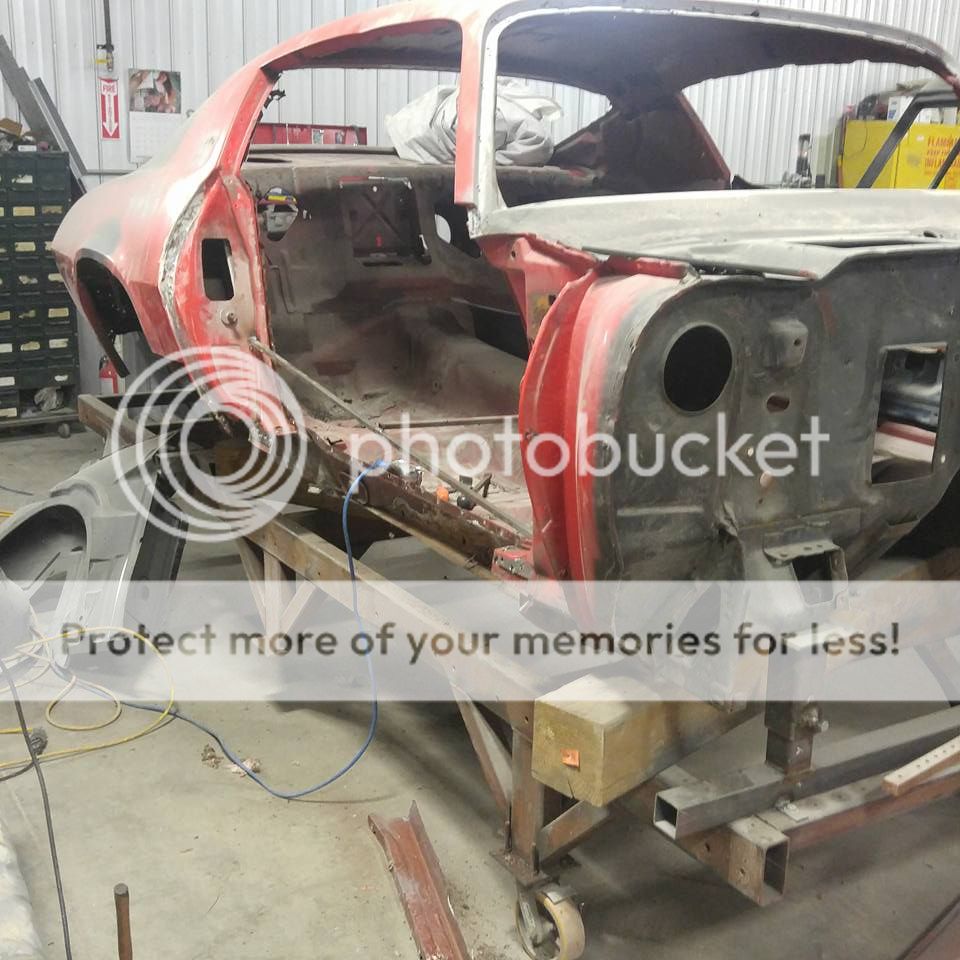
It looked like this when it was brought in,
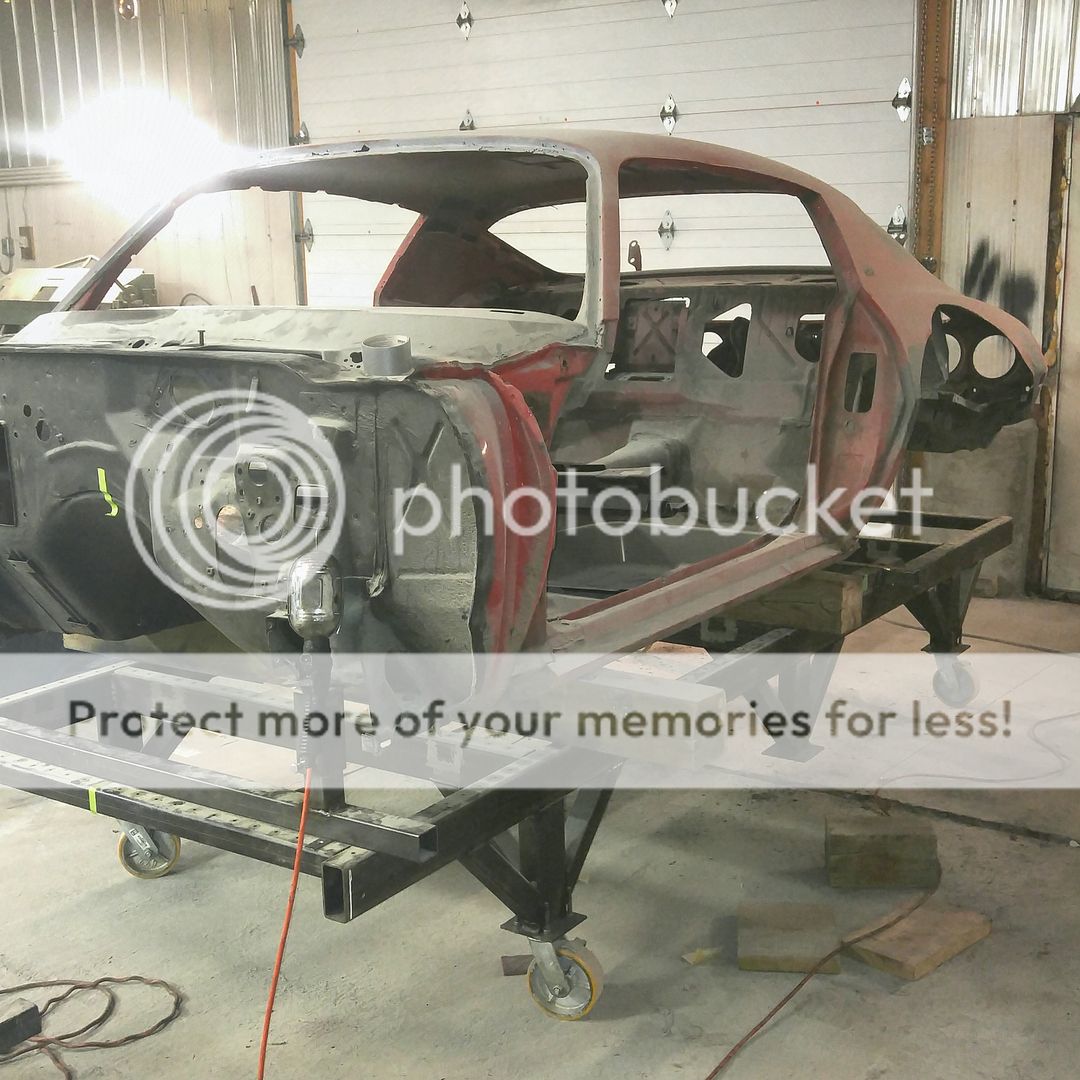
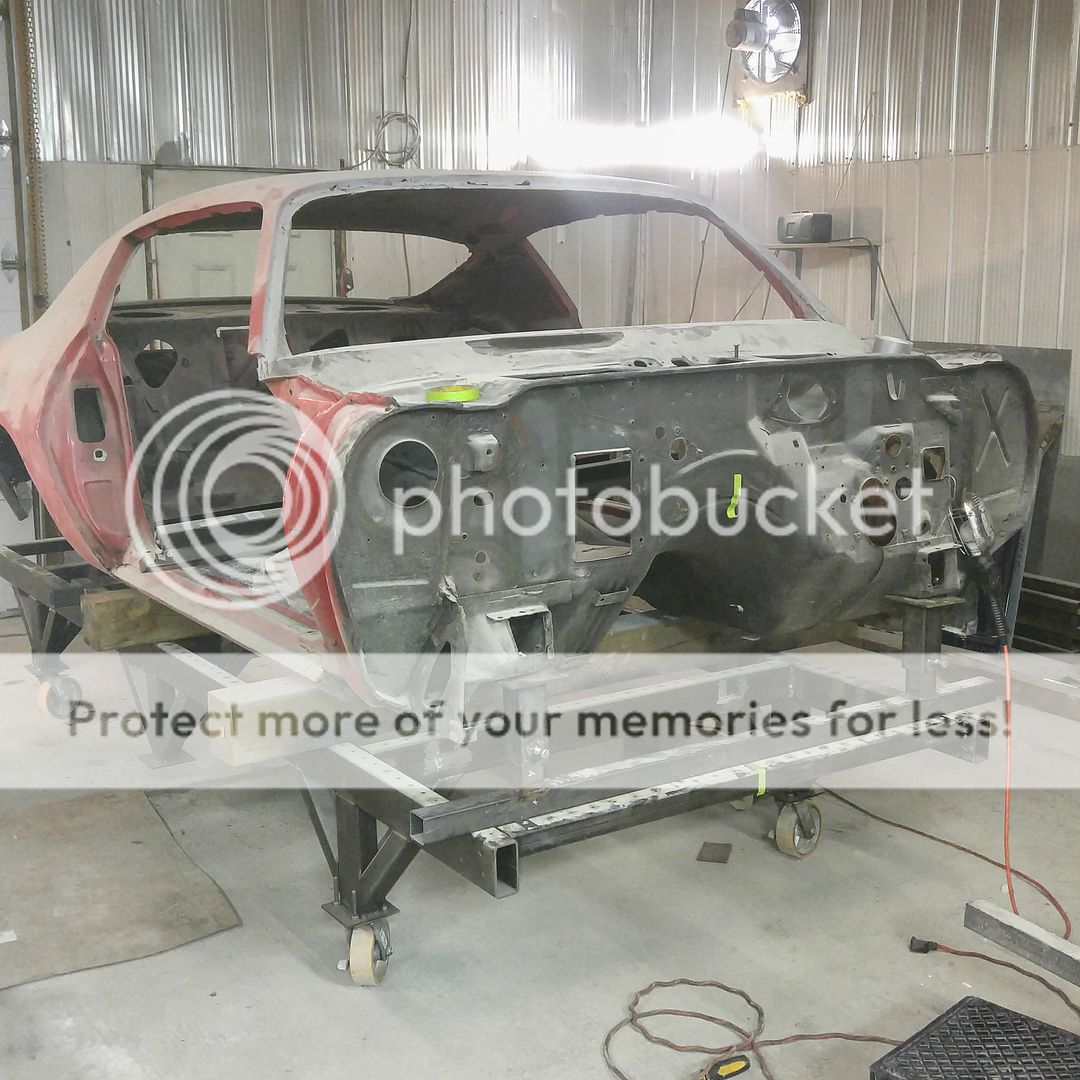
First thing was to get it up on a frame table,
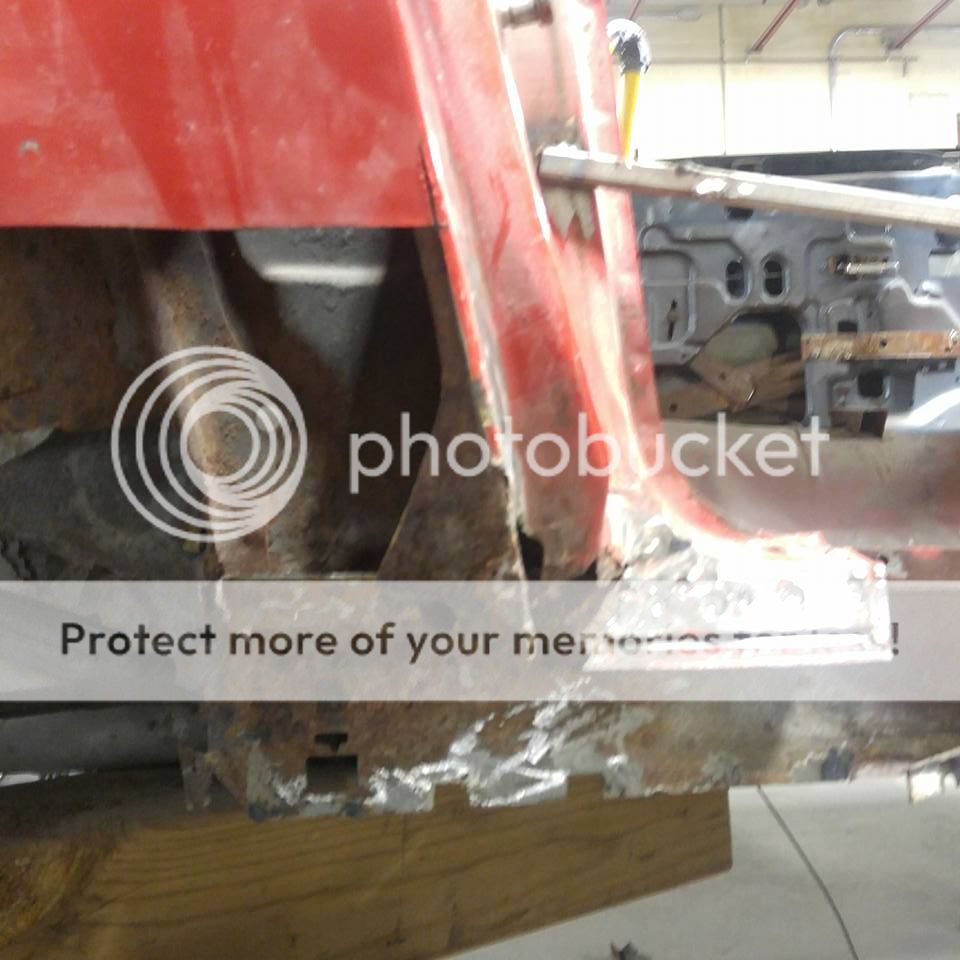
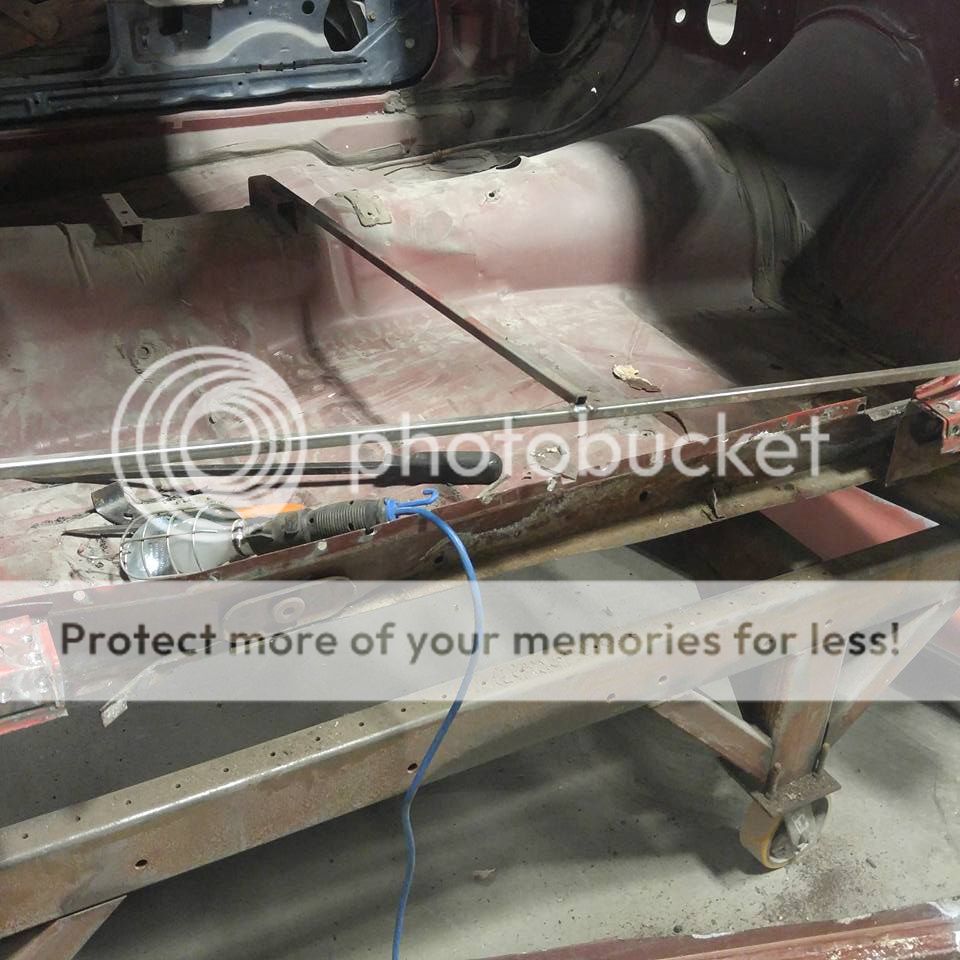
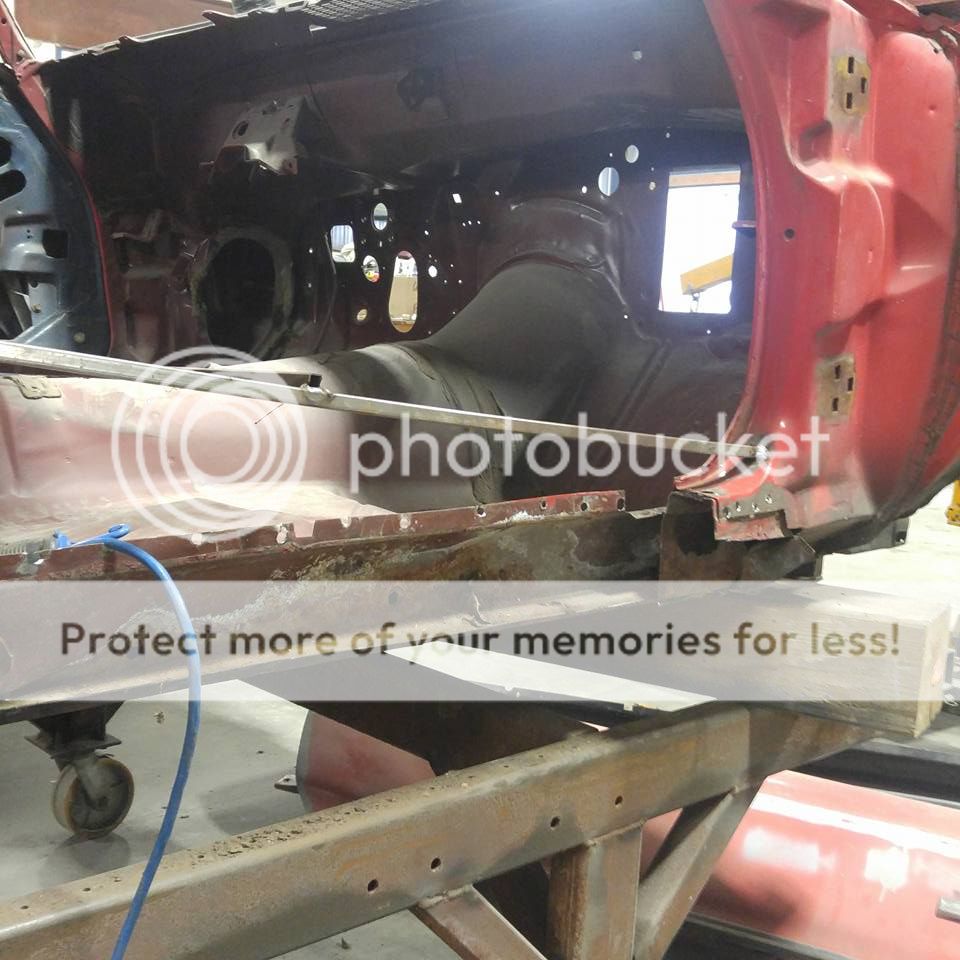
Started with the left side rocker,
Here's a little video of the nastiness that was inside the rocker,
We will be replacing the rockers, inner and outer wheel wells, 1/4's, rear tail light panel and floors. Fun Fun Fun!
cheers
Have this one in the shop, a 73 that needs substantial rust repair (Southern Ontario, go figure)
It looked like this when it was brought in,


First thing was to get it up on a frame table,


Started with the left side rocker,


Here's a little video of the nastiness that was inside the rocker,
We will be replacing the rockers, inner and outer wheel wells, 1/4's, rear tail light panel and floors. Fun Fun Fun!
cheers
Thread Starter
|
In the Staging Lanes
Joined: Oct 2017
Posts: 38
Well we got some more new metal installed on the Camaro,
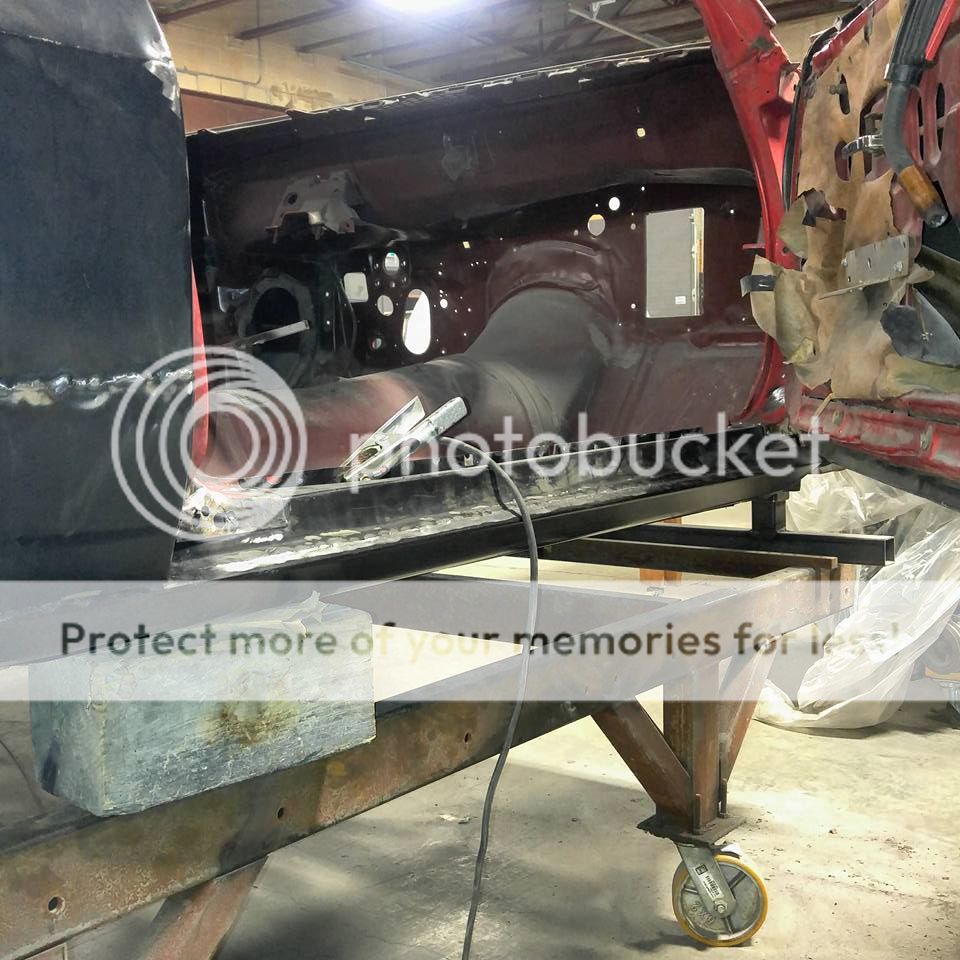
New rocker welded in,
New inner and outer wheel wells,
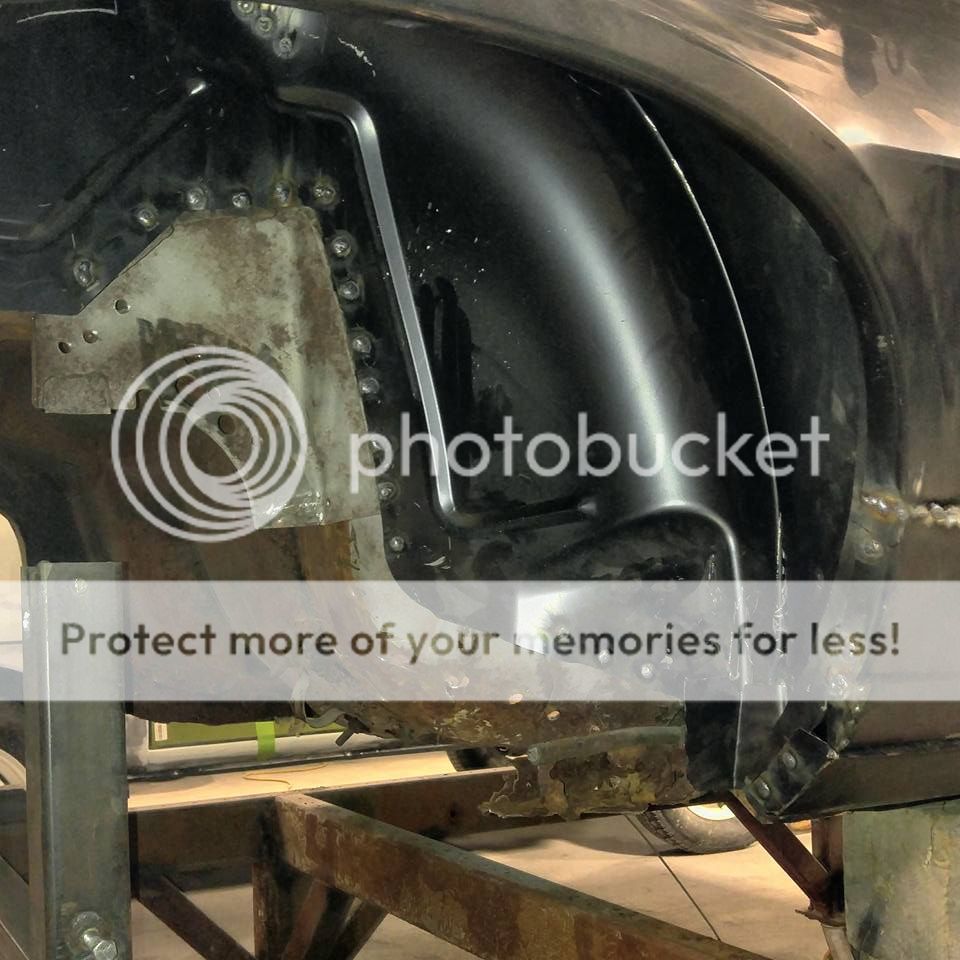
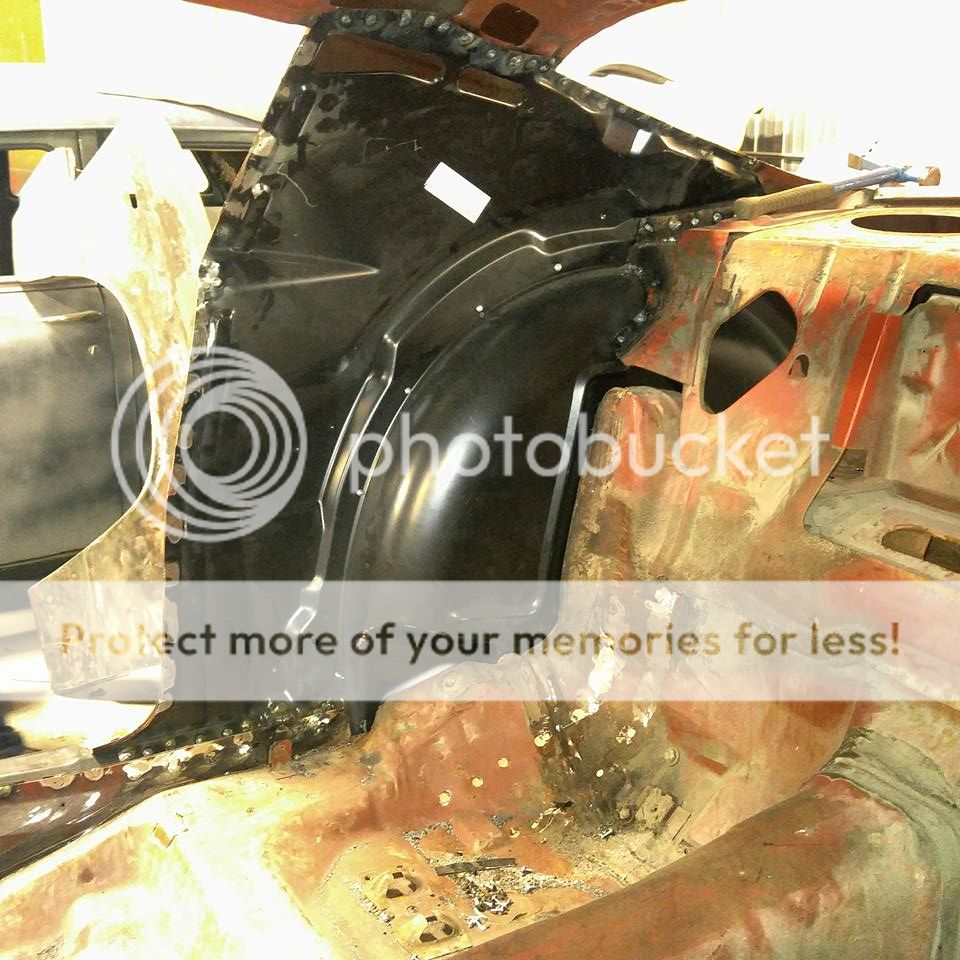
I must say that threading those inner wheel house panels into place was quite the chore.
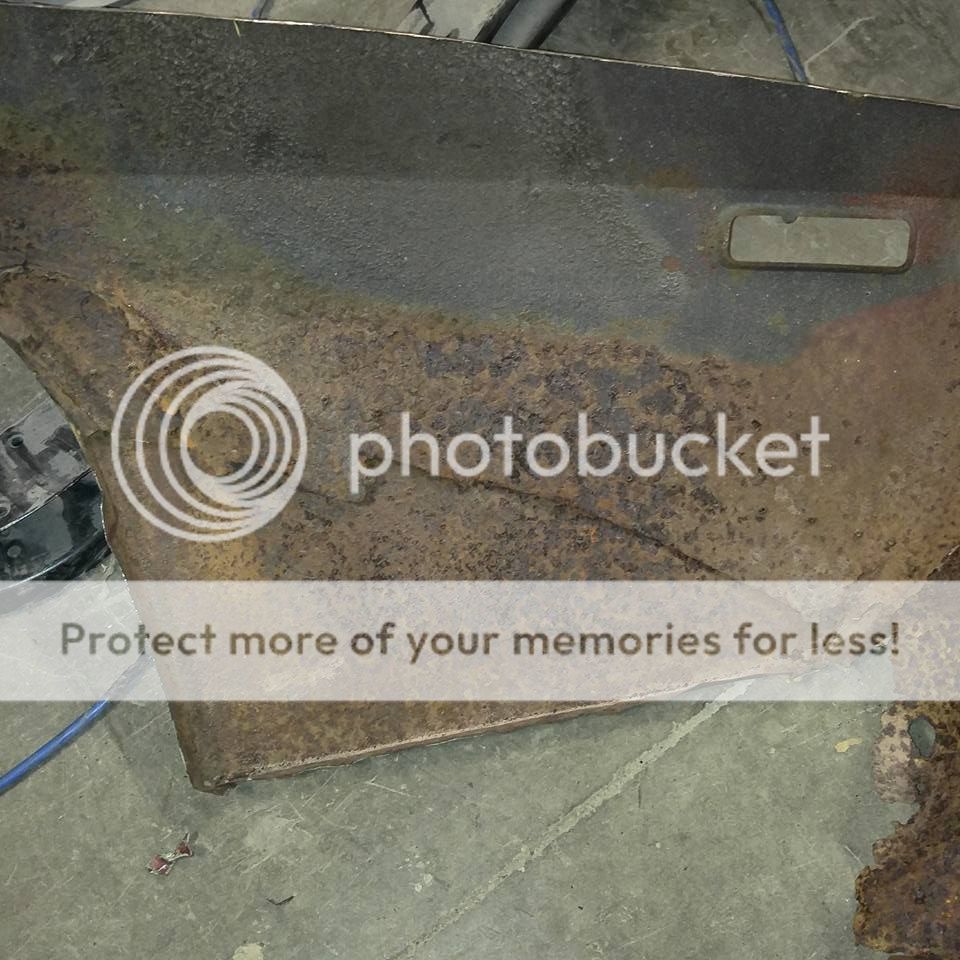
And new outer quarter skin. This one was from Year One and the fit and finish was horrible and the two body lines would not line up. We had to cut it and re-weld it to get the lines to match up.
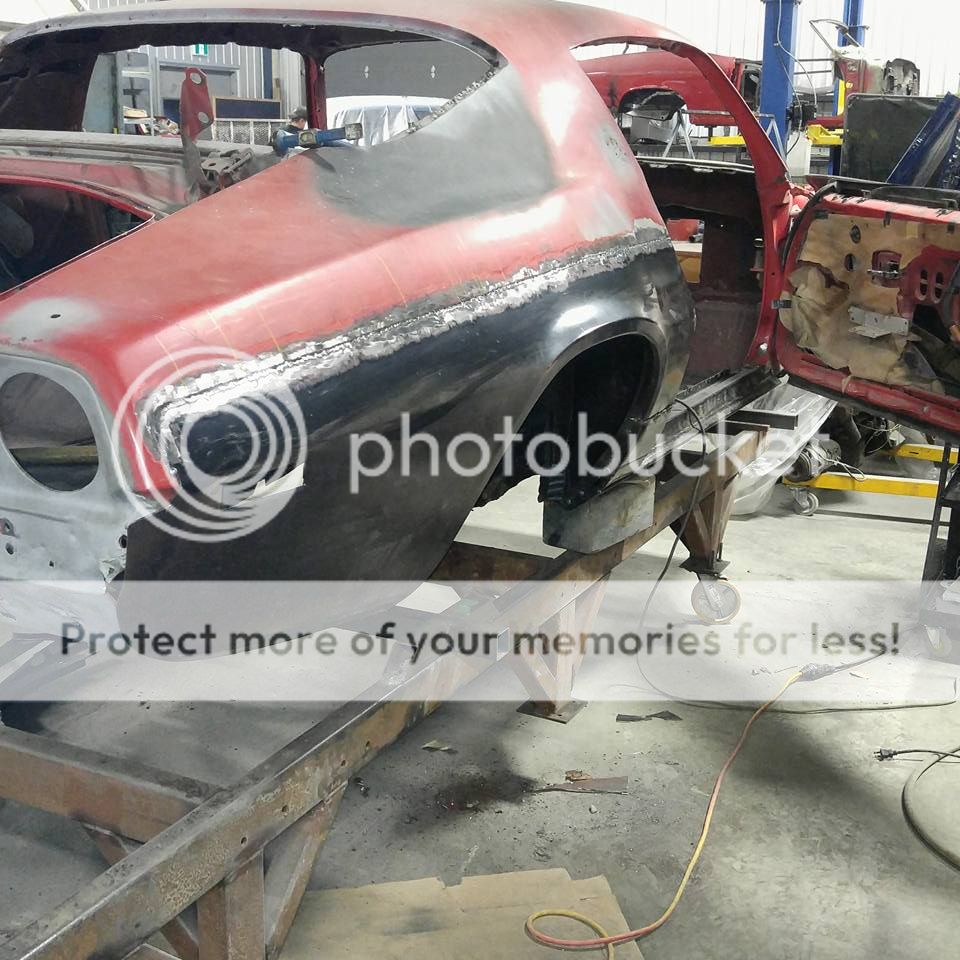
Old quarter behind the wheel.
cheers
New rocker welded in,

New inner and outer wheel wells,


I must say that threading those inner wheel house panels into place was quite the chore.
And new outer quarter skin. This one was from Year One and the fit and finish was horrible and the two body lines would not line up. We had to cut it and re-weld it to get the lines to match up.

Old quarter behind the wheel.

cheers

Thread Starter
|
In the Staging Lanes
Joined: Oct 2017
Posts: 38
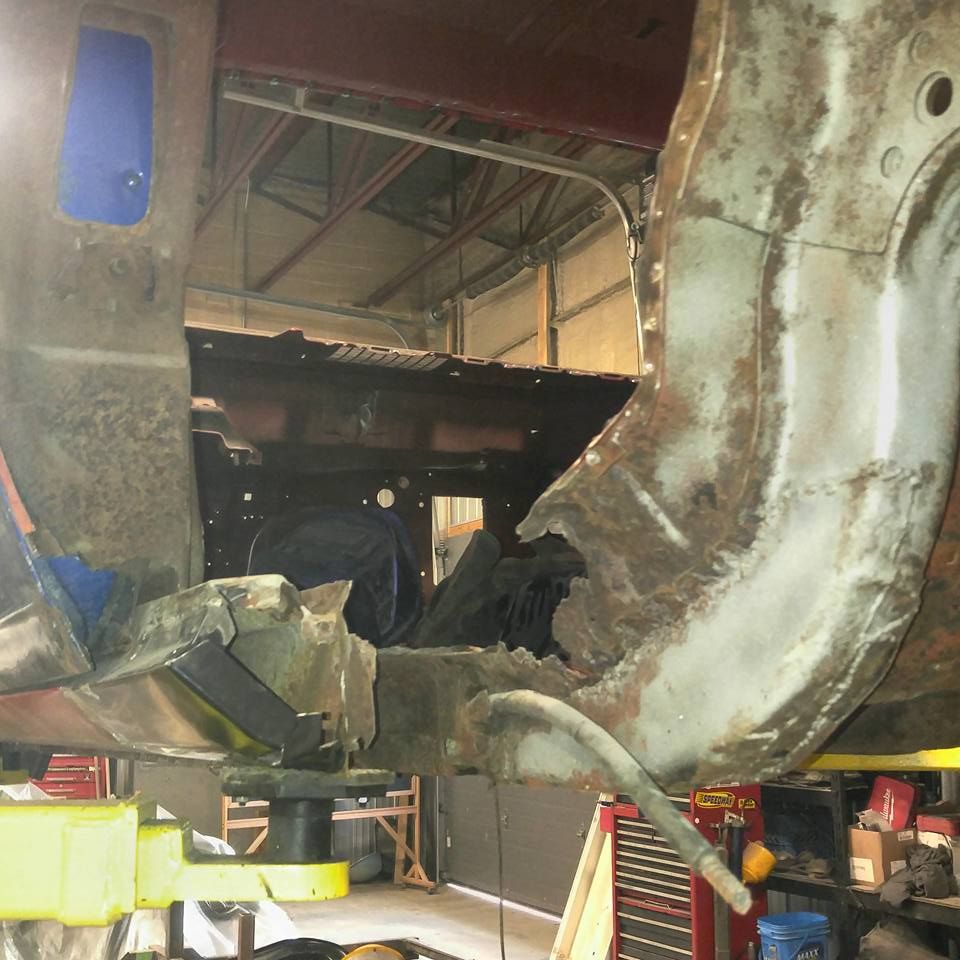
Well we got the right side torque box and frame rail installed,
Old torque box cut out,
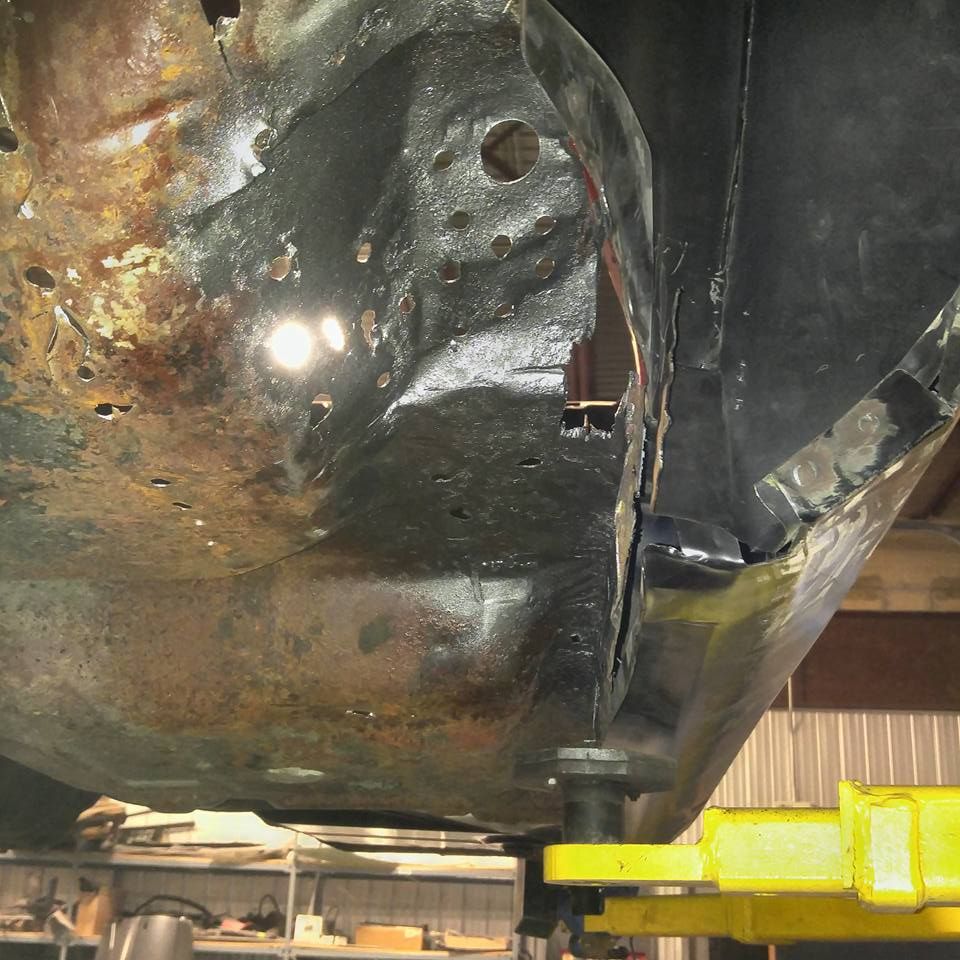
New one installed,
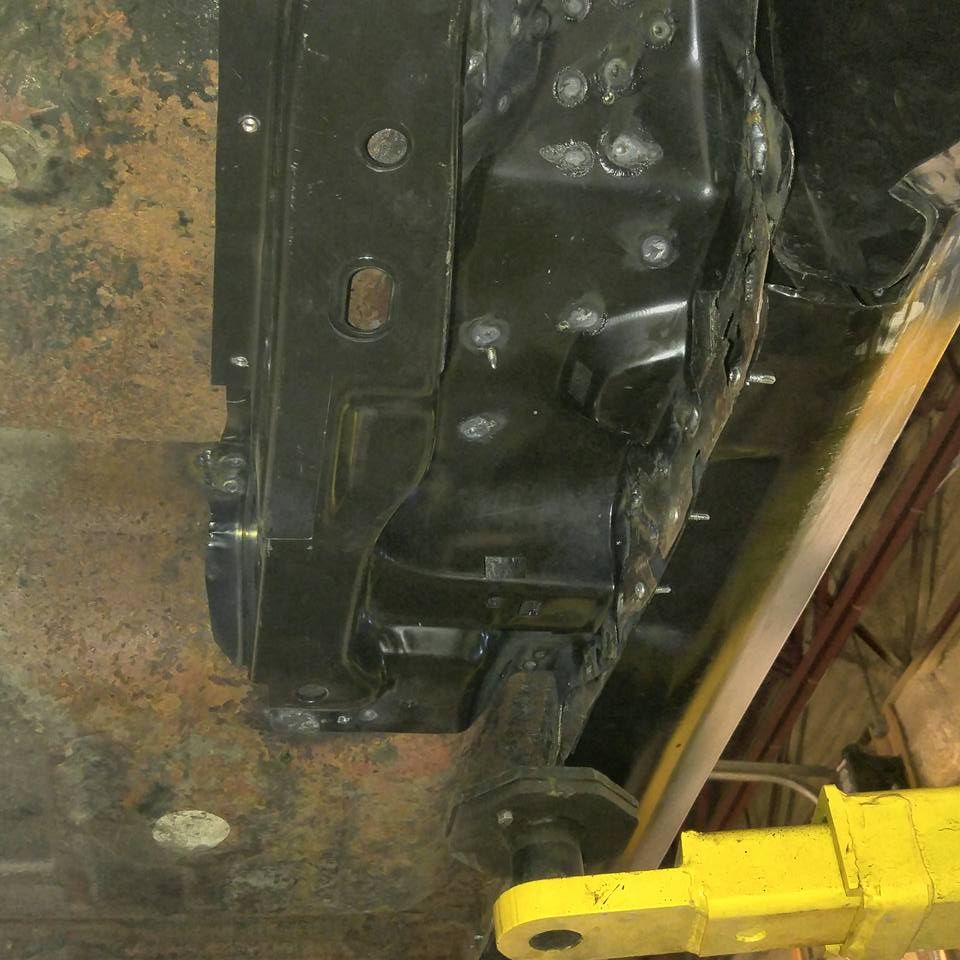
We had a really hard time to get the new rail to sit flush along the top edge, no weight in the car so pushing upwards would just lift it off the hoist. So what we did was drill a hole and use a piece of threaded rod and nuts to draw them together. Worked just the very best!
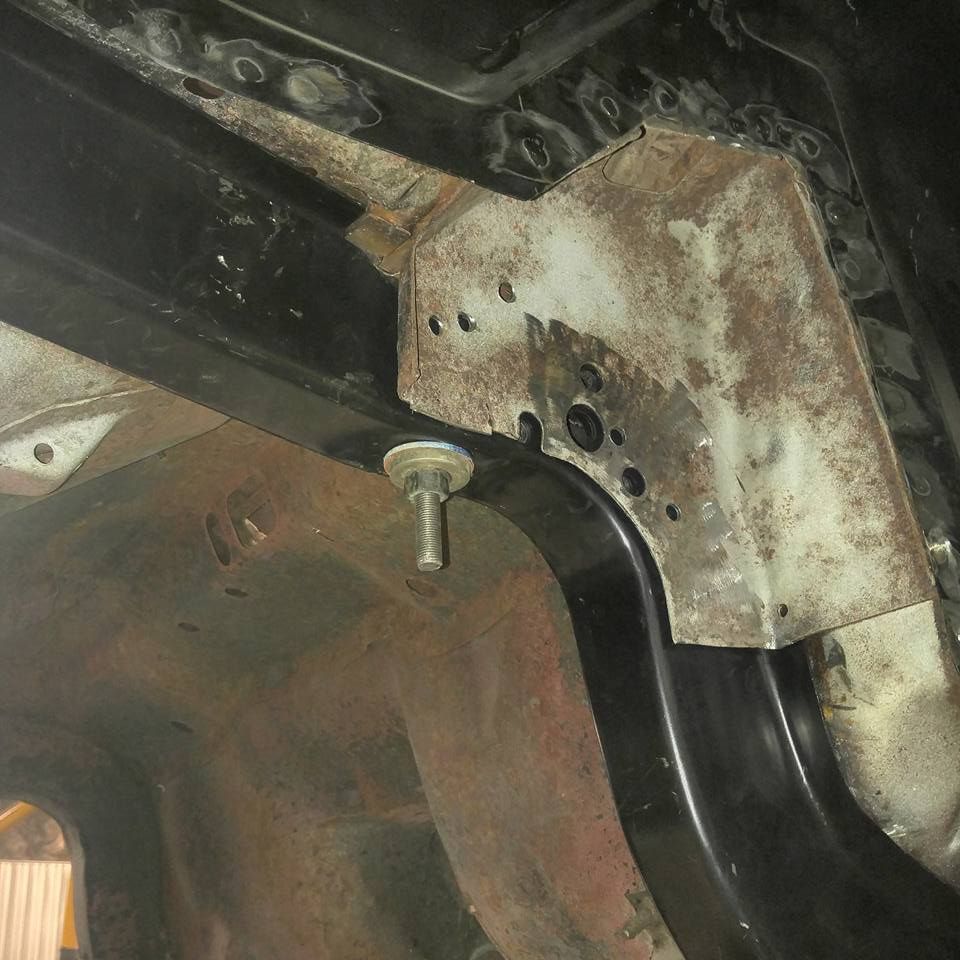
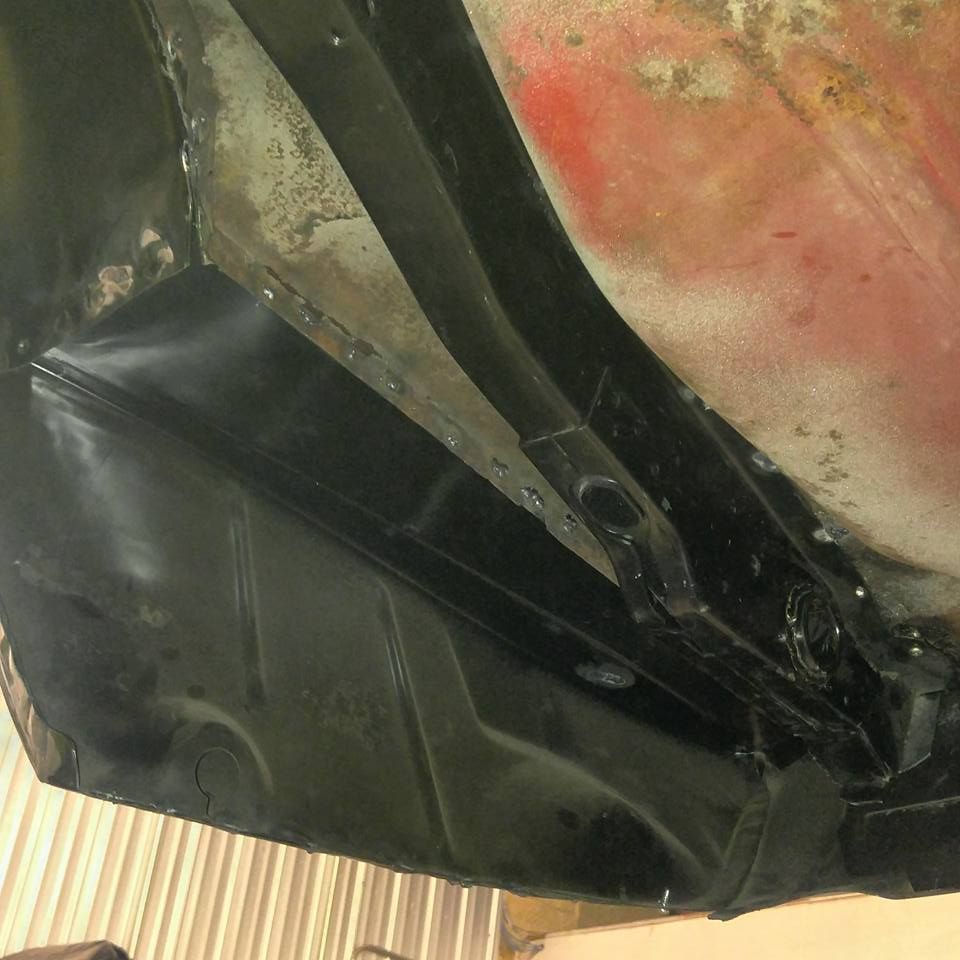
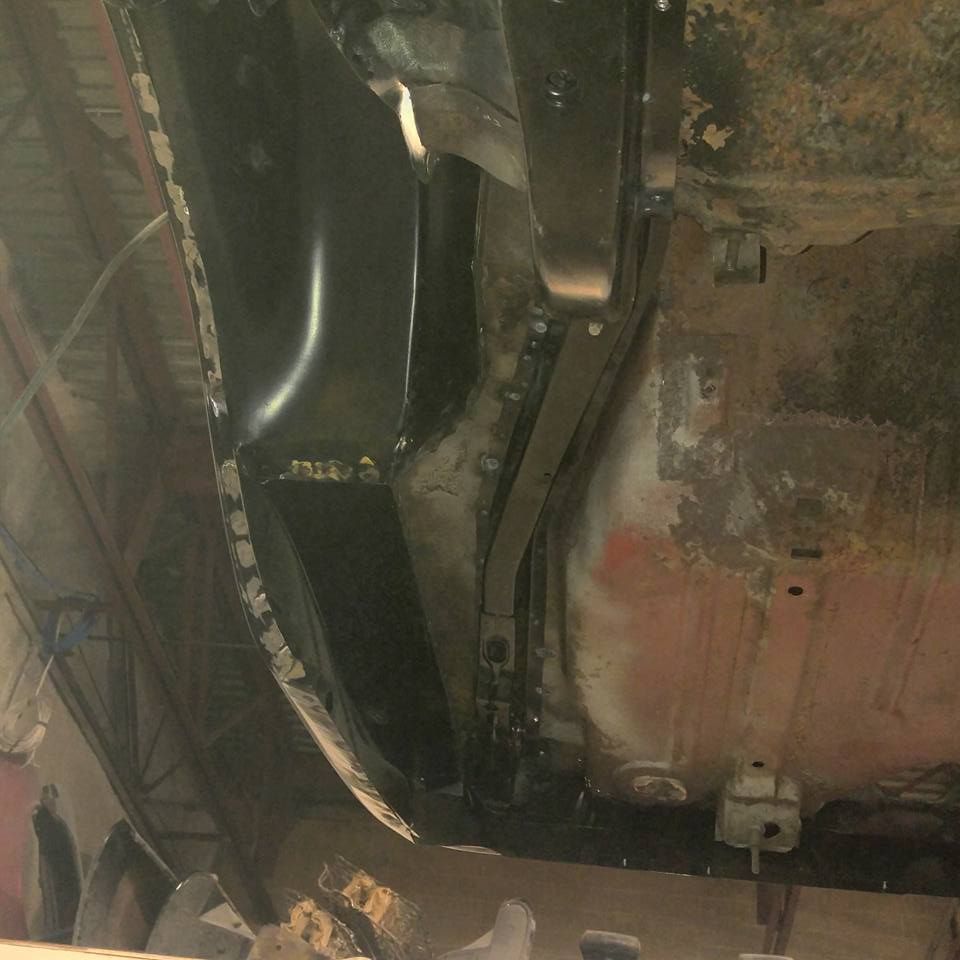
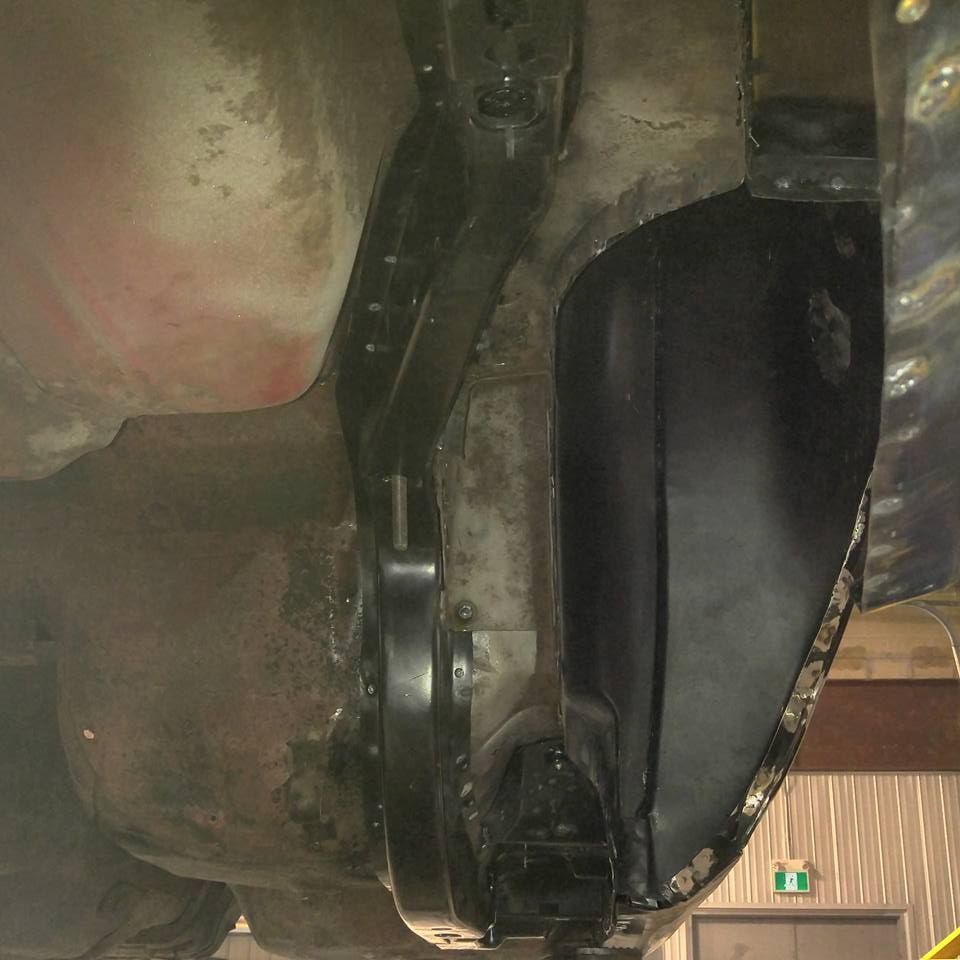
One more side to go,
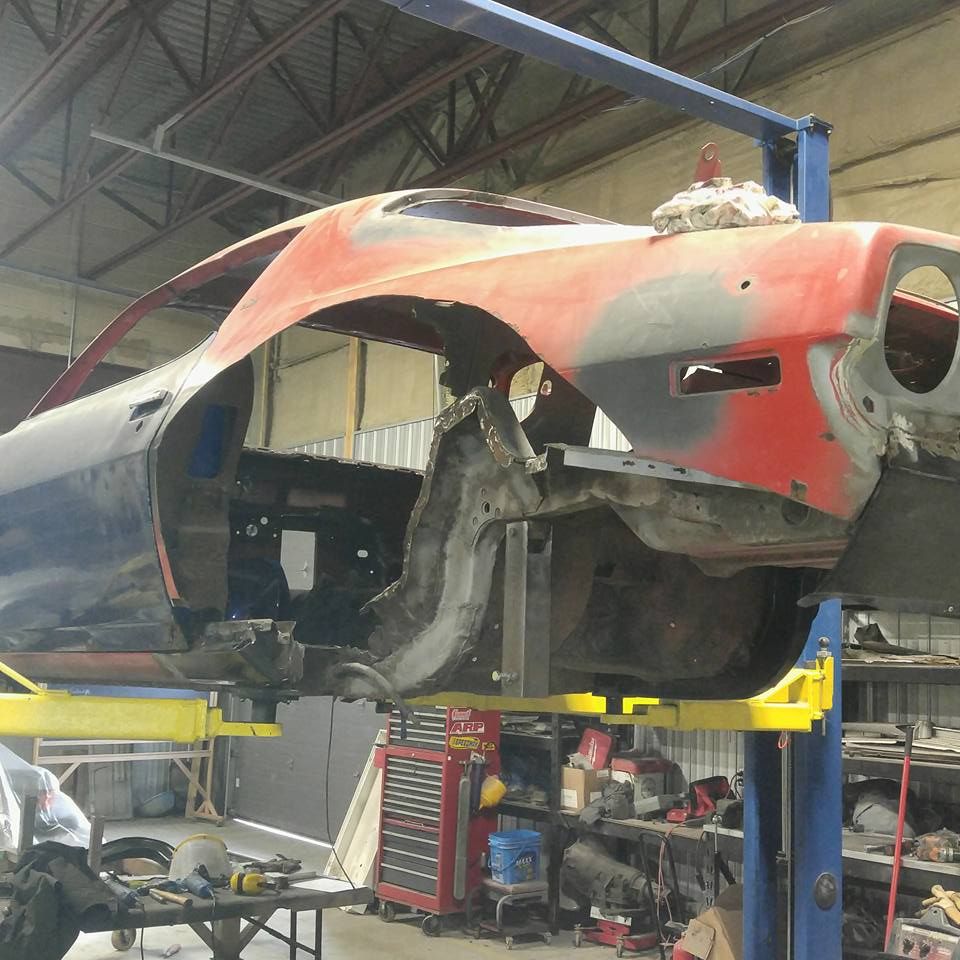
cheers
Old torque box cut out,

New one installed,

We had a really hard time to get the new rail to sit flush along the top edge, no weight in the car so pushing upwards would just lift it off the hoist. So what we did was drill a hole and use a piece of threaded rod and nuts to draw them together. Worked just the very best!


One more side to go,


cheers


Newbie
Joined: Mar 2017
Posts: 9
Nice work - looks great!
How are you dealing with the rot around the windshield and back glass? I have some to deal with too and am afraid more cutting and patching is in order, but it's dicey stuff with all the compound curves + folds.
How are you dealing with the rot around the windshield and back glass? I have some to deal with too and am afraid more cutting and patching is in order, but it's dicey stuff with all the compound curves + folds.
Thread Starter
|
In the Staging Lanes
Joined: Oct 2017
Posts: 38
Yes we had to install some patches around the glass channel. We got away with a few patches, but if it's really severe sometimes a new roof skin is the way to go.


cheers