
1971 Camaro Z28 RS build


Thread Starter
|
In the Staging Lanes
Joined: Oct 2017
Posts: 38
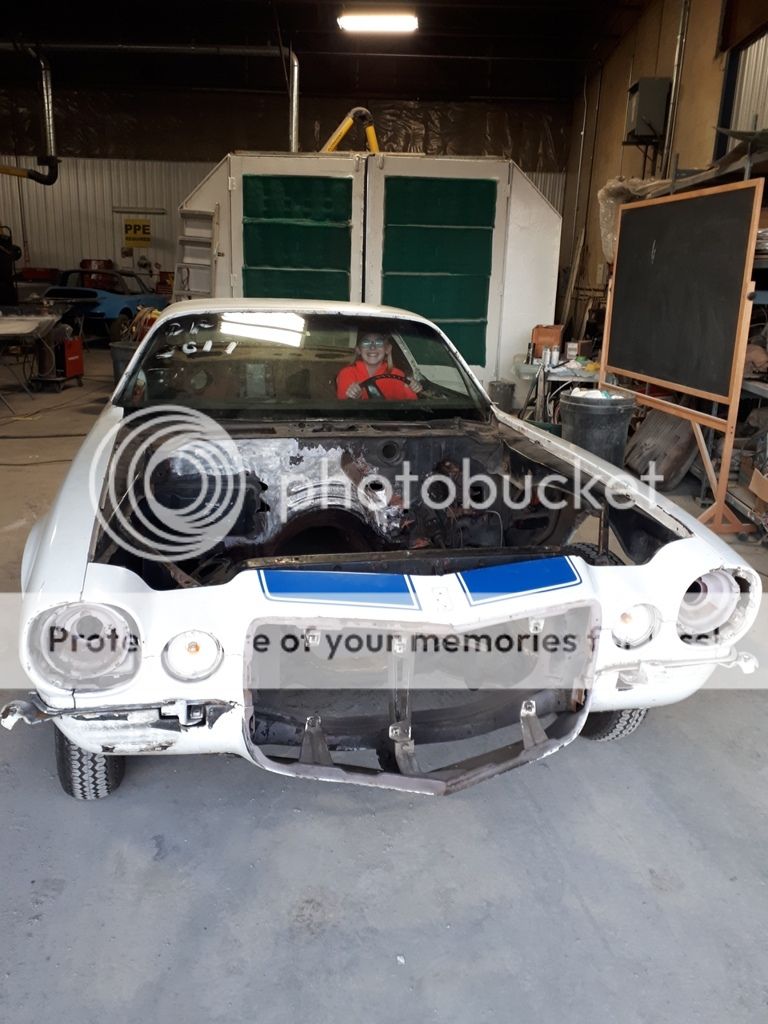
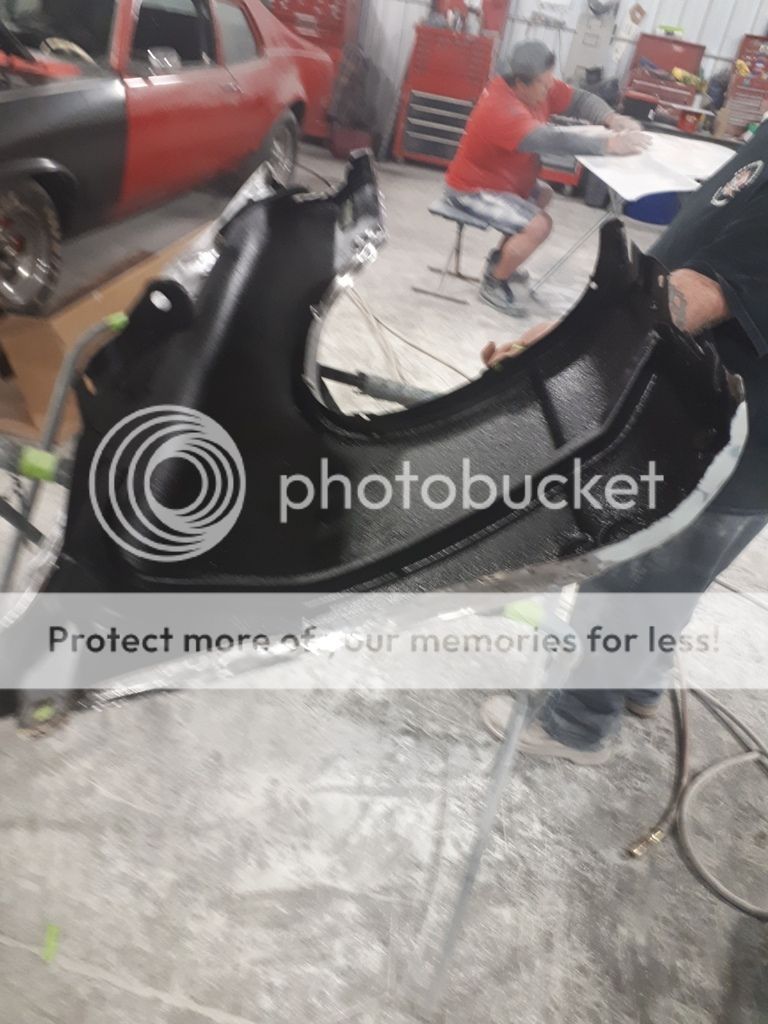
Hey Troops,
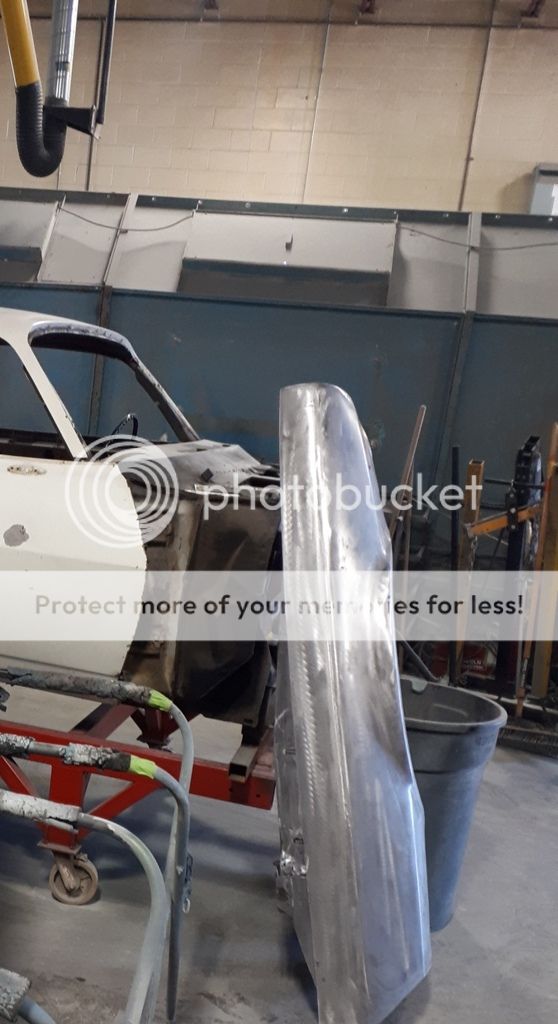
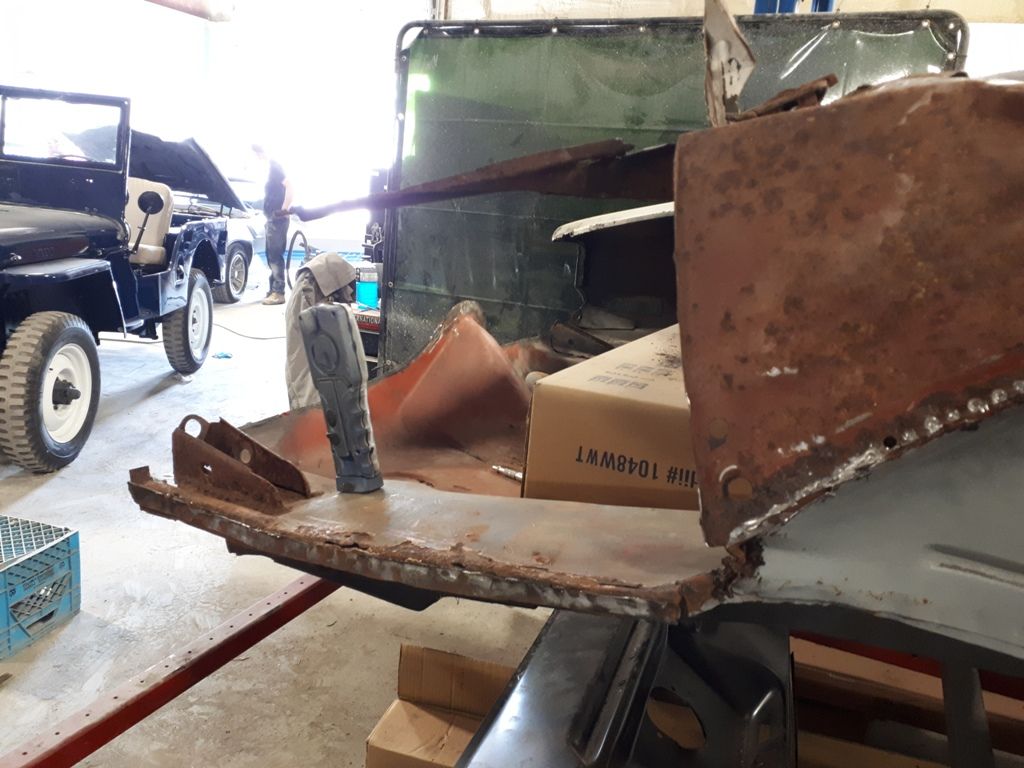
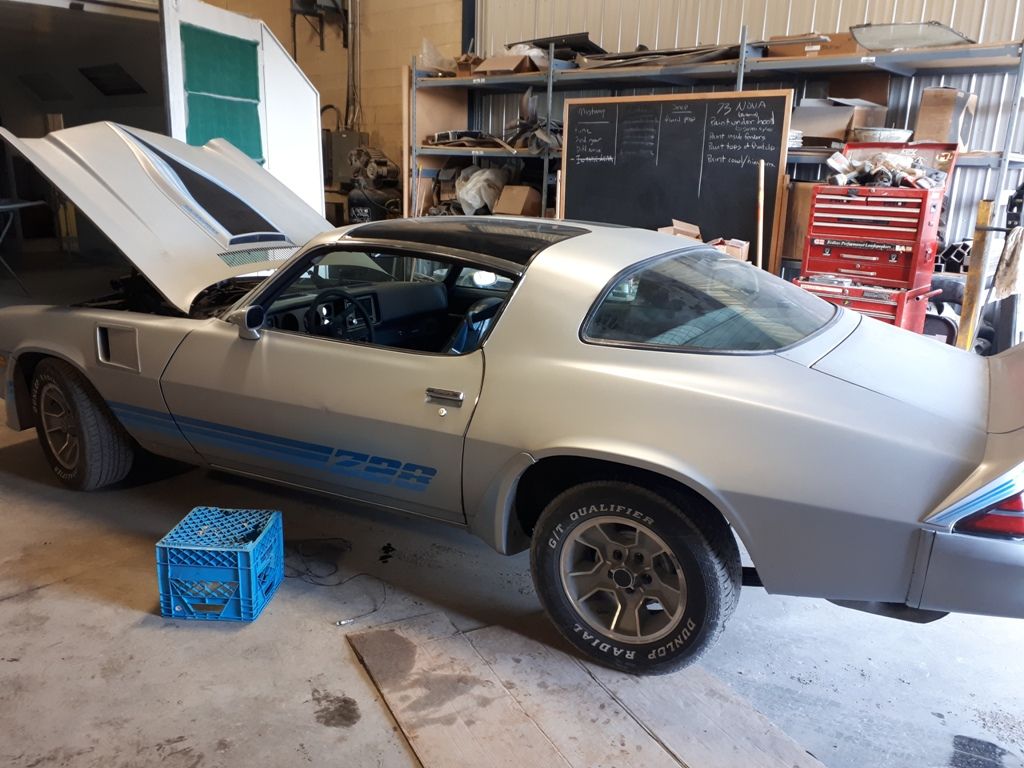
Just brought this one into the shop along with the 73 that is now waiting at the media blasters for some attention
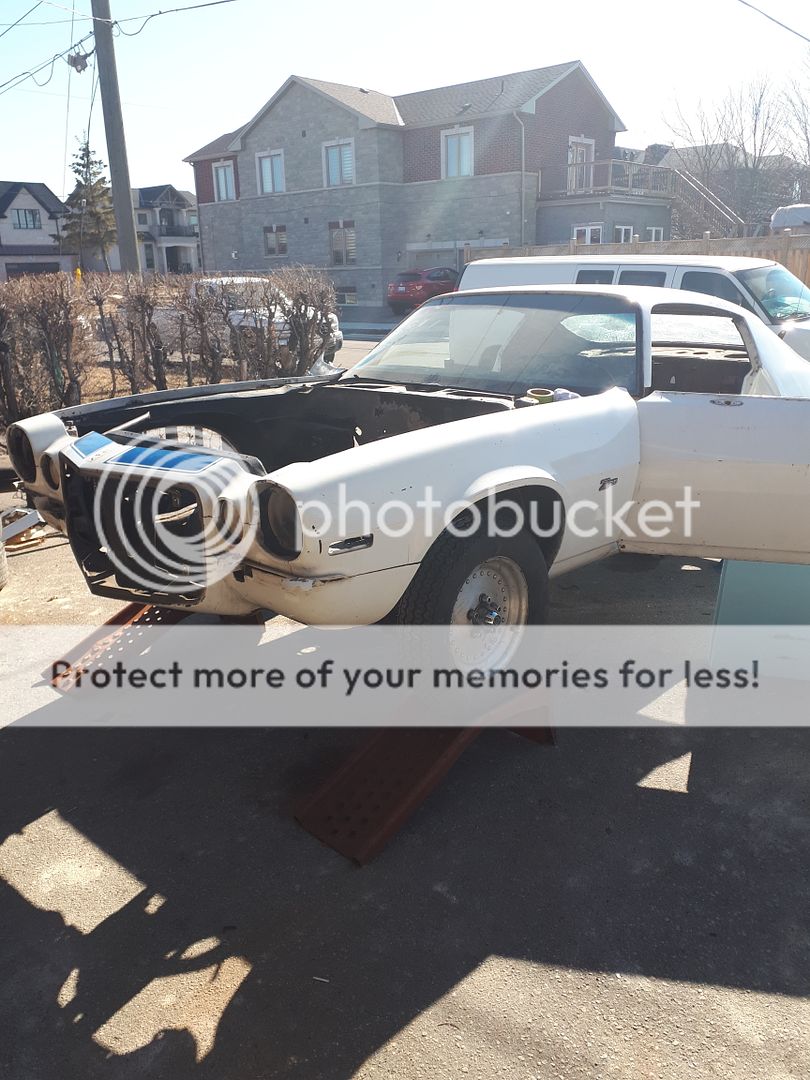
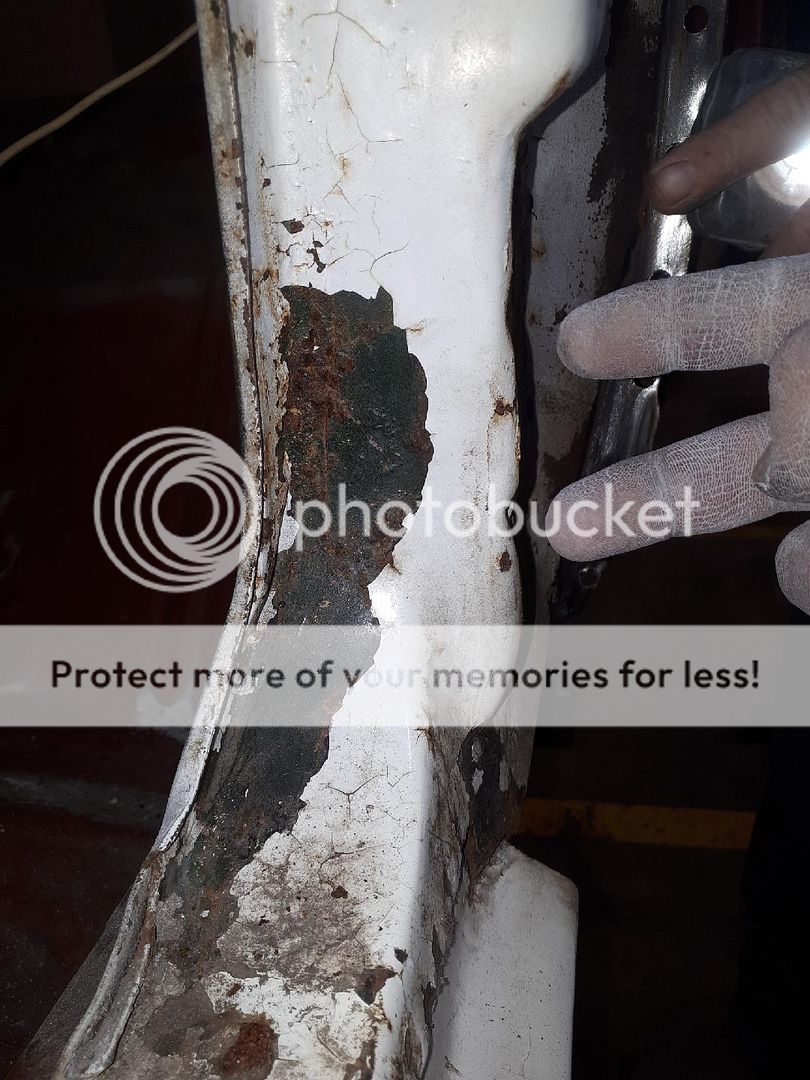
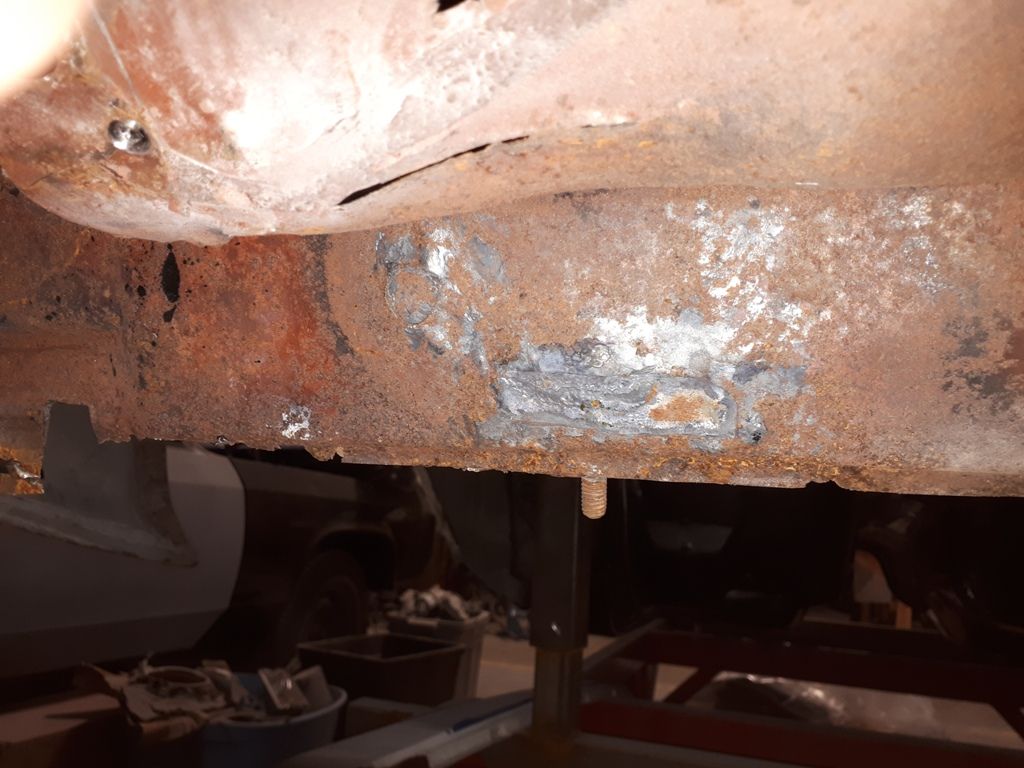
Floors have been replaced at one time,
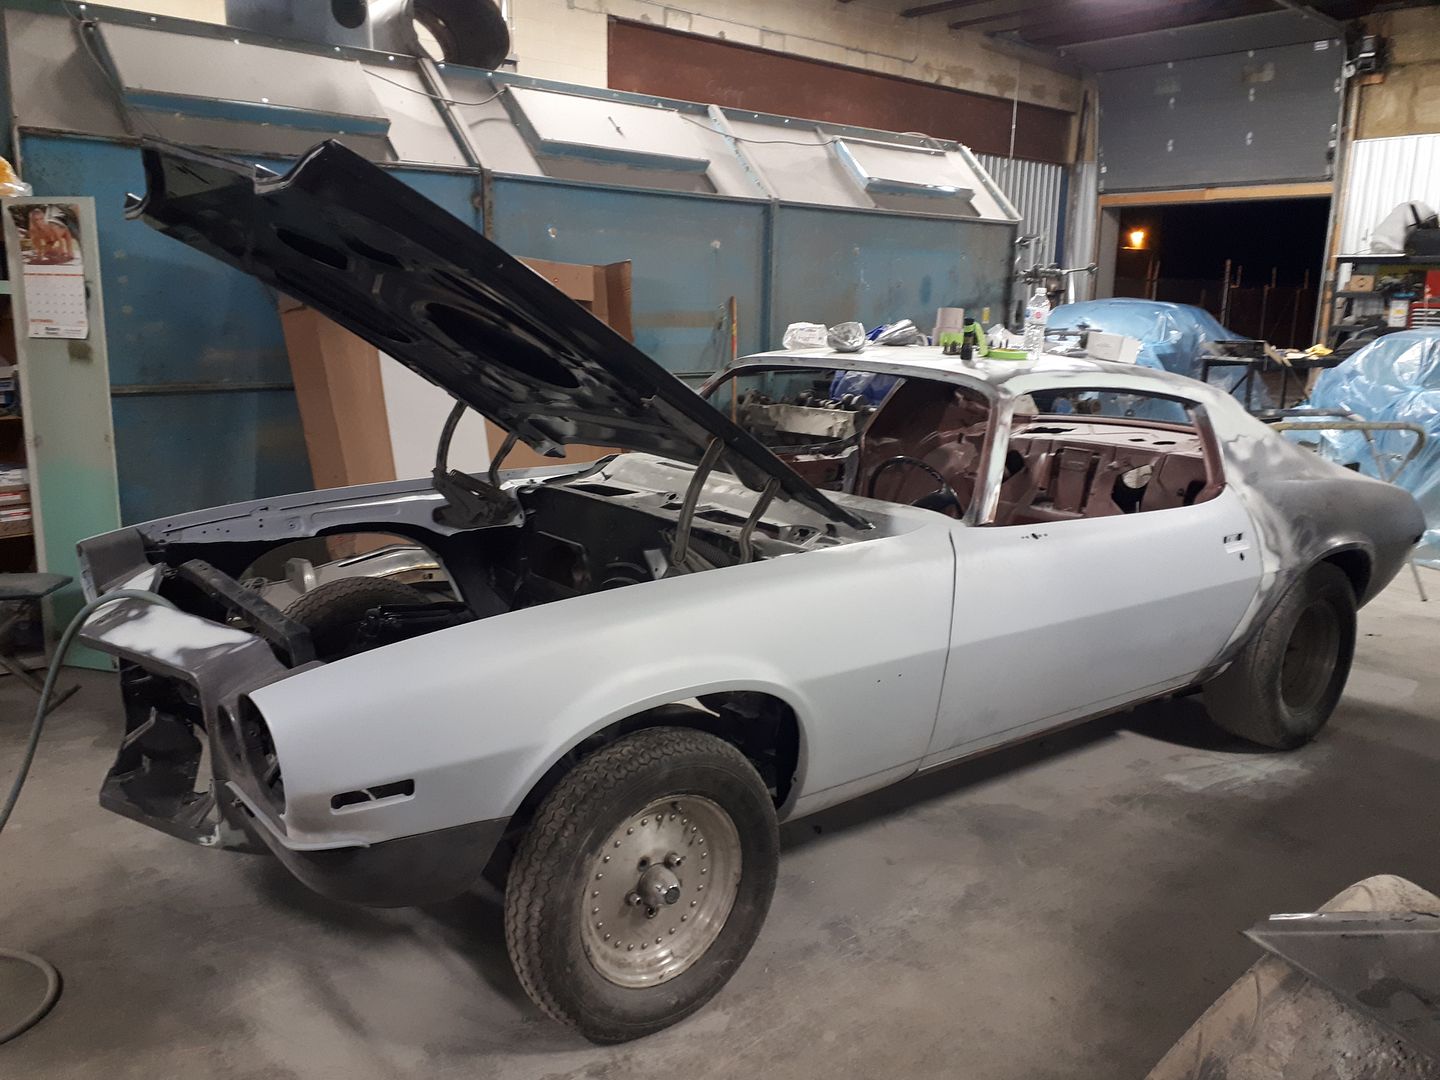
Just backing it into the shop!
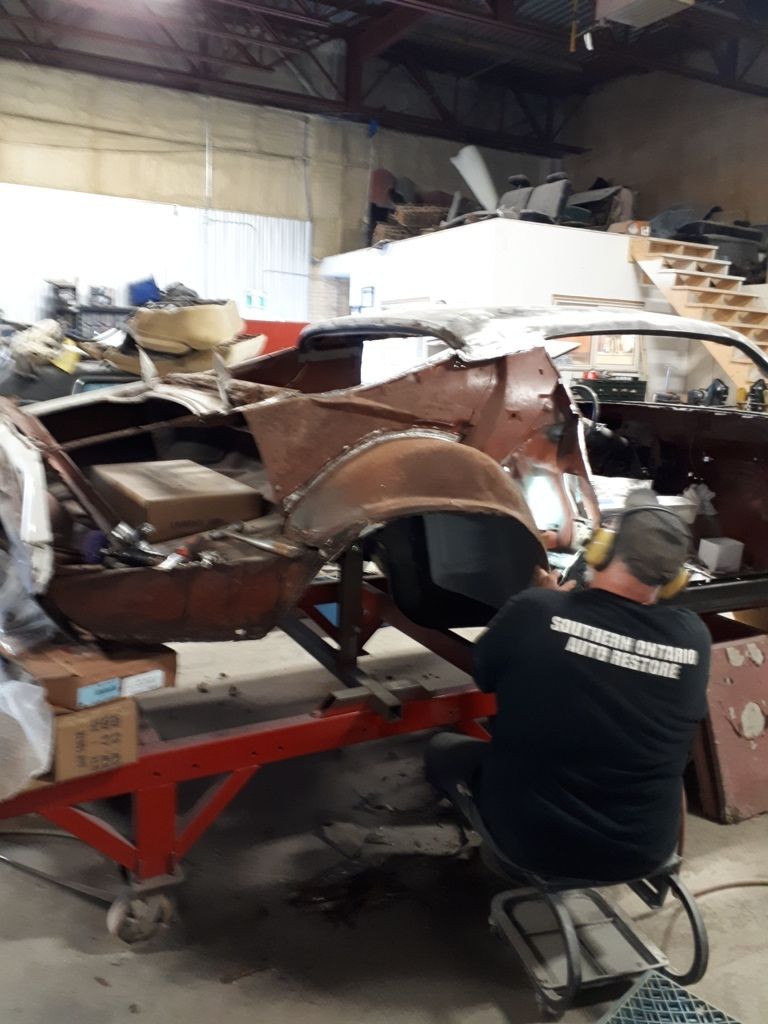
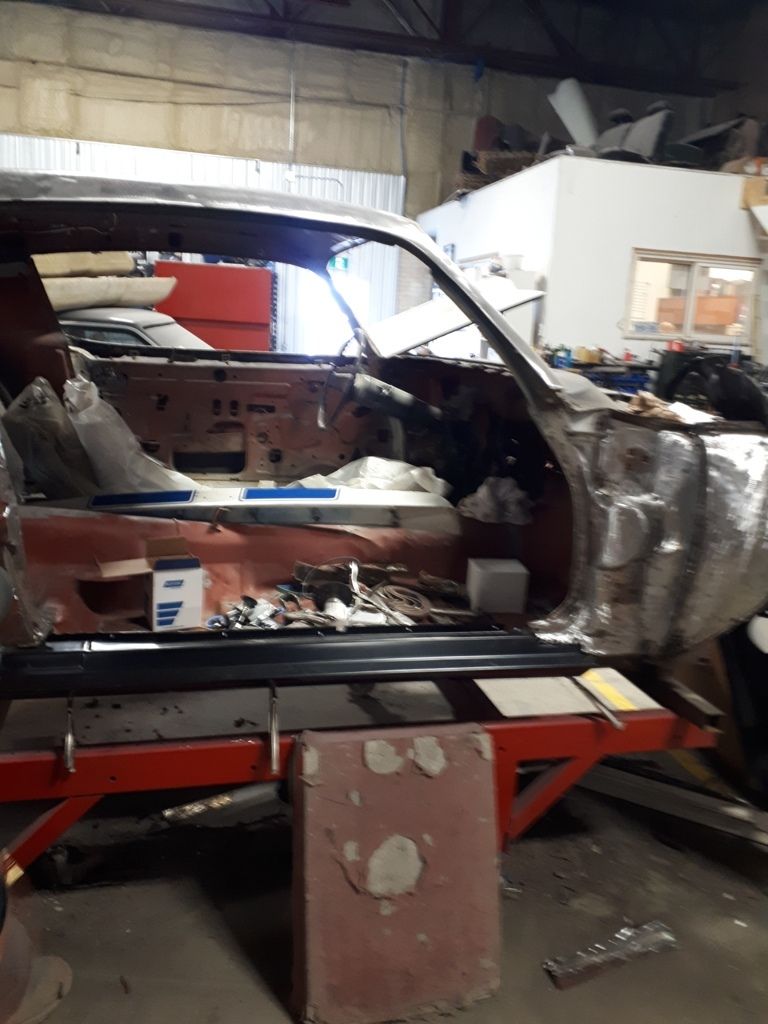
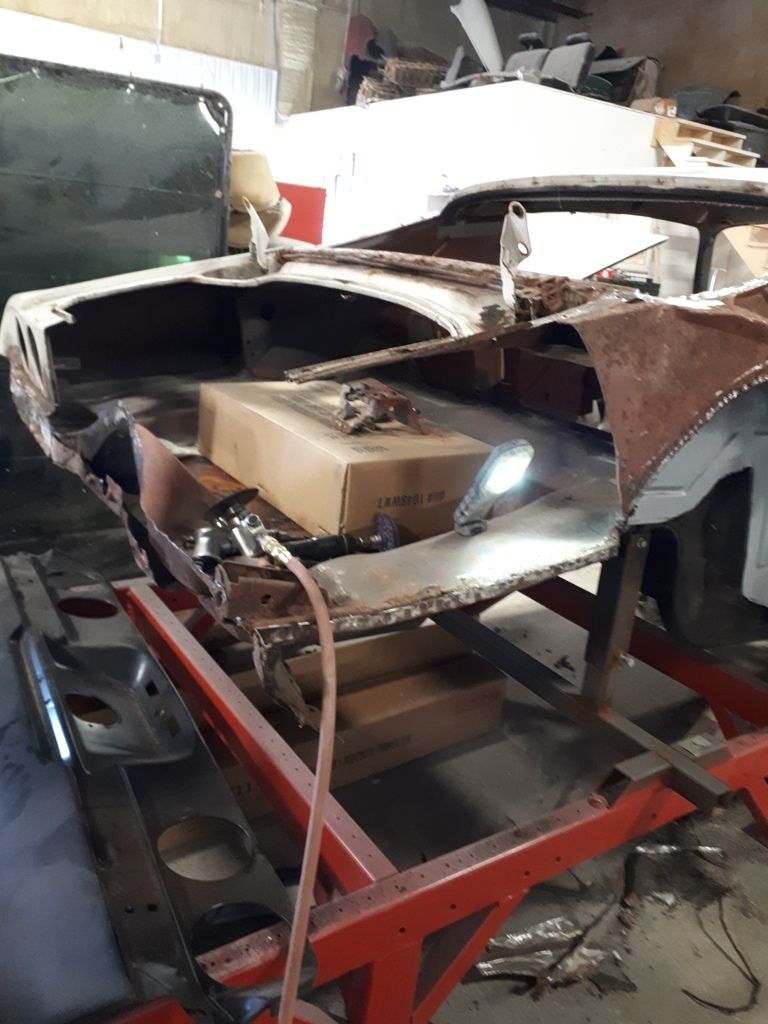
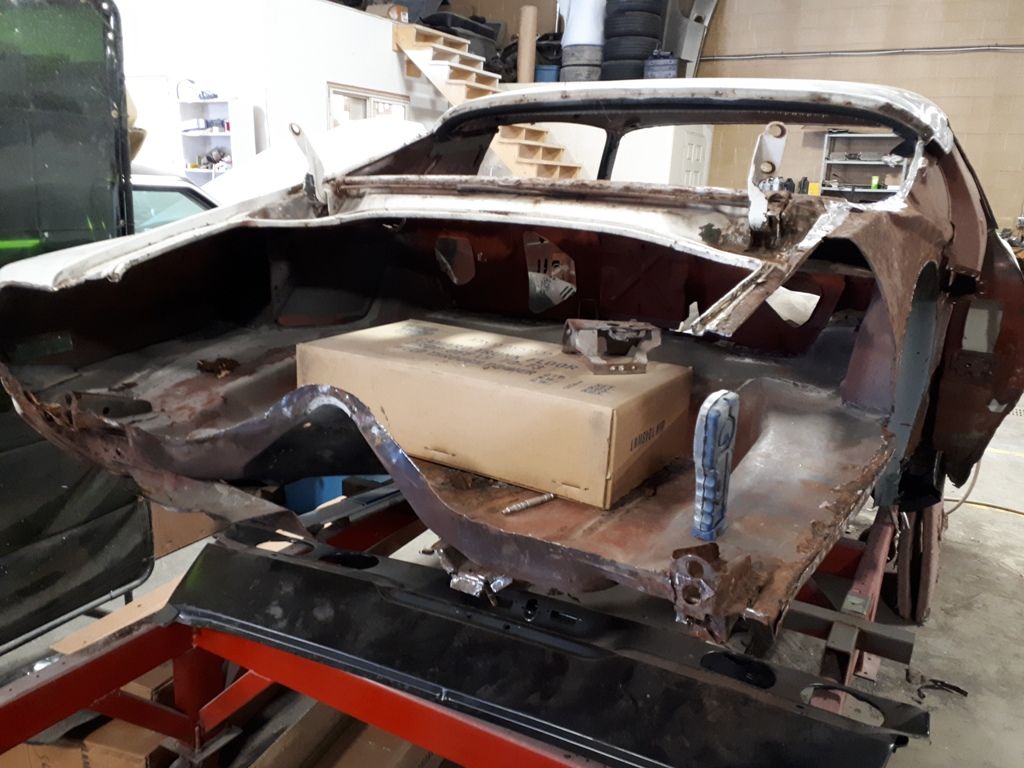
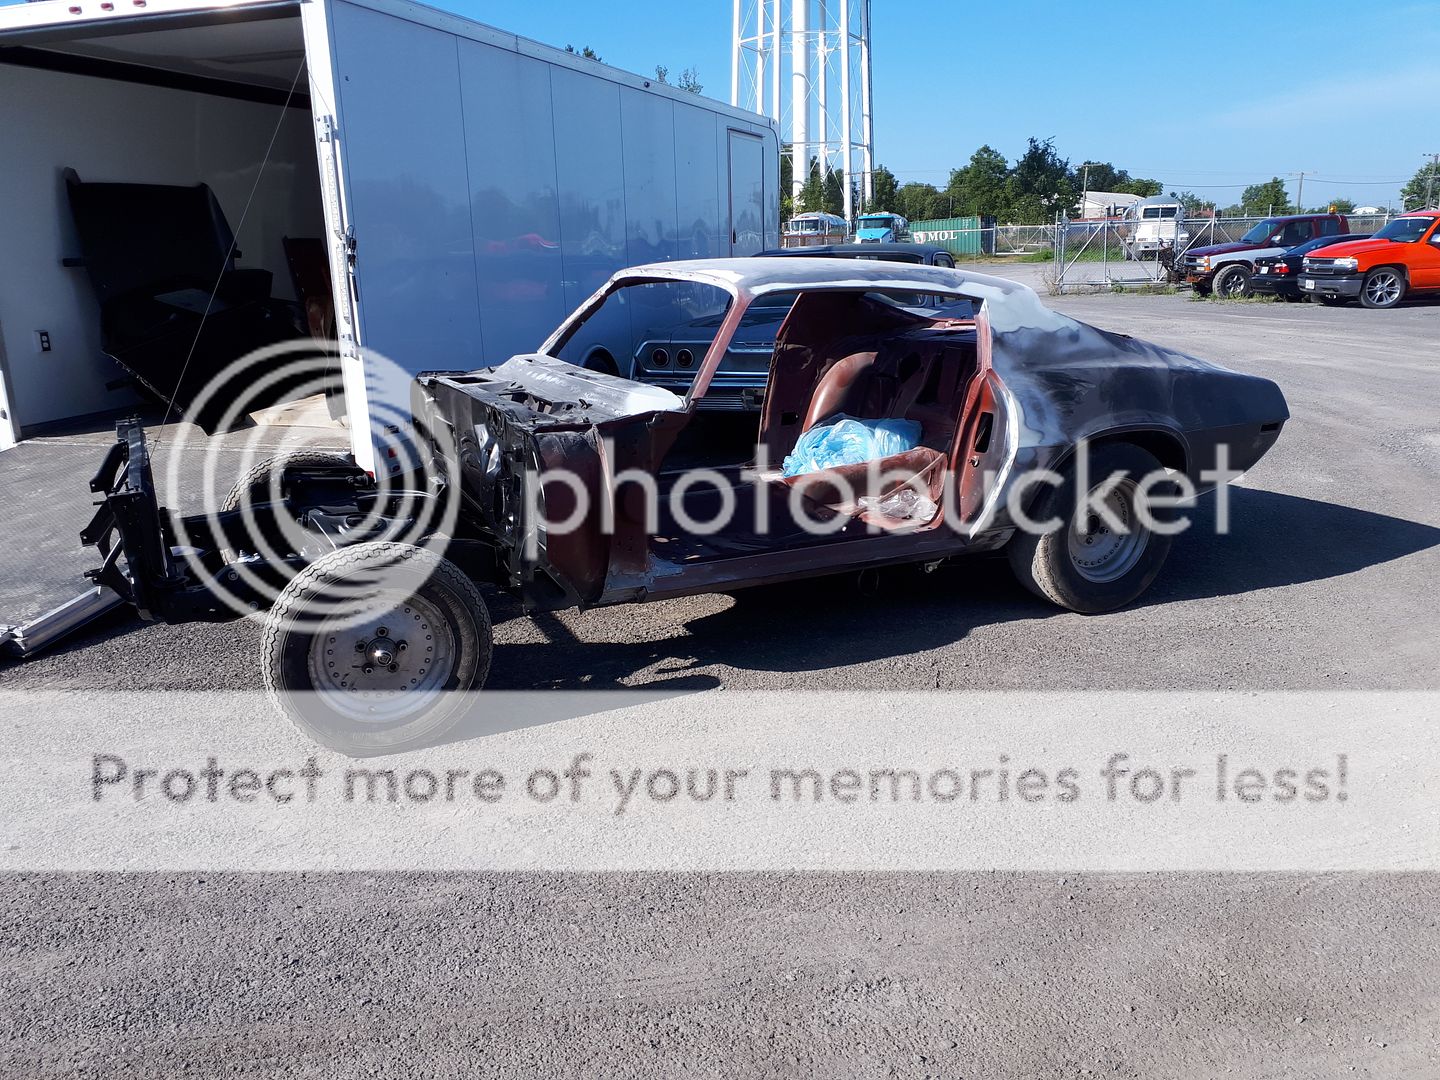
First thing to do was strip what was left and put it up on the frame table to check for squareness.
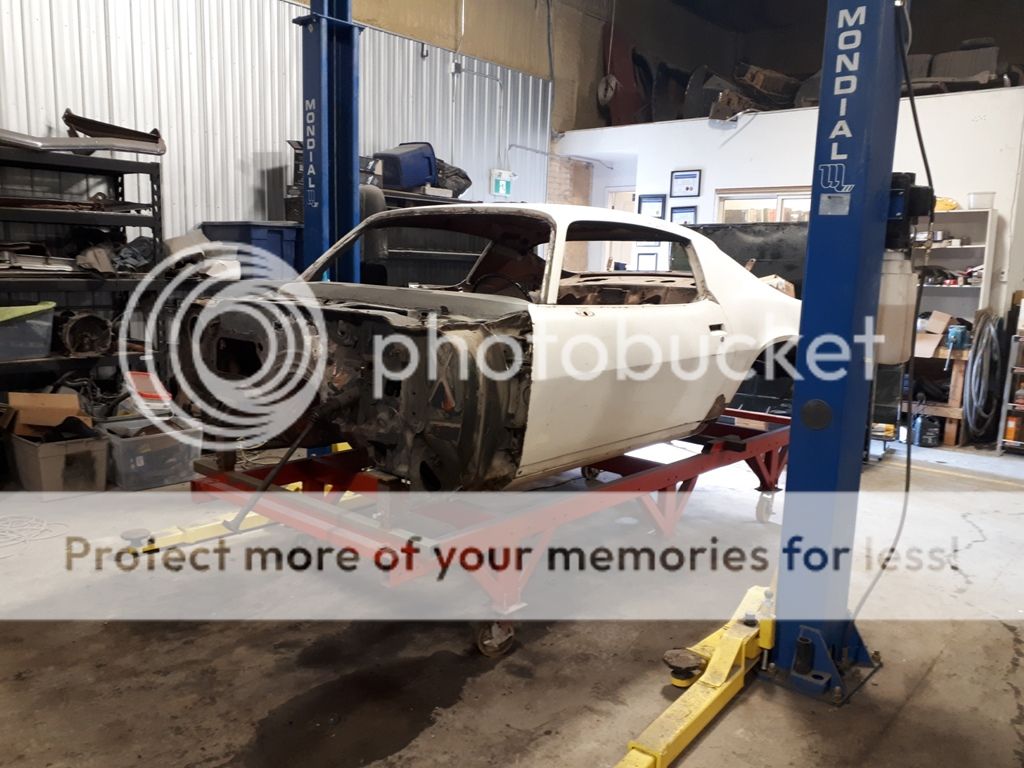
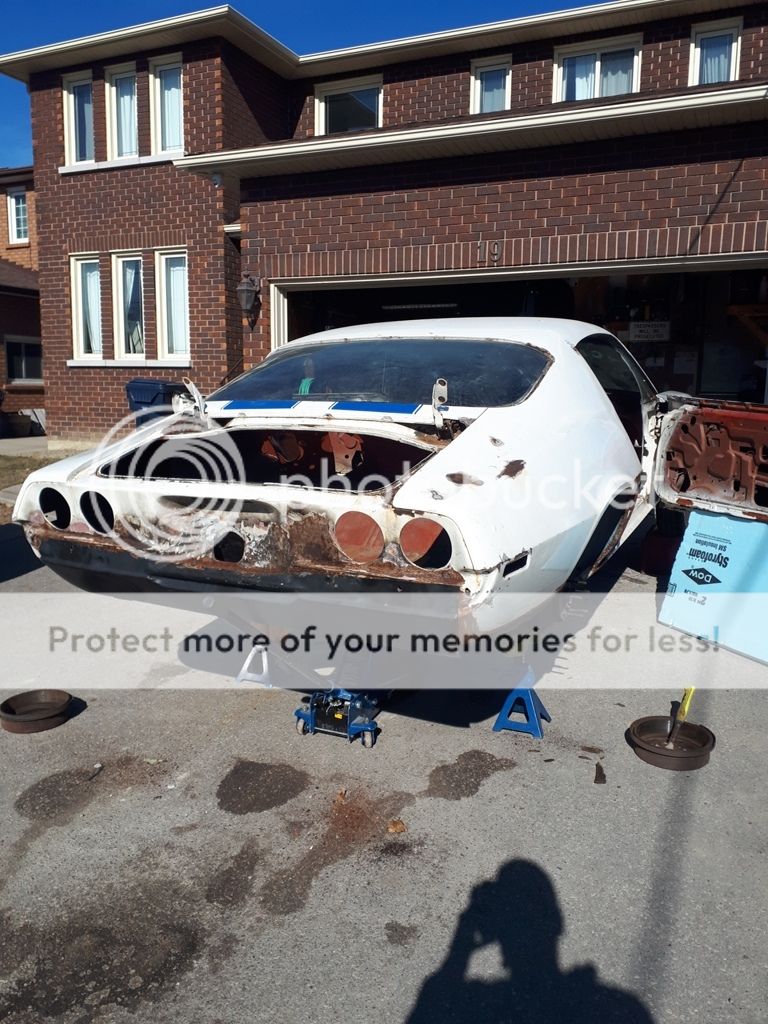
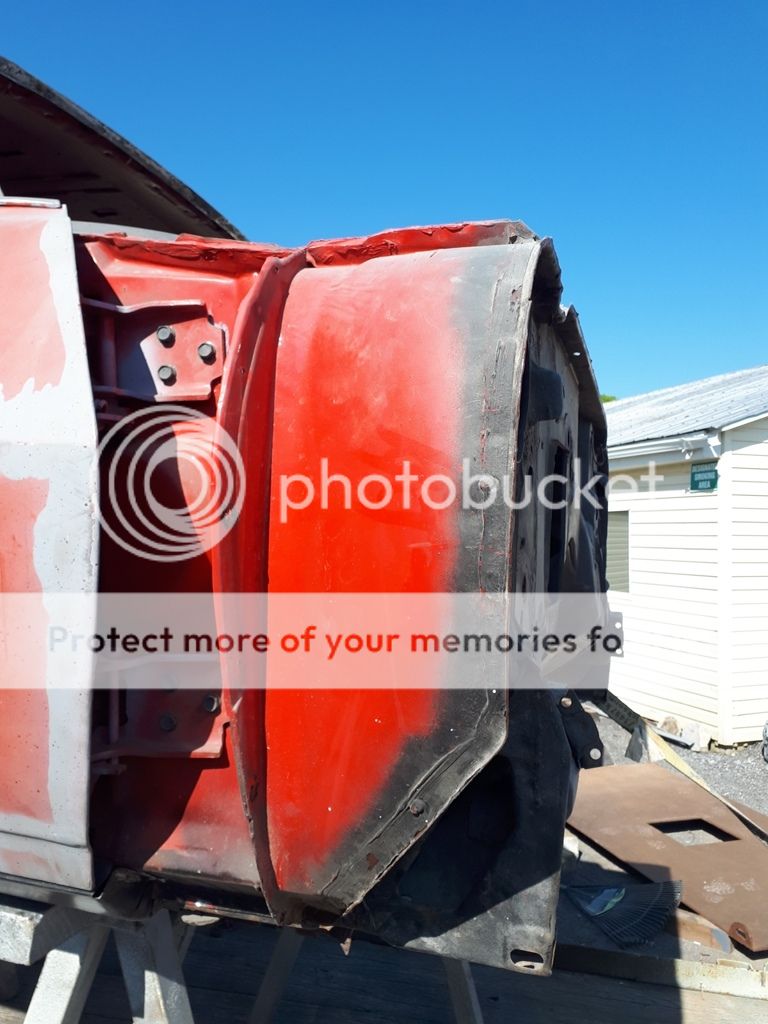
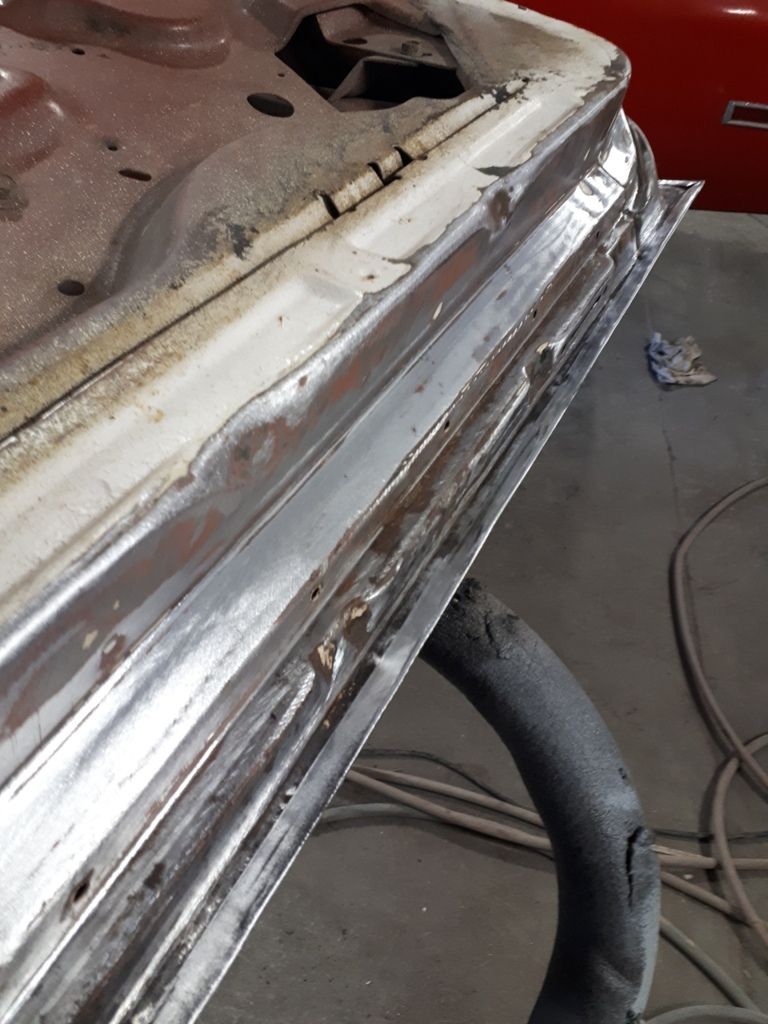
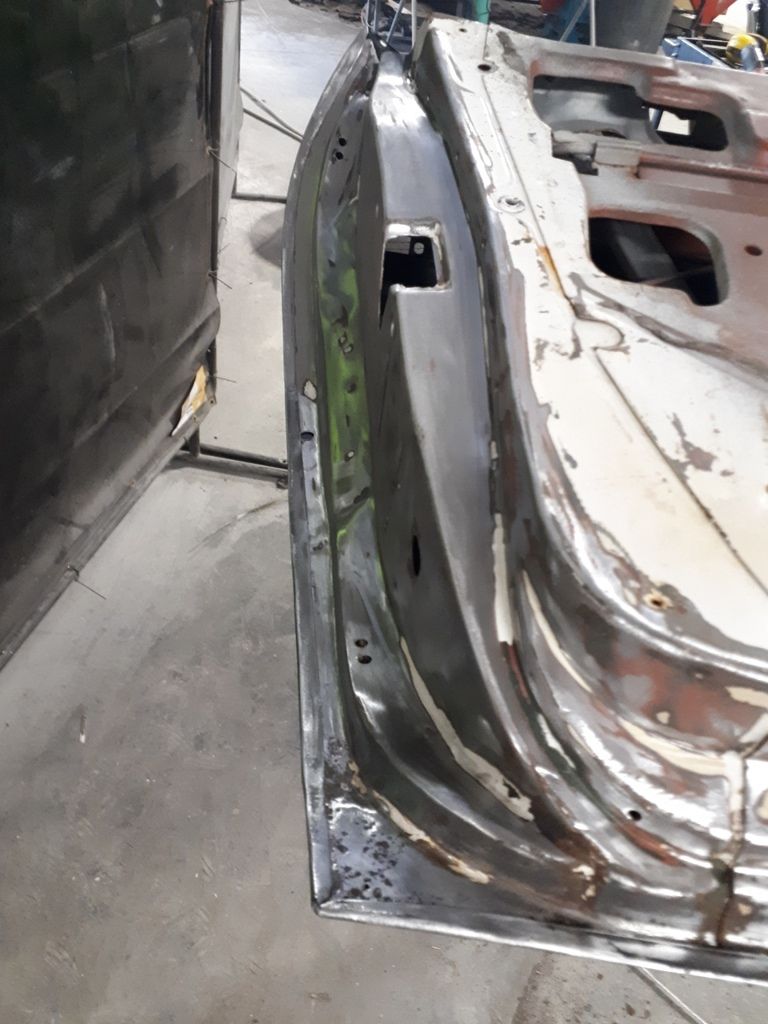
The owner passed along his concern that the car was hit and repaired a long time ago, most likely in the late 70's early 80's. Well he was right, the car took a nasty hit on the right front corner and down the entire right side.
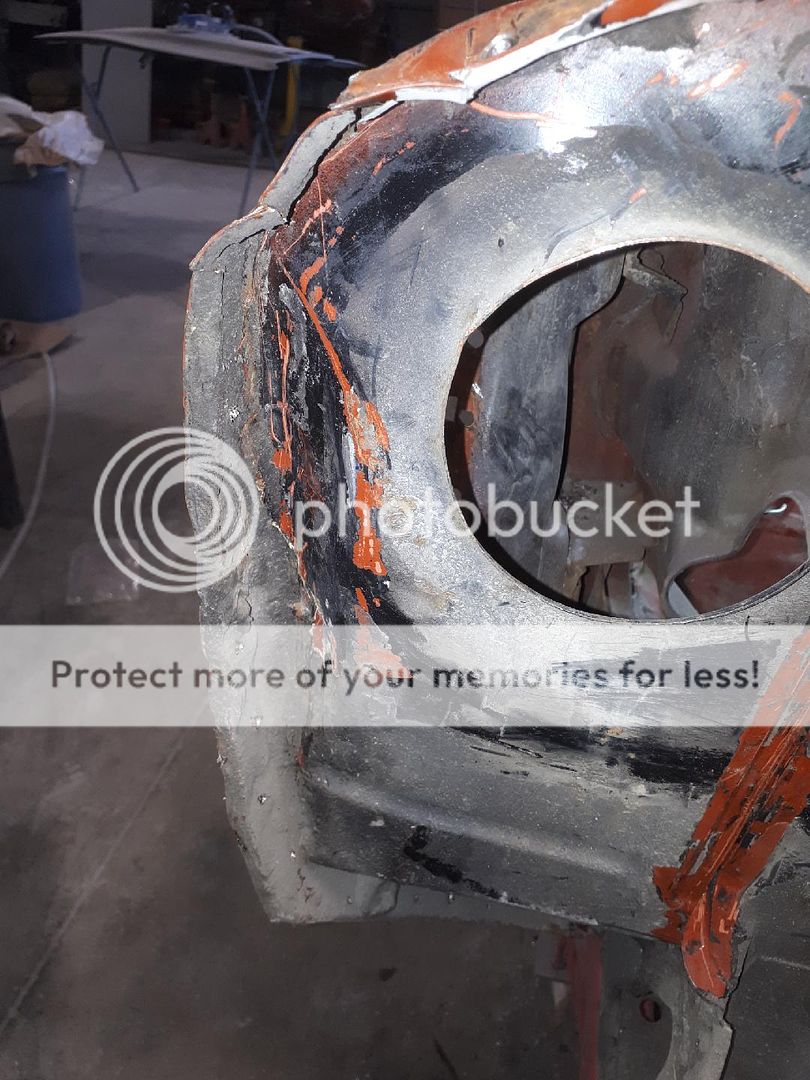
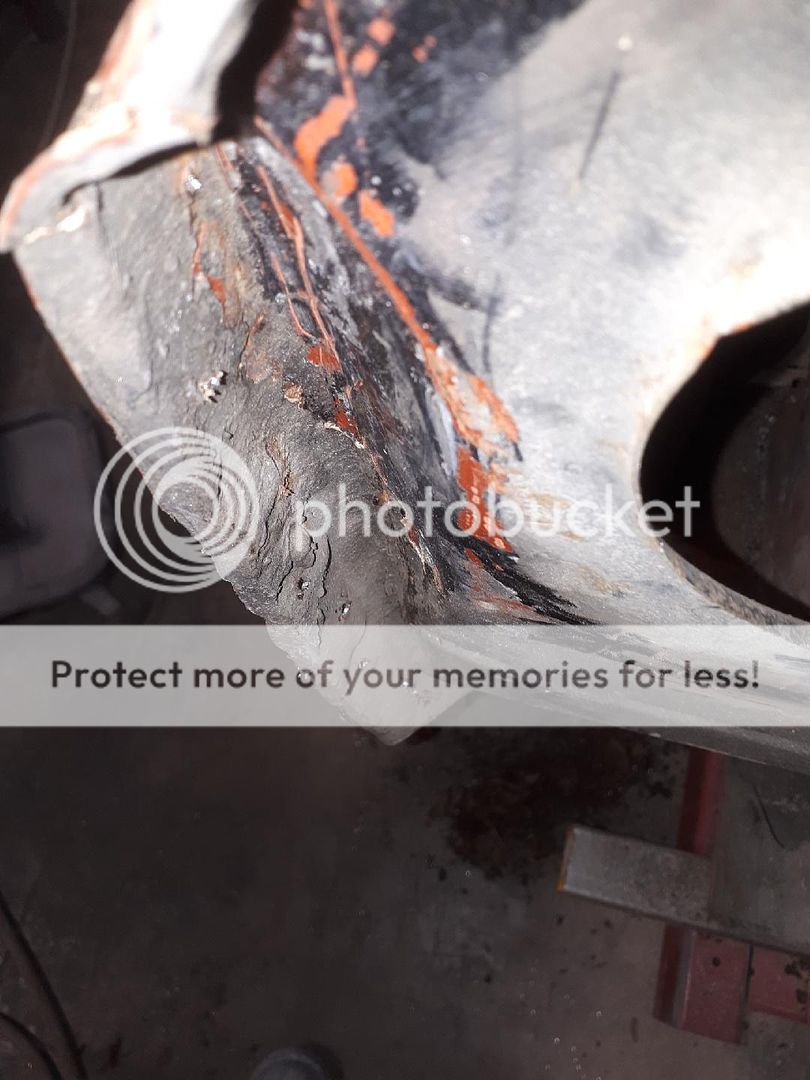
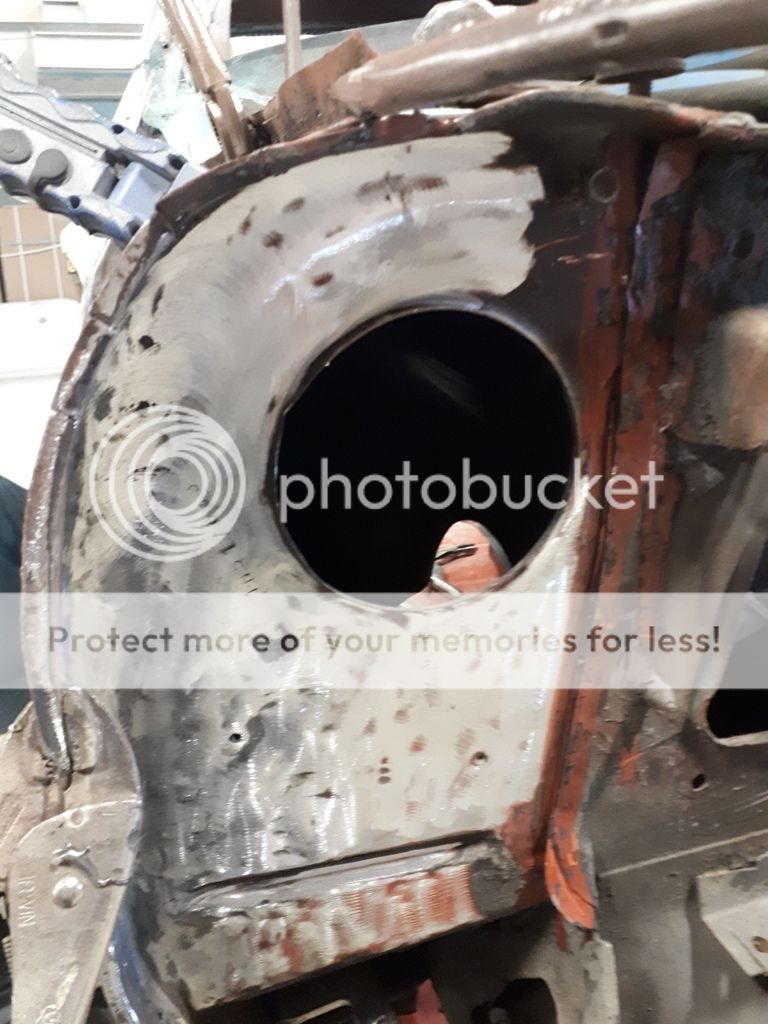
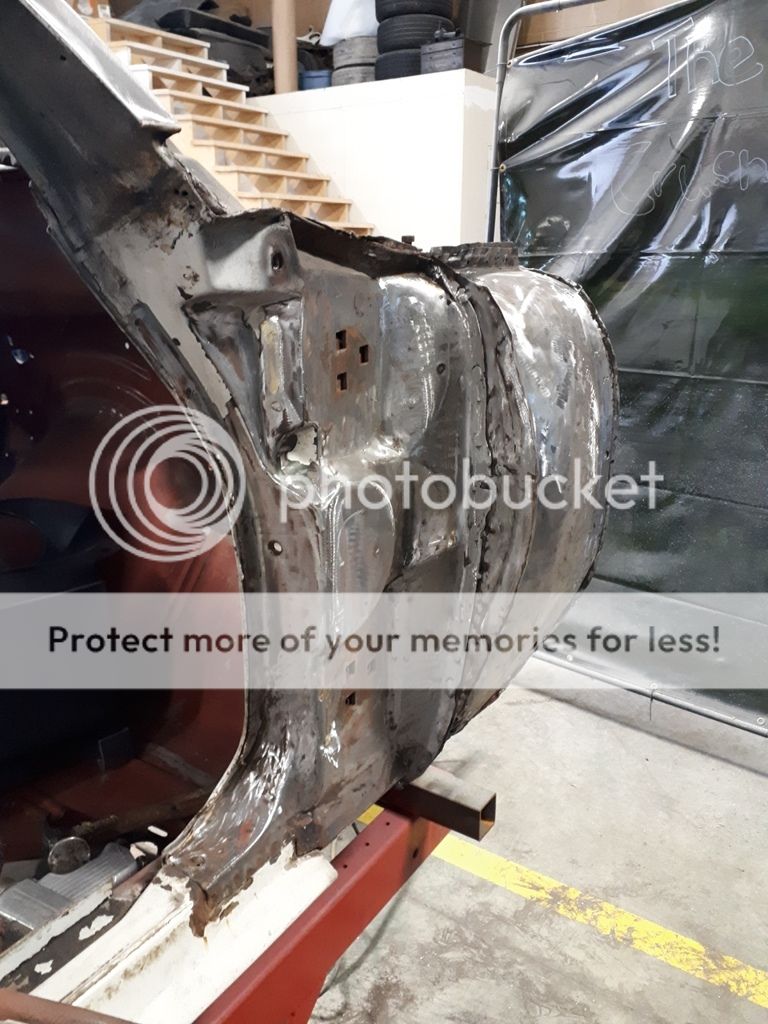
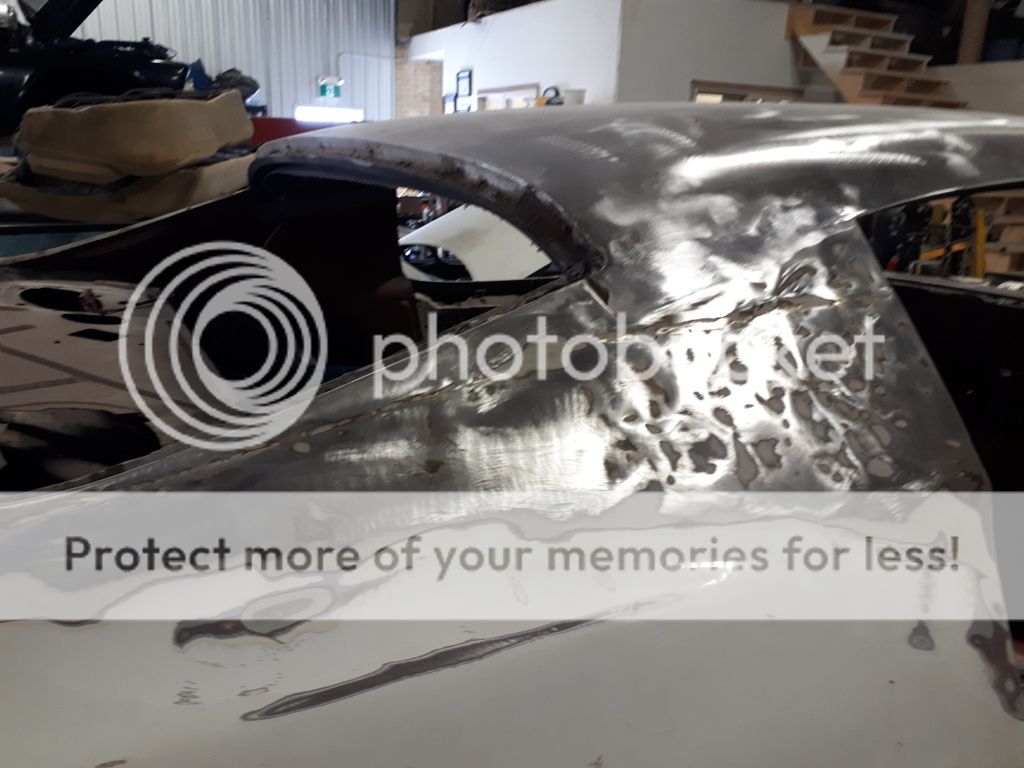
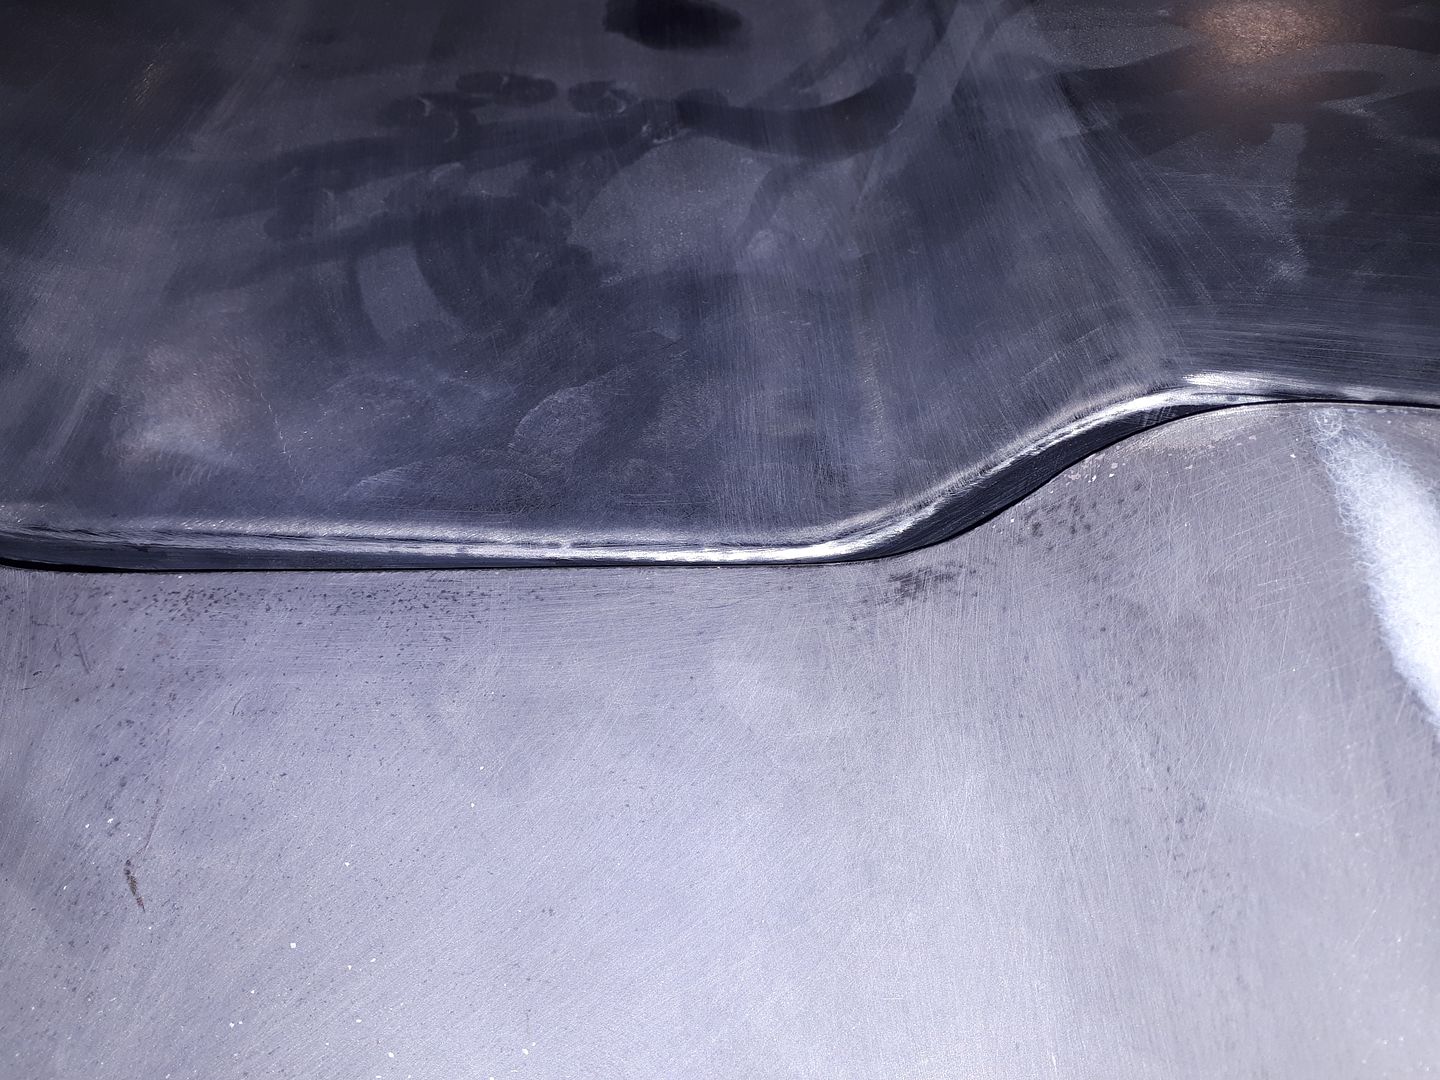
Here you can see the crinkle on the right cowl area in front of the A pillar.
This is a shot of the 73, notice how nice and smoe the outer cowl area is,
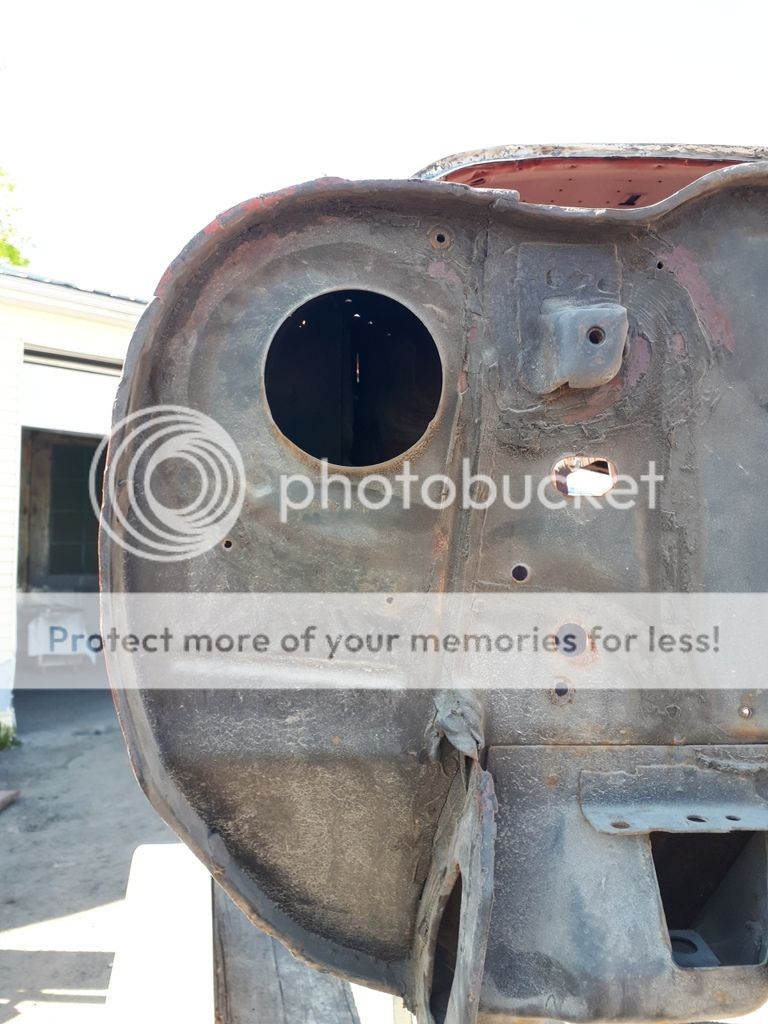
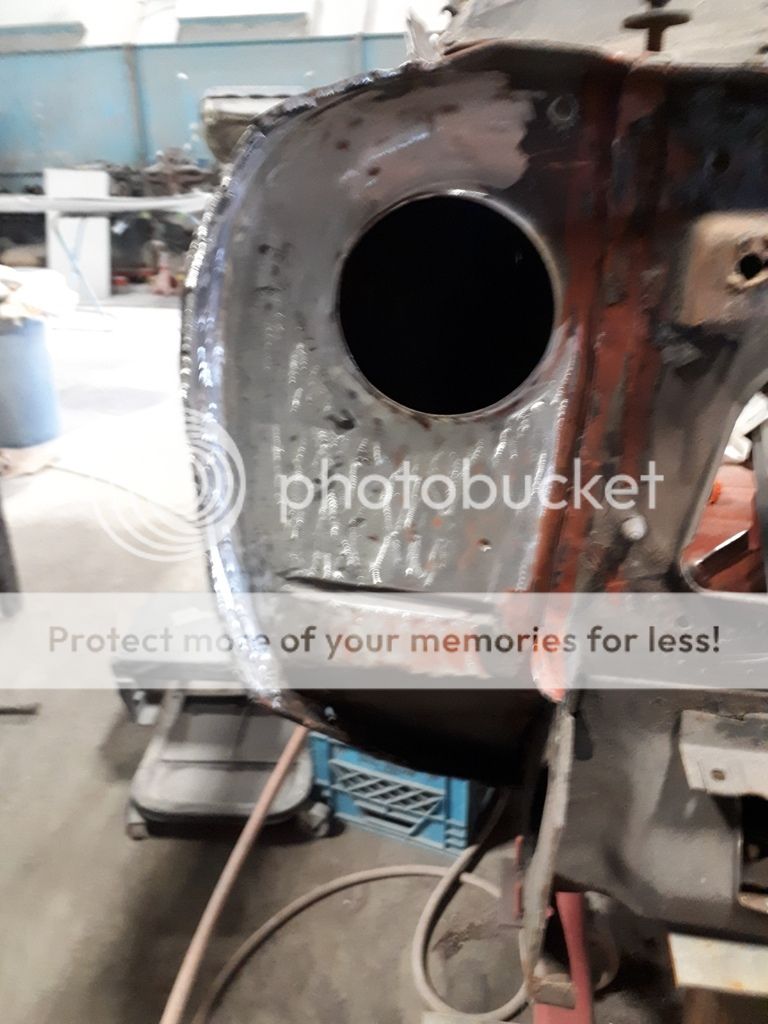
And this is the 71 and outboard of the heater fan hole is also pushed back,
The 73 is nice and flat,
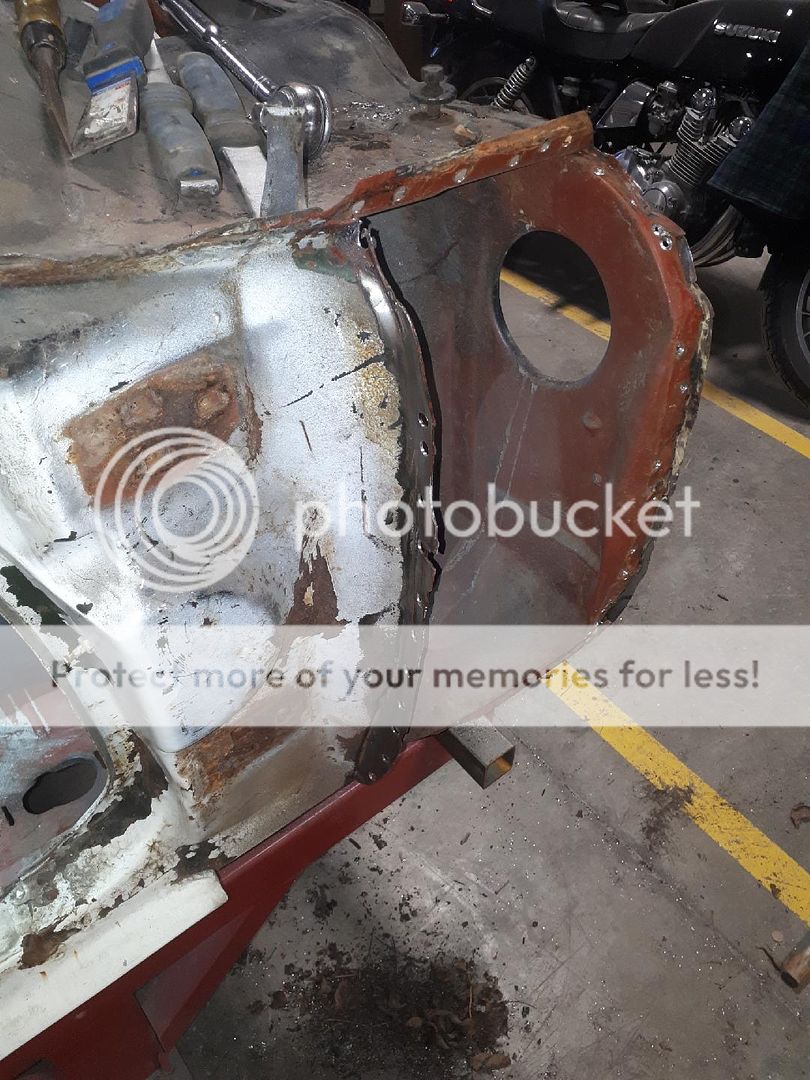
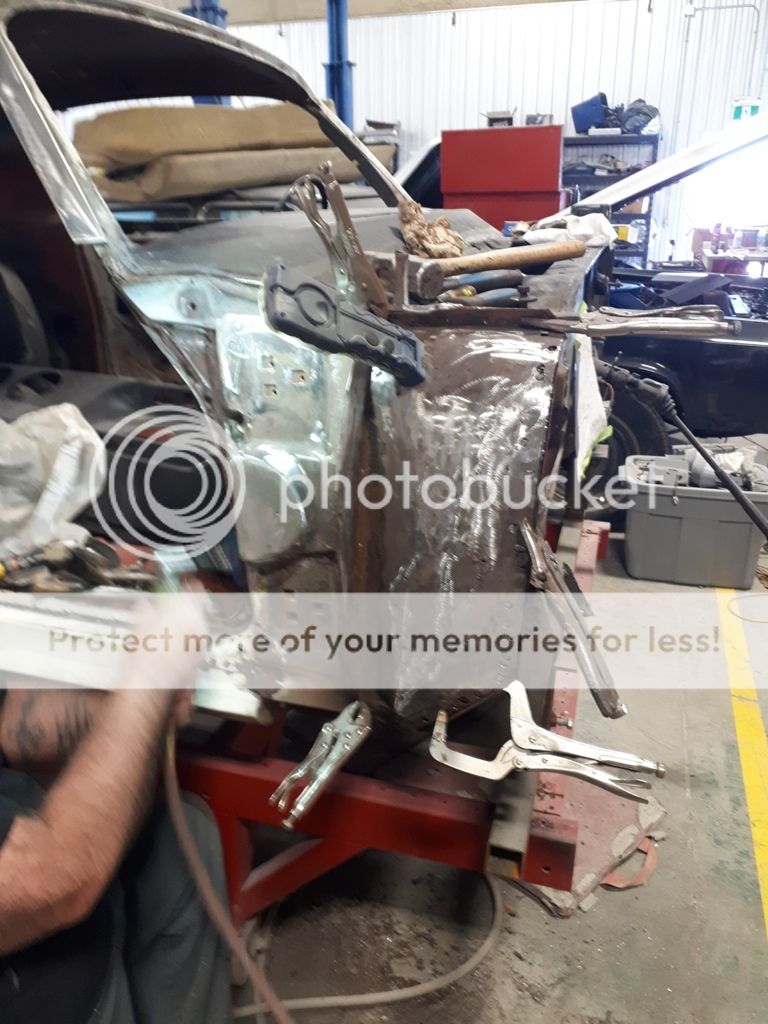
So we took off the outer panel to hammer and dolly it back into shape,
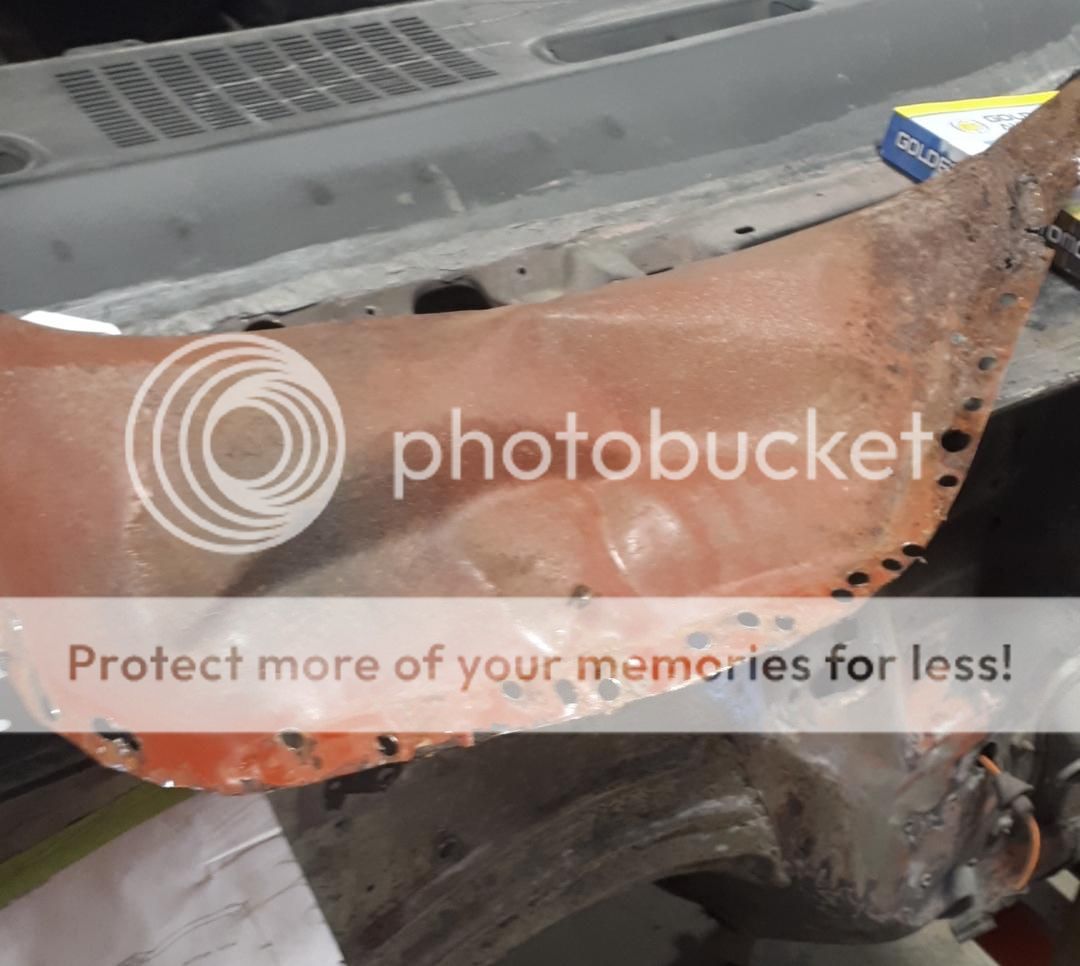
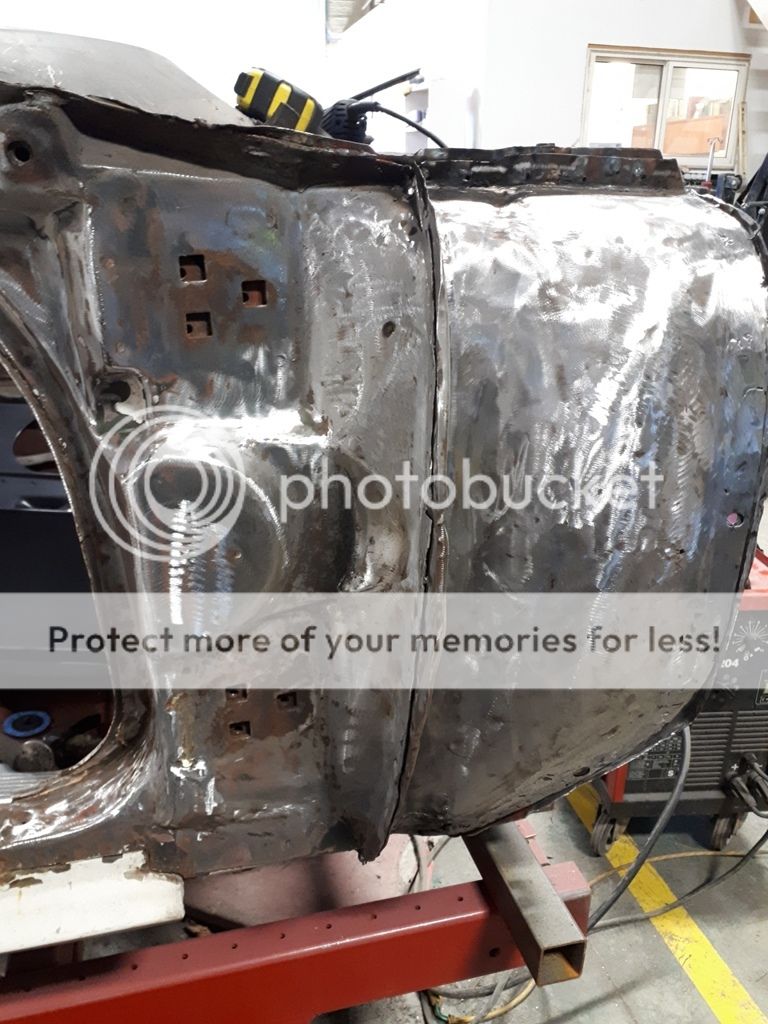
Now with that all sorted we repaired the firewall beside the fan hole,
Too be continued,
Just brought this one into the shop along with the 73 that is now waiting at the media blasters for some attention


Floors have been replaced at one time,


Just backing it into the shop!

First thing to do was strip what was left and put it up on the frame table to check for squareness.


The owner passed along his concern that the car was hit and repaired a long time ago, most likely in the late 70's early 80's. Well he was right, the car took a nasty hit on the right front corner and down the entire right side.
Here you can see the crinkle on the right cowl area in front of the A pillar.

This is a shot of the 73, notice how nice and smoe the outer cowl area is,

And this is the 71 and outboard of the heater fan hole is also pushed back,


The 73 is nice and flat,

So we took off the outer panel to hammer and dolly it back into shape,


Now with that all sorted we repaired the firewall beside the fan hole,


Too be continued,
Thread Starter
|
In the Staging Lanes
Joined: Oct 2017
Posts: 38
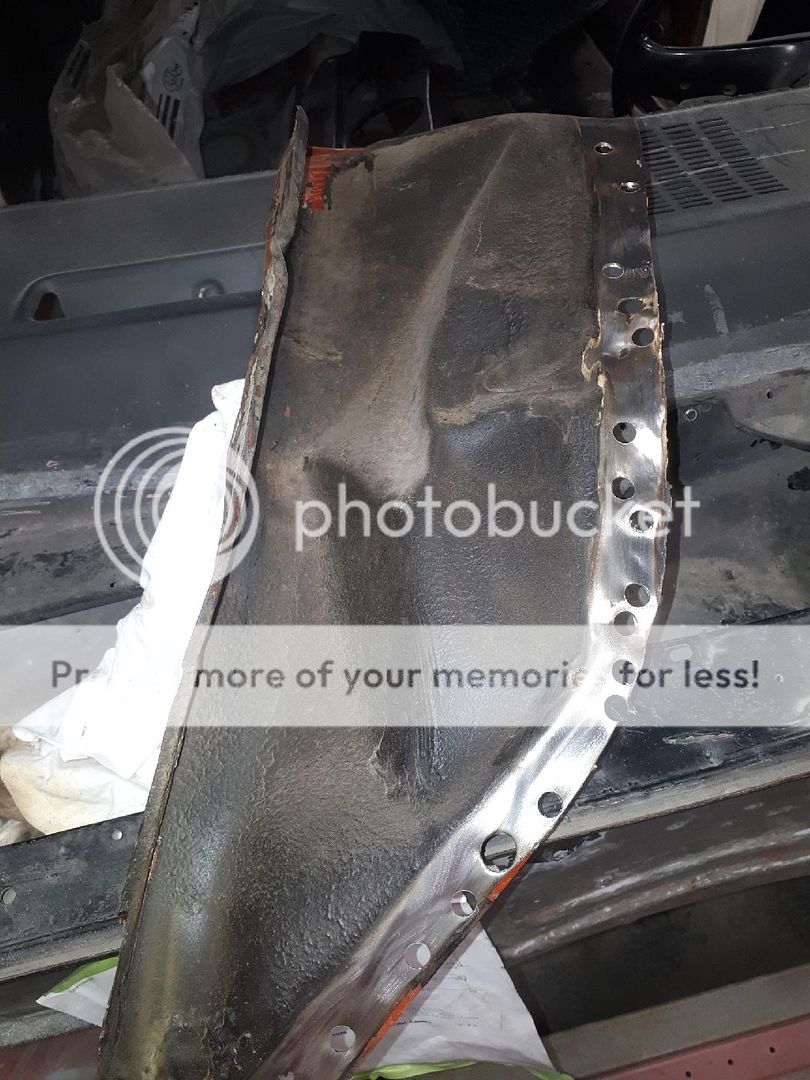
And with that done the outer cowl piece goes back on,
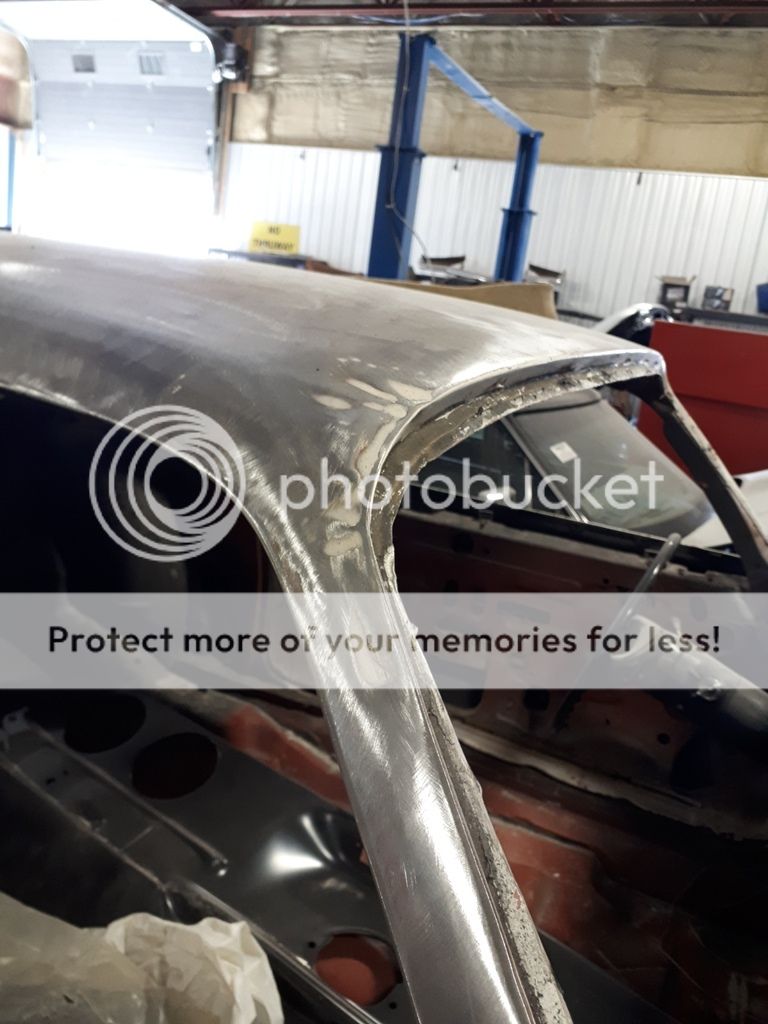
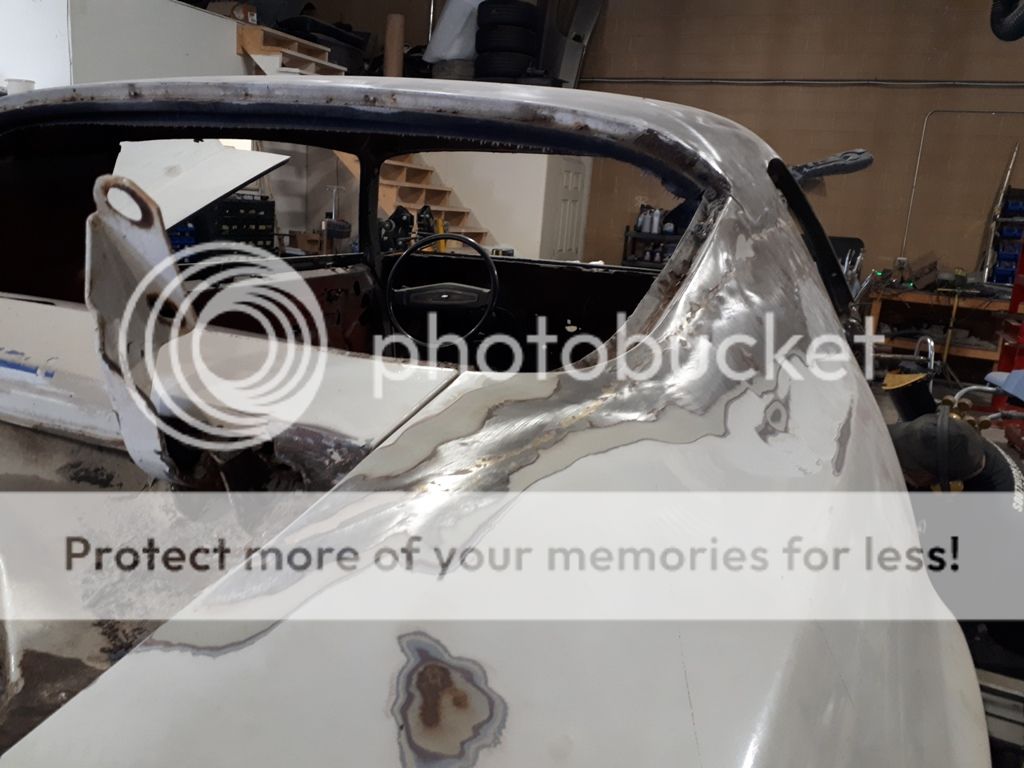
We could also tell the whole A pillar was pushed in which pushed up on the roof. The brazed some anchors near the door hinge points to pull out the pillar,
Here you can see the wrinkles on the roof,
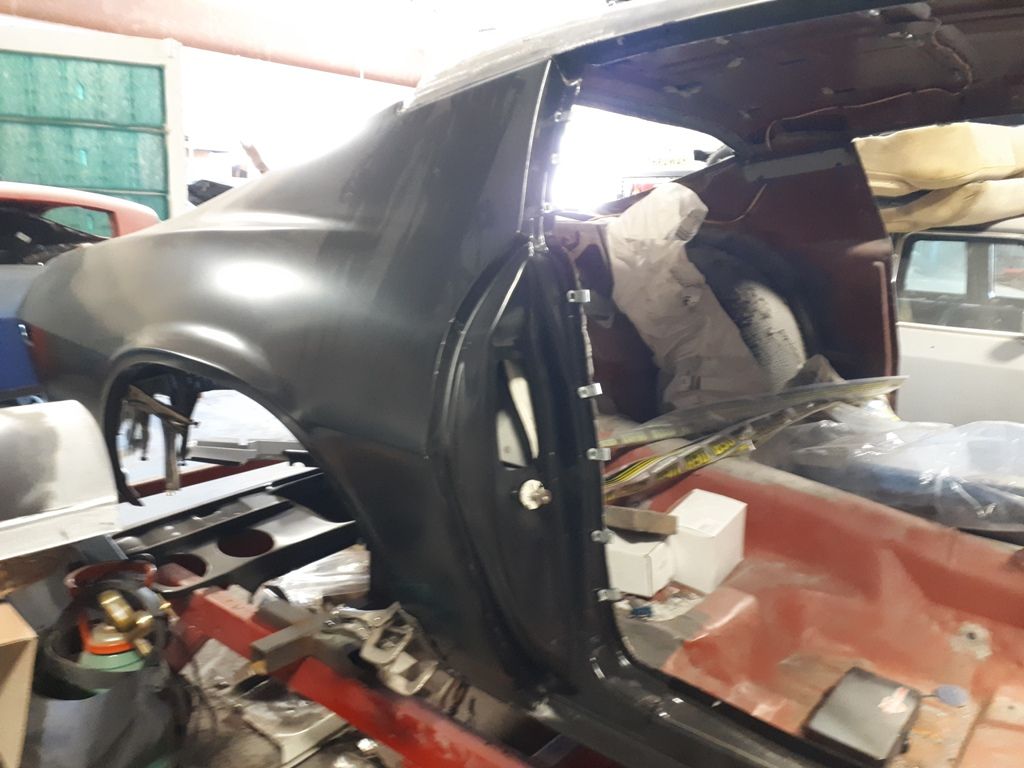
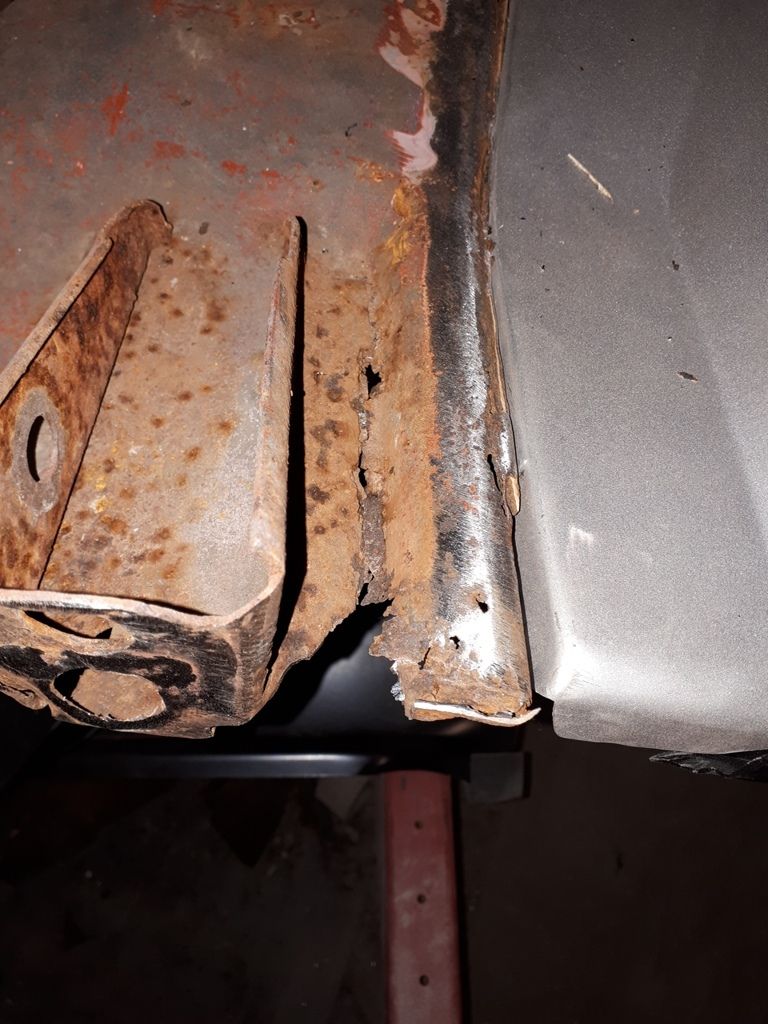
And a full quarter was installed, but they really cheated,
They were too lazy to remove the rear window so they trimmed the metal around it, you can see the brazing line just under the window opening and the just layed the new skin over the old one inside the trunk seal cavity,
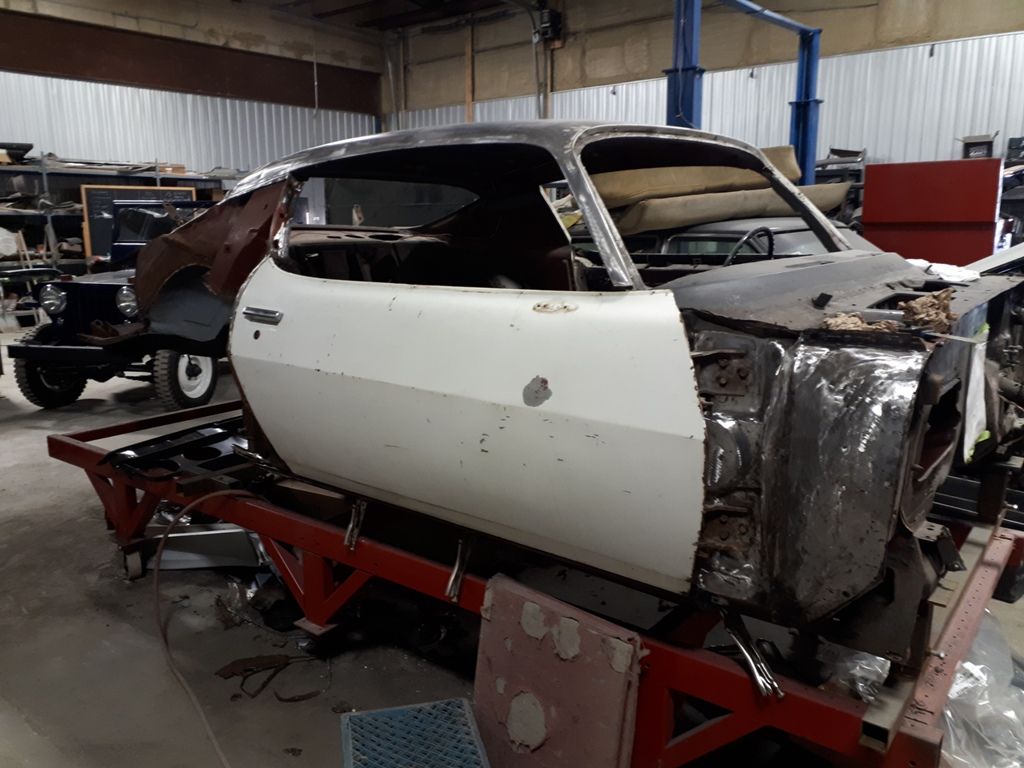
And we got the front fenders down to metal, luckily these were pretty good with just minor rust on the bottom of the drivers side,
Insides all GTG!
So when the A pillar gets finished tomorrow we'll start on the right side rocker
cheers


We could also tell the whole A pillar was pushed in which pushed up on the roof. The brazed some anchors near the door hinge points to pull out the pillar,

Here you can see the wrinkles on the roof,

And a full quarter was installed, but they really cheated,

They were too lazy to remove the rear window so they trimmed the metal around it, you can see the brazing line just under the window opening and the just layed the new skin over the old one inside the trunk seal cavity,


And we got the front fenders down to metal, luckily these were pretty good with just minor rust on the bottom of the drivers side,

Insides all GTG!

So when the A pillar gets finished tomorrow we'll start on the right side rocker
cheers

Thread Starter
|
In the Staging Lanes
Joined: Oct 2017
Posts: 38
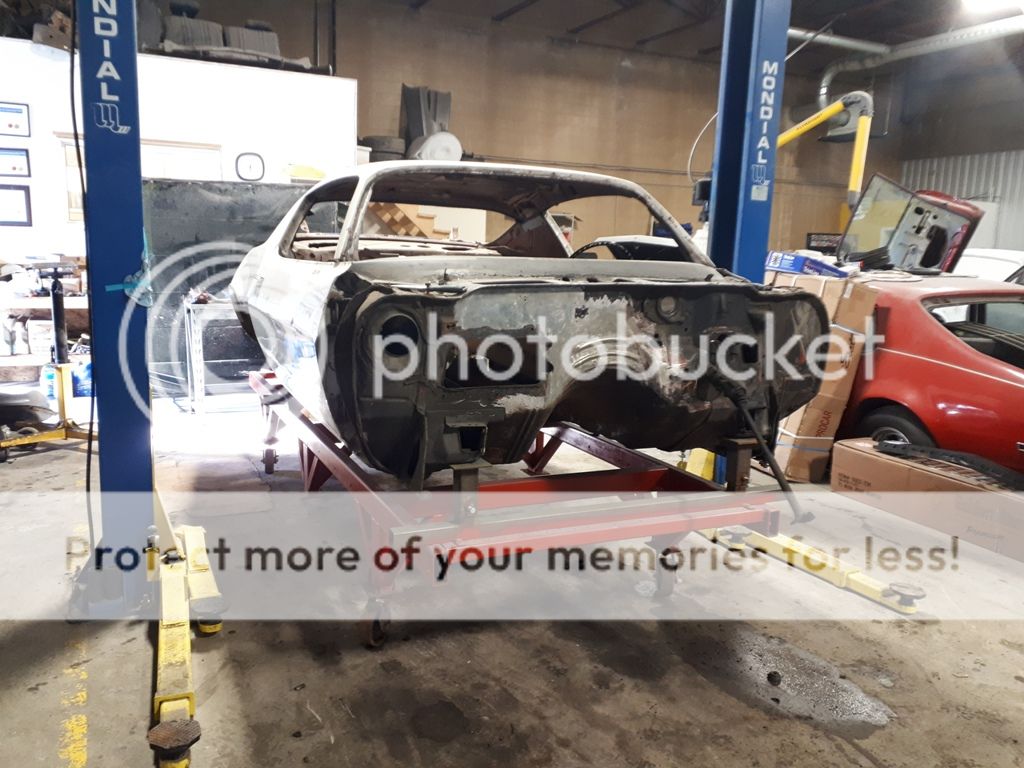
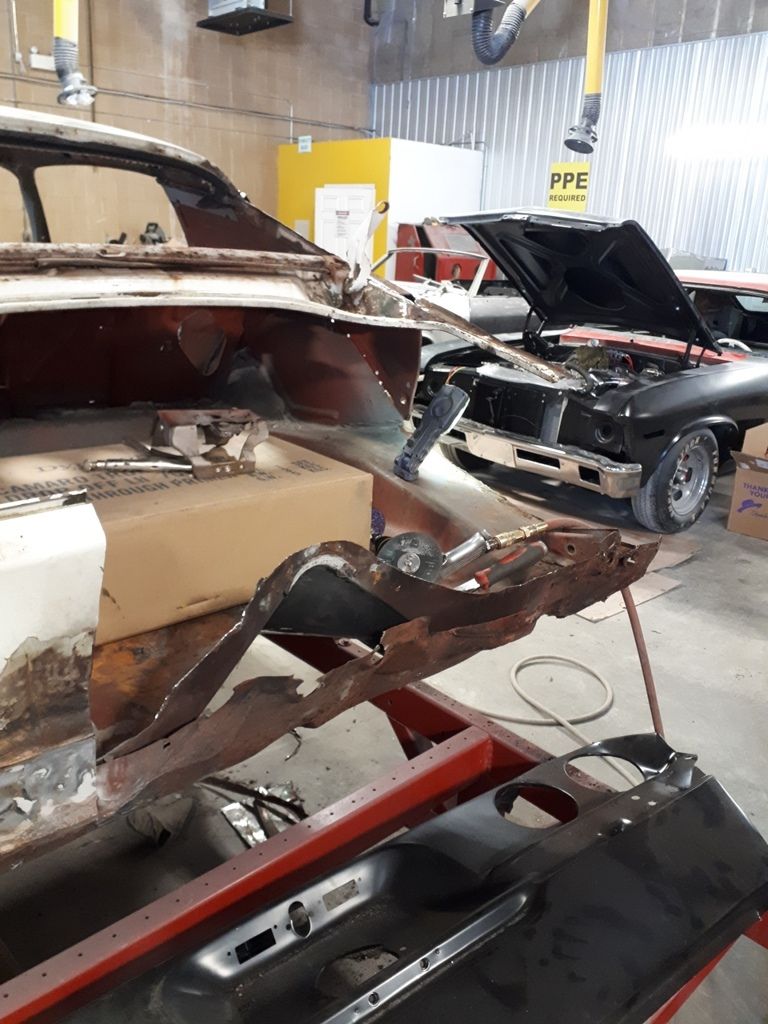
Did more metal removal today, right side 1/4, outer wheel well, and tail light panel.
This car was crashed big time and very hastily repaired, they used metal Lux bondo instead of welding lol, and where they did weld the really melted the parts together making simple spot weld removal a hassle.
New rocker tacked in,
Most of the 1/4 removed,

Parts of the tail light panel and trunk drop removed,
The fuel tank braces were fully welded, makes it a little harder to remove than just a few spot welds lol,
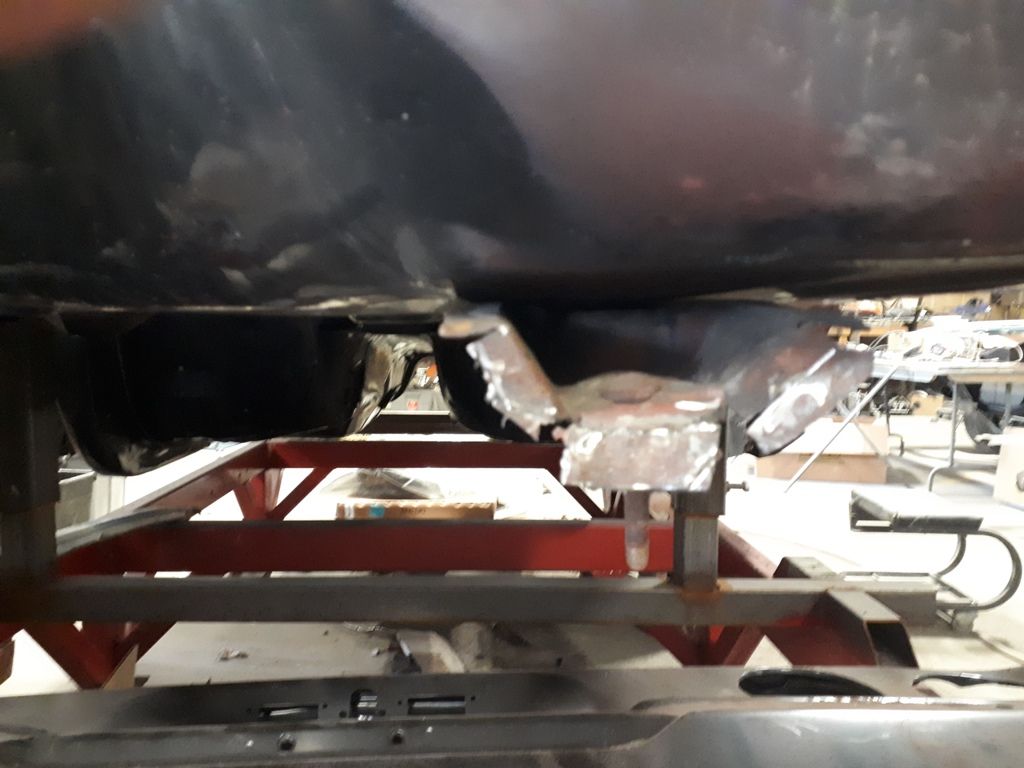
Good penetration though haha,
Getting it ready for re-assembly,
cheers
This car was crashed big time and very hastily repaired, they used metal Lux bondo instead of welding lol, and where they did weld the really melted the parts together making simple spot weld removal a hassle.

New rocker tacked in,

Most of the 1/4 removed,

Parts of the tail light panel and trunk drop removed,


The fuel tank braces were fully welded, makes it a little harder to remove than just a few spot welds lol,

Good penetration though haha,

Getting it ready for re-assembly,


cheers
Thread Starter
|
In the Staging Lanes
Joined: Oct 2017
Posts: 38
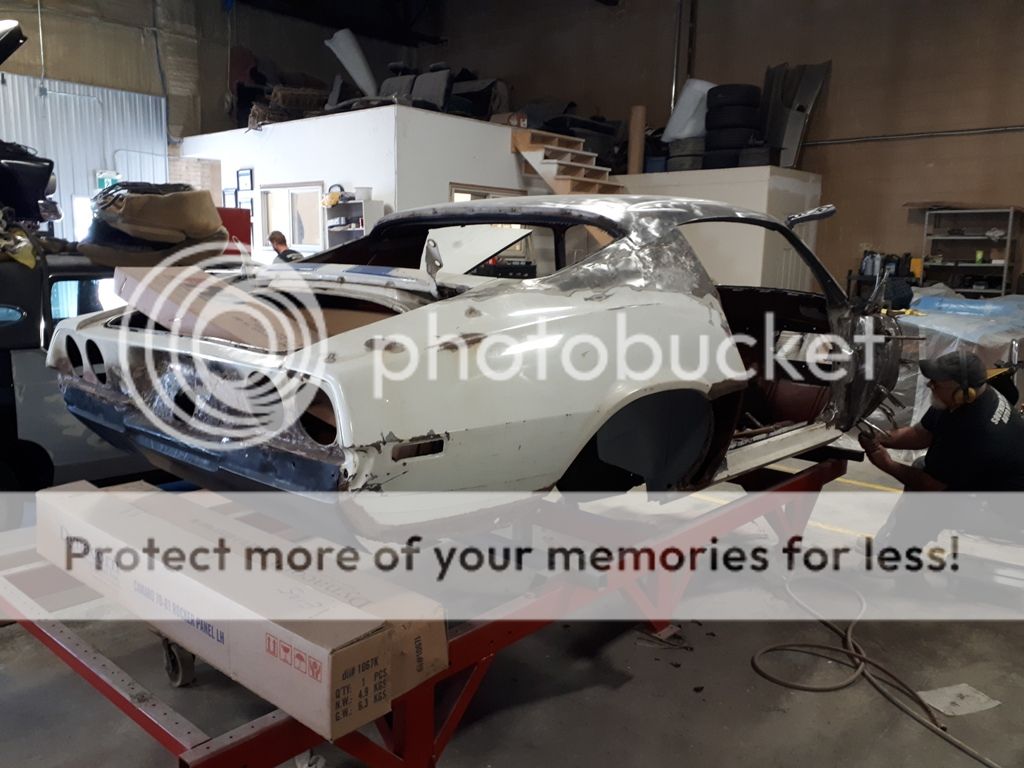
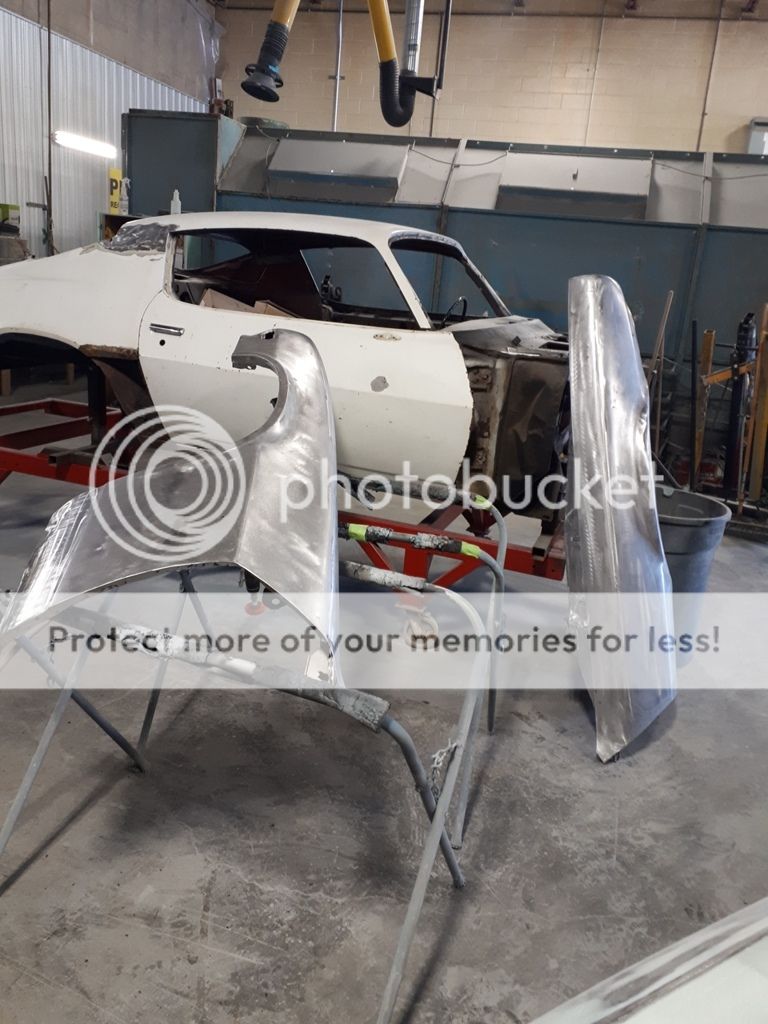
Got some more work done test fitting panels,
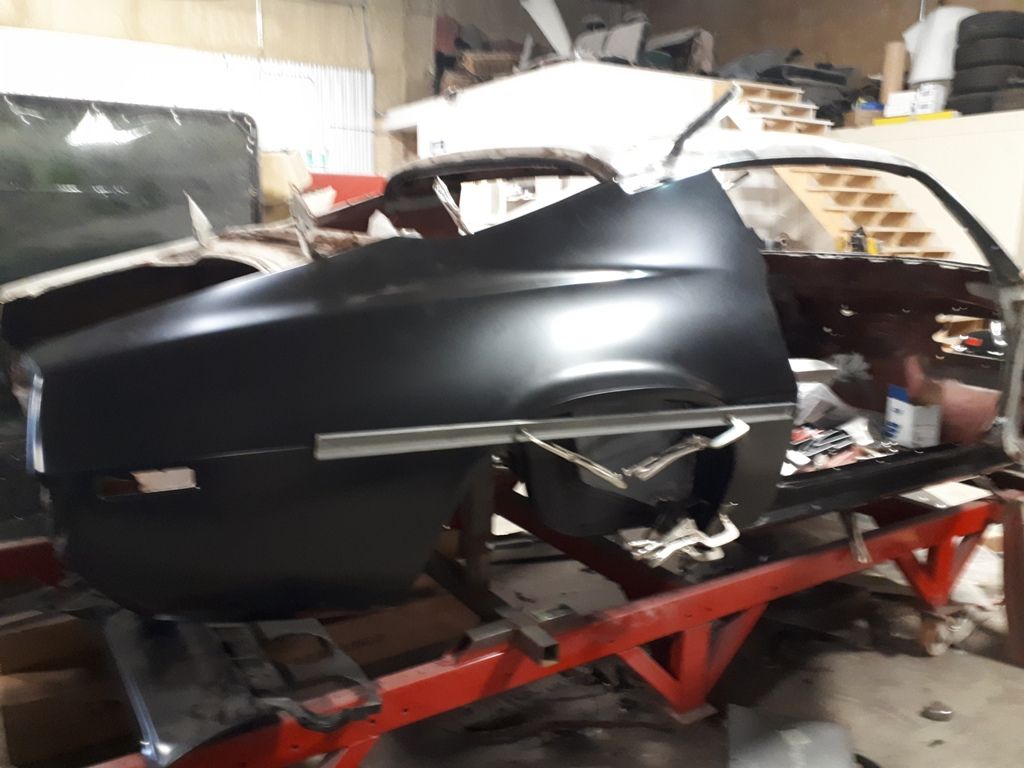
Also got the door skins on,
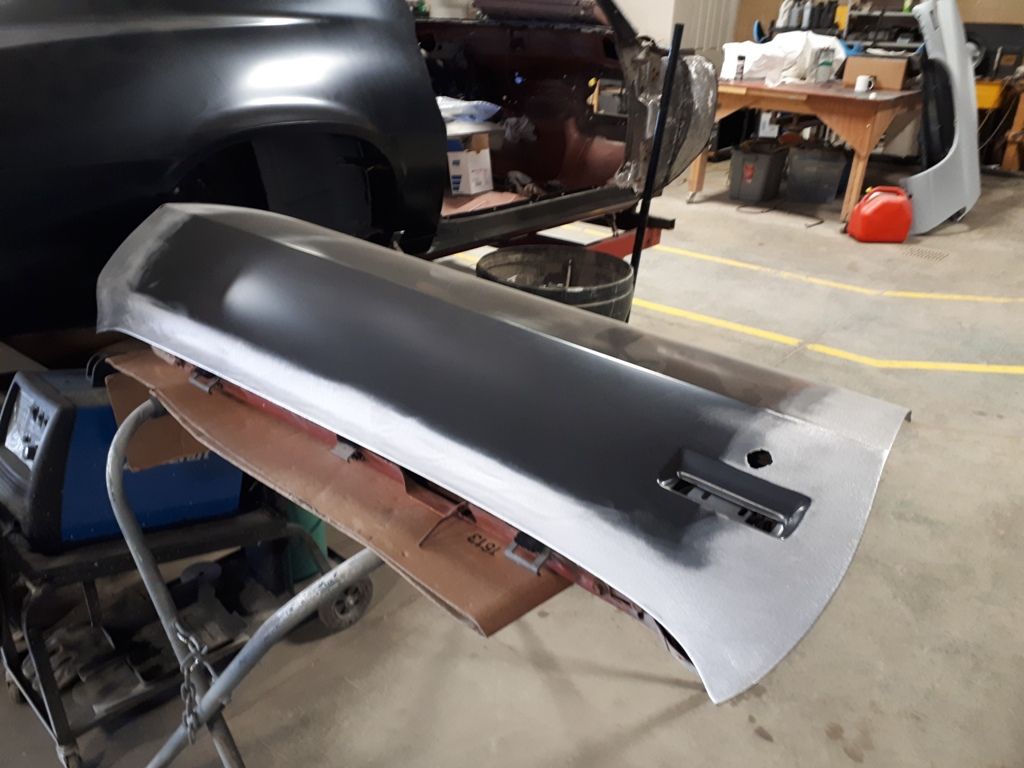
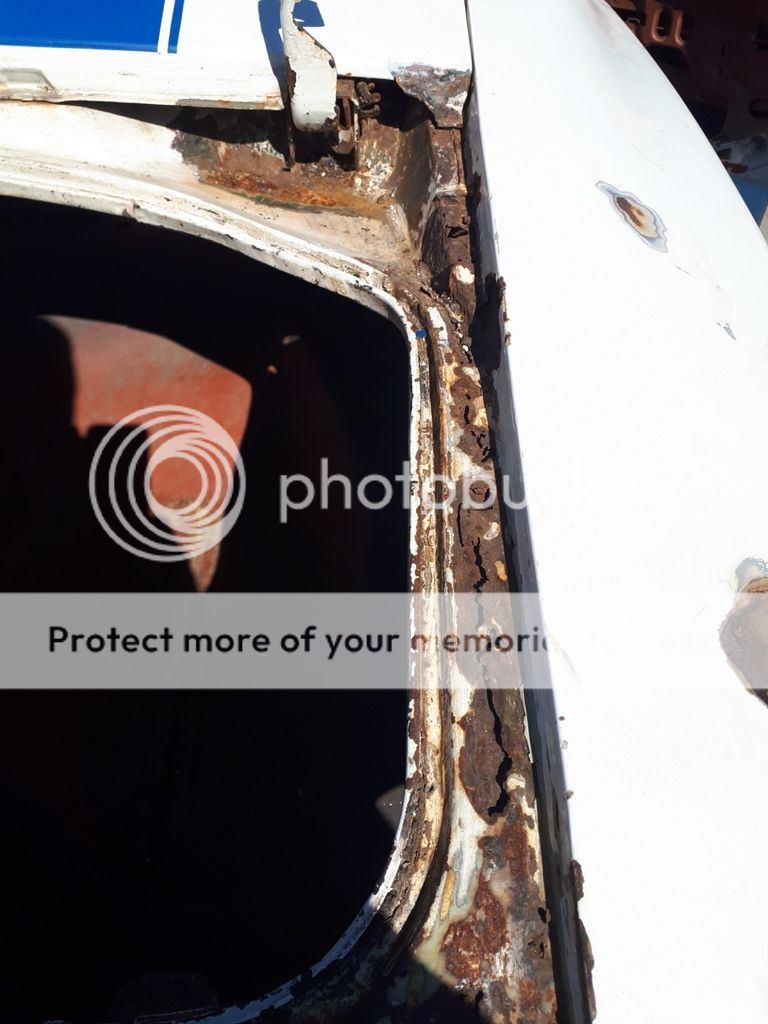
Still some more rust to deal with in the trunk but nothing too major.
Also had to fix this 81, somebody keyed it right down to the metal.
We added a dulling agent to the clear to give it a weathered look to match to original lacquer.
All fixed!
cheers


Also got the door skins on,


Still some more rust to deal with in the trunk but nothing too major.

Also had to fix this 81, somebody keyed it right down to the metal.


We added a dulling agent to the clear to give it a weathered look to match to original lacquer.
All fixed!

cheers
Thread Starter
|
In the Staging Lanes
Joined: Oct 2017
Posts: 38
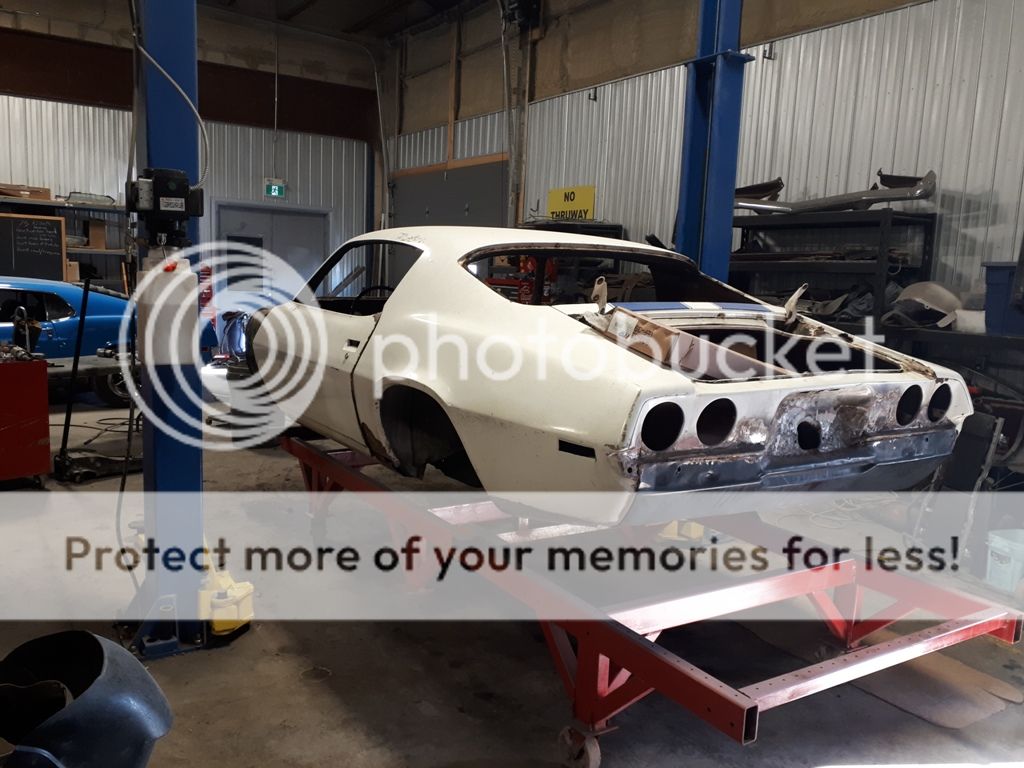
So before we welded on the 1/4's we made sure to remove any corrosion on the inner panels and cover them with epoxy and topcoat.


1/4 welded on,

Test fitting the tail light panel,


Installed the rear bumper checking for proper alignment,

And now it's off the frame table as all the structural welding is complete. Here we will touch up some previous floor repair and then take it to get sand blasted of the original panels that remain and we'll start the body work.


cheers
Thread Starter
|
In the Staging Lanes
Joined: Oct 2017
Posts: 38
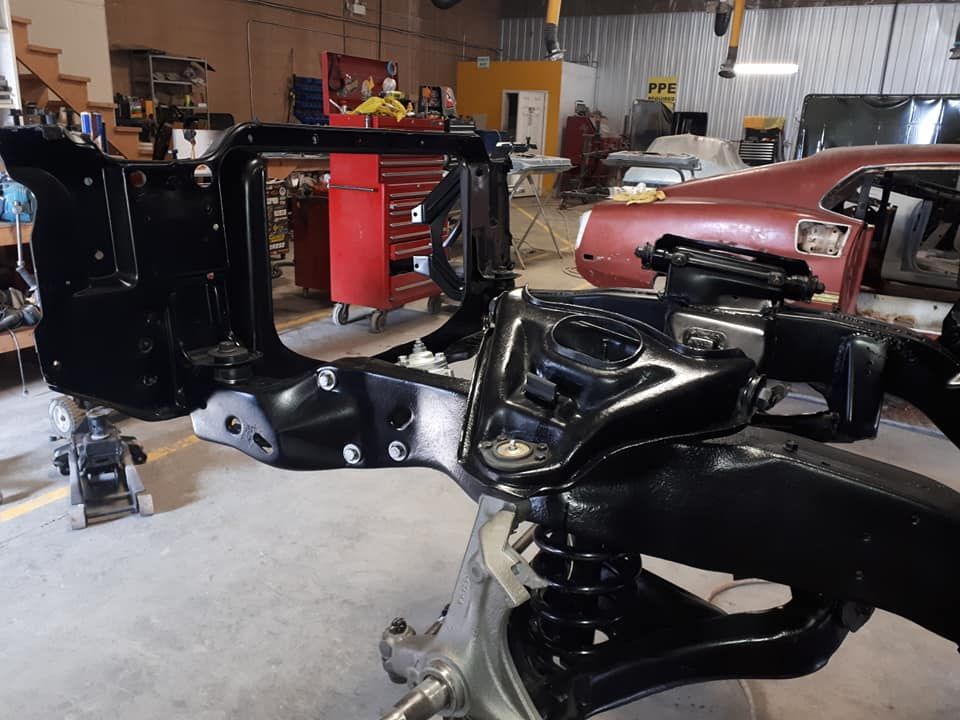
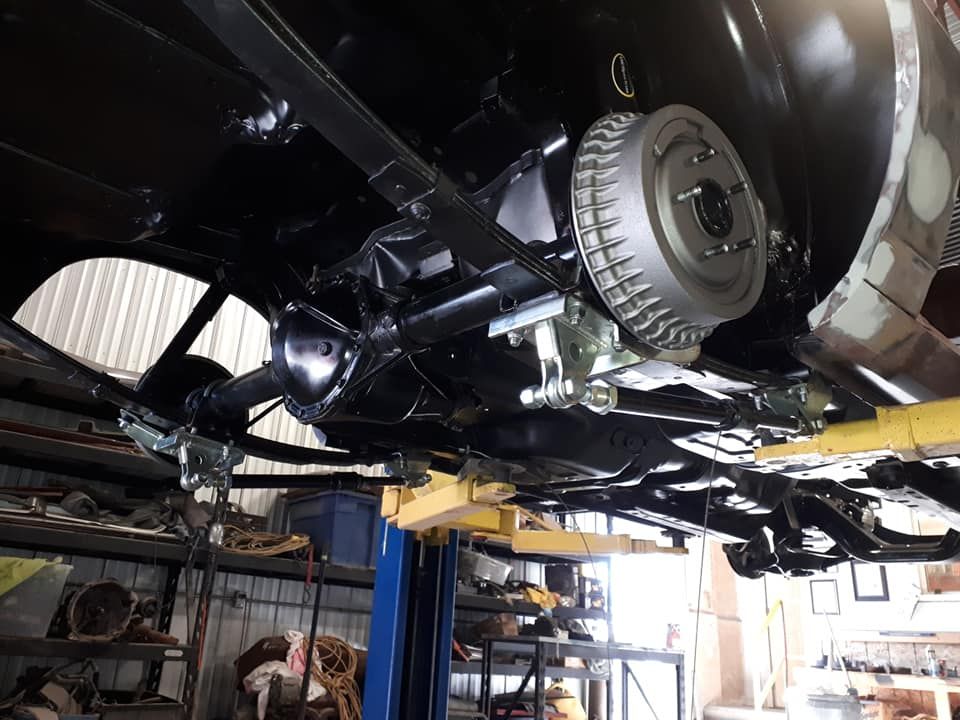
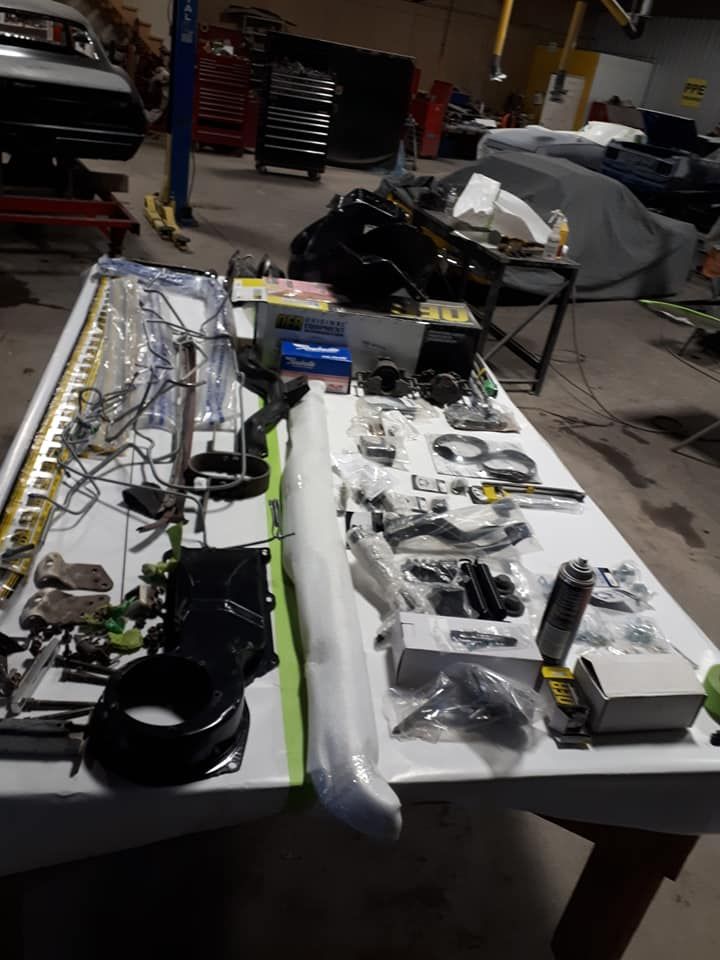
Well shes almost back on her wheels now, got the front subframe back on,
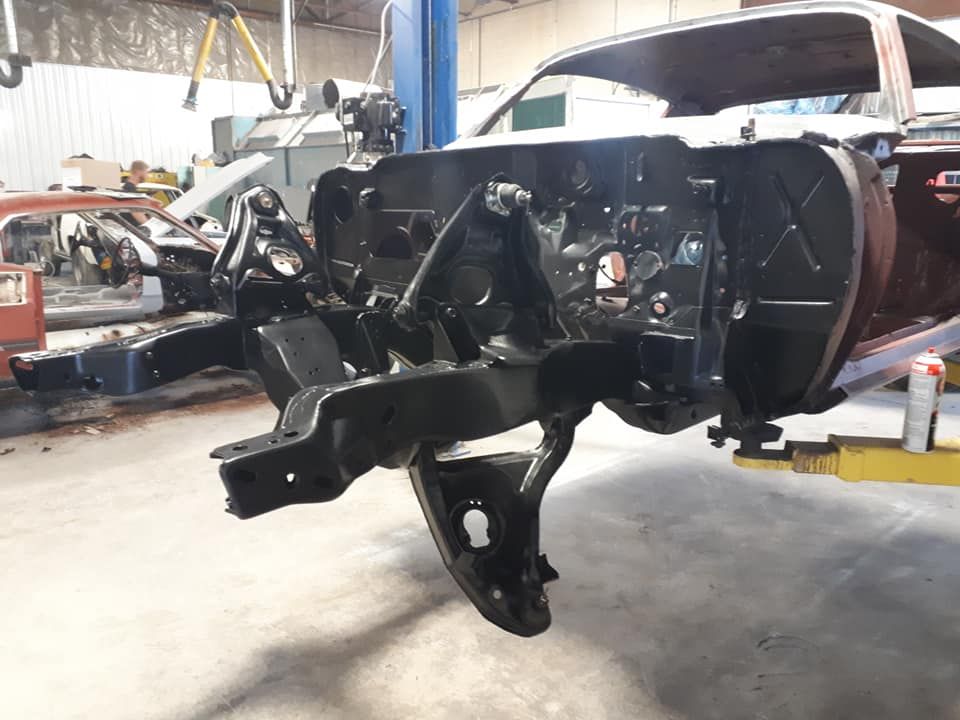
Front suspension and steering installed,

Rad support sandblasted and painted,
Rear brakes installed,
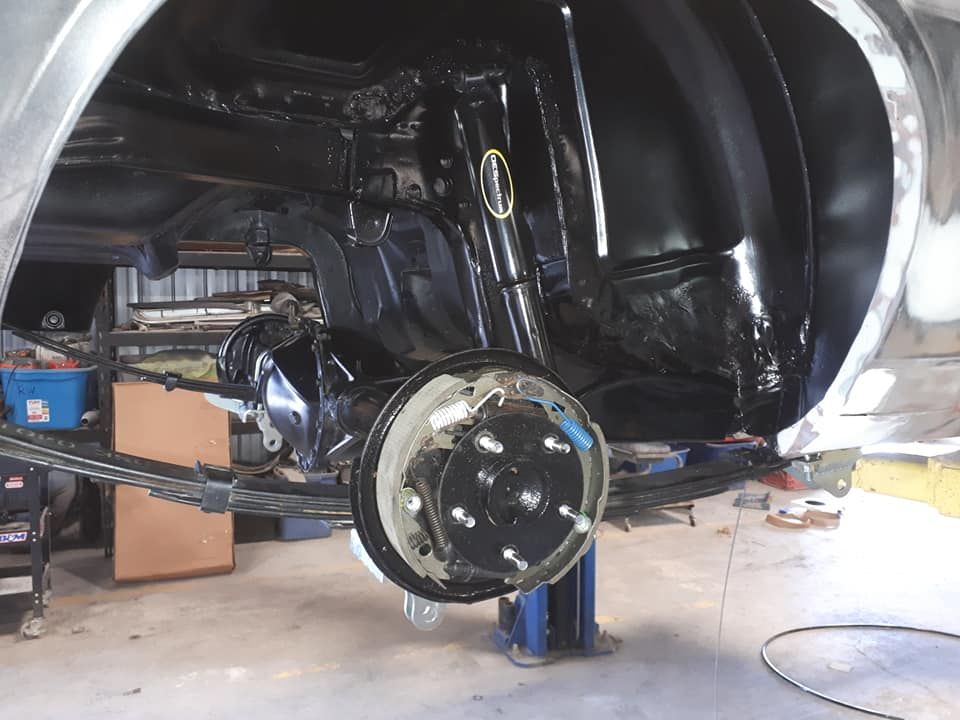
Comp Engineering traction bars were also installed,
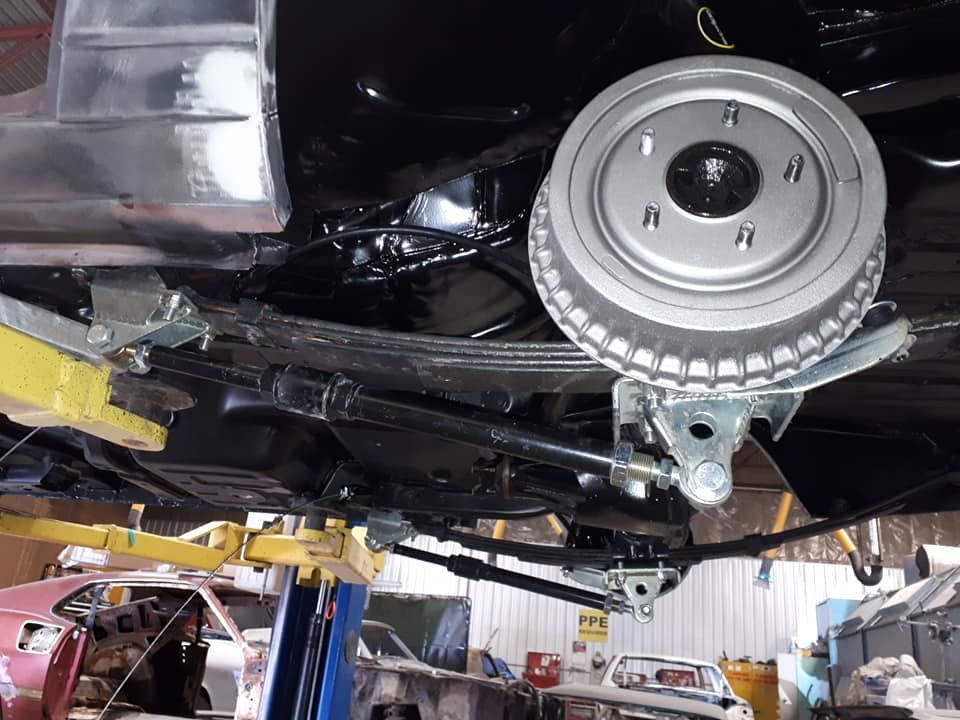
New brake drums were high heat painted as well
cheers

Front suspension and steering installed,

Rad support sandblasted and painted,

Rear brakes installed,

Comp Engineering traction bars were also installed,

New brake drums were high heat painted as well

cheers
Thread Starter
|
In the Staging Lanes
Joined: Oct 2017
Posts: 38
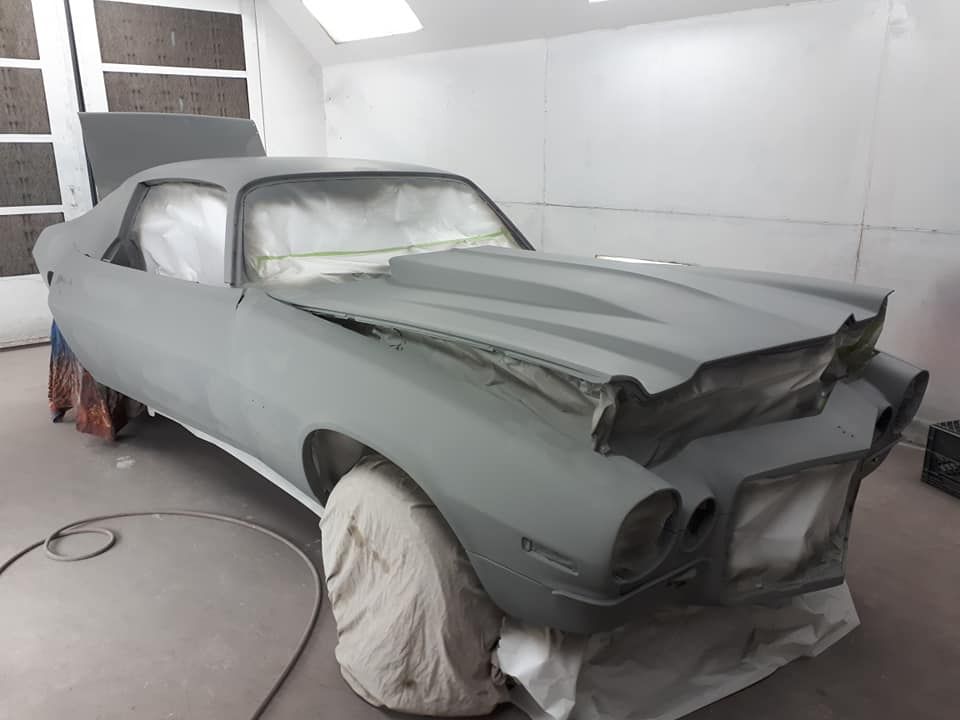
Well now the Z is back on it's wheels!
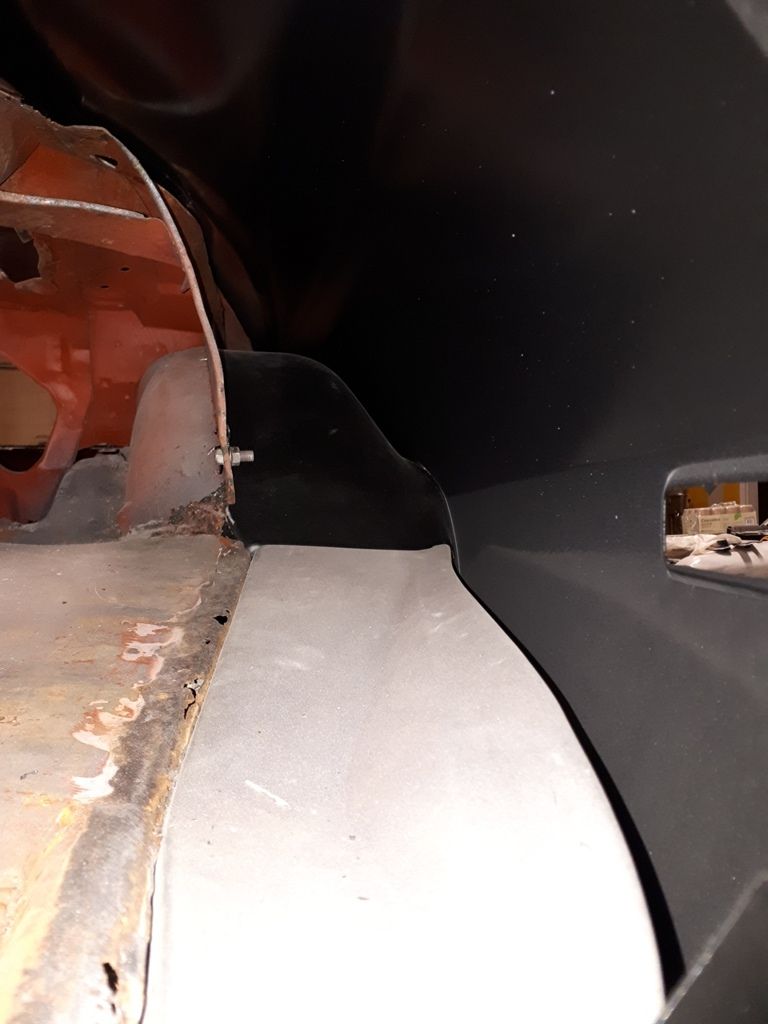
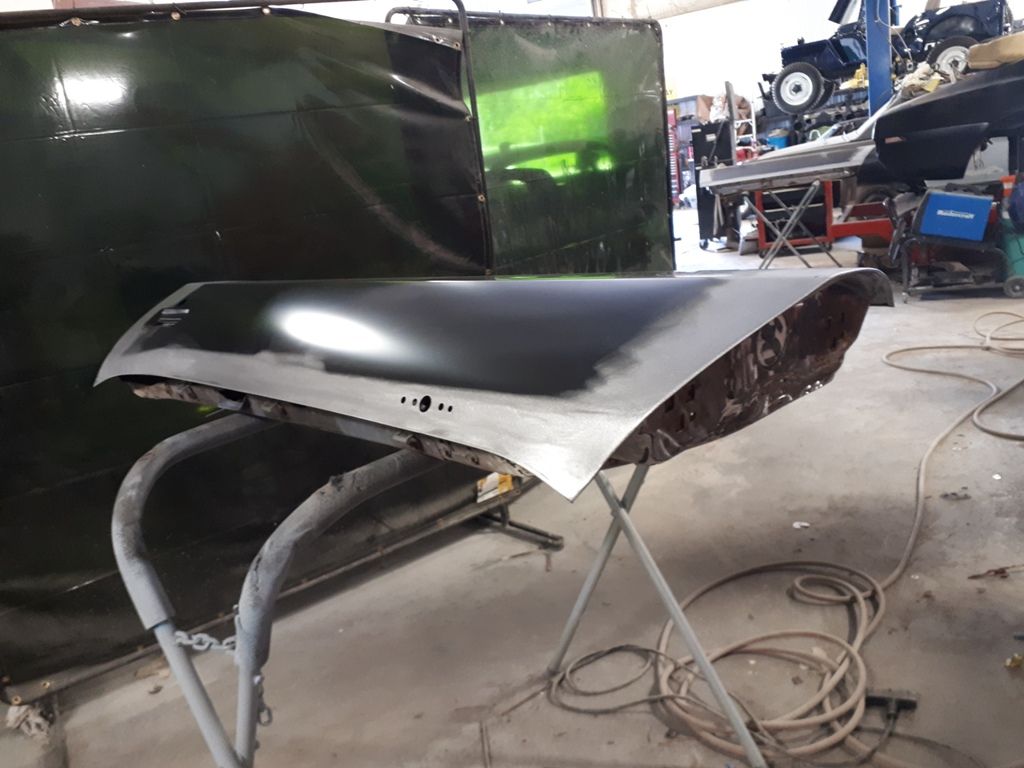
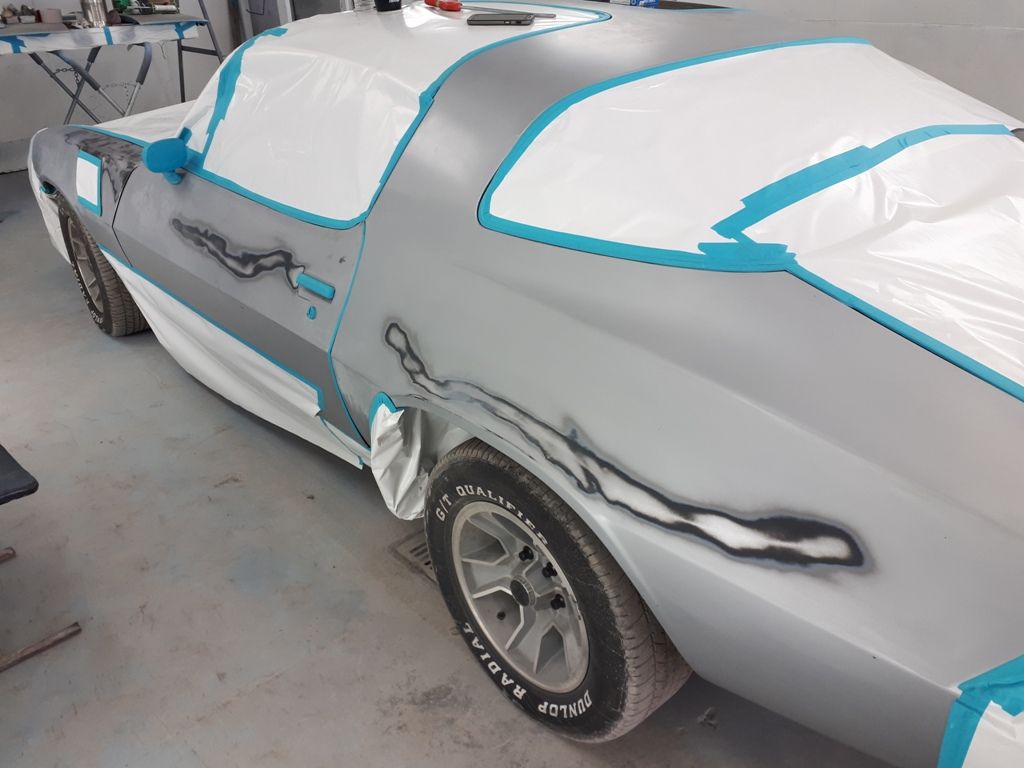
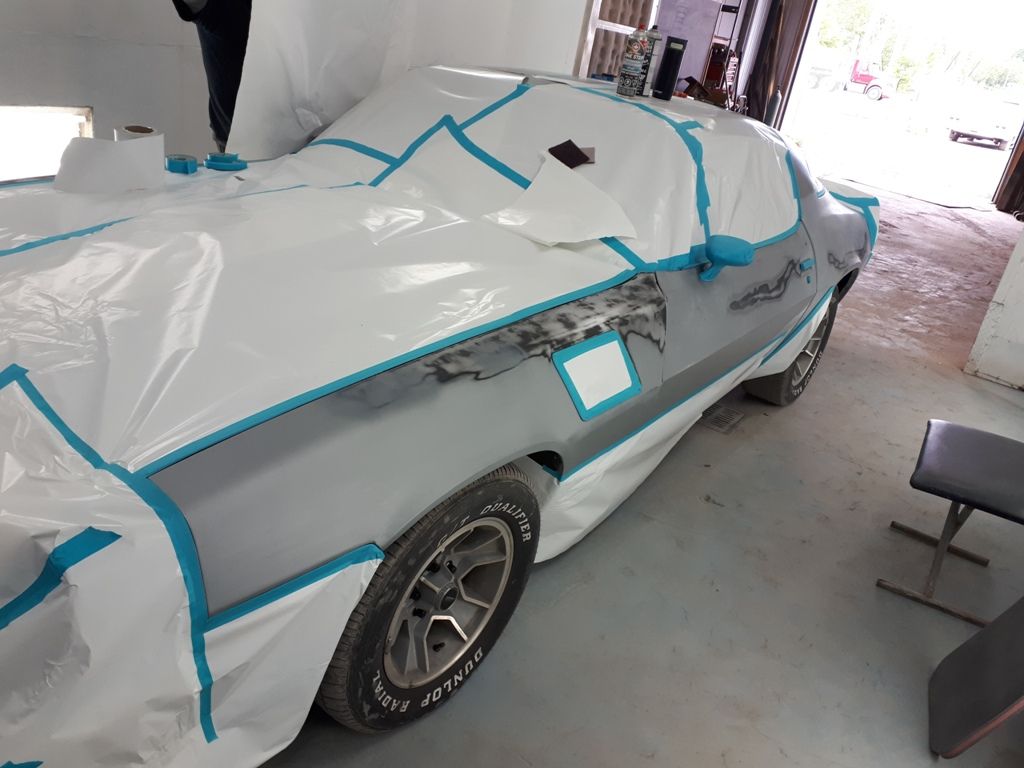
Finished up with the preliminary body work and getting some high build primer.
During this stage we mock up the car almost 100% including lights, bumpers window trim etc to make sure it all fits as it should.
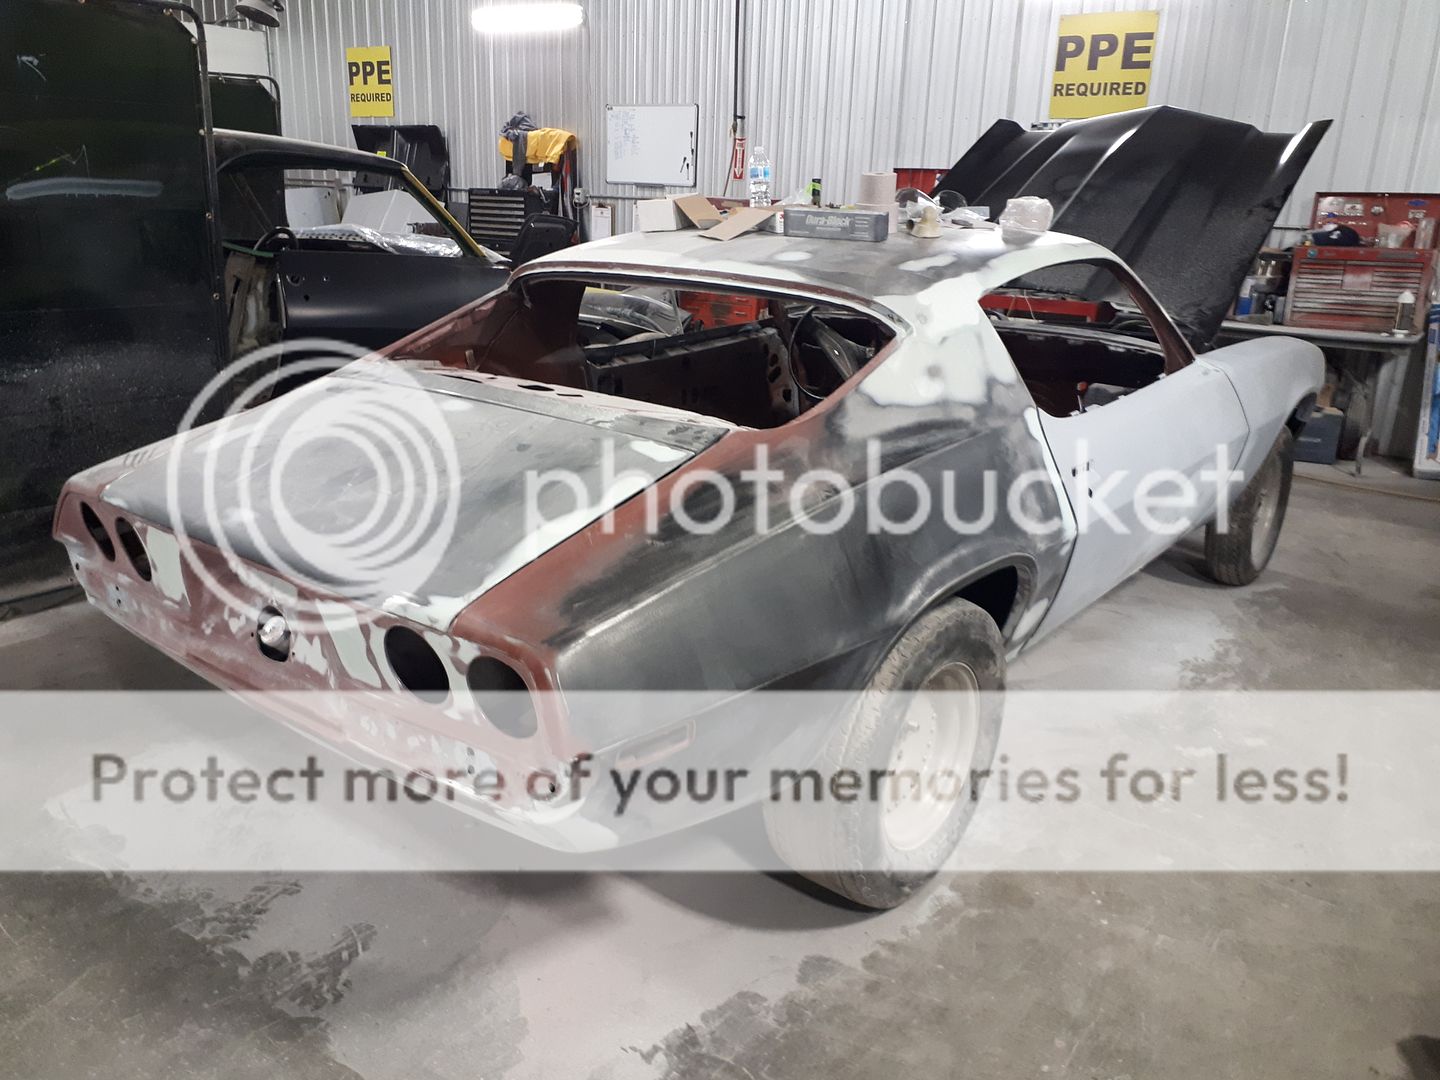

Here you can see the issues with the cowl hood. If this was painted without first installing it would have been a PITA to fix.
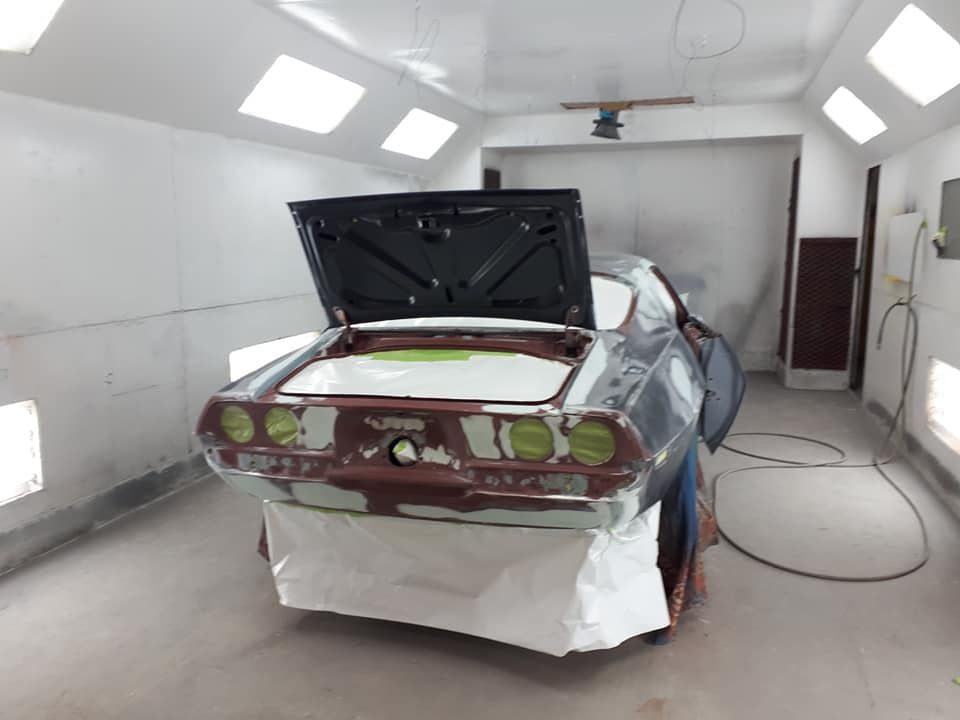
In the booth for primer,
Epoxy,
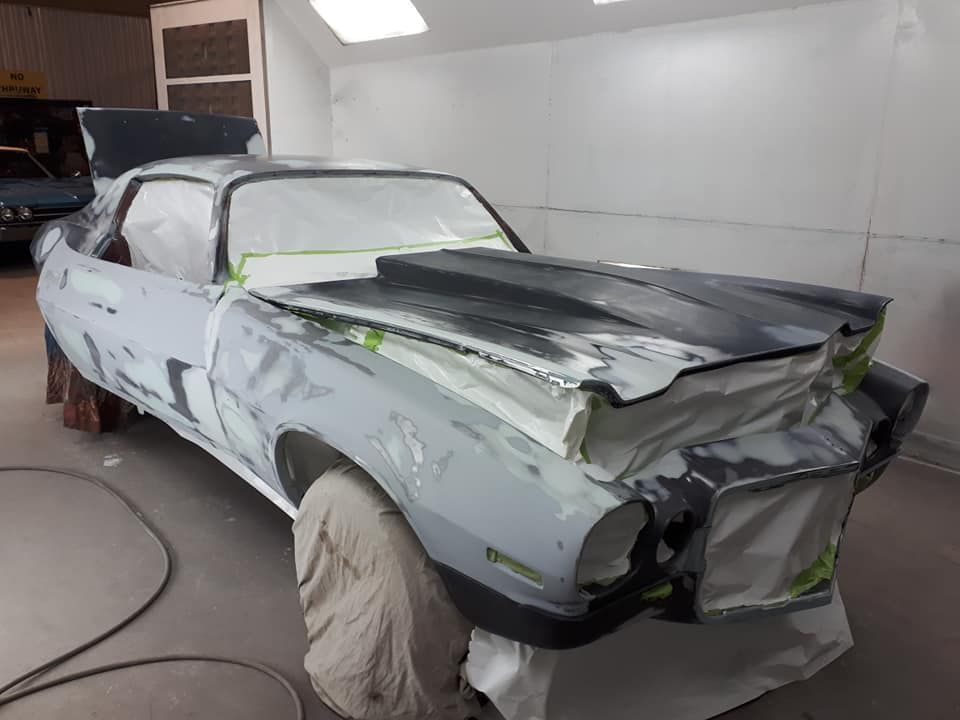
High build with a guide coat,
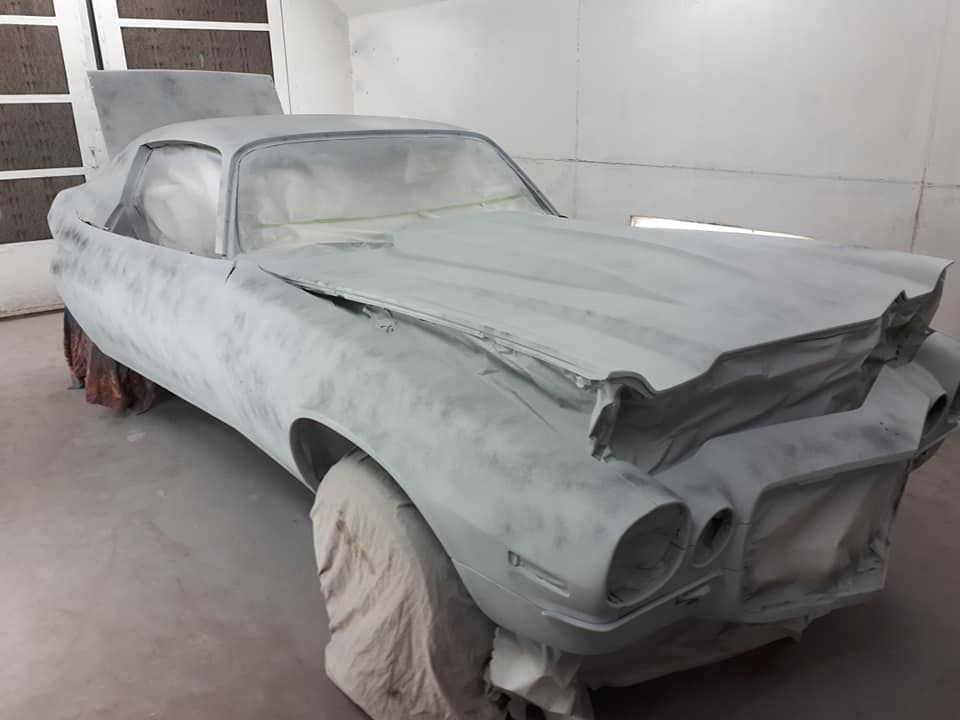
Sorting out all the parts to go back on,
cheers

Finished up with the preliminary body work and getting some high build primer.
During this stage we mock up the car almost 100% including lights, bumpers window trim etc to make sure it all fits as it should.


Here you can see the issues with the cowl hood. If this was painted without first installing it would have been a PITA to fix.

In the booth for primer,


Epoxy,

High build with a guide coat,

Sorting out all the parts to go back on,

cheers

Newbie
Joined: Jan 2019
Posts: 8
Hi, have you finished this car ?
I have just opened the restoration can of worms of a 71 Z-28 and know I will be looking for other to ask questions.
Its a complete car even if its spread around some, front clip is off, interior is gutted, sheeesh even when I get typing this it seems overwhelming lol
Any helpful sites or books you might be able to recommend ?
Thanks