


Vdubwardo's "oldno7" build.


Thread Starter
|
Newbie
Joined: May 2011
Posts: 19
 Vdubwardo's "oldno7" build.
The first generation Camaro is one of the "baddest" cars ever produced if you ask me, with its' timeless body lines, short deck, long hood and a big V8 it was the car of my dreams growing up. After dreaming for so long I can finally put my hands around the steering wheel of my very own. Here's my take on making a badass car even more badass.
When I first got the car
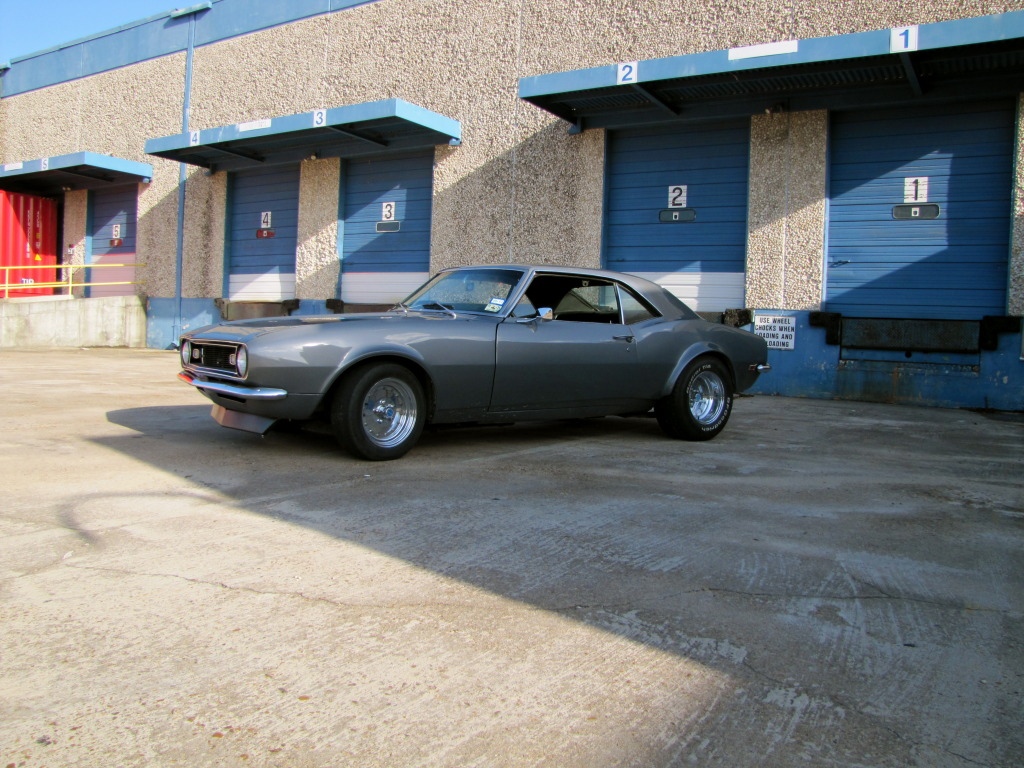
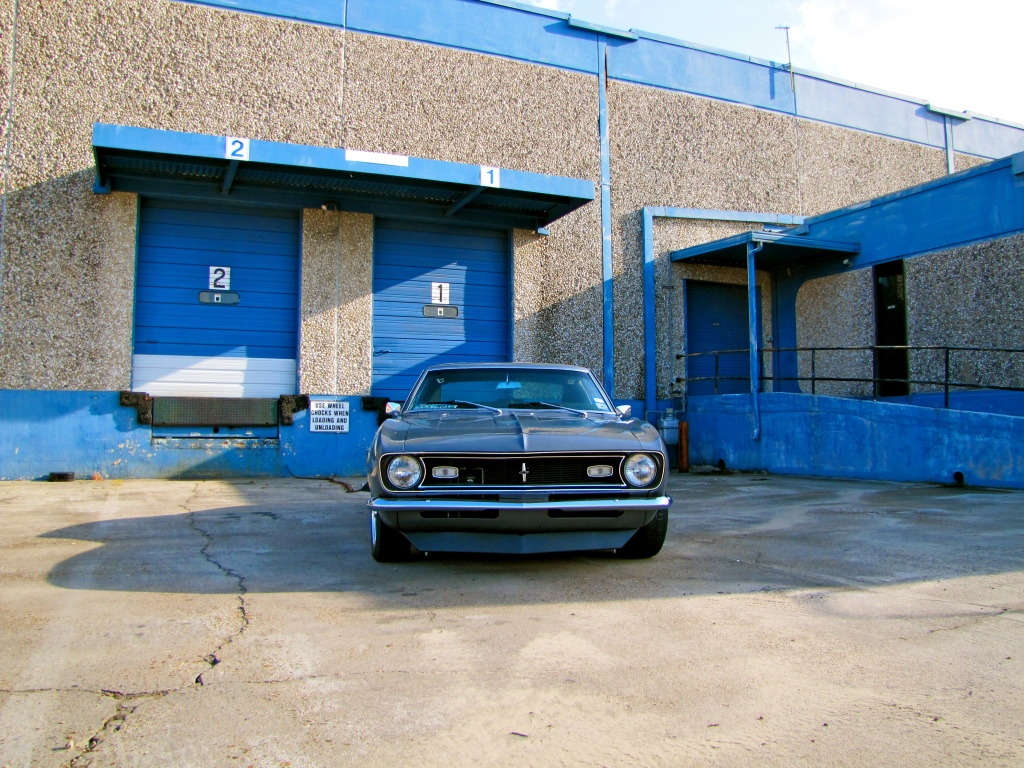
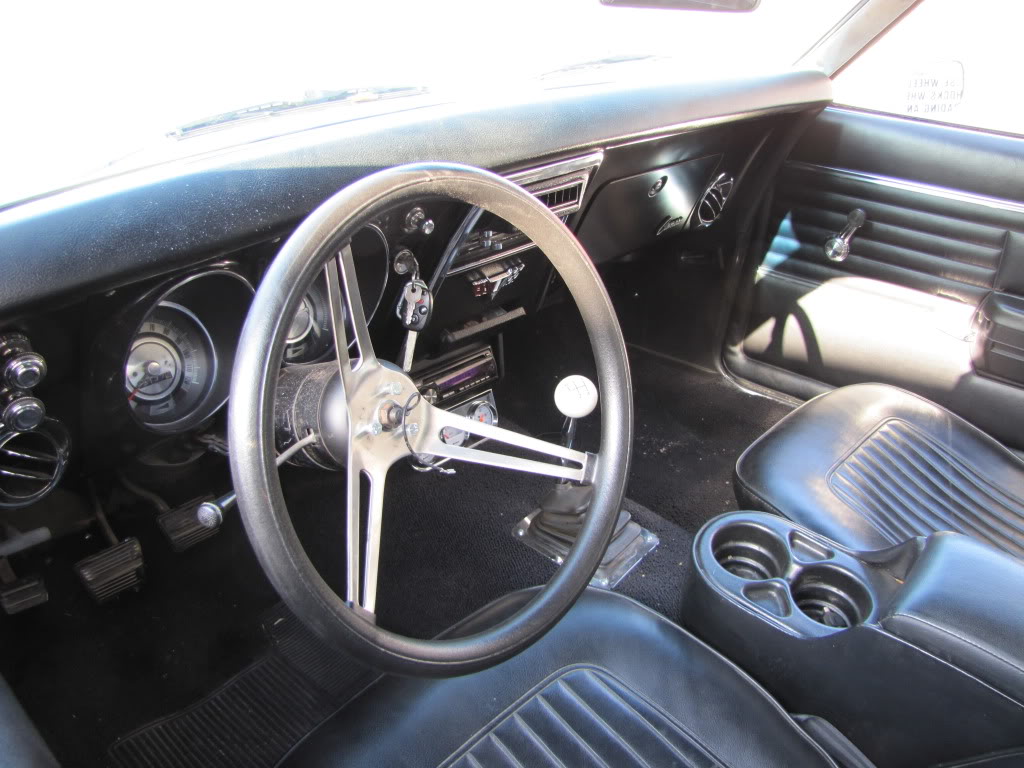
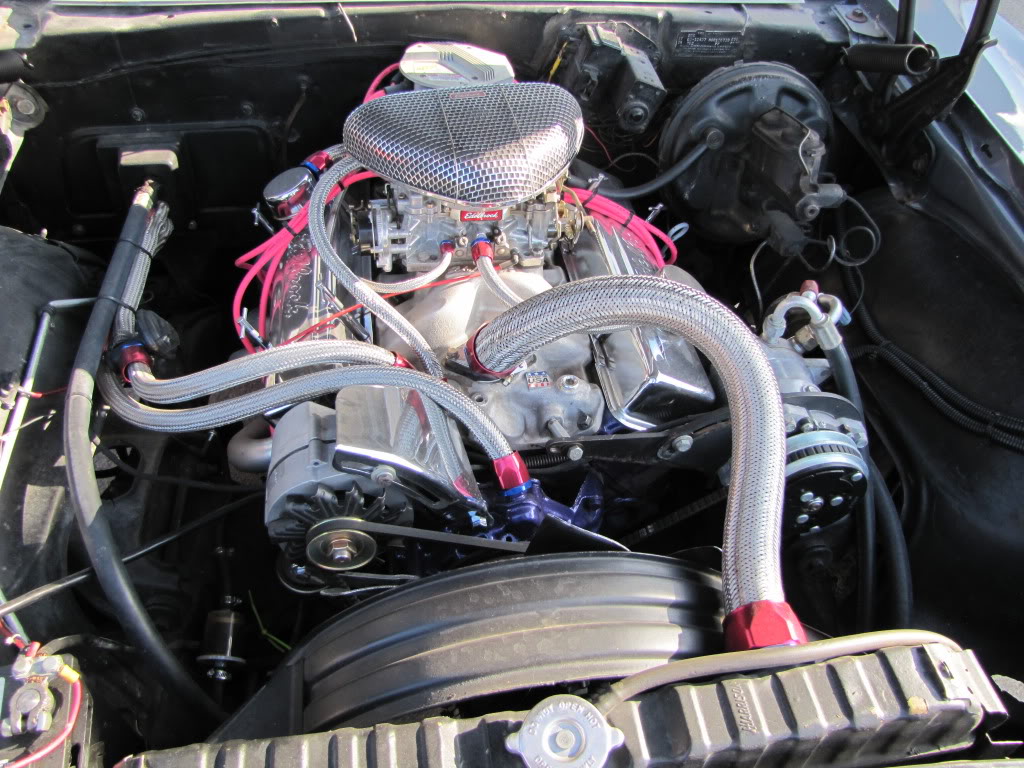
When I first got the car
Thread Starter
|
Newbie
Joined: May 2011
Posts: 19
The car was a good starting canvas but it was not short of its mechanical problems.
I replaced the whole fuel system, added power steering with all new steering hardware, and replaced all the suspension components. It took me a while to decide on which route to go with the suspension but i decided i wanted to keep the ride of the car old school, so i went with hotchkis sport leaf springs which drop the car 3 inches. A pair of subframe connectors also went under the car this really made a world of difference on how the car handled.
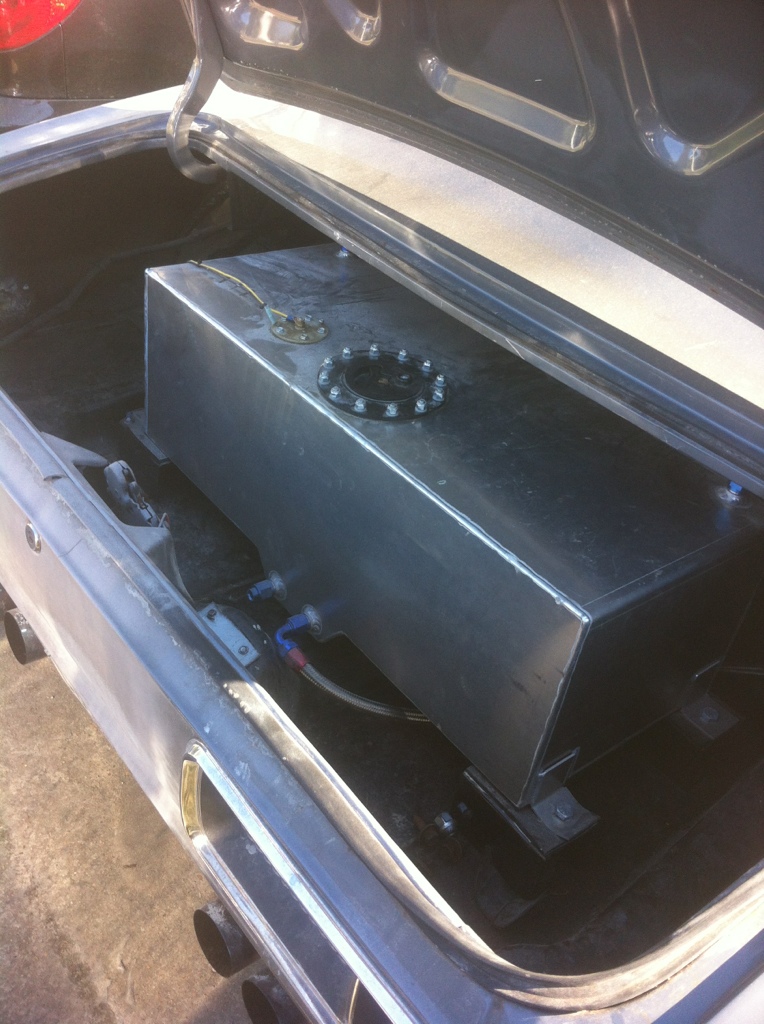
the stock fuel tank was in the way of how i wanted to route my exhaust so a custom fuel cell was made to be mounted in the trunk of the car.
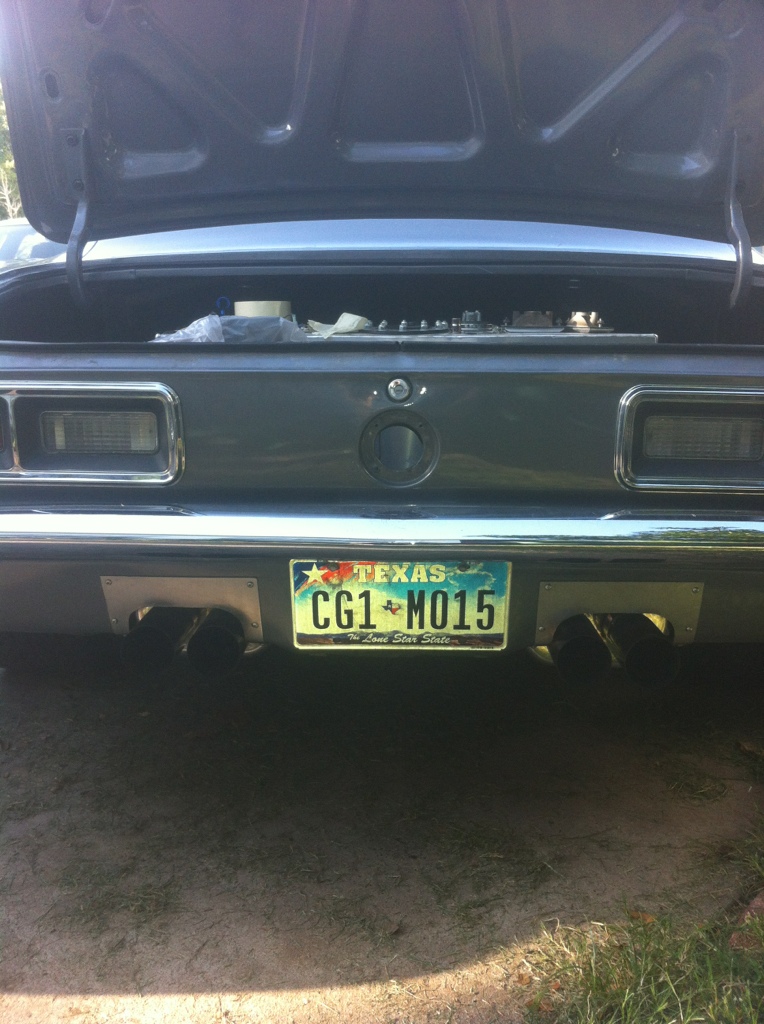
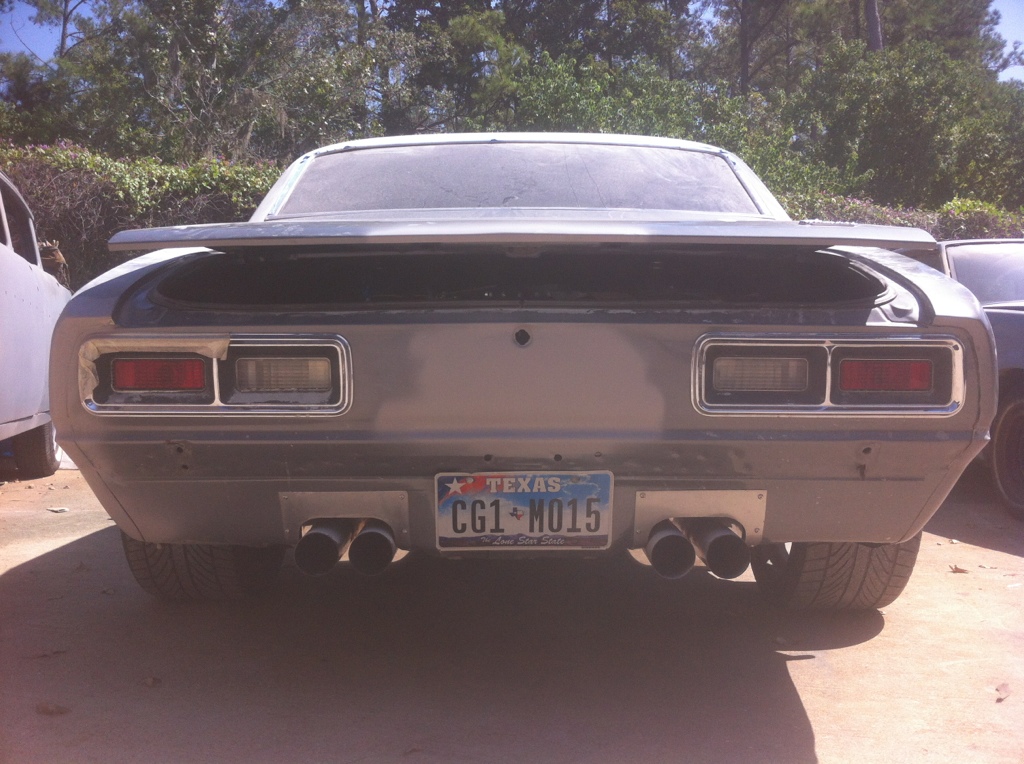
im a real big fan of the e92 m3 exhaust so that was my inspiration for the tail pipes.
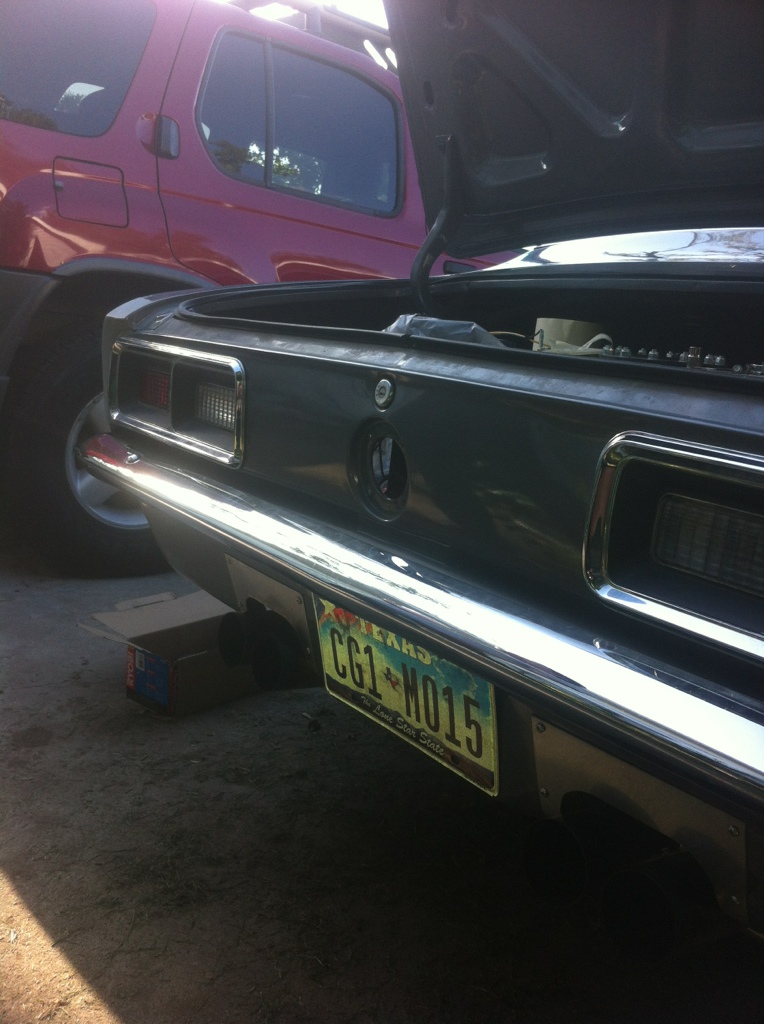
i cut into the roll pan and made some exhaust heat shields to give it that RACECAR look.
i did not like how the fender flares looked i felt as they did not flow with the car so i shaped them to follow the cars natural body line.
before
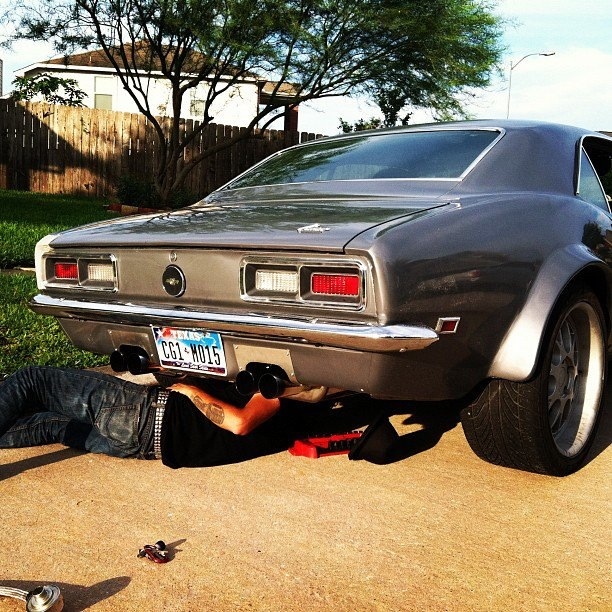
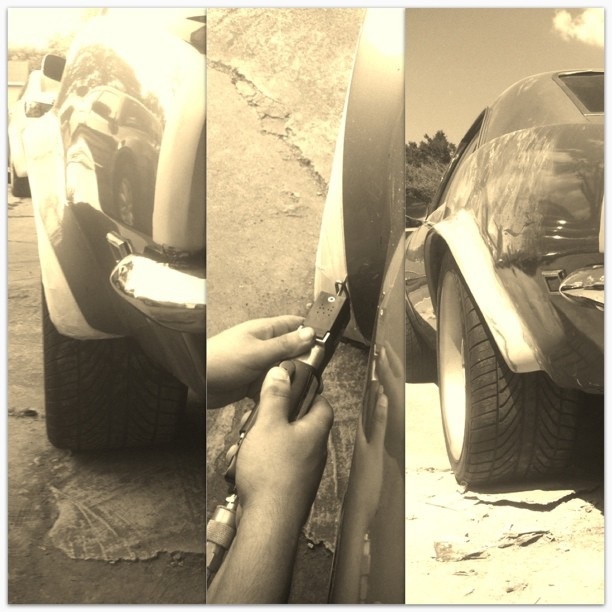
after
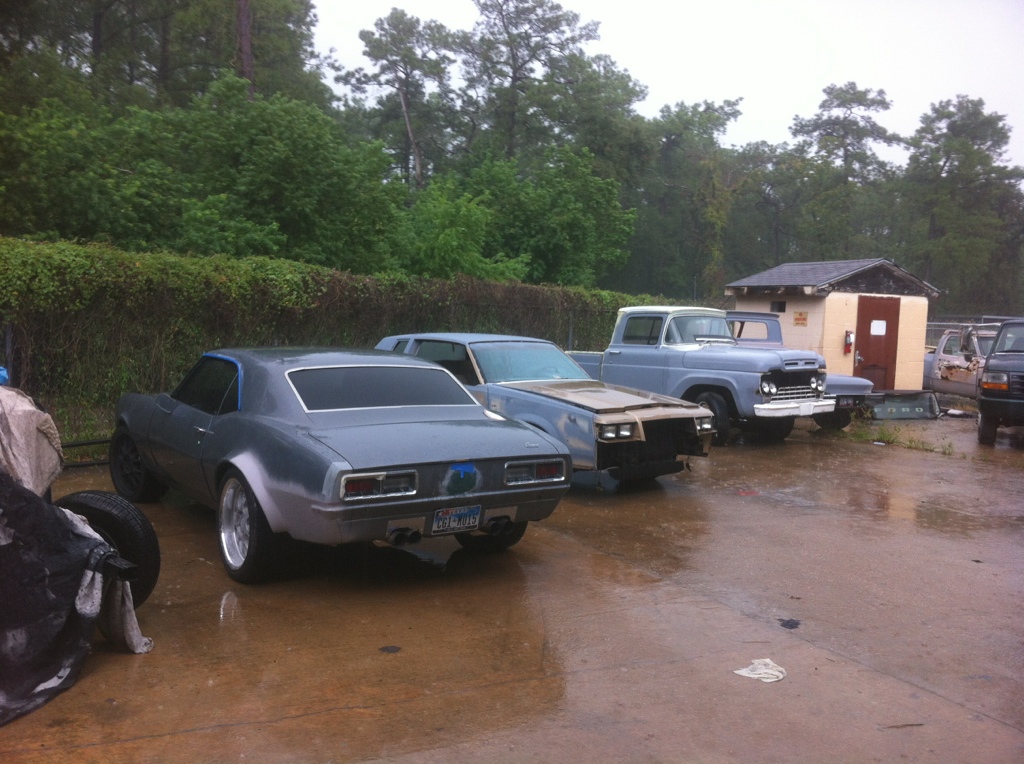
shaved a few things
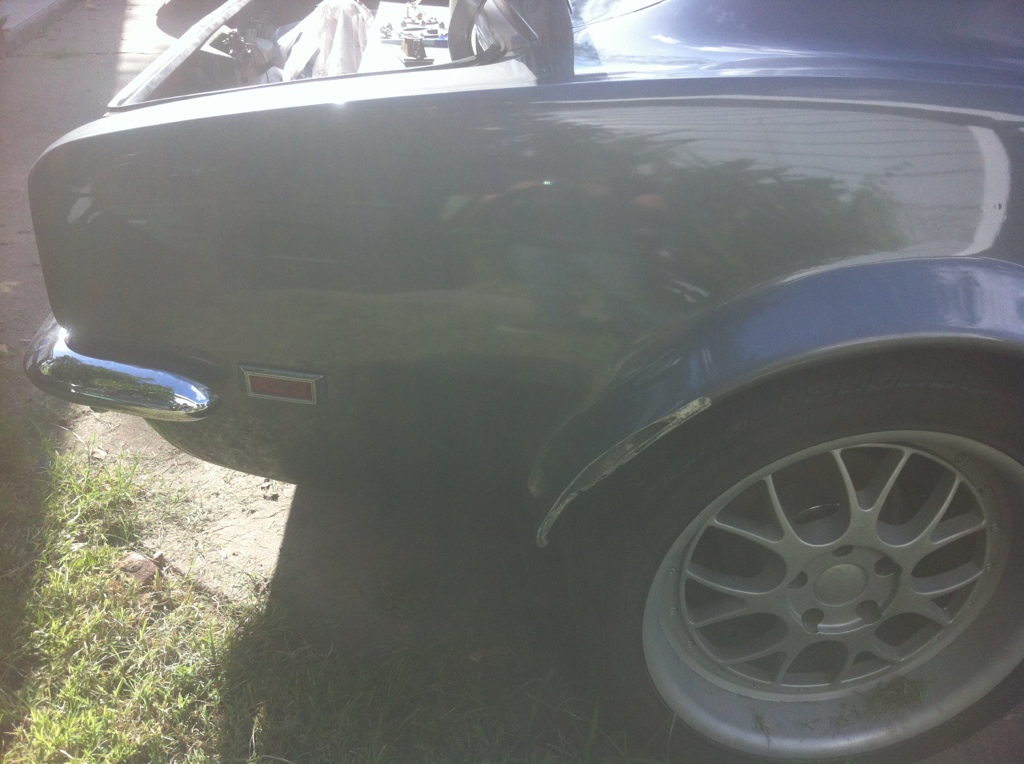
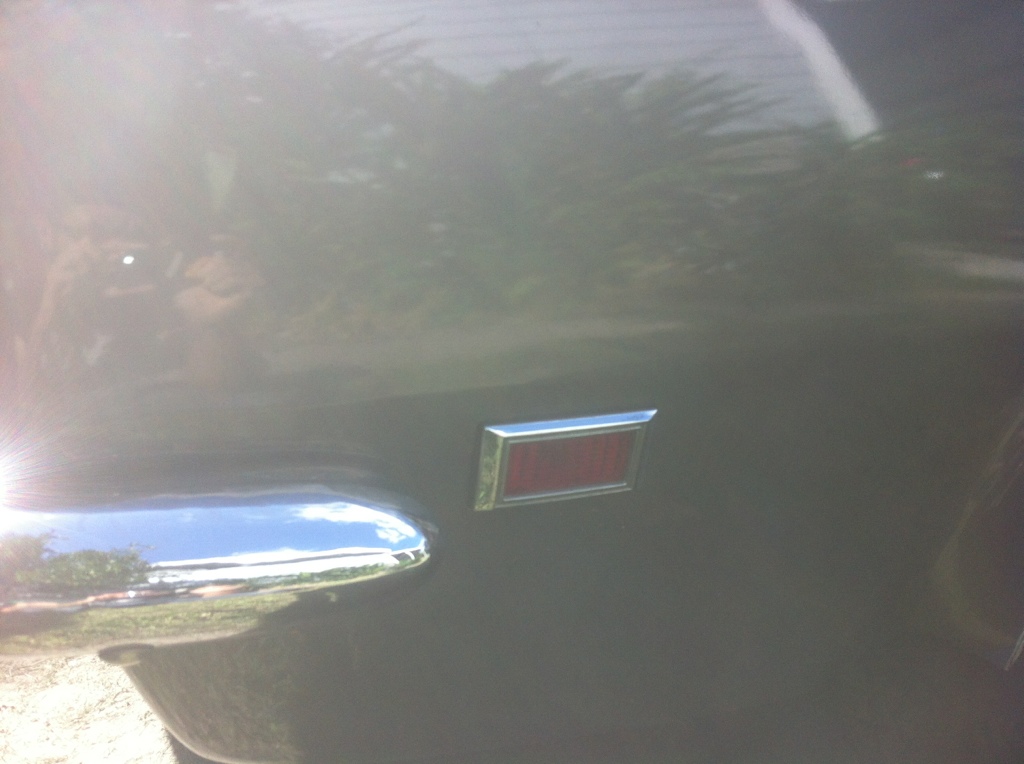
i felt these corner lights just looked out of place.
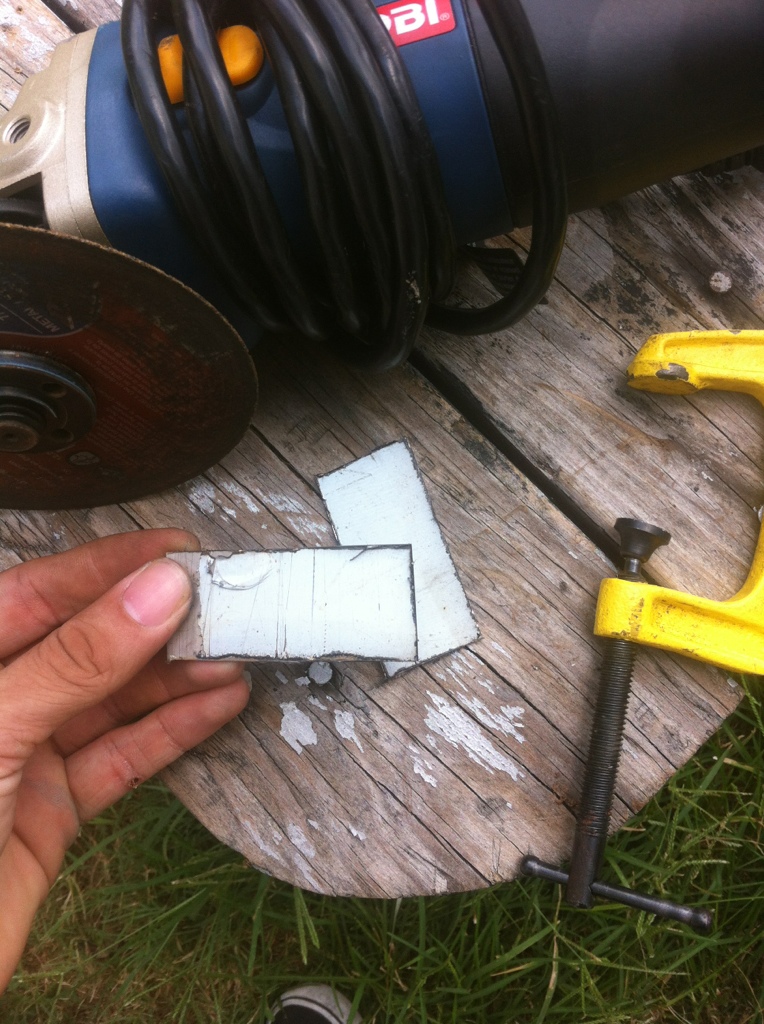
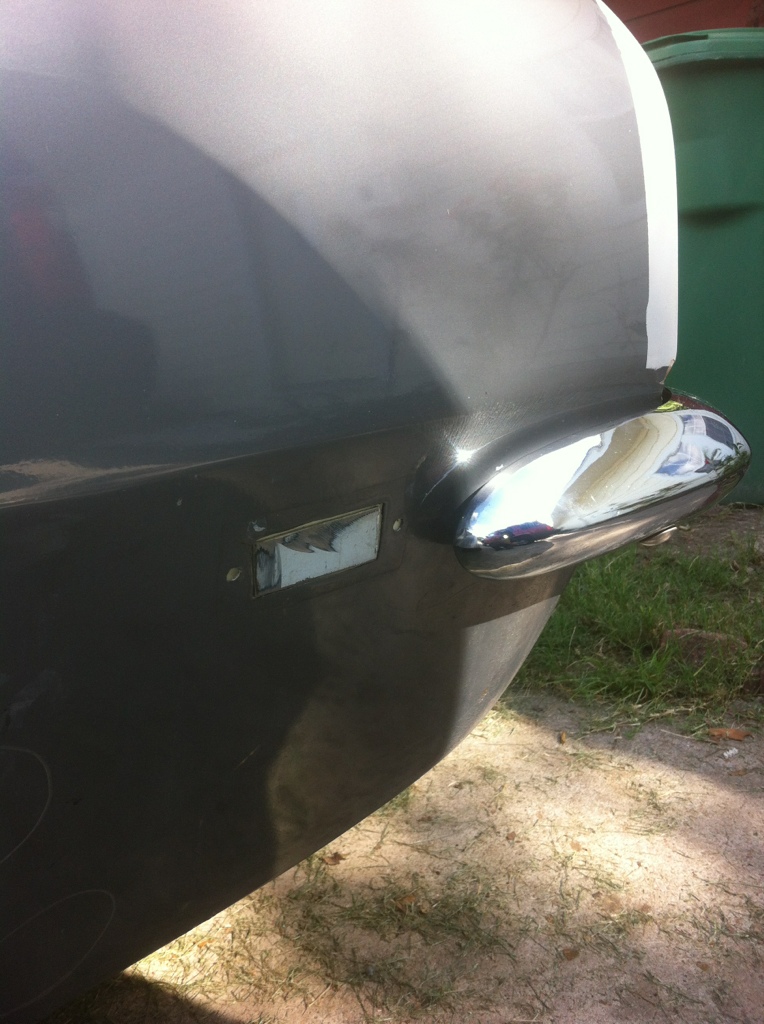
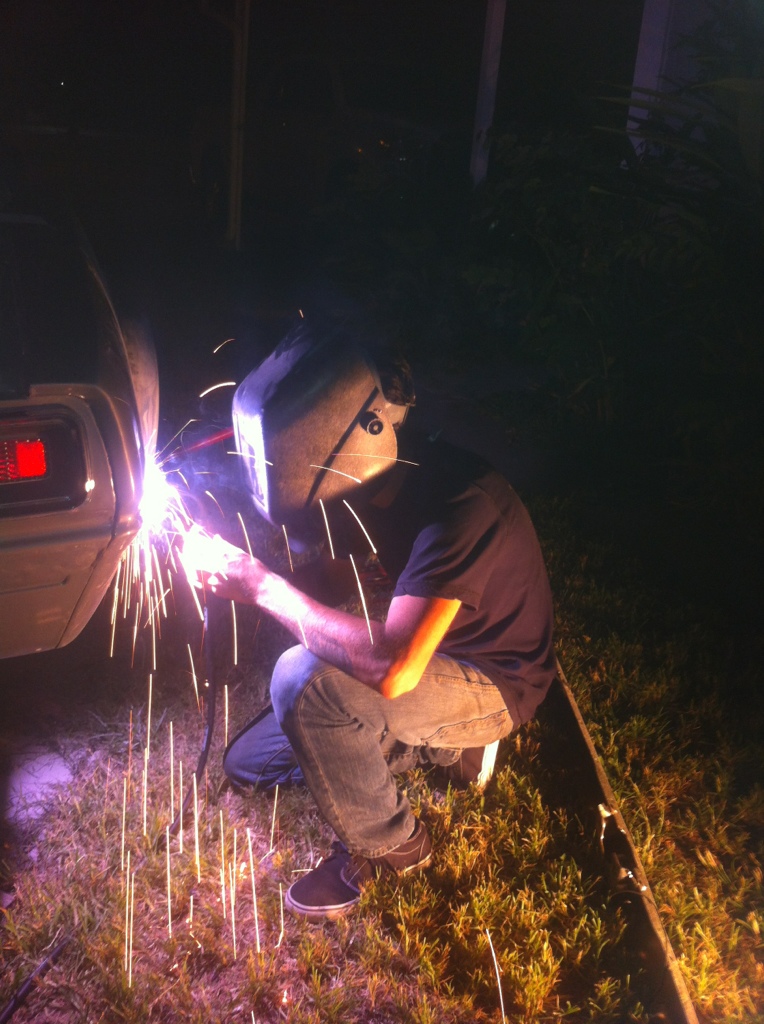
followed the clean look too the back.
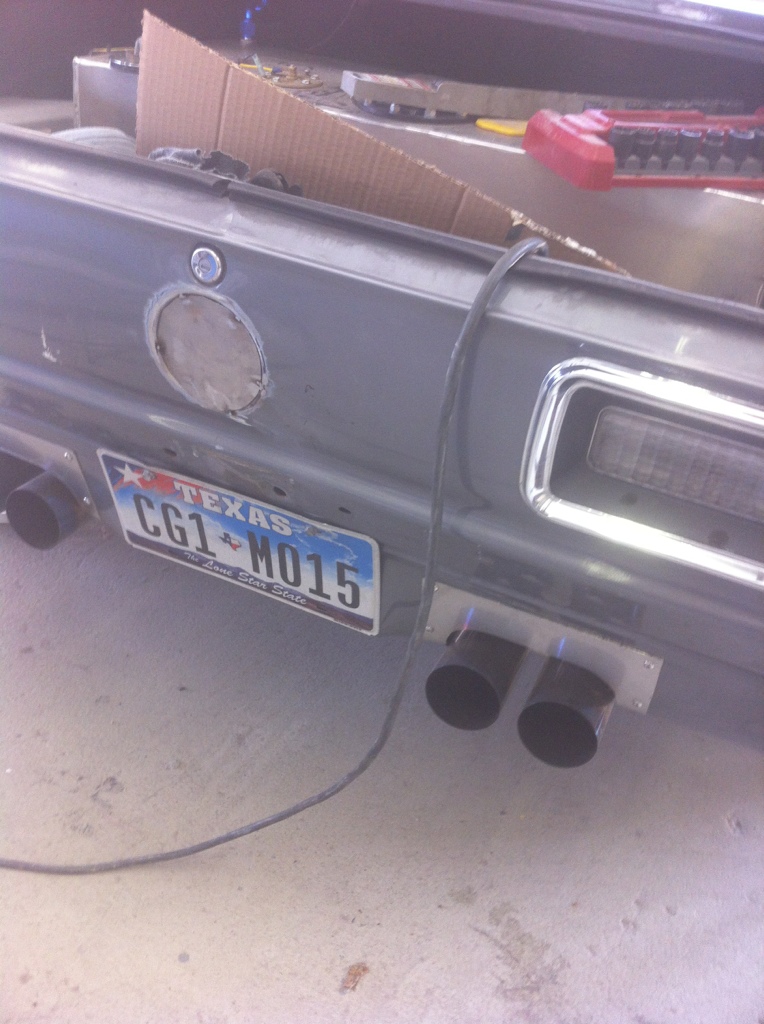
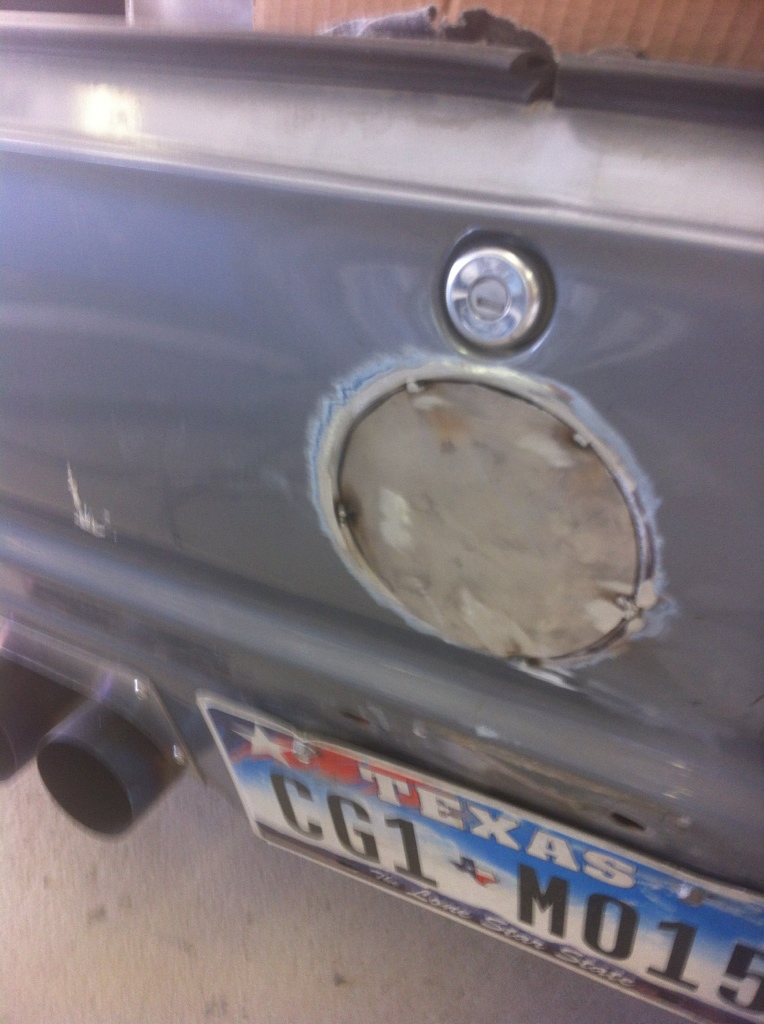
after some body work.
I replaced the whole fuel system, added power steering with all new steering hardware, and replaced all the suspension components. It took me a while to decide on which route to go with the suspension but i decided i wanted to keep the ride of the car old school, so i went with hotchkis sport leaf springs which drop the car 3 inches. A pair of subframe connectors also went under the car this really made a world of difference on how the car handled.
the stock fuel tank was in the way of how i wanted to route my exhaust so a custom fuel cell was made to be mounted in the trunk of the car.
im a real big fan of the e92 m3 exhaust so that was my inspiration for the tail pipes.
i cut into the roll pan and made some exhaust heat shields to give it that RACECAR look.
i did not like how the fender flares looked i felt as they did not flow with the car so i shaped them to follow the cars natural body line.
before
after
shaved a few things
i felt these corner lights just looked out of place.
followed the clean look too the back.
after some body work.



Thread Starter
|
Newbie
Joined: May 2011
Posts: 19
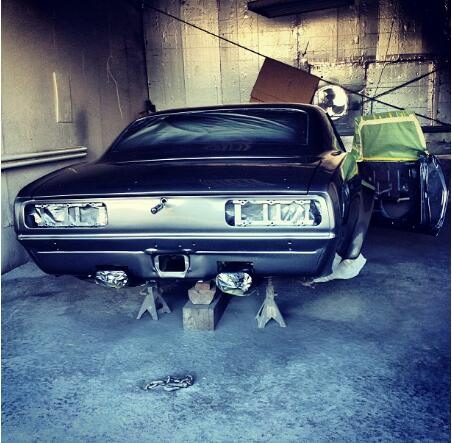
As she sits now.. Just a teaser till I go out and take some decent pictures after the color sand..
Thread Starter
|
Newbie
Joined: May 2011
Posts: 19
Thanks fellas! Heres some Parts that I've been gathering

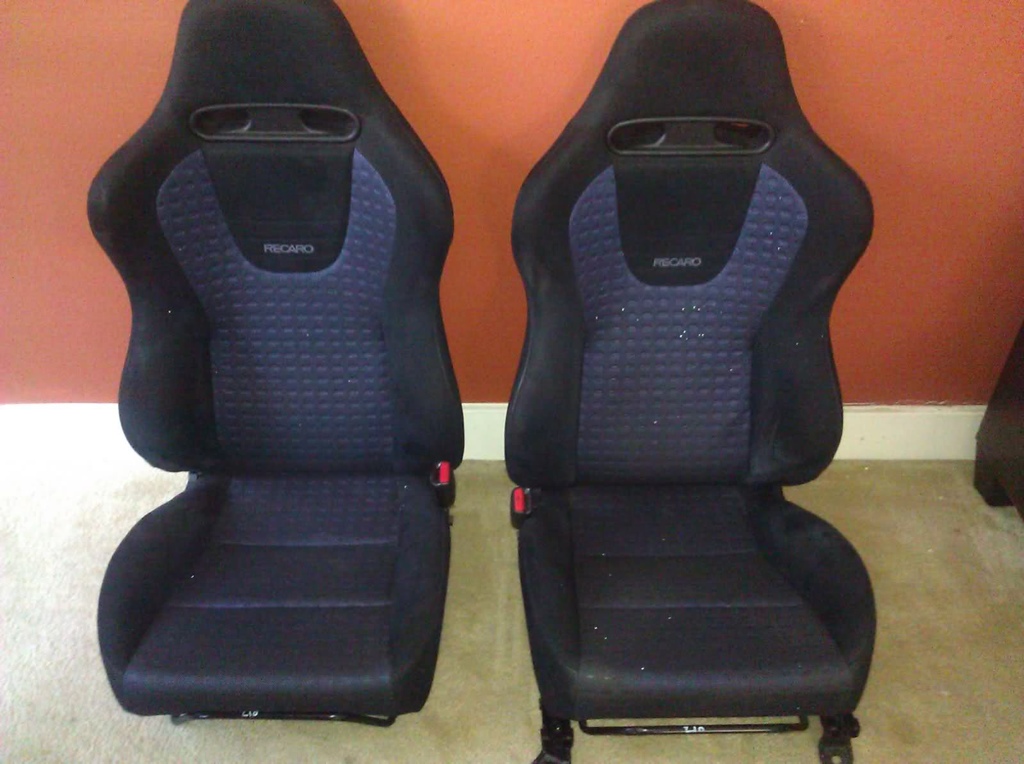
Recaro buckets to keep me in place when I'm doing donuts!
The clutch fan had to go. So I fabed up some electric fan brackets..
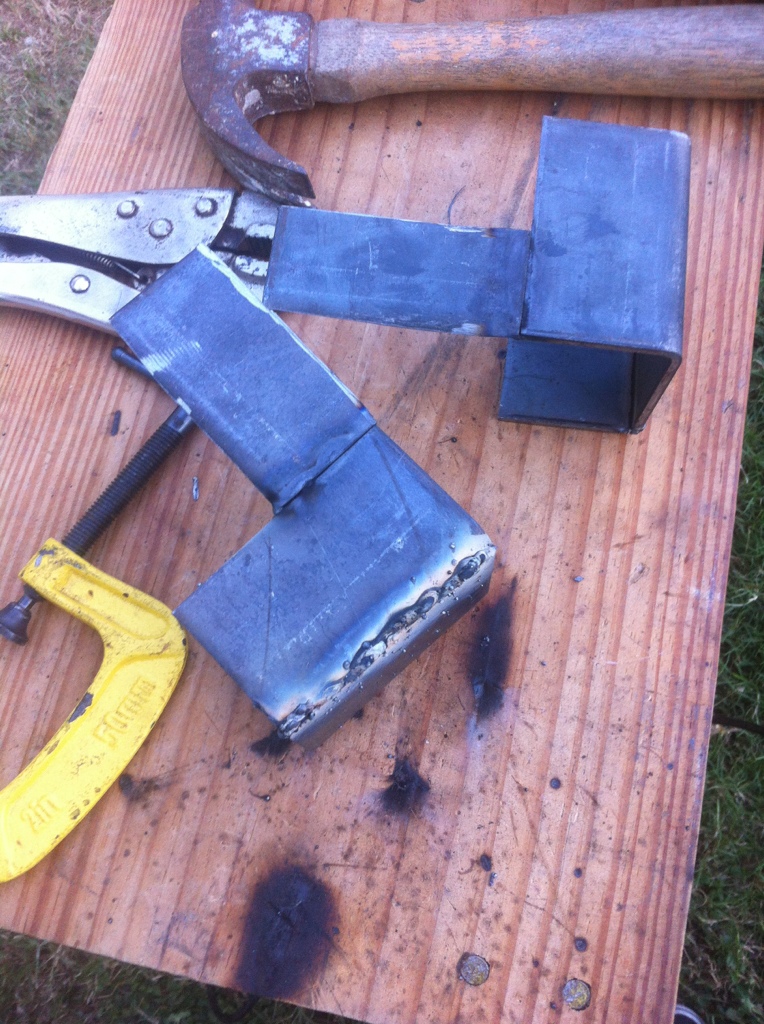
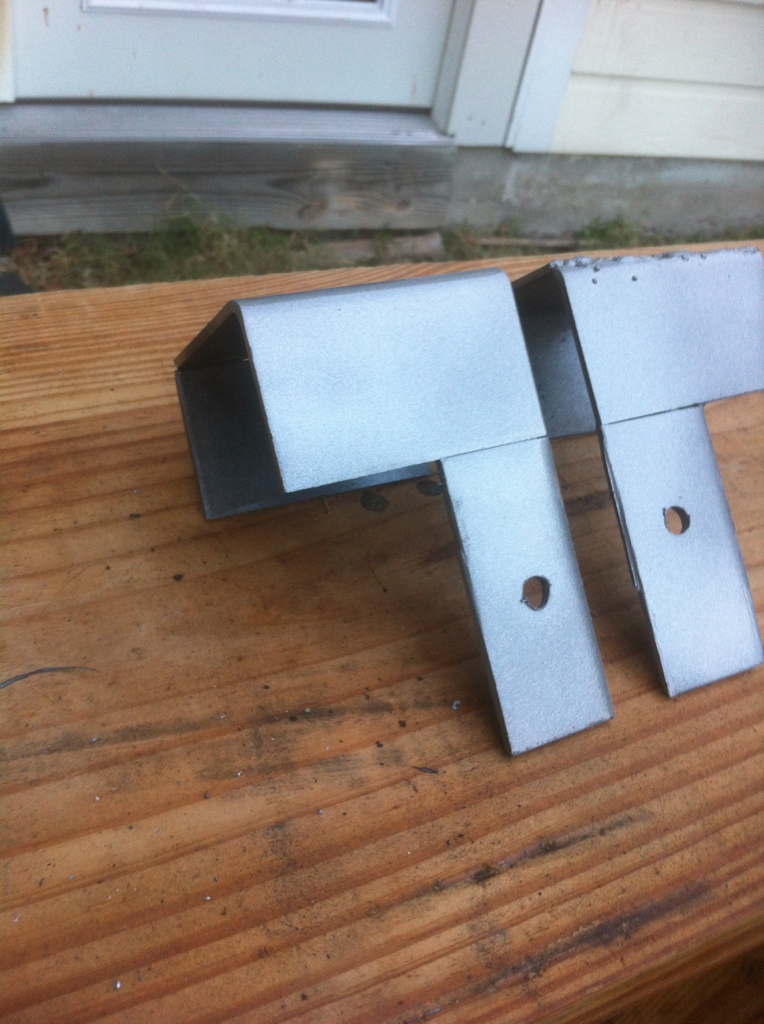
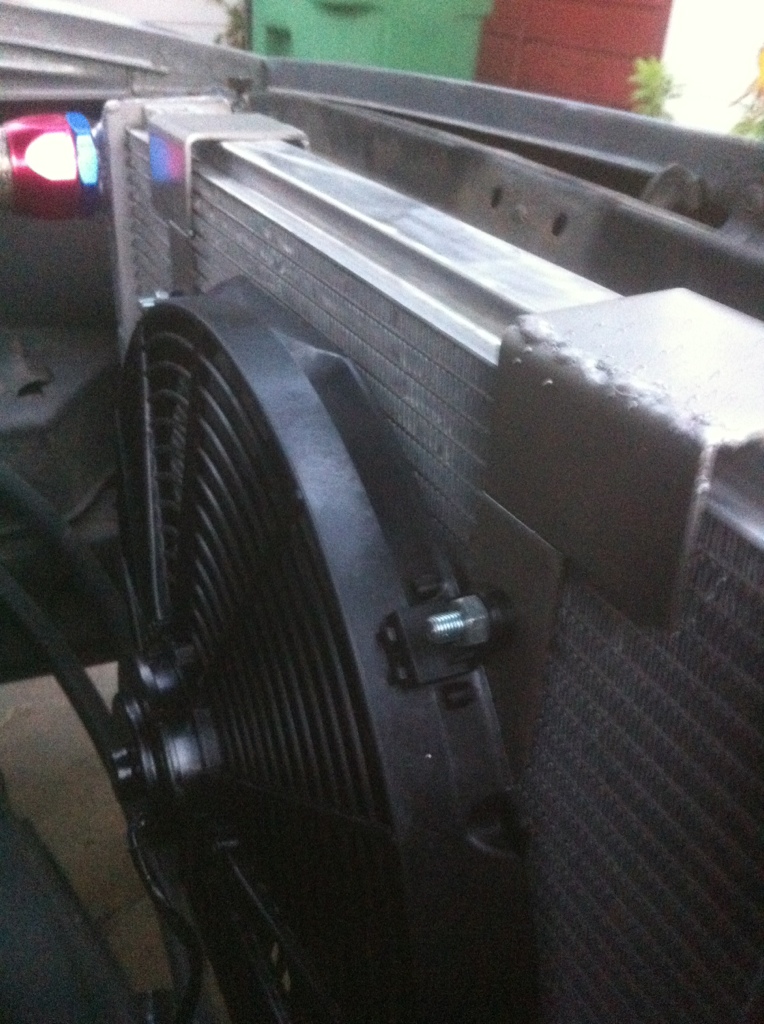
I used 3"by 3" square tubing and just cut,welded, and drilled a few holes. I'm going to go back and clean up my welds but you get the idea.
Recaro buckets to keep me in place when I'm doing donuts!
The clutch fan had to go. So I fabed up some electric fan brackets..
I used 3"by 3" square tubing and just cut,welded, and drilled a few holes. I'm going to go back and clean up my welds but you get the idea.
Last edited by Vdubwardo; Feb 26, 2013 at 12:59 AM.
Thread Starter
|
Newbie
Joined: May 2011
Posts: 19
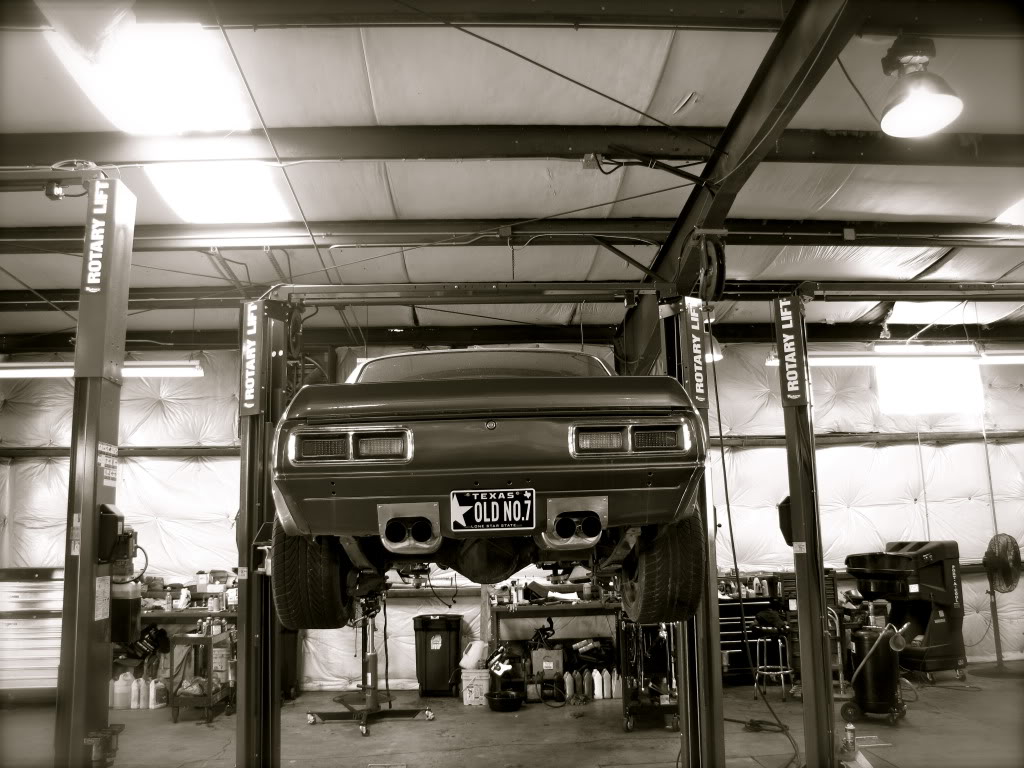
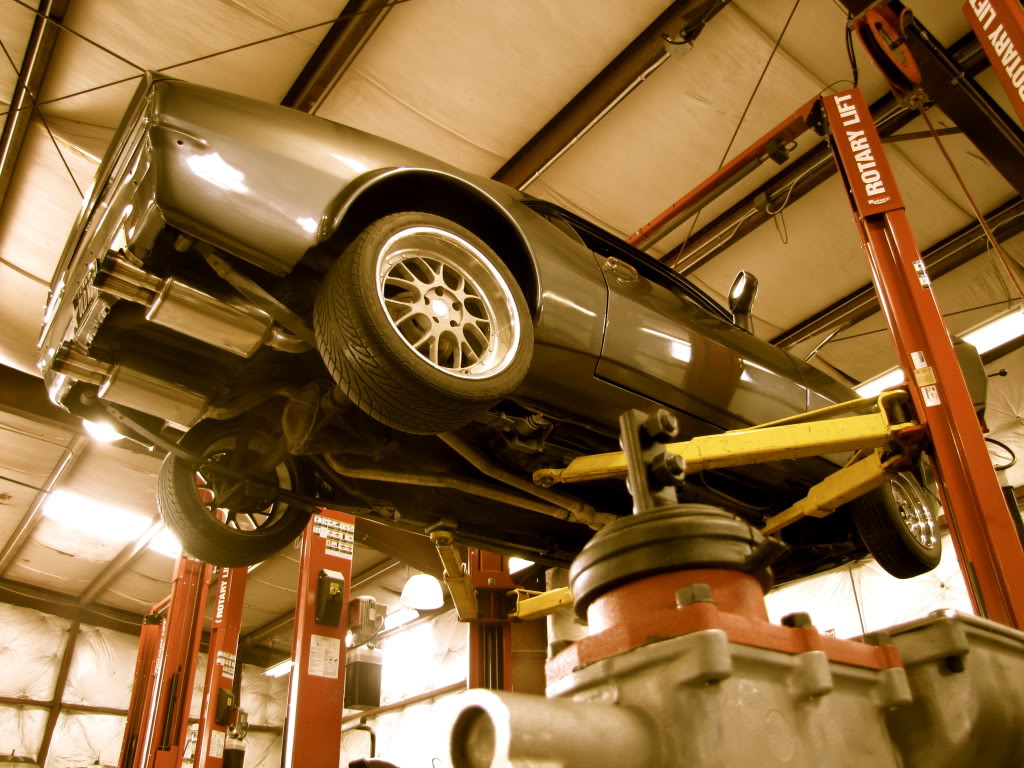
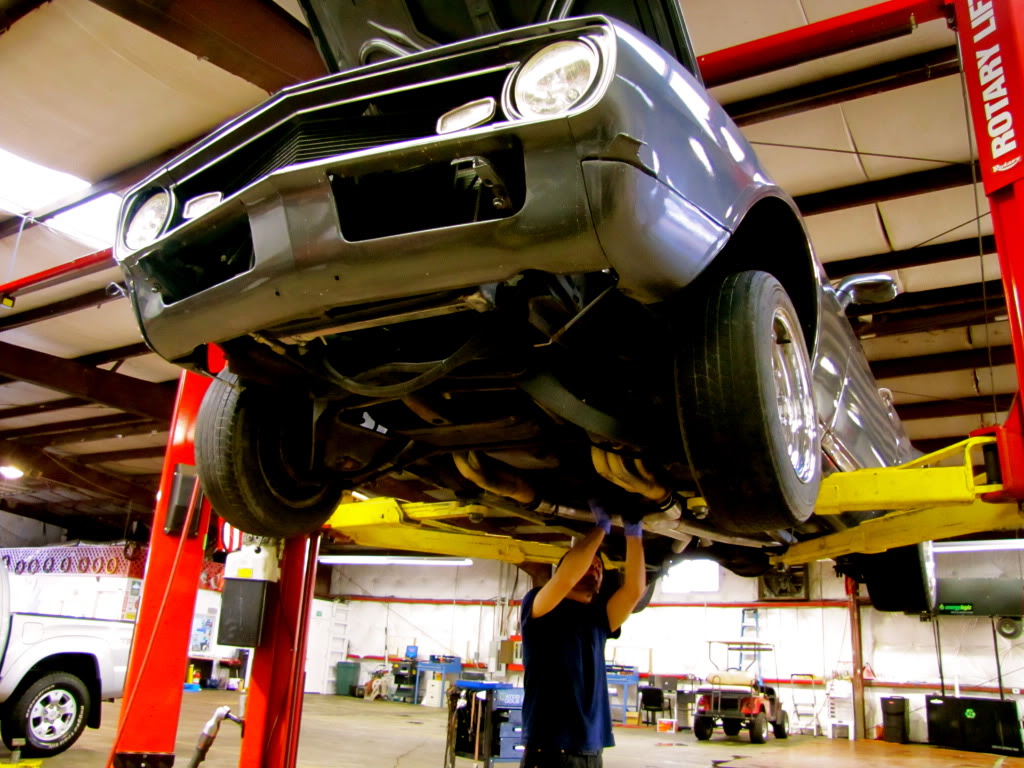
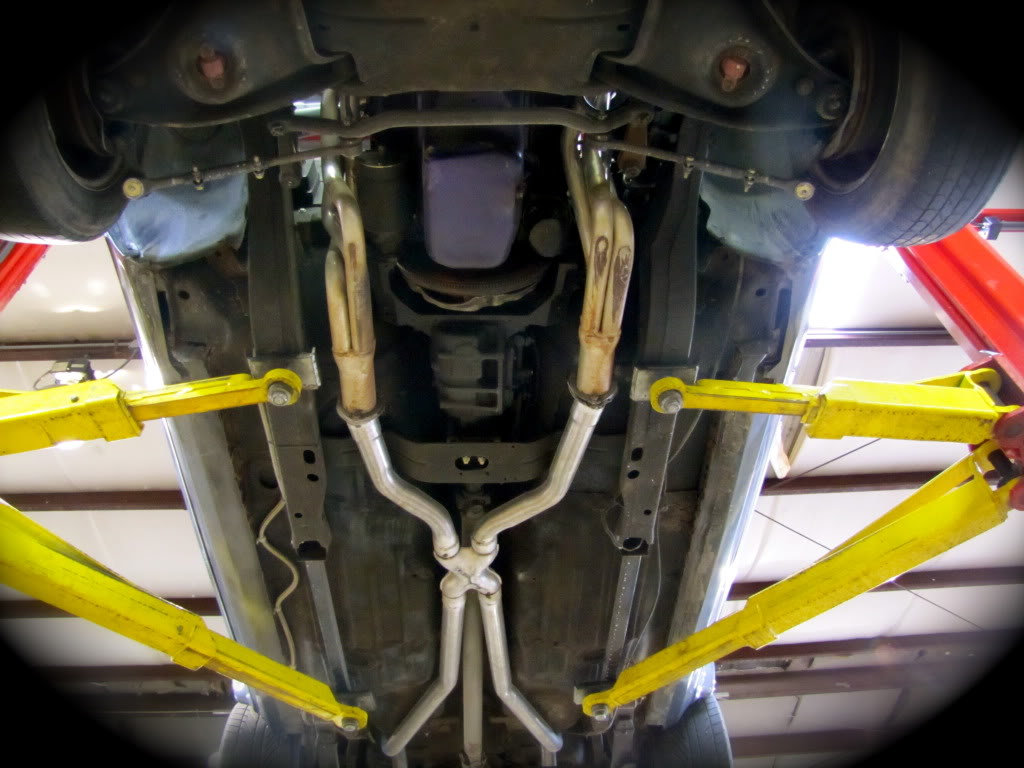
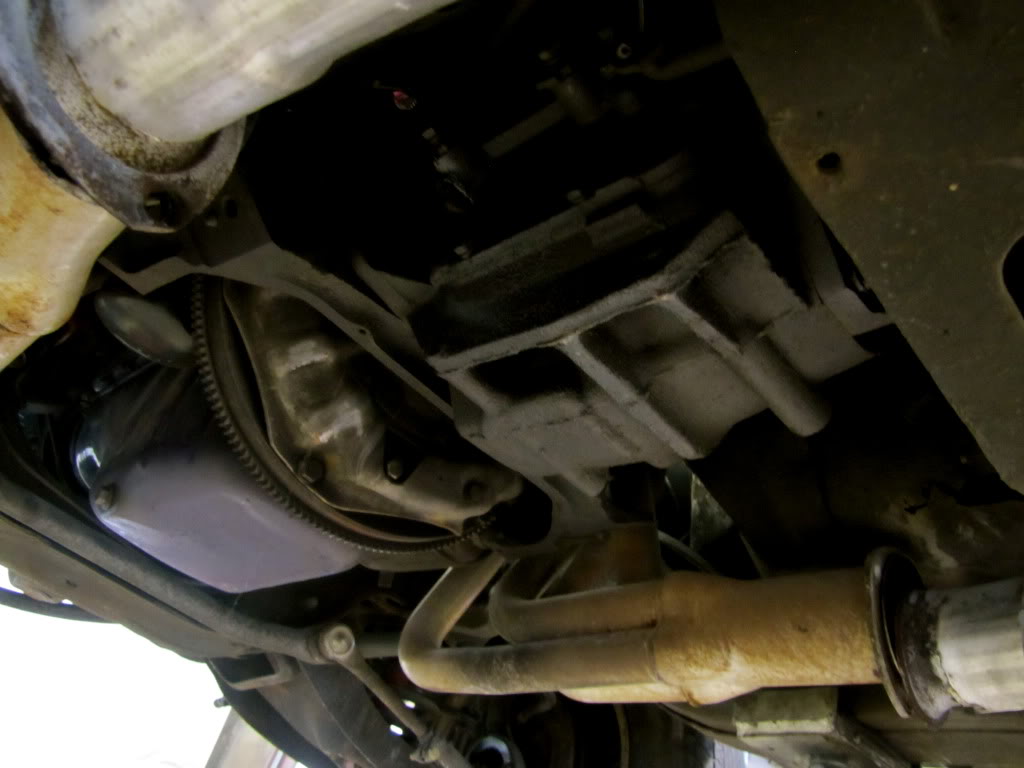
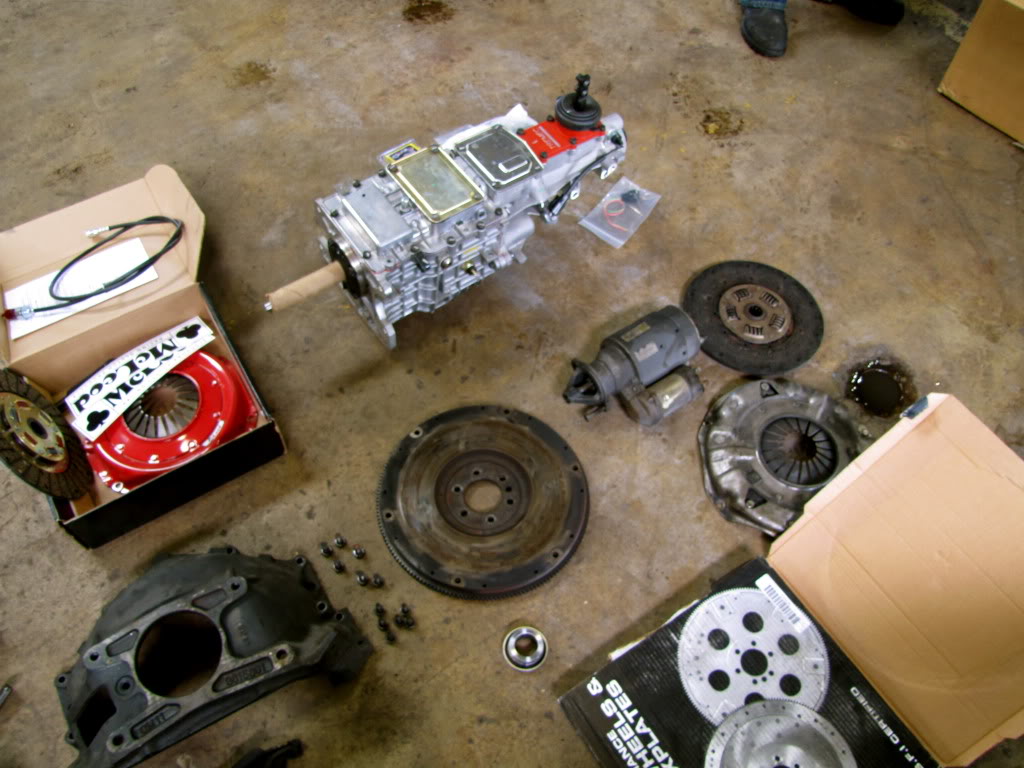
On my way taking the car to paint i decided to do a bit a spirited driving followed by a intent to do a burnout, the old muncie 4 speed however just couldn't handle my lead foot and grenaded, the car was left with no first or second gear. so after some contemplating wether i should rebuild the old 4 speed or go a different route with the trans i decided on..
This!!
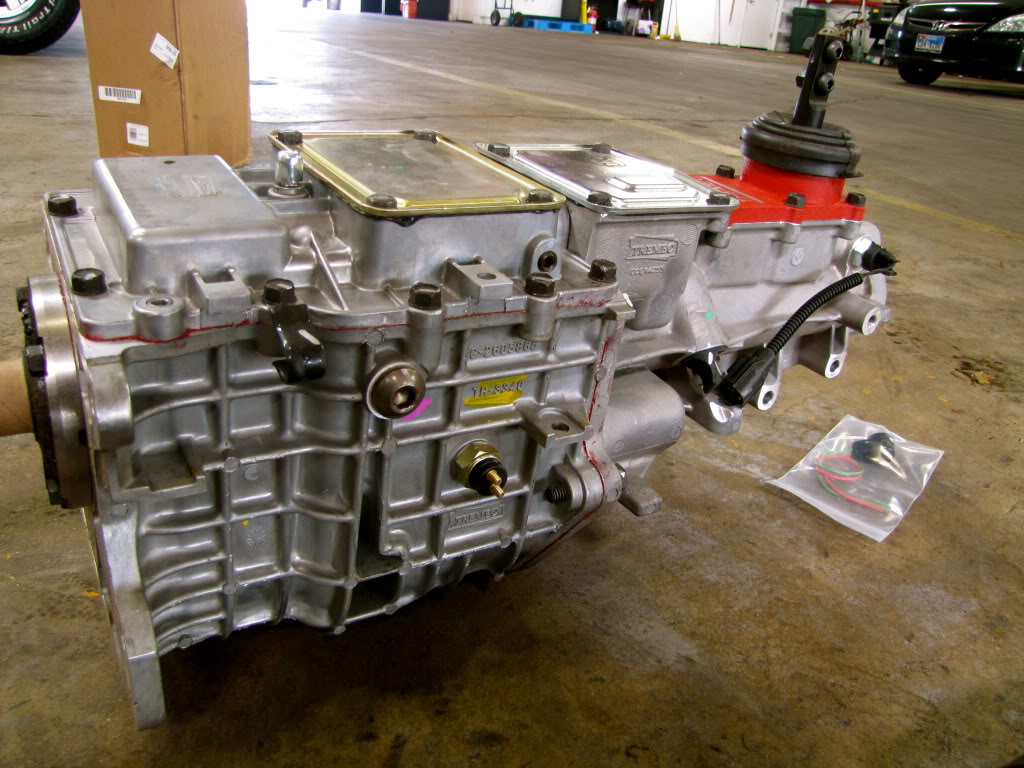
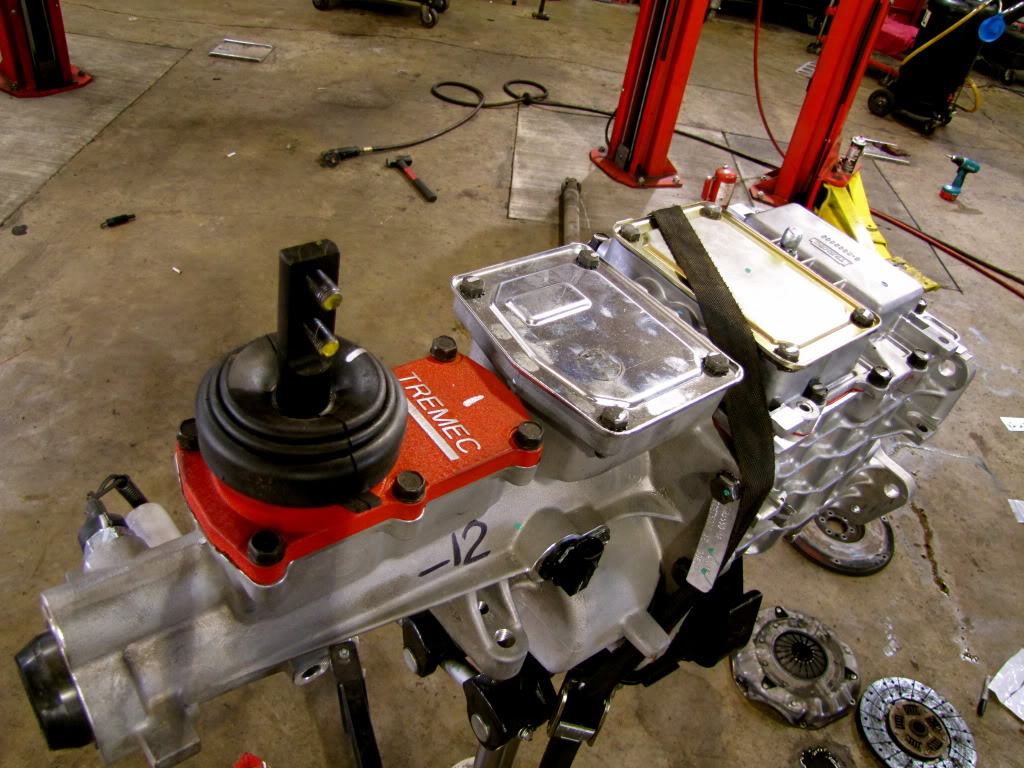
A Tremec TKO600 the 600 meaning the power capacities of 600hp/600tq.. With this new 5 speed i would defiantly not be breaking anything soon. The .64 overdrive would also meet my needs as i plan to drive this car alot, daily driven alot.. so at 70mph the motor will turn 2000 rpms opposed to 3500 the muncie did. The 1-4 gear ratios also met my needs for autocross and road racing the pig.
so with the car up in the air, we got started.
This!!
A Tremec TKO600 the 600 meaning the power capacities of 600hp/600tq.. With this new 5 speed i would defiantly not be breaking anything soon. The .64 overdrive would also meet my needs as i plan to drive this car alot, daily driven alot.. so at 70mph the motor will turn 2000 rpms opposed to 3500 the muncie did. The 1-4 gear ratios also met my needs for autocross and road racing the pig.
so with the car up in the air, we got started.
Thread Starter
|
Newbie
Joined: May 2011
Posts: 19
unbolted the headers
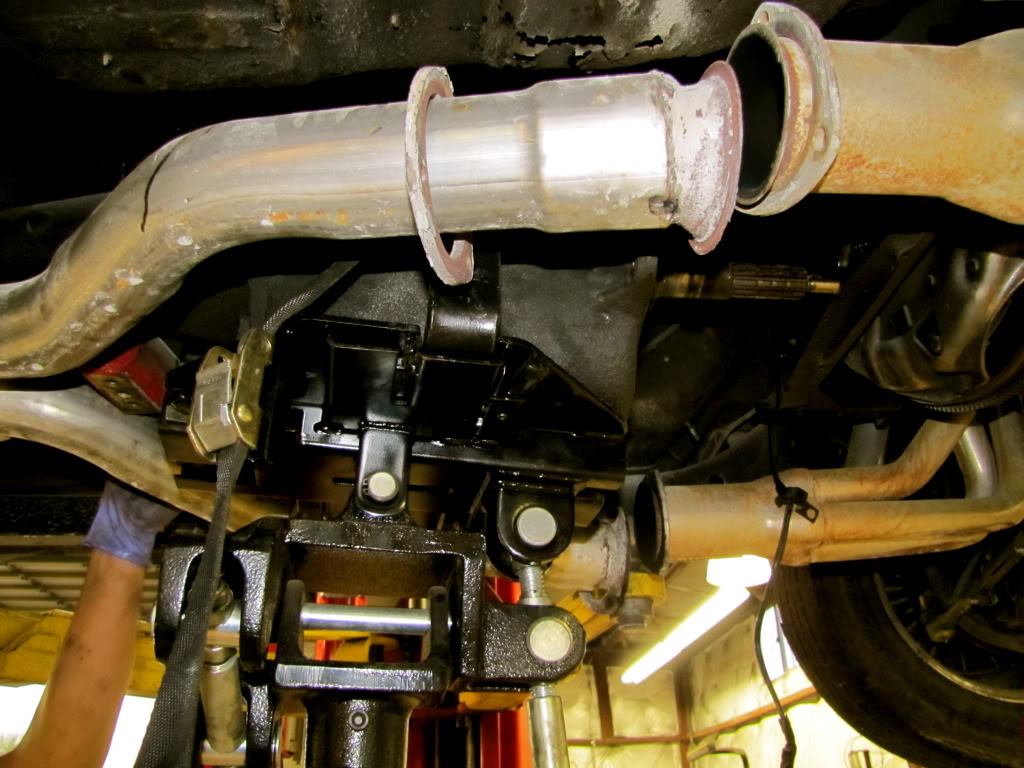
the driveshaft
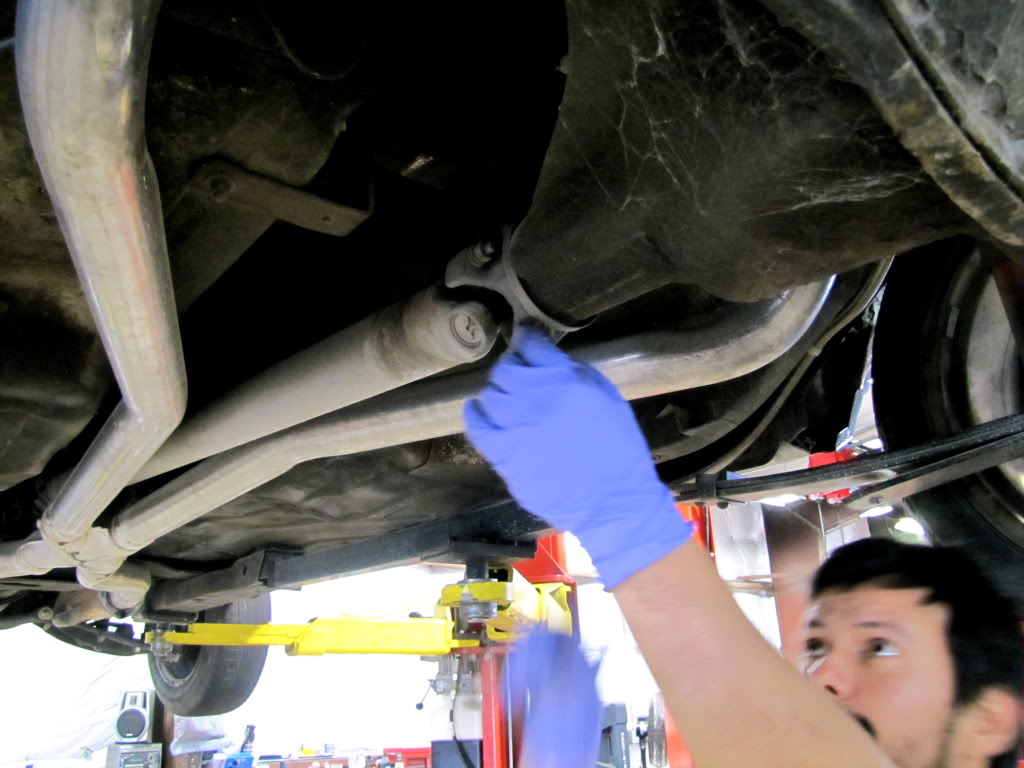
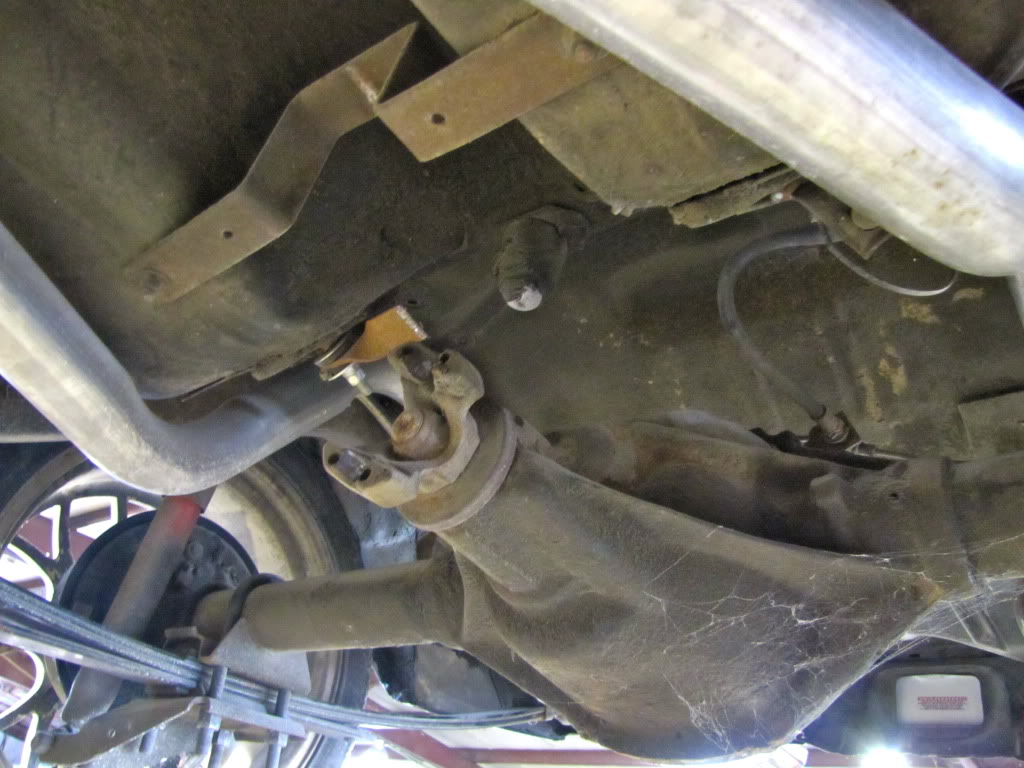
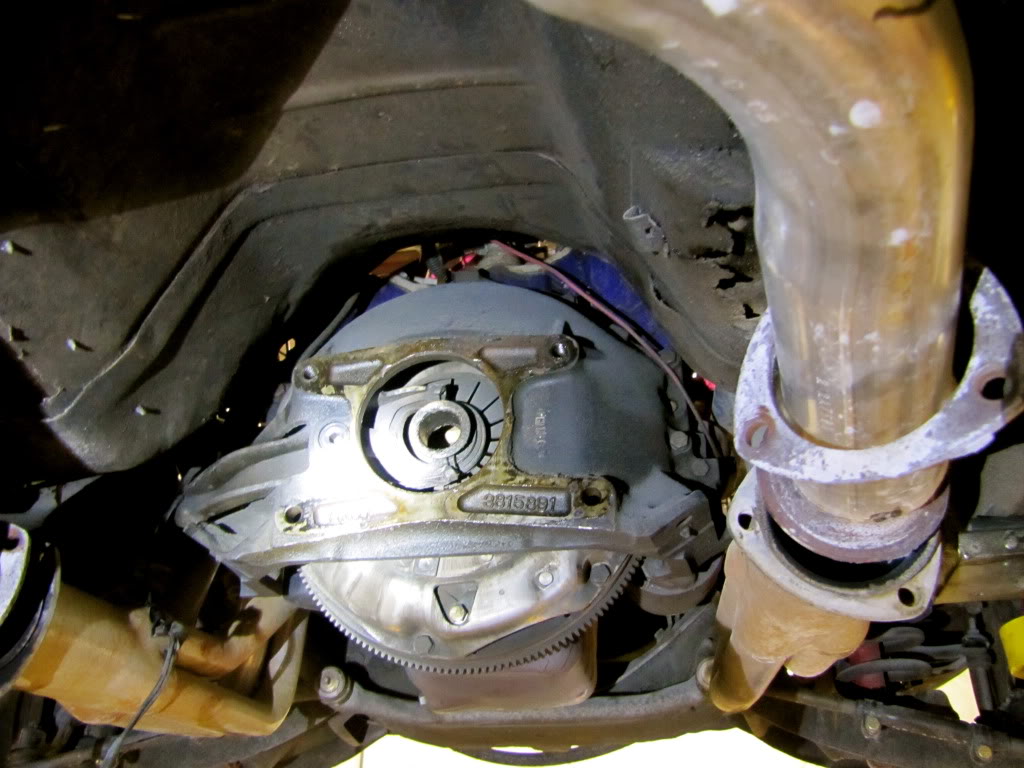
separating the transmission from the bell-housing
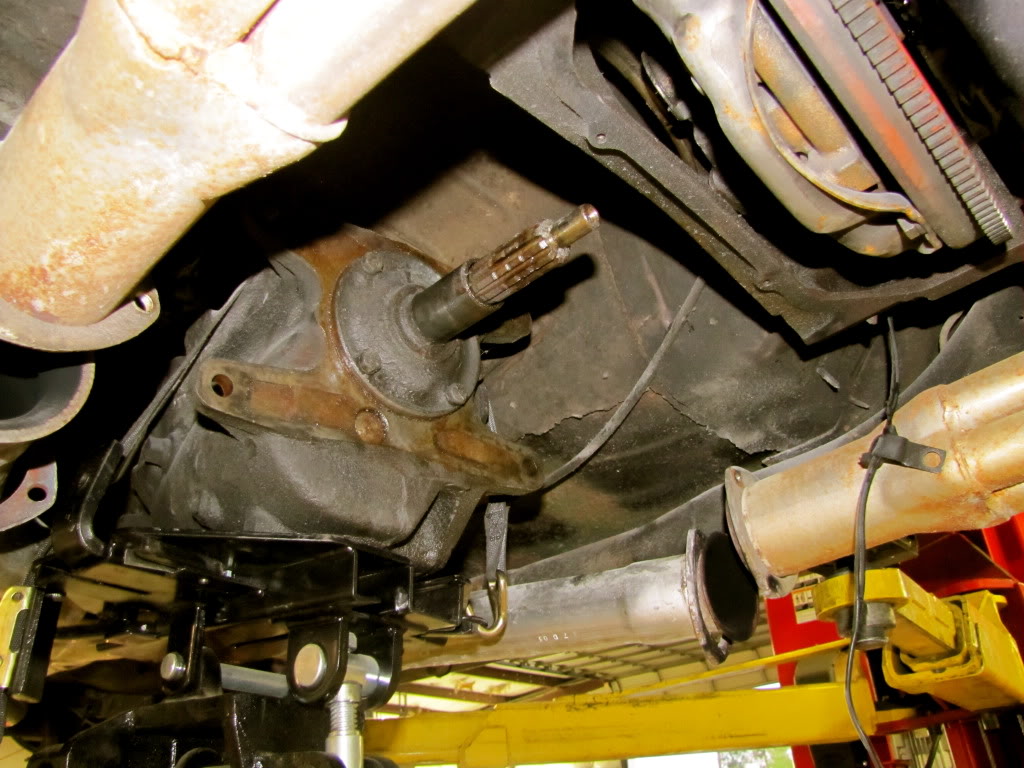
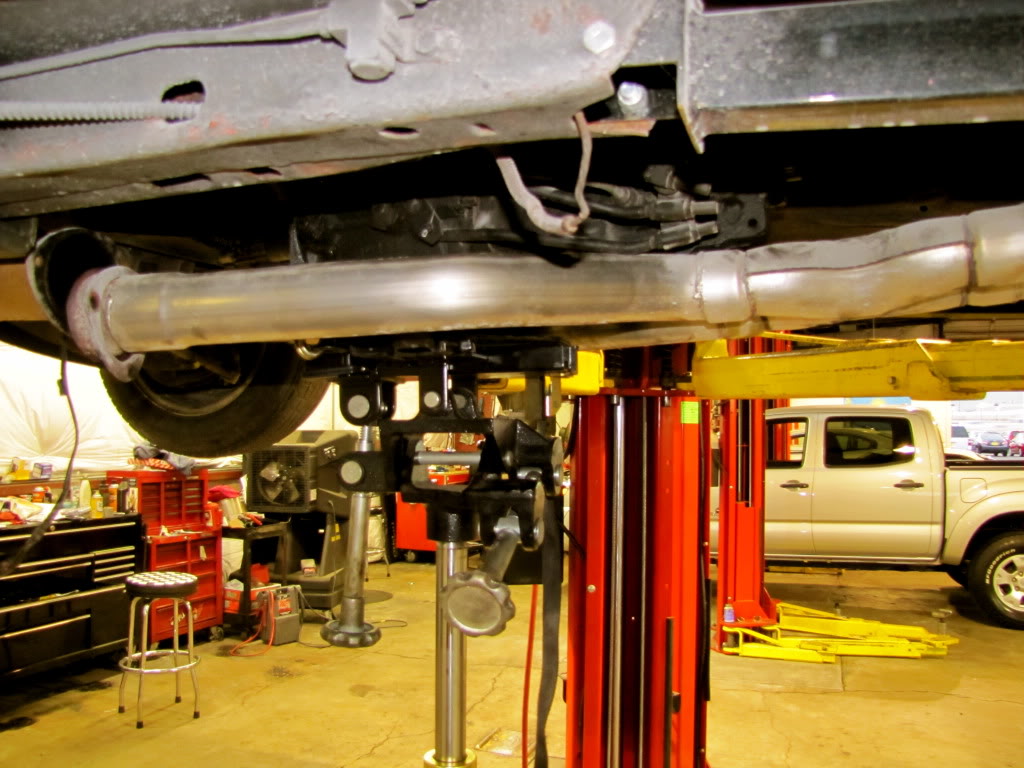
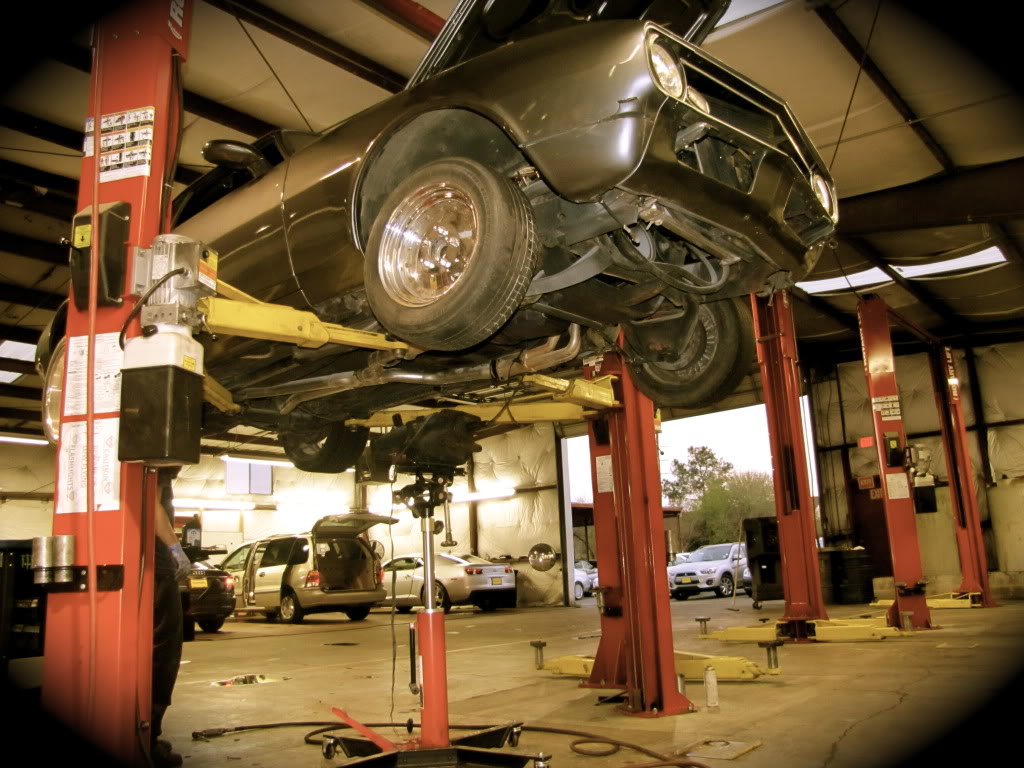
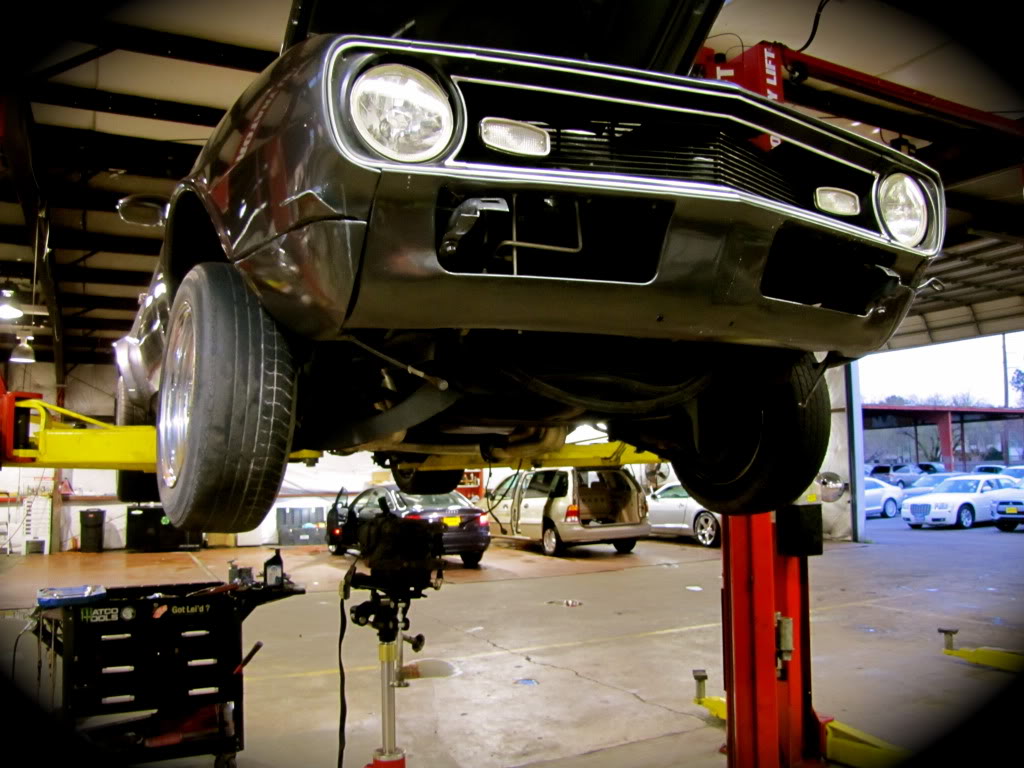
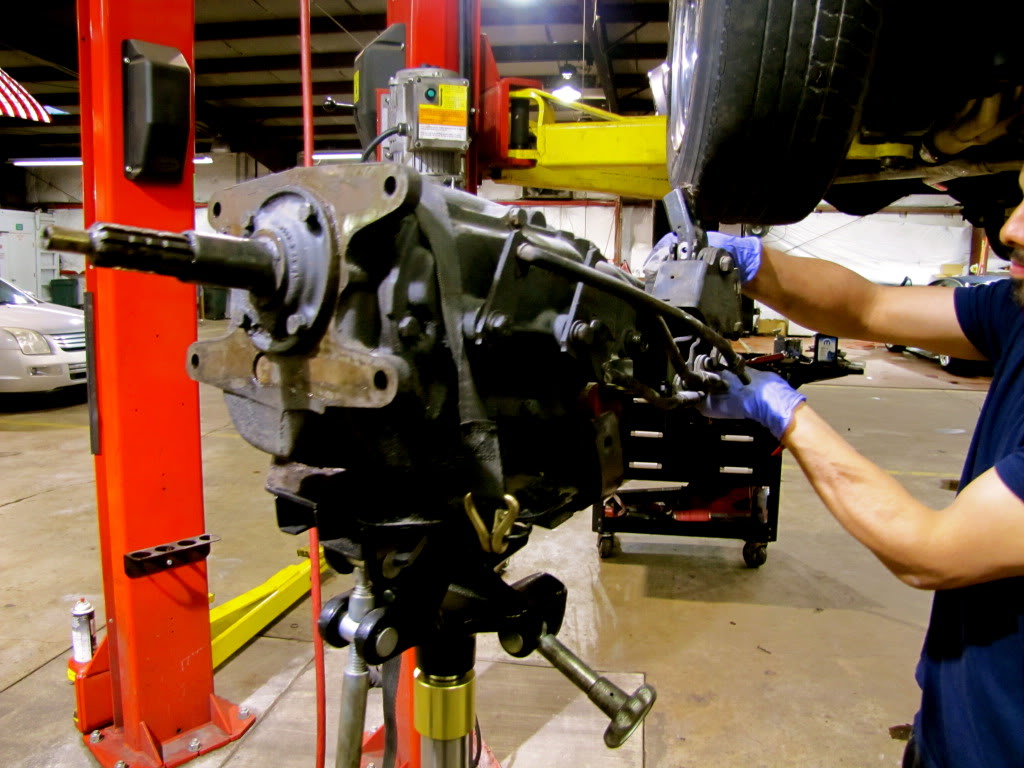
out with the old muncie
the bellhousing
old clutch
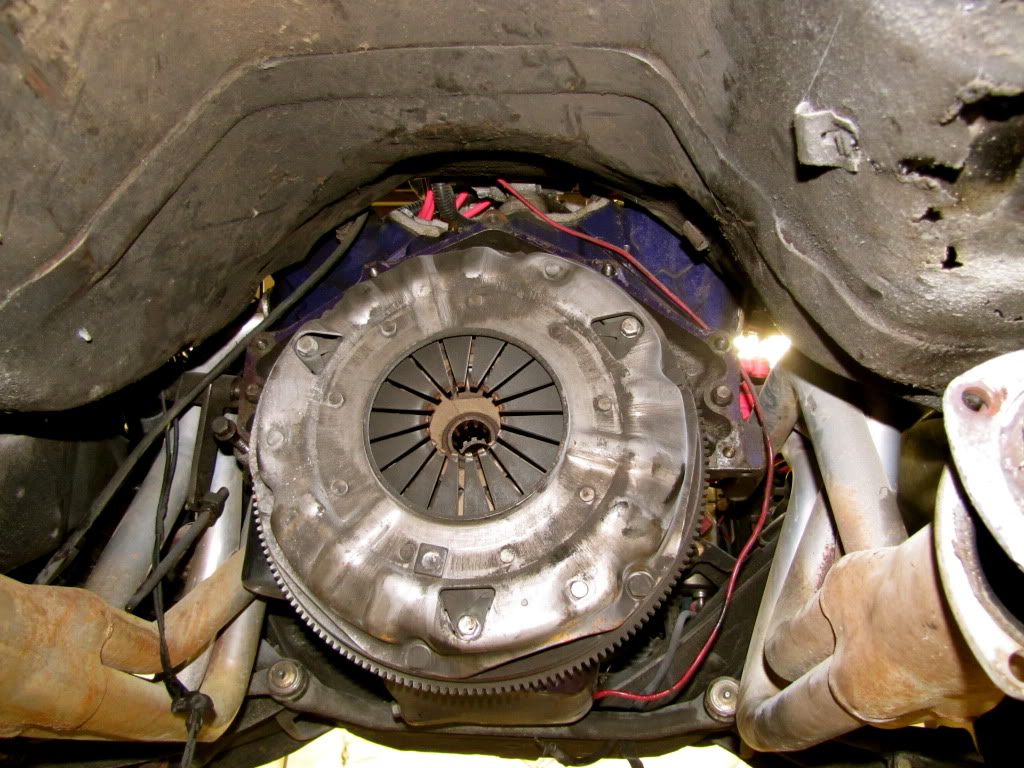
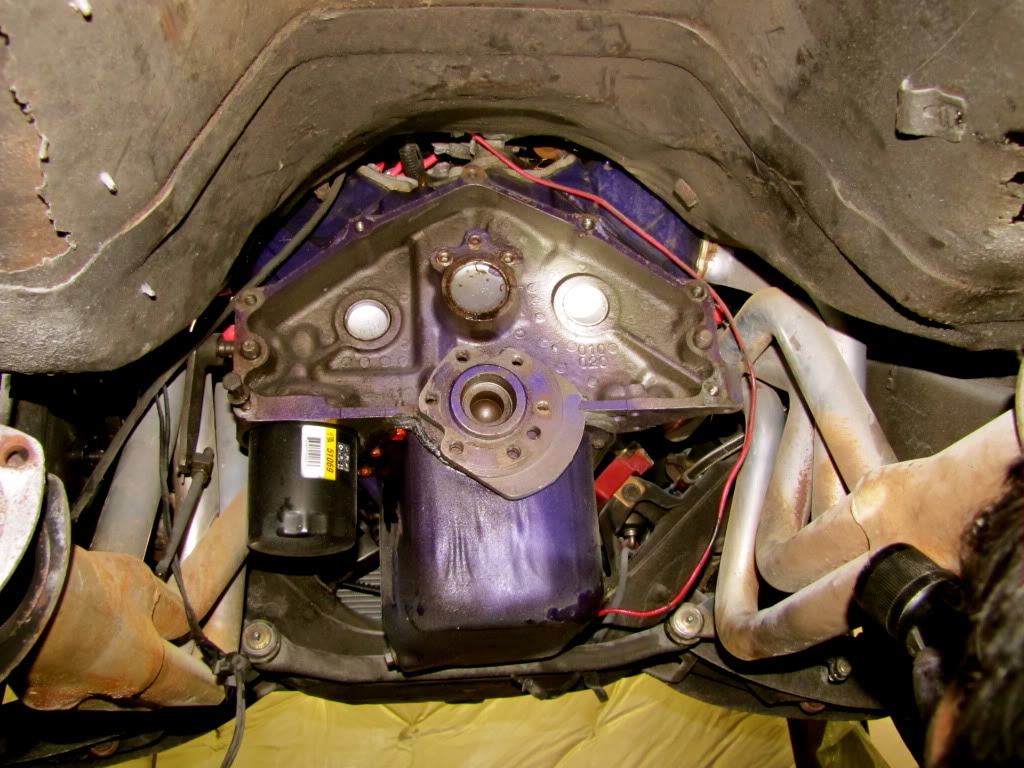
out with the old
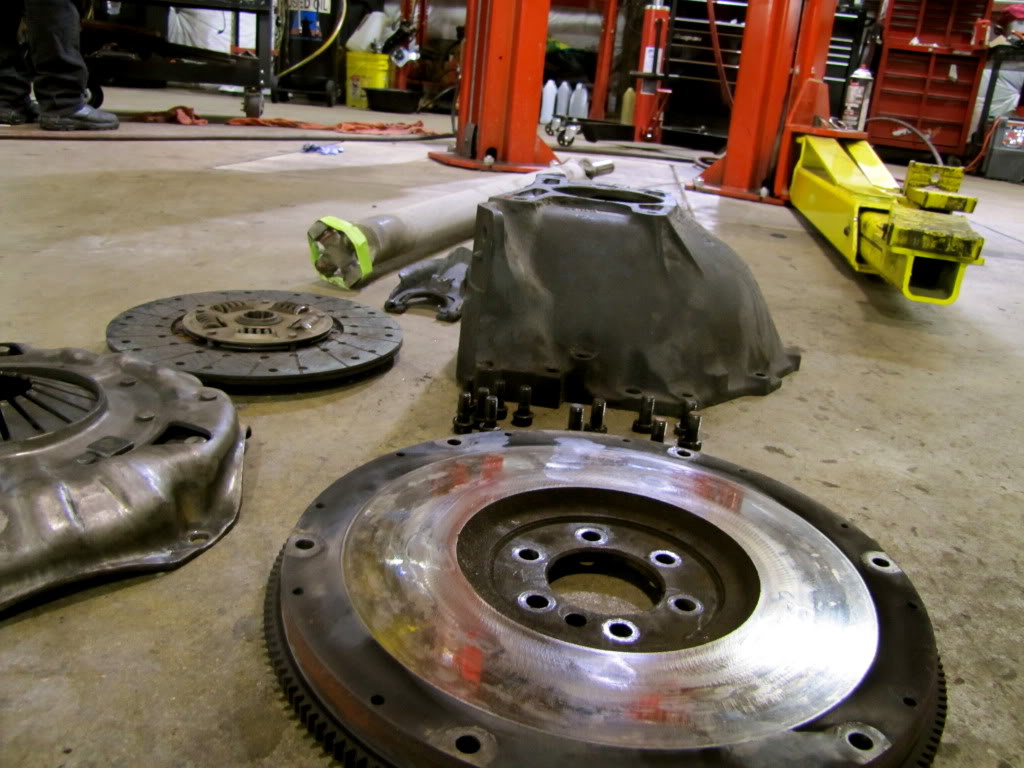
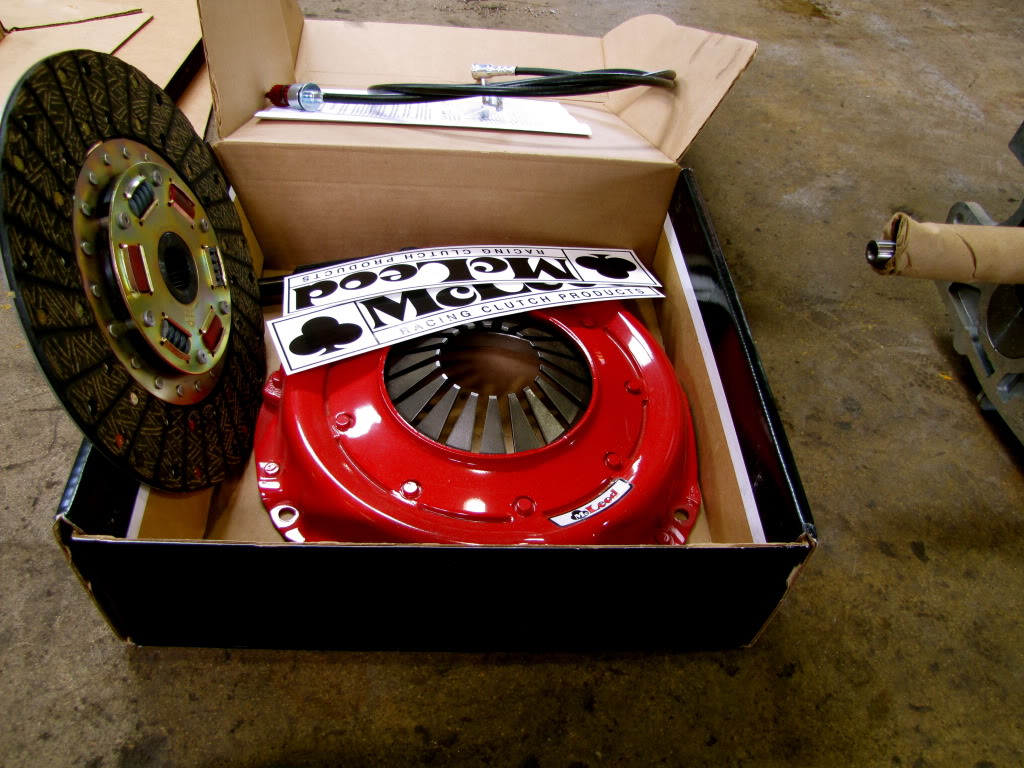
new parts making their way in
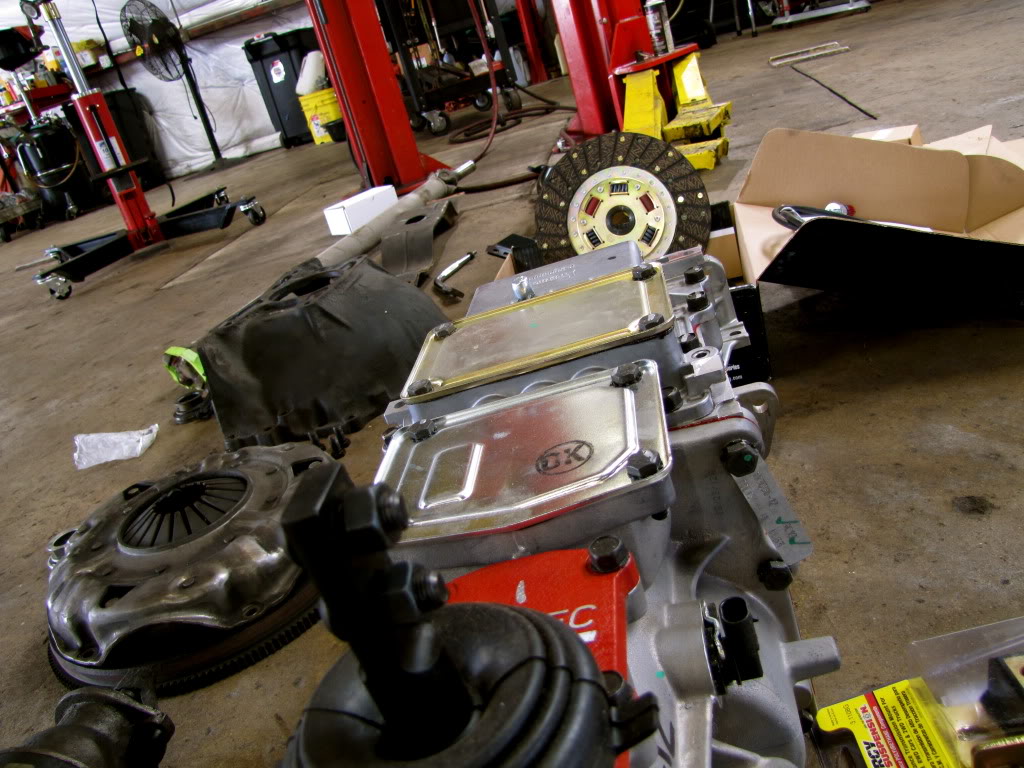
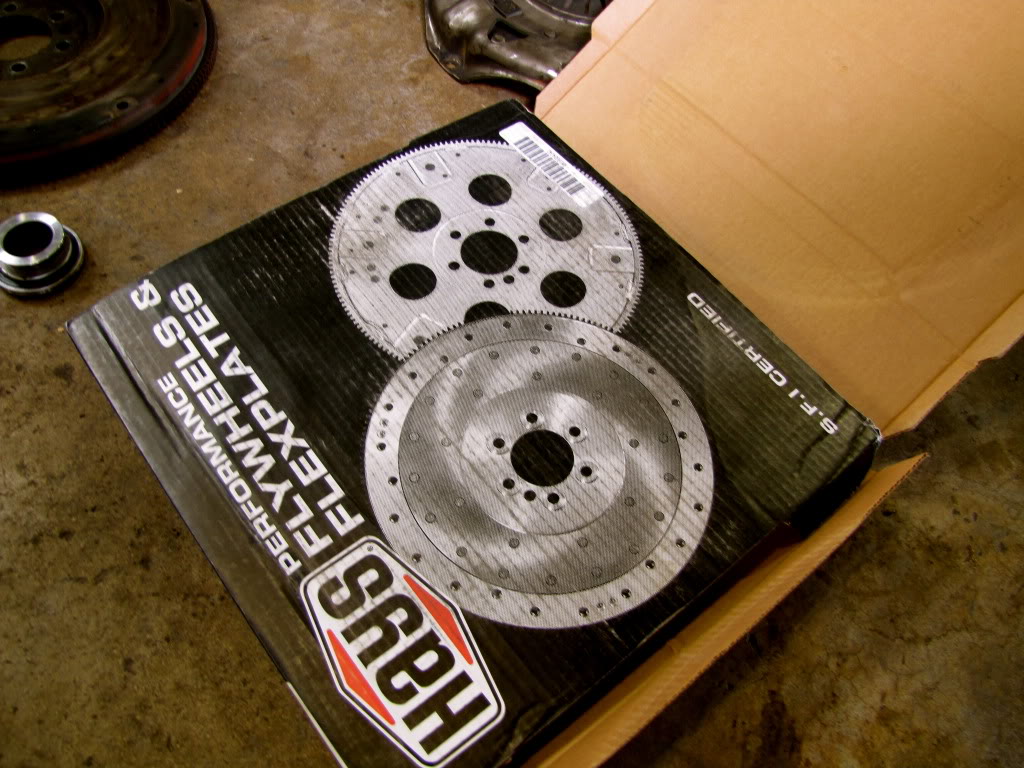
the new hayes flywheel installed
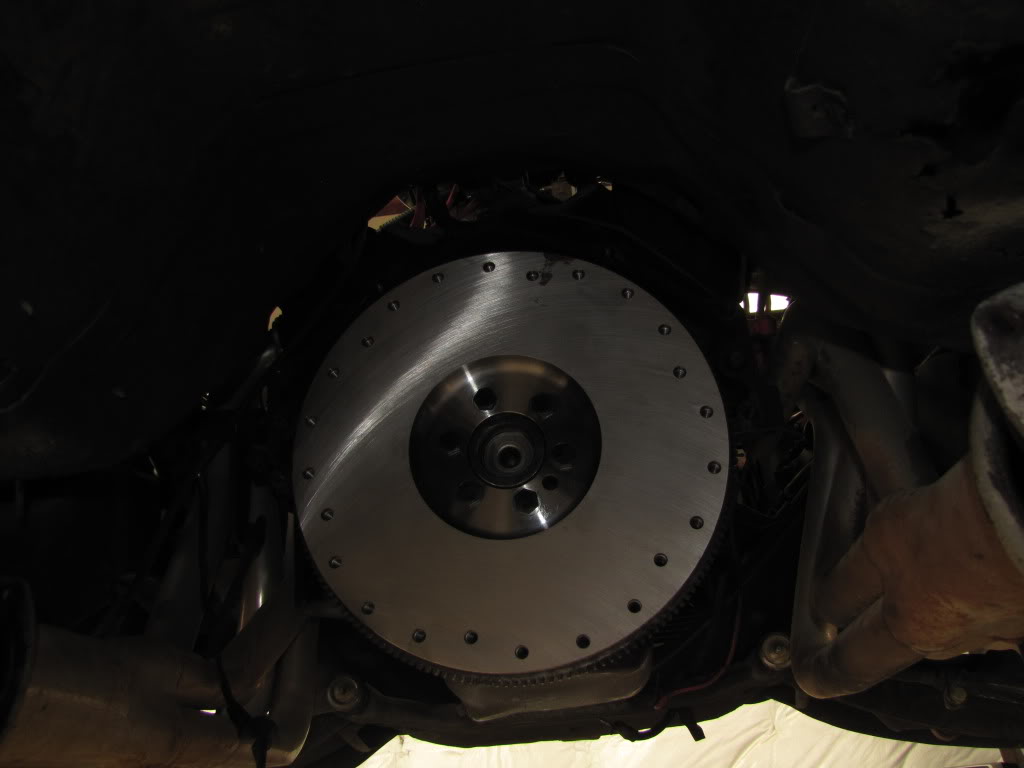 aligned the clutch disc
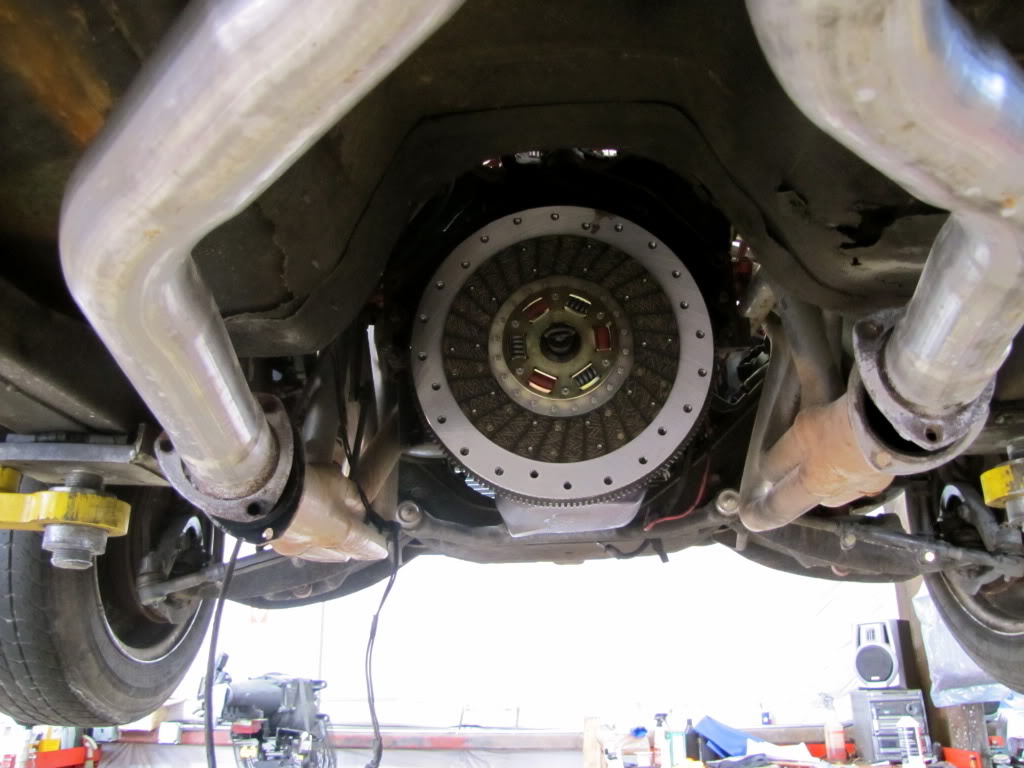
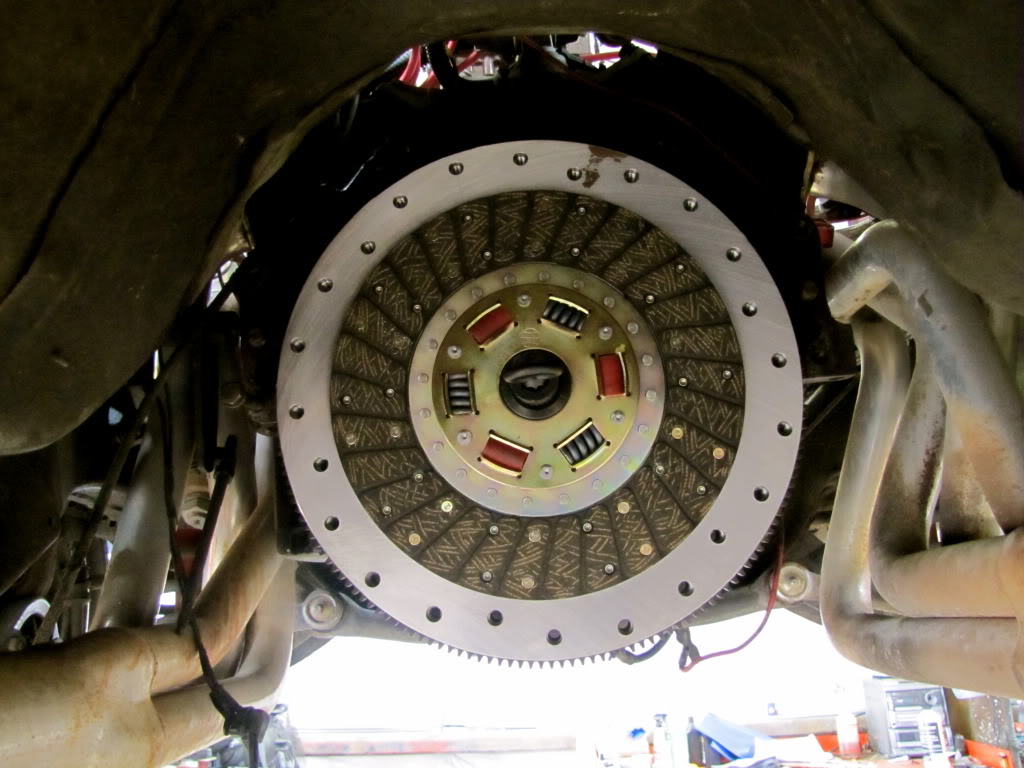
pressure plate
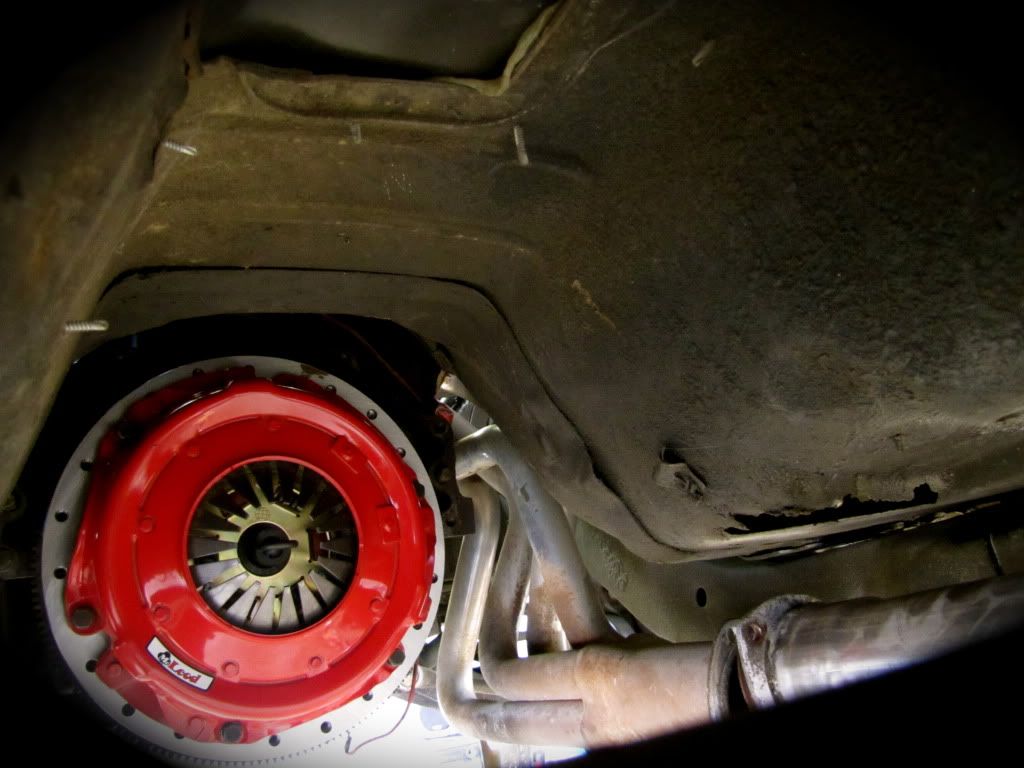
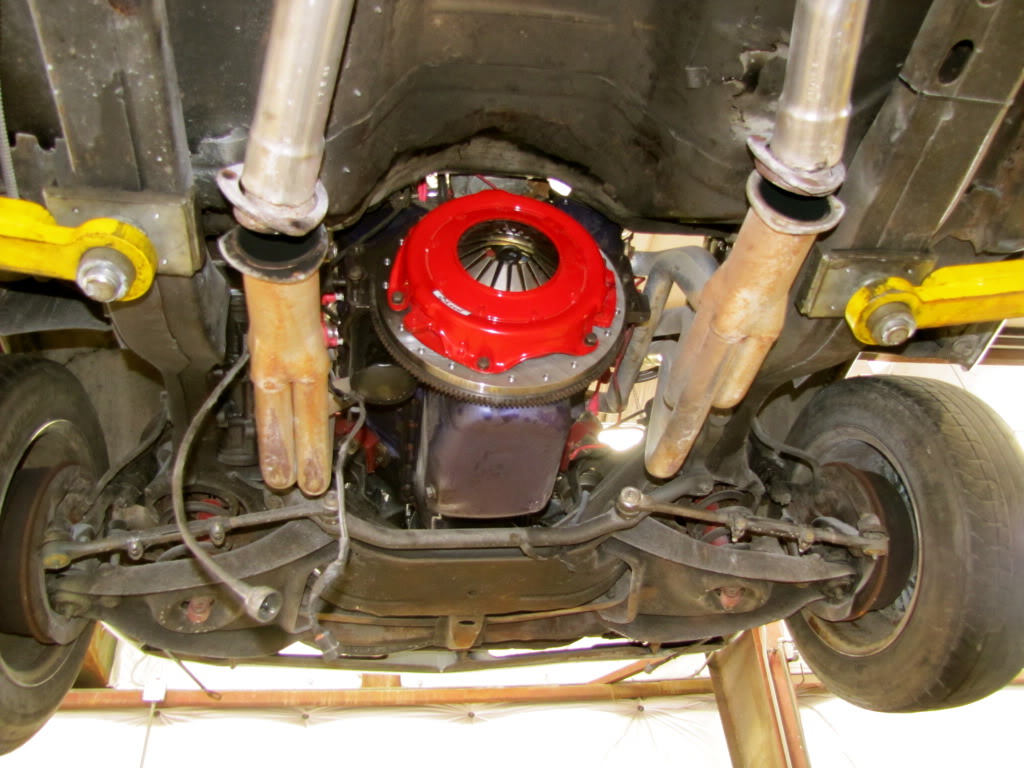
the driveshaft
separating the transmission from the bell-housing
out with the old muncie
the bellhousing
old clutch
out with the old
new parts making their way in
the new hayes flywheel installed
aligned the clutch discpressure plate
Thread Starter
|
Newbie
Joined: May 2011
Posts: 19
cleaned the old bellhosing which bolts right up to the tko and the transmission was ready to go in
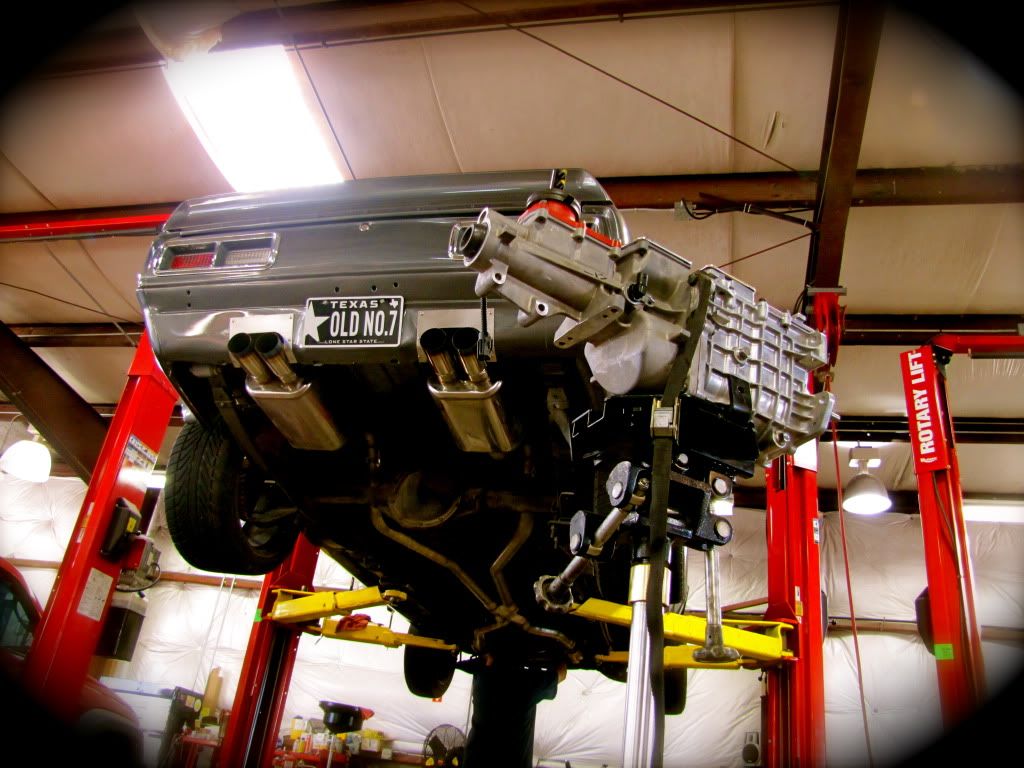
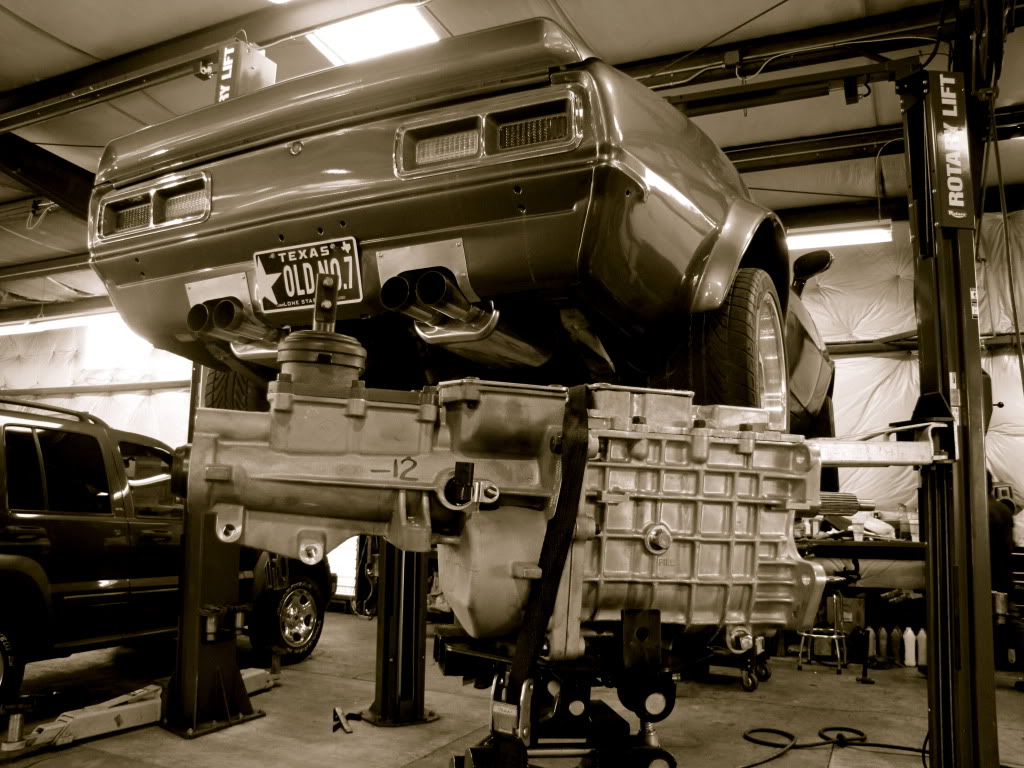
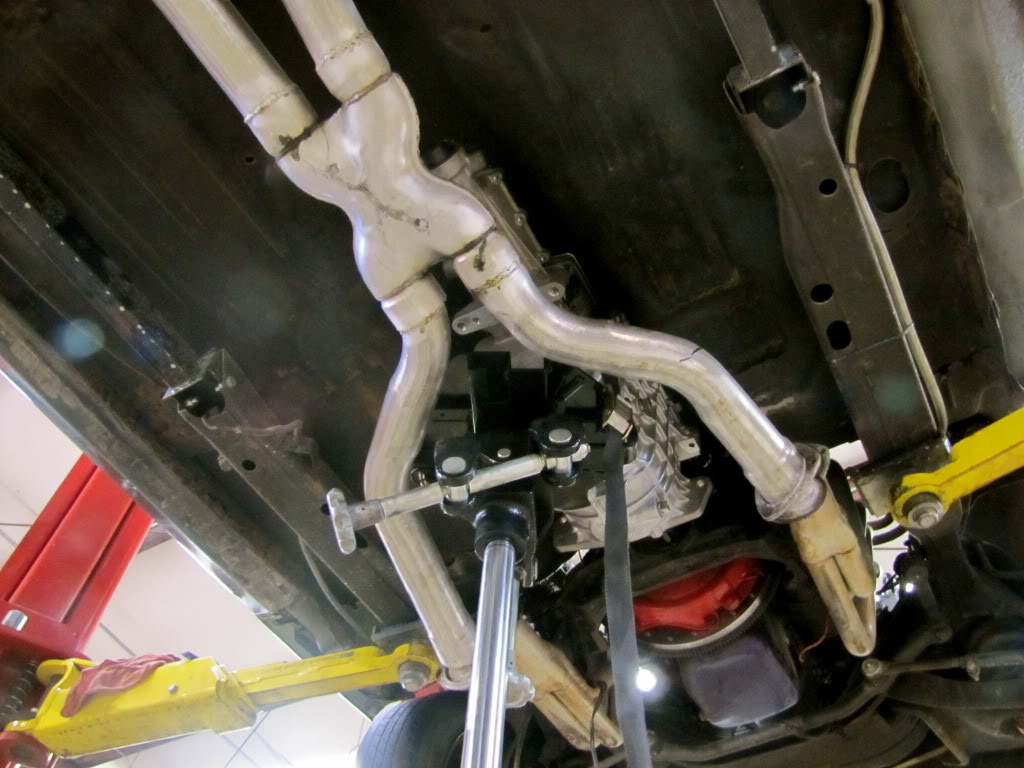
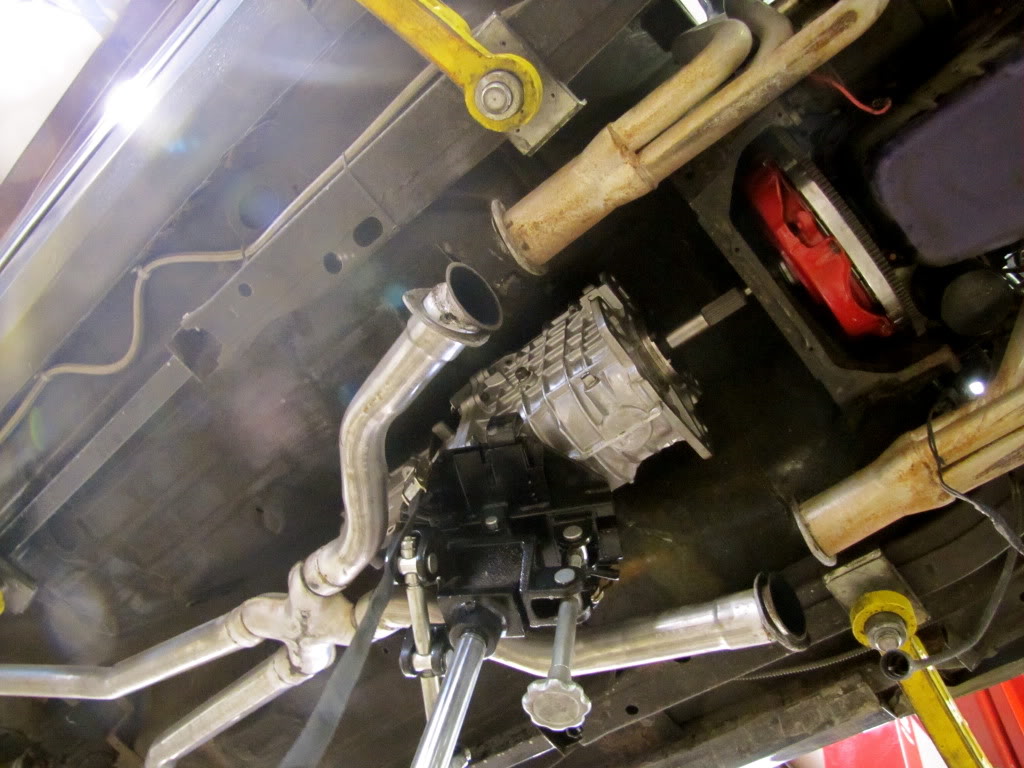
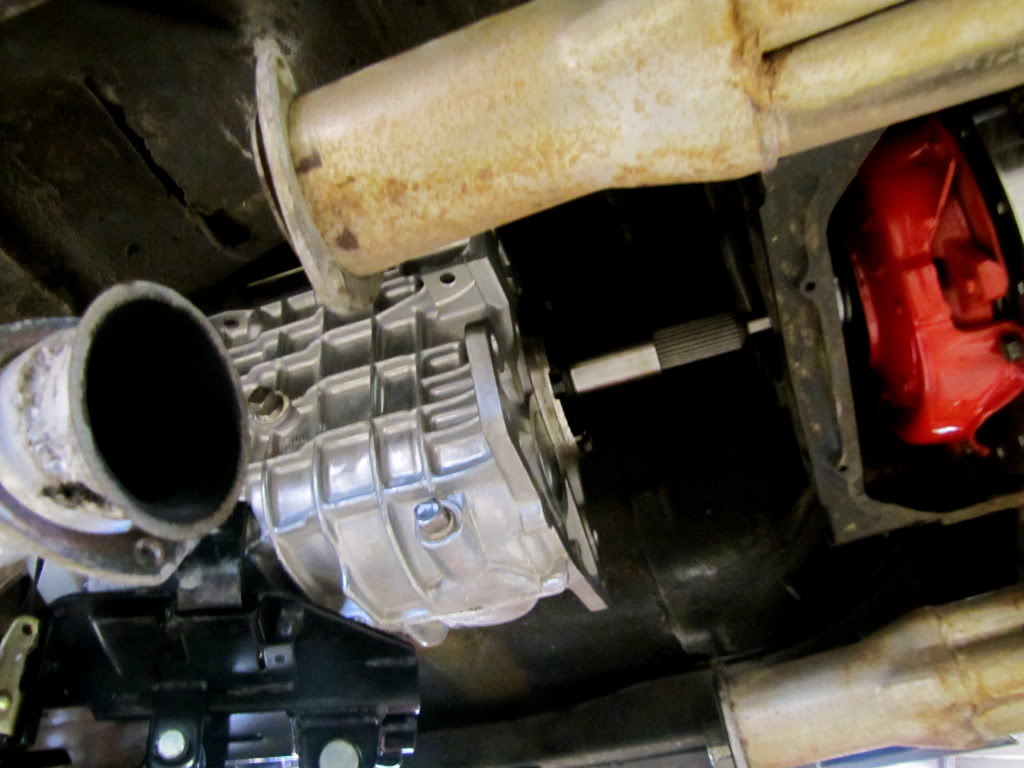
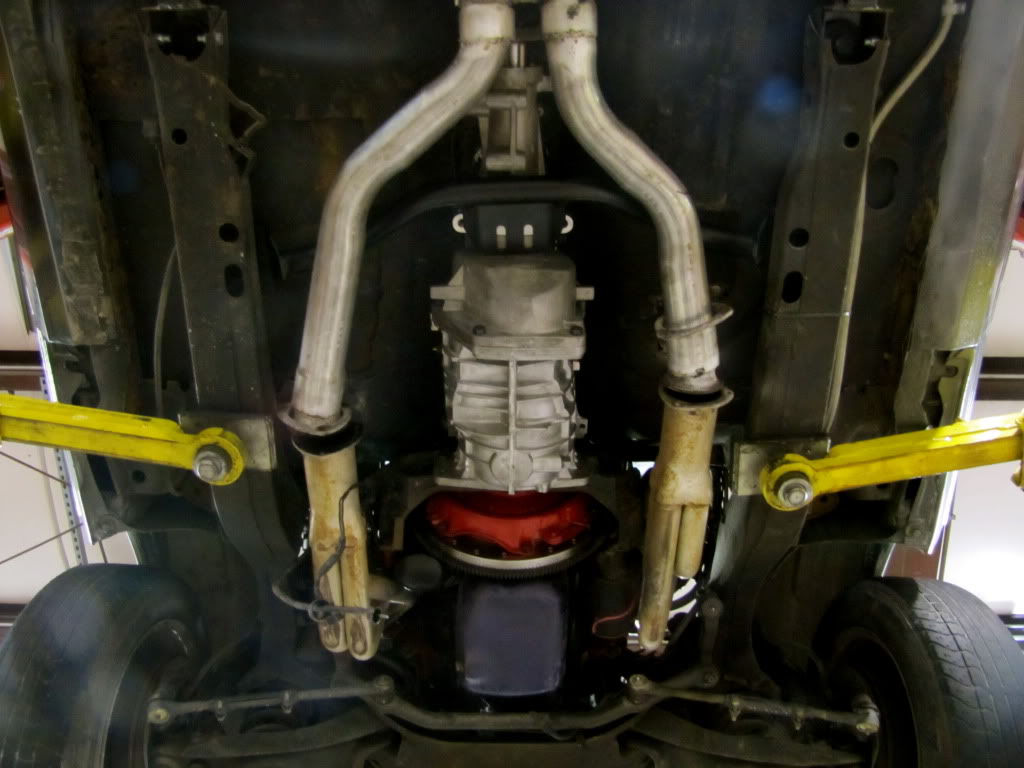
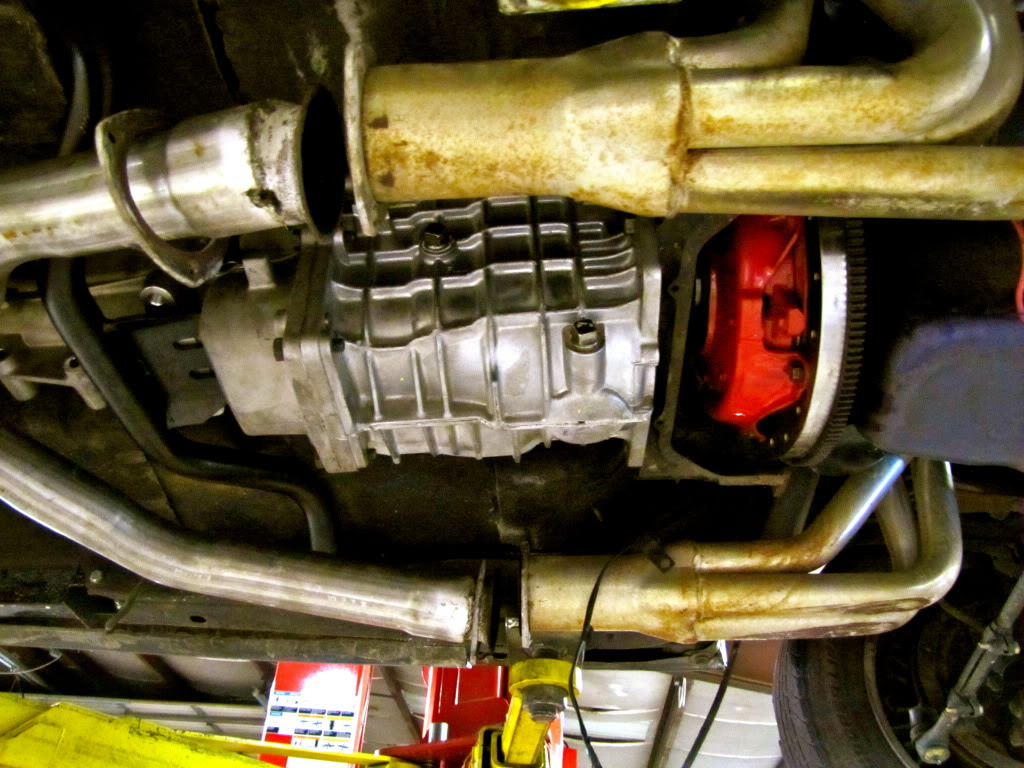
after cutting a bigger hole in the floor the tko fit like a glove
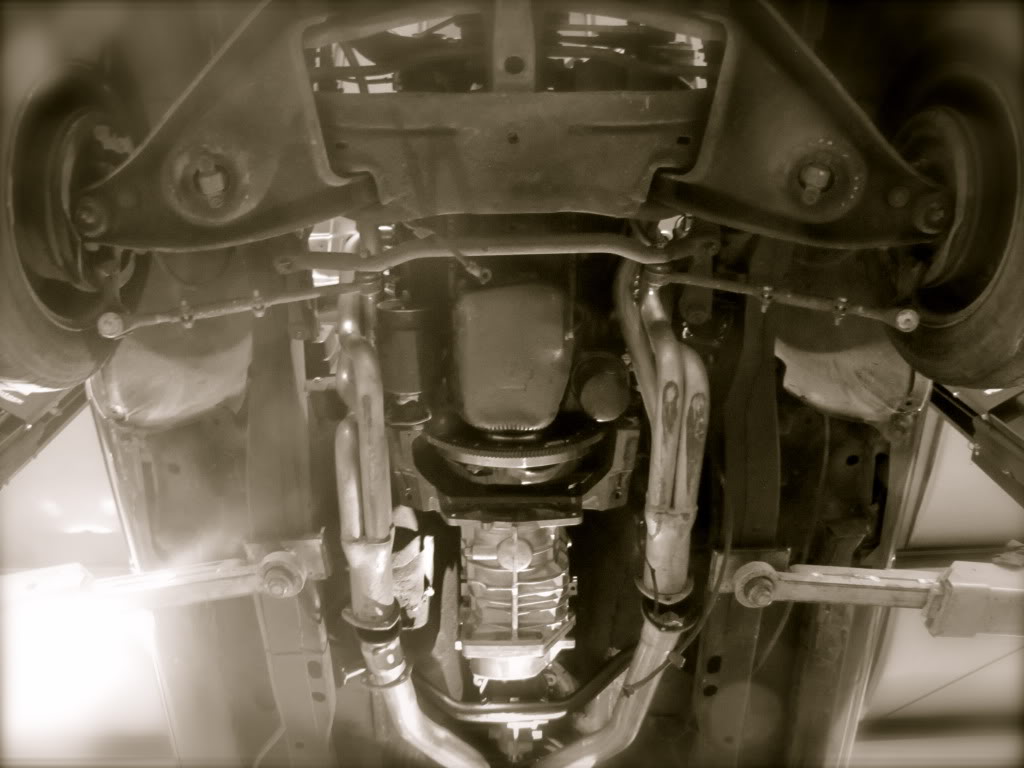
looking at the old drive shaft we realized the car used to be a 6cyl car from the factory so the tiny driveshaft is just not going to handle the power i plan to throw at it. So i placed a order for a new driveshaft after taking a few measurements. Then all i have left to do is fill her up with fluid and adjust the clutch hopefully this weekend i can take it out for a test drive..
after cutting a bigger hole in the floor the tko fit like a glove
looking at the old drive shaft we realized the car used to be a 6cyl car from the factory so the tiny driveshaft is just not going to handle the power i plan to throw at it. So i placed a order for a new driveshaft after taking a few measurements. Then all i have left to do is fill her up with fluid and adjust the clutch hopefully this weekend i can take it out for a test drive..

Thread
Thread Starter
Forum
Replies
Last Post
