
Newbie with a 68 build


Thread Starter
|
Newbie
Joined: Apr 2013
Posts: 7
Im new to this forum, but have been poking around for awhile. I'm 20 years old, in university and trying to find time to not only build this beauty, but also take the opportunity to learn more about the history of them in general.
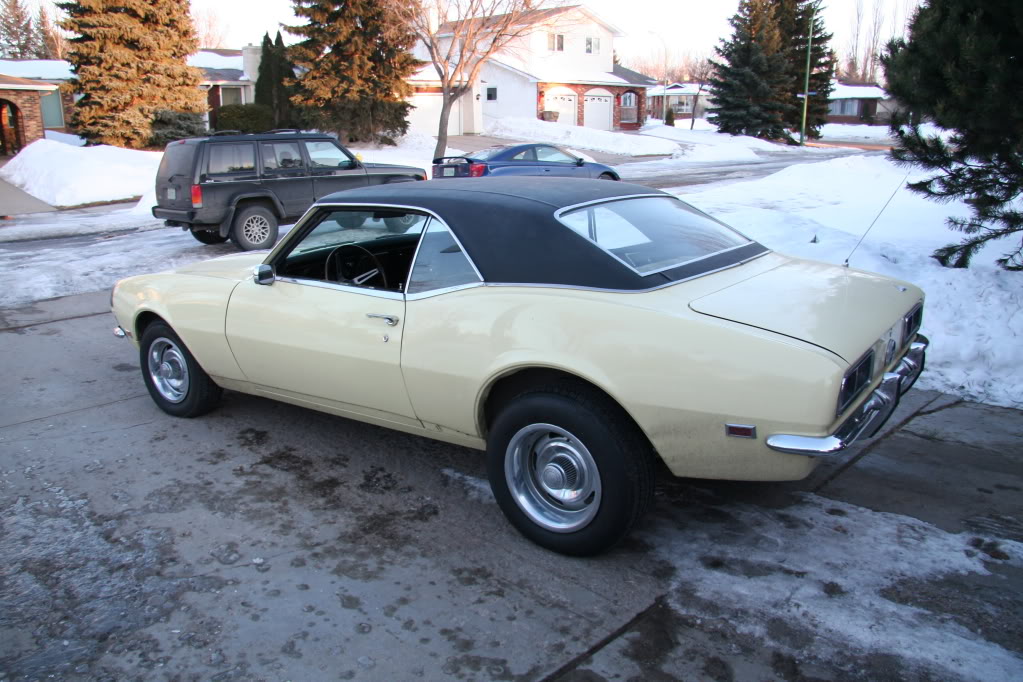
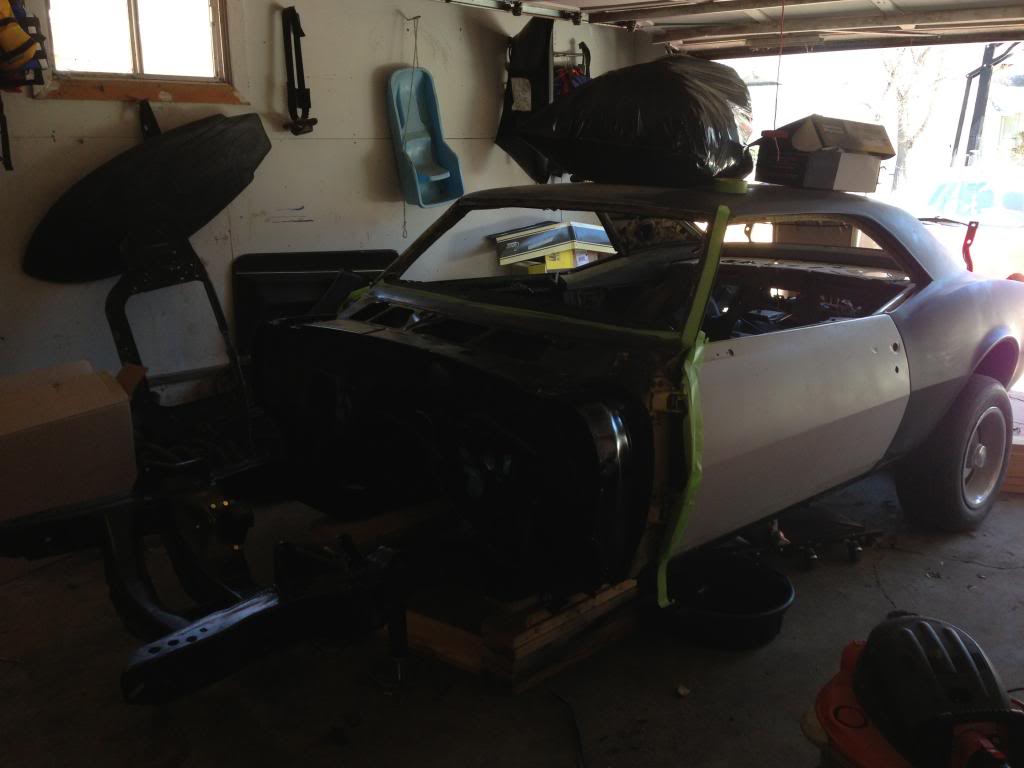
Heres what I started with:
I started to tear everything down:
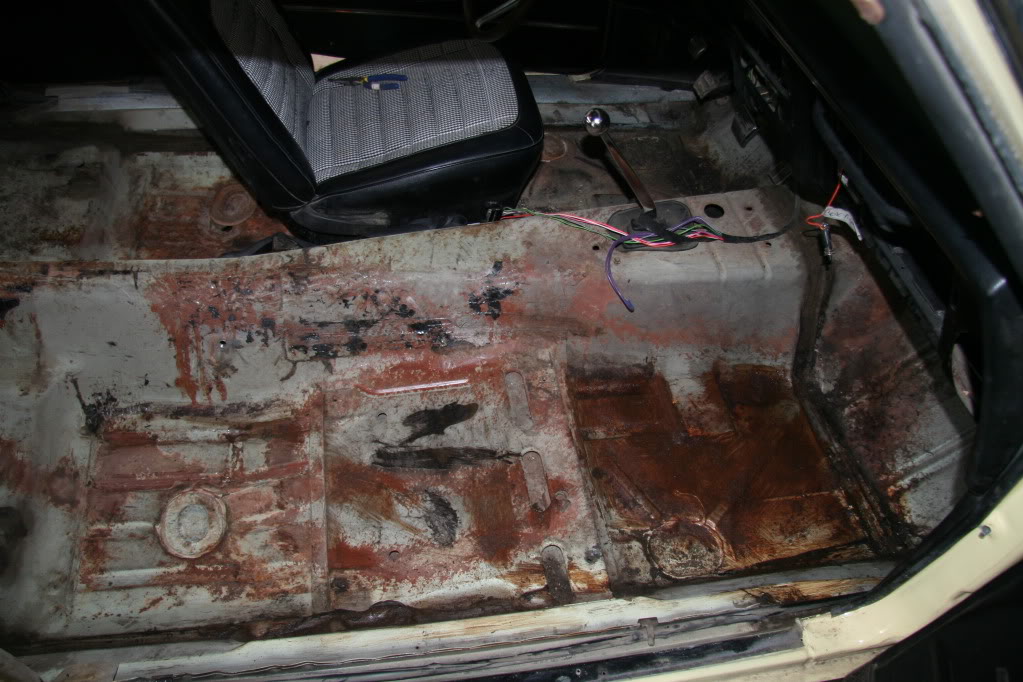
Unfortunately I lost most pictures of the tear down when a previous computer crashed.
The car sat for over a year as a moved to British Columbia for football. After two consecutive knee reconstructions I think its time to give up the football career and move onto bigger things.
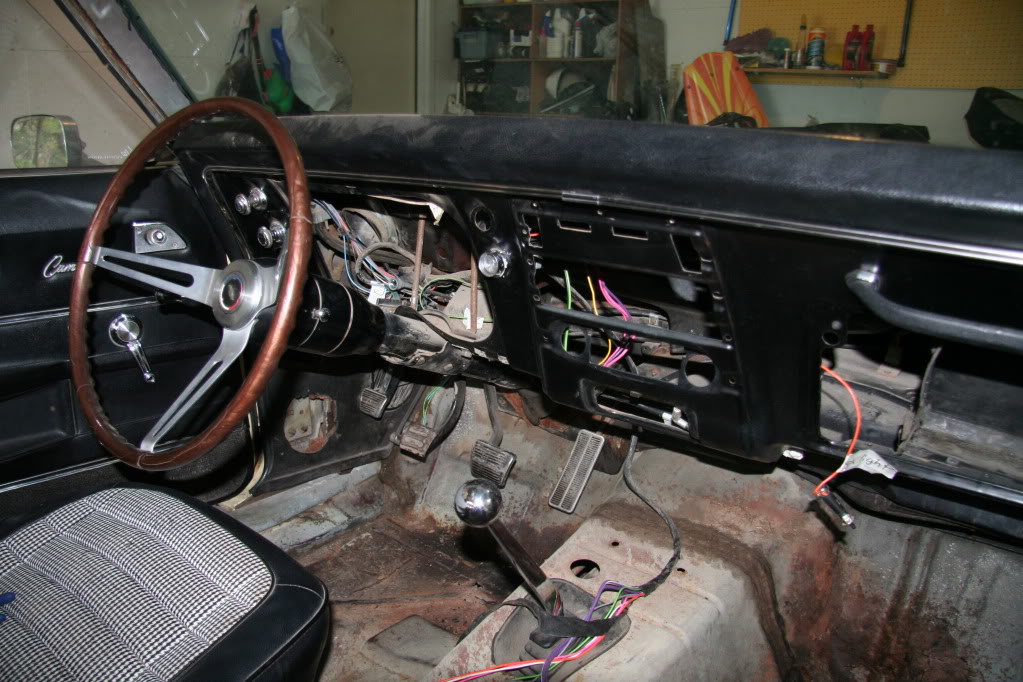
So I started back at it a few months ago:
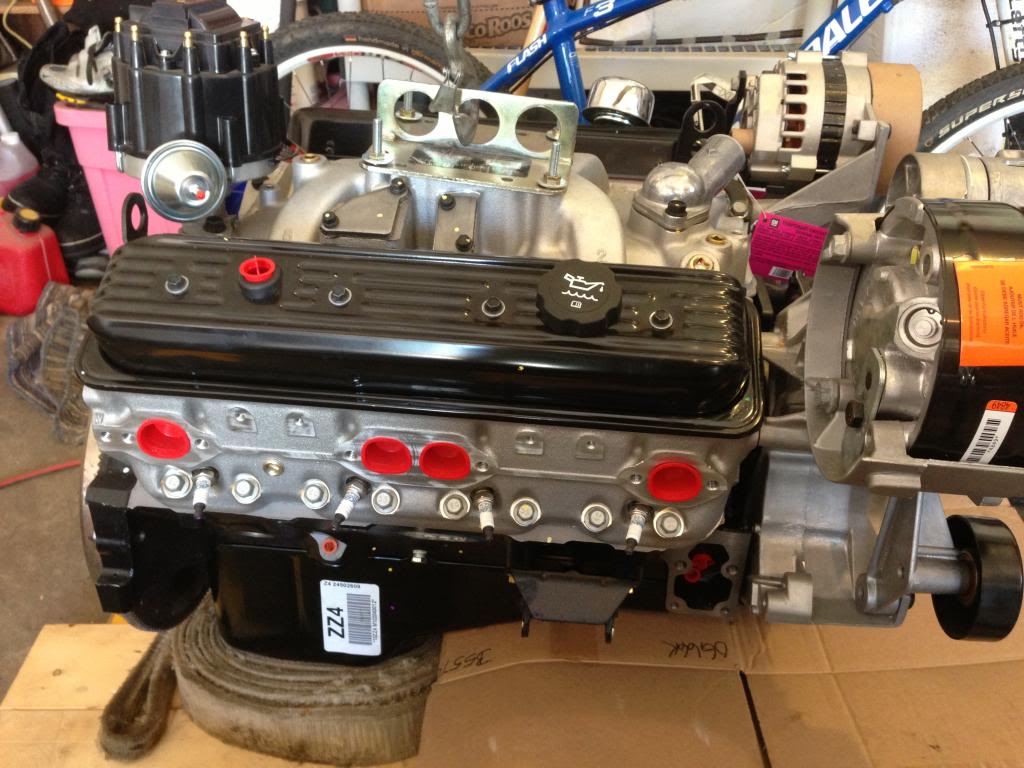
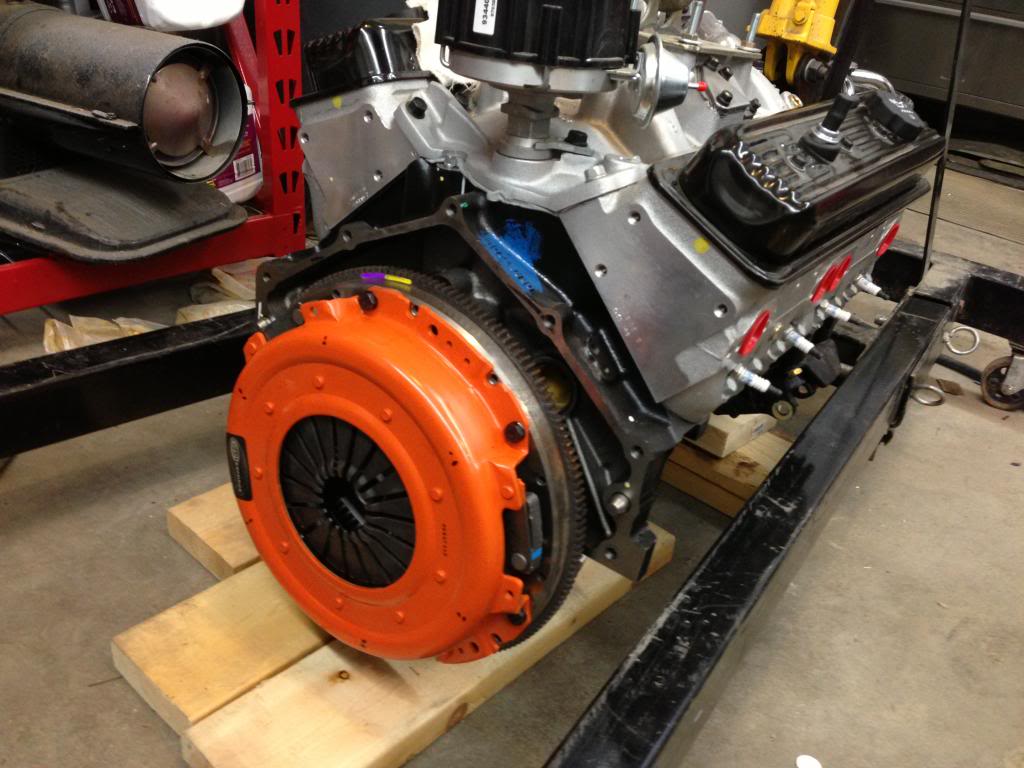
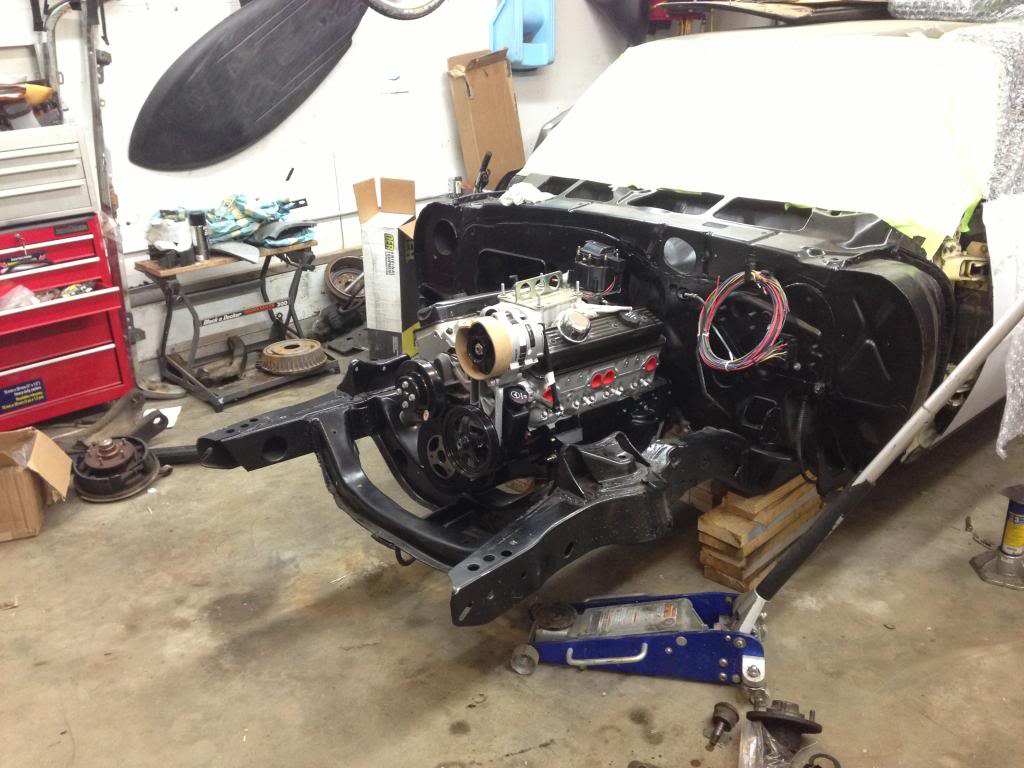
Called my dads friend over at chev and had this ordered
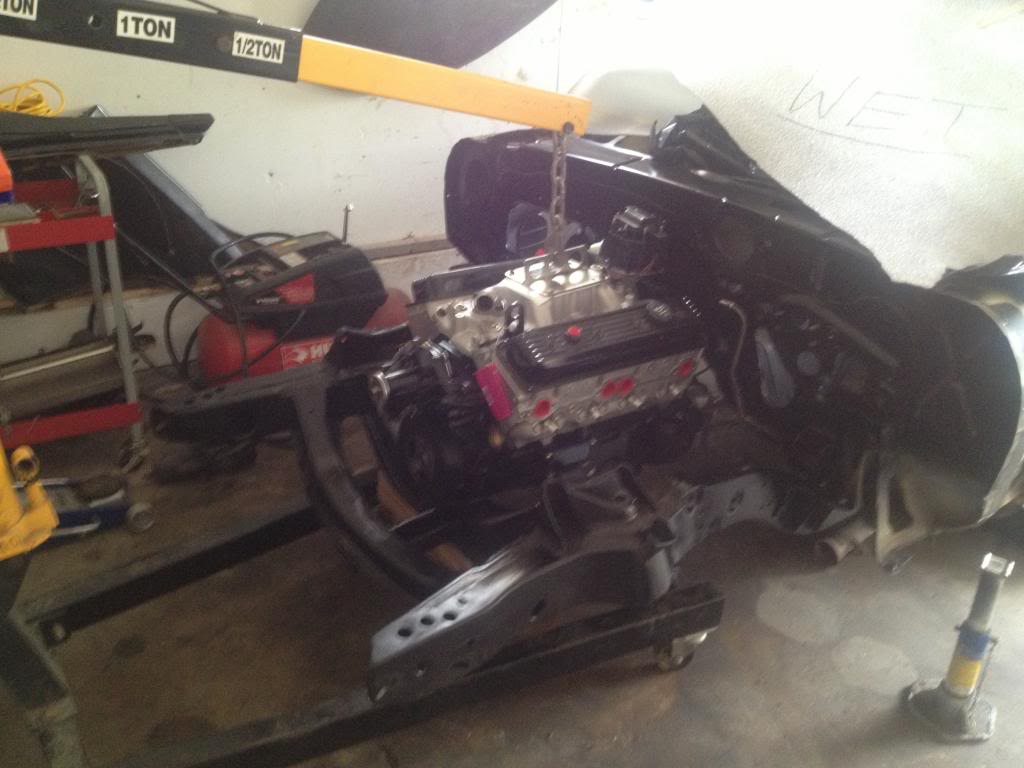
Test fit:
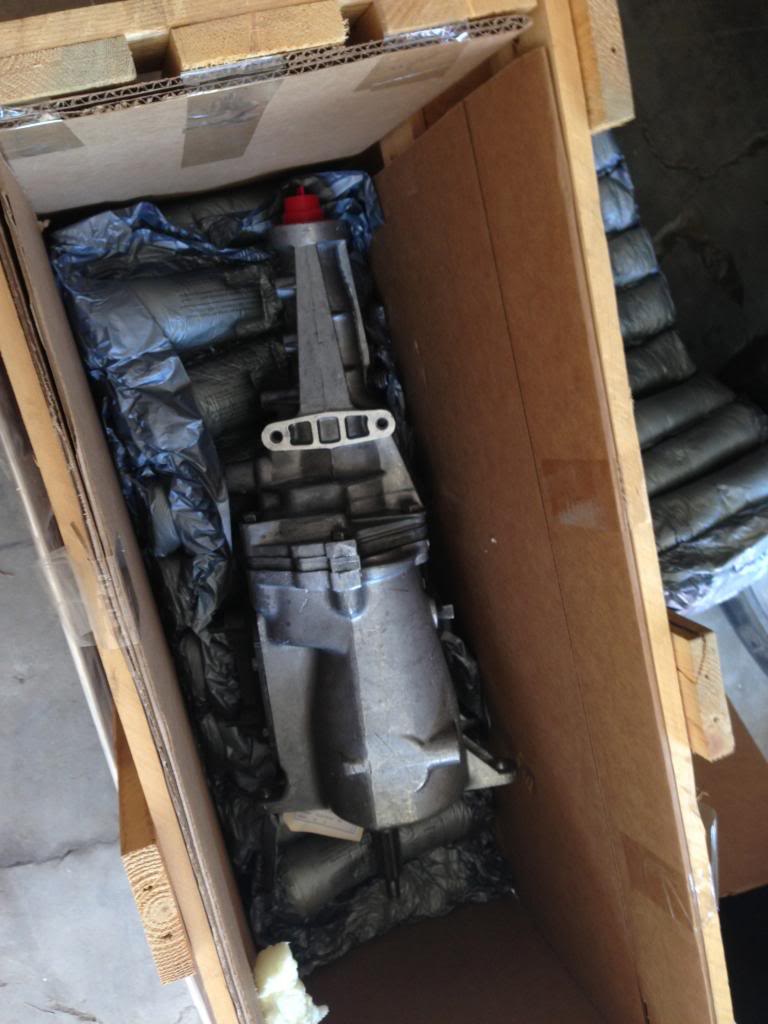
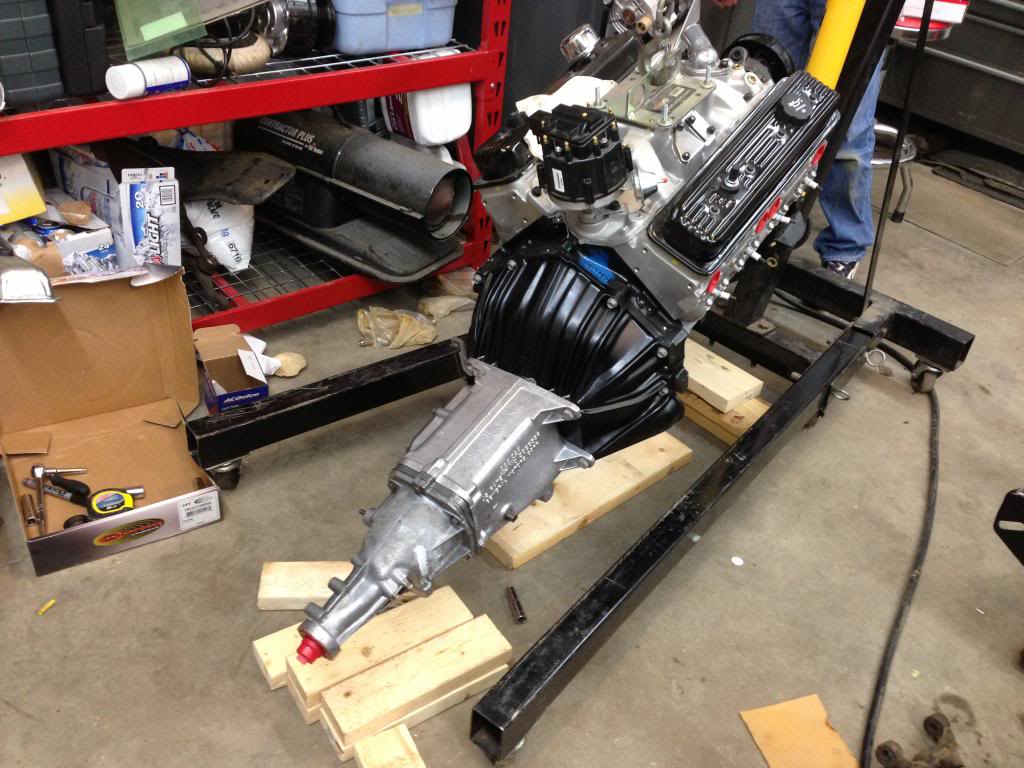
Ordered a Muncie M20 with 2.52 first gear in
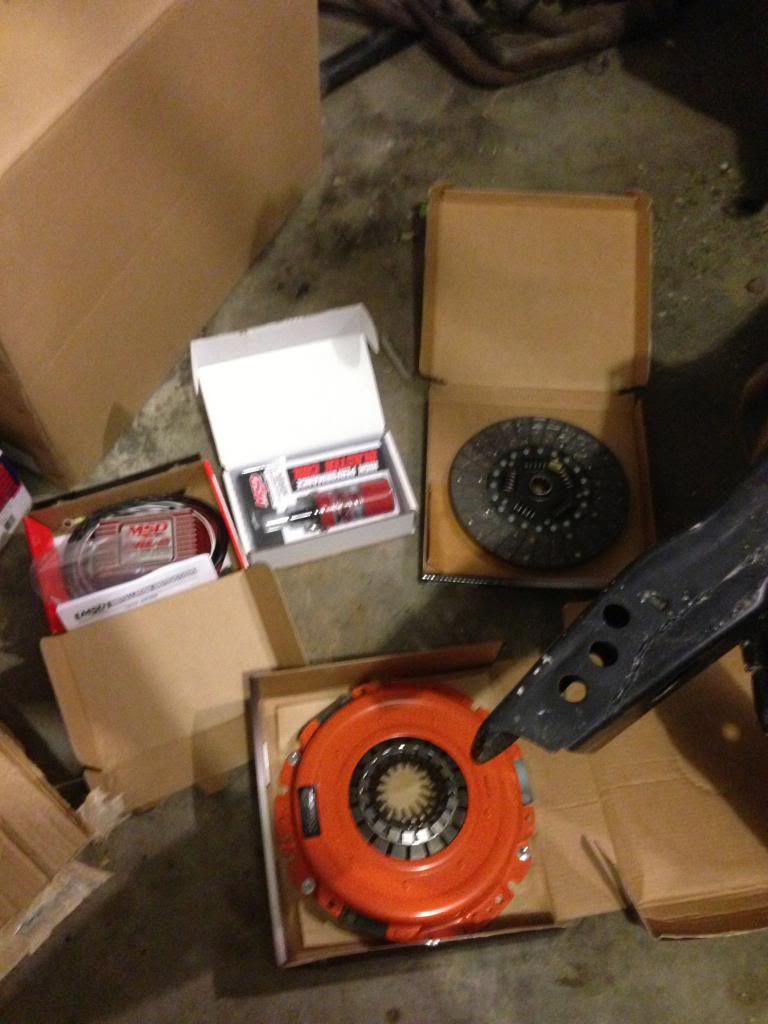
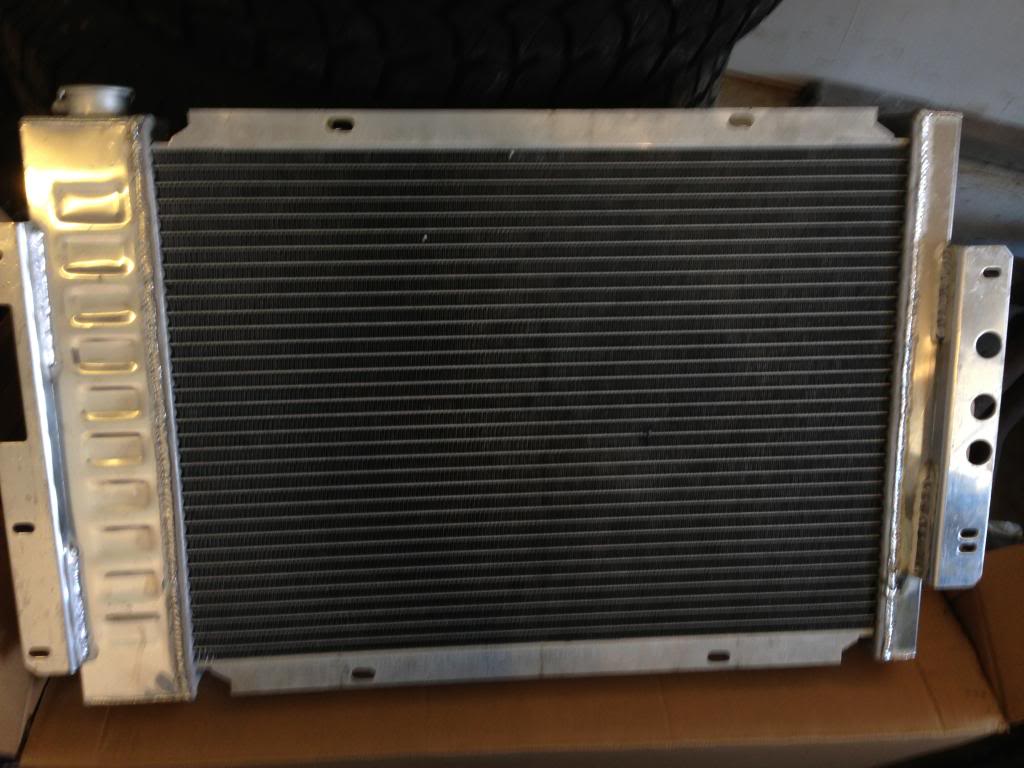
Goodies from SummitRacing Started to show up
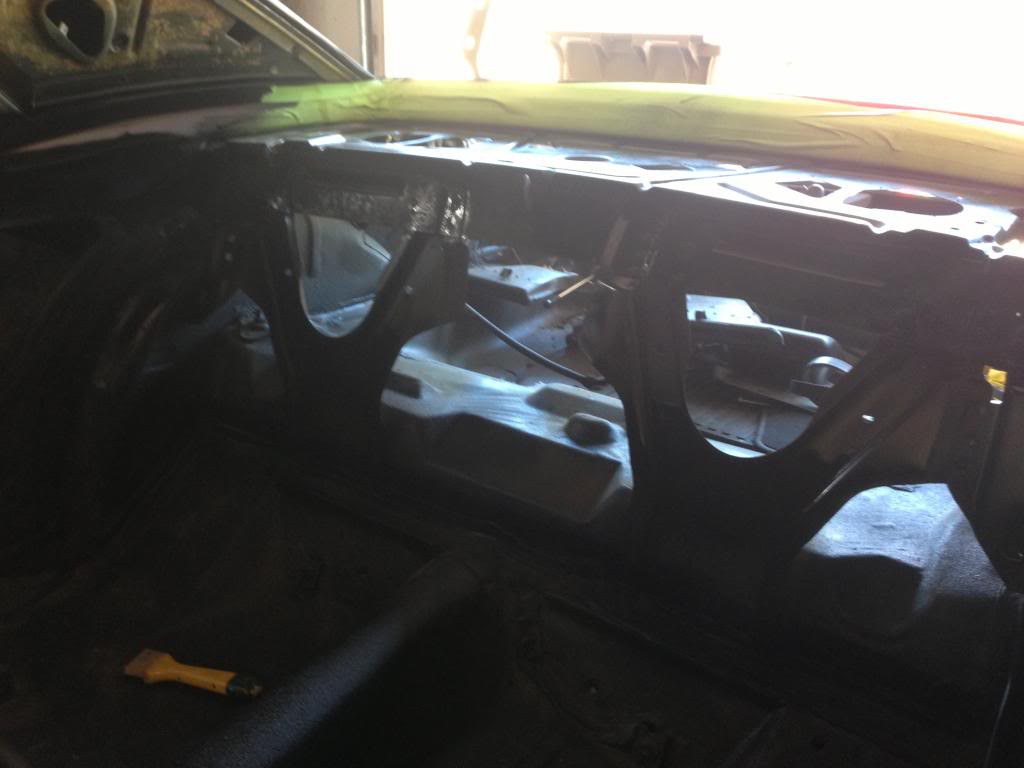
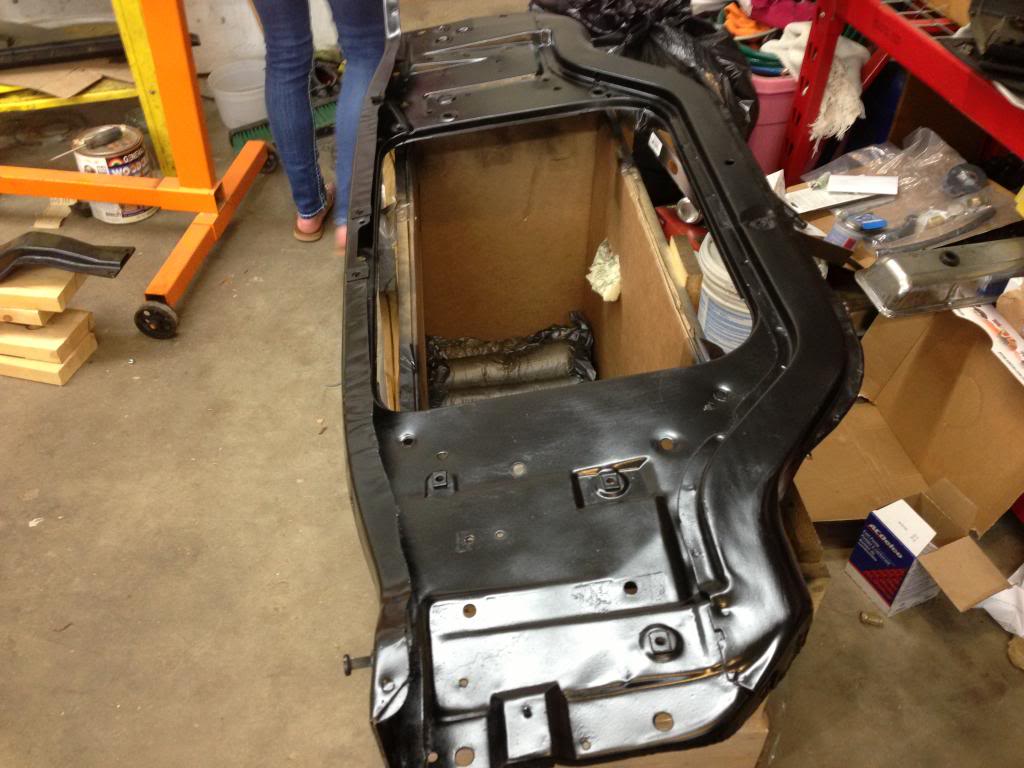
Repaired all the floors with new floor pans, then bedlined everything
Pulled, sanded, primed, painted, and replaced all sub frame mounts
Just some eye candy
Im still a long ways from done, and I hope to get at least a few updates a week. Stay posted. As always input is welcome.
Heres what I started with:

I started to tear everything down:


Unfortunately I lost most pictures of the tear down when a previous computer crashed.
The car sat for over a year as a moved to British Columbia for football. After two consecutive knee reconstructions I think its time to give up the football career and move onto bigger things.
So I started back at it a few months ago:
Called my dads friend over at chev and had this ordered

Test fit:

Ordered a Muncie M20 with 2.52 first gear in

Goodies from SummitRacing Started to show up

Repaired all the floors with new floor pans, then bedlined everything

Pulled, sanded, primed, painted, and replaced all sub frame mounts

Just some eye candy

Im still a long ways from done, and I hope to get at least a few updates a week. Stay posted. As always input is welcome.


Thread Starter
|
Newbie
Joined: Apr 2013
Posts: 7
The butternut yellow in the first picture was the original paint. Im going for a black with a very slight blue speck now
Thread Starter
|
Newbie
Joined: Apr 2013
Posts: 7
Update from the weekend. Barely anytime to get things done, however I did get the clutch installed, the transmission mated and installed. Did some interior work that I forgot to take pictures of, and started working on the painless wiring system.
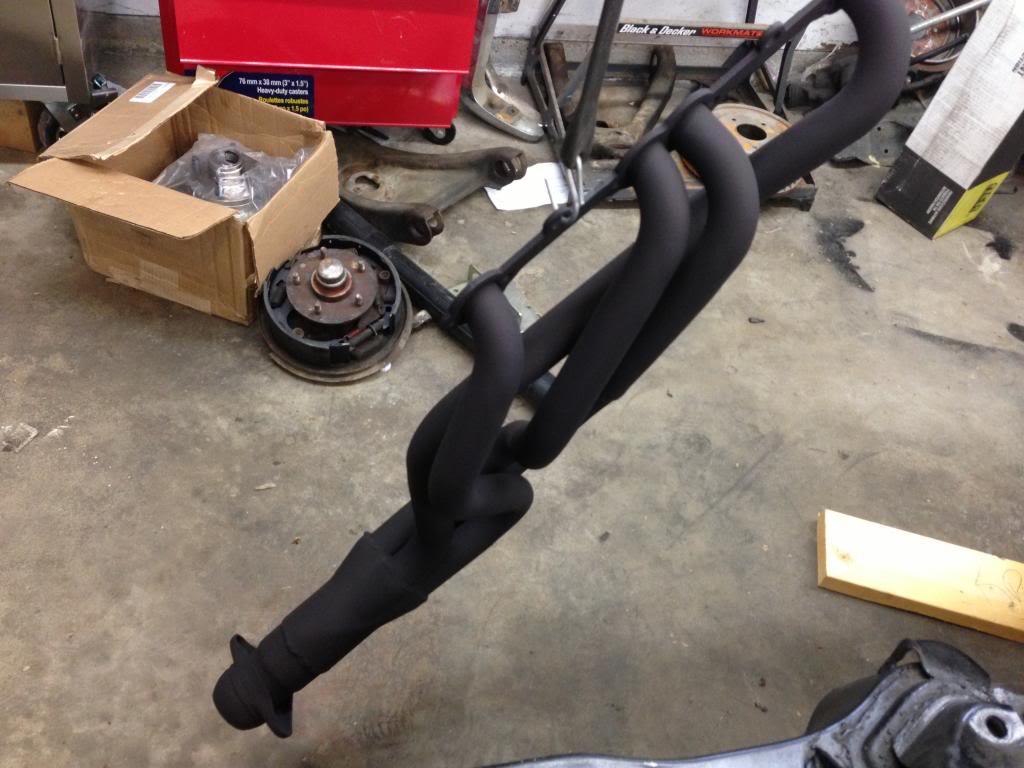
Painted the headers :
Started working on the rad brace:


Painted the headers :

Started working on the rad brace:

Thread Starter
|
Newbie
Joined: Apr 2013
Posts: 7
Have not decided on a final color yet. Its a very tough decision. I had planned to keep the vinyl top, but lately have been second guessing the decision. Anyone have opinions either way on it?

Newbie
Joined: Jun 2013
Posts: 8
I would pull the engine back off, install your suspension, put the tires on, tow it to a paint shop, drop the rear end, drop the subframe, remove the doors and then paint the uni-body, and re-install everything. paint the doors, fenders, hood etc.. before installing them.
Just a suggestion, it looks great!
The paint job will look nicer that way!
Just a suggestion, it looks great!
The paint job will look nicer that way!

4th Gear Member
Joined: Oct 2012
Posts: 2,595
From: Va. Beach, VA
Agree on tearing it apart and painting, then assemble and paint.
I would pull the engine and flatbed it to the shop.
Ensure the four tires hold air - body shops hate to push.
Another tip, if the Camaro is at the shop, I find buying every Friday lunch and drinks delivered to the shop goes a long way to getting a better quality paint coating and body alignment.
Also, see if the shop agrees to 'progressive payment' plan. Make three payments, one after body fit, one after primer just before paint, and the final payment after detaping from paint. This way, you have sota paid for the services rendered/given.
Last edited by Everett#2390; Jun 20, 2013 at 05:28 AM.
