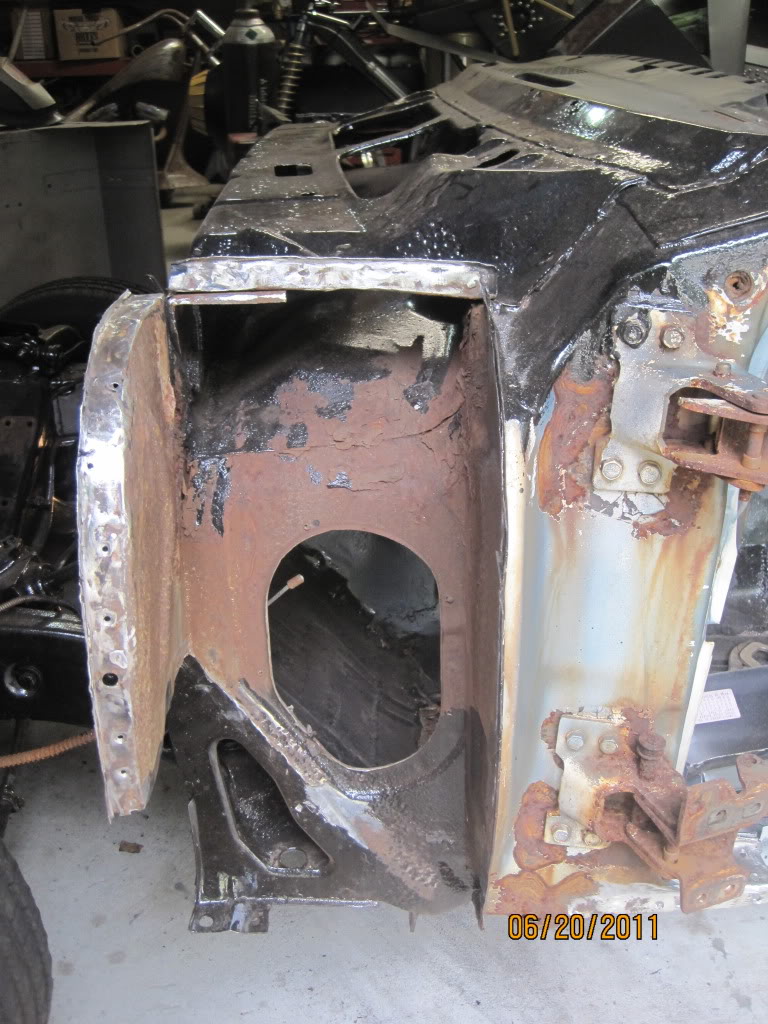
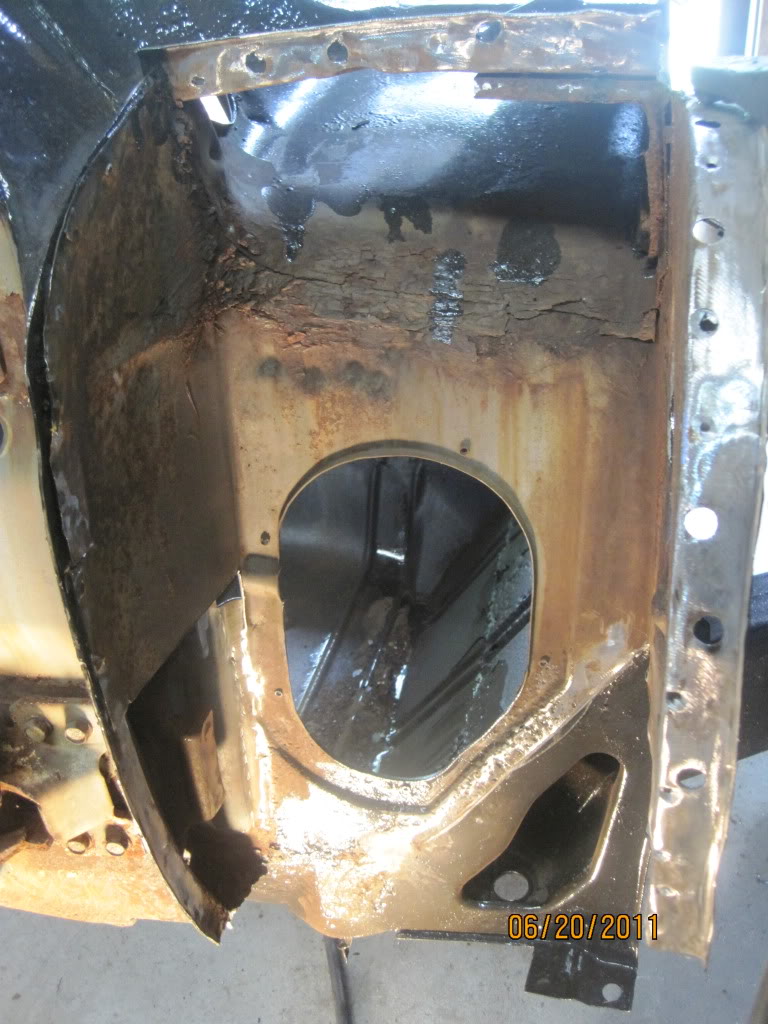
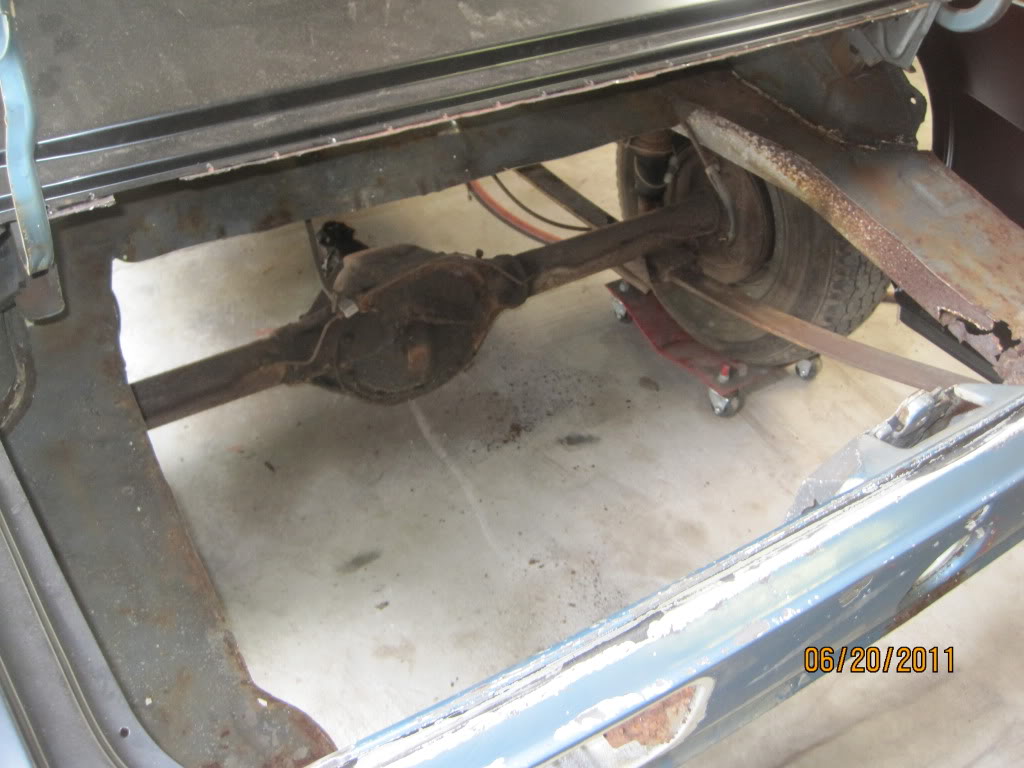
My 68 camaro finally in the shop

#22
 06-20-2011 | 12:50 PM

Thread Starter
|
In the Staging Lanes
Joined: Apr 2011
Posts: 64

#24
08-19-2011 | 08:30 PM
Thread Starter
|
In the Staging Lanes
Joined: Apr 2011
Posts: 64
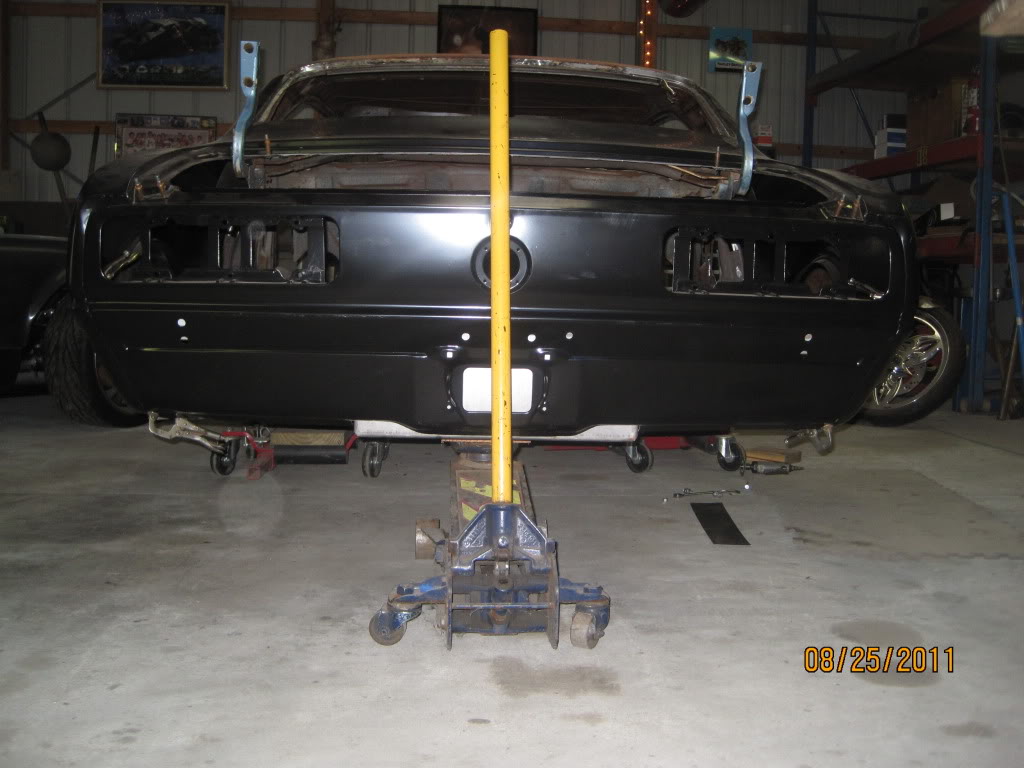
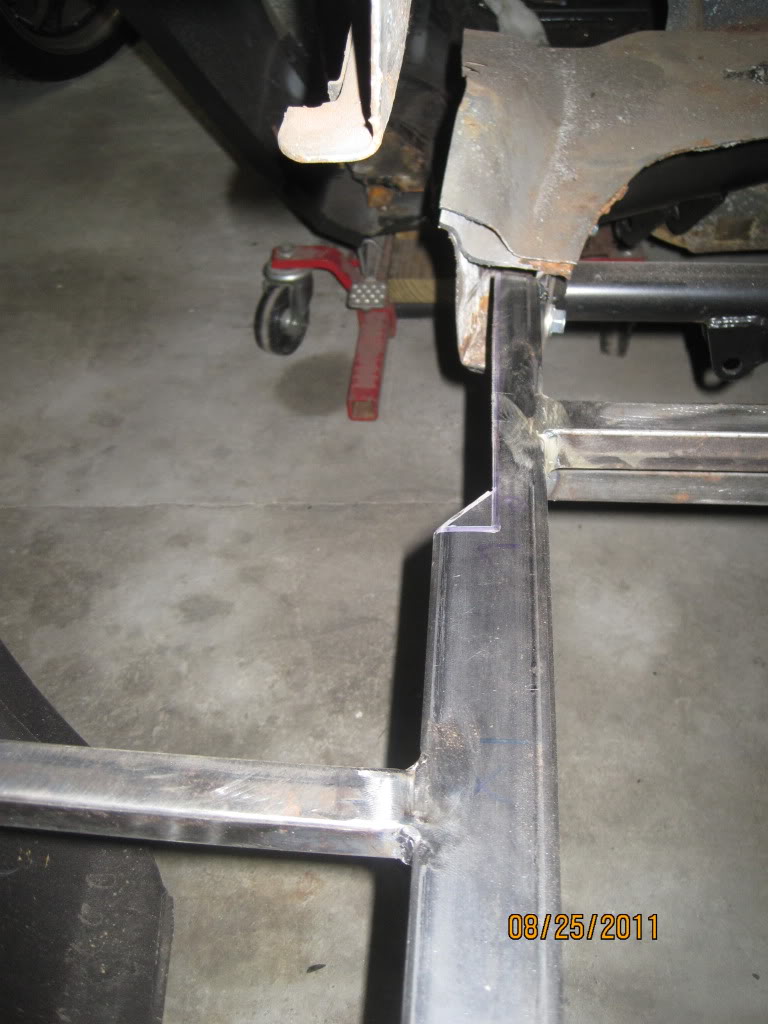
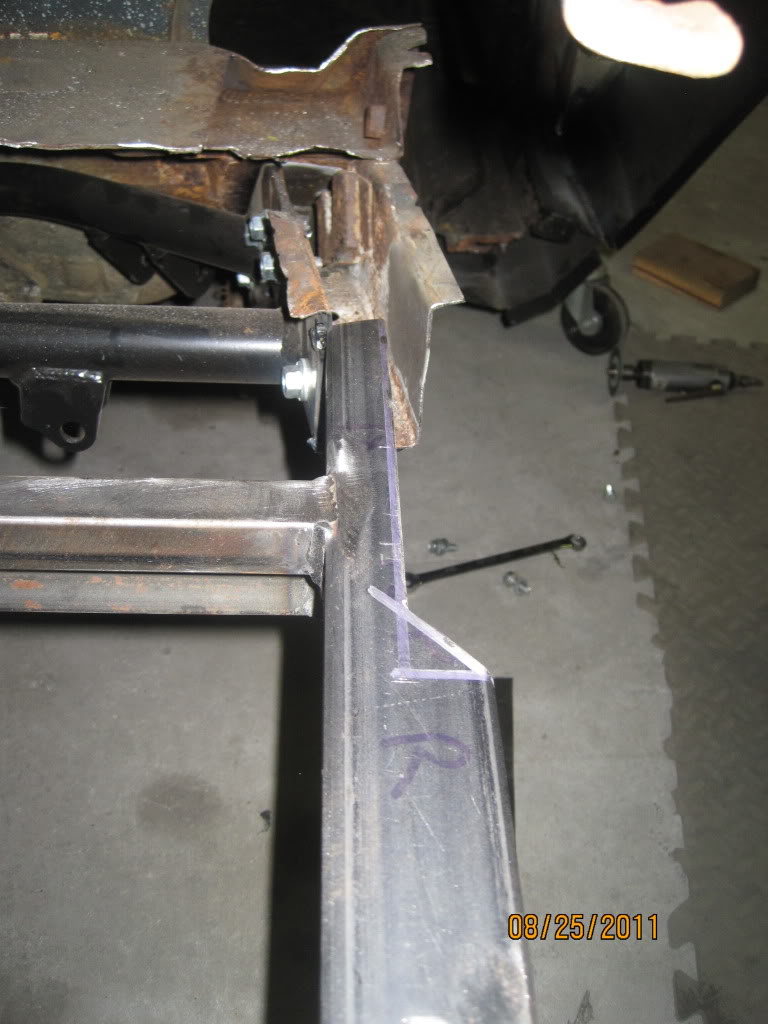
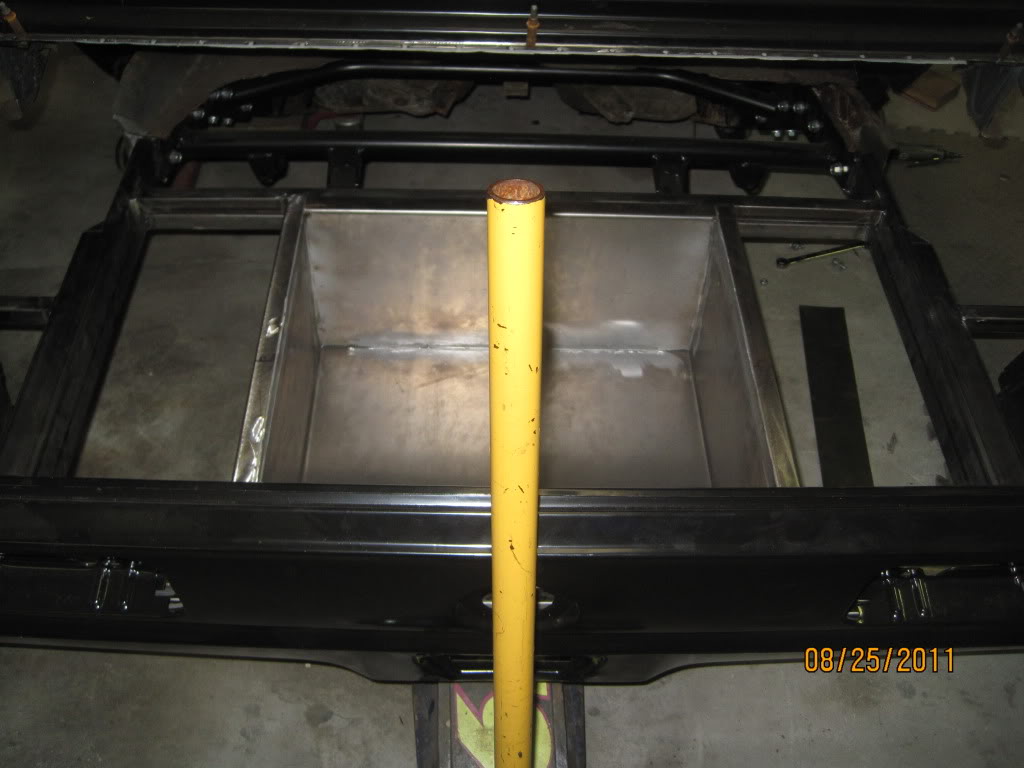
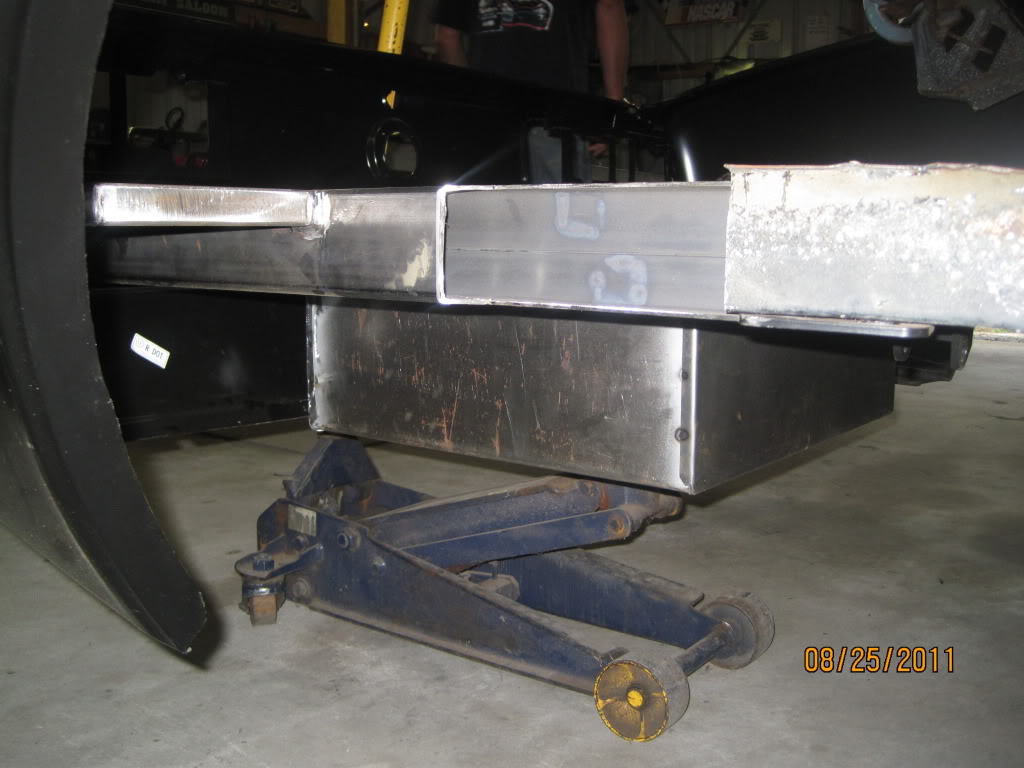
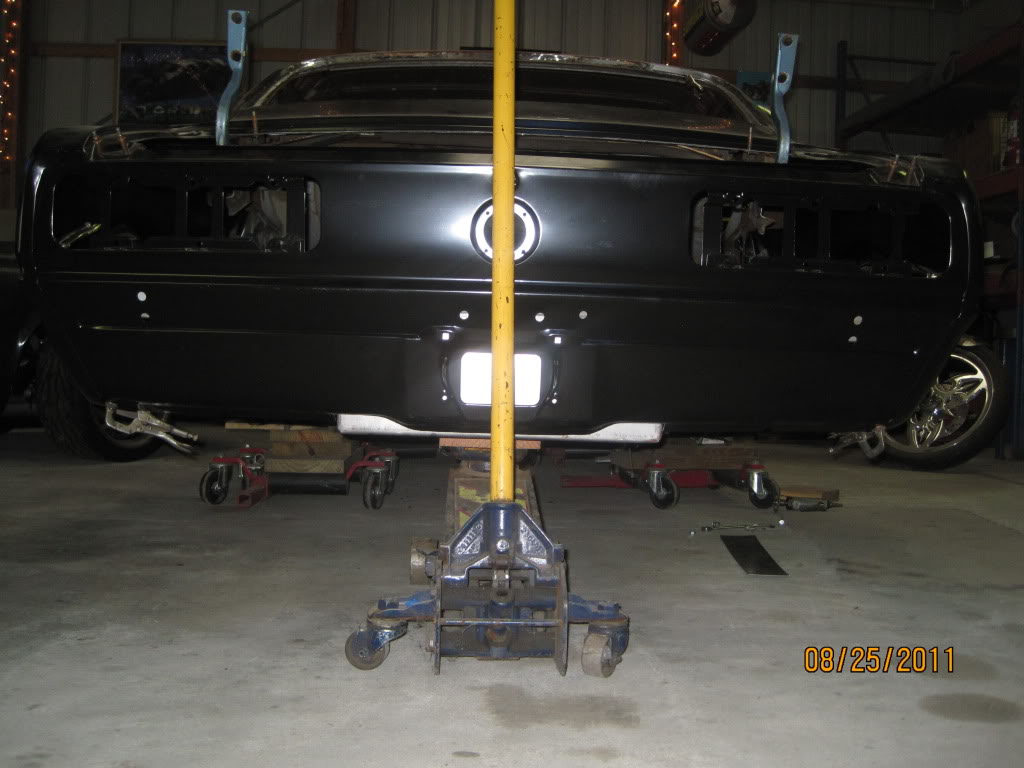
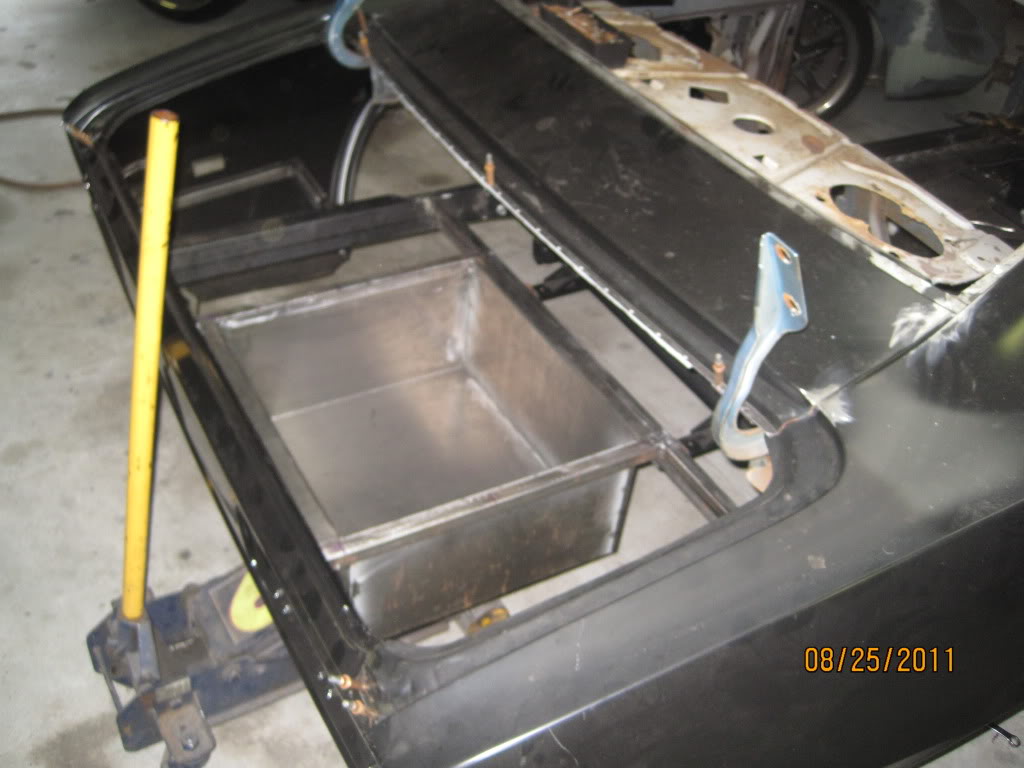
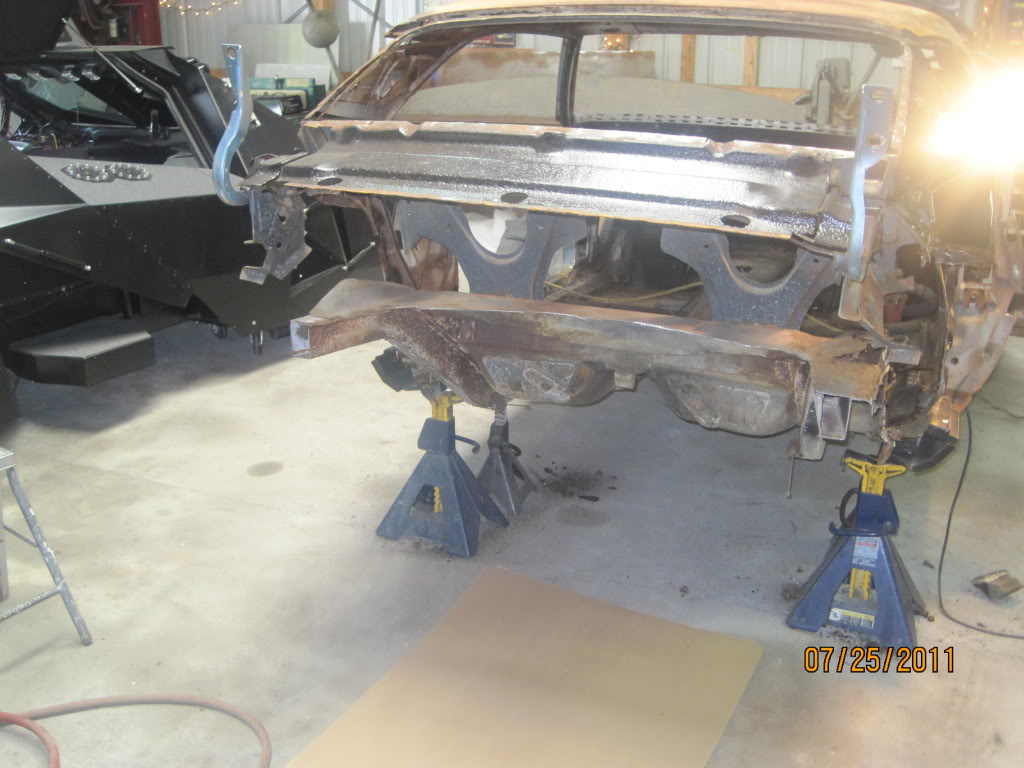
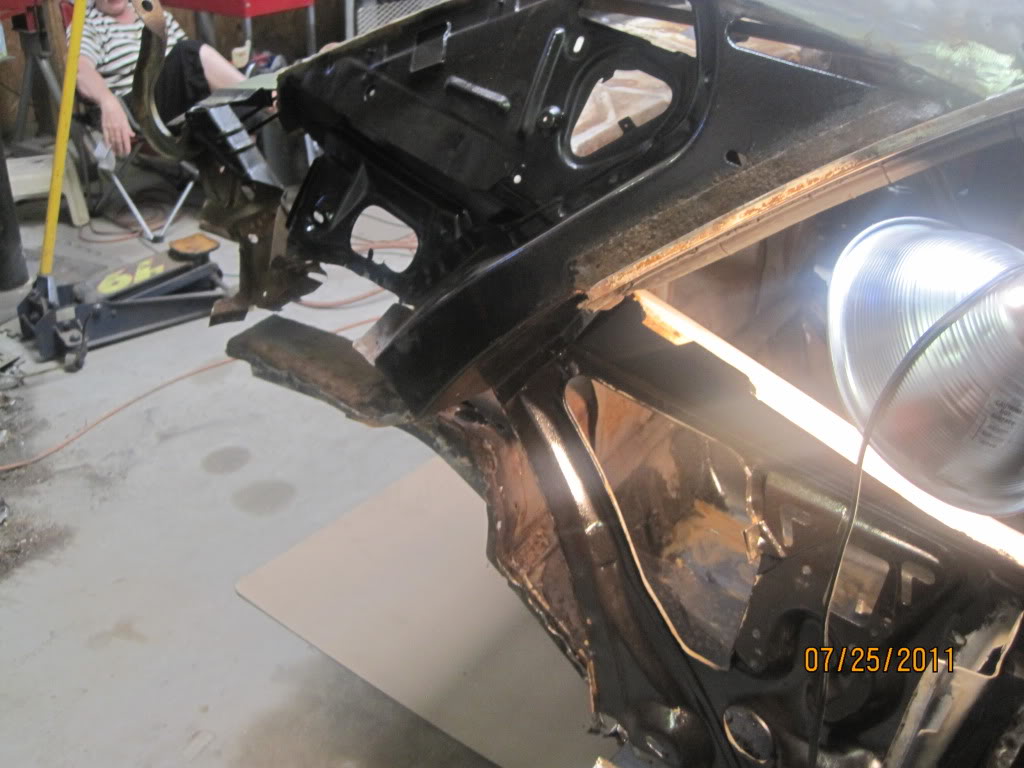
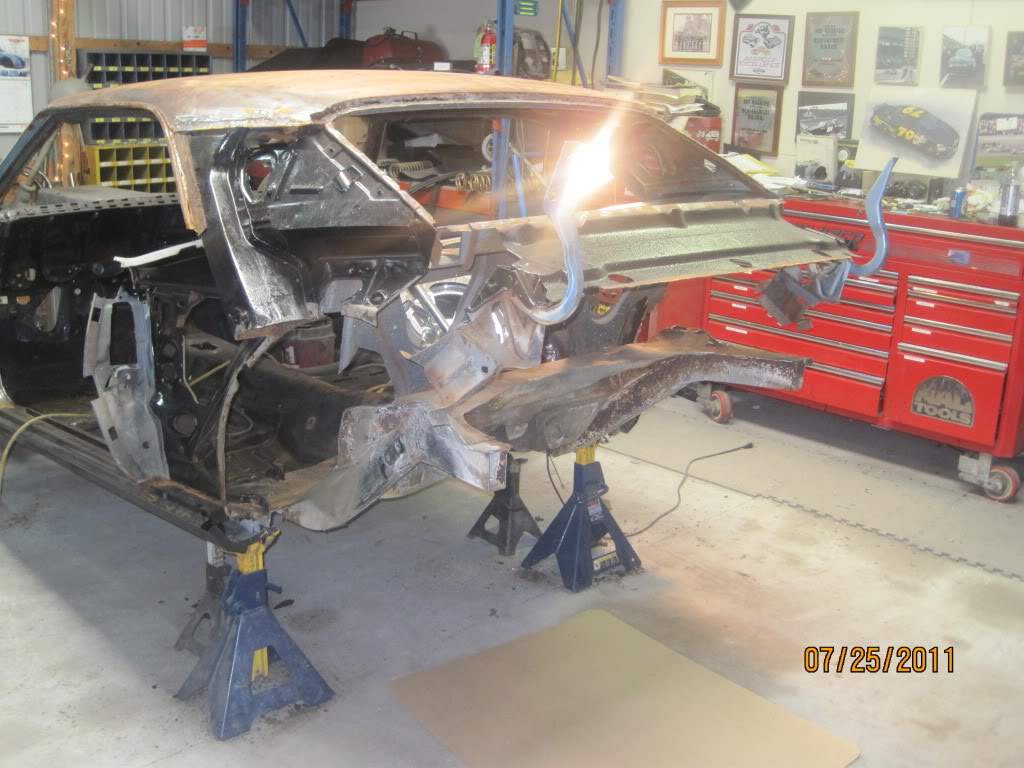
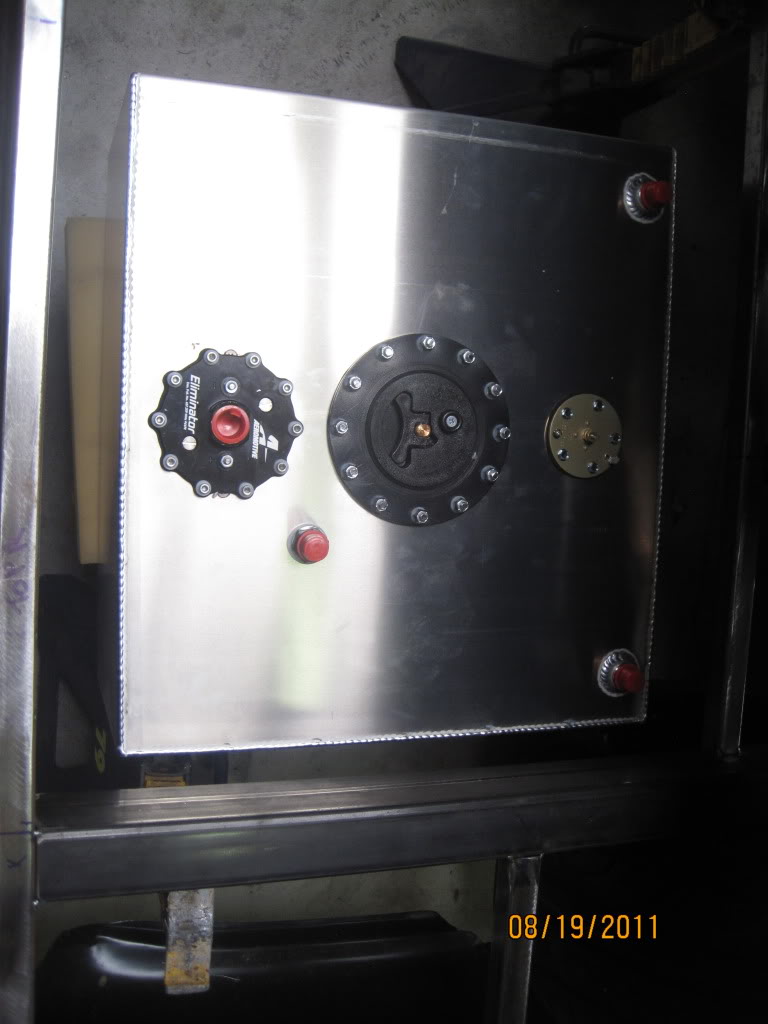
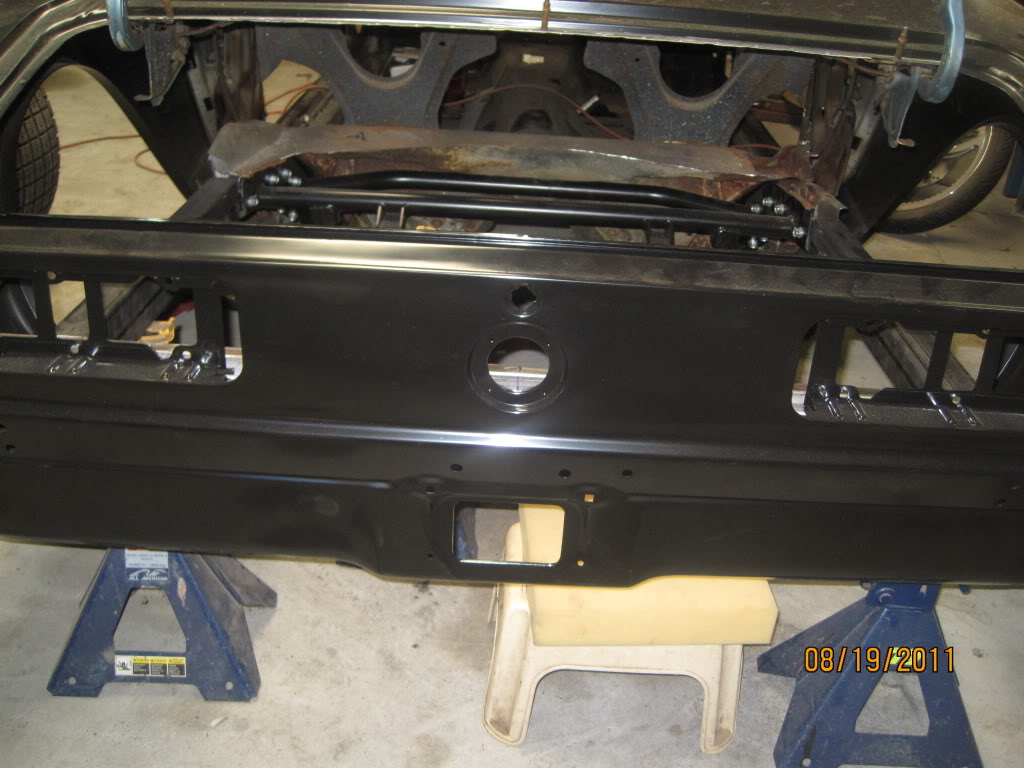
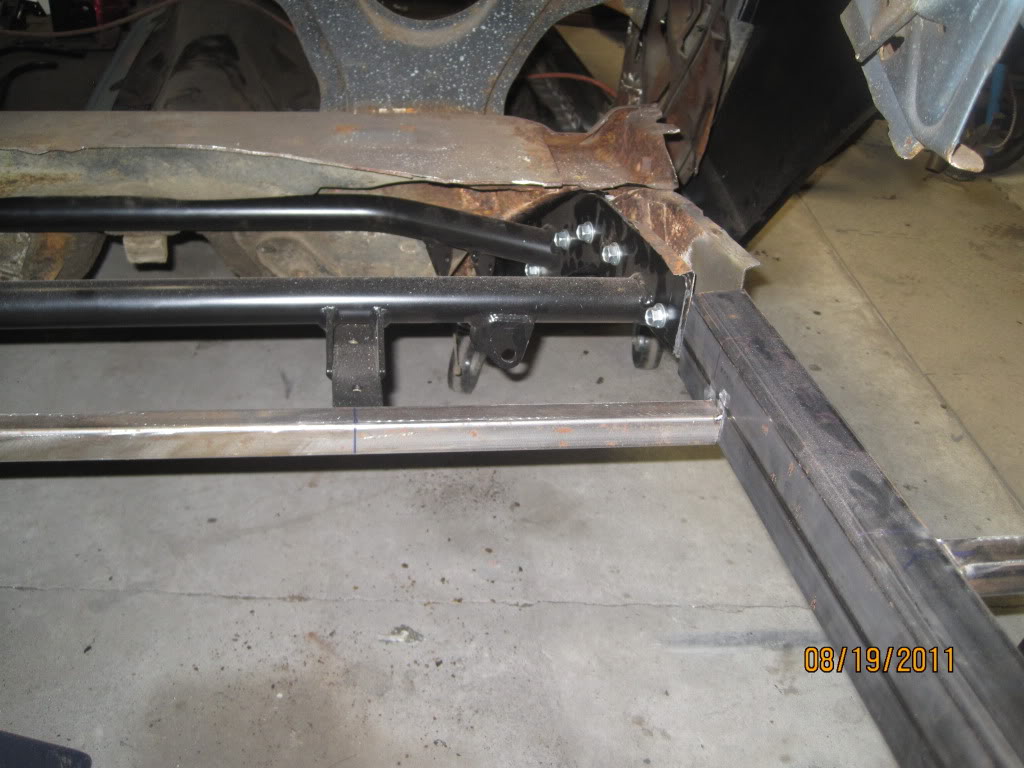
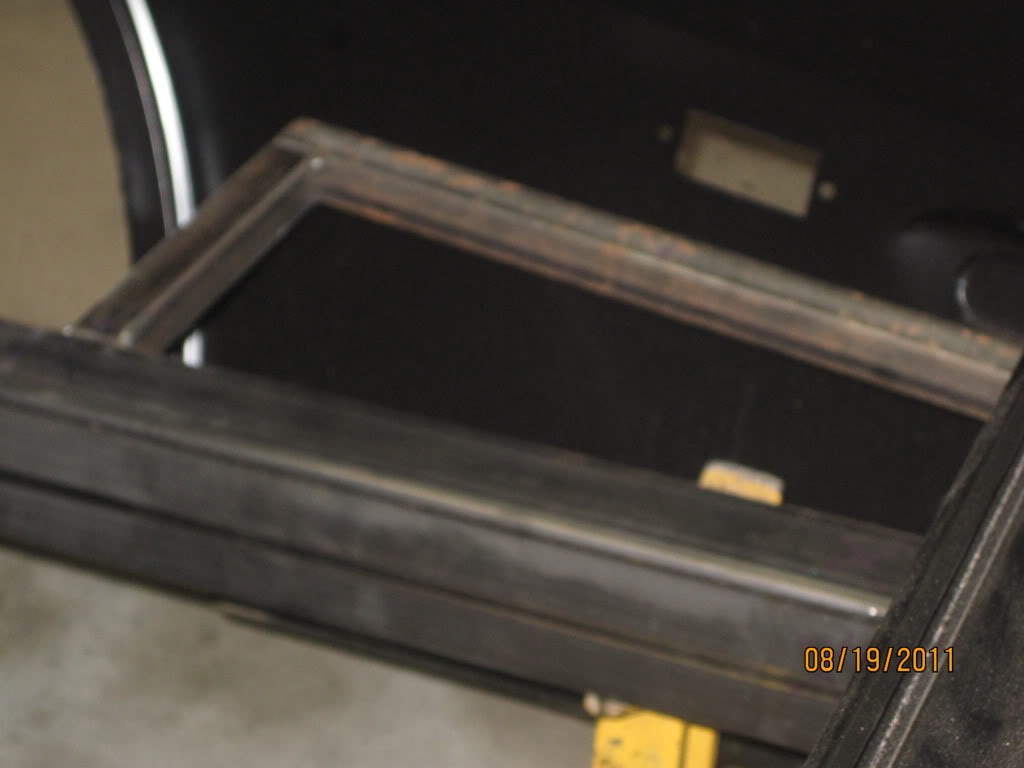
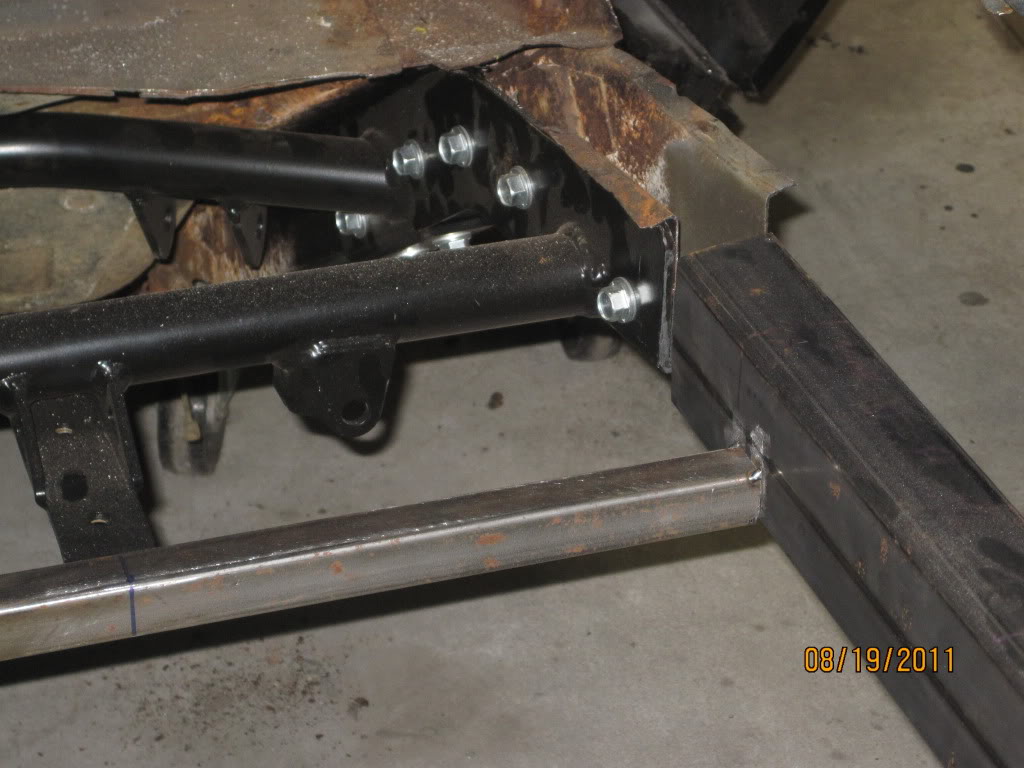
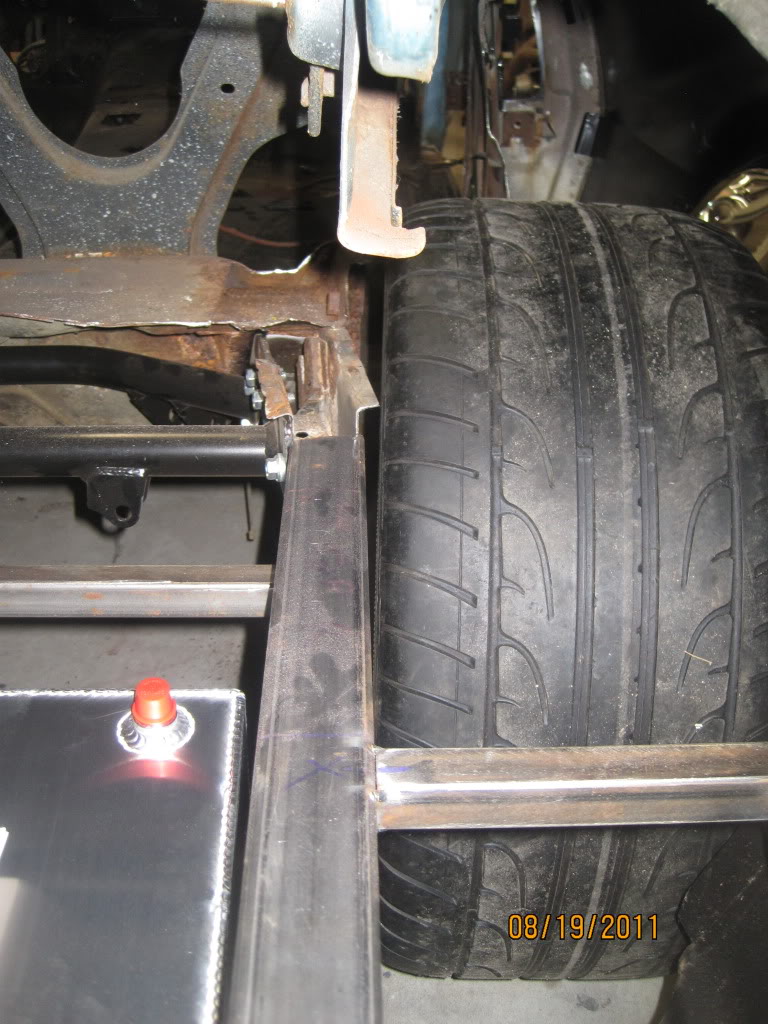
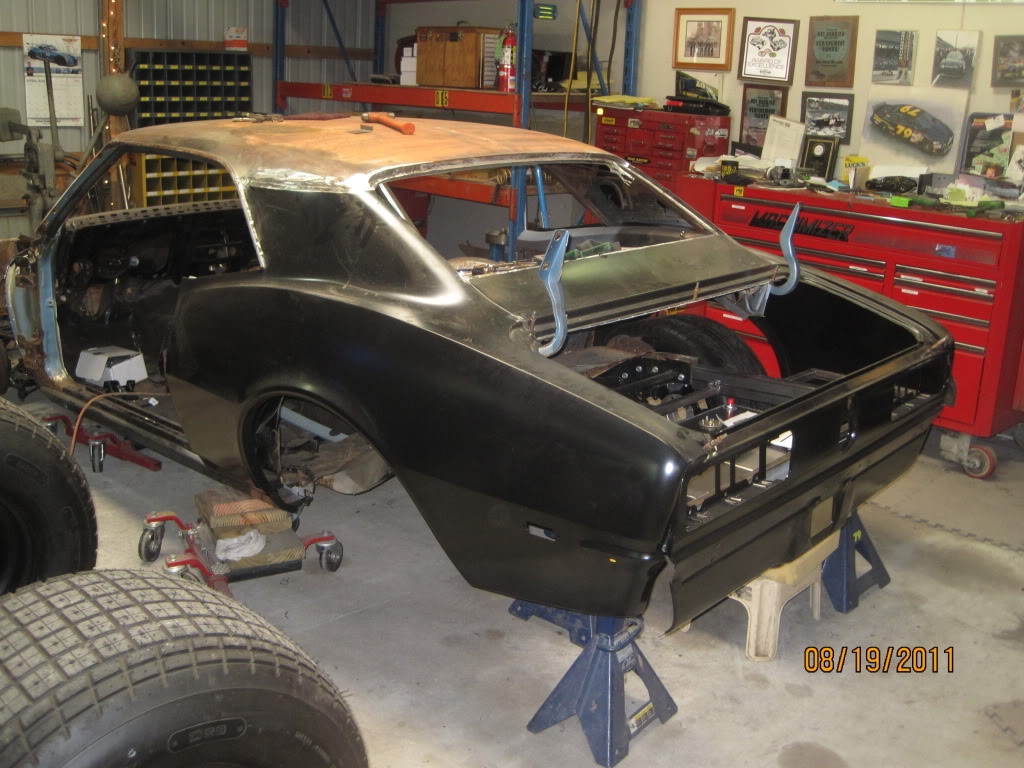
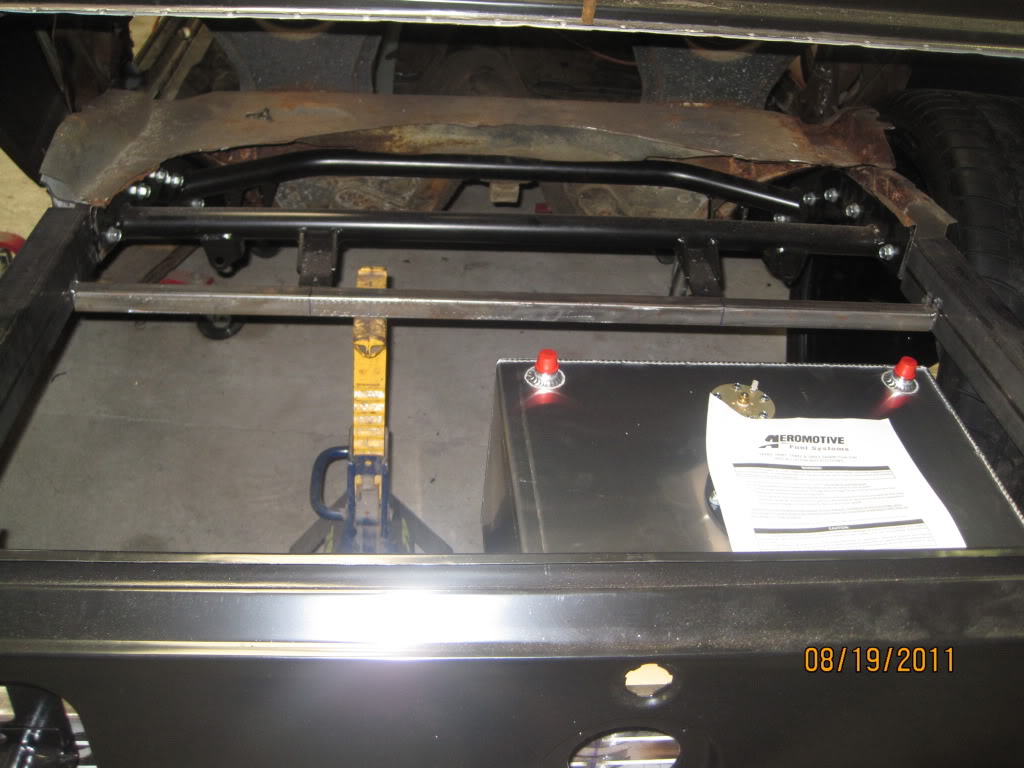
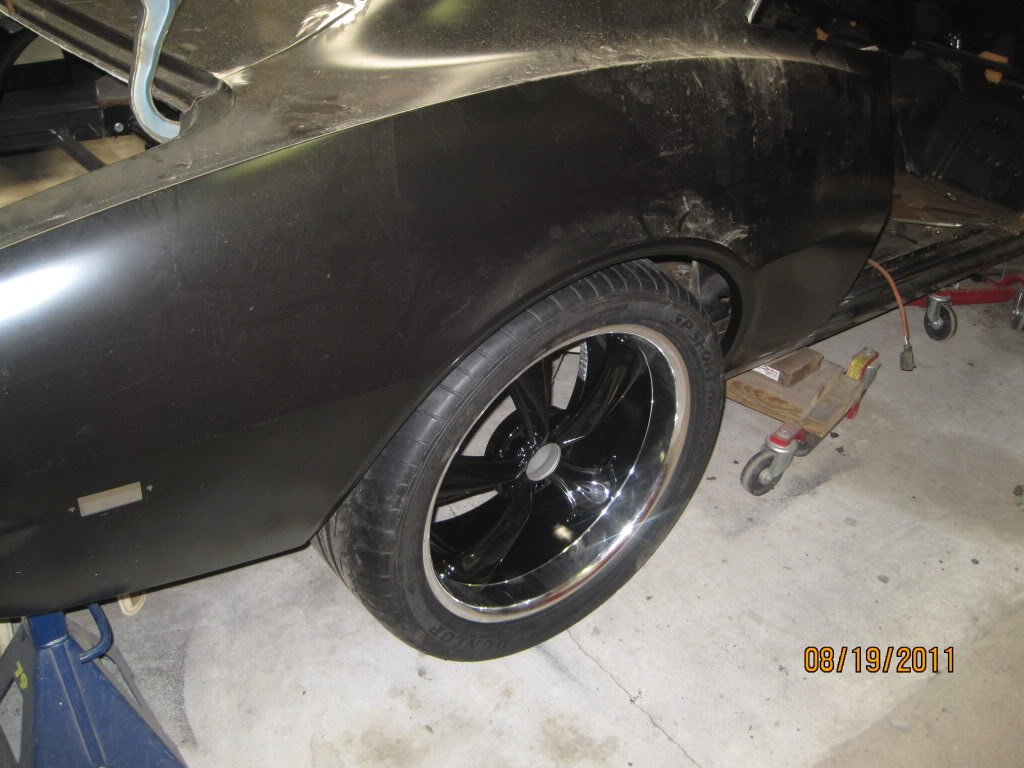
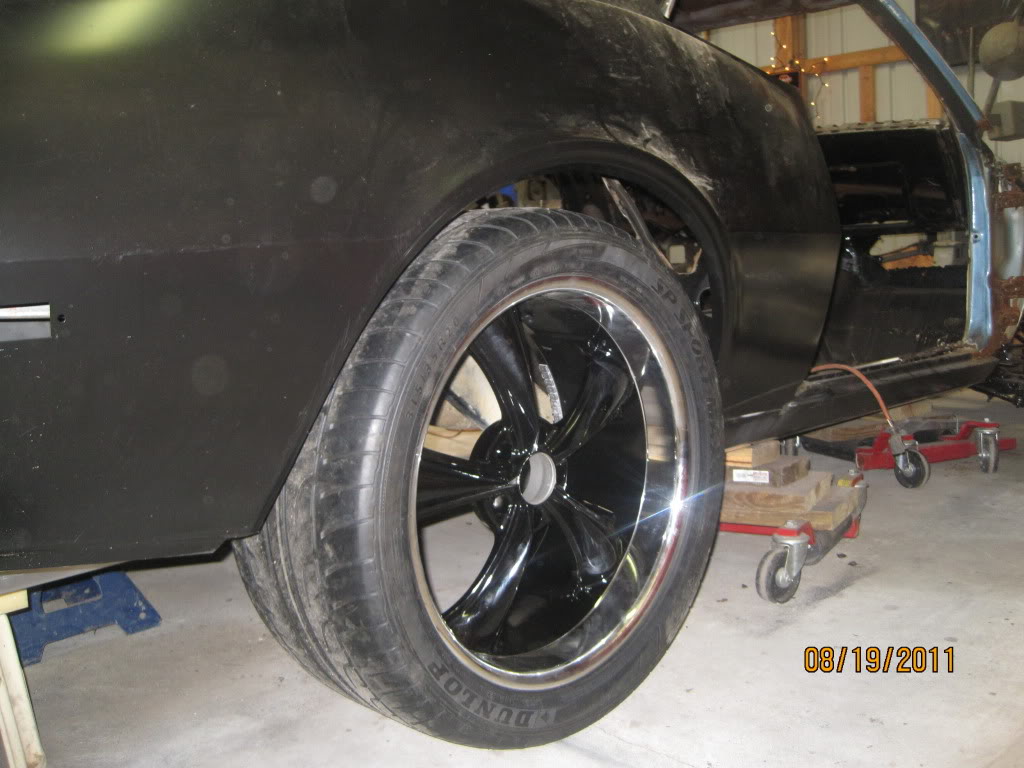
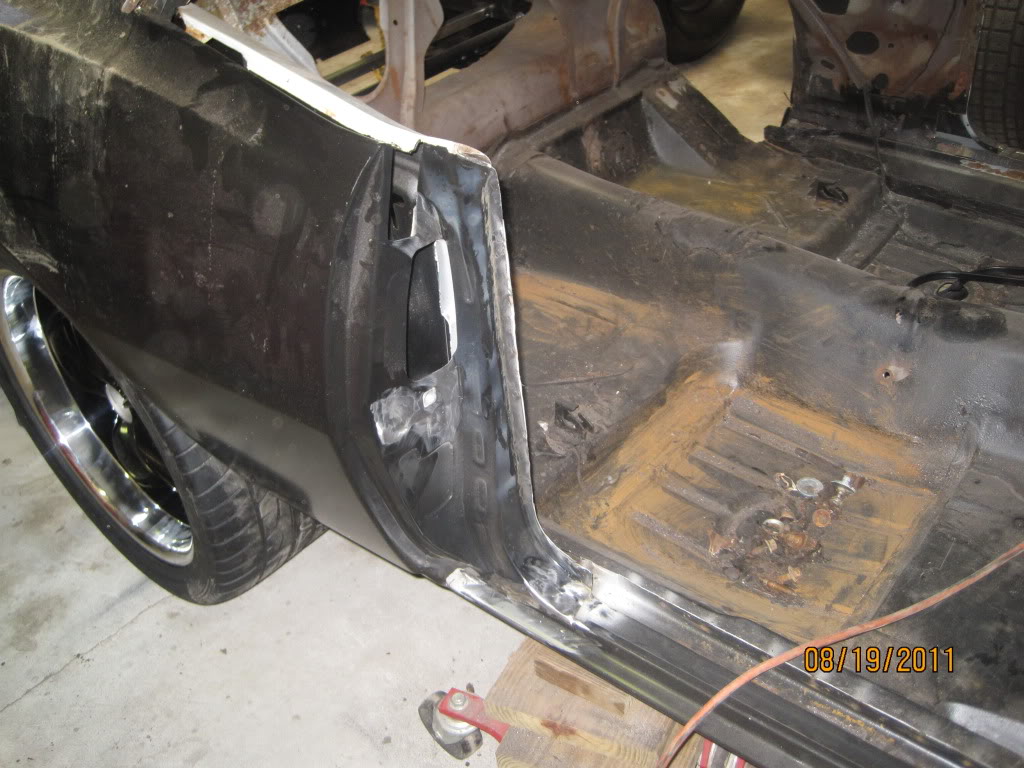
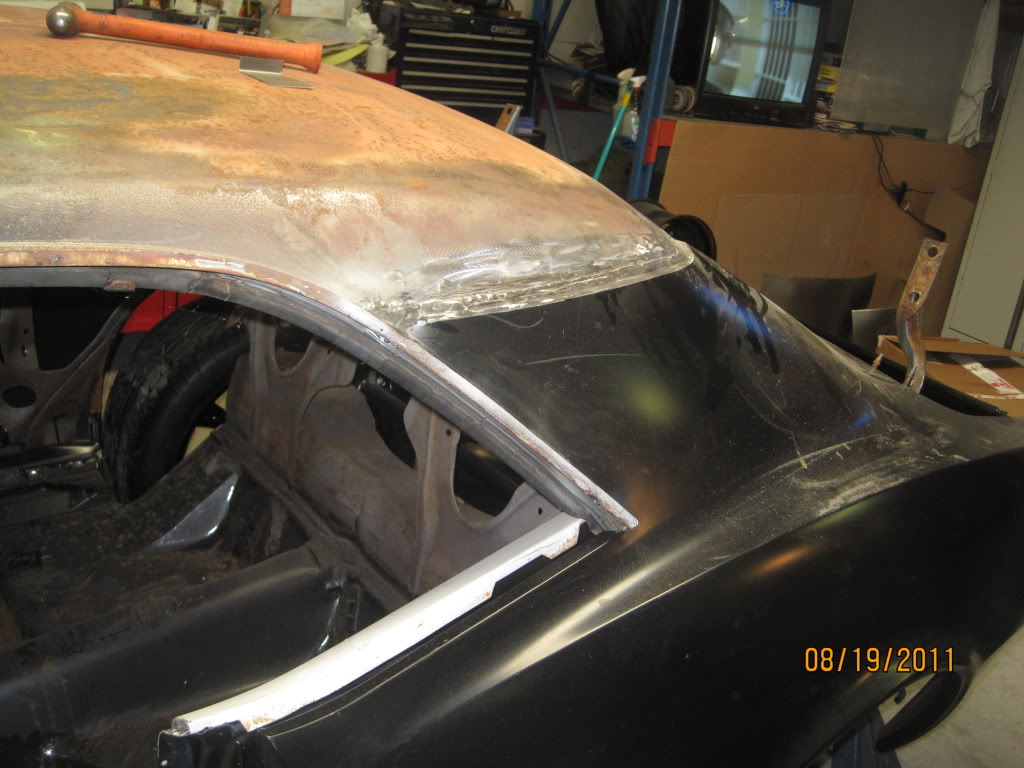
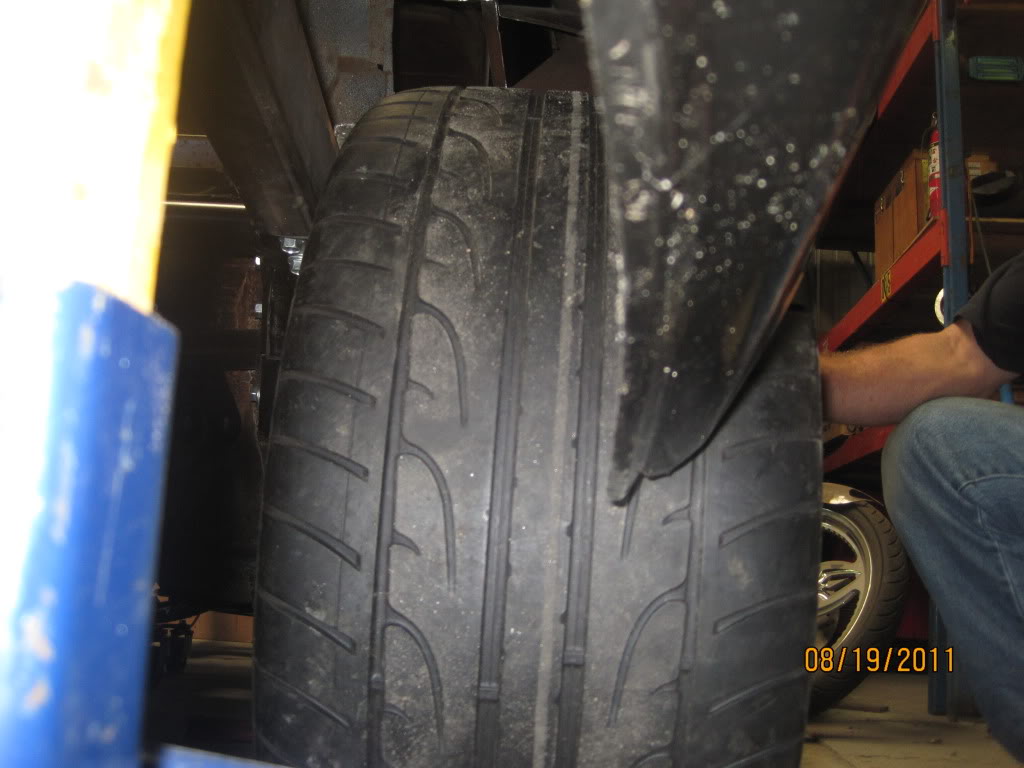
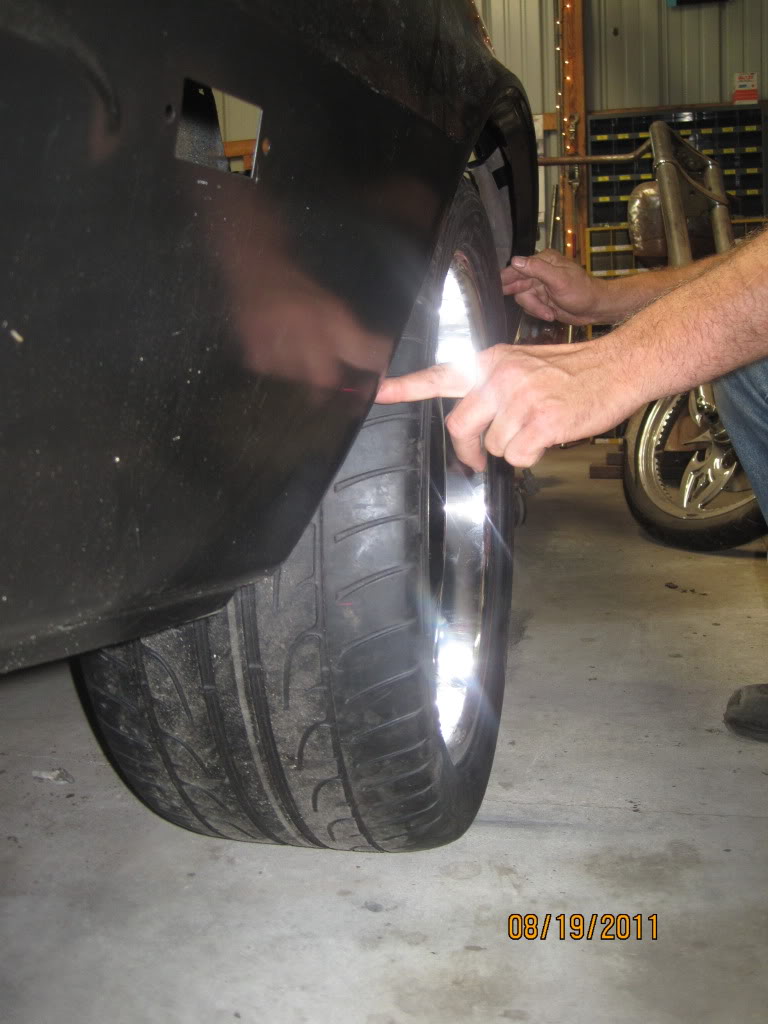
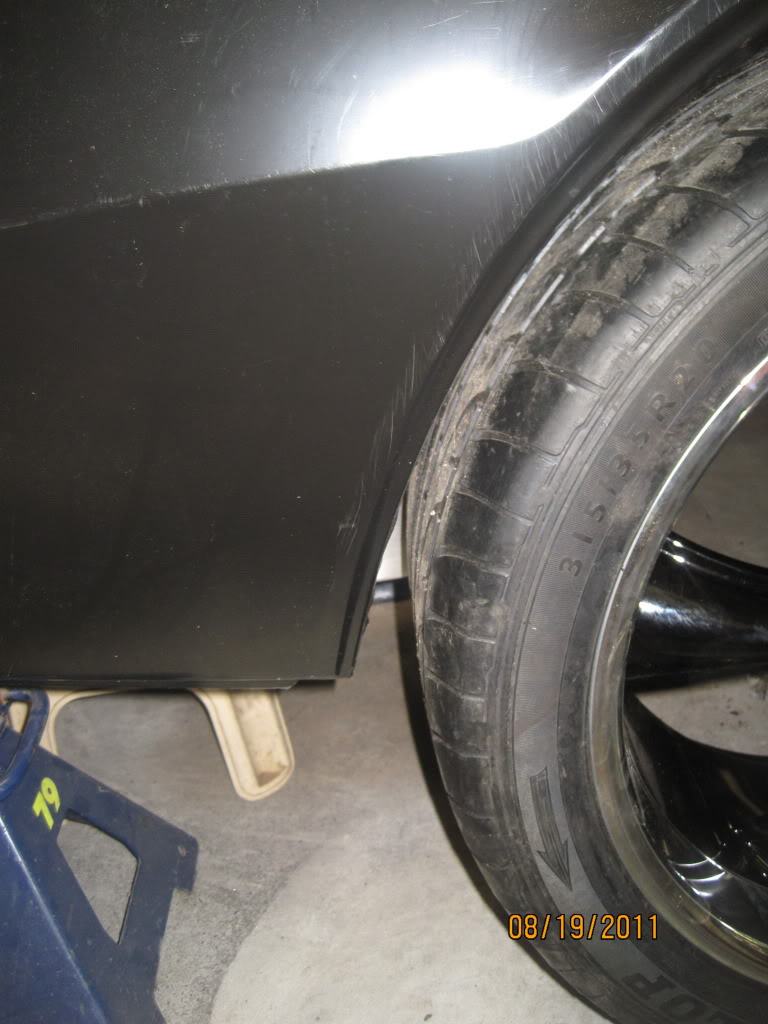
now is sorta back.. new brace made to connect to frame rail, ridetech airbar in, found out 20x10 wheels and 315/35/20 tires fit like a glove...in a bad way, so space on any side. Also, fuel cell just came in.. just sitting there. Its going to be centered in the trunk, recessed in with a battery on each side recessed in.


#28
08-20-2011 | 09:00 AM
Thread Starter
|
In the Staging Lanes
Joined: Apr 2011
Posts: 64
Yes, lots of work... thank you 
I'm very happy with the result so far, just minor bumps along the way as expected... going to go with the 18x9.5 instead of the 20x10 setup because the tall wheel would be undrivable realistically now that it was seen mocked in.. frame rail is going to be notched more along with the added custom frame.
The fuel cell will be recessed flush into the custom trunk floor along with a battery on each side so when the trunk pops, there is no fuel cell or battery exposed.
Next on the list is to wait until the frame rail is notched and see for sure how much tire I can fit realistically..
#29
08-20-2011 | 09:06 AM
Thread Starter
|
In the Staging Lanes
Joined: Apr 2011
Posts: 64
I saw a thread on your Camaro also, very nice, and I'm glad you decided to keep it.. I CAN imagine how much work that was...