
1968 Camaro Restoration


Thread Starter
|
In the Staging Lanes
Joined: Oct 2017
Posts: 38
Thanks! Yes it's a lot of work lol.
cheers


Thread Starter
|
In the Staging Lanes
Joined: Oct 2017
Posts: 38
I have an electric water pump on a 454 with no by-pass hose so you should be fine.
cheers
Thread Starter
|
In the Staging Lanes
Joined: Oct 2017
Posts: 38
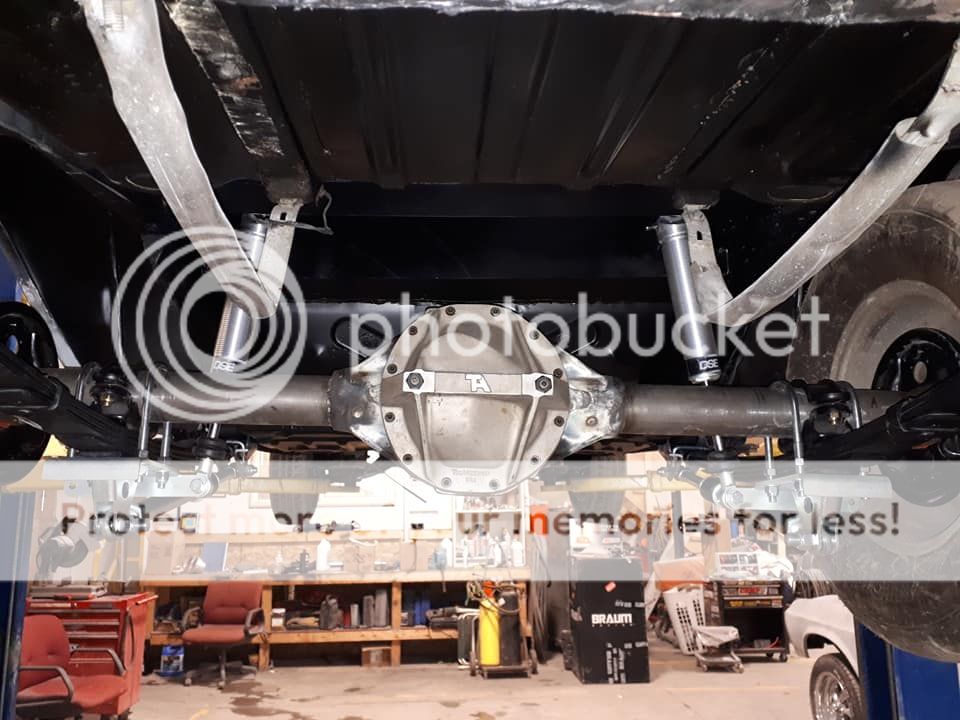
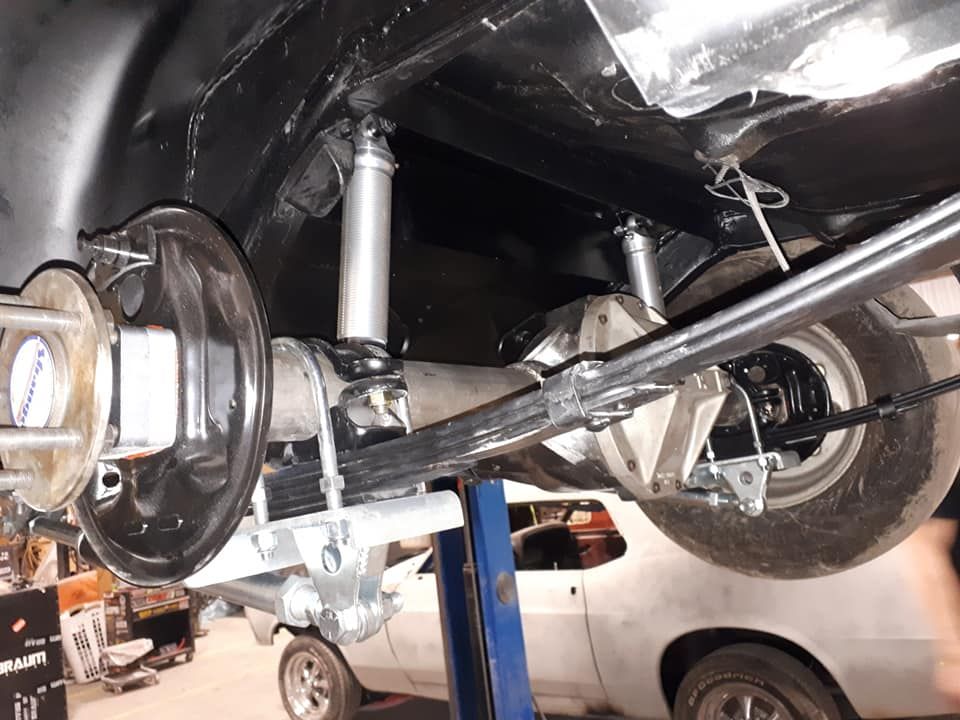
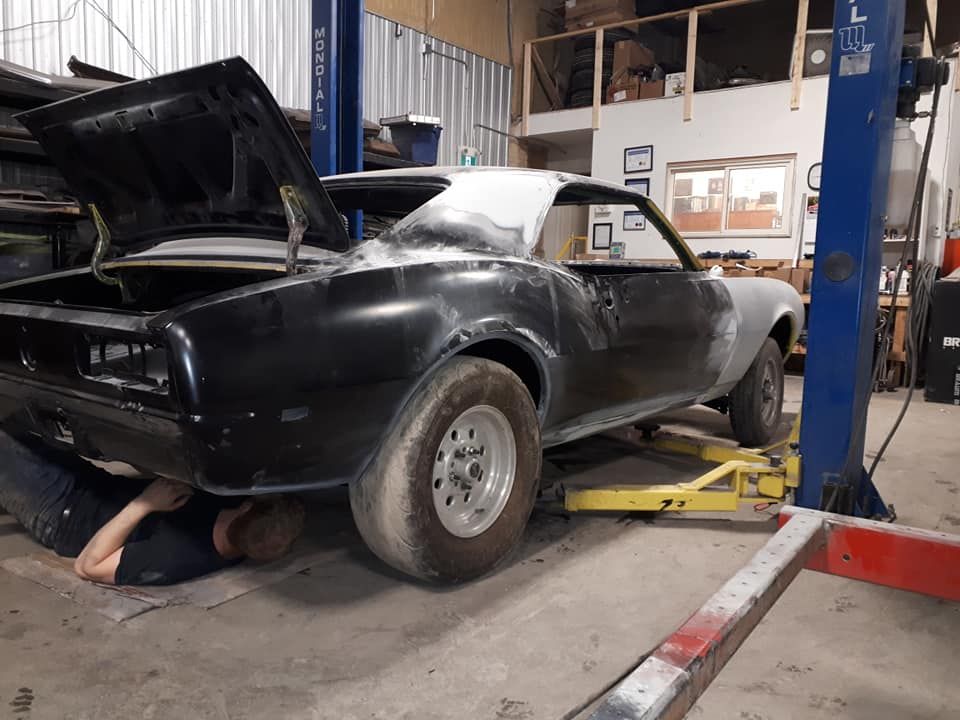
Well it's back on it's wheels now, the 12 bolt and traction bars have been installed. Need to install the drivetrain this weekend to set the pinion angle before we can weld up the spring seats to the axle tubes.
cheers


cheers


Thread Starter
|
In the Staging Lanes
Joined: Oct 2017
Posts: 38
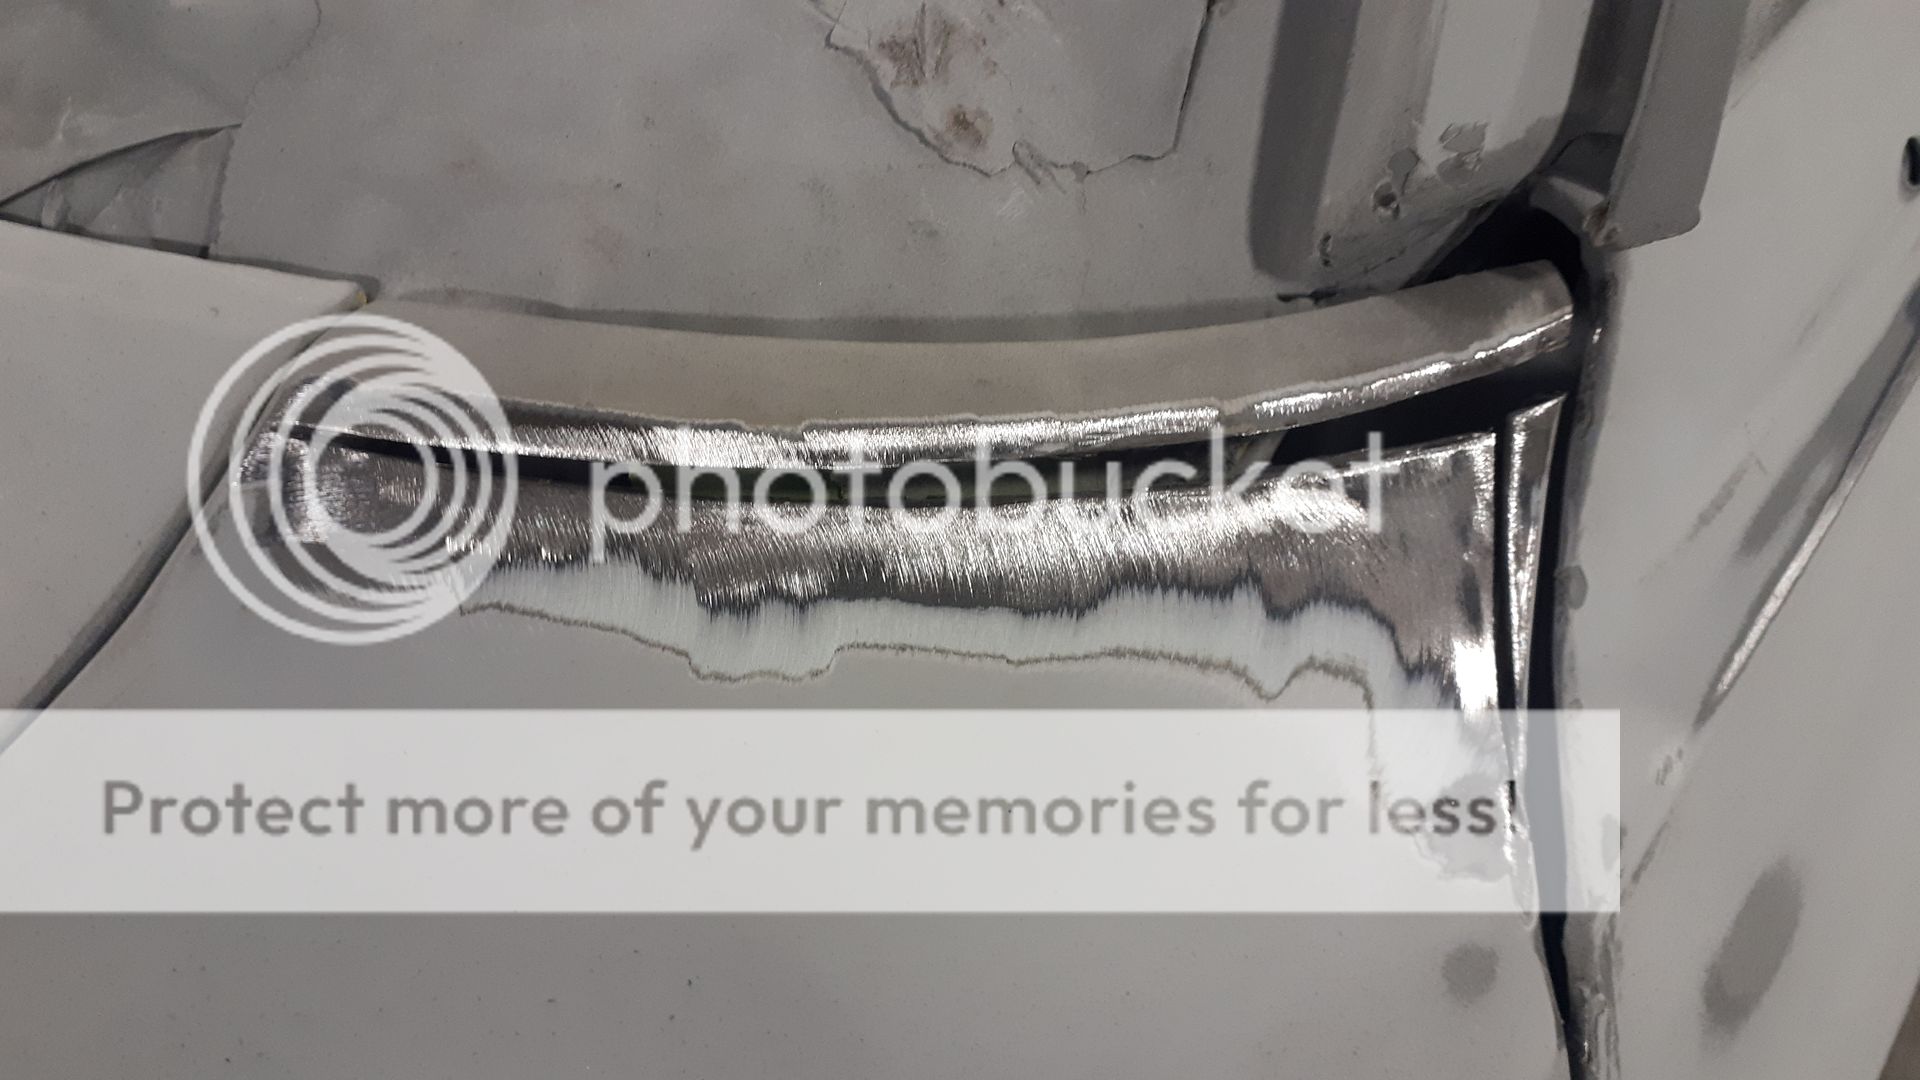
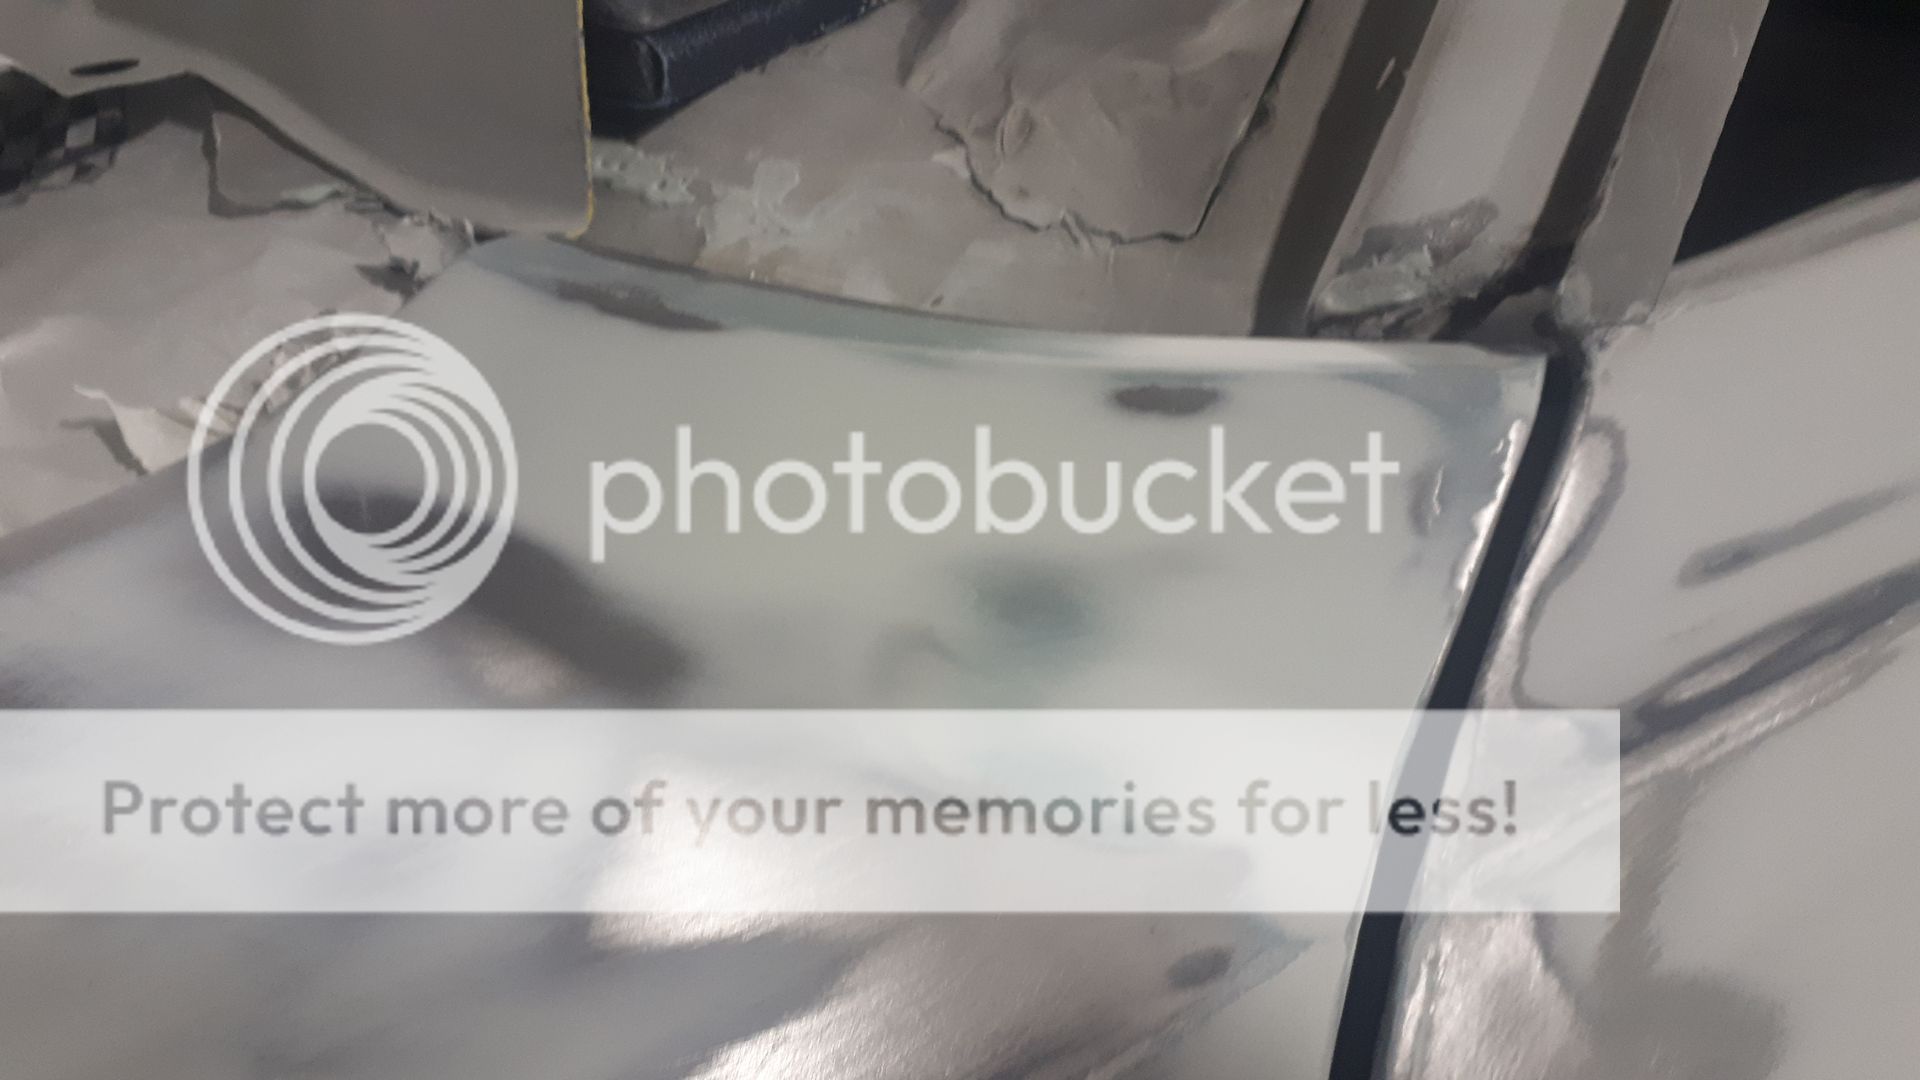
This is how much we had to section the top of the drivers fender so it would line up nicely with the door,
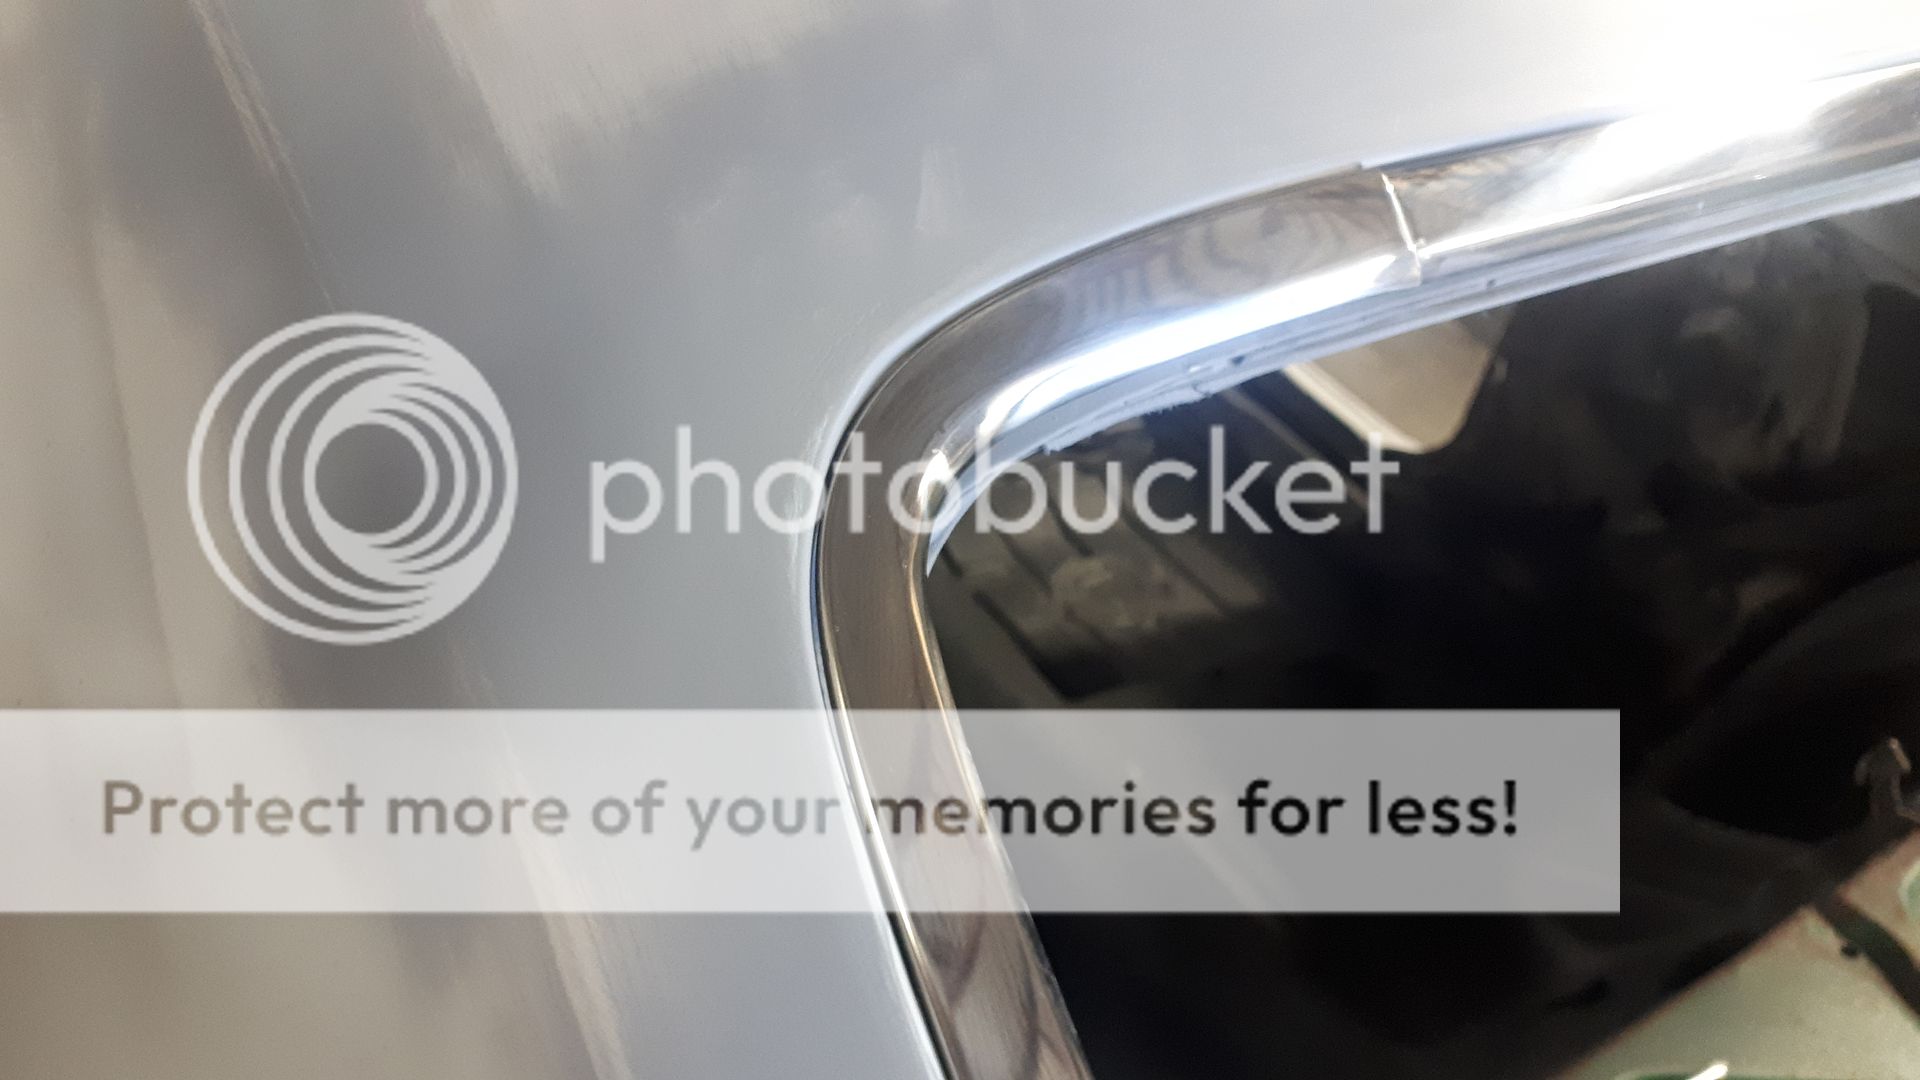
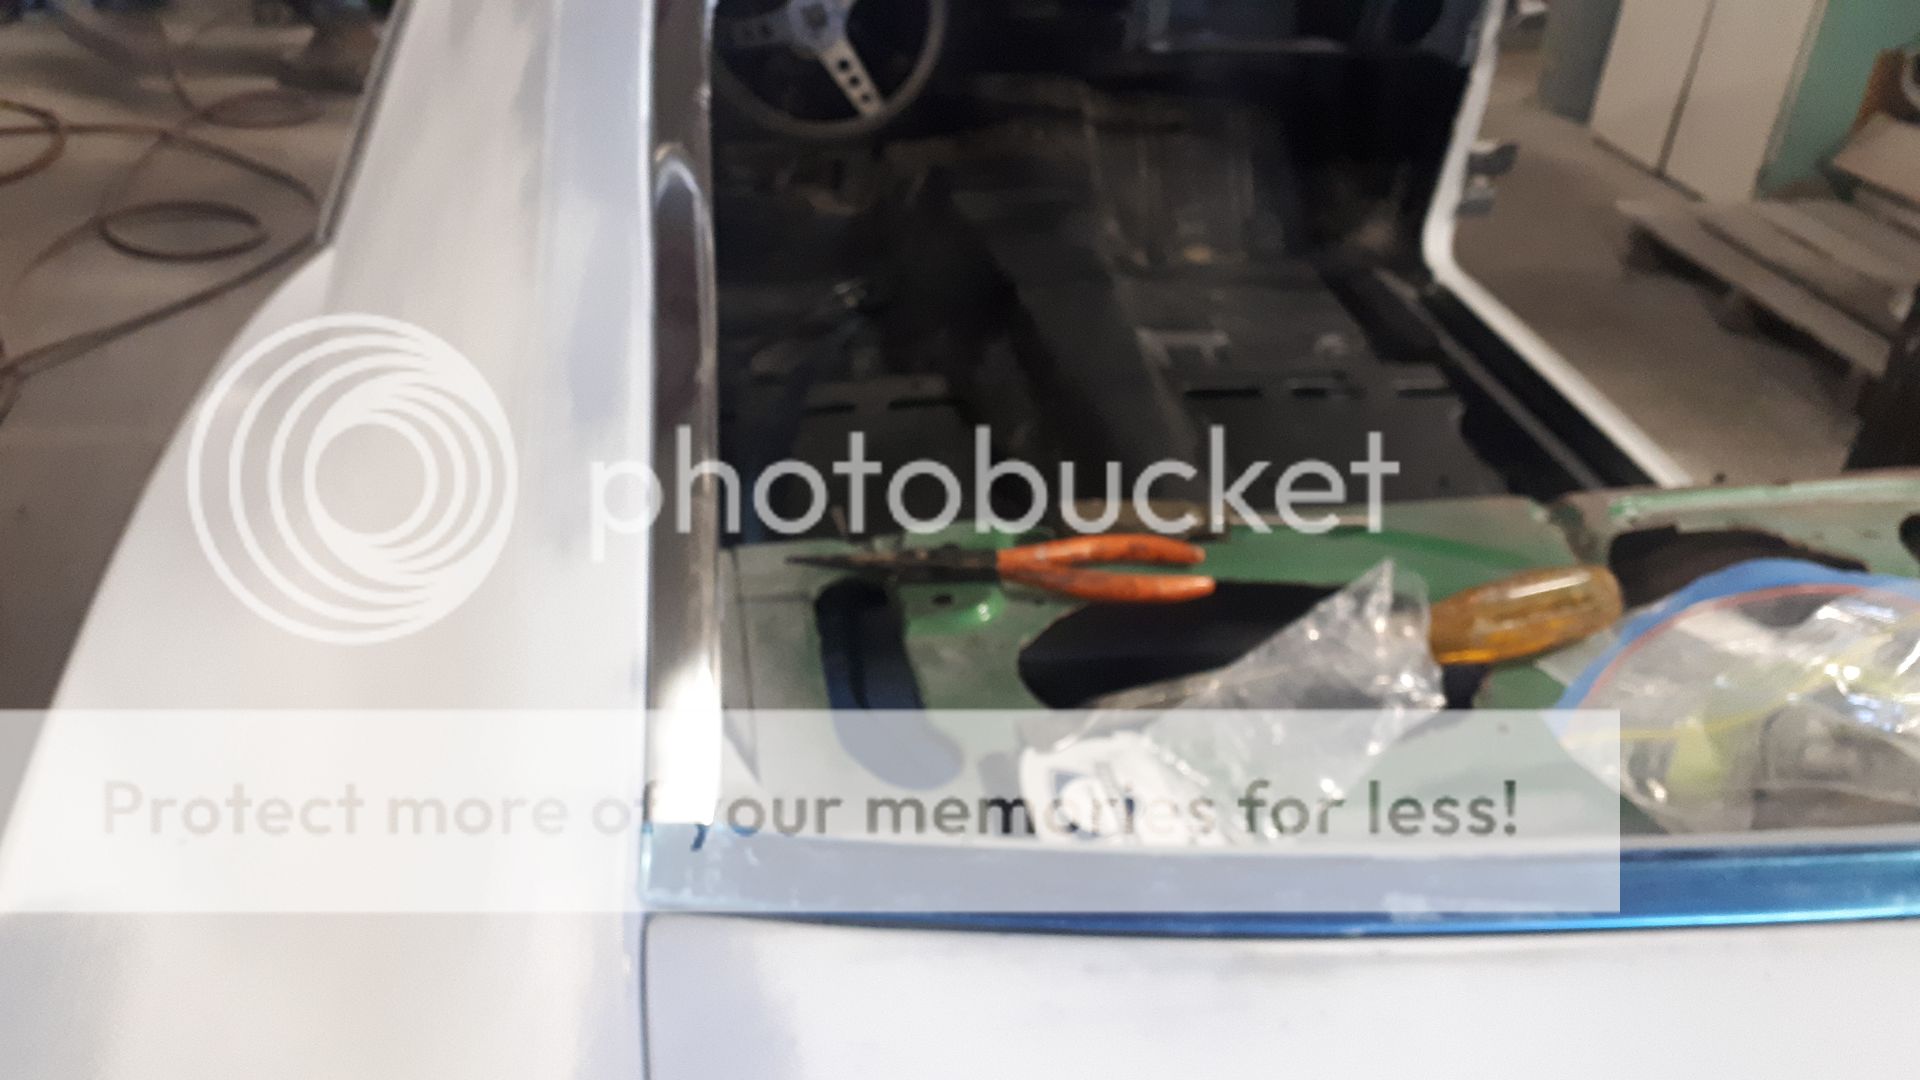
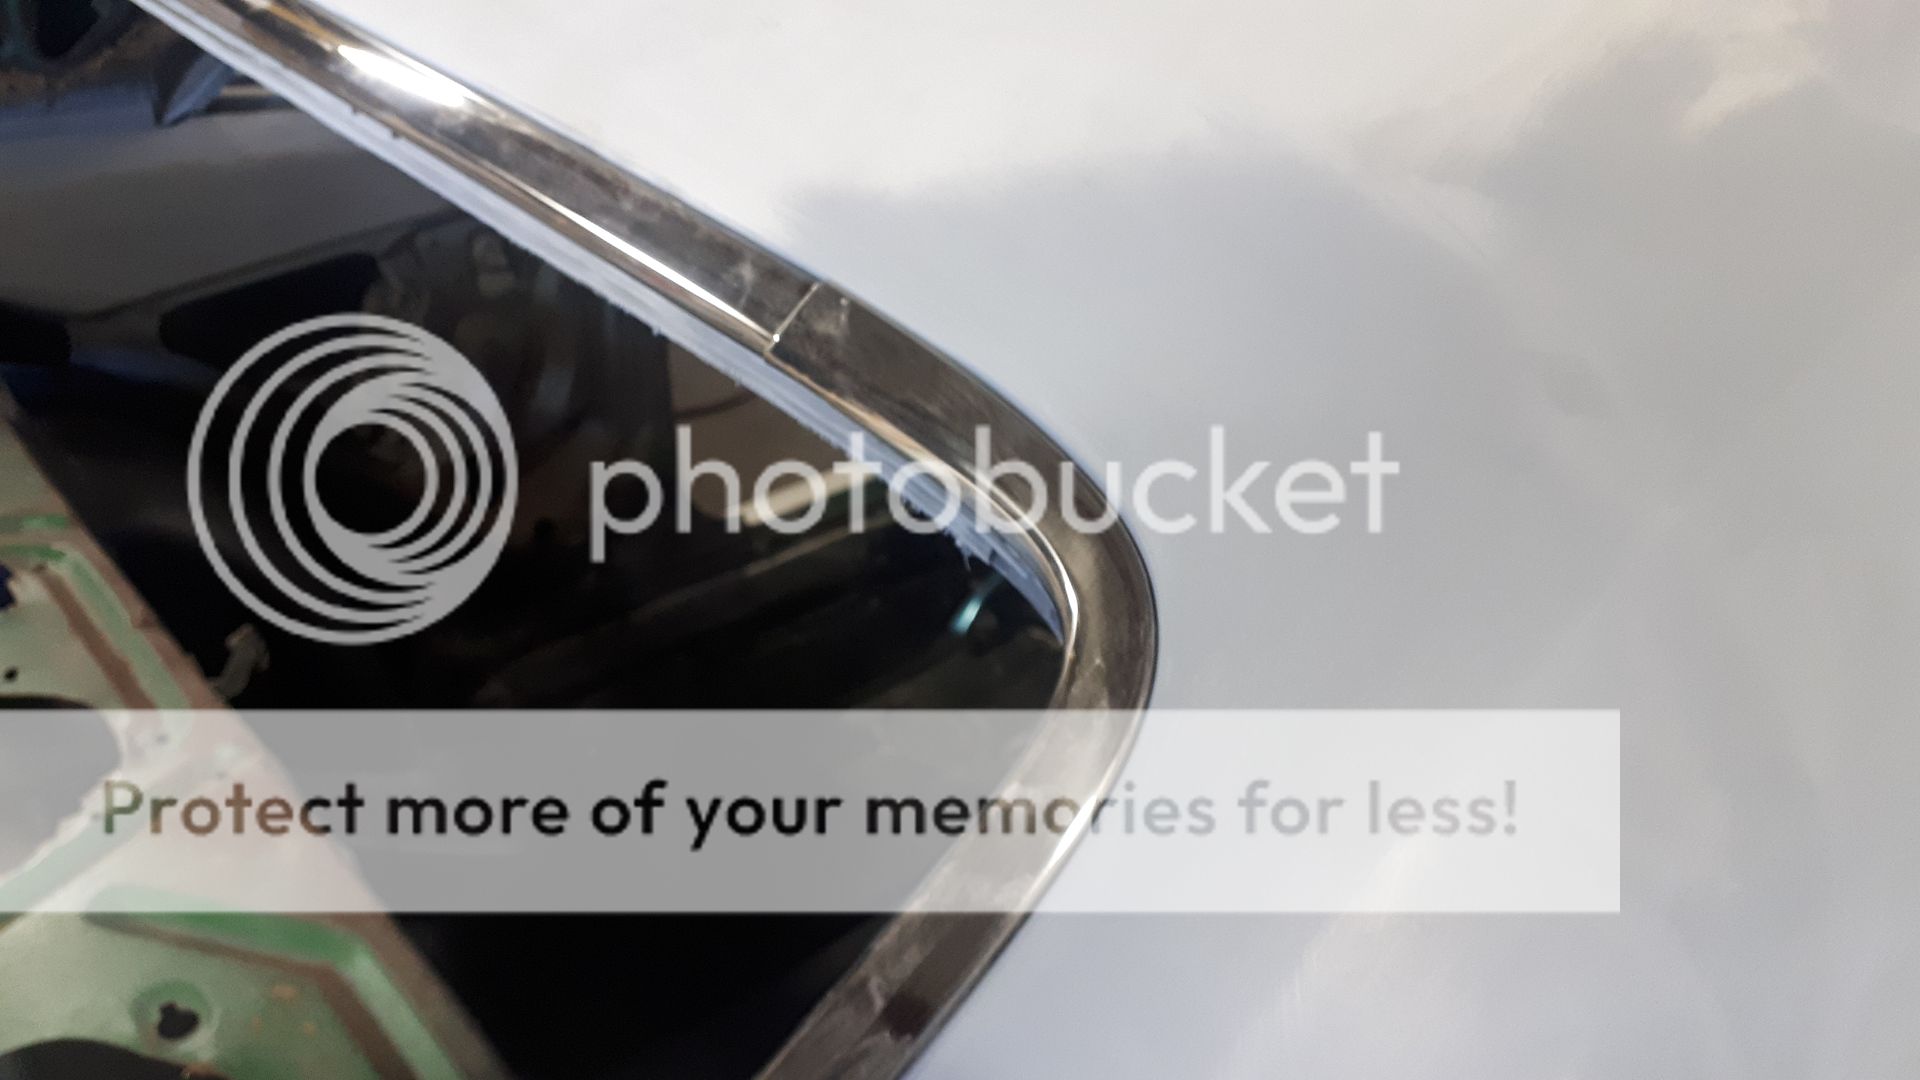
Making sure the moldings line up nicely, good thing to do before it gets painted LOL!

Then the block sanding starts!
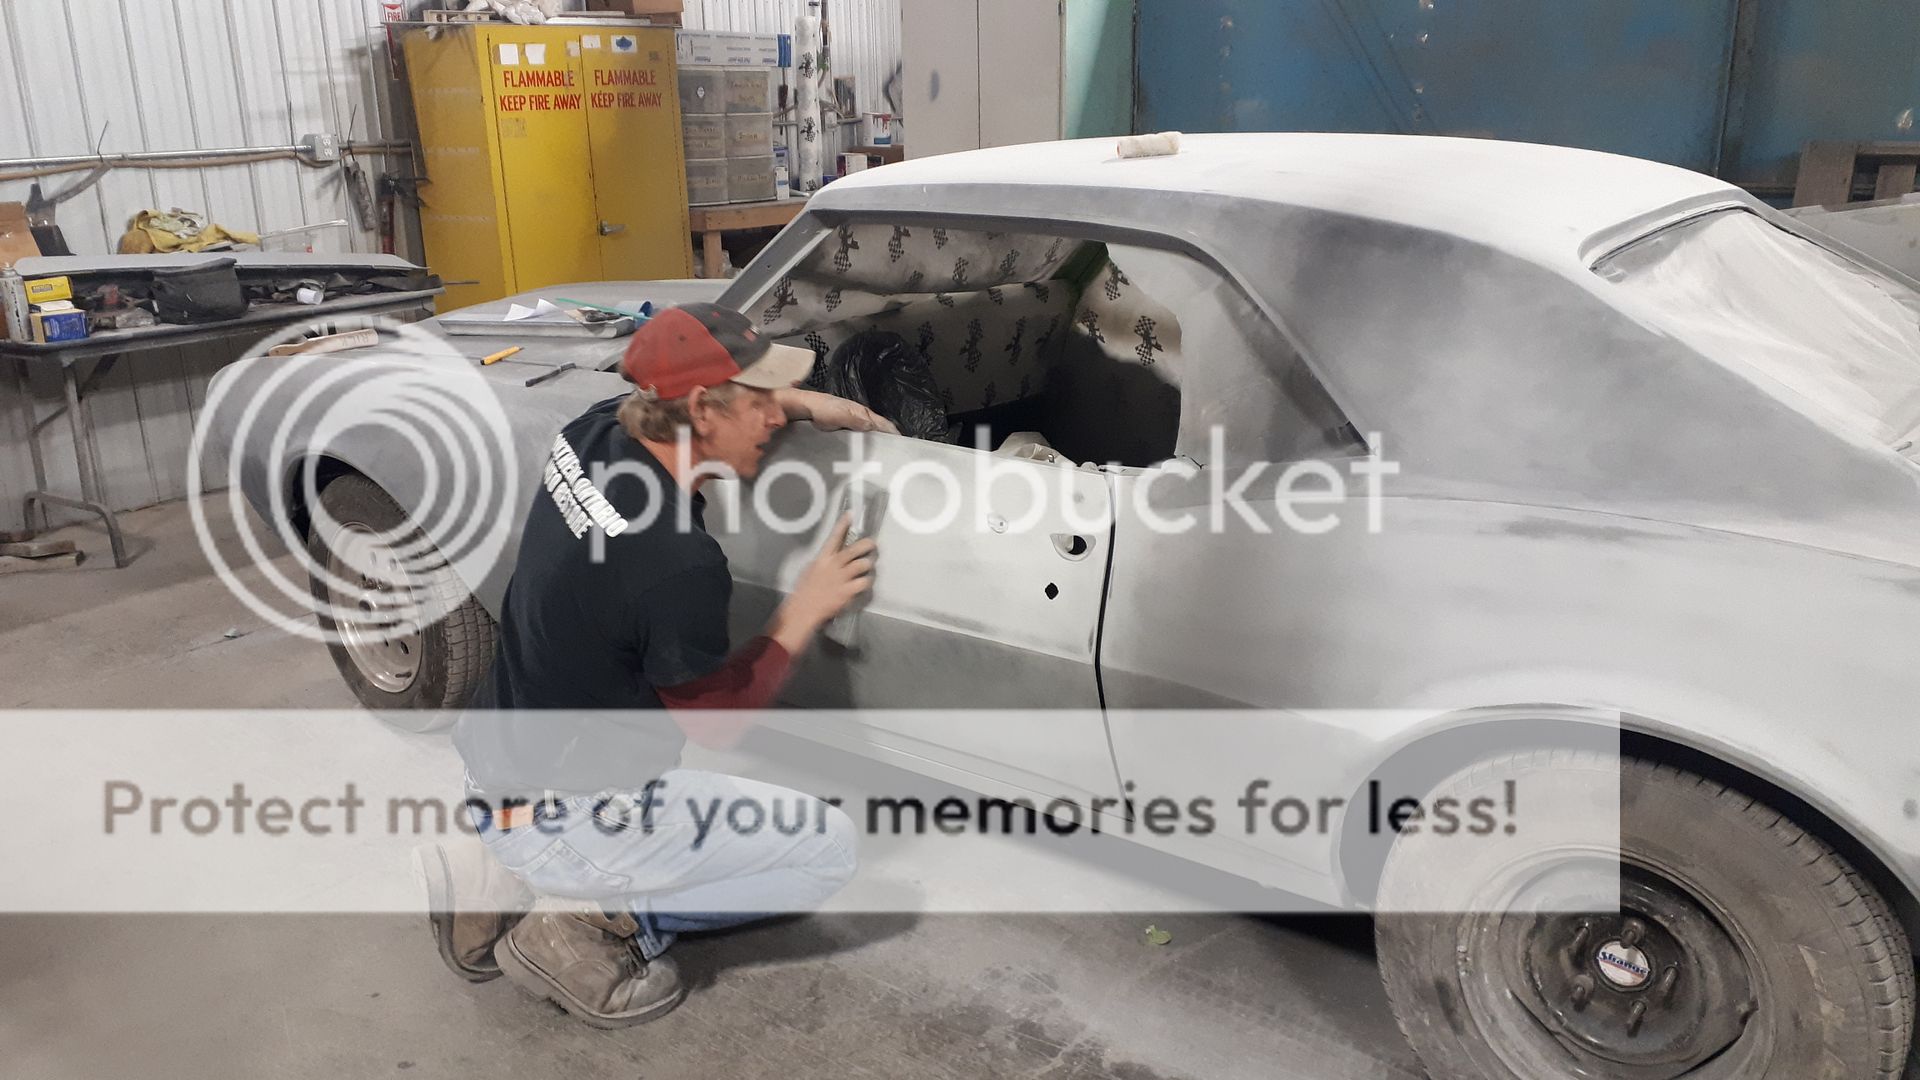
After the second application of high build and the final blocking,
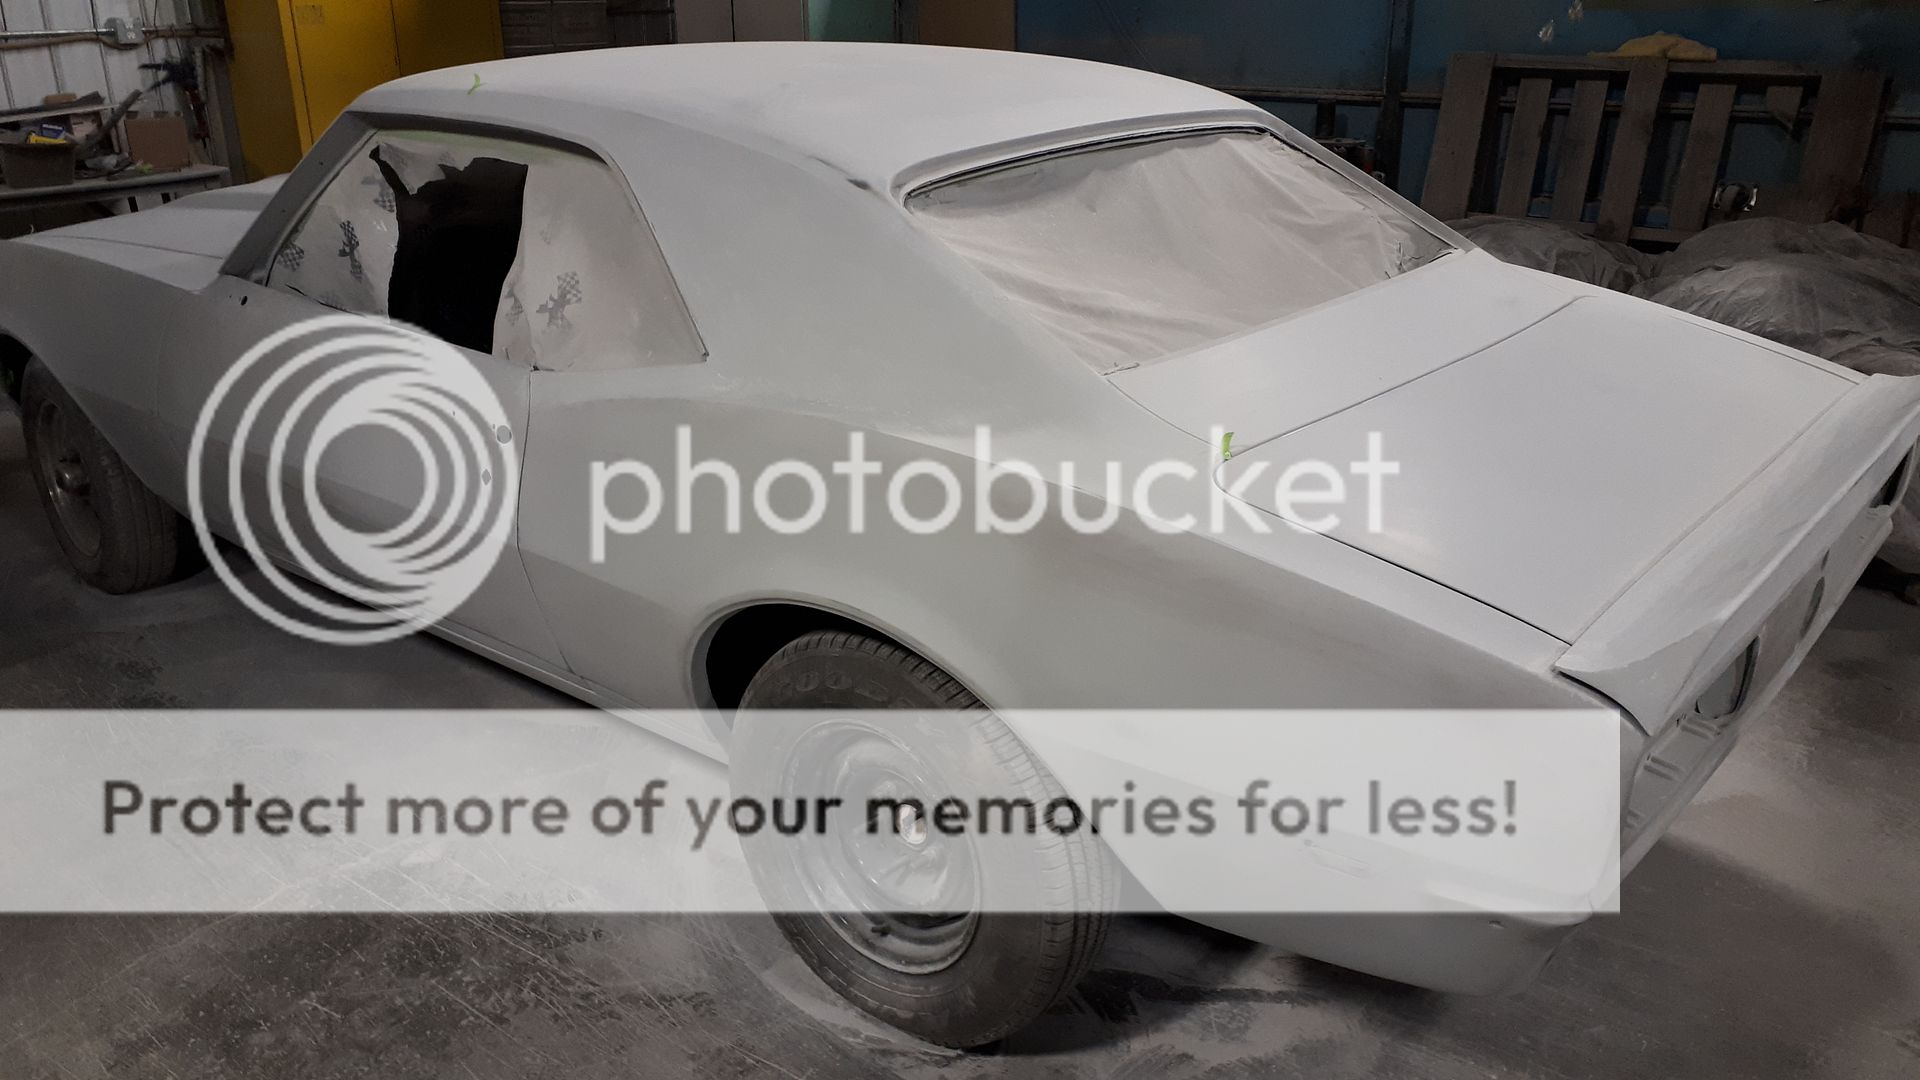
Now we take it all apart and paint the floors and trunk,
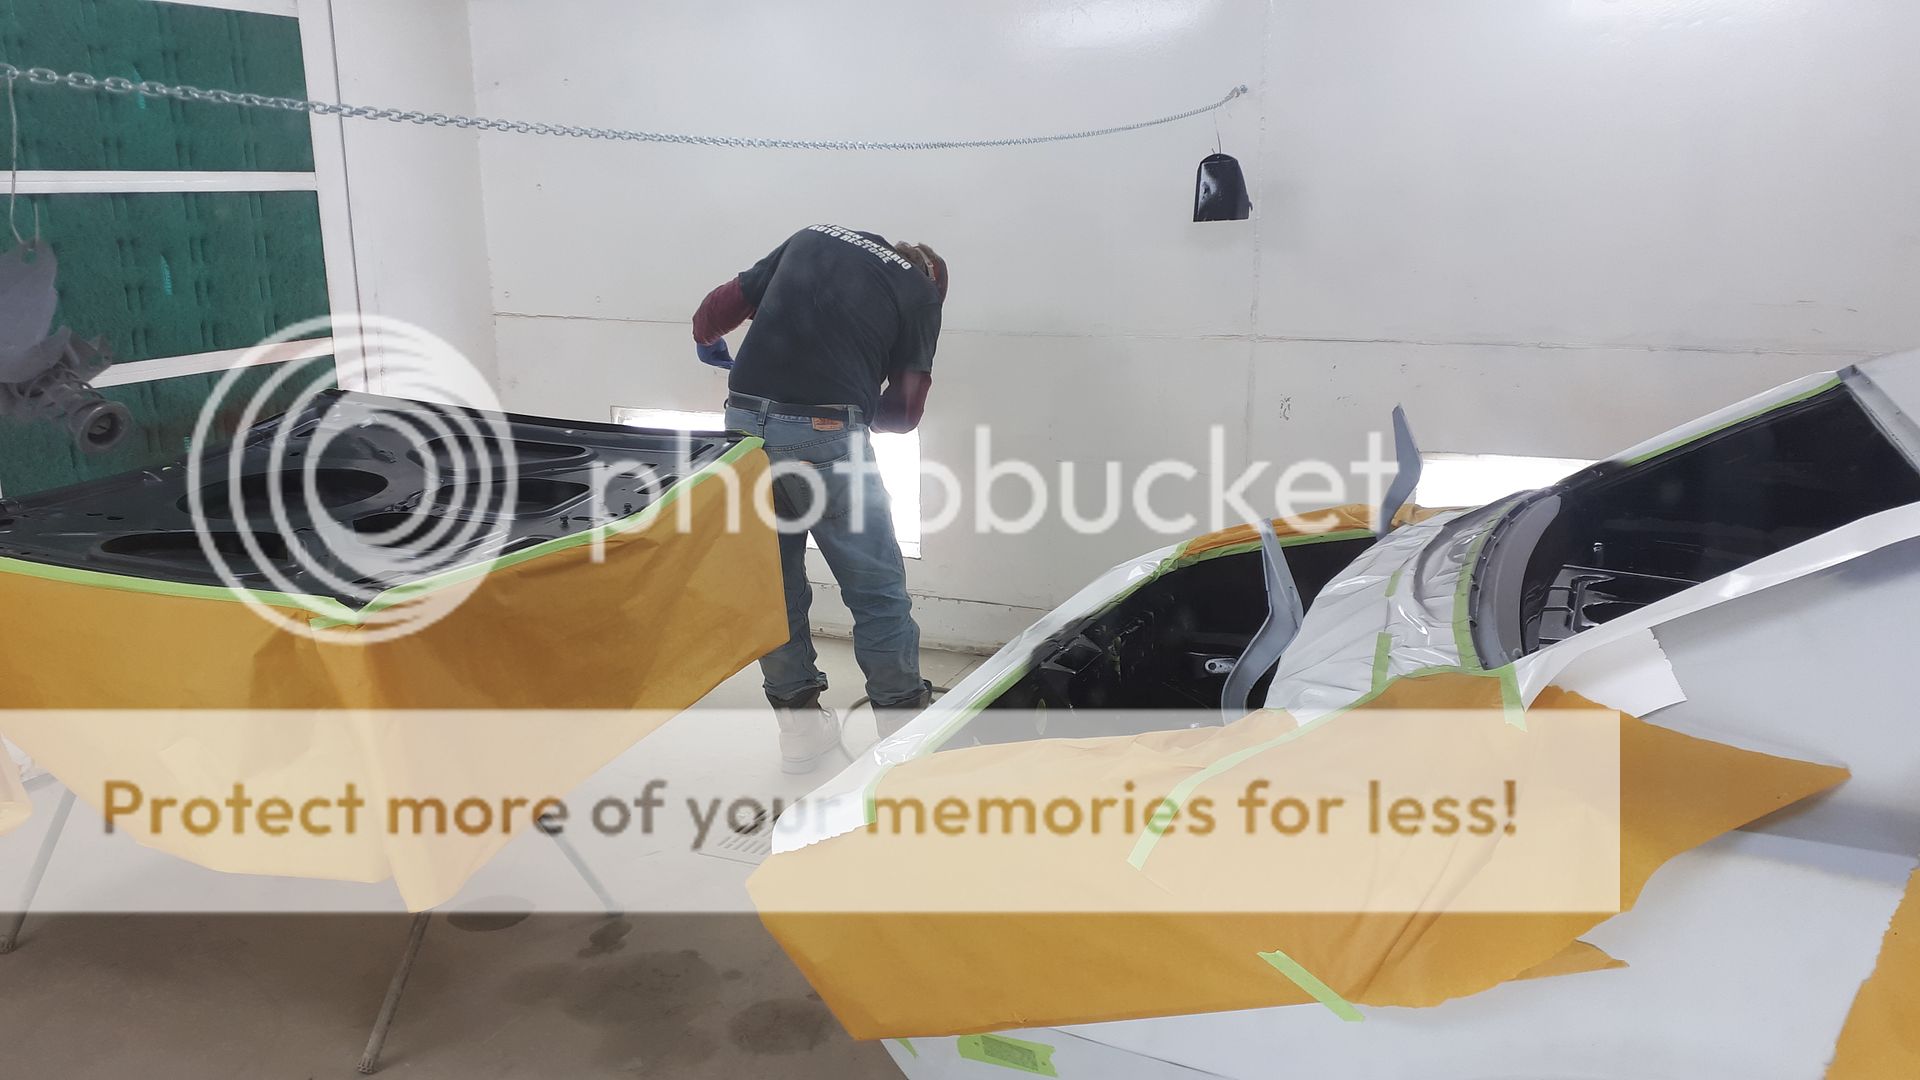
We also painted under the hood.
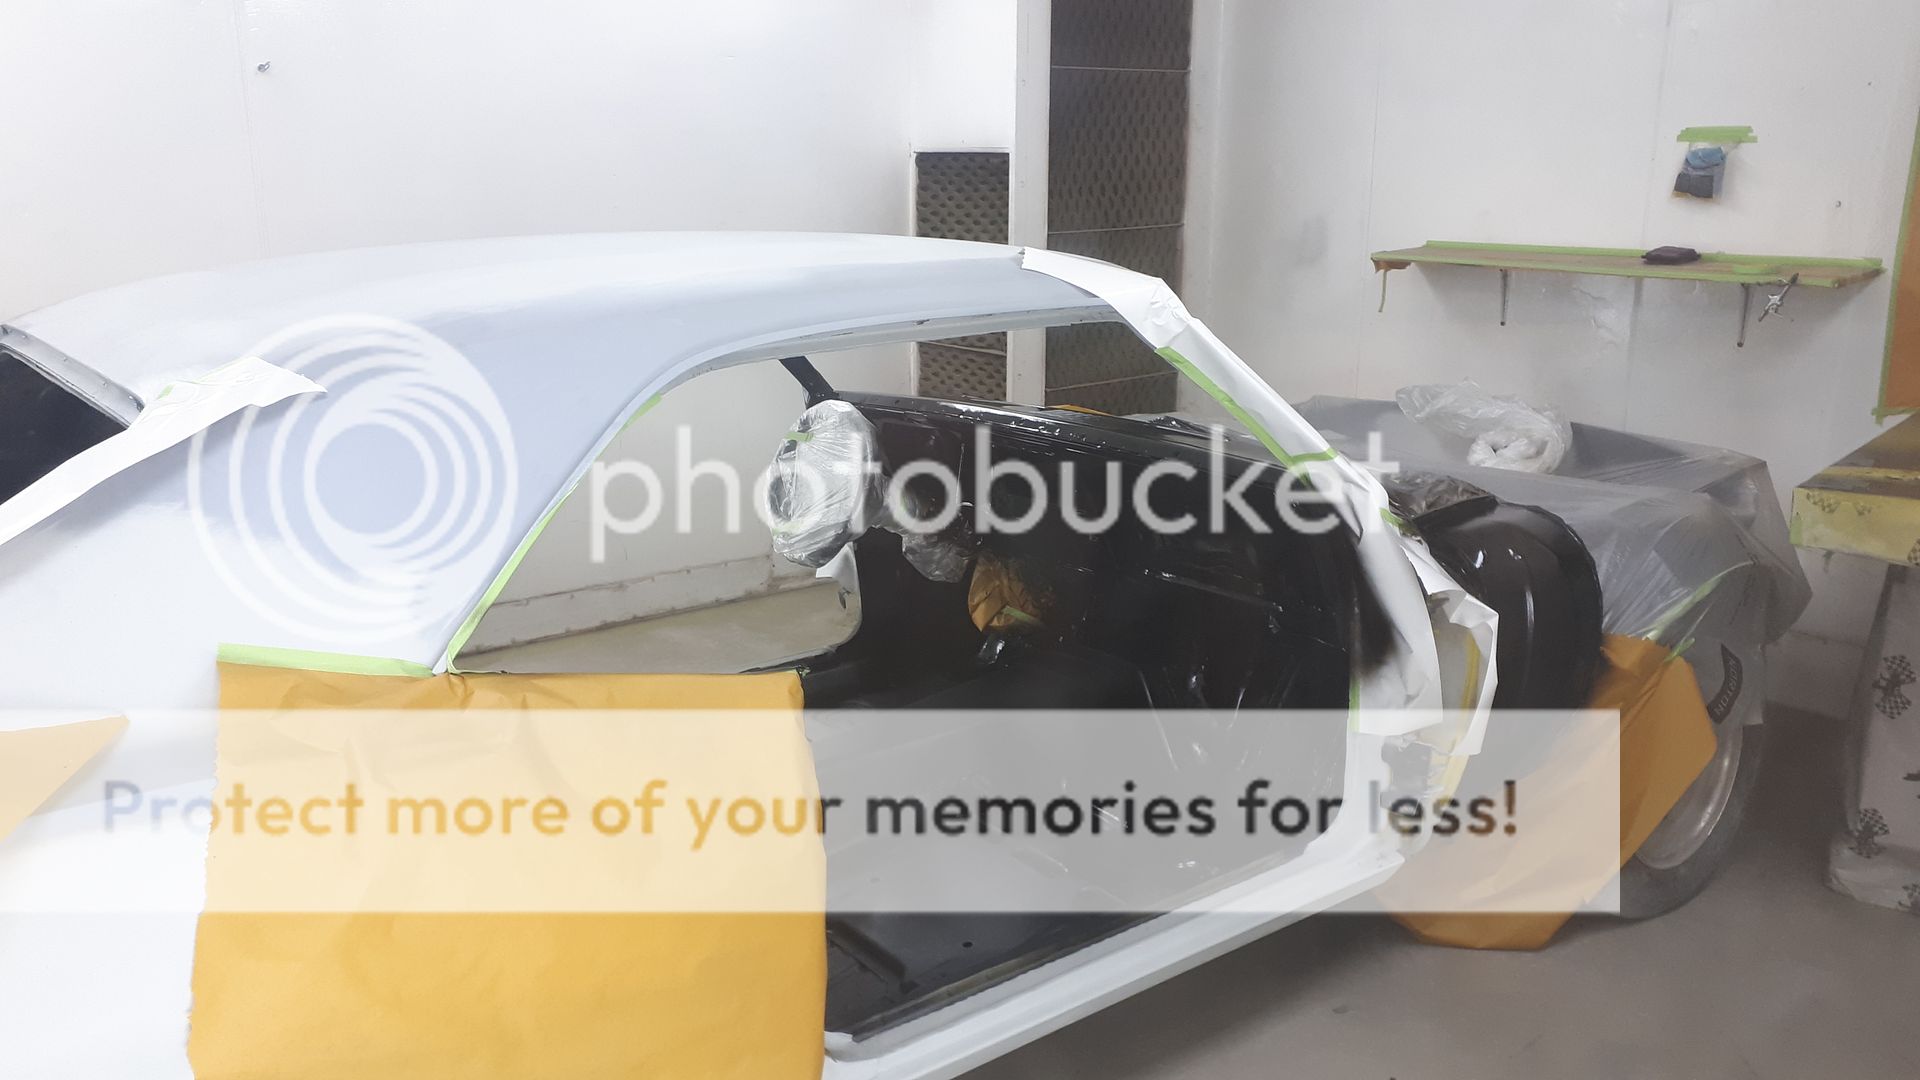
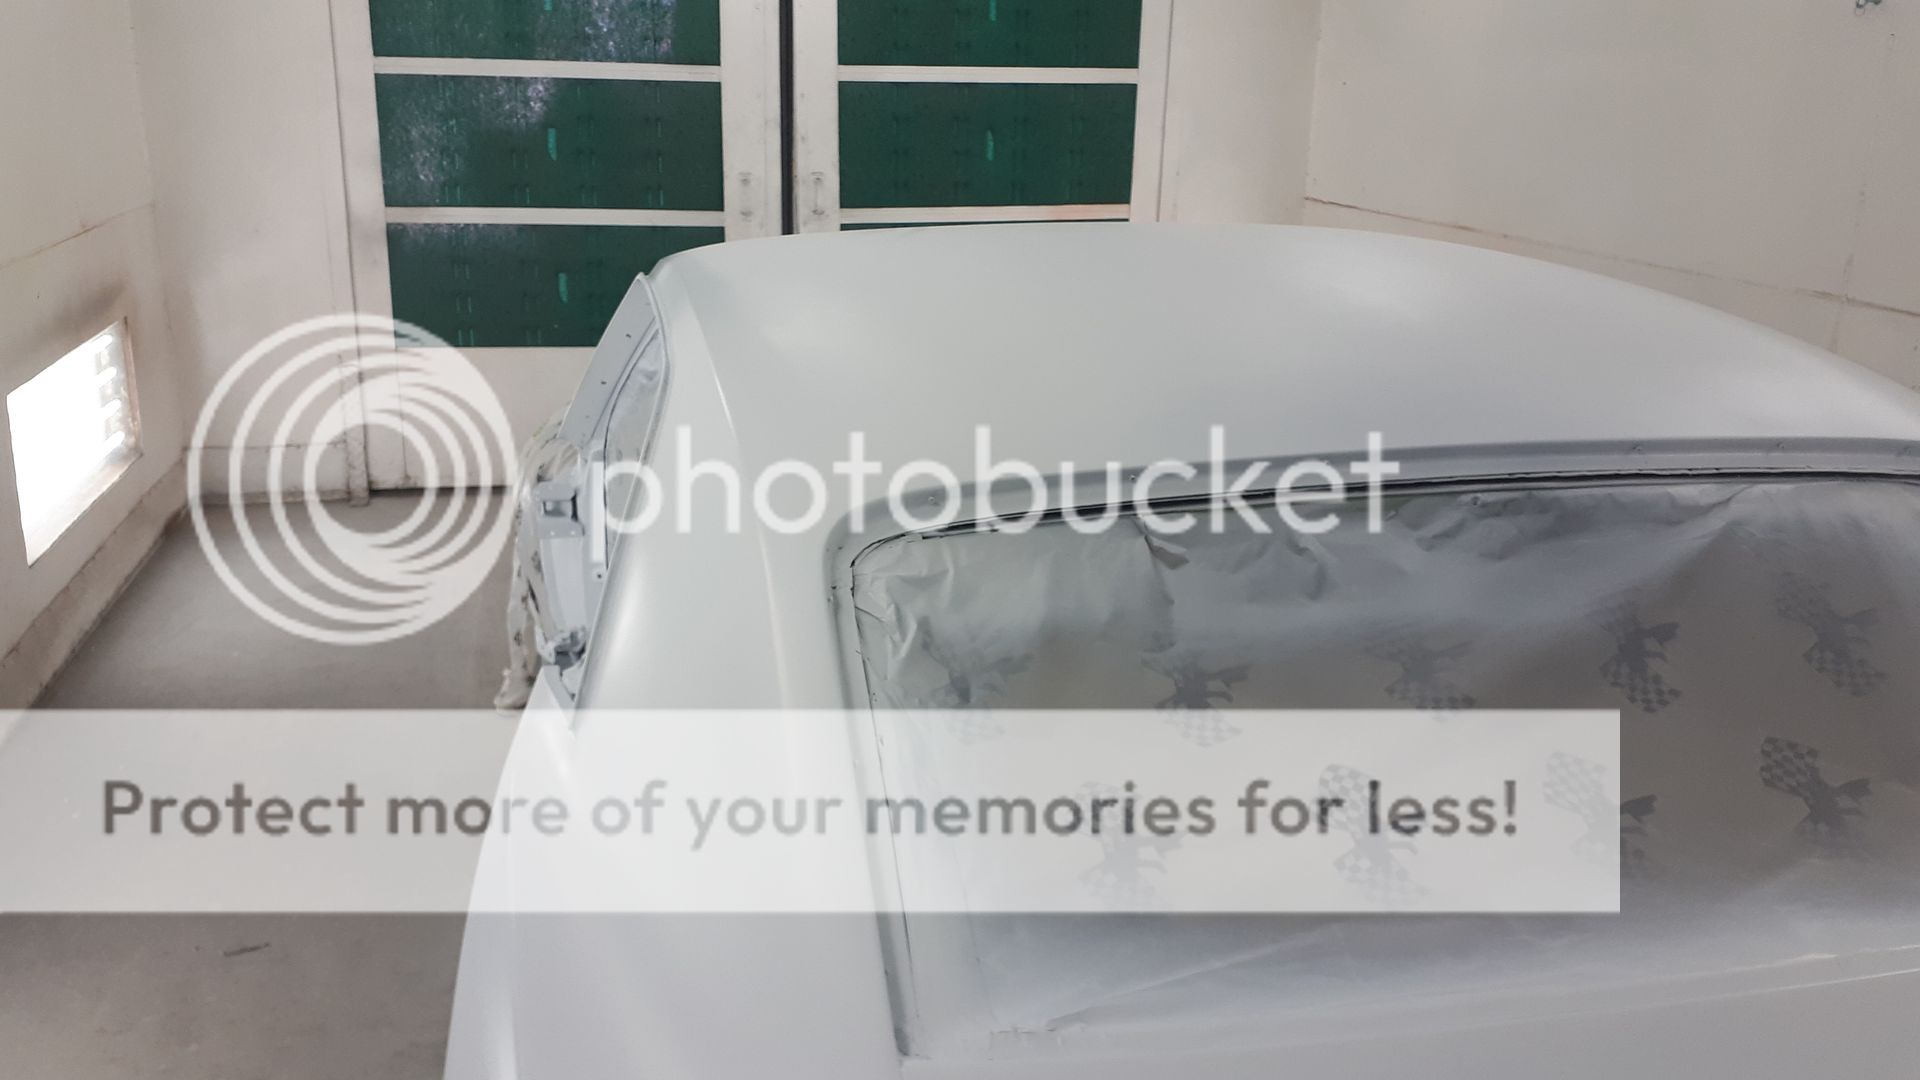
We based it in white before the yellow,
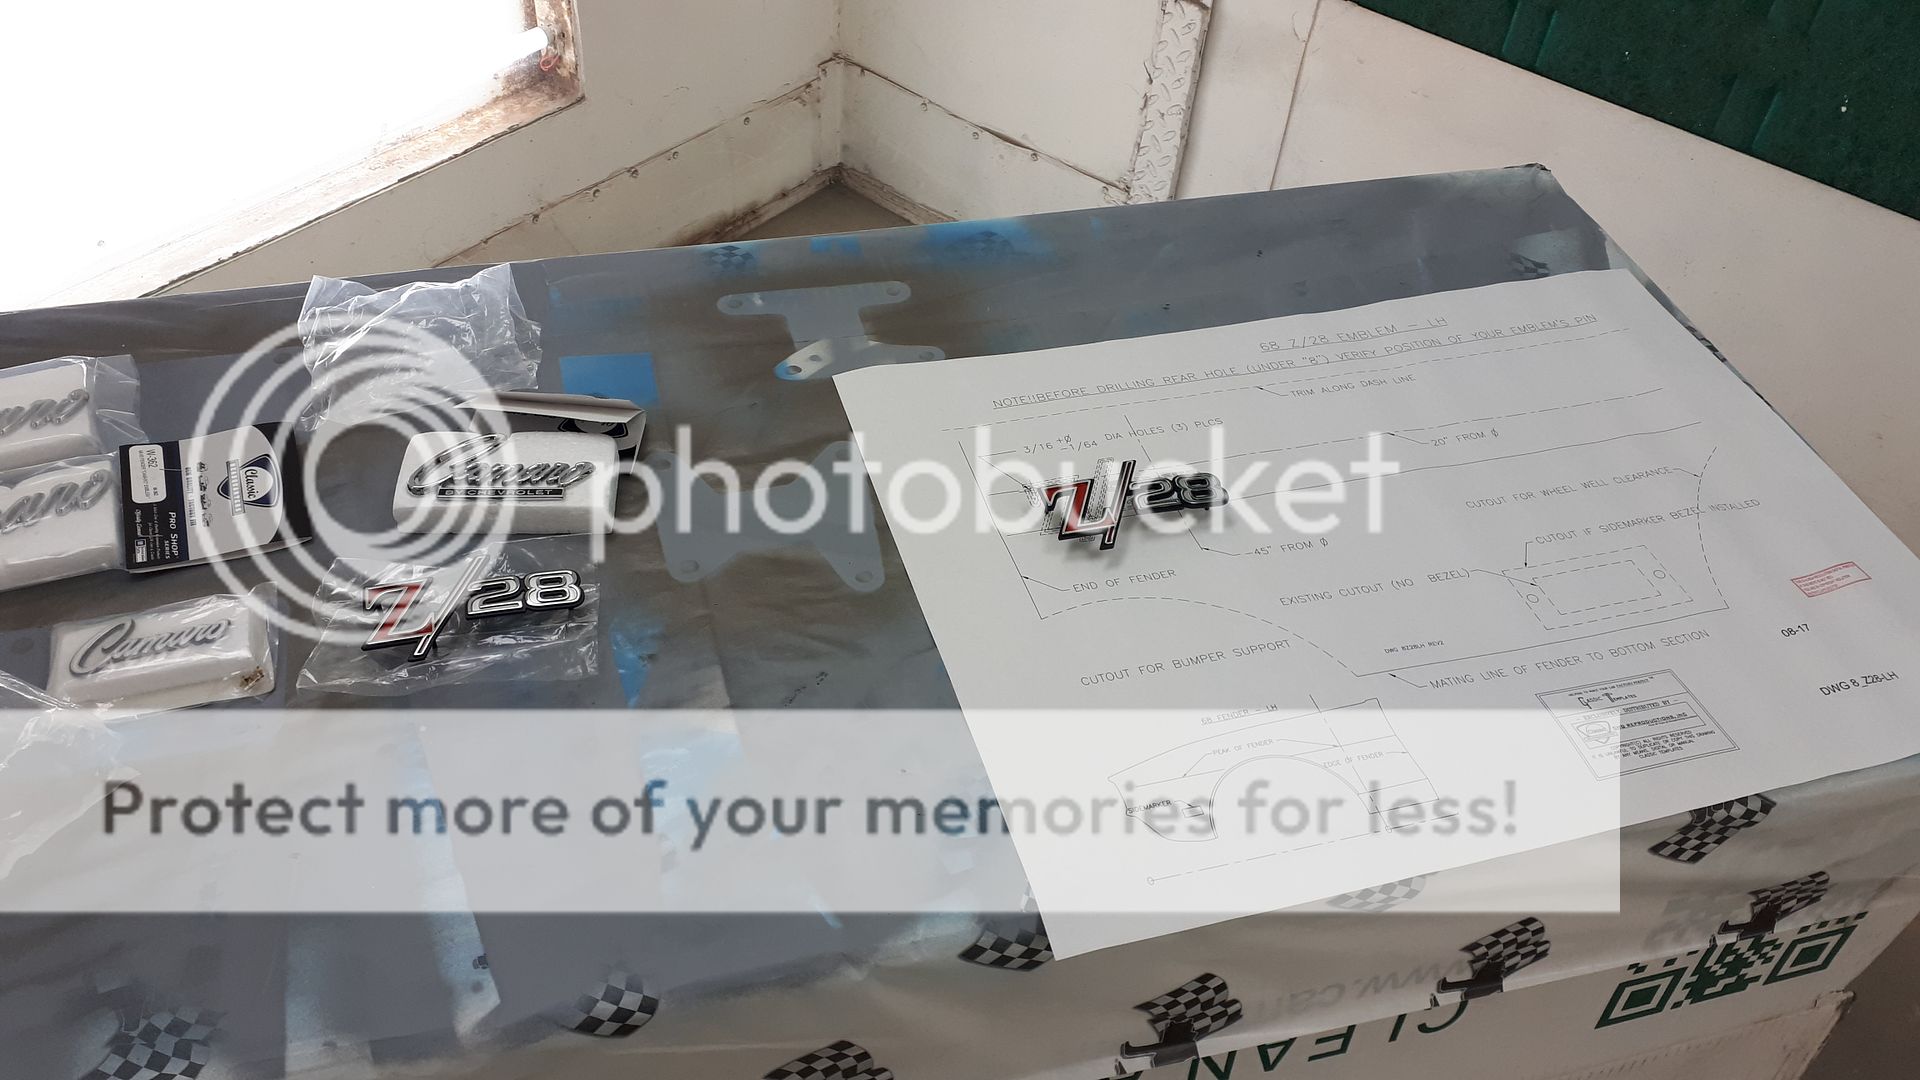
We used templates for the emblem placement,
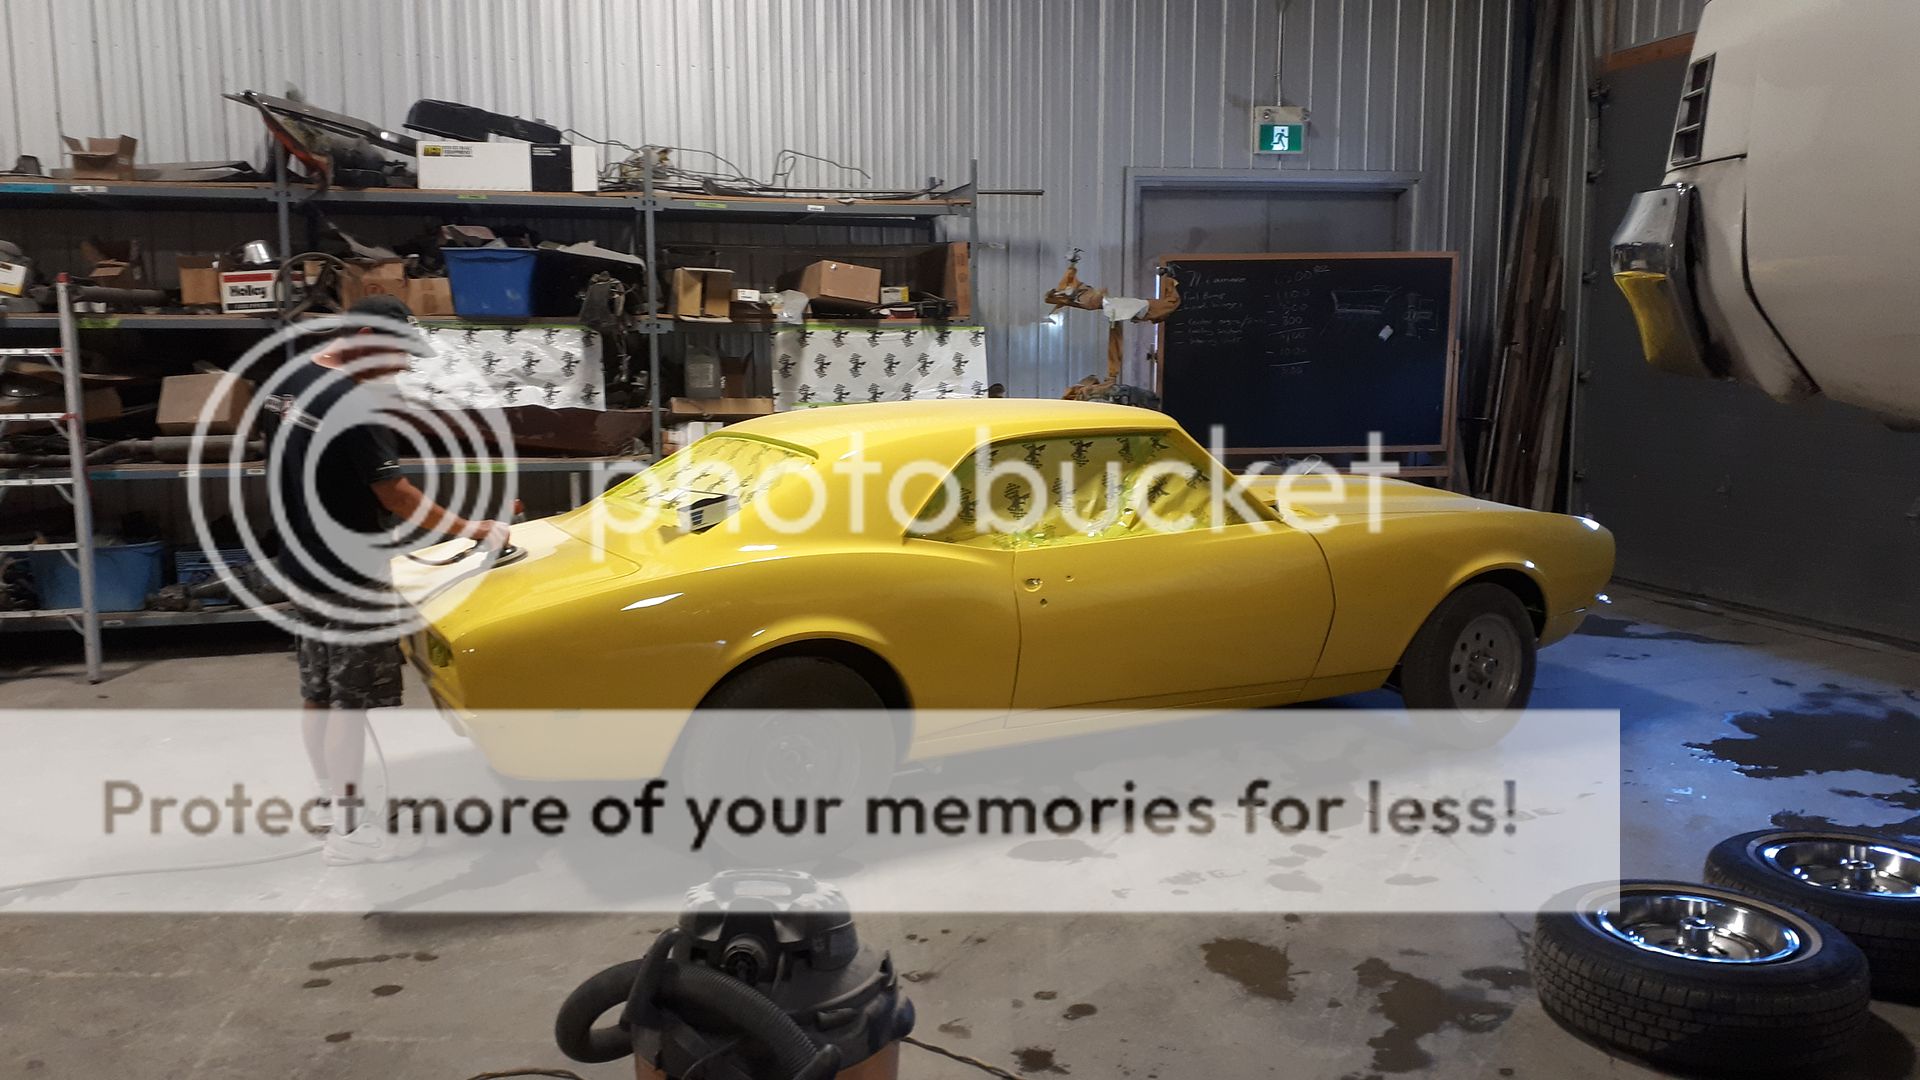
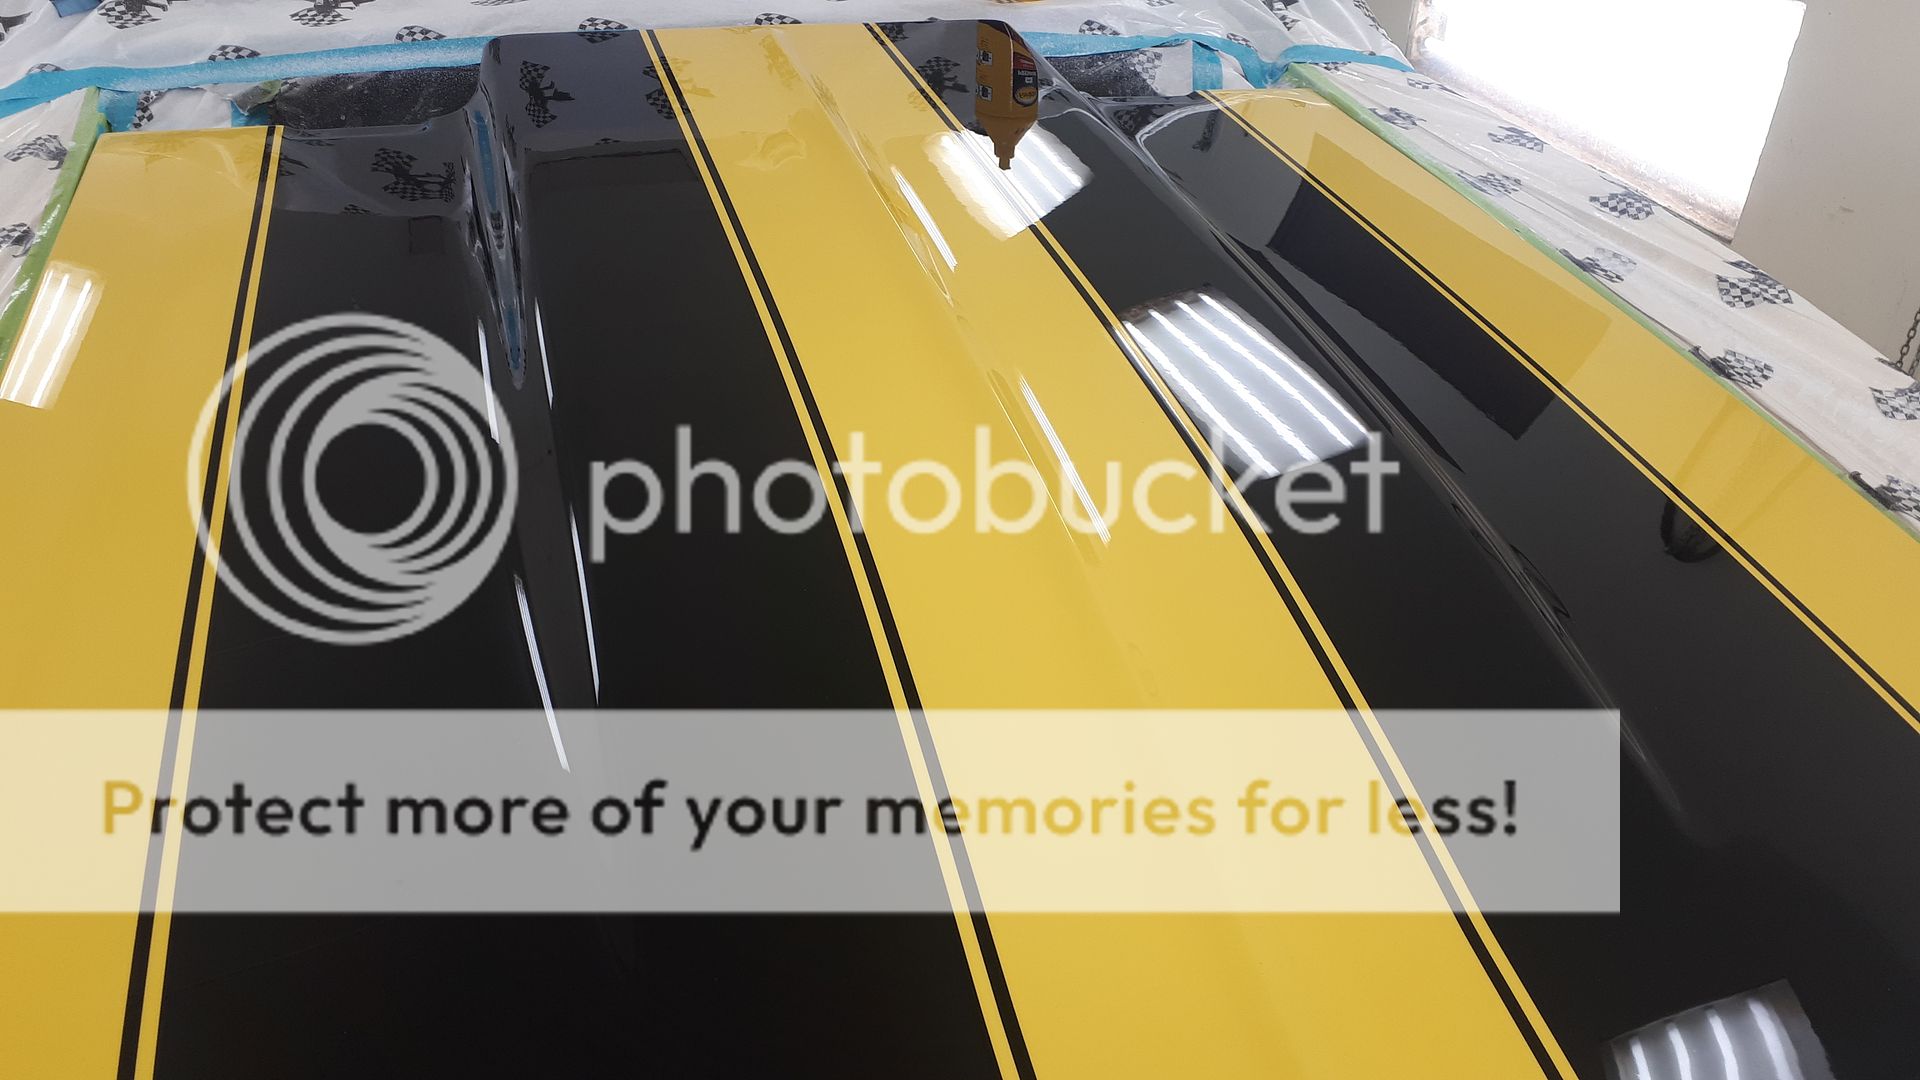
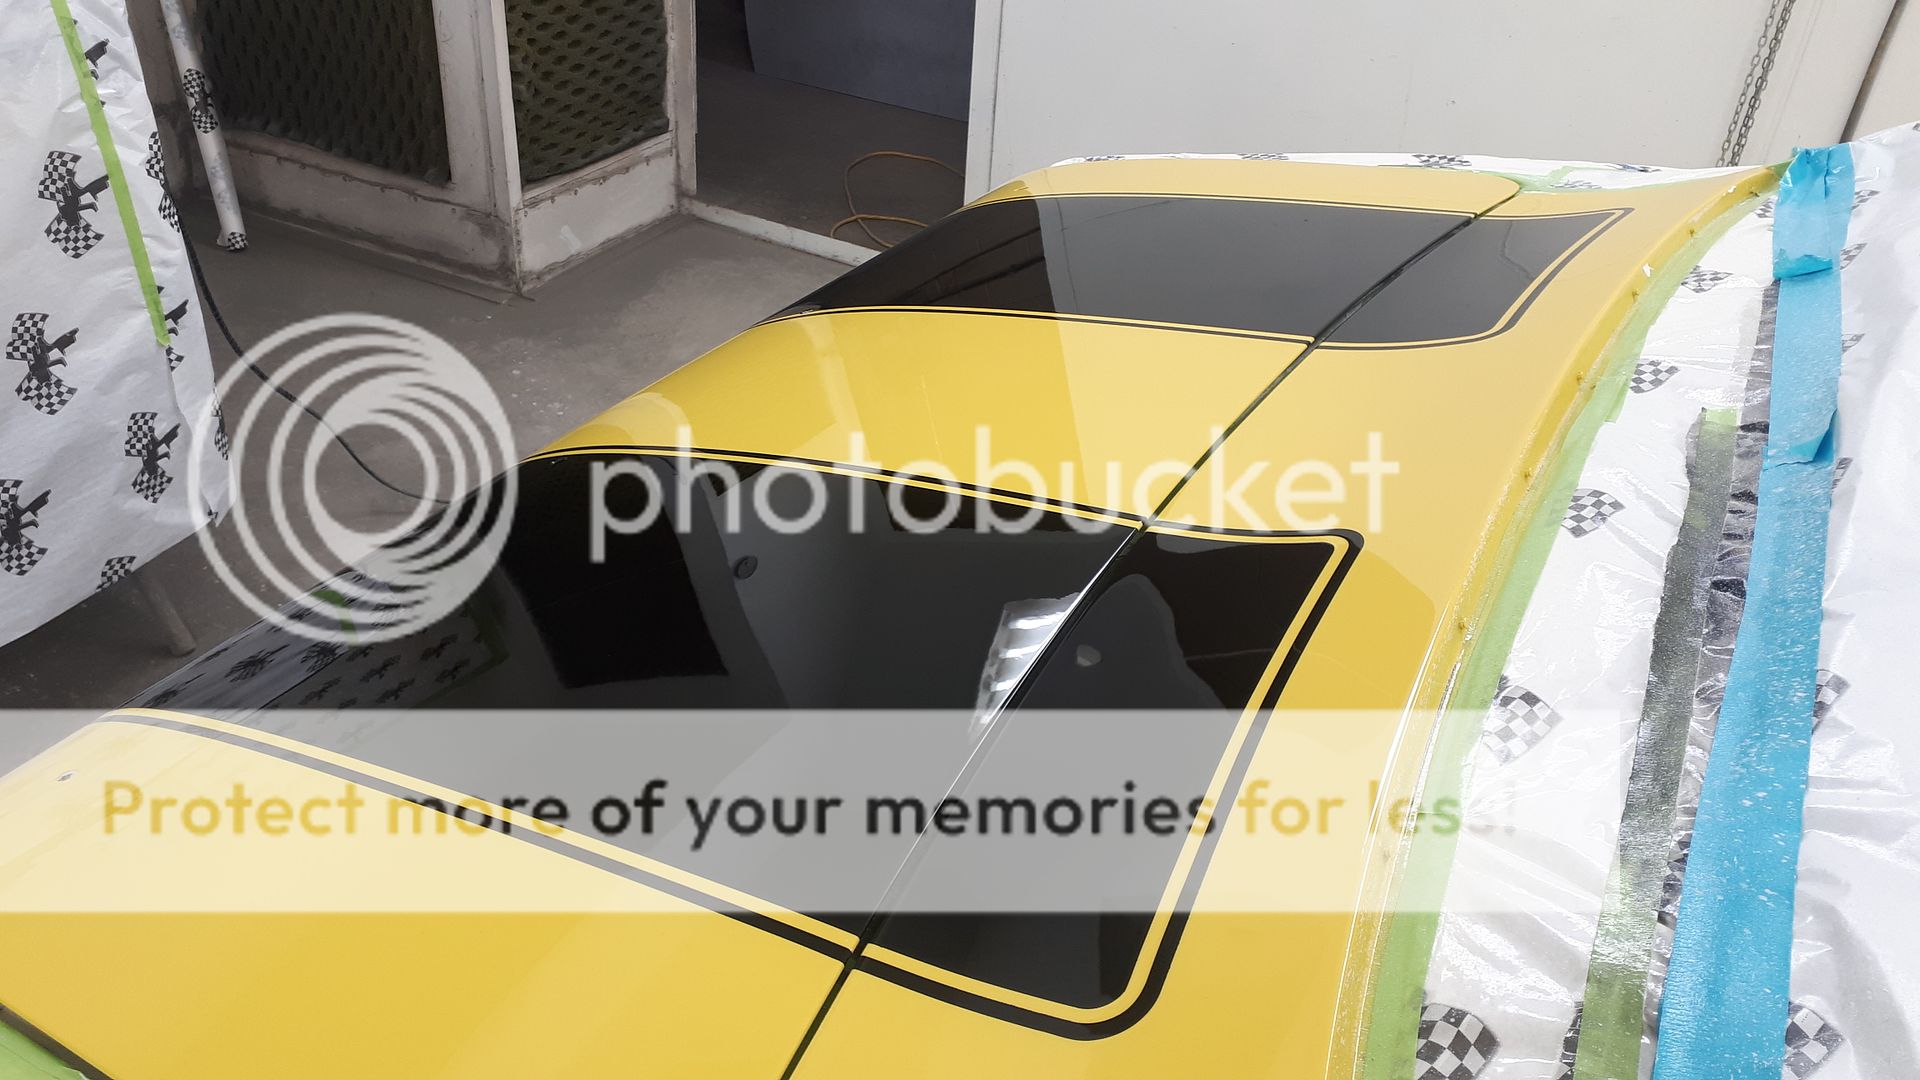
All painted in yellow! We cleared the yellow before laying down the stripes.


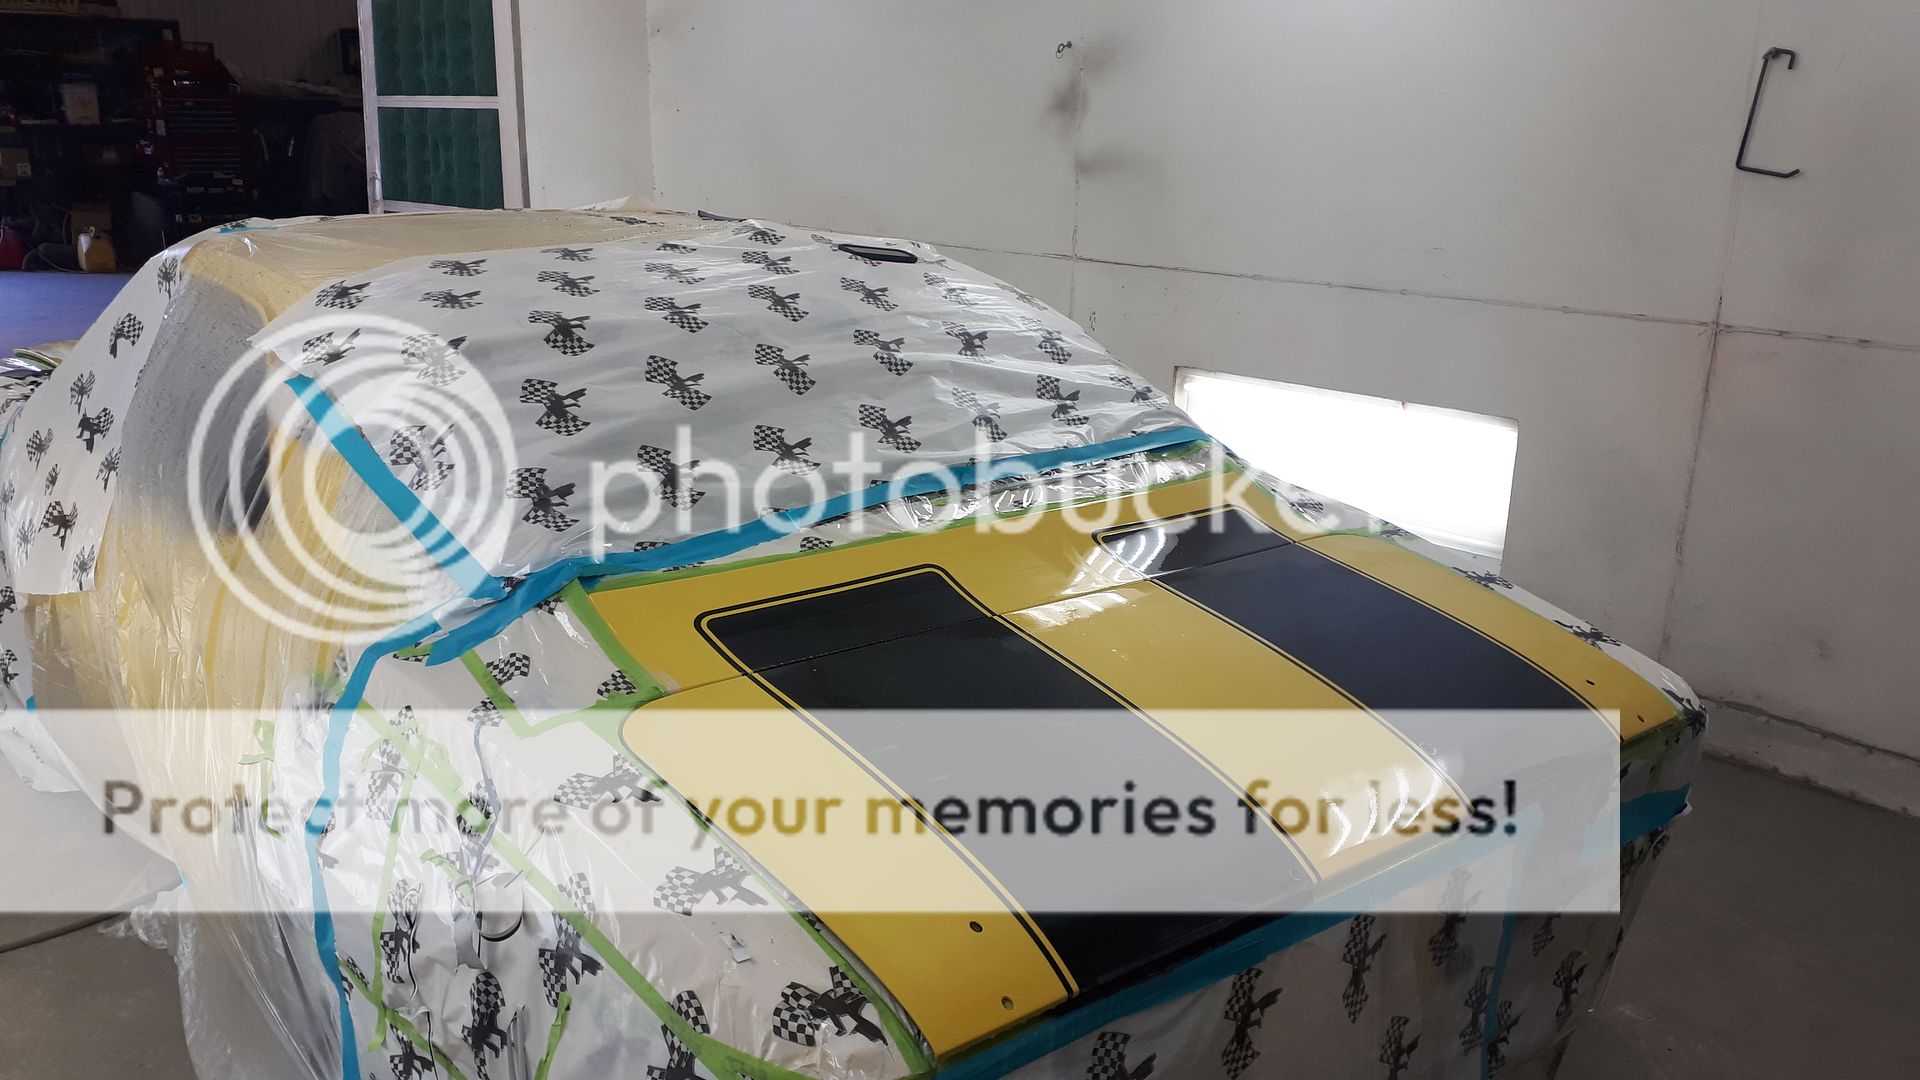
Here we are sanding the trunk in preparation for the black stripes,
Laying down the stripes,


until next time!
cheers


Making sure the moldings line up nicely, good thing to do before it gets painted LOL!


Then the block sanding starts!

After the second application of high build and the final blocking,

Now we take it all apart and paint the floors and trunk,

We also painted under the hood.

We based it in white before the yellow,

We used templates for the emblem placement,

All painted in yellow! We cleared the yellow before laying down the stripes.


Here we are sanding the trunk in preparation for the black stripes,

Laying down the stripes,


until next time!
cheers
Last edited by sauceman; Nov 9, 2019 at 06:47 PM.