
Subframe tie-in project

Thread Starter
|
1st Gear Member
Joined: May 2009
Posts: 136
From: Beautiful Lake Havasu
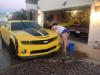
I finished the gas tank https://camaroforums.com/forum/showthread.php?t=39806, so went to work on tying in the subframe connectors to the cage and floorpan. All this work is built up over the years, little things I didn't know how to do, or didn't have the money or time to do. Now I am preparing to re-do the interior, so I want it fixed up right under the new carpet and upholstery.
Here is the floorpan welded into the connector, from the top. This is after I burned several holes through the floorpan. I used the BFH to beat the floorpan down to meet the connector. That undercoat is very hard to remove, even with a scraper and wire wheel.


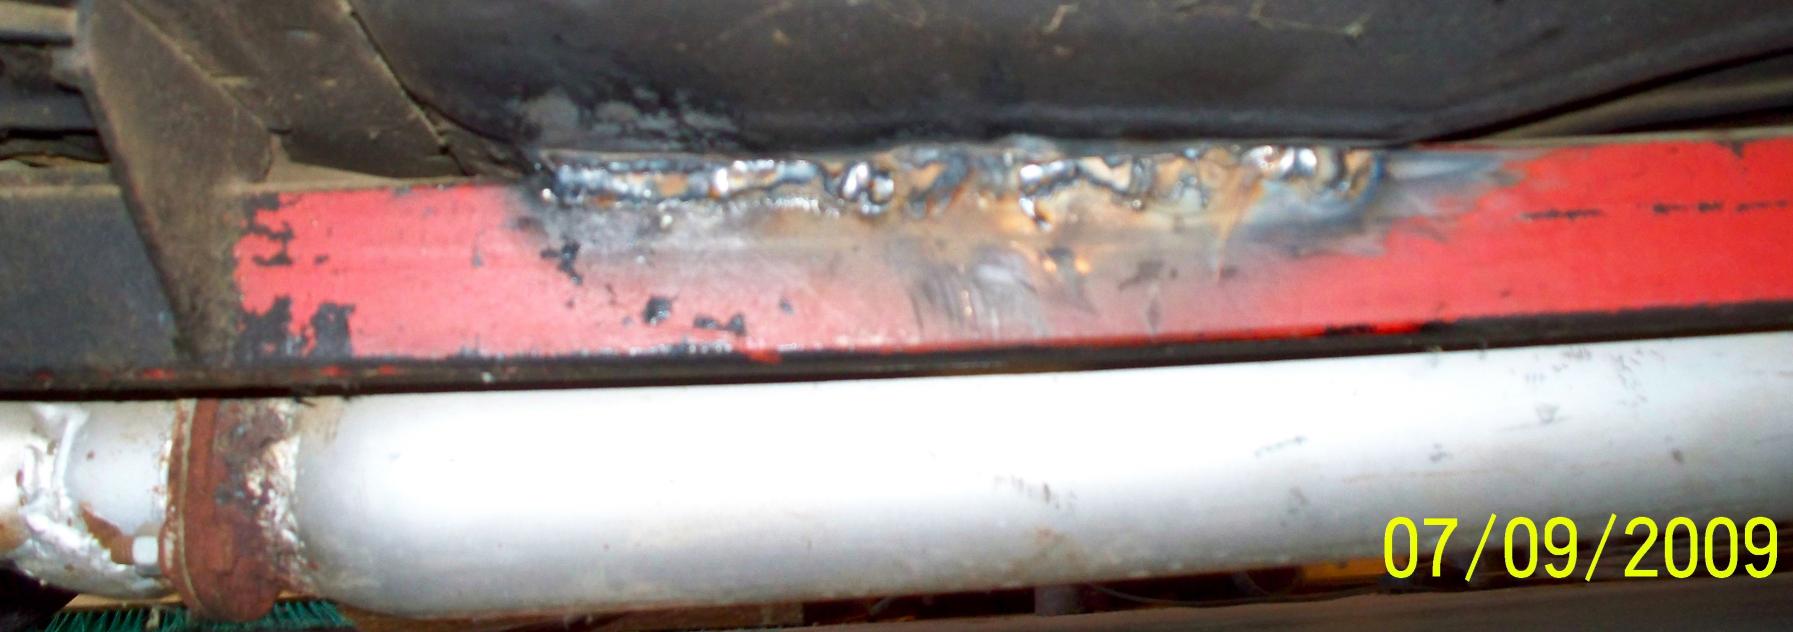
The view from the bottom. The silver and rust thing is the 3" muffler and the flange to connect to the tailpipe.

Here is the floorpan welded into the connector, from the top. This is after I burned several holes through the floorpan. I used the BFH to beat the floorpan down to meet the connector. That undercoat is very hard to remove, even with a scraper and wire wheel.
The view from the bottom. The silver and rust thing is the 3" muffler and the flange to connect to the tailpipe.
Last edited by hkunz; Jul 11, 2009 at 07:38 PM.


Thread Starter
|
1st Gear Member
Joined: May 2009
Posts: 136
From: Beautiful Lake Havasu
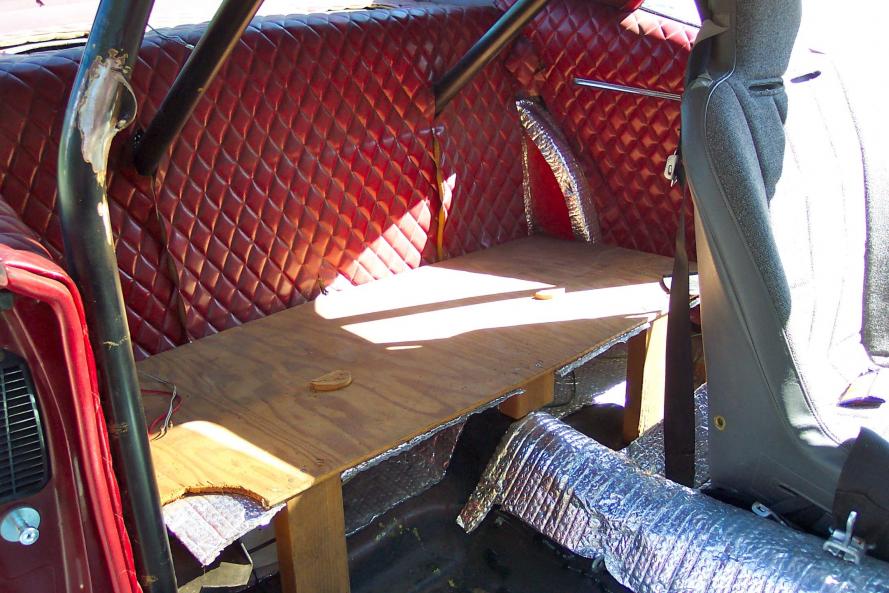
I got a little done yesterday. First up was removal of the old stereo back seat. A pair of Jensen 8" drivers which i used a crossover on to make them woofers, a pair of old speaker cones as driven cones, and a pair of piezo tweeters for the highs. These replaced my back seat, and have been in place since the late 70's.

Next I took out the plywood framework under the speakers, and cut off the old onboard fire extinguisher.
Since Halon is no longer readily available, the space didn't seem to make sense to lose.
My welding in the 70's was atrocious by today's standards. This cage passed NHRA tech inspection, but cutting the welds out was amazingly easy. My MIG welder really improved the quality of the welds i do now.

Thread Starter
|
1st Gear Member
Joined: May 2009
Posts: 136
From: Beautiful Lake Havasu
More progress, although slow. Repairing old stuff seemed to take most of the day. I wimped out and came inside when the temp hit 97. The Camaro sits outside while I work on it, since with the Jeep in the garage I can't open the Camaro doors enough to drag all the tools inside.
I ground out and rewelded the main hoop to rear strut joints. The metal plate is to keep the headliner from catching fire. I already set the rear interior panels on fire, that really caused a lot of coughing. So, I just pulled the panels out, they'll need to be redone anyway.


I then made some pass-through plates to tie the subframe connectors into the floorpan and then on to the cage. I did three plug welds through the floorpan into the subframe connectors, and also perimeter welded the plates.

Afterward I ground the plates clean so the tubes would be easier to mount. These shots should give a good idea where the tubes will land, and what the whole plan is. All this in preparation for my new seats, which should ship Monday from Georgia. I found some Corvette seats, with power everything.


I ground out and rewelded the main hoop to rear strut joints. The metal plate is to keep the headliner from catching fire. I already set the rear interior panels on fire, that really caused a lot of coughing. So, I just pulled the panels out, they'll need to be redone anyway.
I then made some pass-through plates to tie the subframe connectors into the floorpan and then on to the cage. I did three plug welds through the floorpan into the subframe connectors, and also perimeter welded the plates.
Afterward I ground the plates clean so the tubes would be easier to mount. These shots should give a good idea where the tubes will land, and what the whole plan is. All this in preparation for my new seats, which should ship Monday from Georgia. I found some Corvette seats, with power everything.
Thread Starter
|
1st Gear Member
Joined: May 2009
Posts: 136
From: Beautiful Lake Havasu
I've been working out the locations for the lower hoop braces (the tubes shown in the pics above), so searched NHRA.com, a number of
websites aimed at selling their rollcages, and finally Jeg's.com.
Here's the installation instructions from Jeg's.
http://www.jegs.com/instructions/555/rollcage.pdf
The lower hoop braces go just below the crossbar, which goes even with or up to 4" below the shoulder top while seated. Since my
seats (93 Corvette, Ruby Red leather, full power) aren't in yet, I can't calculate where the crossbar goes, and therefore where the lower
hoop braces go. Bummer.
I just want to stiffen the car so the doors will continue to open and close, a problem in 1st Gen Camaros when power gets bigger, and
tires get sticky. My old BFG's would smoke through the gears, but the new high-tech tires grab hard. I cut out the old door bars because
we had trouble getting in and out, and got these from Jeg's to put some stiffness back in; that, combined with the other work I'm doing
on the subframe, should take care of it. http://www.jegs.com/p/Jegster/Jegste...56837/10002/-1
Last edited by hkunz; Jul 14, 2009 at 02:31 PM. Reason: fit on page


Thread Starter
|
1st Gear Member
Joined: May 2009
Posts: 136
From: Beautiful Lake Havasu
I gave up on trying to figure out the bar location, so I went to my local race car manufacturer, Victory Circle. http://www.victorycircle.com/
They are bending me a crossbar, 1 1/4" OD, and two lower hoop braces, also 1 1/4", complete with notches, all out of DOM, and 0.118" wall to comply with NHRA specs. I probably will never race it, but they are a good source for specs. http://www.nhraonline.com/contacts/tech_faq.html The notching alone will save me hours over doing it manually, and way cheaper than a bender and/or notcher.
They are bending me a crossbar, 1 1/4" OD, and two lower hoop braces, also 1 1/4", complete with notches, all out of DOM, and 0.118" wall to comply with NHRA specs. I probably will never race it, but they are a good source for specs. http://www.nhraonline.com/contacts/tech_faq.html The notching alone will save me hours over doing it manually, and way cheaper than a bender and/or notcher.