
My 67 Vert restoration


Thread Starter
|
In the Staging Lanes
Joined: Jul 2009
Posts: 51
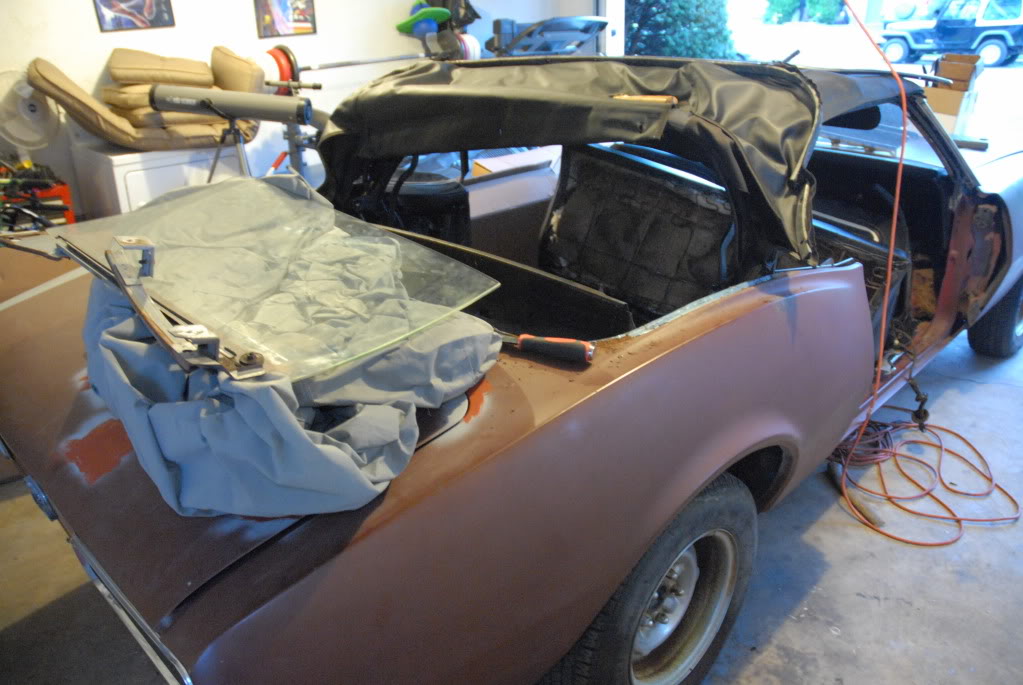
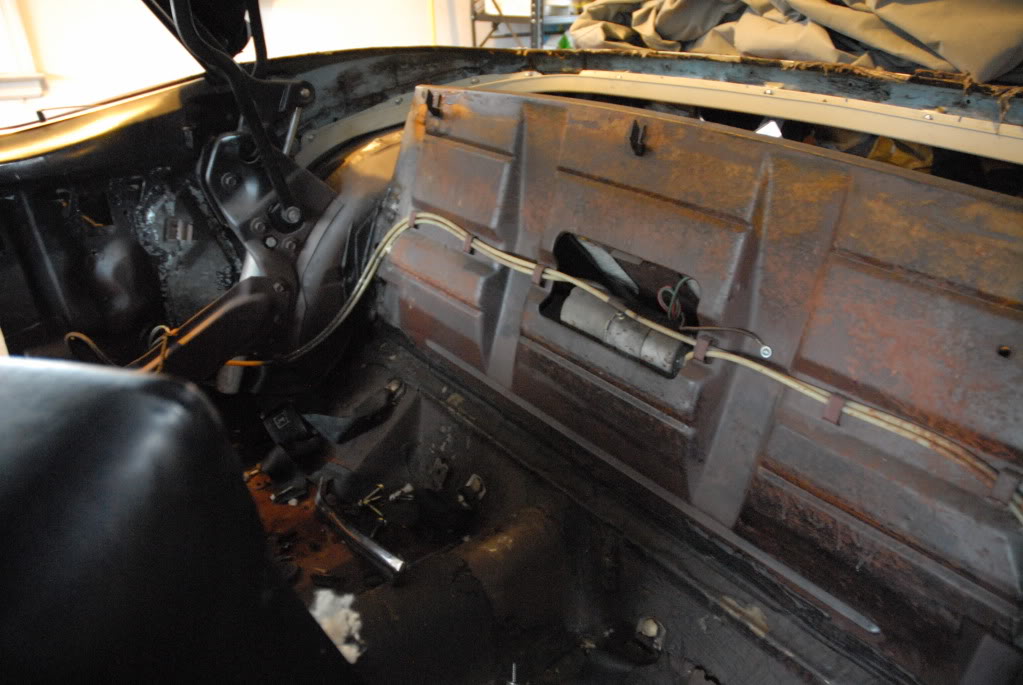
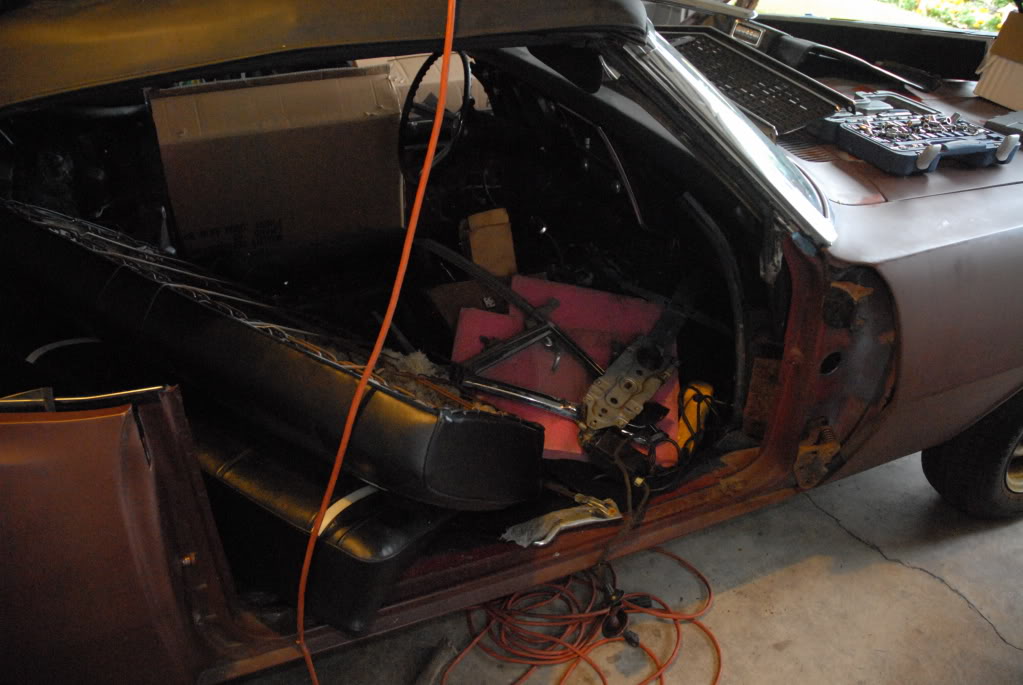
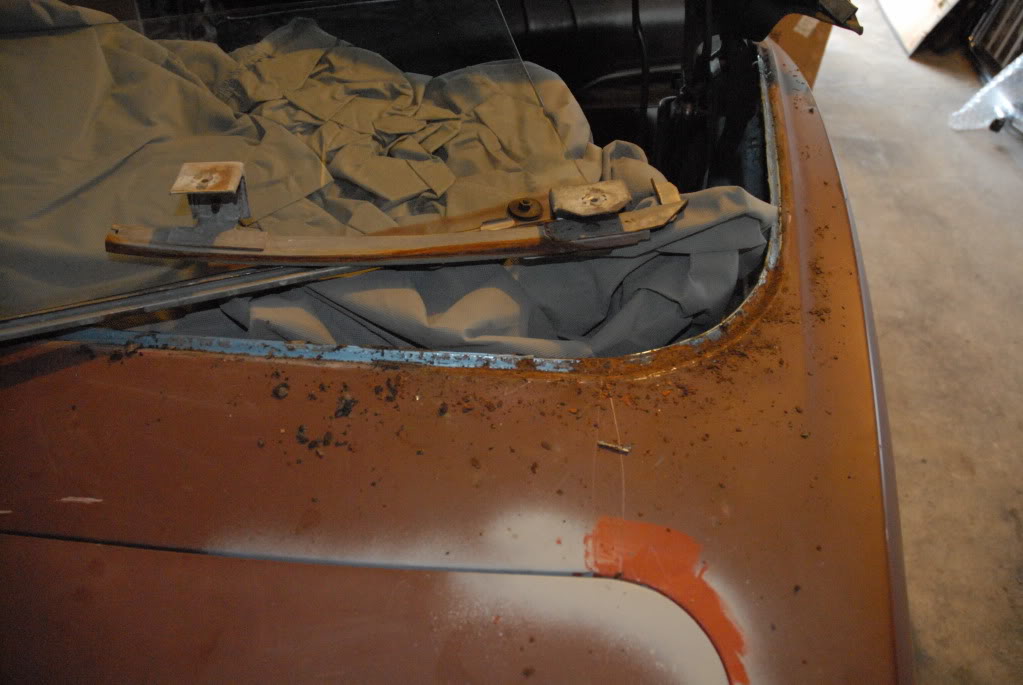
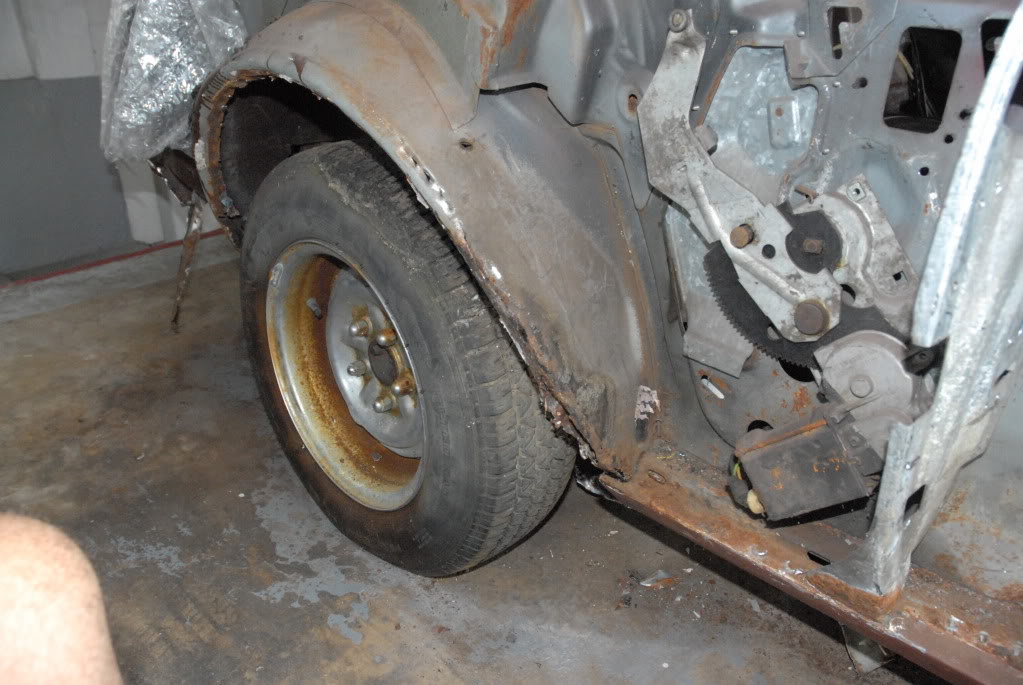
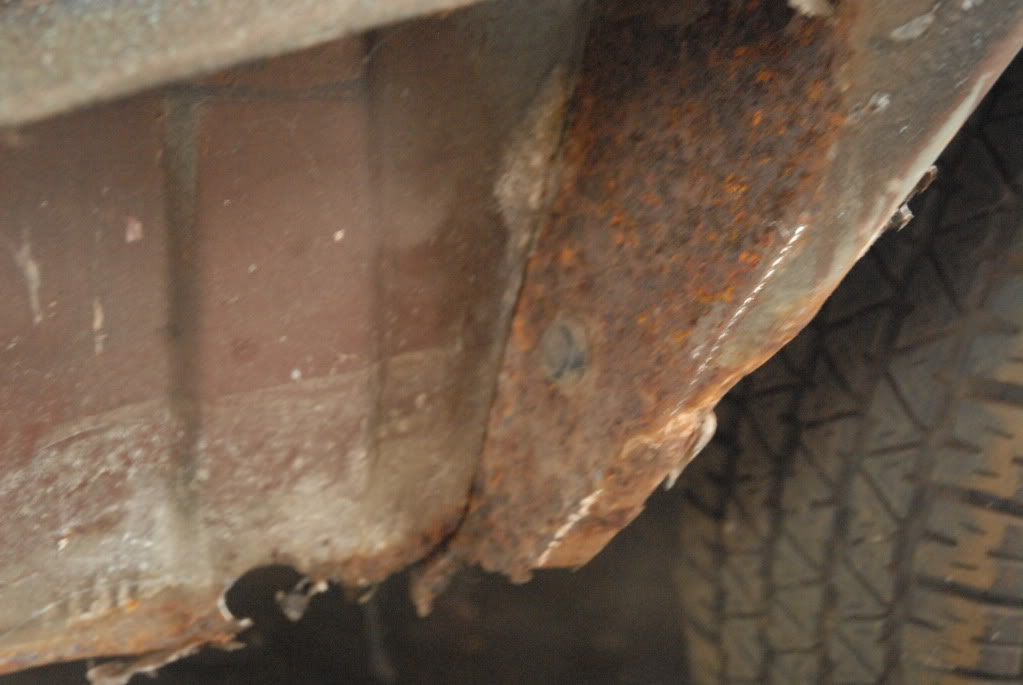
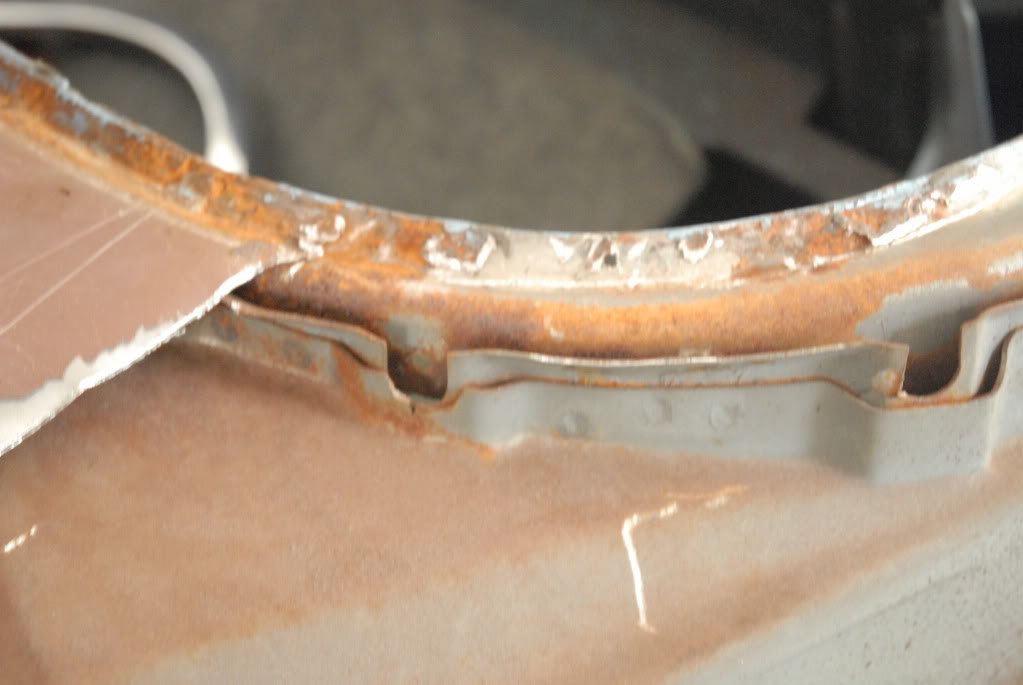
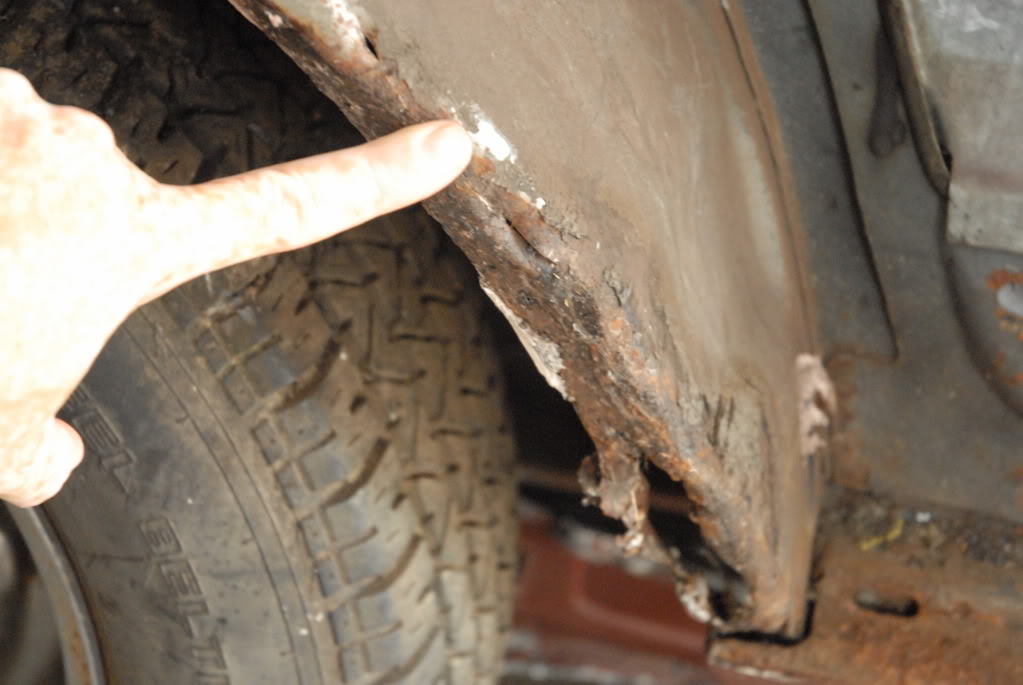
Here it is, I finally manage to start and here are the first pictures. The Good: other than Quarters, door skins and tail panel all other metal is in pristine condition. I am still amazed with the shape of the car. Much more than I expected for sure.
The bad: I want to ride it this weekend... do you think it'll be done?
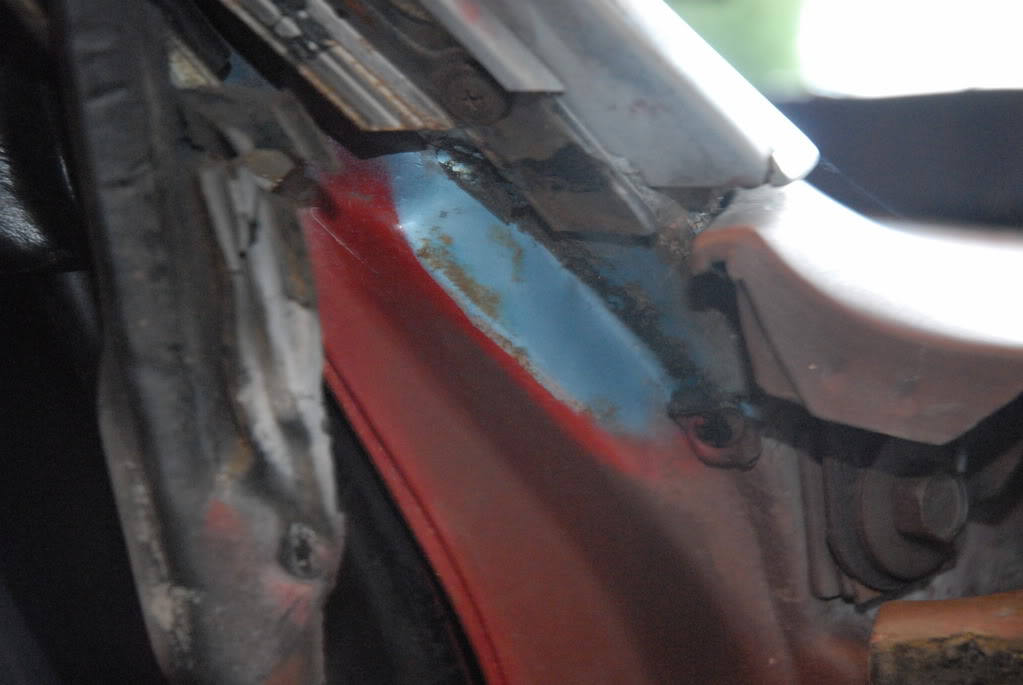
On some of the pics you can see the original Nantucket Blue color that the car will be receiving some day soon. ISN'T SHE GORGEOUS?

The bad: I want to ride it this weekend... do you think it'll be done?
On some of the pics you can see the original Nantucket Blue color that the car will be receiving some day soon. ISN'T SHE GORGEOUS?
Last edited by aperjo; Aug 17, 2009 at 09:25 PM.

December 2011 ROTM
Santas Little Helper
Santas Little Helper
Joined: Jul 2007
Posts: 1,242
From: Casselberry, FL
ROTM Winner's Club
Wow man great pics. You might want to edit your post and put the pics under one another. You've got them side by side making the screen go haywire. Other than that you're off to a fantastic start.
Thread Starter
|
In the Staging Lanes
Joined: Jul 2009
Posts: 51
OROCKER, thanx for letting me know, for some reason it looked fine on my screen, but I fixed it, so hopefully you will be able to see it correctly now.
BTW, thank you for the imput and advice on buying the car, back when I posted the thread on wether to buy it or not. We are very happy with it and now that we begun the resto and finally got to see the real shape of the car we are just thrilled with it.
Not knowing too much about camaros back then and their going prices I was very close to letting the deal go; although I have to say my wife clinged on to that car as if she was fighting for her life and practically beged for me to buy it. (It may be hard to believe but is true)
So many thanks!


Thread Starter
|
In the Staging Lanes
Joined: Jul 2009
Posts: 51
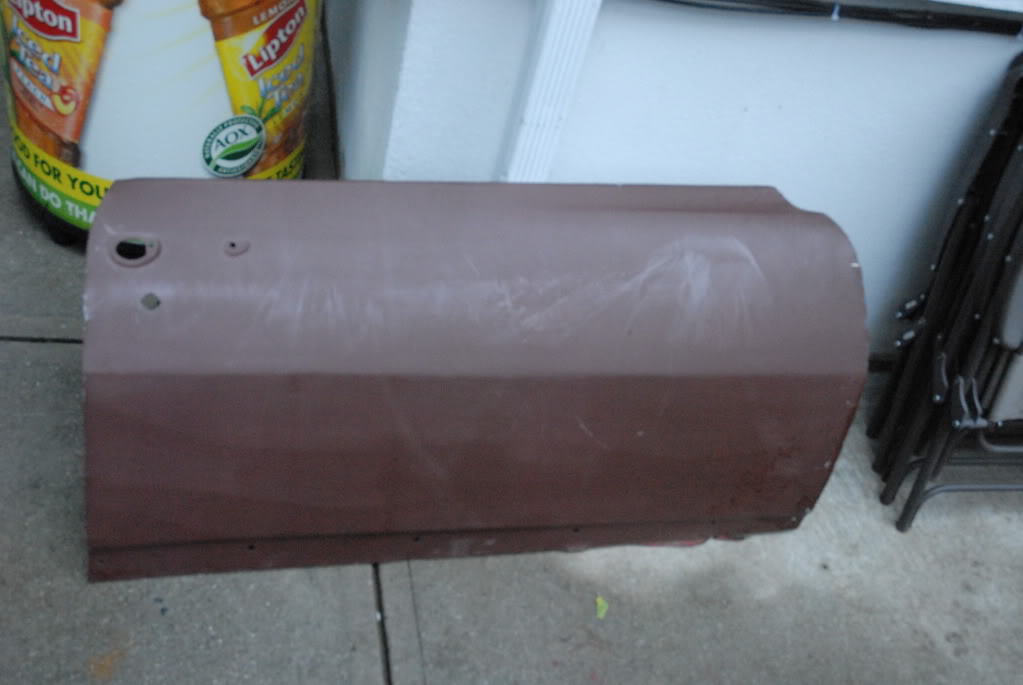
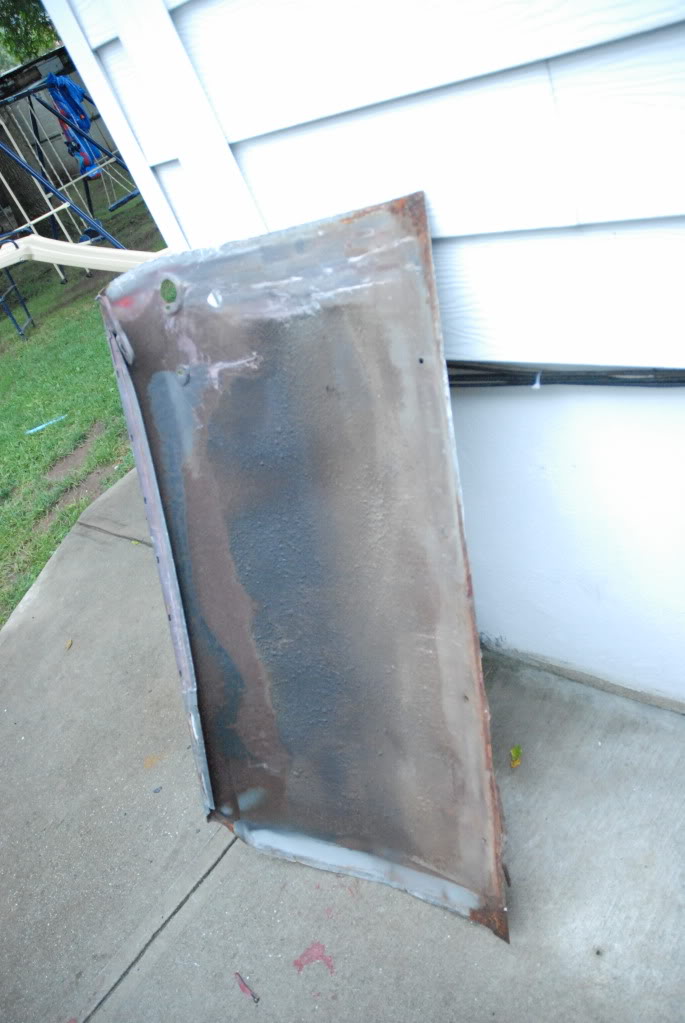
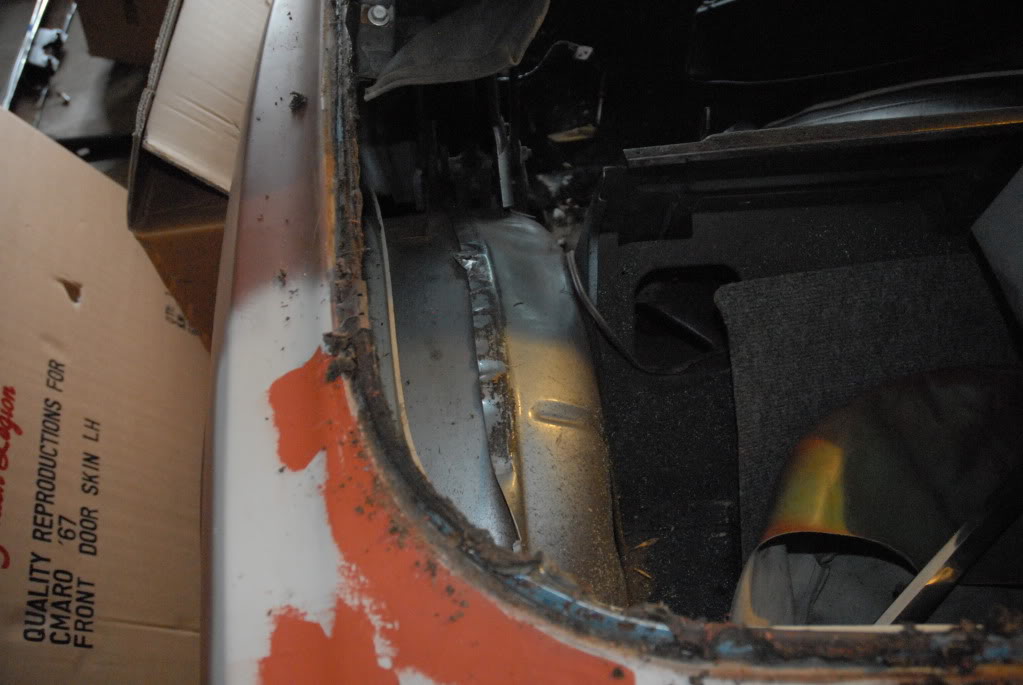
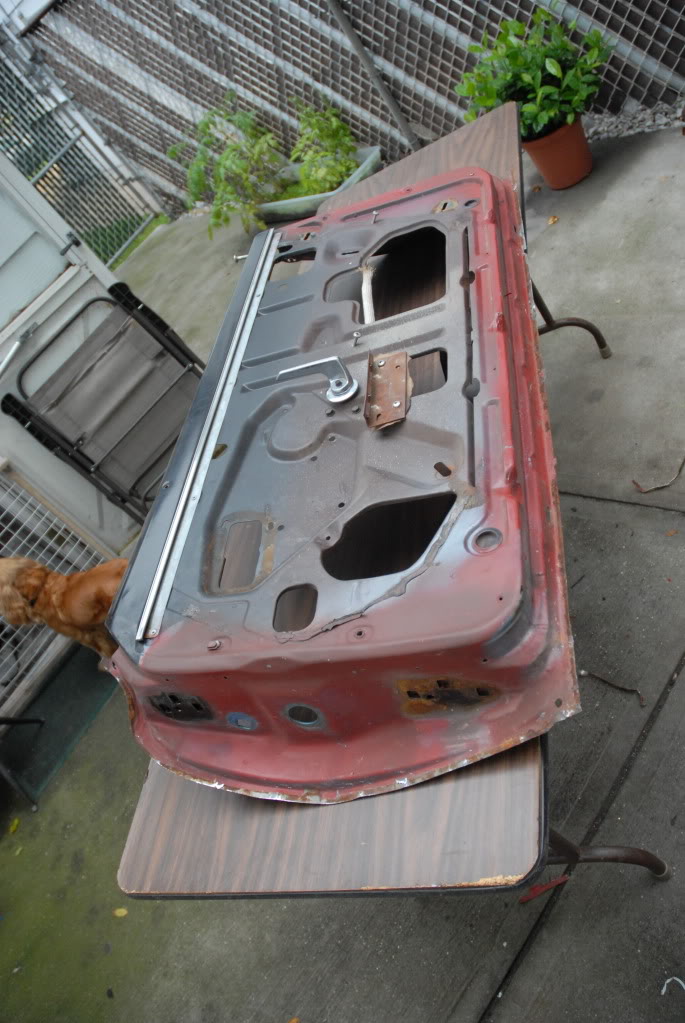
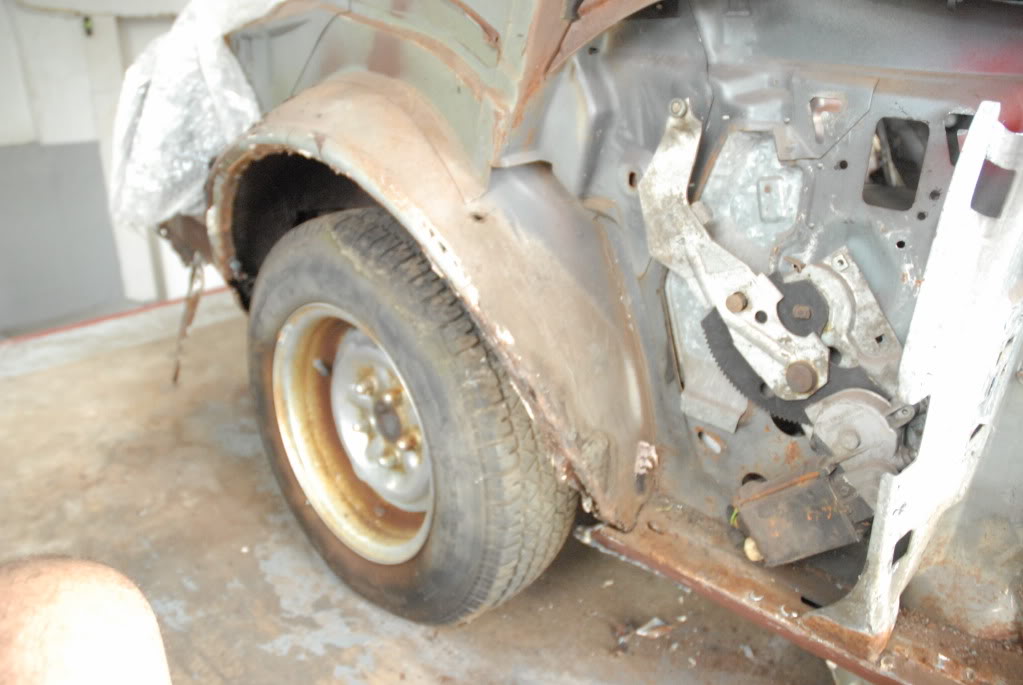
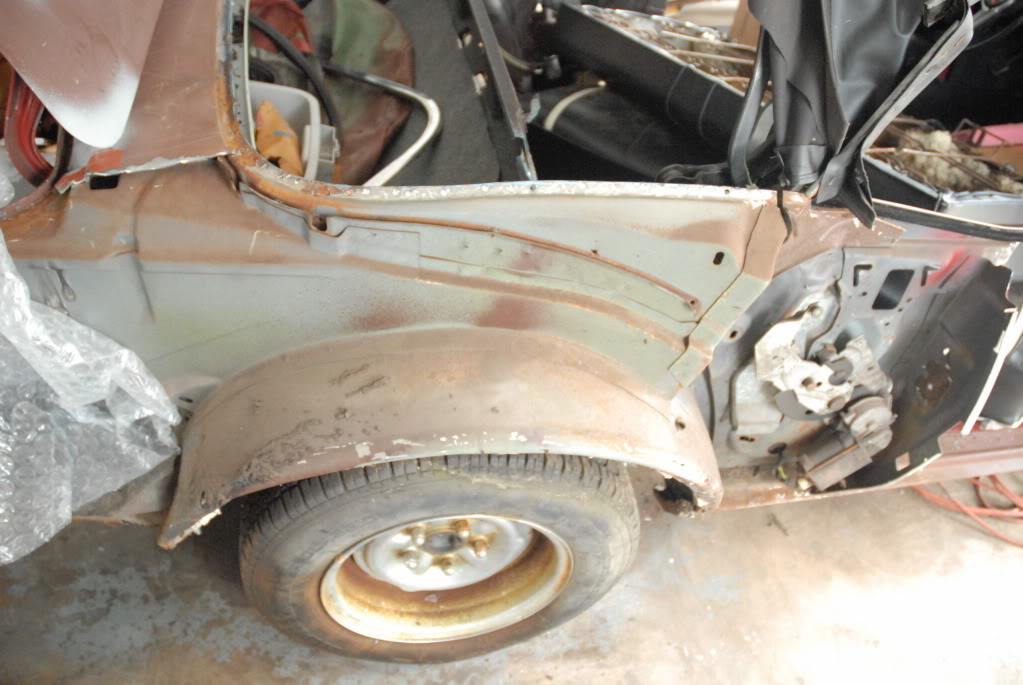
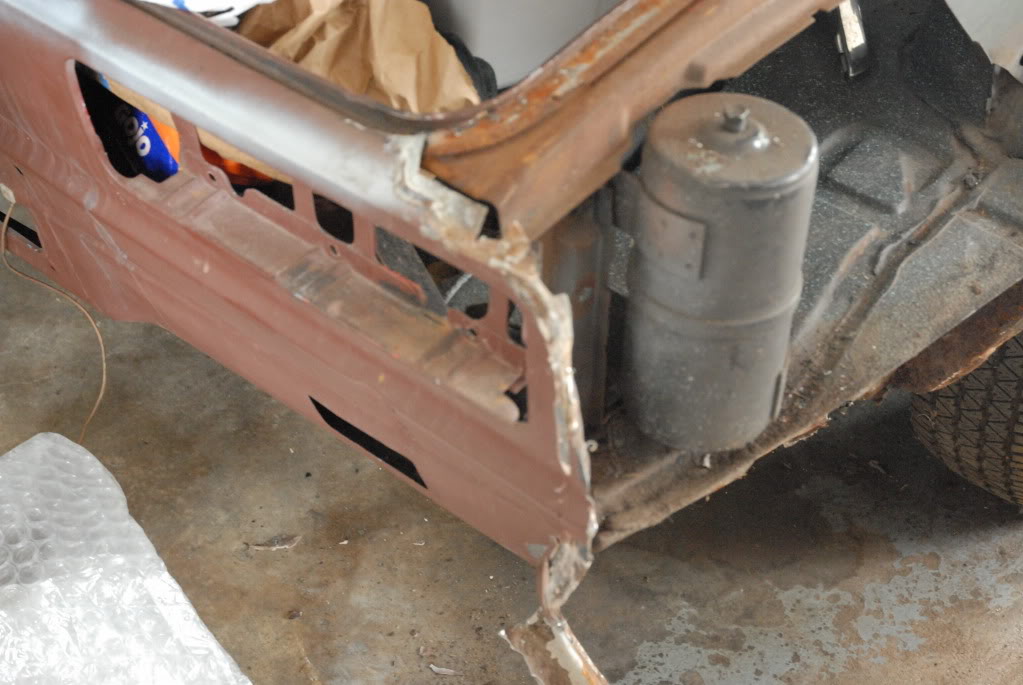
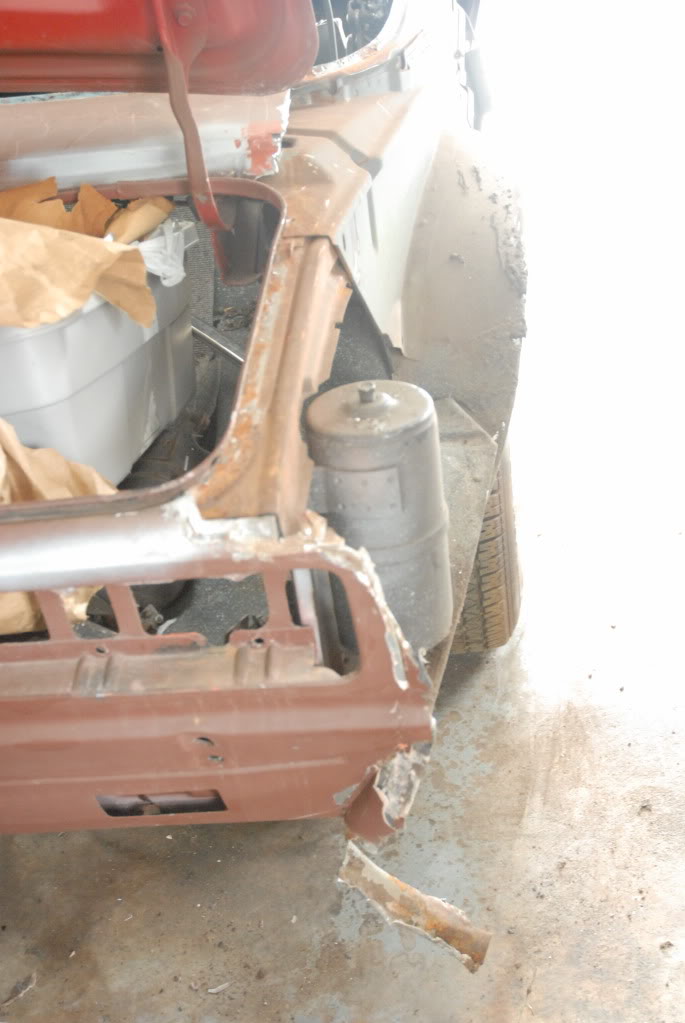
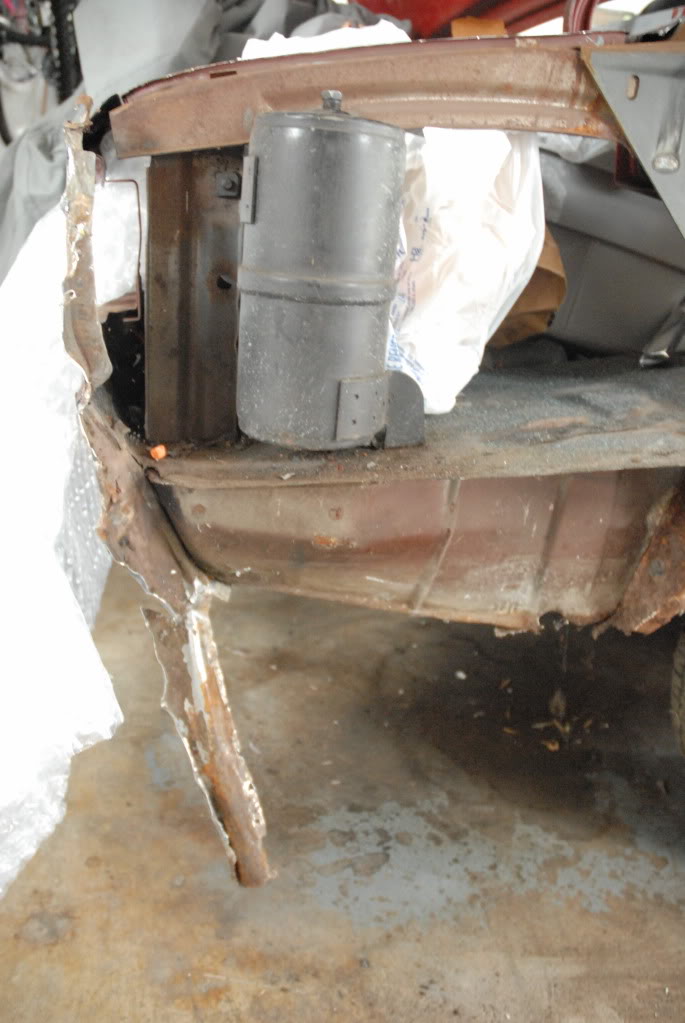
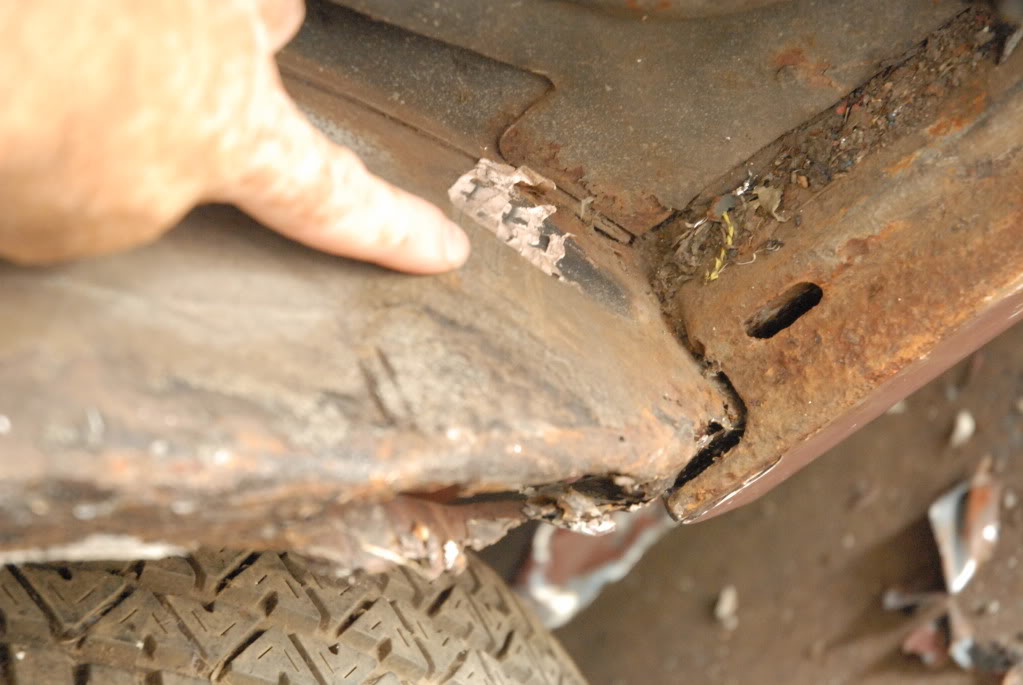
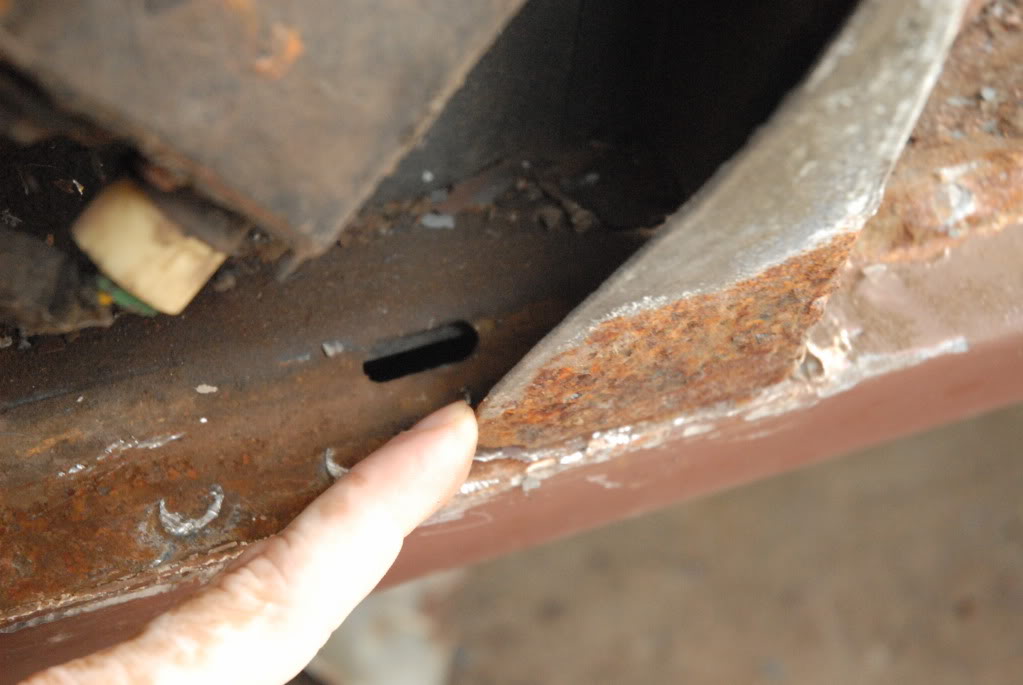
Here are more pictures, we started doing some major cutting, it looks like we will get away with patching parts like the fender wells as opposed to replacing them whole, with that we want to keep the original integrity of the shell and the factory metal and welds as much as we can.
What do you think? Patching ok?
What do you think? Patching ok?

Fourth Generation Moderator
October 2009 ROTM
October 2009 ROTM
iTrader: (1)
Joined: Nov 2007
Posts: 10,560
From: Eastern PA,
ROTM Winner's Club
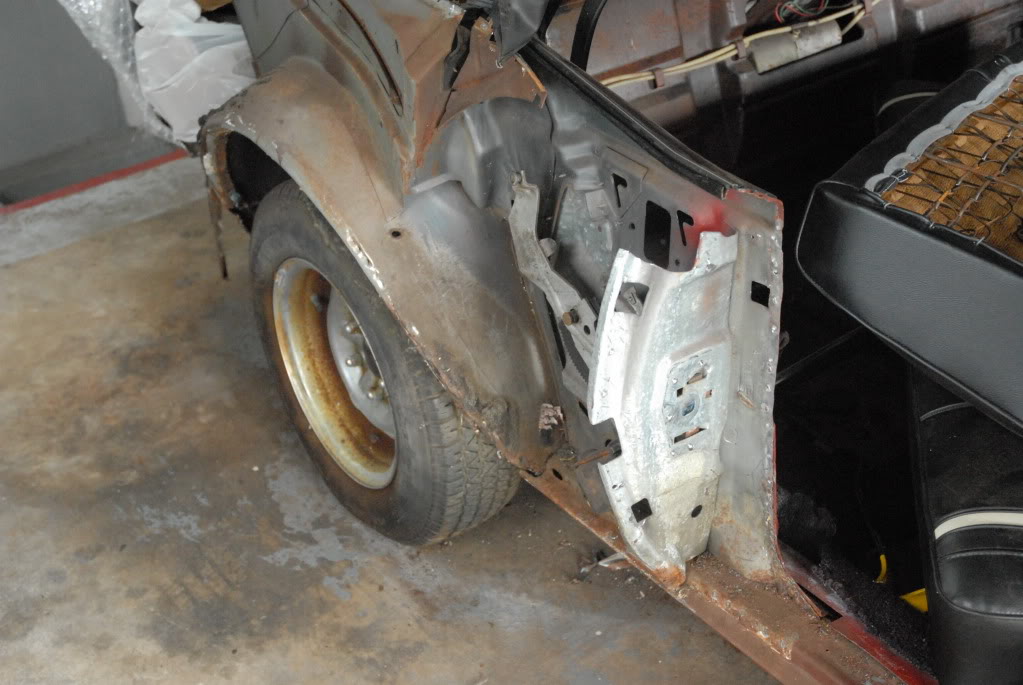
Do you have full quarters? I would guess since the Danacorn body they are available now. Looks like you where a little hard on the non-rusty tail pan. Thats going to cost you. Patching in those areas is fine. The car looks pretty sold. The Rockers are critical part on the verts.
What are you using for your frame of referance? With the door off and the tail pan damaged and no roof postioning the quarter is going to be guess work. Unless you made a big templet before you cut. You can not just put together these aftermarket parts and have the car come out right. It will be off.
What are you using for your frame of referance? With the door off and the tail pan damaged and no roof postioning the quarter is going to be guess work. Unless you made a big templet before you cut. You can not just put together these aftermarket parts and have the car come out right. It will be off.
Thread Starter
|
In the Staging Lanes
Joined: Jul 2009
Posts: 51
Do you have full quarters? I would guess since the Danacorn body they are available now. Looks like you where a little hard on the non-rusty tail pan. Thats going to cost you. Patching in those areas is fine. The car looks pretty sold. The Rockers are critical part on the verts.
What are you using for your frame of referance? With the door off and the tail pan damaged and no roof postioning the quarter is going to be guess work. Unless you made a big templet before you cut. You can not just put together these aftermarket parts and have the car come out right. It will be off.
What are you using for your frame of referance? With the door off and the tail pan damaged and no roof postioning the quarter is going to be guess work. Unless you made a big templet before you cut. You can not just put together these aftermarket parts and have the car come out right. It will be off.
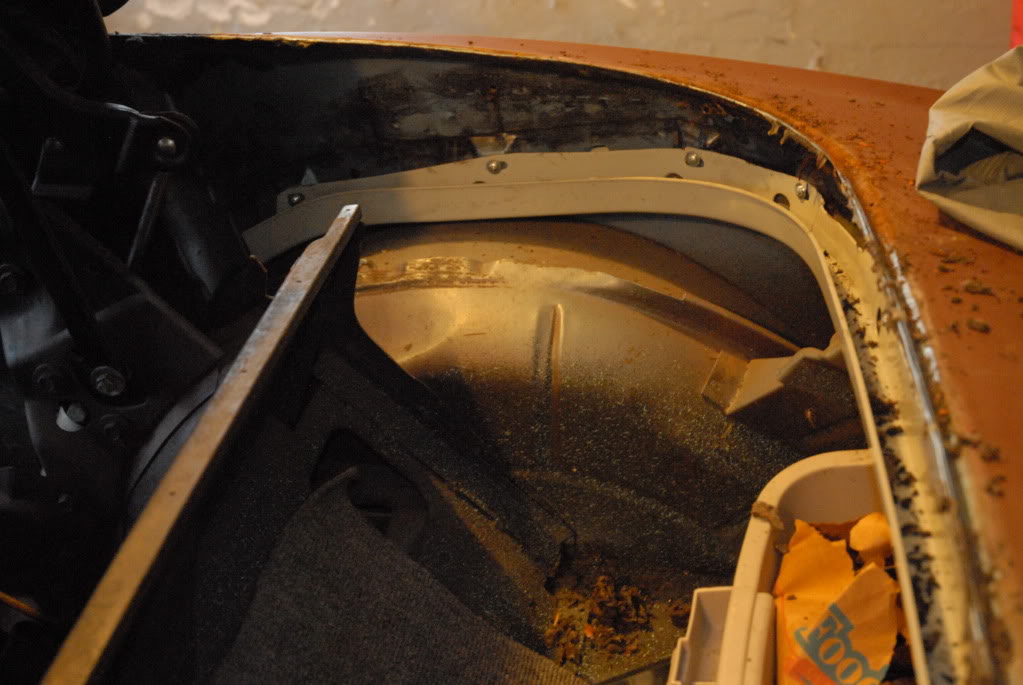
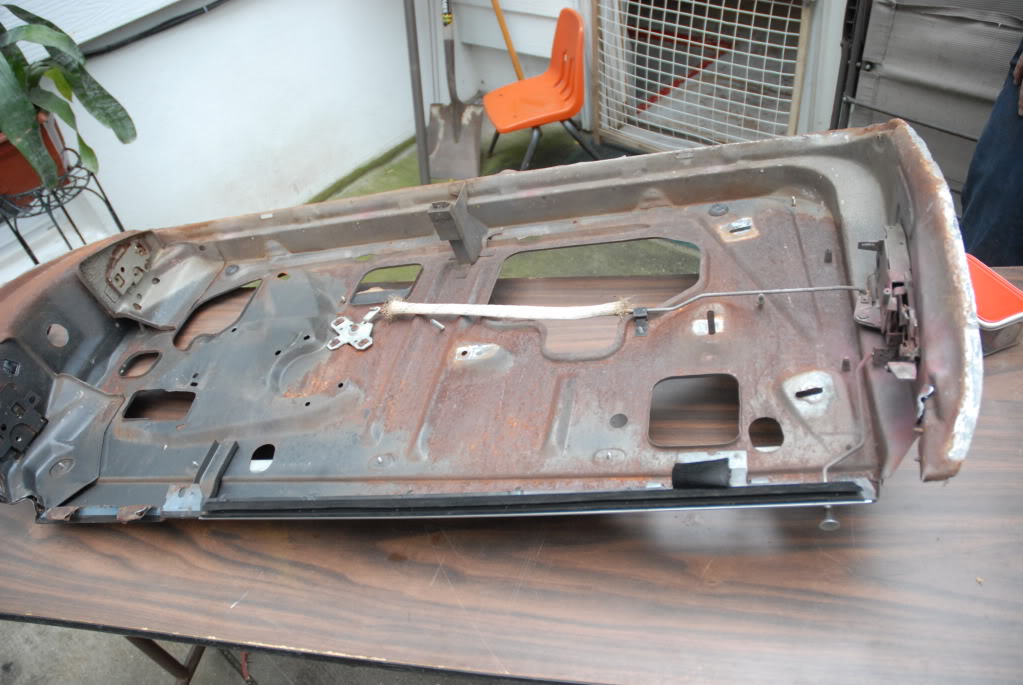
so it is being replaced. As much as I didn't want to, I think we are going to expose the inner panels and then take her for a blast to see what we we end up with. We plan to keep her for the rest of our natural life so we figure it is the right thing to do.
Oh, and yes we have full quarters.