
Graham Restore (Pics)


Fourth Generation Moderator
October 2009 ROTM
October 2009 ROTM
iTrader: (1)
Joined: Nov 2007
Posts: 10,561
From: Eastern PA,
ROTM Winner's Club
GrahamCam,
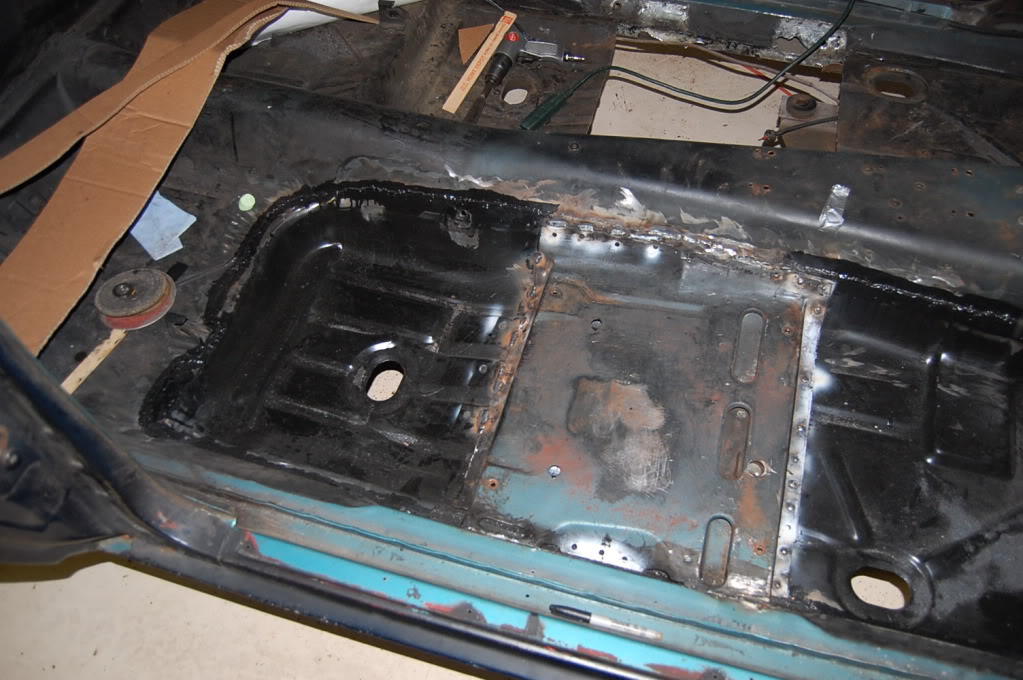
Nice project. I am not trying to bust your kahonas but your welds look cold and they have a lot of splater in them. What setup are you using? Maybe we can get this smoothed out. It will make the project go much smoother with less labor.
Nice project. I am not trying to bust your kahonas but your welds look cold and they have a lot of splater in them. What setup are you using? Maybe we can get this smoothed out. It will make the project go much smoother with less labor.
Last edited by Gorn; Aug 9, 2009 at 01:20 PM.


Fourth Generation Moderator
October 2009 ROTM
October 2009 ROTM
iTrader: (1)
Joined: Nov 2007
Posts: 10,561
From: Eastern PA,
ROTM Winner's Club
If you do not have gas it will be tuff to get it a lot better. The splatter is from the flux core. It looks like you are stich welding, which is good, but your welds are siting ontop of the metal. You need more heat but with the thick flux core wire you could over heat the metal. I would just increase the heat a little on a scrap piece. The weld should not look like its sitting on top it should look close to the same on both sides. I always setup my welder with a piece of scrap metal about 18ga so I know even on welds I can not see the back of I am getting good penetrates. With more heat you will have to slow down abit. You don't want the area's tempture to get to high and force a warp.
With a gas system you can run .023 and high voltage and you get this nice little spot about a 1/8 dia. When done right it only sticks up about .025" above the surface and it penetrates all the thru leaving a small bump on the opposite side.
A good flapper style sanding disk will smooth out the welds in 2-3 passes.

Newbie
Joined: May 2009
Posts: 4
hello graham, nice project car. i think i will follow suit on using this site as a project log. soon as i figure out how to add pictures of my frame off rottisseri restoration, i will post them.
good luck
good luck


Newbie
Joined: Aug 2009
Posts: 6
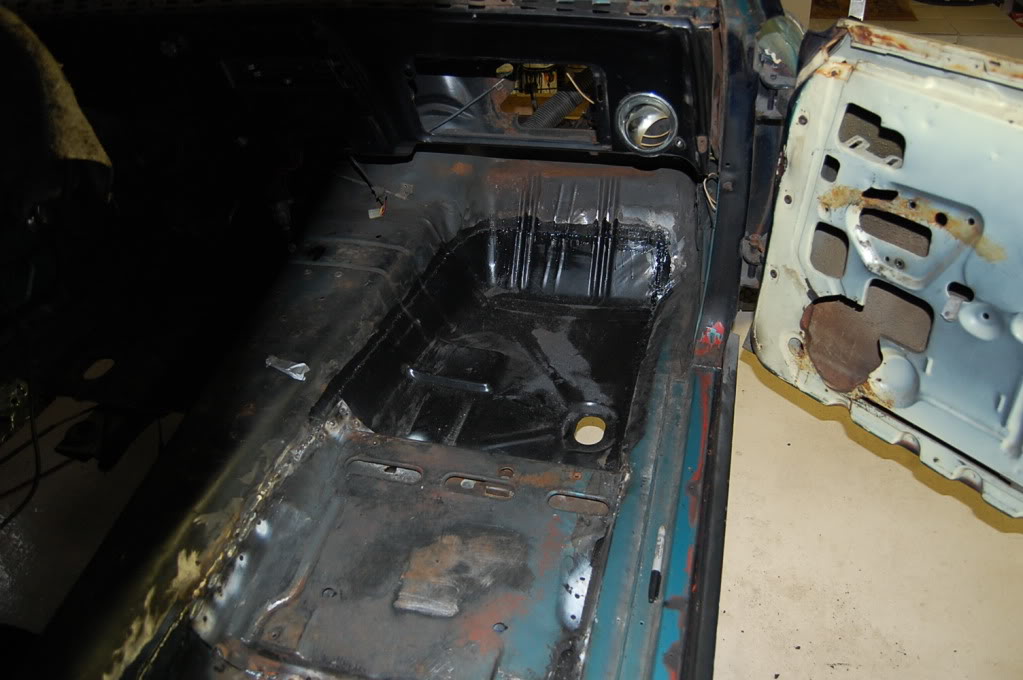
Come on man it's a 40 year old car, it does not seem that bad. I know we all fool ourselves when we buy the car thinking that maybe, just maybe the car was stored indoors for a really long time and has no hidden rust - OR BONDO- and all we have to do is a quick sandblast and a coat of paint...but that is not usually the case! I still think your shell looks pretty good. I have seen pictures of people literally building a brand new shell piece by piece, now thats a labor of love. I count myself in the lucky bunch (and U should too IMO) given the fact that I am getting away with full quarters and door skins. I stopped by the shop late today and the interior is pretty much gutted and there is no rust whatsoever inside the car or behind panels so that's a big plus. All and all I think you have a good base for a great, great car. That's my 2 cents anyway so keep your chin up!!!


Thread Starter
|
Newbie
Joined: Aug 2009
Posts: 26
From: Lake Mary, Fl
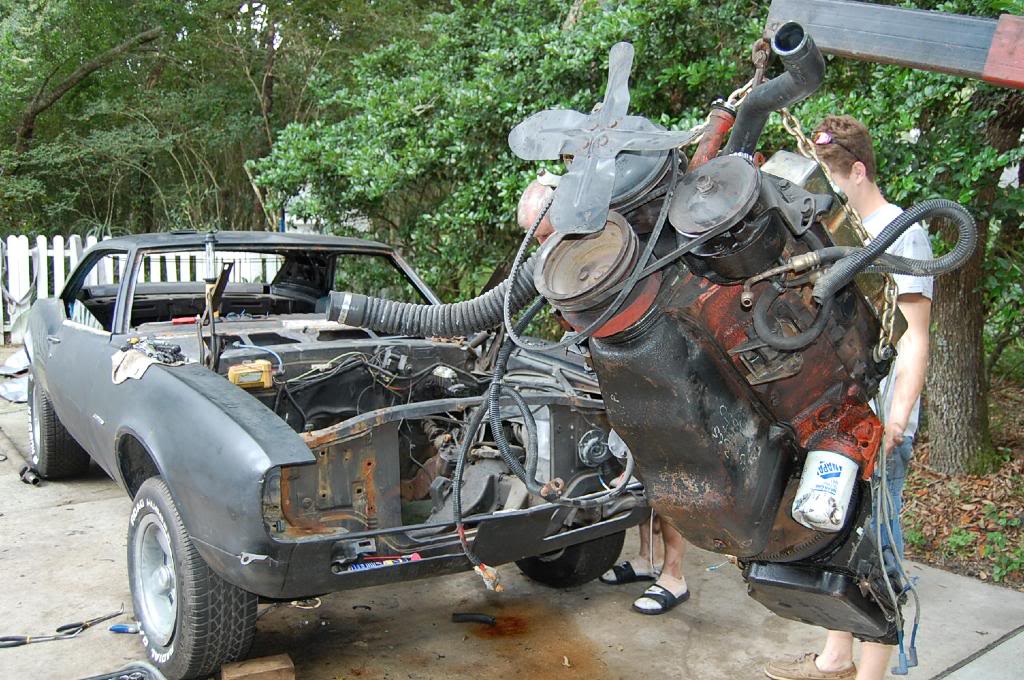
Thanks for all the replies. Yesterday we got a decent amount of work done. Several items were cleaned a sprayed with por 15, we took out the exhaust, gas tank, and began welding in the floorboards. We should have gas soon for the little welder for smoother welds. Pictures soon.