
Finally got a 69 and I stole it!


yea, Ive seen those one piece front ends and thought how easy would that be. lol
hey guys, I need alternator advice. I will be going GM SI but not sure what amperage I should go with. I hear that the average vehicle has 65-100. I will be running an electric radiator fan. no huge stereo. just basically the normal car stuff. what do you guys run?
hey guys, I need alternator advice. I will be going GM SI but not sure what amperage I should go with. I hear that the average vehicle has 65-100. I will be running an electric radiator fan. no huge stereo. just basically the normal car stuff. what do you guys run?


lookie what the man in brown brought me!
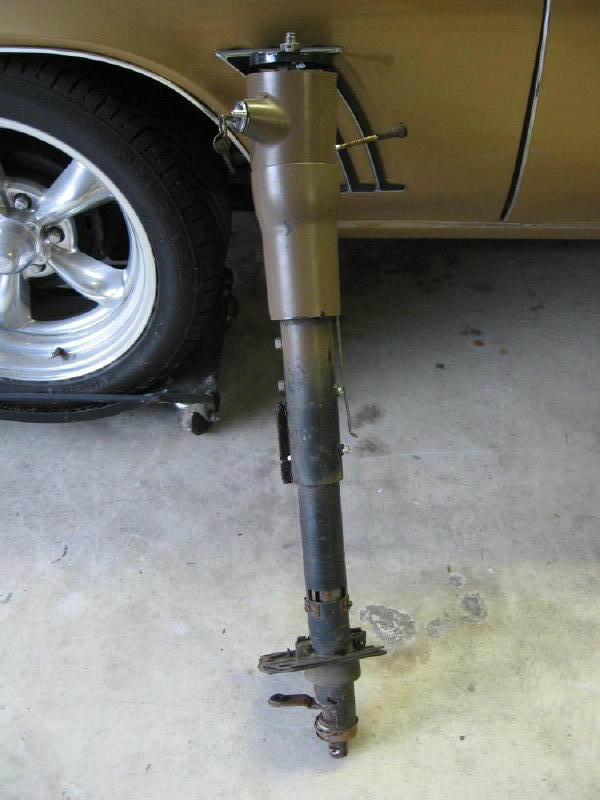
69 Steering column! Tilt even!
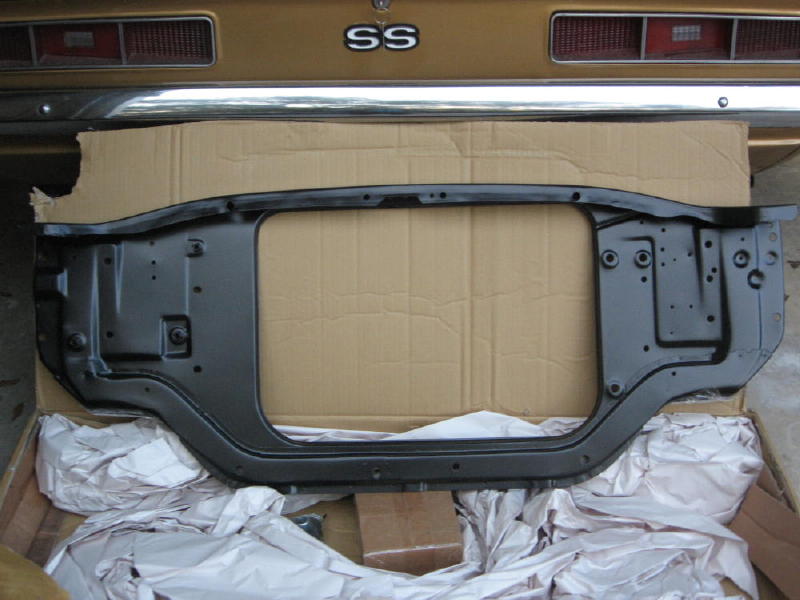
new core support...
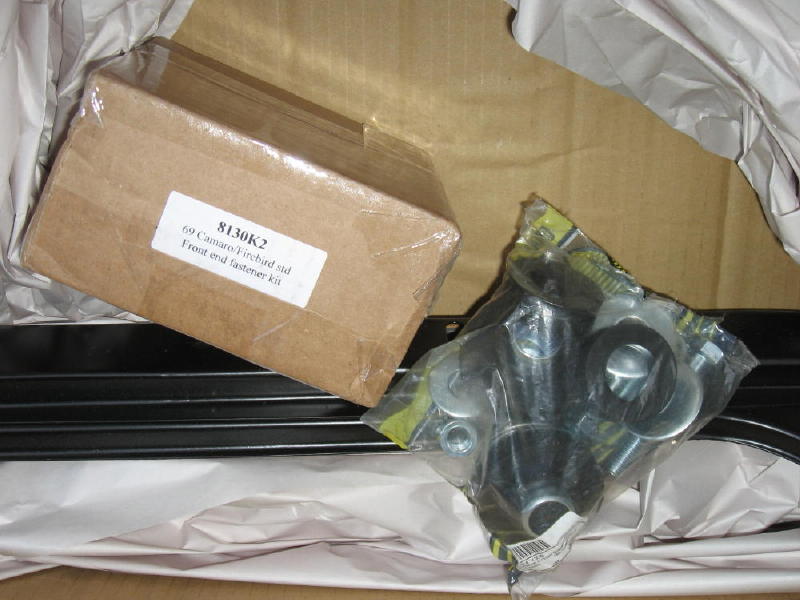
new support bushing kit and a complete hardware set for the frontend...
69 Steering column! Tilt even!
new core support...
new support bushing kit and a complete hardware set for the frontend...


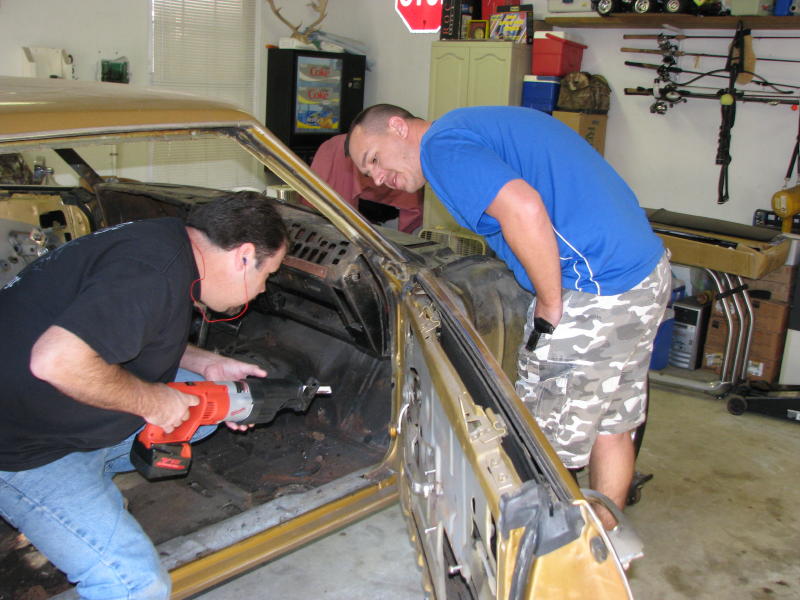
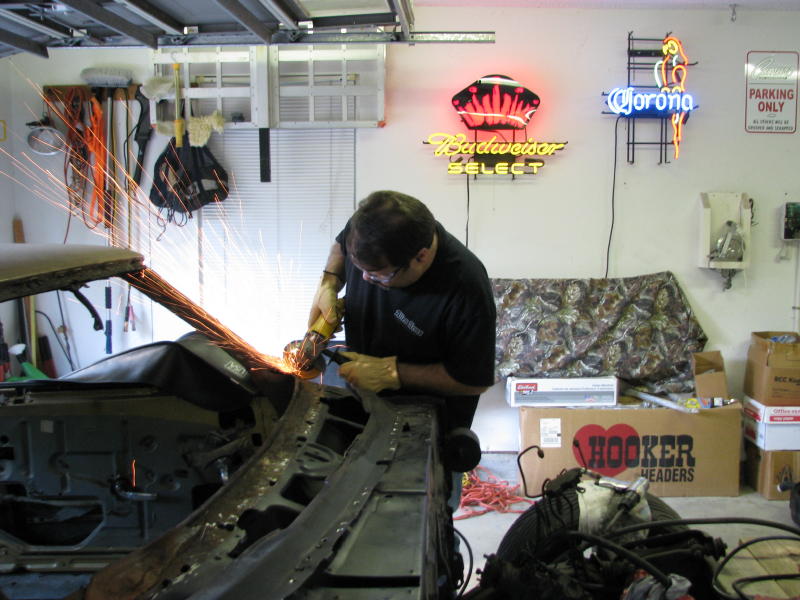
Ok, Big Update! long story short... I ran into a life long friend today thats restored several 69's over the years. Louie and I stopped by his house to look at his current LeMans Blue Yenko Clone that was unreal. 427, frame off resto. anyway, I told him I was taking my Camaro to get the dash replaced on friday and he insisted that I could do it myself and save the $600. gave me a quick lesson of dos and donts, loaned me a air chisel and sent me on my way ramped up! Louie and I jumped on it this after noon around 3:15. Drilled out the Spot welds, ran the air chisel along the edge, ground the bead welds out on the ends, a little zip here and there at the bracing under the dash with the sawzall and It was out in no time flat. a little surface rust under it, I expected that and Ive seen ALOT worse. we are gonna clean it up and do a little priming and painting and get it put back in tomorrow. Louie finished getting the last remnants of burnt up crap outta the car so I could soak it all down with Ospho. gonna paint it all tomorrow. man I hope to be driving this thing in 2013!!
heres a few pics from the day...
first took the sawzall and cut away most of the dash so itd be easier to work with...
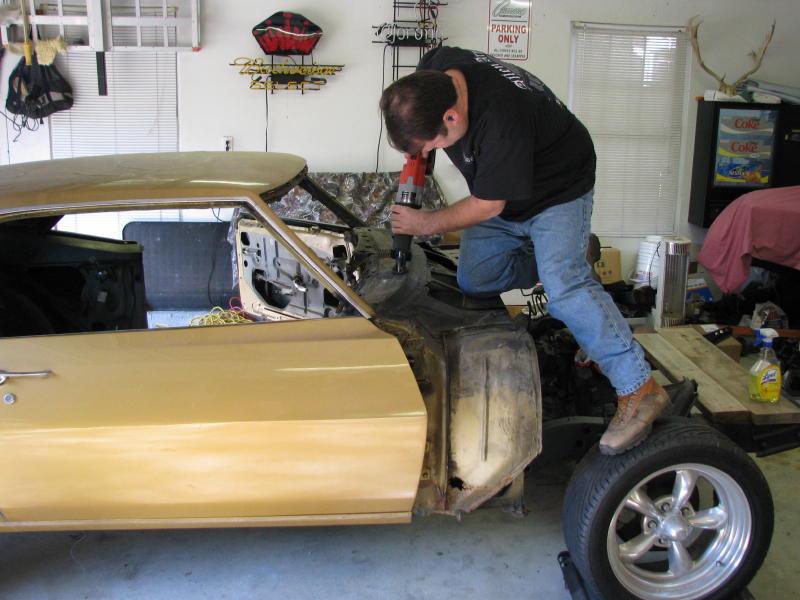
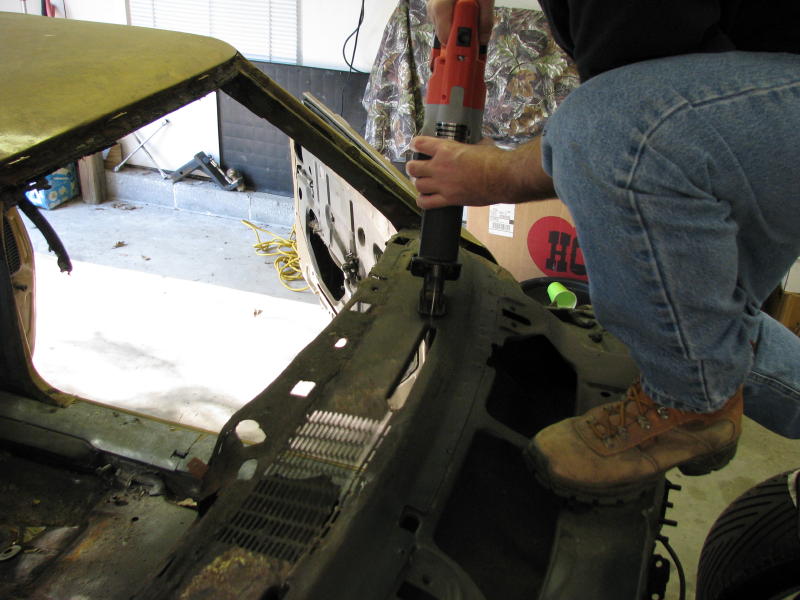
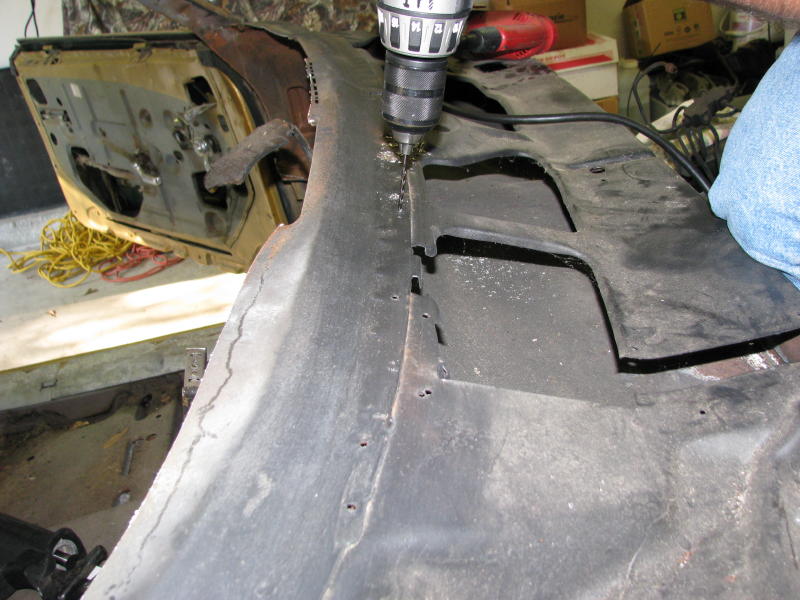
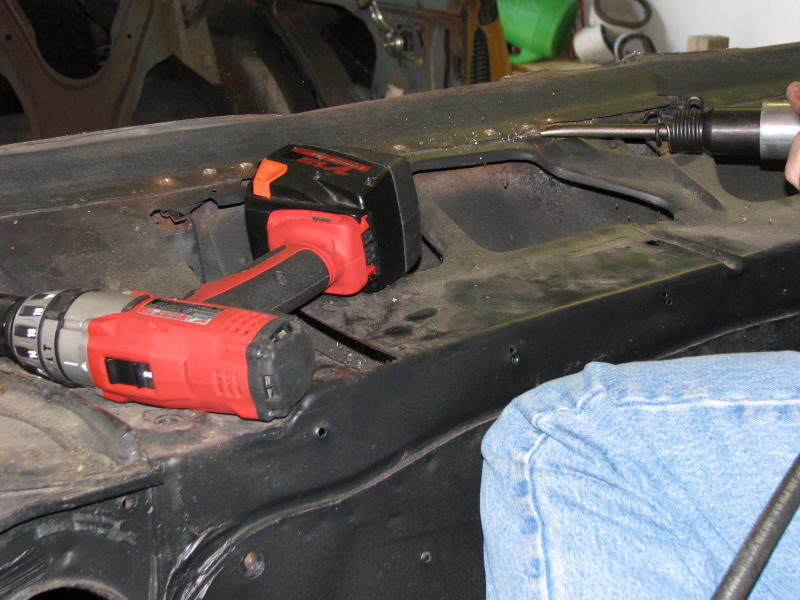
then started drilling pilot holes, then took a large bit and just drilled through the top and ran the chisel under the edge popping the weld loose...

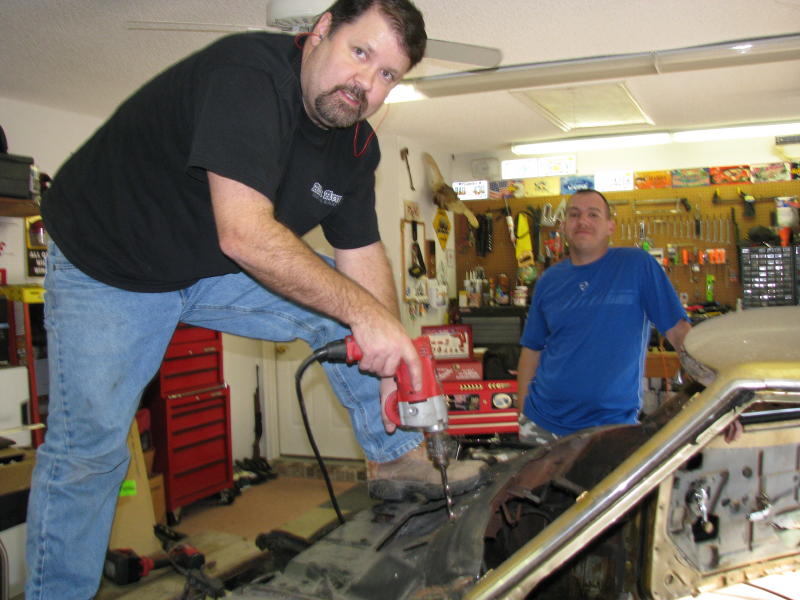
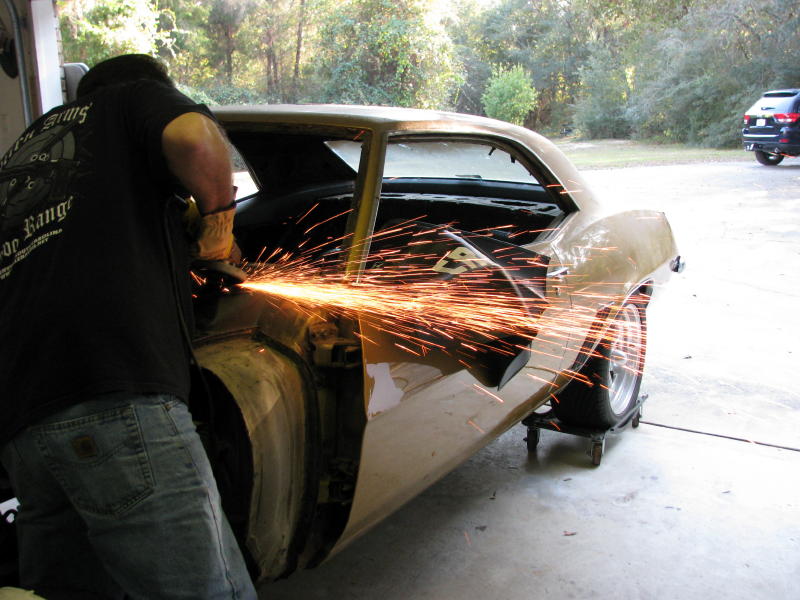
ground out the corner welds and it poped right off...
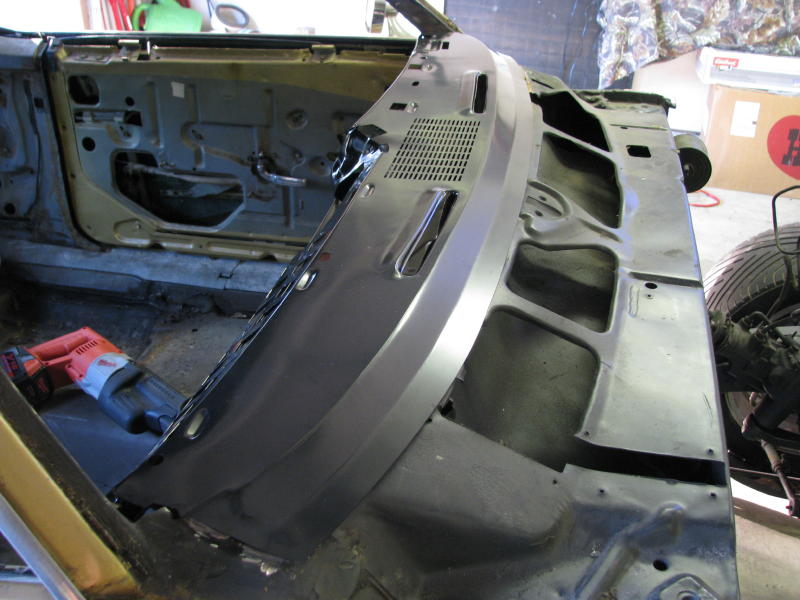
and the new one drops right in...
heres a few pics from the day...
first took the sawzall and cut away most of the dash so itd be easier to work with...
then started drilling pilot holes, then took a large bit and just drilled through the top and ran the chisel under the edge popping the weld loose...
ground out the corner welds and it poped right off...
and the new one drops right in...