Test-N-Tune, X half a dozen!


#113
 11-13-2017, 08:04 AM
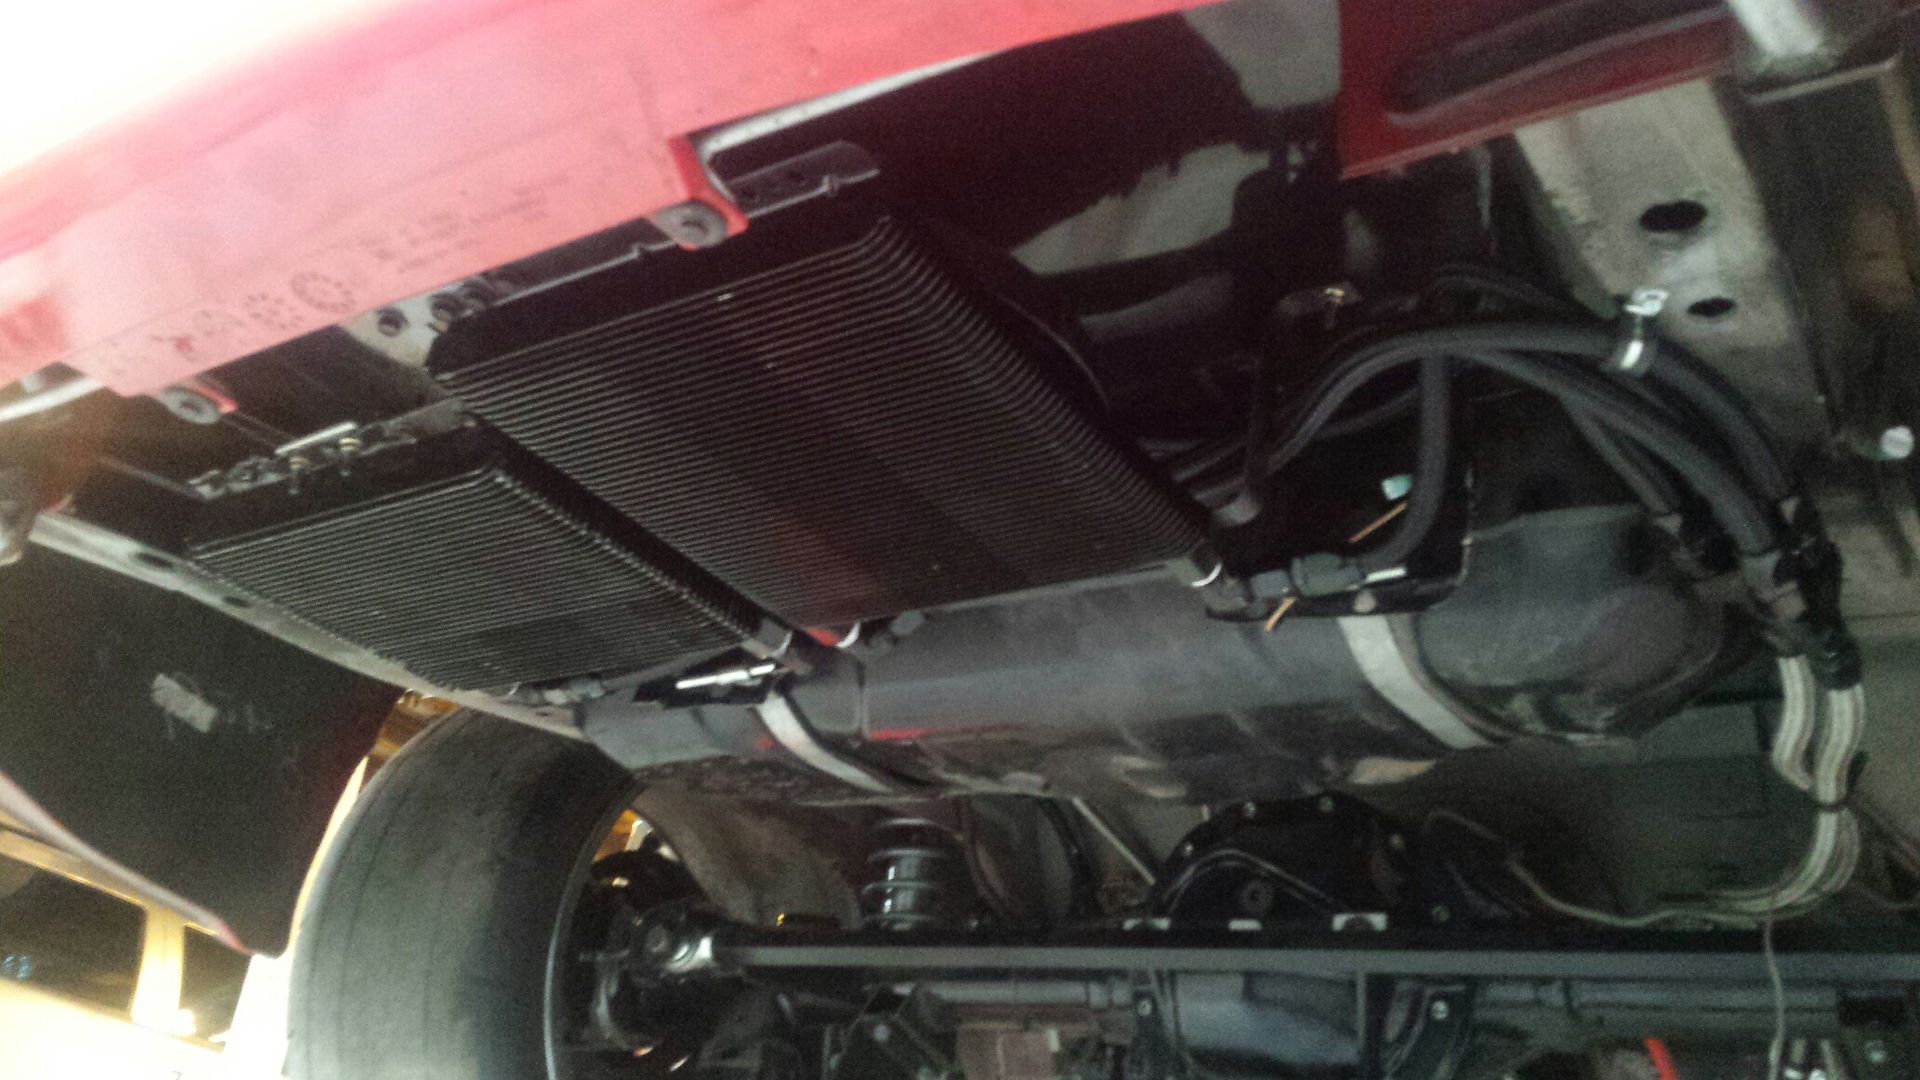
Here is a pic of the coolers, i thought i bought a matching one in size but it turns out it was about 1/3 bigger. Oh well, they fit. The new one is in the center and notice the Ys on the framerail. I changed to black nylon hose and will be buying that from now on, that stainless mesh line is ****, pokes the heck out of your fingertips.
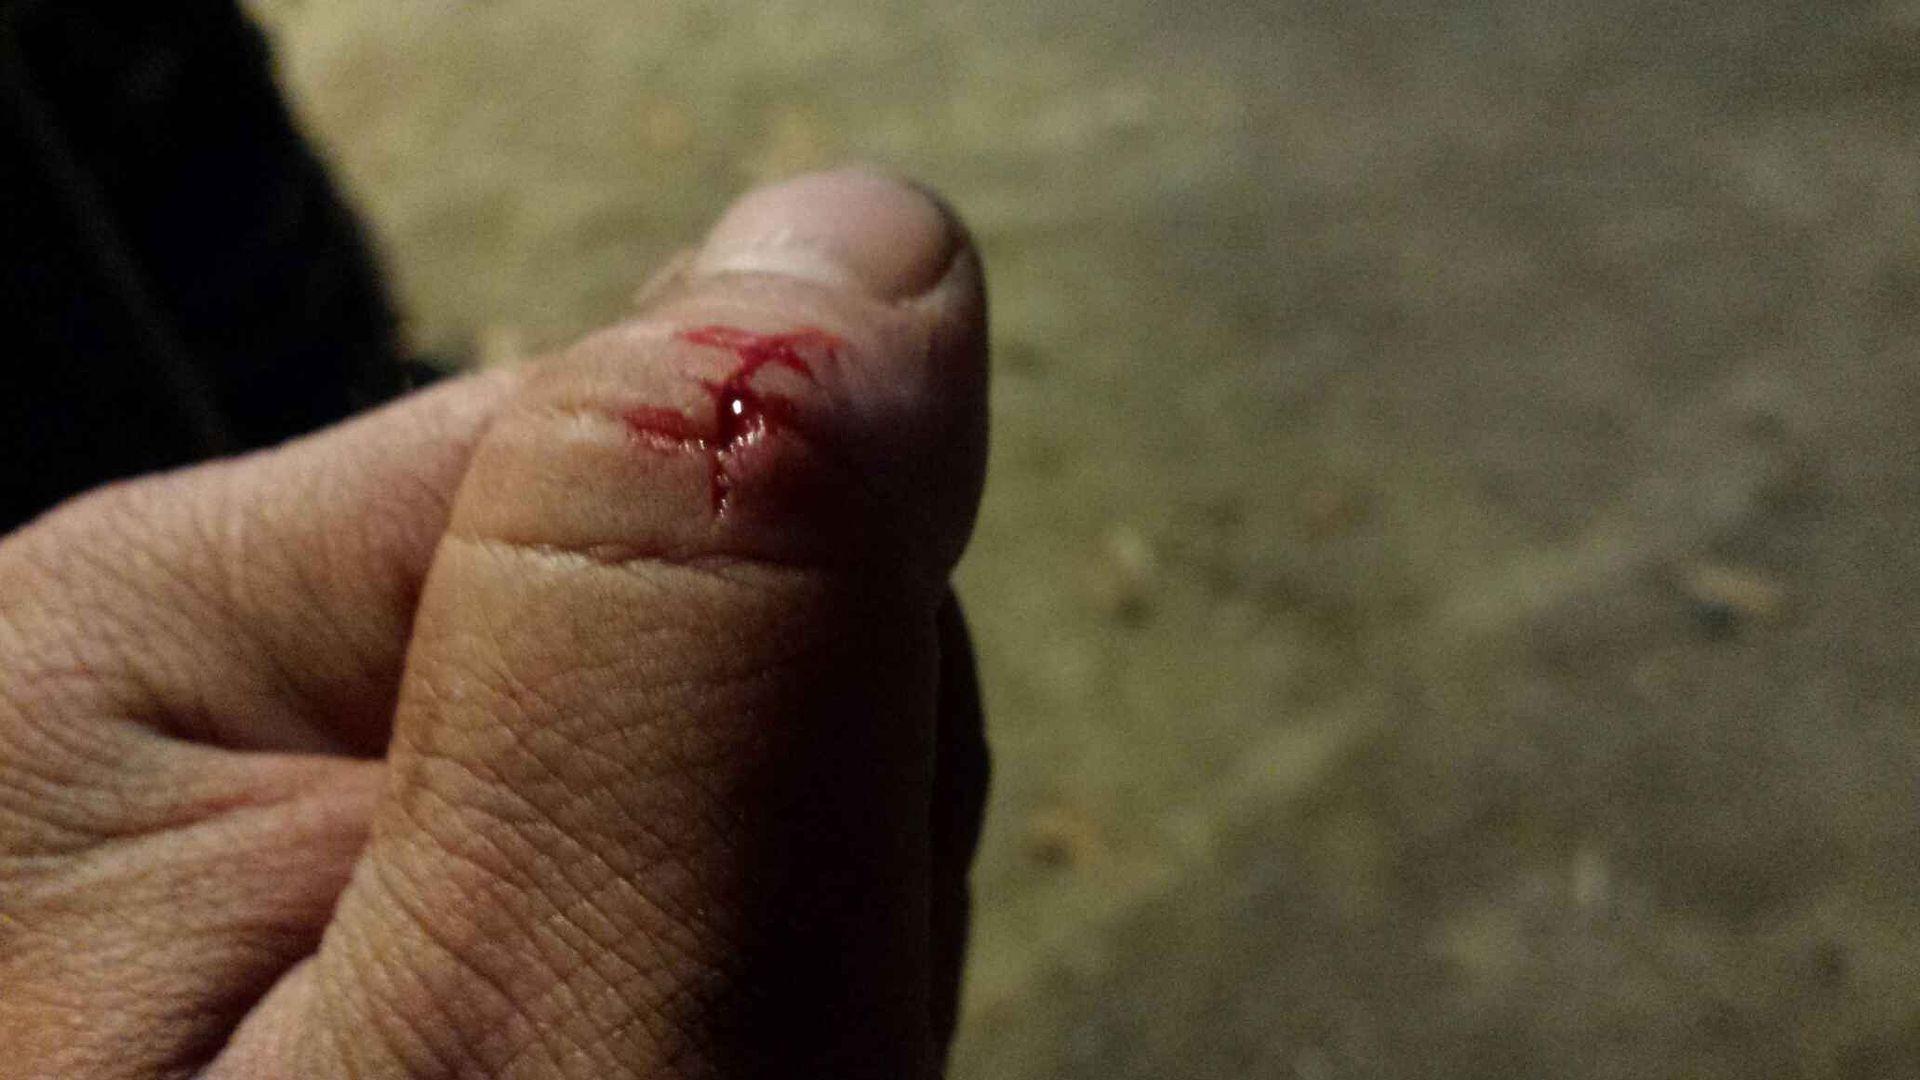
My heel isnt even healed yet and now this. Always wear your gloves gentlemen.....sike I dont wanna die without any scars!!!! This cut was down into the meat LOL.

My heel isnt even healed yet and now this. Always wear your gloves gentlemen.....sike I dont wanna die without any scars!!!! This cut was down into the meat LOL.

#115
12-30-2017, 08:11 AM
Been a while since my last update. Been building this for a buddy....
https://ls1tech.com/forums/forced-in...-75-build.html
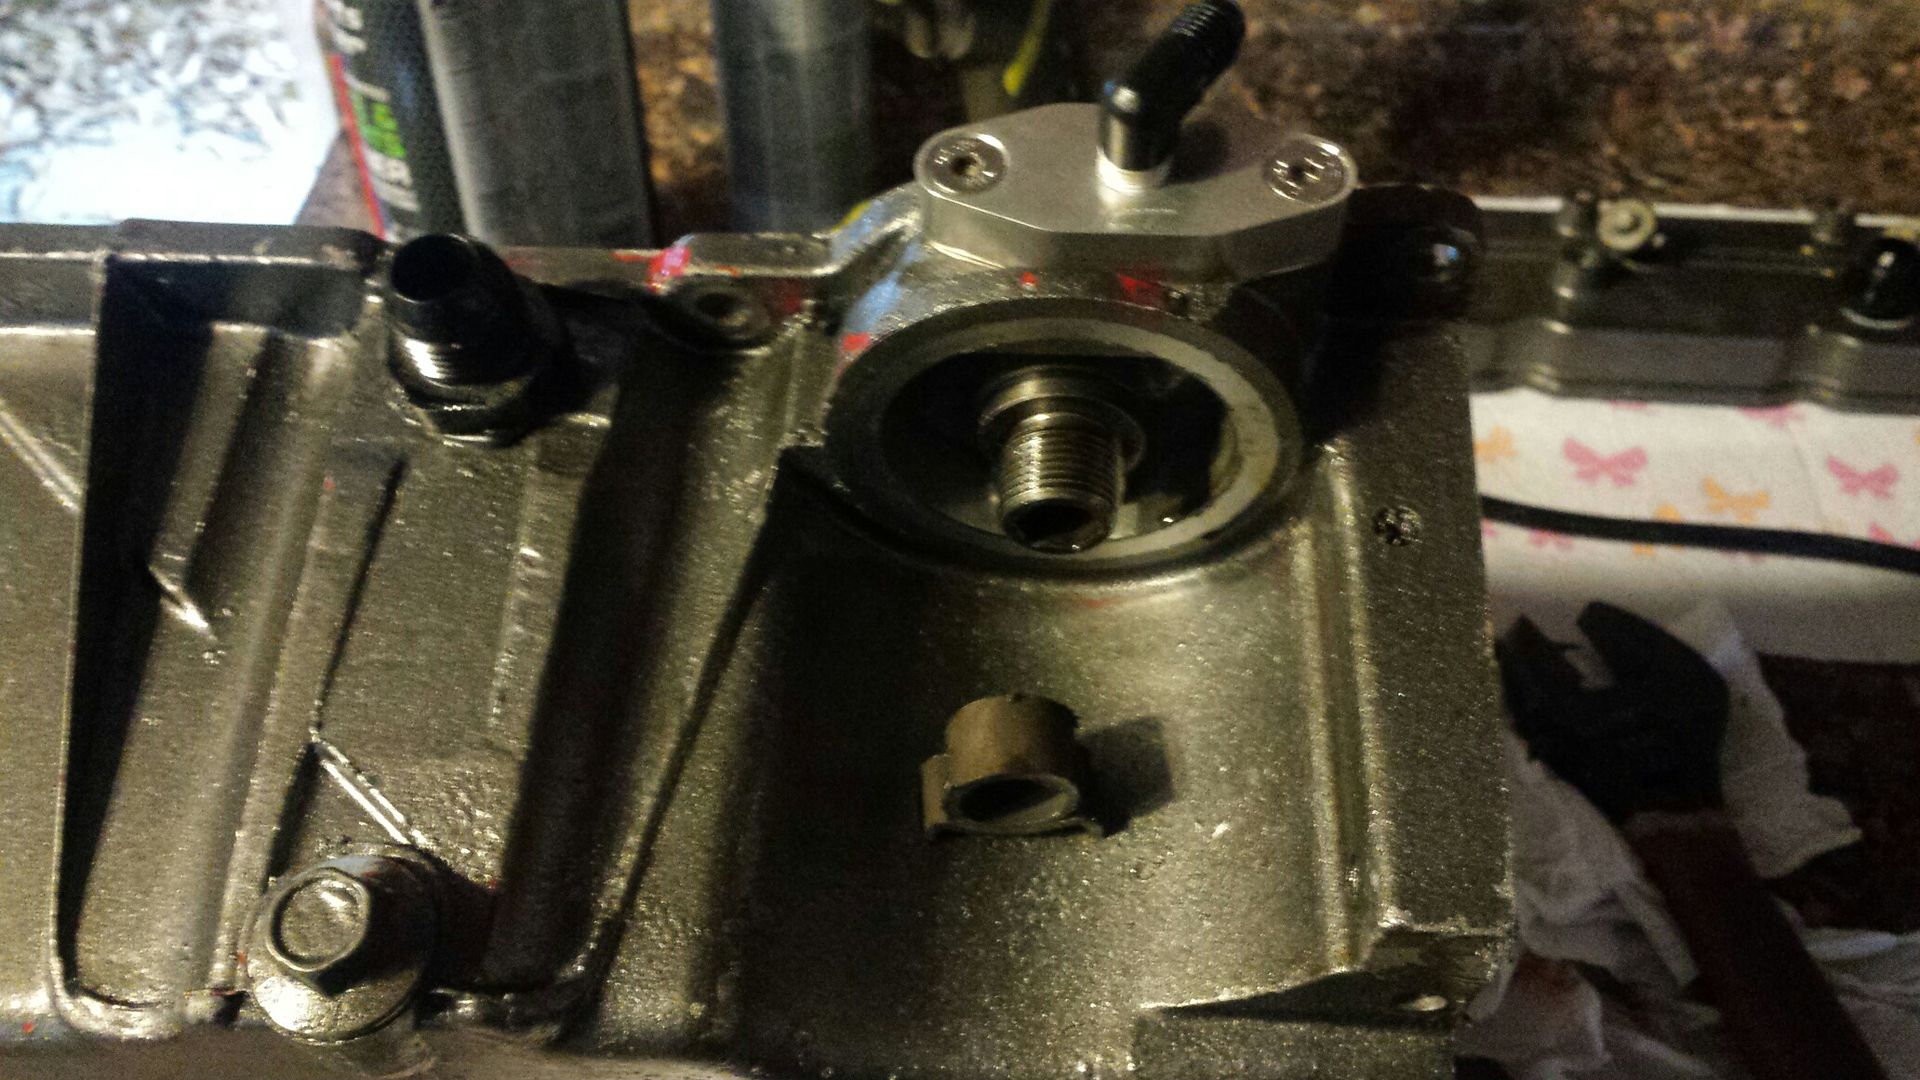
Not much been going on with mine other then the usual crank up and maybe drive around the yard. Long story short, things appeared great (dont they always) and after bringing the motor to temp one day last week......the oil pressure dropped to 30. Checked the dipstick and yep, it had bearing material on it. It was time for some real soul searching. I chose not to replace engines every 15 miles!!! I also noticed the cylinder heads seemed dry (but no lifter noise). My conclusion is very obviously this motor, as well as the last one, has an oiling issue. But what is it, it eats bearings at 70 psi of pressure. After careful examination of the LS oiling system, Ive concluded the oil is being picked up and pumped at least to the sending unit at the rear top of the engine, but somewhere in the upper galley isnt making the pressure to force it up the pushrods OR down to the rods which are the last two things to get oil. I cant see the rods but if i can get oil to the cylinder heads the rods are getting it too. So how is 70 psi being lost so quickly, internal leak, front cam plate maybe. Once I realized I had installed a new cam plate I said lets keep it simple. You have an oiling system issue, you altered the oil pan/pickup, the oil pan has been on both engines. Lets reinstall a stock pan setup THEN go from there. Well when my buddy brings over a stock pan I look it over. Front of the pan is 5.5" deep, rear is 5", I estimate stock pickup clearance is 3/8"ish. I maintained height when i moved the pickup back :bang: So the pickup is literally laying flat on the pan floor if you subtract those measurements, which is causing massive cavitation. I opted to shorten the pickup i had instead of go back to a front sump. You can see how much i cut out here in this pic. I also upgraded to an ICT Billet turbo feed just because i liked the way it looked. And yeah its shooting oil out of the pushrods now Hope i caught it in time.
https://ls1tech.com/forums/forced-in...-75-build.html
Not much been going on with mine other then the usual crank up and maybe drive around the yard. Long story short, things appeared great (dont they always) and after bringing the motor to temp one day last week......the oil pressure dropped to 30. Checked the dipstick and yep, it had bearing material on it. It was time for some real soul searching. I chose not to replace engines every 15 miles!!! I also noticed the cylinder heads seemed dry (but no lifter noise). My conclusion is very obviously this motor, as well as the last one, has an oiling issue. But what is it, it eats bearings at 70 psi of pressure. After careful examination of the LS oiling system, Ive concluded the oil is being picked up and pumped at least to the sending unit at the rear top of the engine, but somewhere in the upper galley isnt making the pressure to force it up the pushrods OR down to the rods which are the last two things to get oil. I cant see the rods but if i can get oil to the cylinder heads the rods are getting it too. So how is 70 psi being lost so quickly, internal leak, front cam plate maybe. Once I realized I had installed a new cam plate I said lets keep it simple. You have an oiling system issue, you altered the oil pan/pickup, the oil pan has been on both engines. Lets reinstall a stock pan setup THEN go from there. Well when my buddy brings over a stock pan I look it over. Front of the pan is 5.5" deep, rear is 5", I estimate stock pickup clearance is 3/8"ish. I maintained height when i moved the pickup back :bang: So the pickup is literally laying flat on the pan floor if you subtract those measurements, which is causing massive cavitation. I opted to shorten the pickup i had instead of go back to a front sump. You can see how much i cut out here in this pic. I also upgraded to an ICT Billet turbo feed just because i liked the way it looked. And yeah its shooting oil out of the pushrods now
Hope i caught it in time.
#116
01-23-2018, 08:03 AM
She's been on the back burner for a bit, other then the pickup tube repair, due to the turbo TA i was building for a buddy. But she went home Sunday so its time to get back on this car and get ready for some personal best springtime ETs. And we know these cars are never done right?
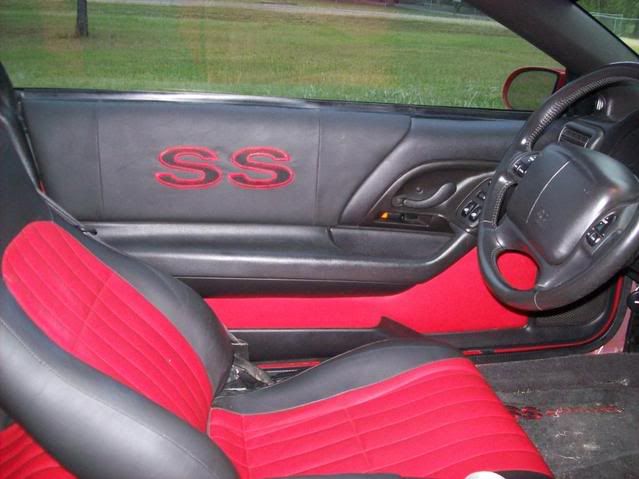
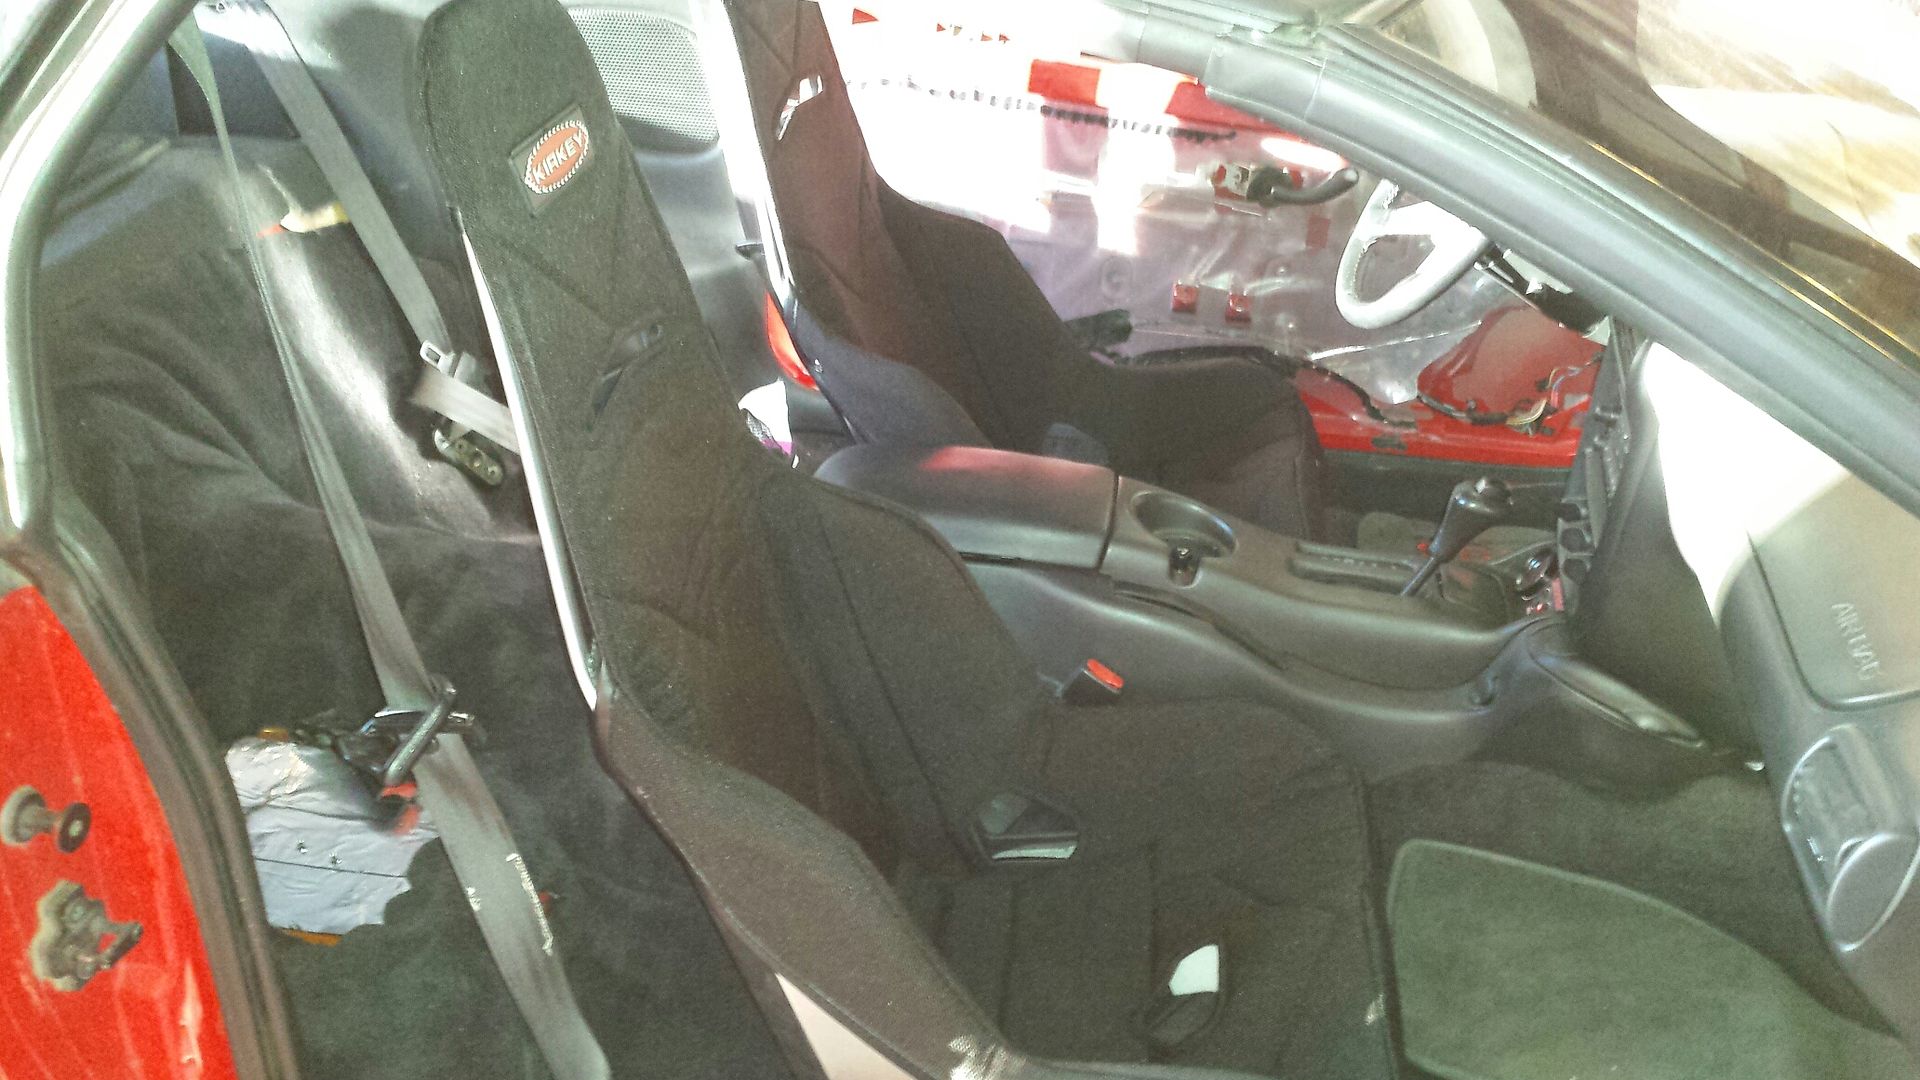
So I had a pretty nice interior in the car, sewed it years and years ago. It still looked new bc of how little I drive my car. As luck would have it I just happen to find someone local who was wanting to refresh their interior......so we struck up a deal. It's time to move on and let someone else enjoy it.
Here's what the guy bought, all 4 seats, and both door panels.
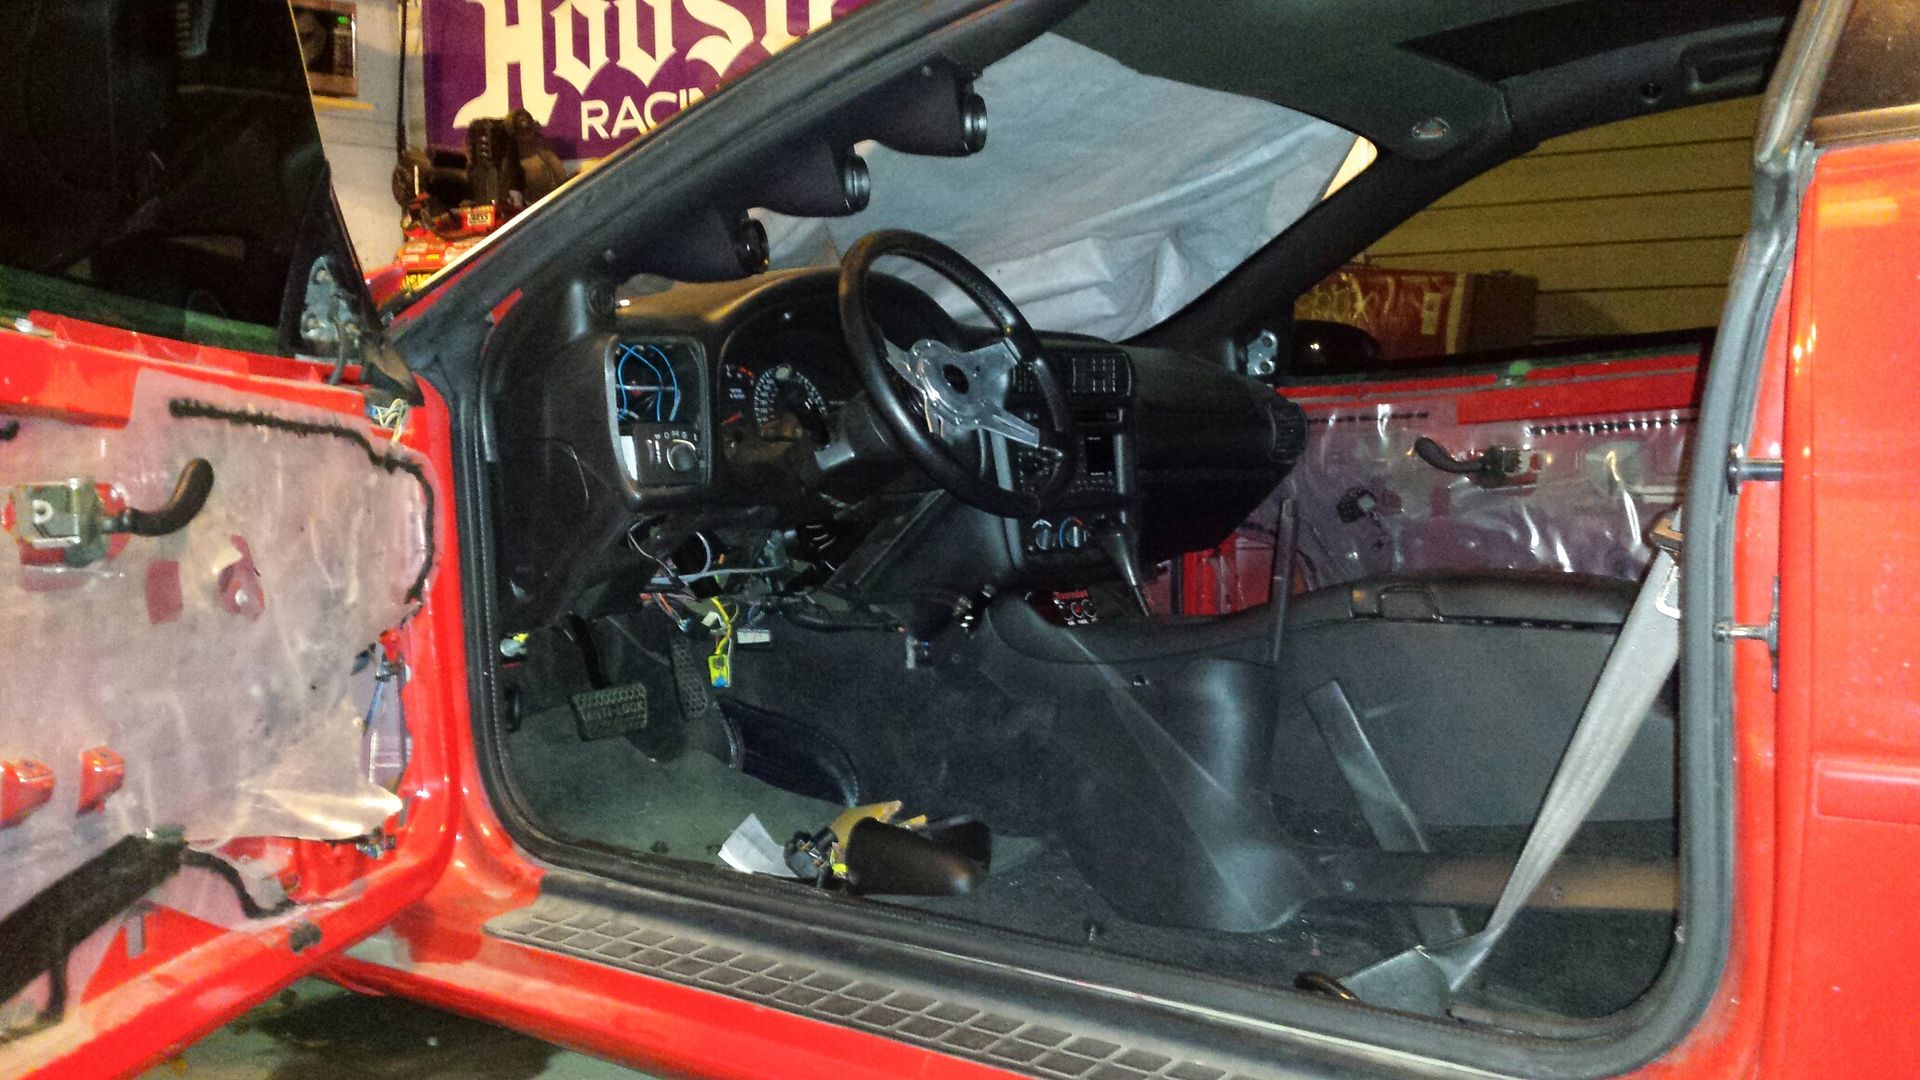
And here's how she sits today.
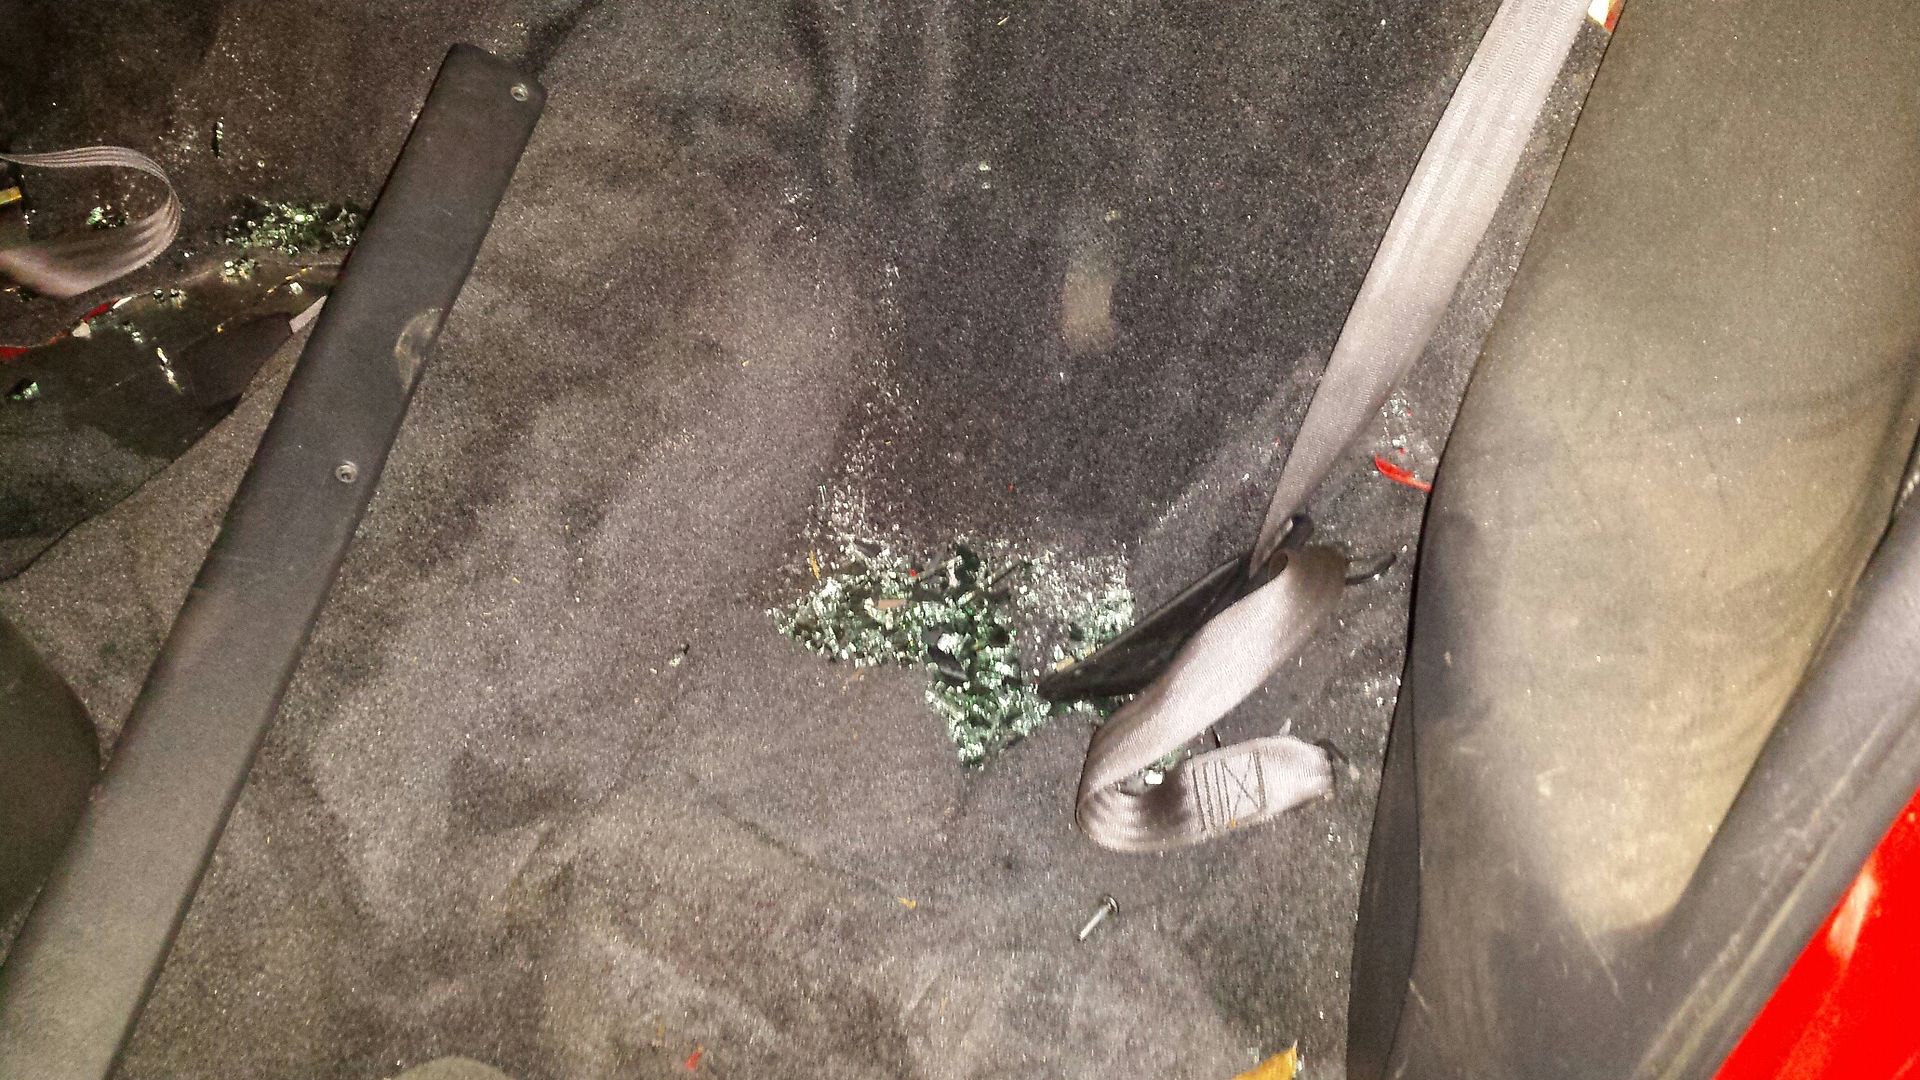
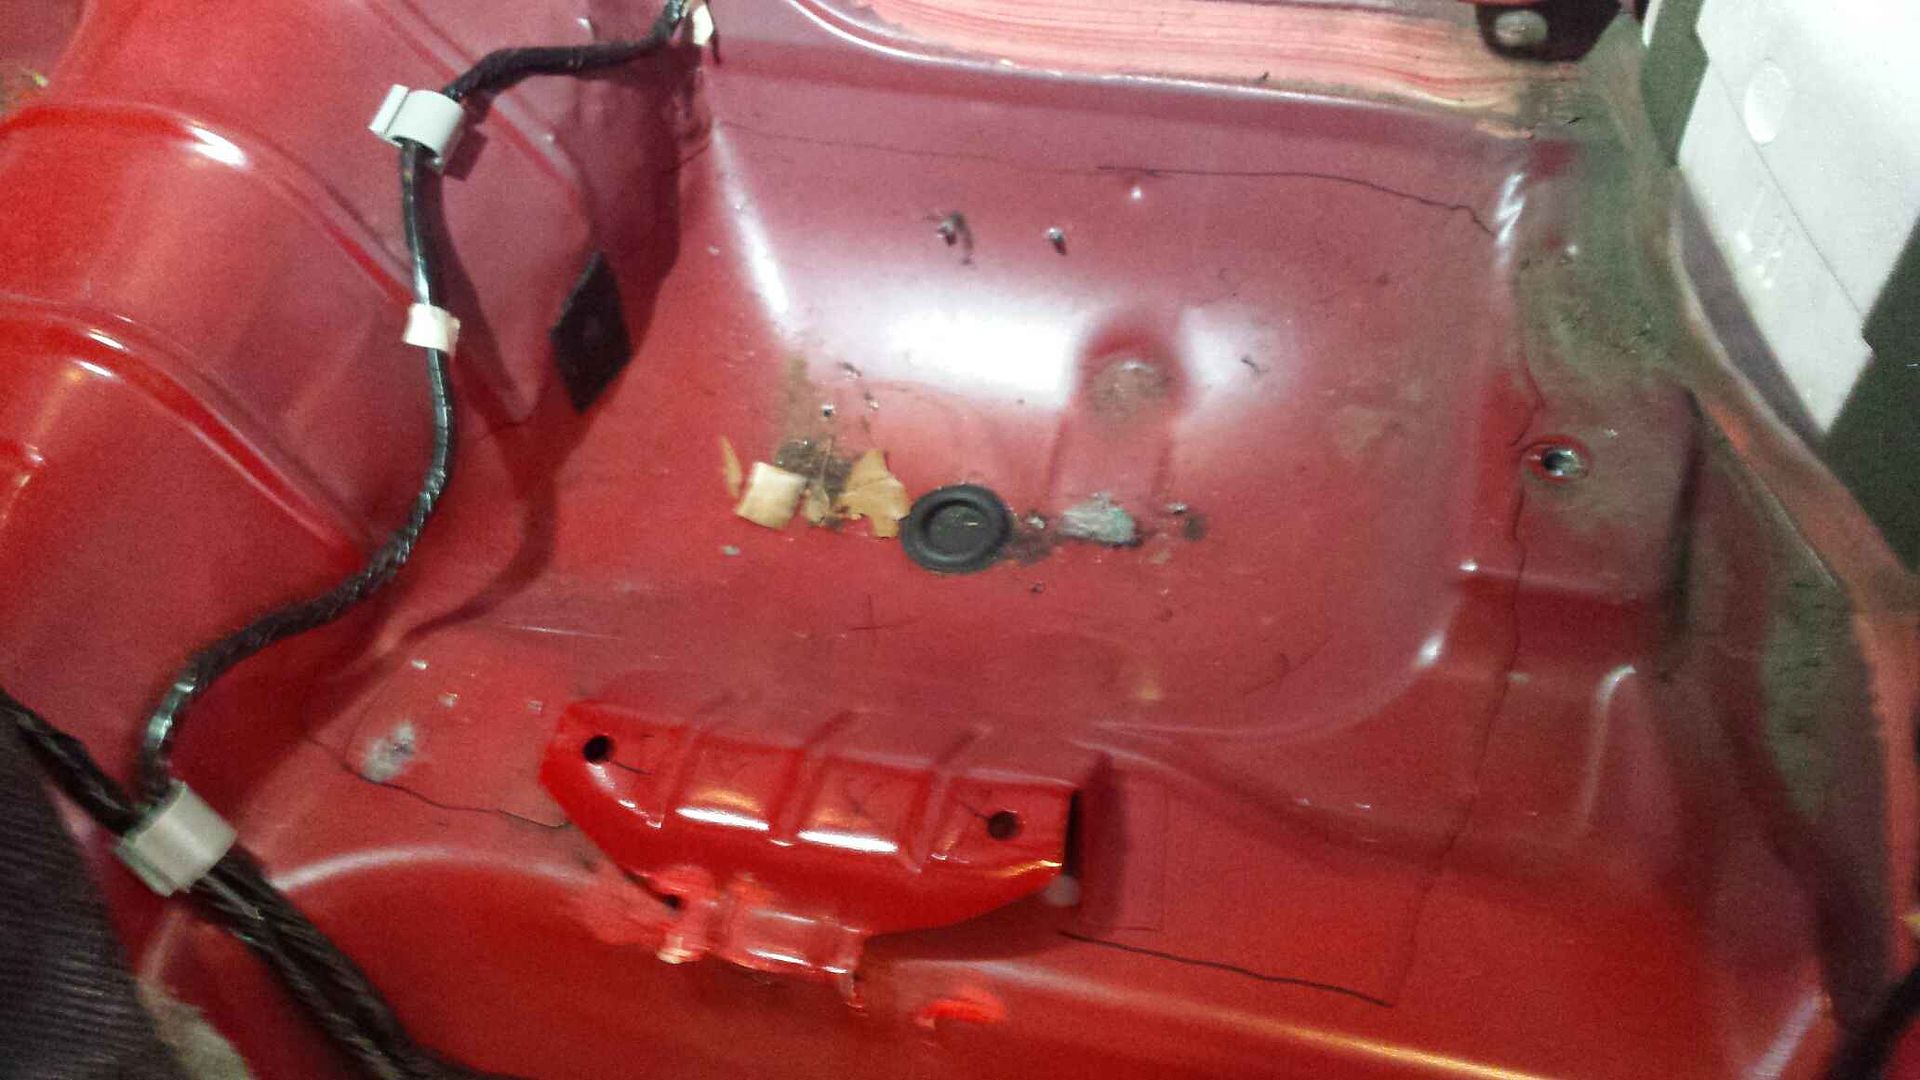
Not sure if you remember awhile back when i did the lexan windows, and the front and back glass was busted, but when pulling the seats out for the buyer i found this:
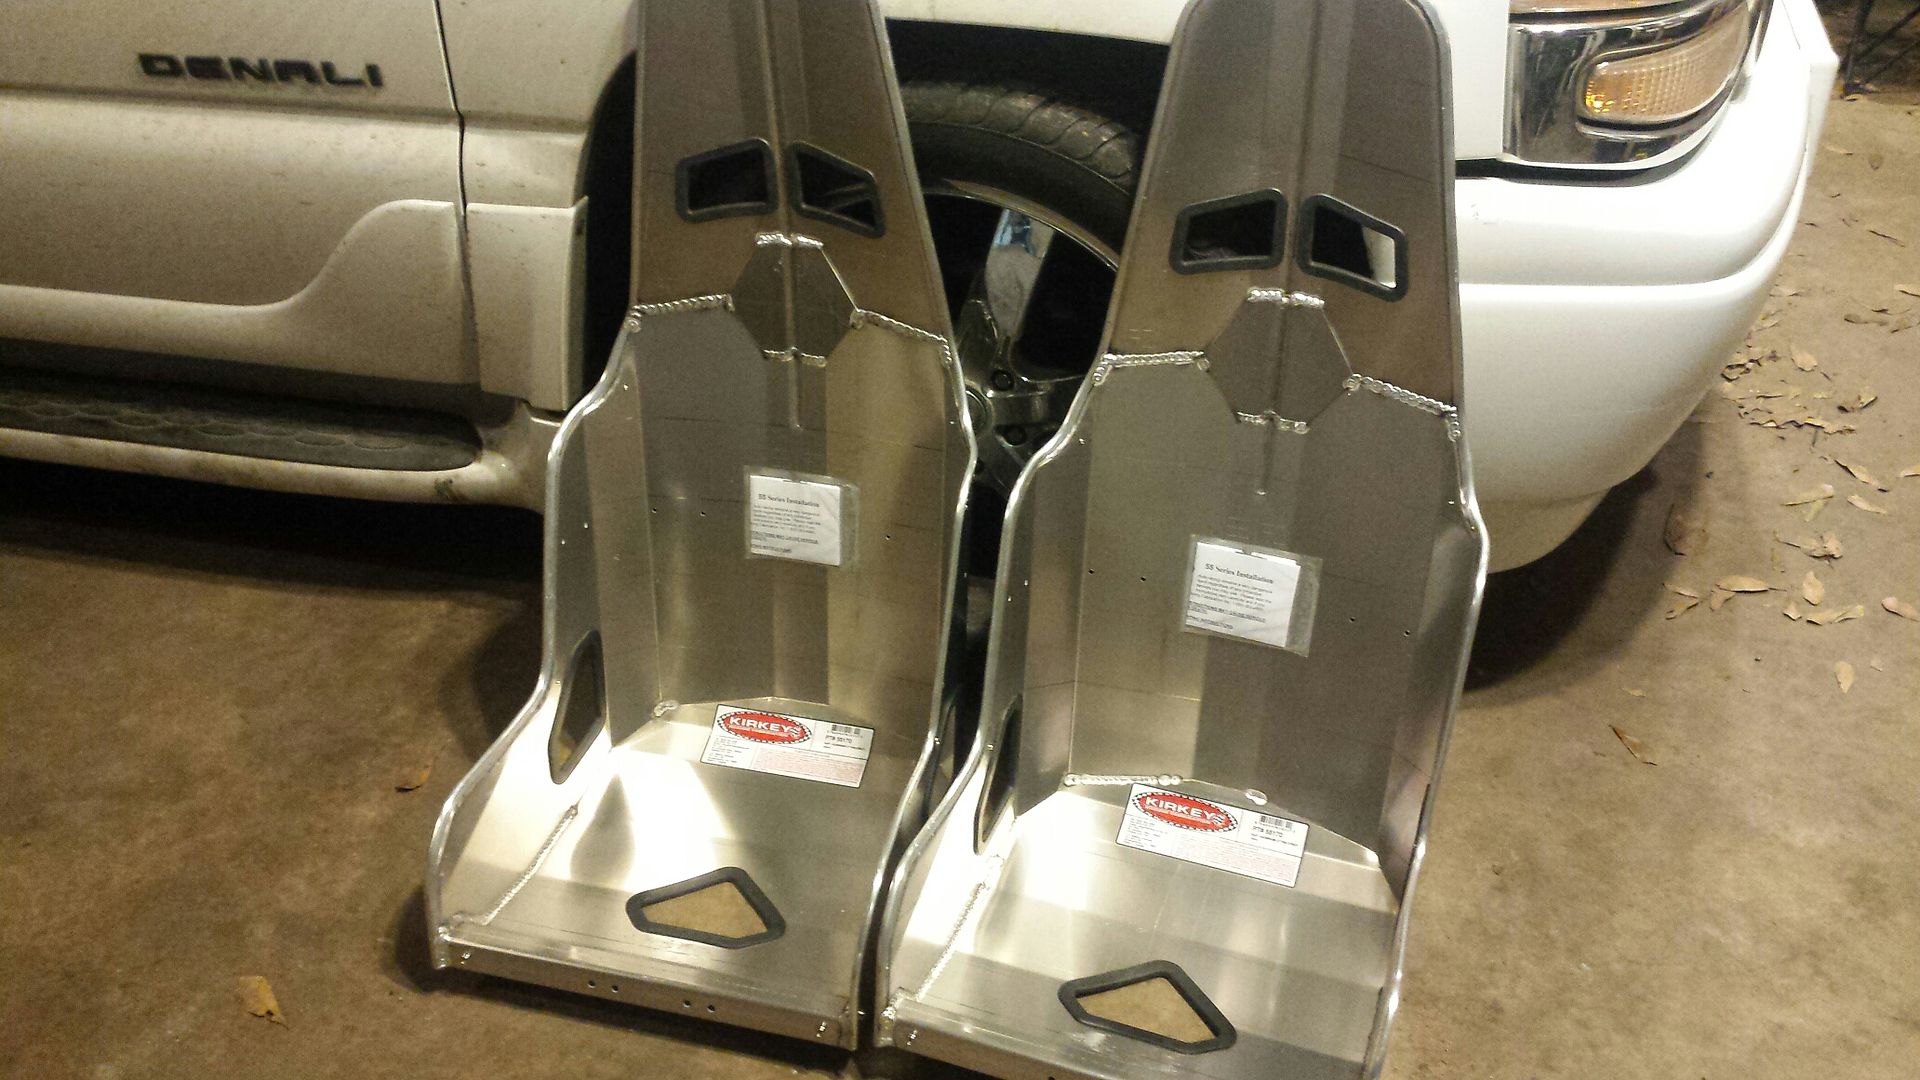
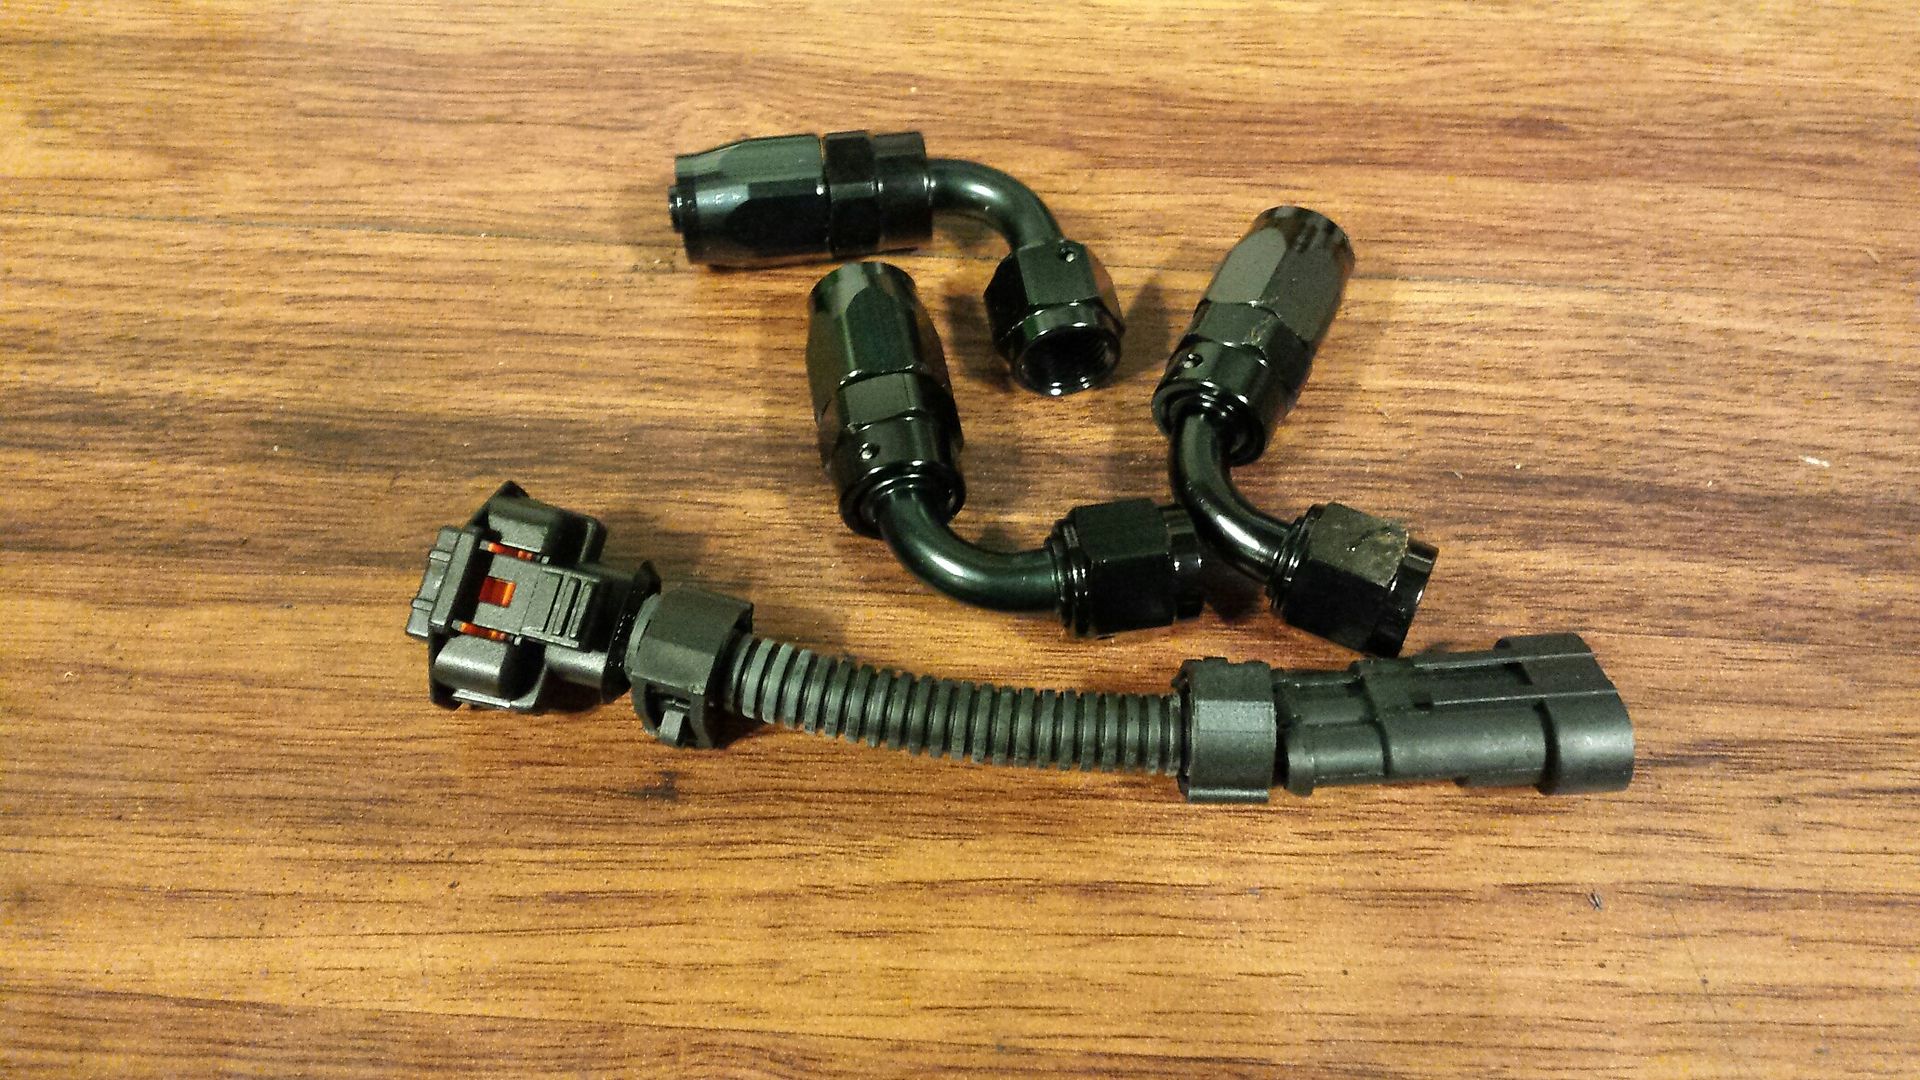
Whoops! Well I've got some clean-up to do. On the agenda: (in no particular order) 17" kirkey prostreet drag x2 with the black tweed covers, Wolfe aluminum door panels wrapped in carbon fiber 3m, a custom back seat delete including cutting holes in the floor and flattening it out, remove the passenger door bar which i never got around to doing, may replace that window motor also since its been in my tool box for about 4 years (works but its a little slow), ZR1 MAP sensor, and also gonna ditch the stock PS lines and make up new -6AN lines that route completely away from the hotside. Stay tuned, should be a fun little transformation!
So I had a pretty nice interior in the car, sewed it years and years ago. It still looked new bc of how little I drive my car. As luck would have it I just happen to find someone local who was wanting to refresh their interior......so we struck up a deal. It's time to move on and let someone else enjoy it.
Here's what the guy bought, all 4 seats, and both door panels.

And here's how she sits today.

Not sure if you remember awhile back when i did the lexan windows, and the front and back glass was busted, but when pulling the seats out for the buyer i found this:

Whoops! Well I've got some clean-up to do. On the agenda: (in no particular order) 17" kirkey prostreet drag x2 with the black tweed covers, Wolfe aluminum door panels wrapped in carbon fiber 3m, a custom back seat delete including cutting holes in the floor and flattening it out, remove the passenger door bar which i never got around to doing, may replace that window motor also since its been in my tool box for about 4 years (works but its a little slow), ZR1 MAP sensor, and also gonna ditch the stock PS lines and make up new -6AN lines that route completely away from the hotside. Stay tuned, should be a fun little transformation!
#117
01-27-2018, 08:04 AM
Summit dropped off a surprise.
Spent the morning making some simple brackets out of 1.5" wide flatbar. Though the seats are very stable, I think I going to add a backbrace to them temporarily until there is a cage to support the backrests.
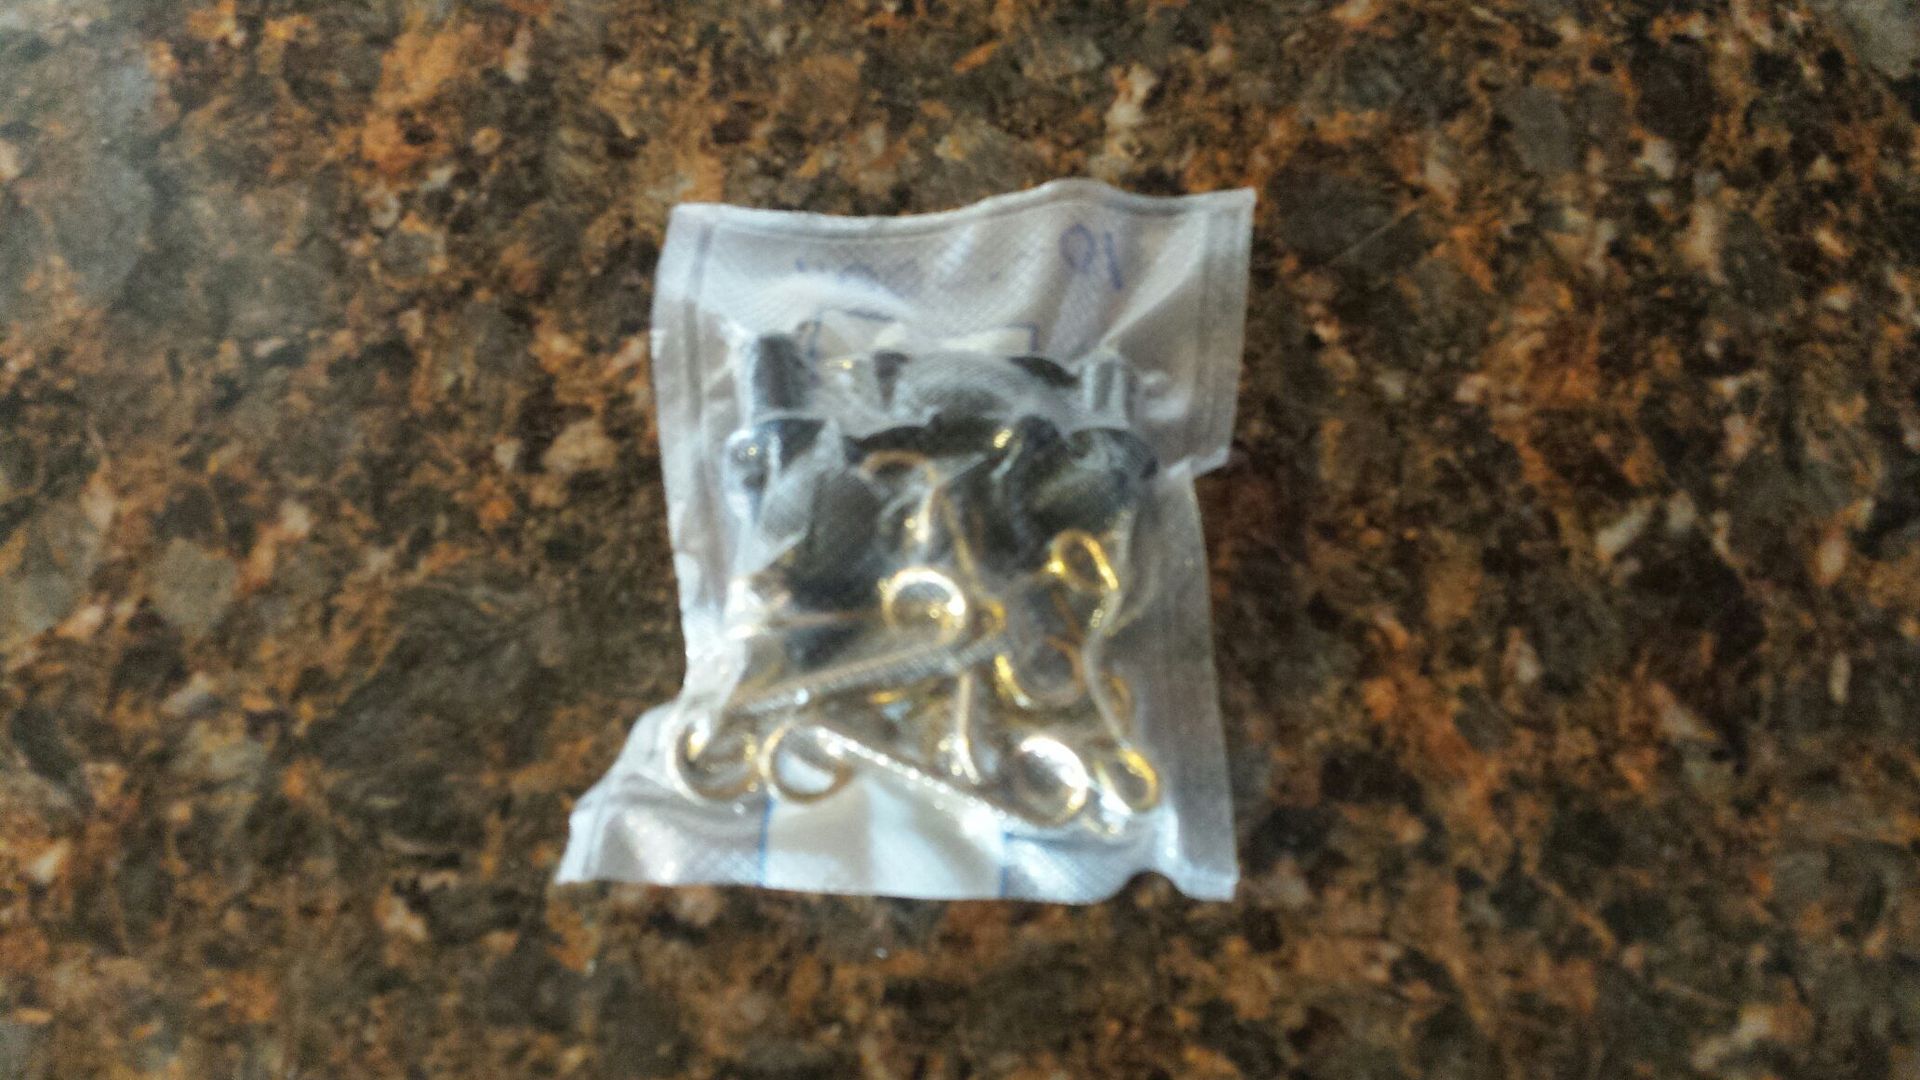
After an hour of cussing i got the passenger door bar out. Weighs 8 lbs. Here's the dzus fasteners Im gonna use to hold the new door panels on.
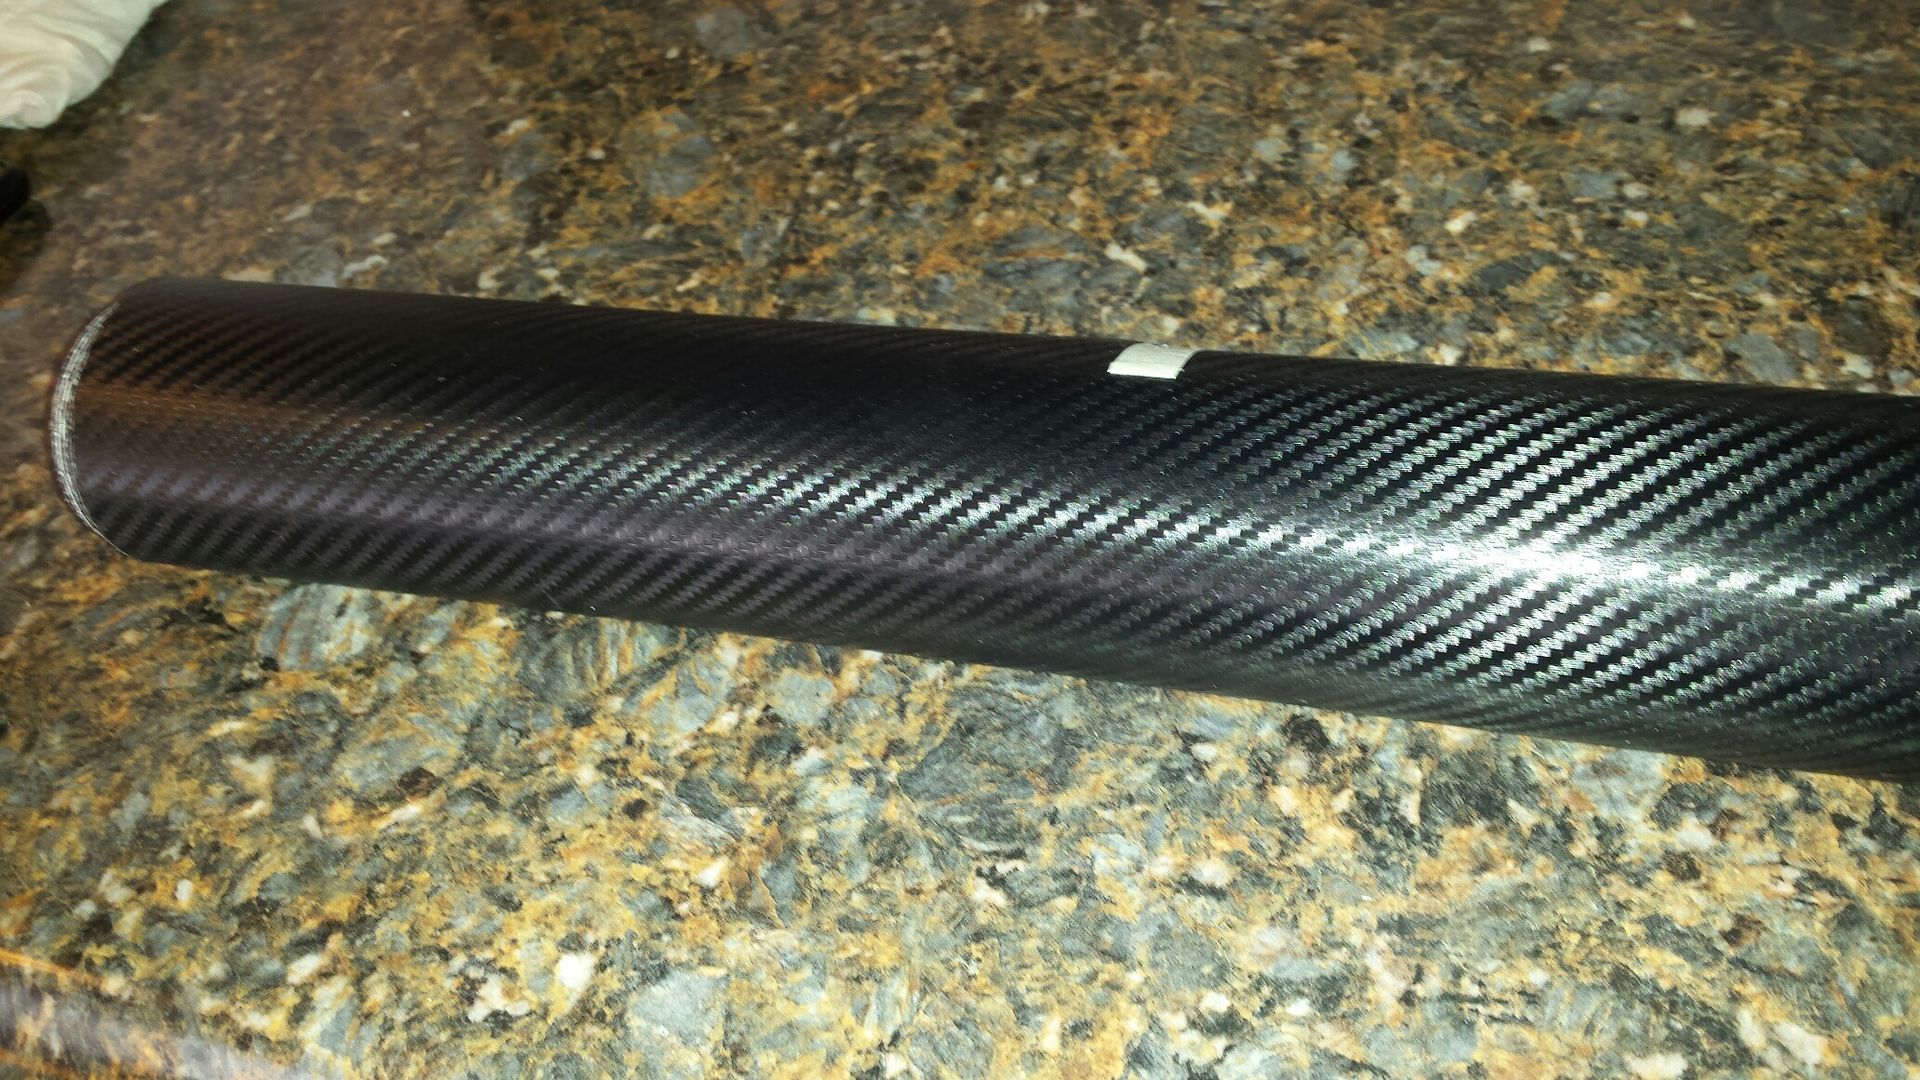
What i will wrap the door panels with....
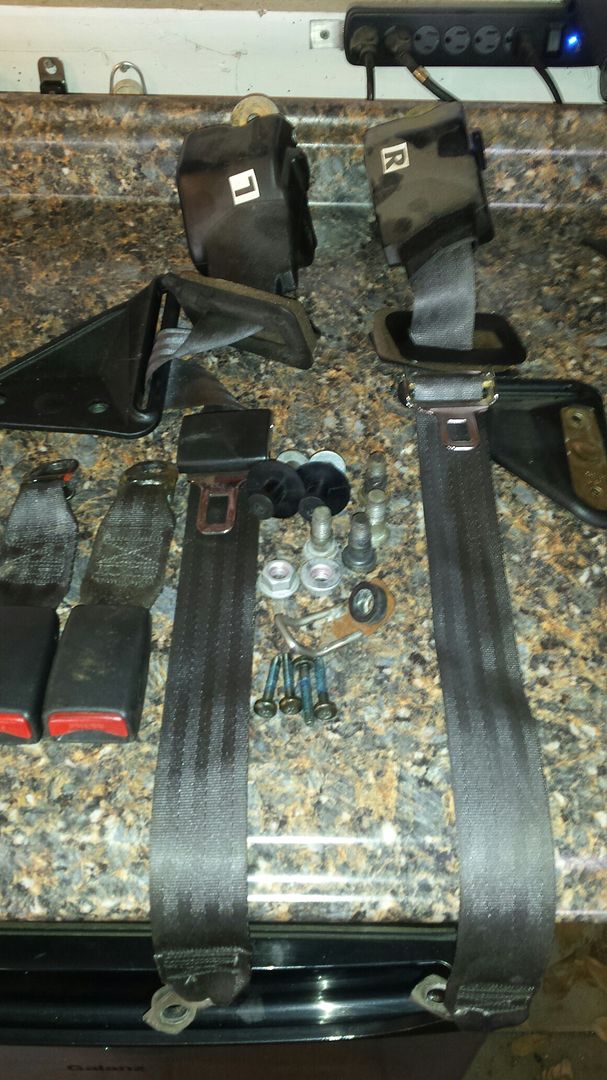
Rear seatbelts and the little bit of stock carpet in the hatch was 18 lb per my ****ty bathroom scale.
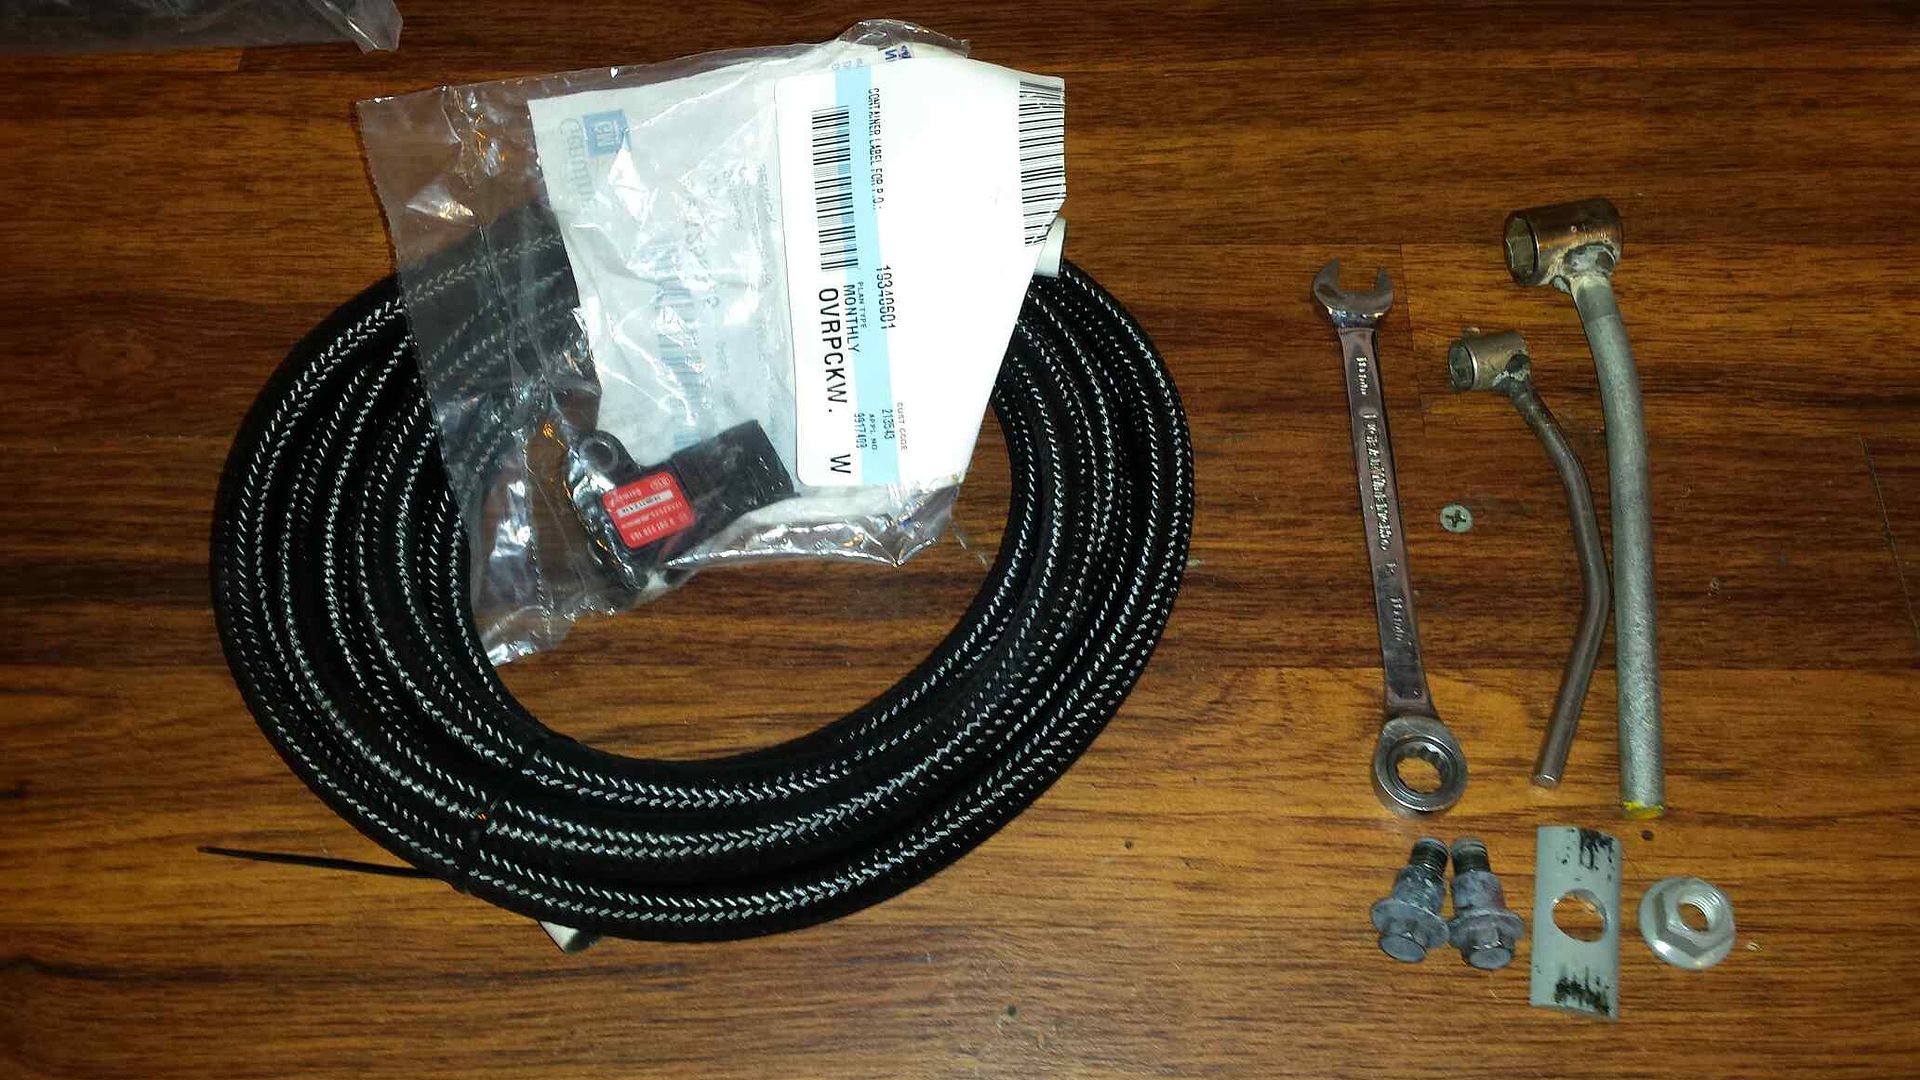
The tools I used to get the door bars out, the new -6 line that will be PS hose, and the ZR1 map. You must drill the intake out to 15/32 for it to fit, it is slightly larger.
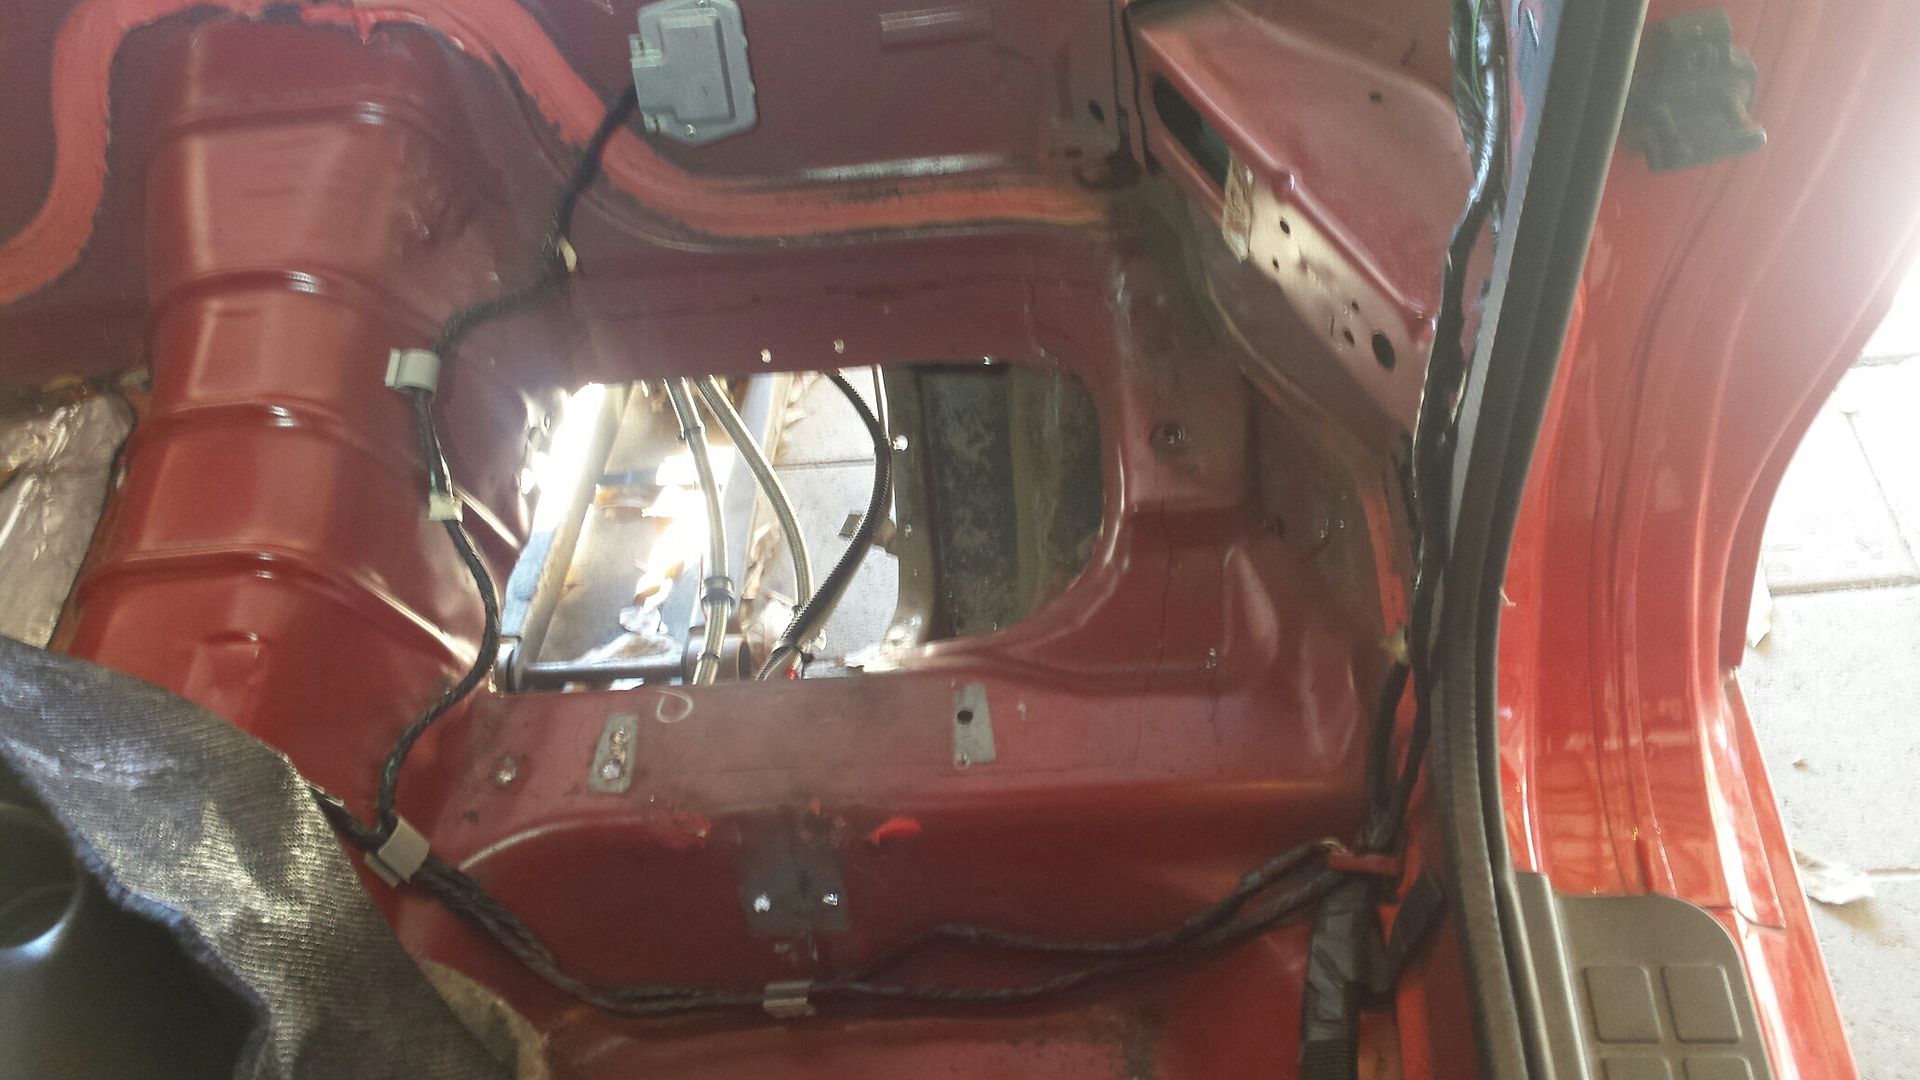
MAP is installed (waiting on the harness adapter), there is no panels or carpet in the car from the backseat back. Took the seats back out so i can work in the rear. Going to modify the floor and start cutting off brackets I dont need.
#118
01-31-2018, 09:55 AM
Got the AN hose ends in, and the MAP sensor pigtail installed. When I cranked the car it was idling at 16.5 AFR so i threw some fuel at it in HPTuners and realized I'm probably starting over from scratch retuning the car. Not super thrilled about that.
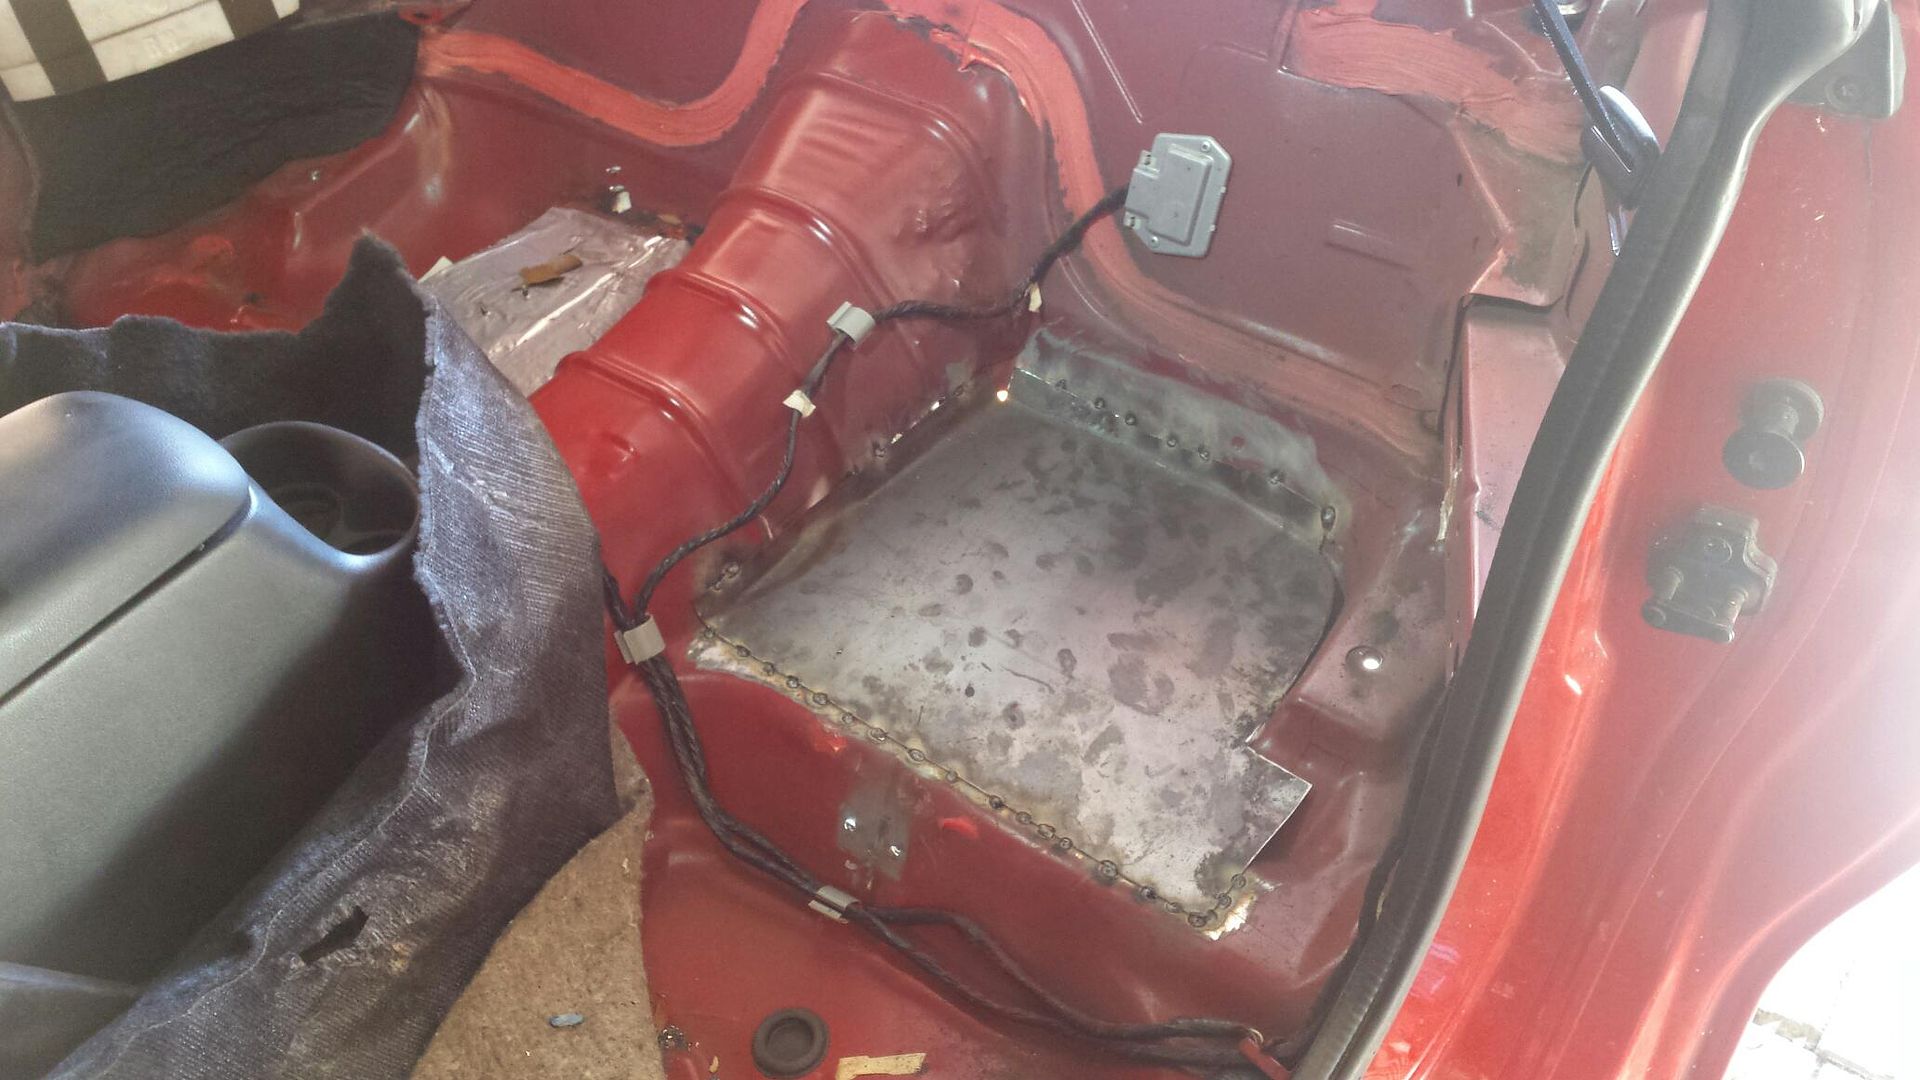
Got to play with the cutoff wheel a little today. Here's our specimen. After lowering the fuel lines away from the floor I drew out a basic line about where i thought the patch panel would go. Front seat bracket is going bye bye.
This was my first initial cut. I ended up trimming more out of the back, tunnel side, and front edge.
Here's the patch panel being tacked in place. Its 16g (pretty stout), the tunnel and rear edge have bent edges
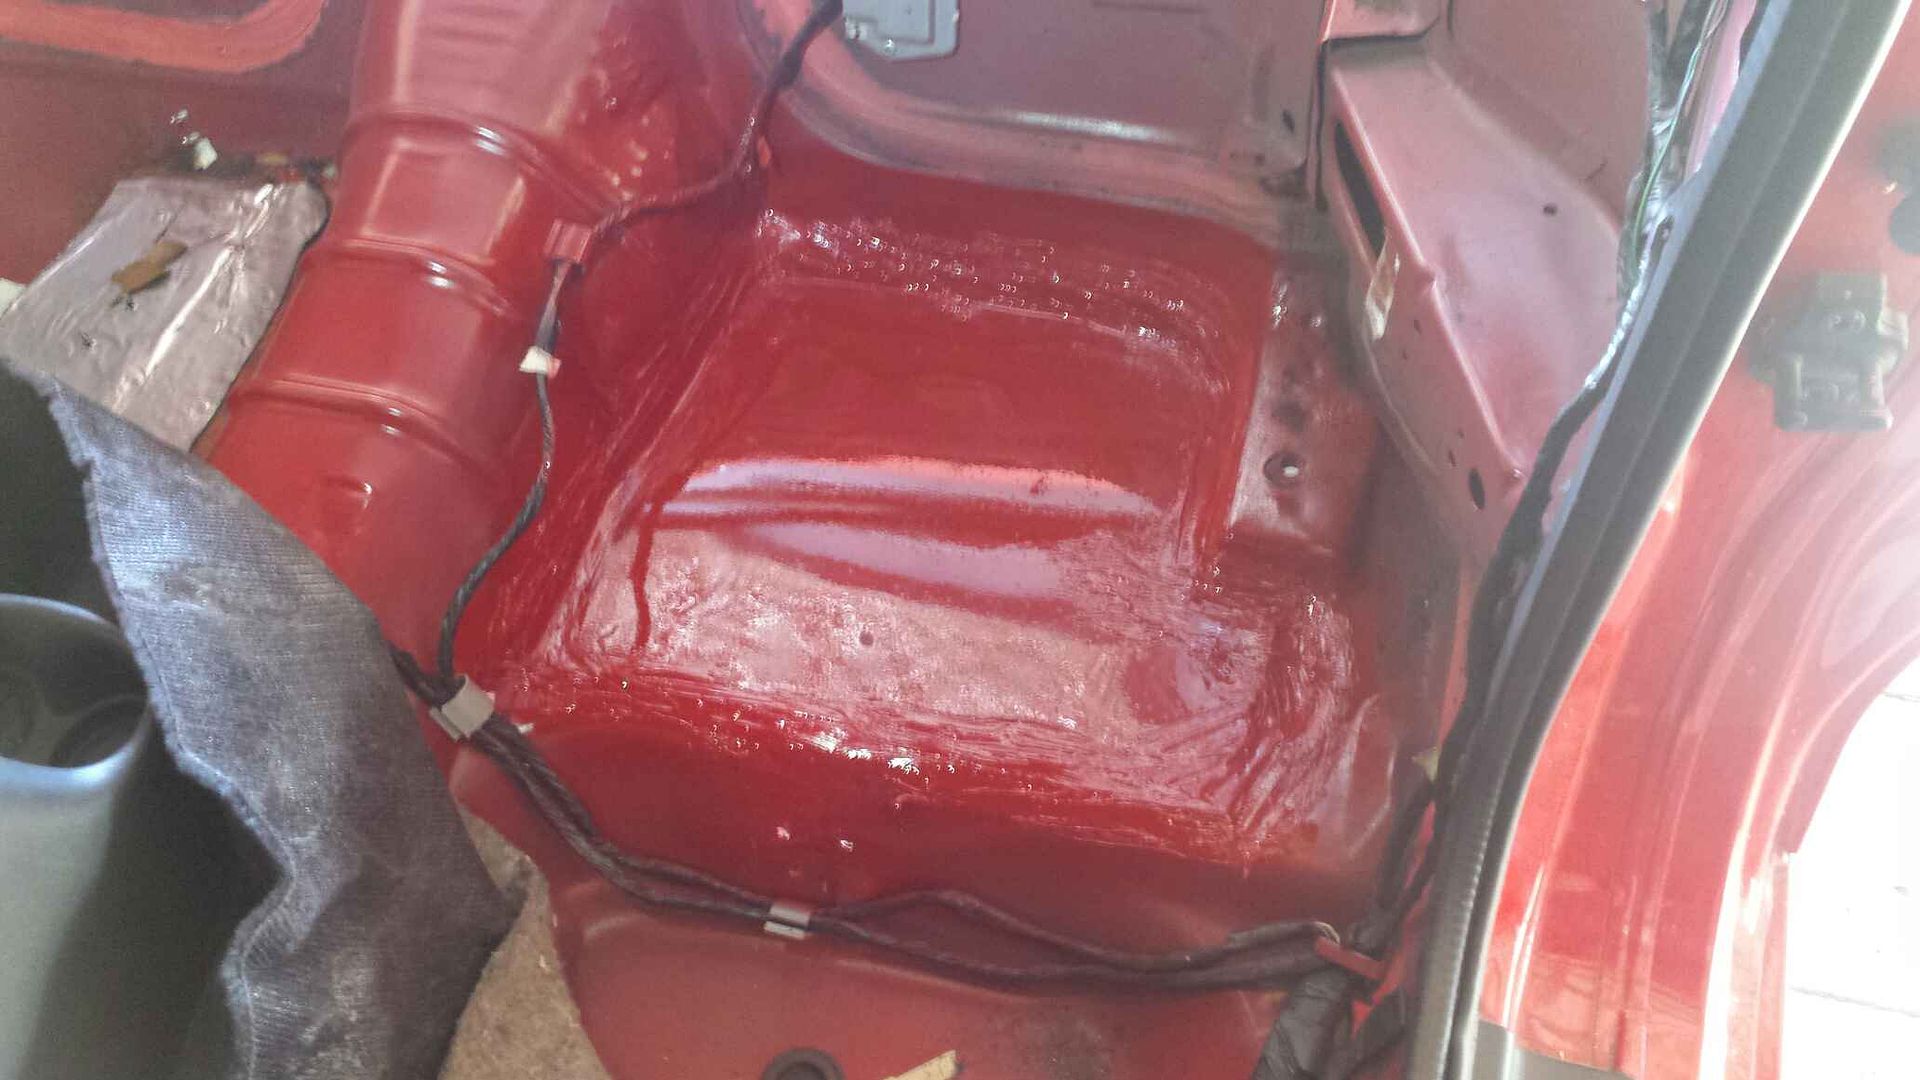
I generally go overboard with seam sealer. If you're worried about looks, you can putty knife it while its still wet, or sand it after its dry. I didnt do either bc there will be carpet covering it.

I hit it with some red paint. Its a little glossy but again no one will see it, really just did it for rust prevention on the steel panel. The color variation in the center that makes it look wavy is just a reflection off the roof of the garage. The back hatch was open. Panel going in vs metal cut out was about a wash weight wise.
I have a tracking number on the Wolfe door panels, should be here today, I ordered a big piece of black carpet to cover the entire rear section of the car. I also realized i forgot to order two of the steering adapters I need to make the hoses so I did that. Hope to get the passenger rear floor to match this side this weekend and onto the door panels. There are also about 6 rear brackets that can be removed (rear seats and belts etc) so Im deciding whether i want to drill all those spot welds. I estimate all 6 brackets would be 15ish pounds maybe. Decisions decisions.

Got to play with the cutoff wheel a little today. Here's our specimen. After lowering the fuel lines away from the floor I drew out a basic line about where i thought the patch panel would go. Front seat bracket is going bye bye.

This was my first initial cut. I ended up trimming more out of the back, tunnel side, and front edge.

Here's the patch panel being tacked in place. Its 16g (pretty stout), the tunnel and rear edge have bent edges

I generally go overboard with seam sealer. If you're worried about looks, you can putty knife it while its still wet, or sand it after its dry. I didnt do either bc there will be carpet covering it.

I hit it with some red paint. Its a little glossy but again no one will see it, really just did it for rust prevention on the steel panel. The color variation in the center that makes it look wavy is just a reflection off the roof of the garage. The back hatch was open. Panel going in vs metal cut out was about a wash weight wise.

I have a tracking number on the Wolfe door panels, should be here today, I ordered a big piece of black carpet to cover the entire rear section of the car. I also realized i forgot to order two of the steering adapters I need to make the hoses so I did that. Hope to get the passenger rear floor to match this side this weekend and onto the door panels. There are also about 6 rear brackets that can be removed (rear seats and belts etc) so Im deciding whether i want to drill all those spot welds. I estimate all 6 brackets would be 15ish pounds maybe. Decisions decisions.
#119
02-05-2018, 08:17 AM
Got a little done this weekend. Basically started with this:
Realized right off the bat, the hole they cut for the door handle was a courtesy cut, and nowhere near correct for install.
This was my initial thinking, but ended up about doubling it due to me wanting the lock lever to be exposed.
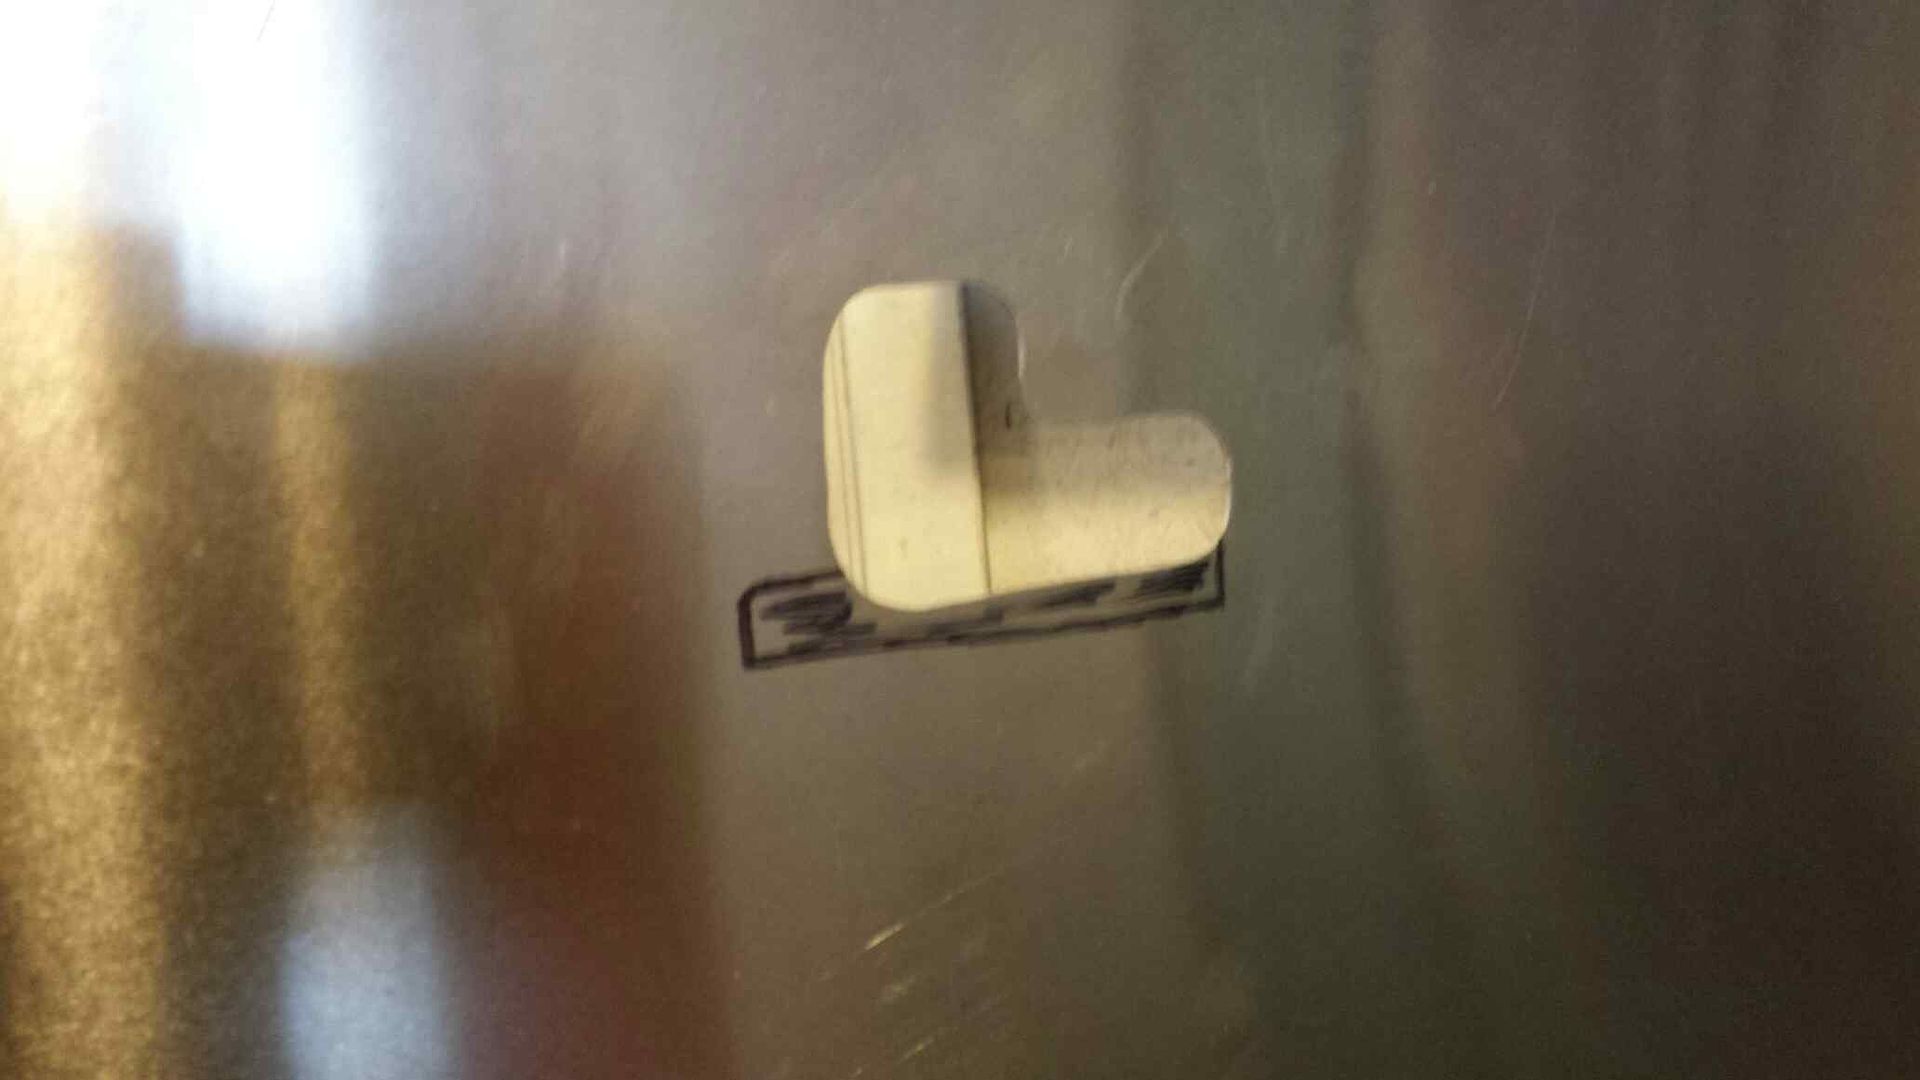
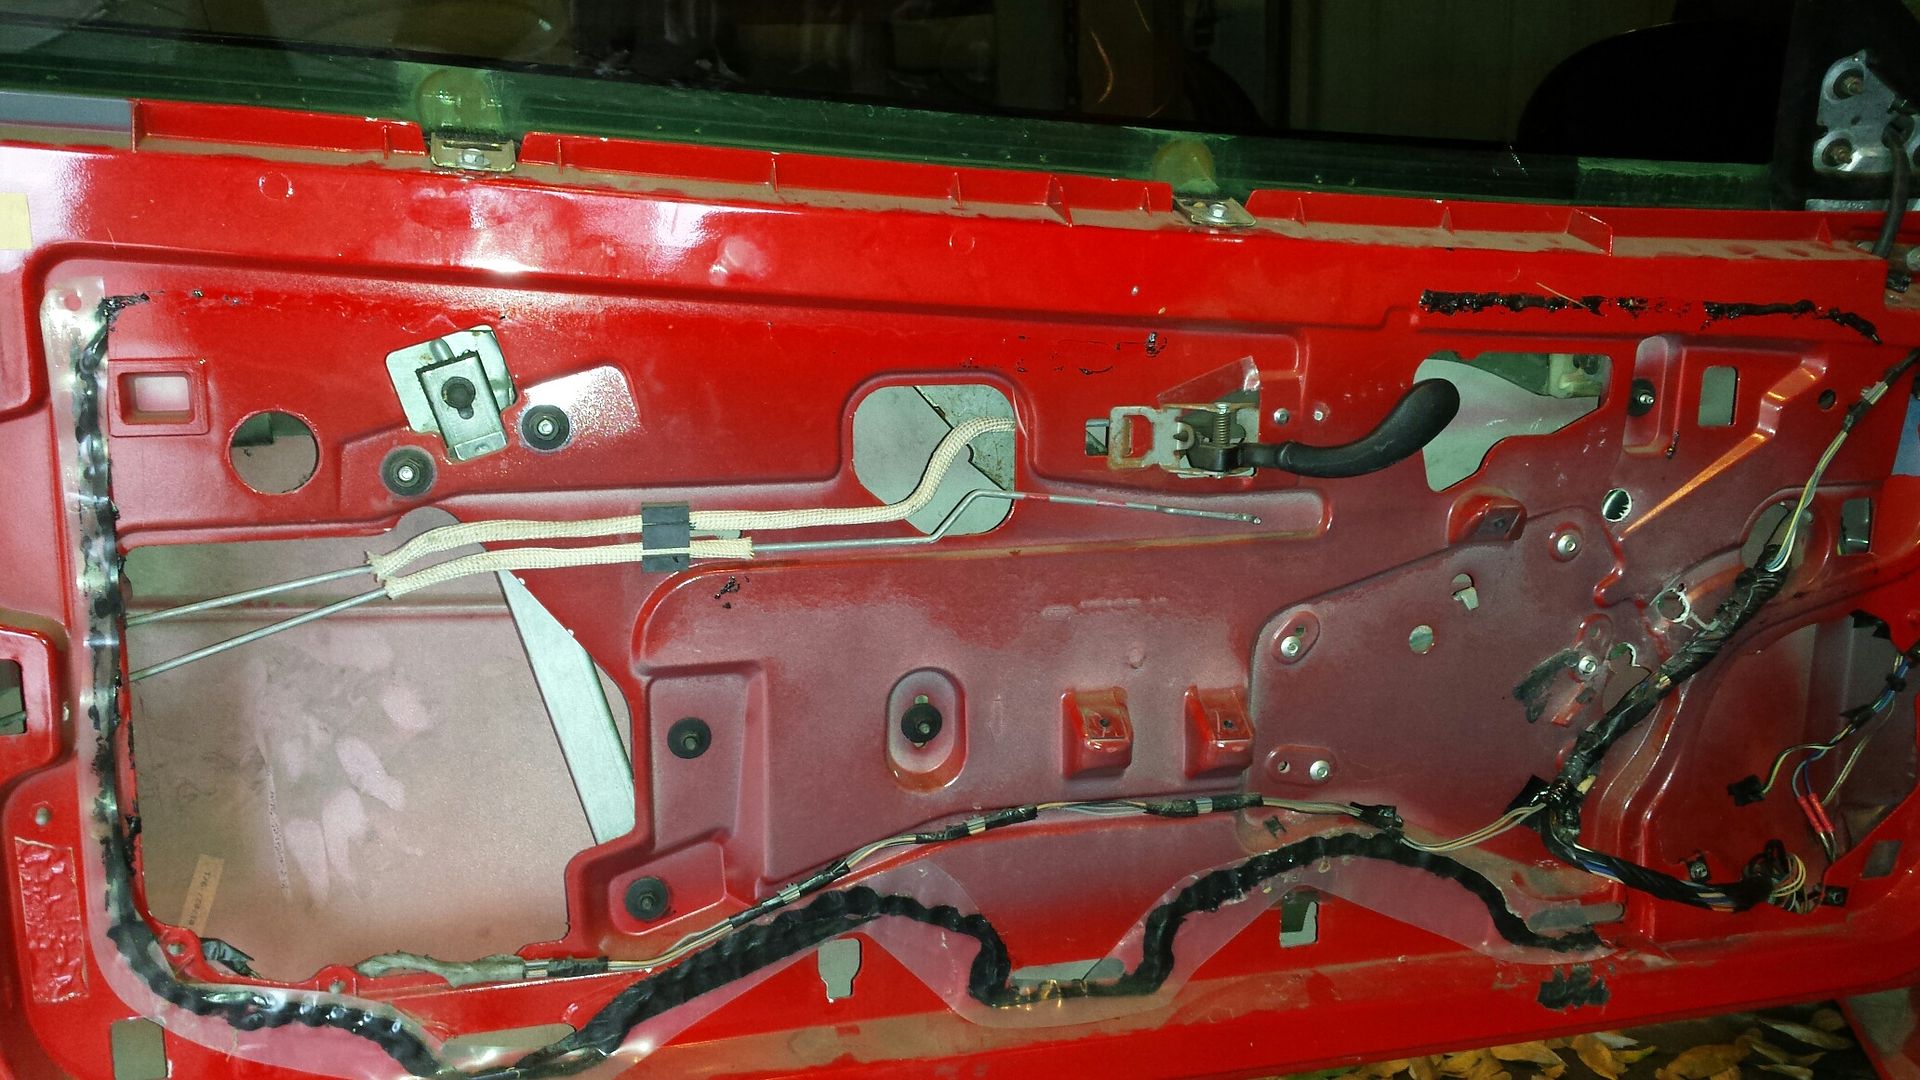
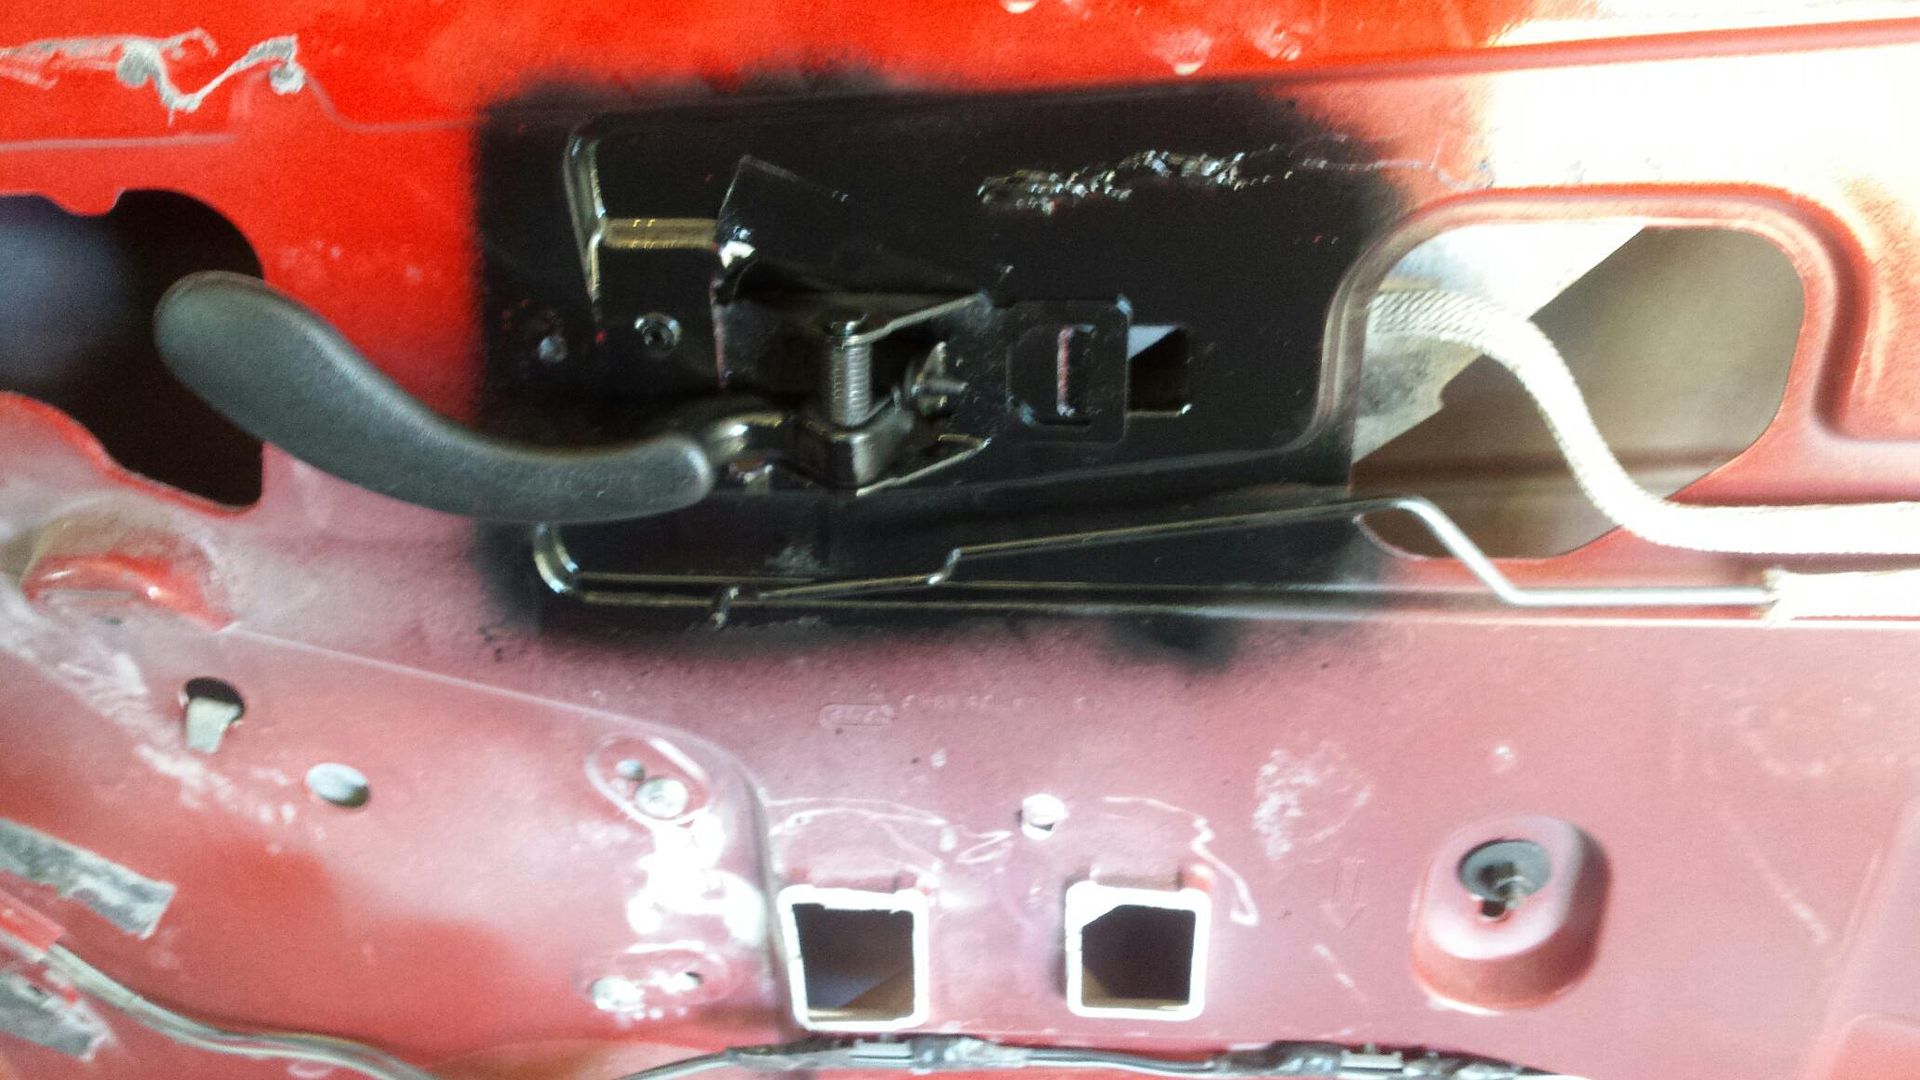
The original mounts for the stock door panel need to go bye bye.
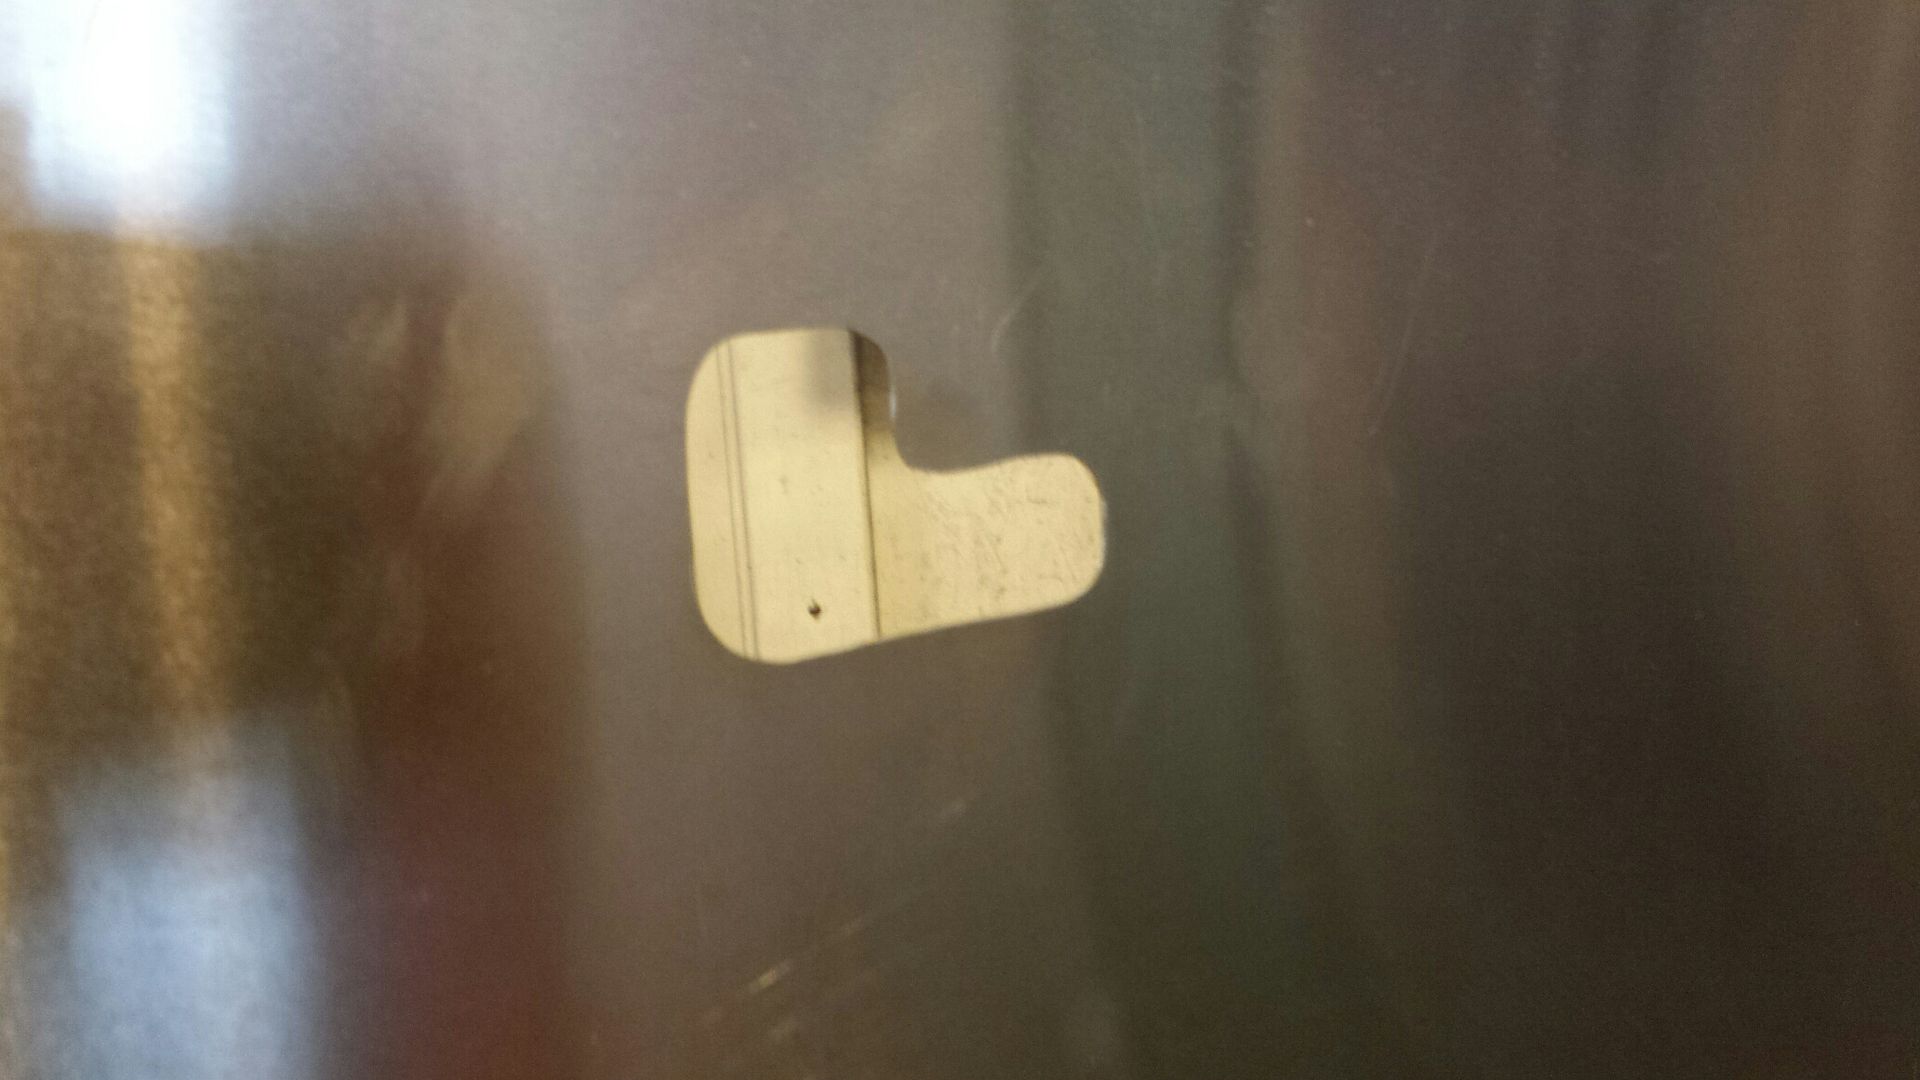
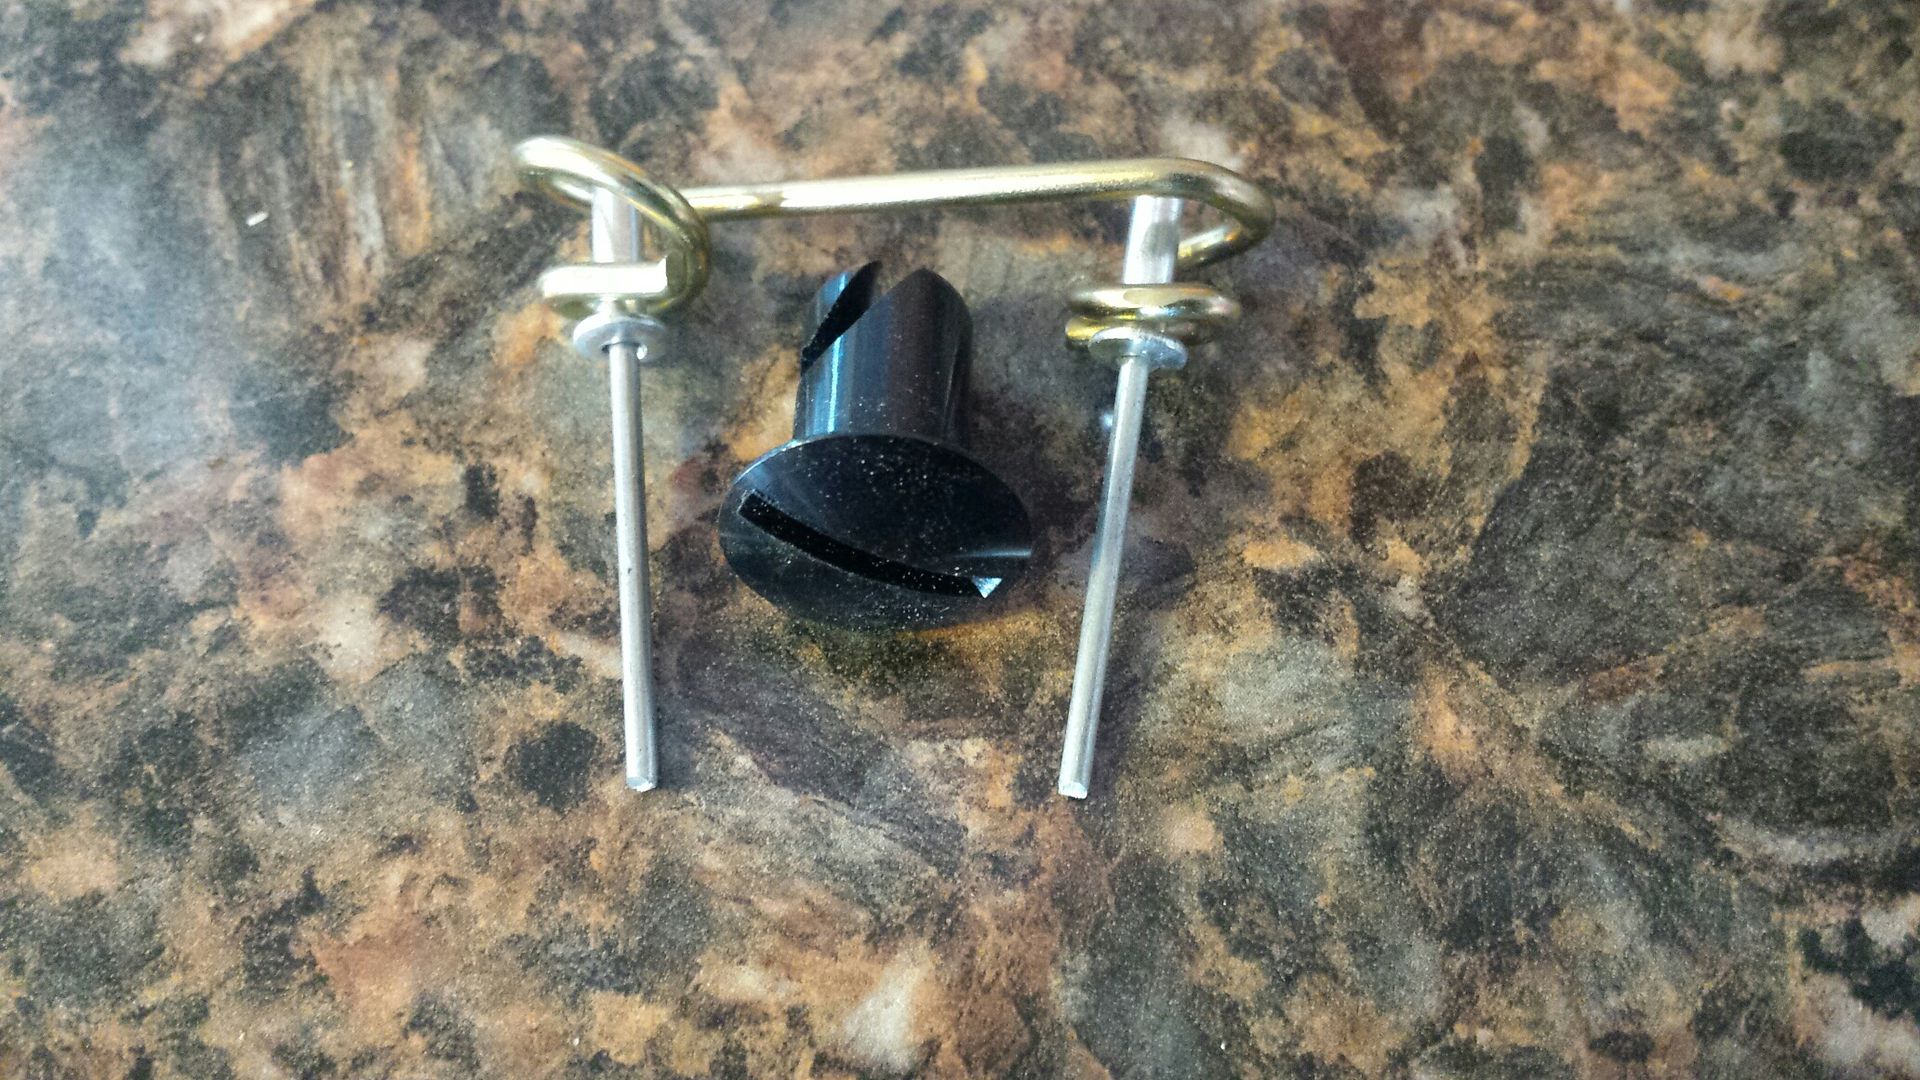
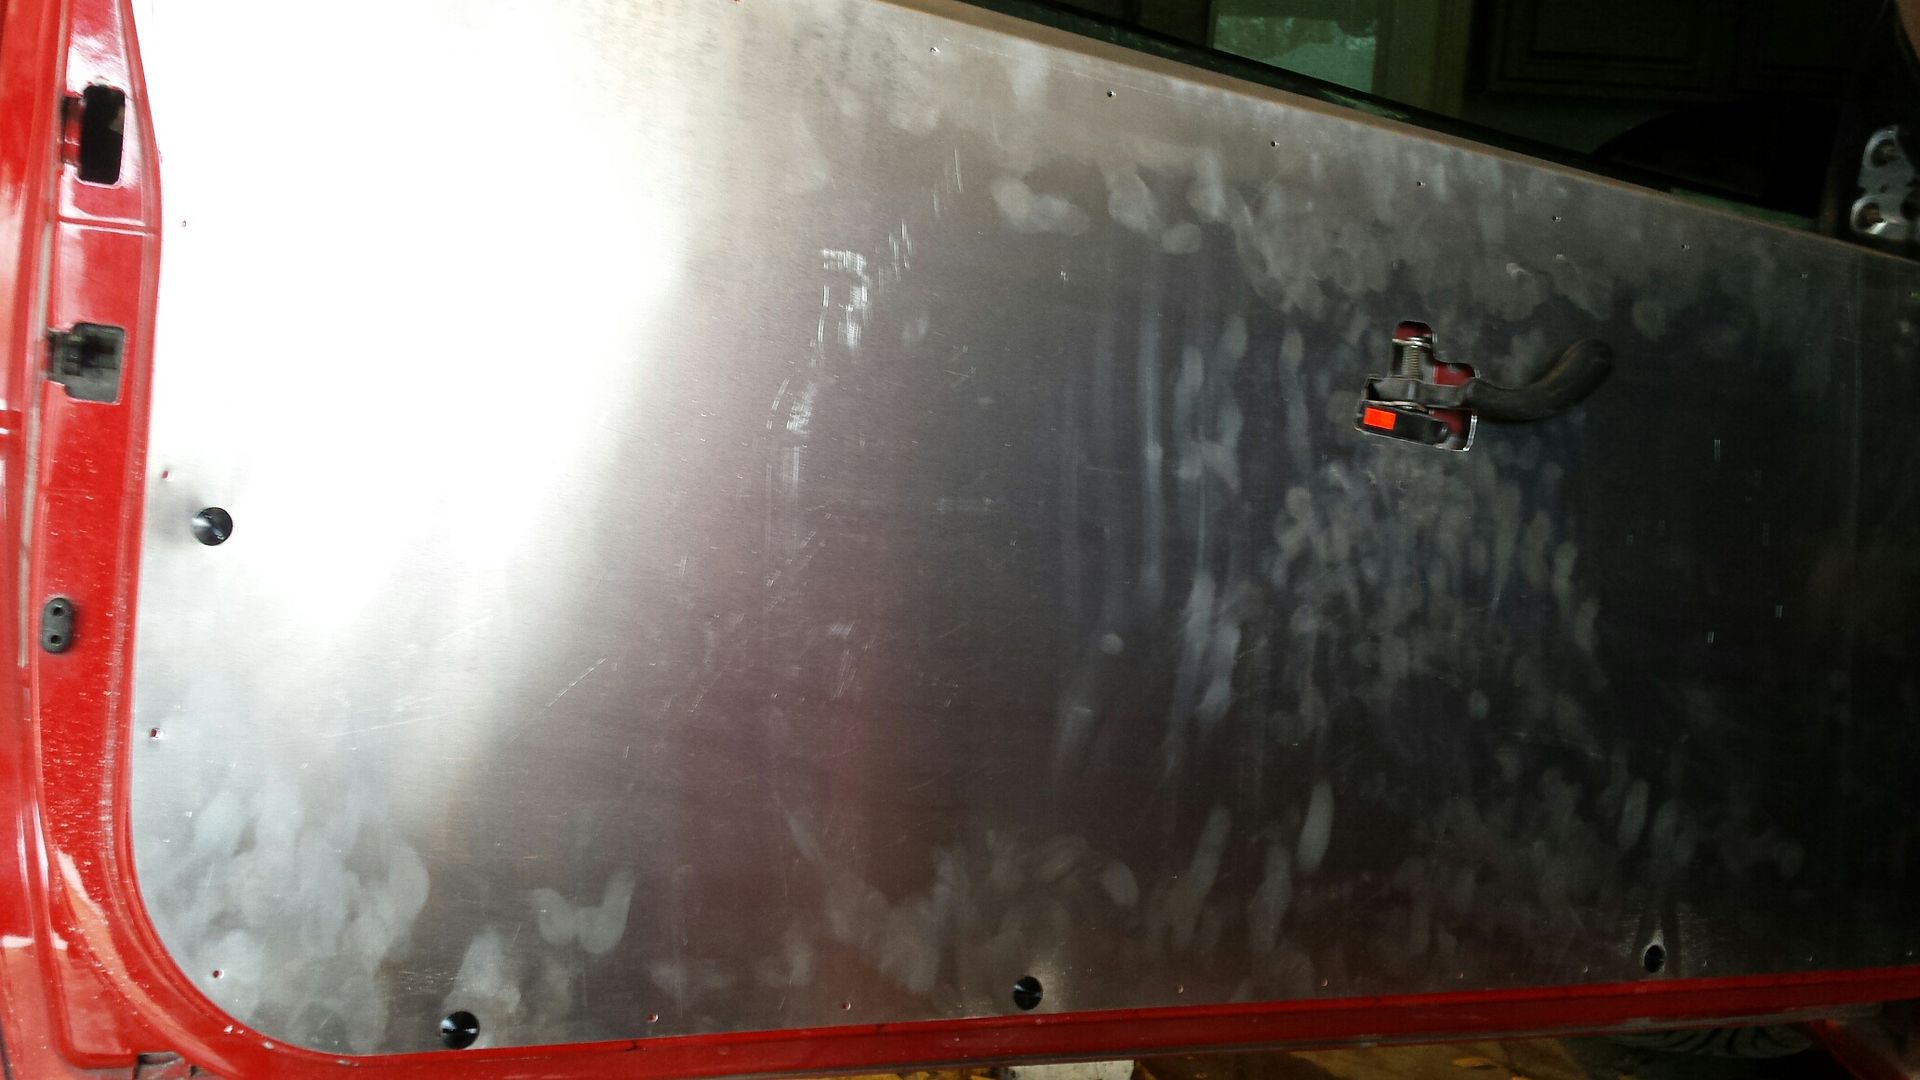
The plan is to use dsus or 1/4 turn fasteners, I want to be able to easily remove the panel if needed. Here's how they go together, the gold spring goes inside the door, riveted, and the black fastener is what you see on the outside of the door panel.
Here's one installed:
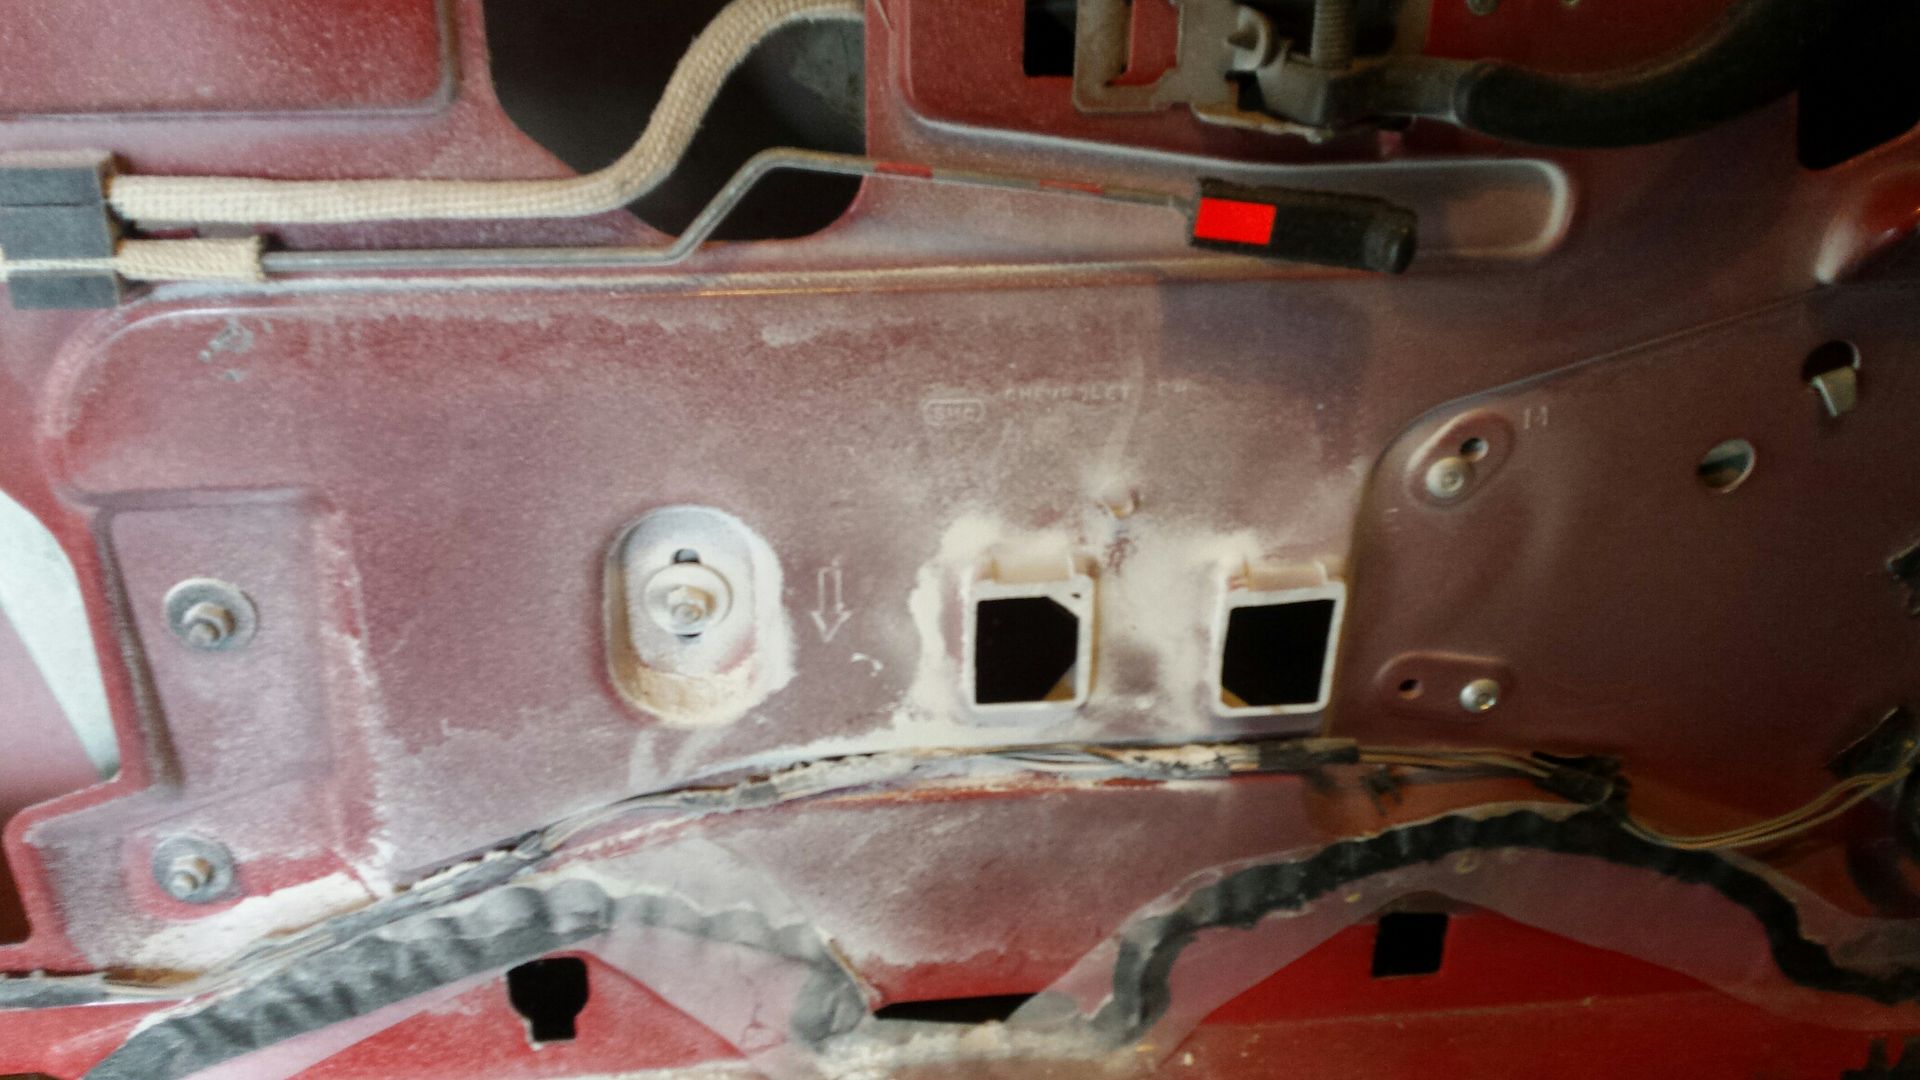
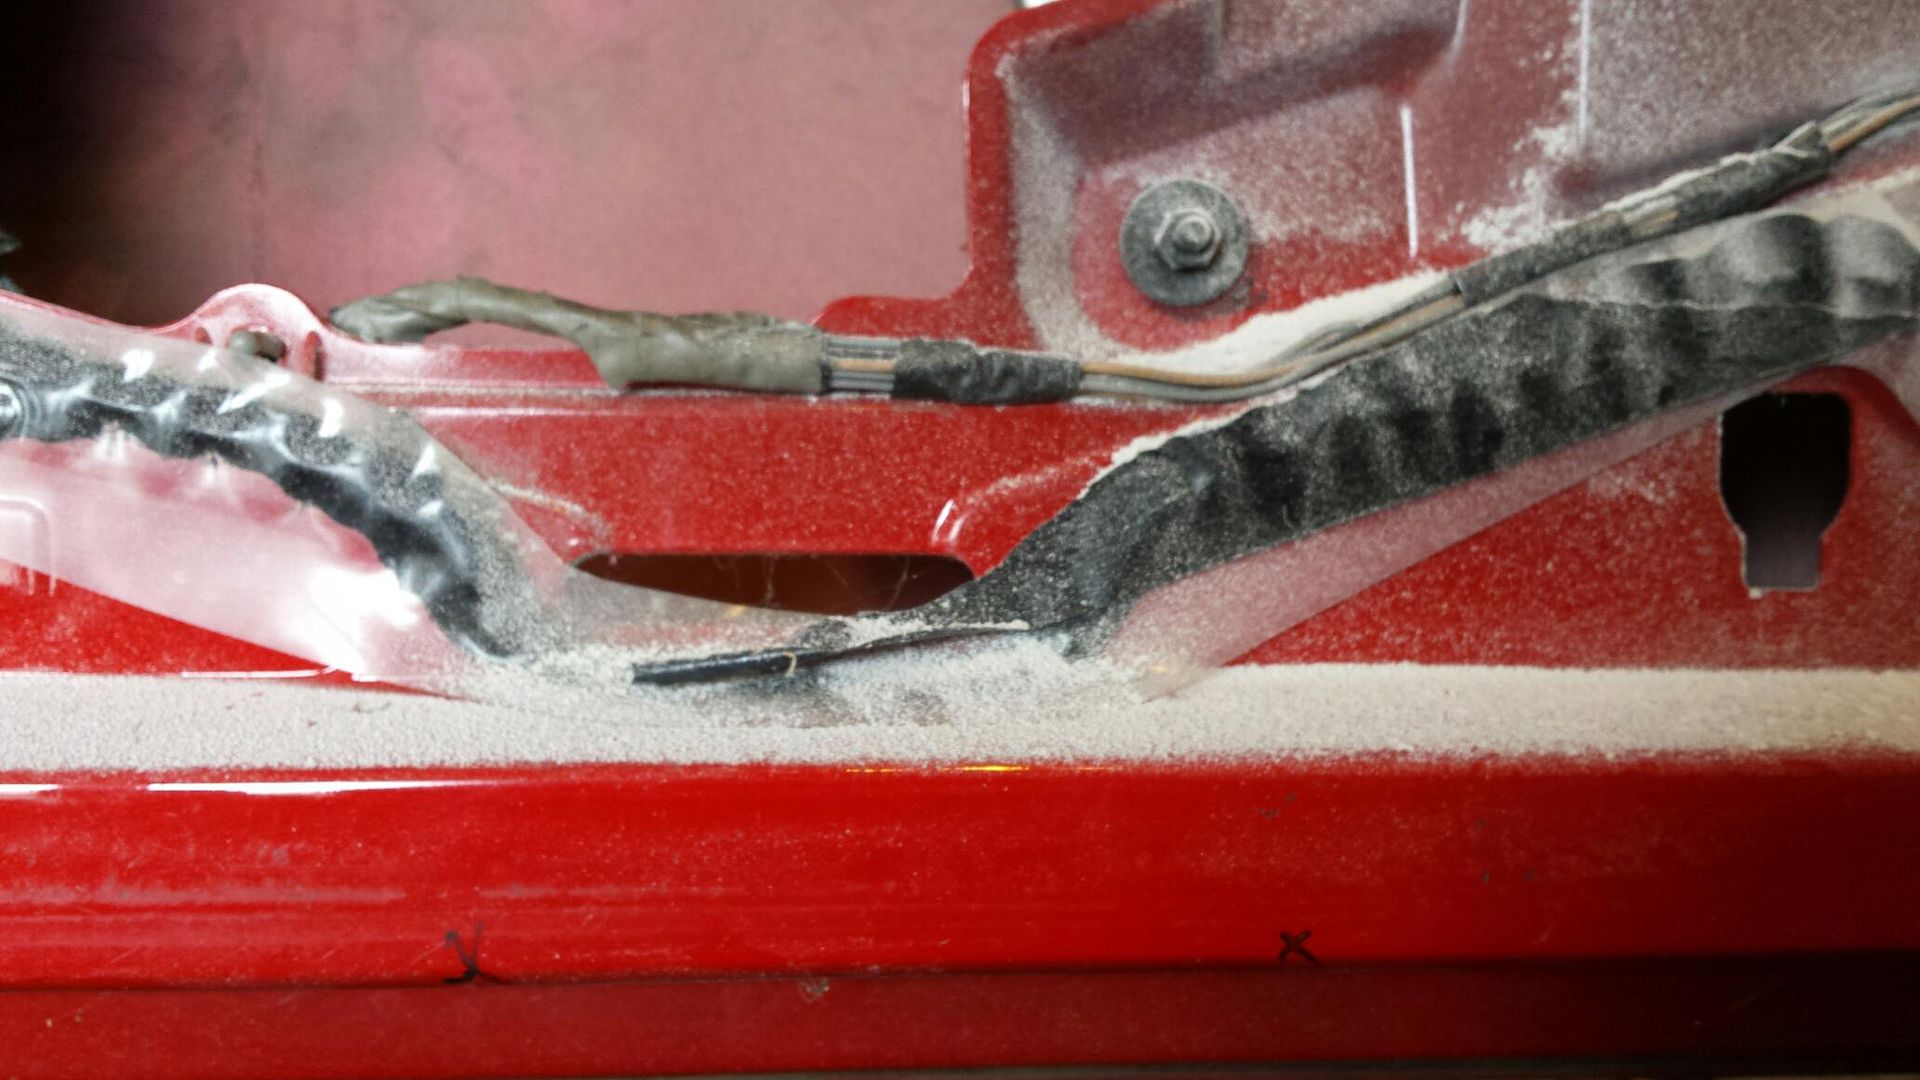
There are lots of things around the perimeter of the door that will obstruct placing your springs inside. I went around the door and marked Xs anywhere where there was something in the way. Along the bottom of the door there is ribbing/reinforcement every few inches.
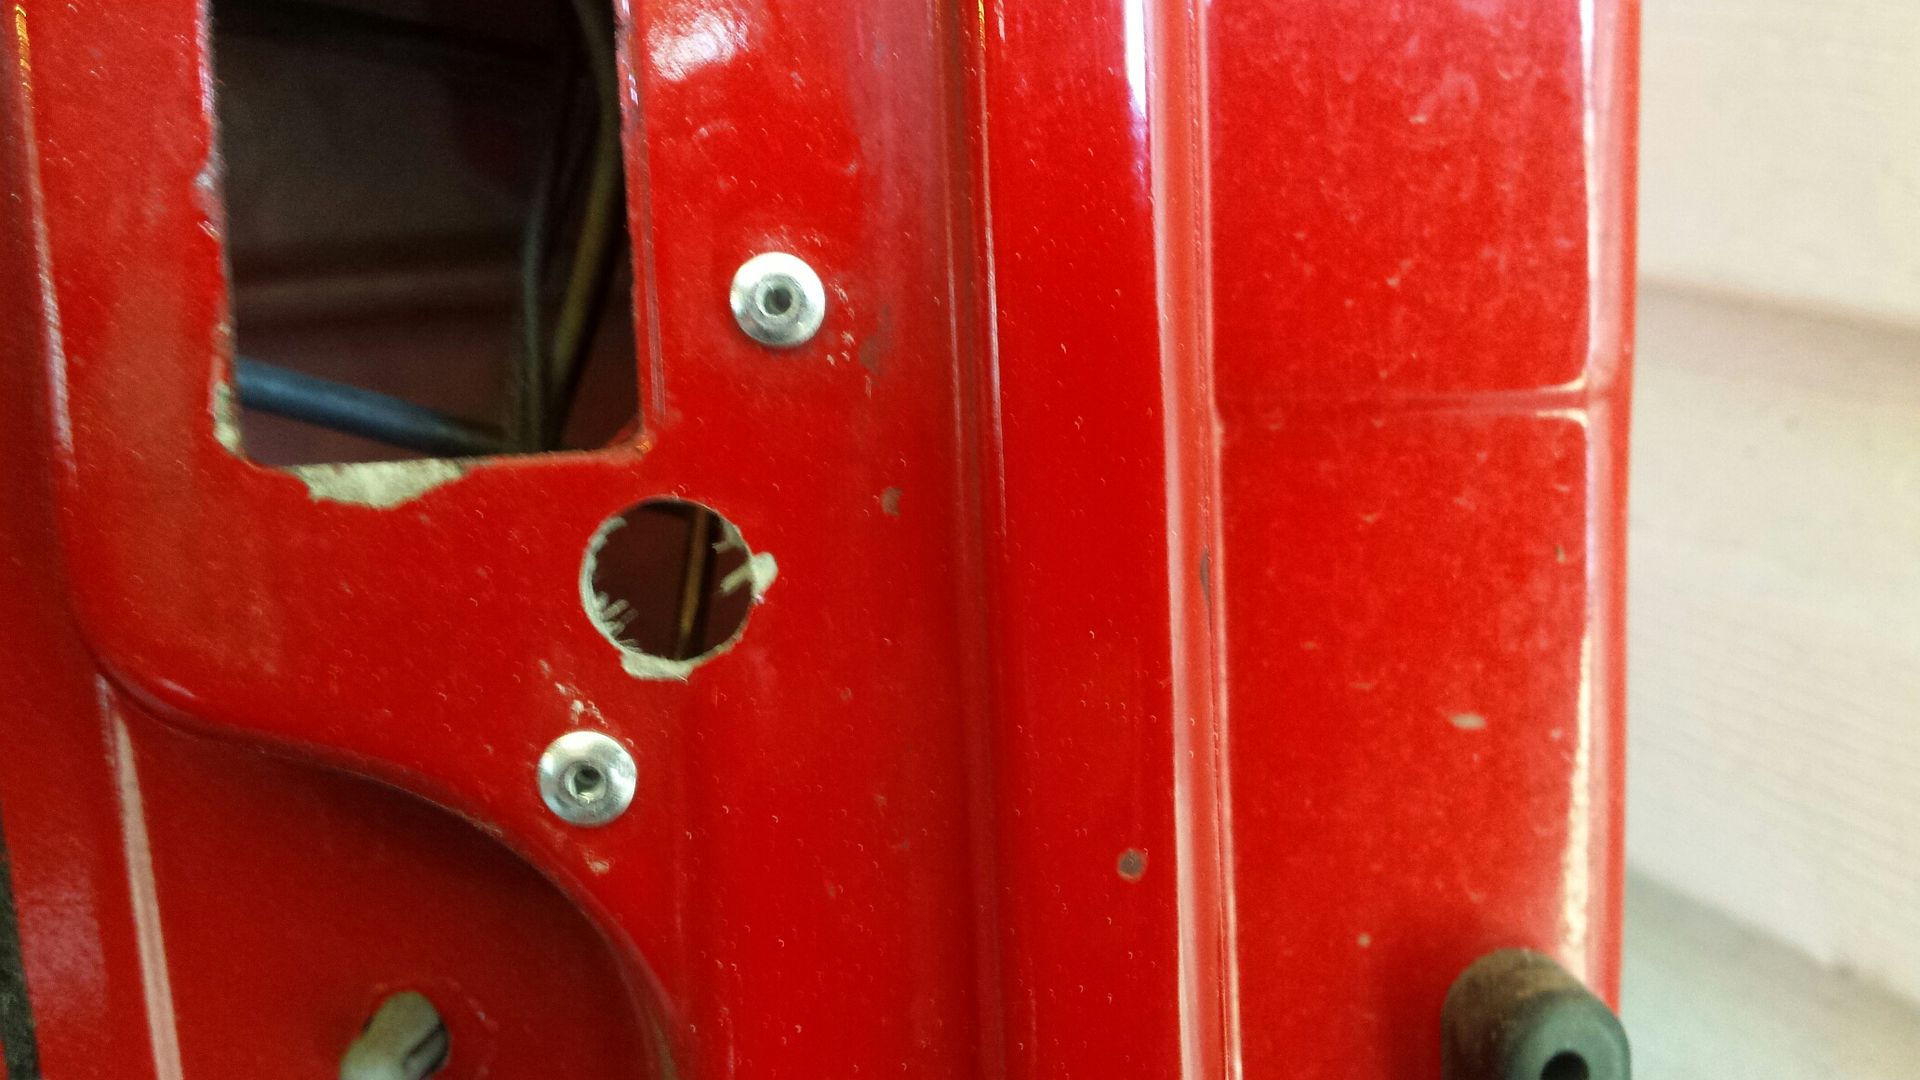
Here's where i selected the 5 could go with the least amount of issue:
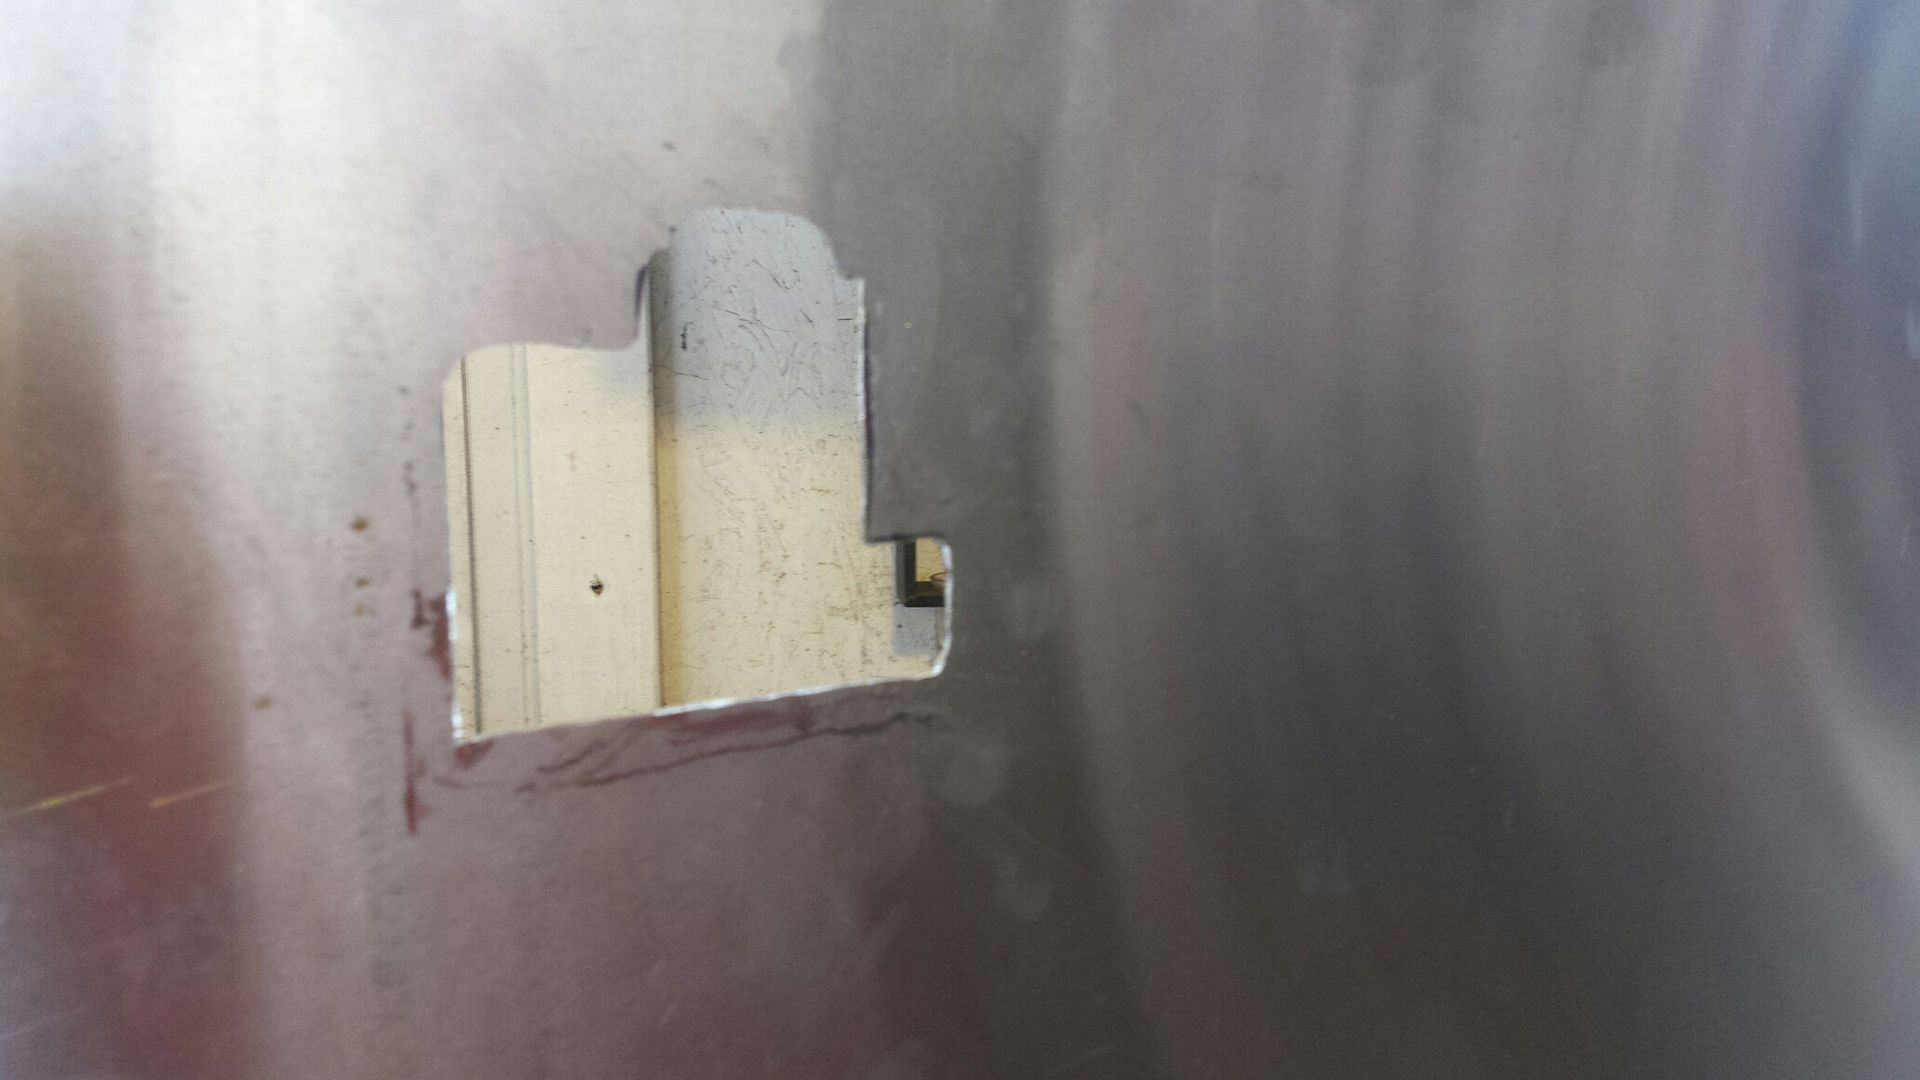
Here is my final passenger door cut for the handle and the lock lever:
Lay out your wrap. Once it was on i hit it very quickly with a heat gun on the low setting.
Driver door mock up, no trim, and need to put the switches somewhere, may extend them to the center console.
Add a little black paint around the handle:
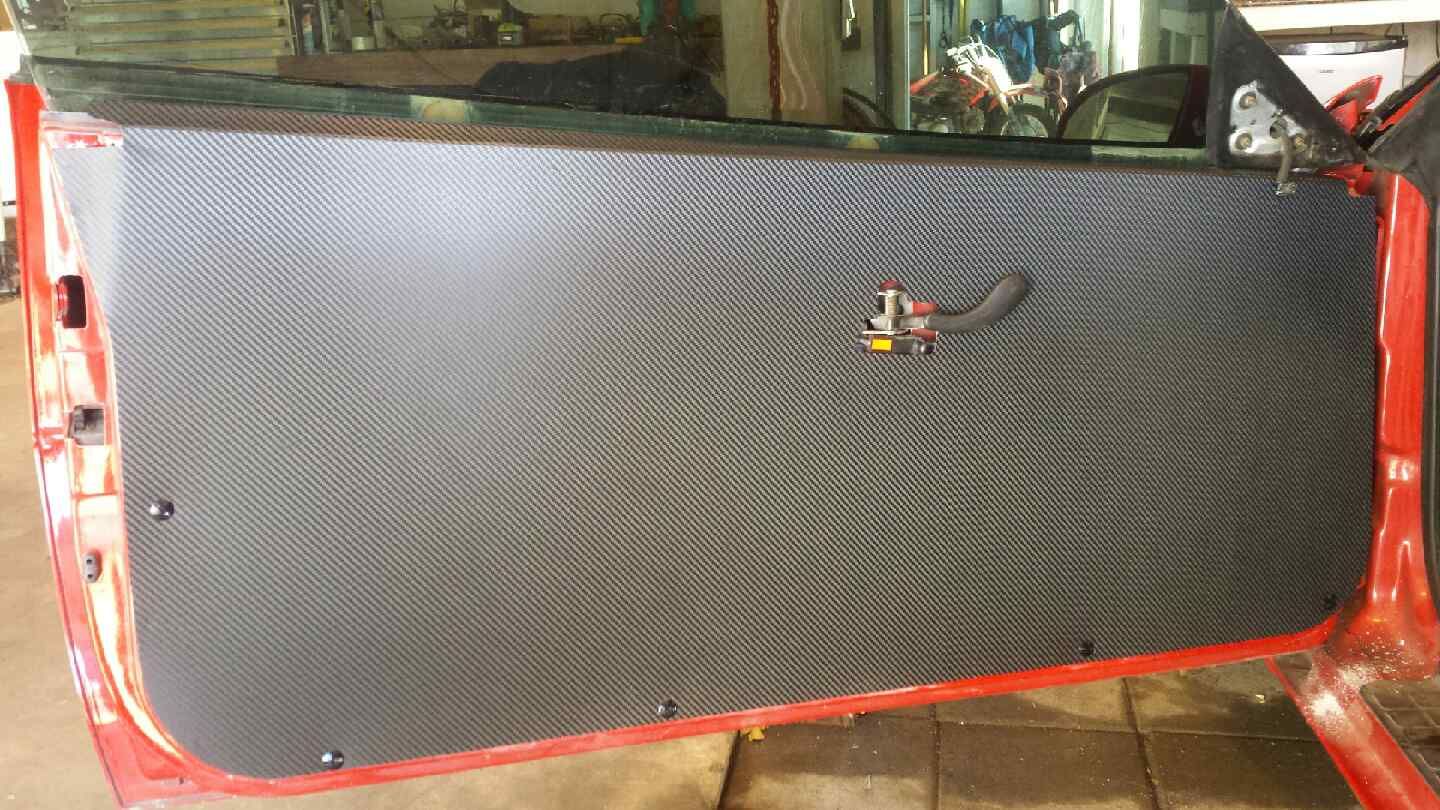
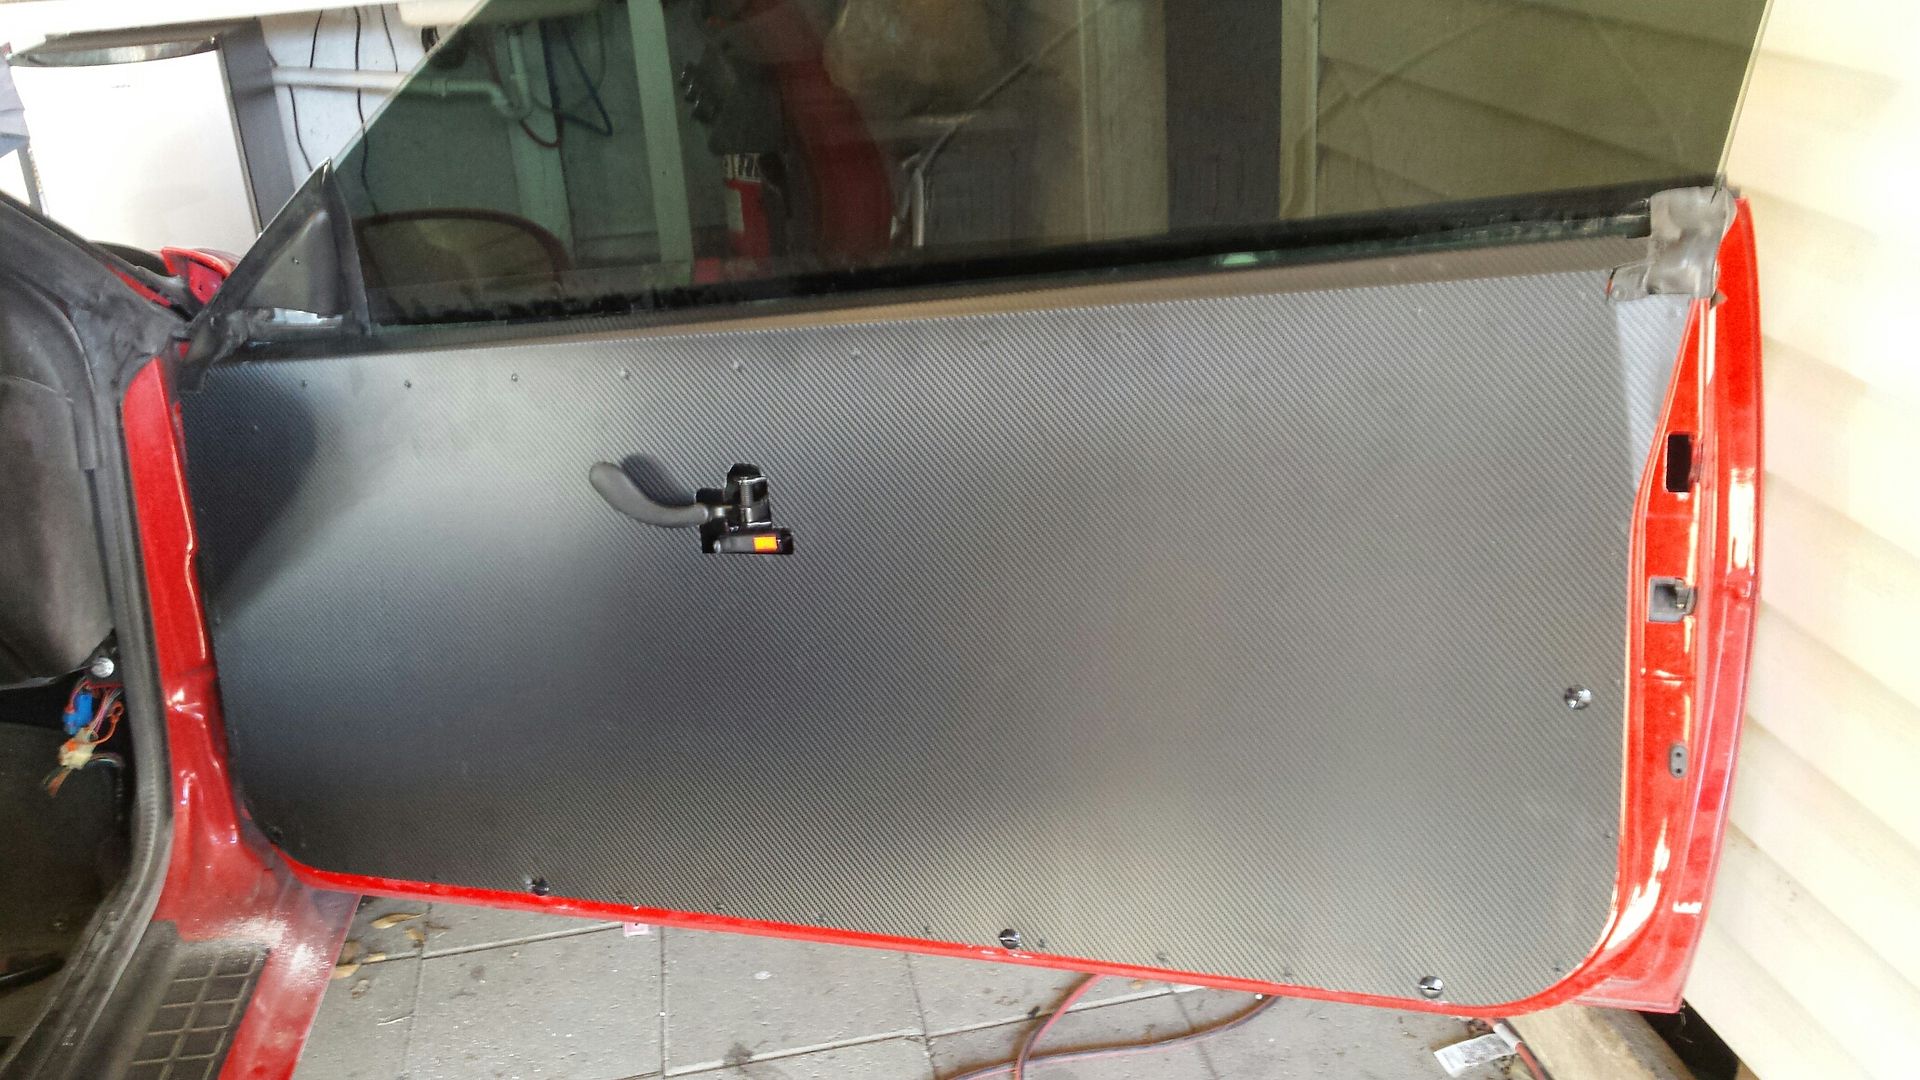
Passenger door with trim installed. The rubber at the upper front of the door requires minor trimming, the rubber at the rear of the door does not.
Pic looking from the inside...
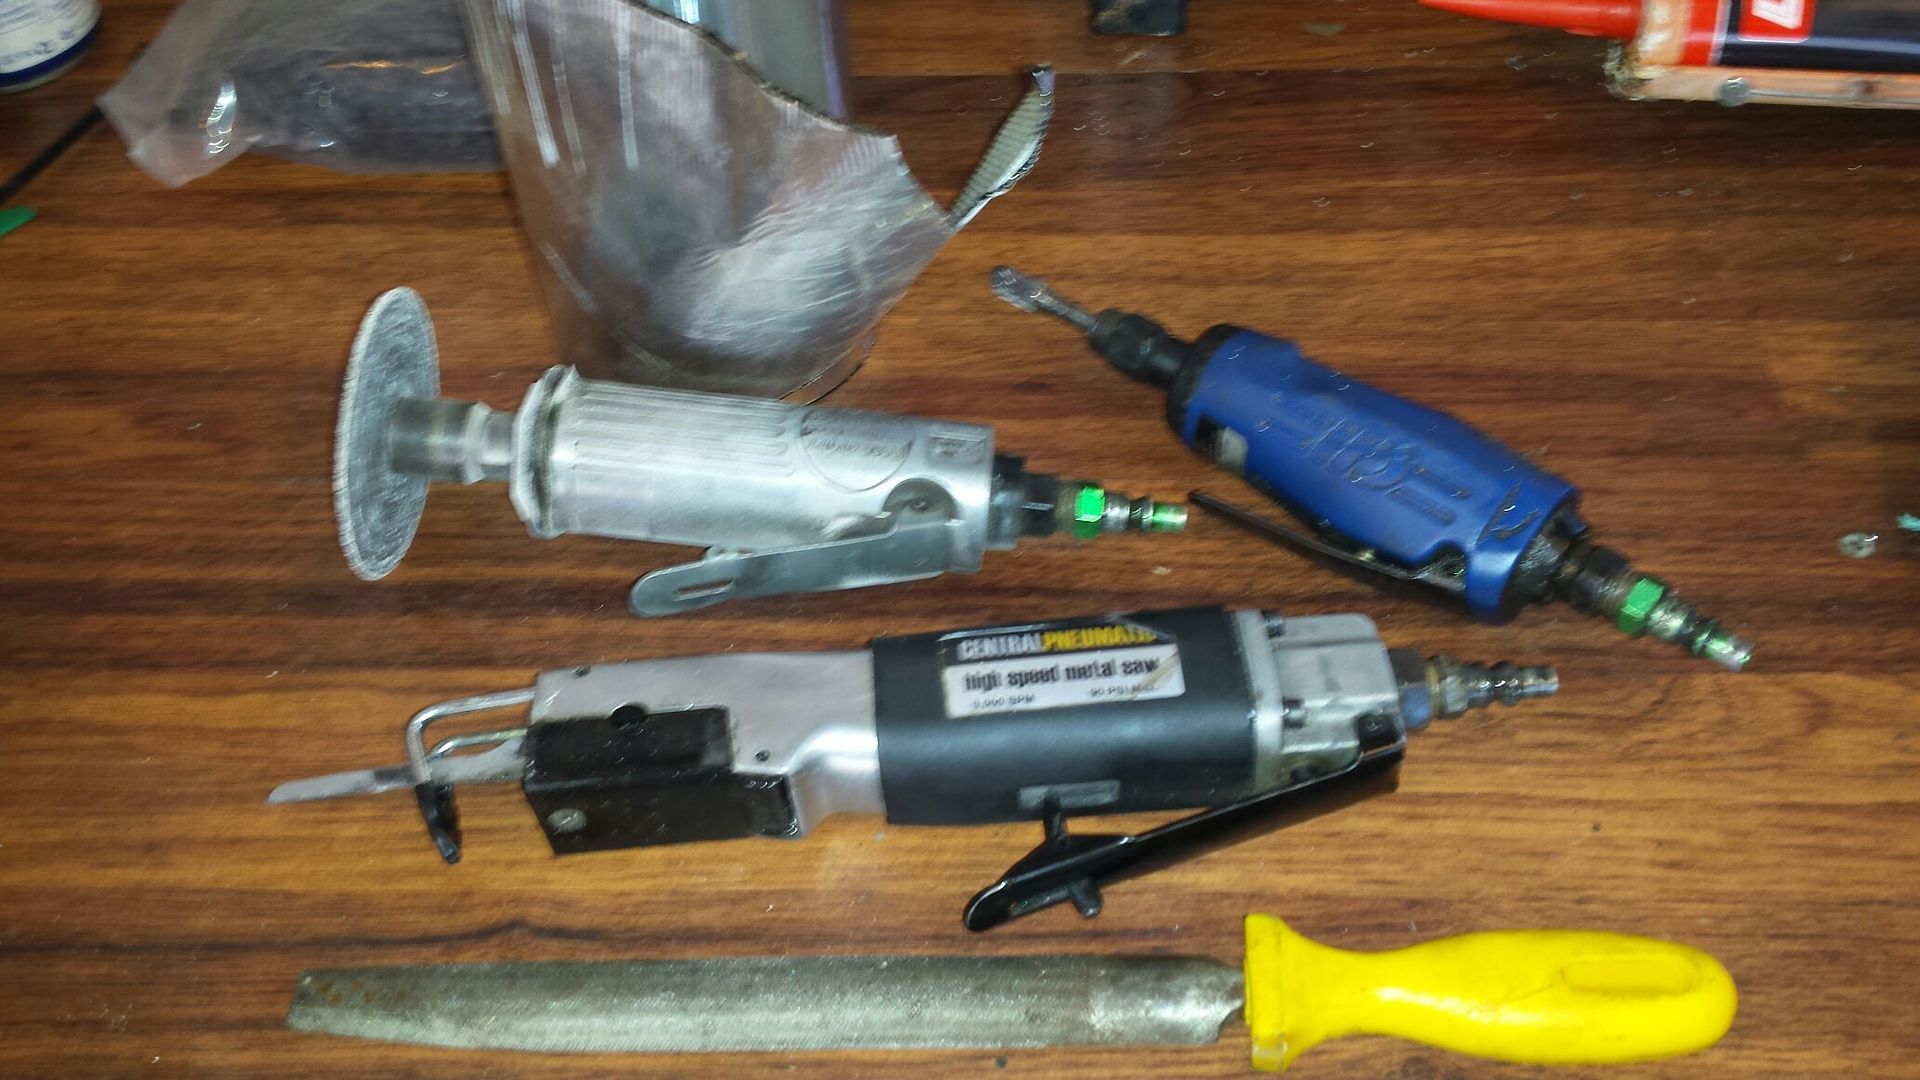
I used the cutoff wheel to cut off the mounts, the bodysaw to trim the handle holes, the carbide grinder to finish them out, the file to take the ridges off my cuts, and the silver tar tape (roof repair) on the rear of the panel to give it a little weight so it wont rattle against the door, this step optional.
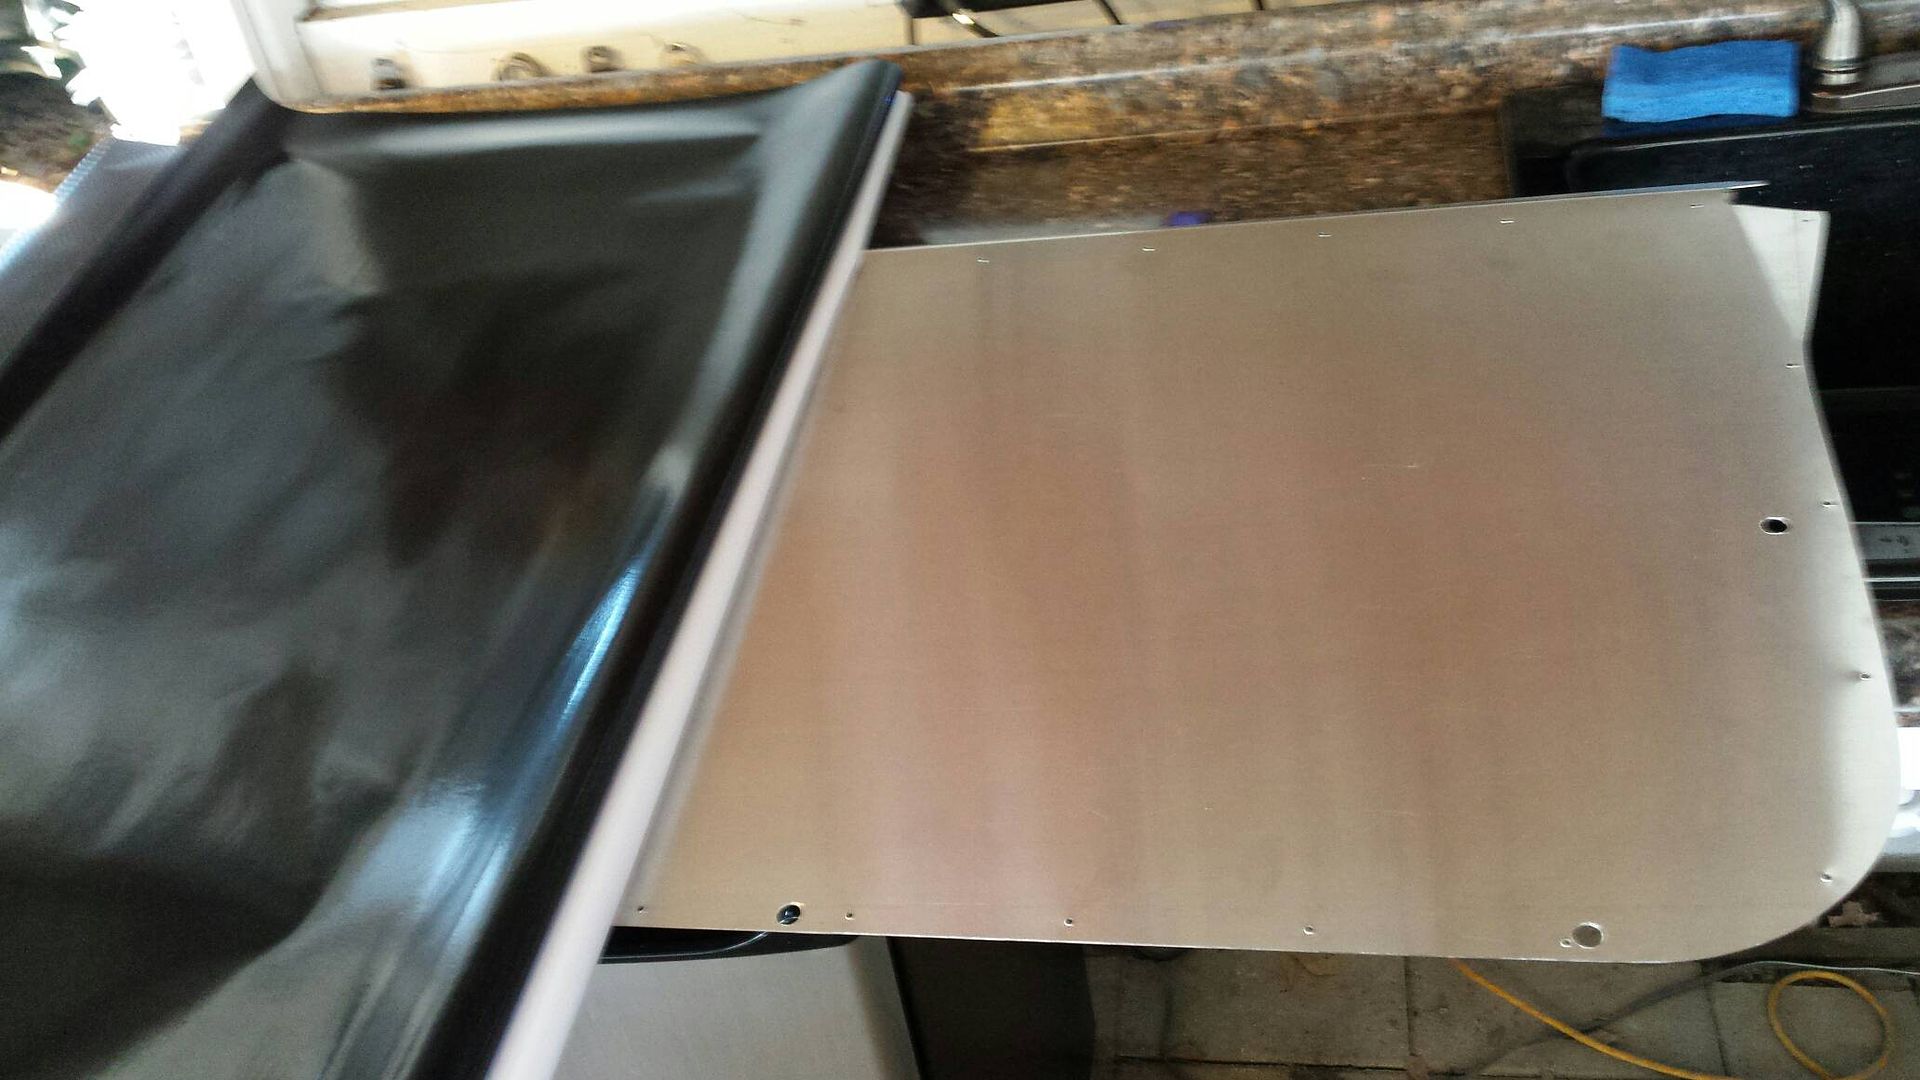
Random pic, Im trying to do racecar stuff and got the hood wanting to fall on my fingers. After 17 years the stockers gave up the ghost. New one on bottom.

Realized right off the bat, the hole they cut for the door handle was a courtesy cut, and nowhere near correct for install.

This was my initial thinking, but ended up about doubling it due to me wanting the lock lever to be exposed.

The original mounts for the stock door panel need to go bye bye.

The plan is to use dsus or 1/4 turn fasteners, I want to be able to easily remove the panel if needed. Here's how they go together, the gold spring goes inside the door, riveted, and the black fastener is what you see on the outside of the door panel.

Here's one installed:

There are lots of things around the perimeter of the door that will obstruct placing your springs inside. I went around the door and marked Xs anywhere where there was something in the way. Along the bottom of the door there is ribbing/reinforcement every few inches.

Here's where i selected the 5 could go with the least amount of issue:

Here is my final passenger door cut for the handle and the lock lever:

Lay out your wrap. Once it was on i hit it very quickly with a heat gun on the low setting.

Driver door mock up, no trim, and need to put the switches somewhere, may extend them to the center console.

Add a little black paint around the handle:

Passenger door with trim installed. The rubber at the upper front of the door requires minor trimming, the rubber at the rear of the door does not.

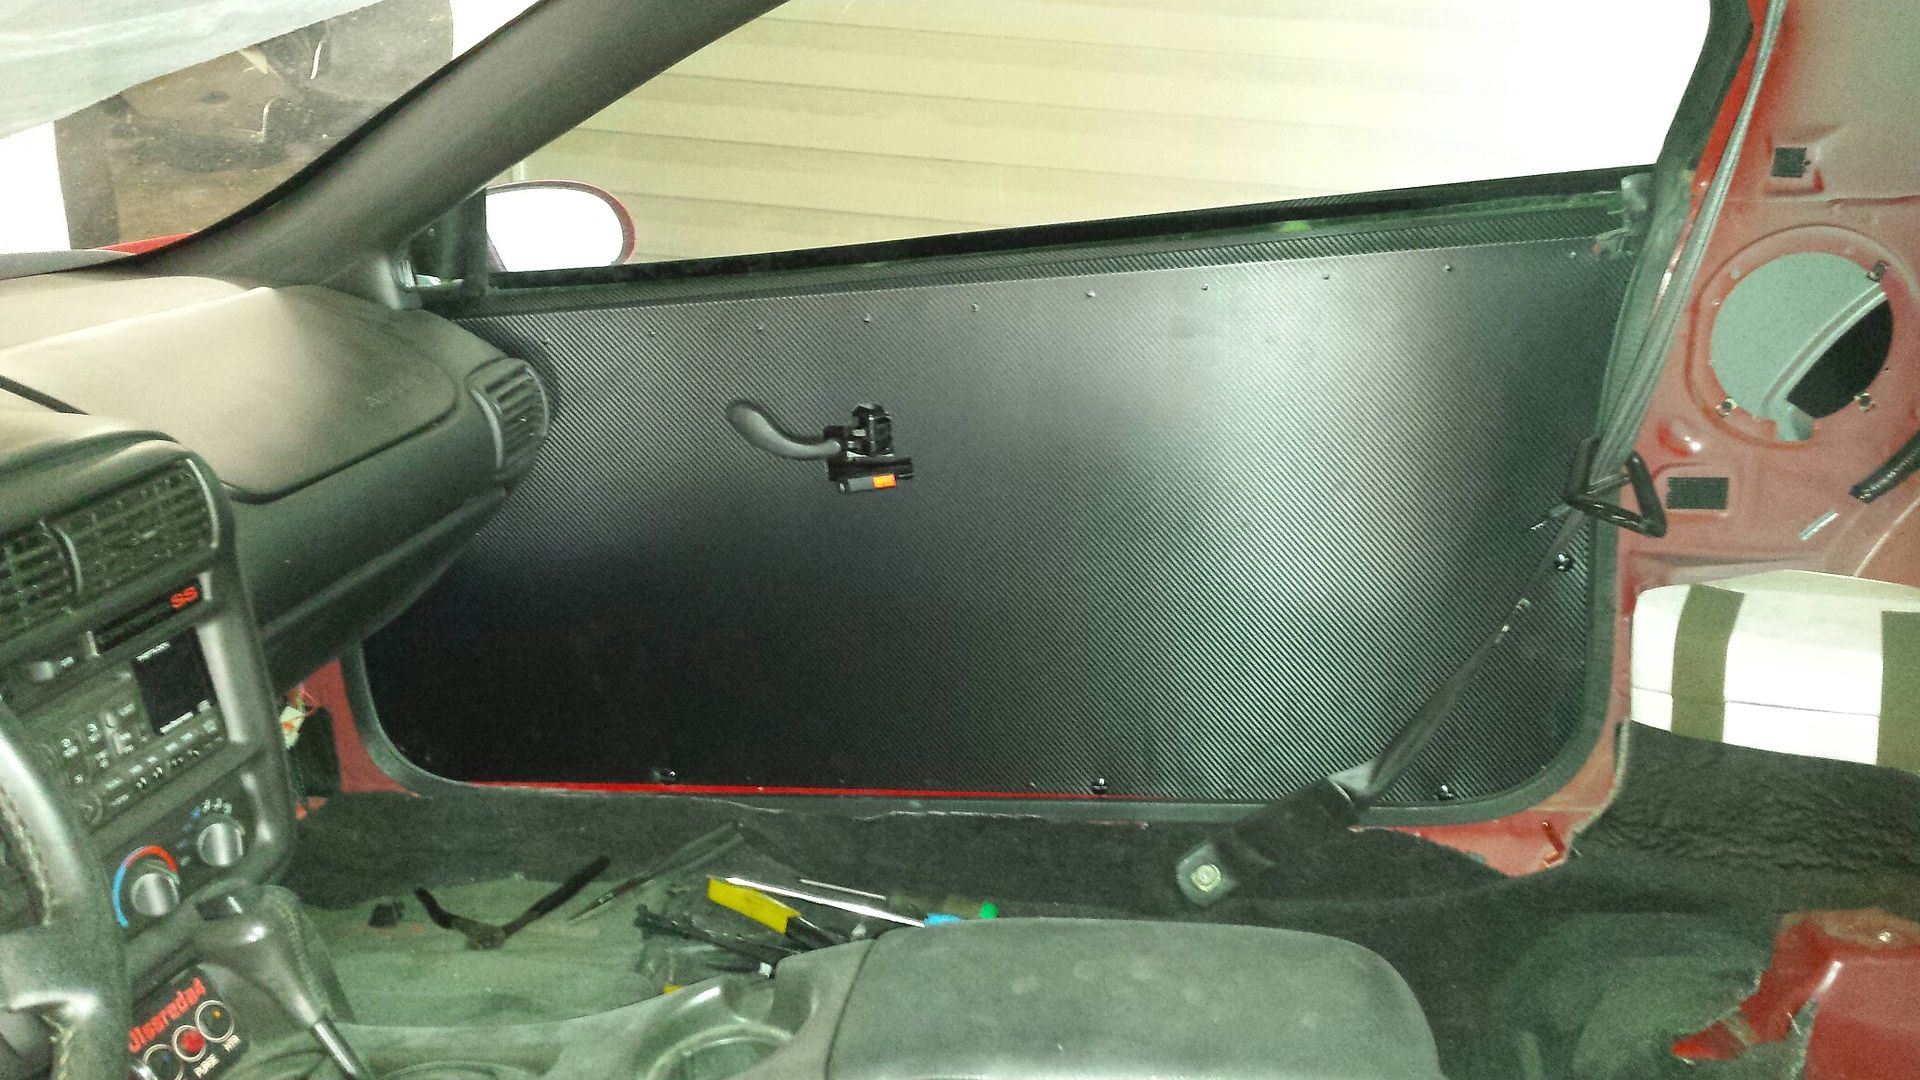
Pic looking from the inside...

I used the cutoff wheel to cut off the mounts, the bodysaw to trim the handle holes, the carbide grinder to finish them out, the file to take the ridges off my cuts, and the silver tar tape (roof repair) on the rear of the panel to give it a little weight so it wont rattle against the door, this step optional.

Random pic, Im trying to do racecar stuff and got the hood wanting to fall on my fingers. After 17 years the stockers gave up the ghost. New one on bottom.

#120
02-10-2018, 08:00 AM
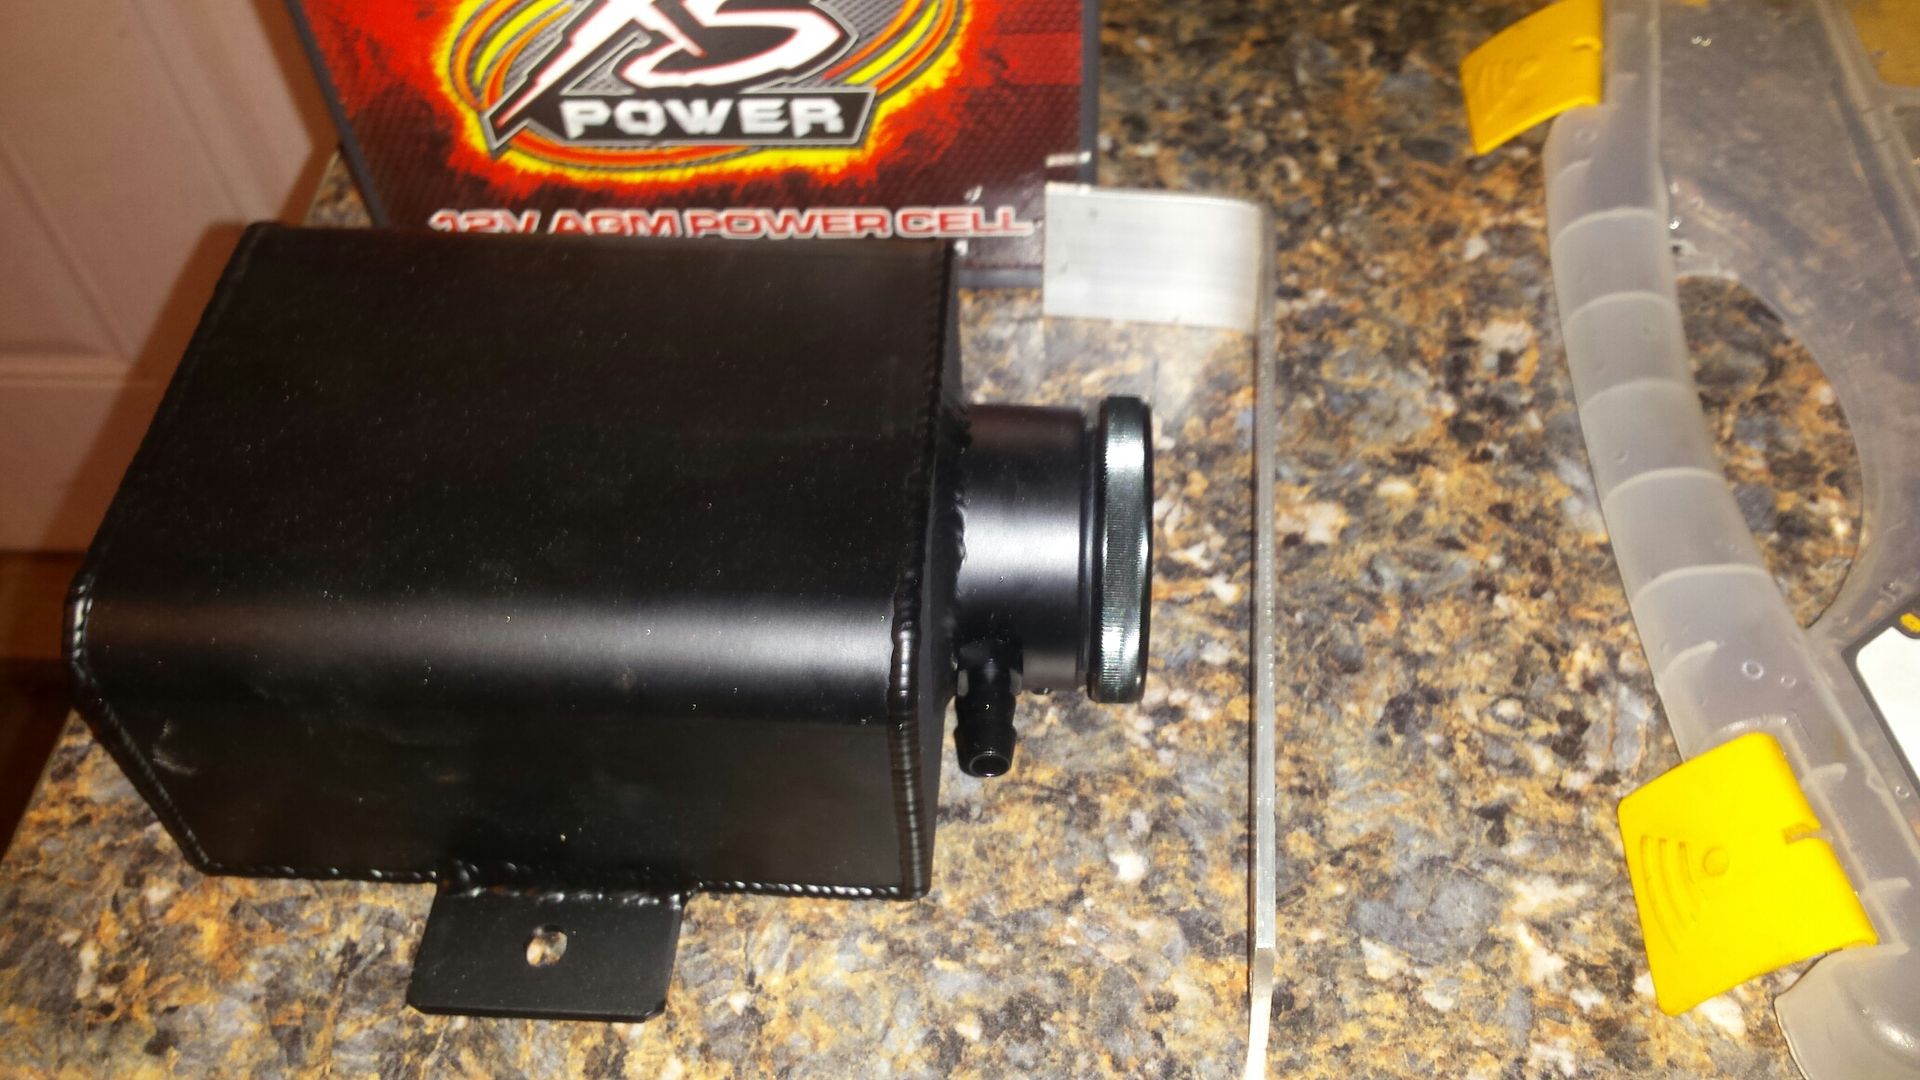
Though i dont have many miles on this combo I always try to think of things that may be a potential issue down the road. I havent liked the idea of the plastic Dorman overflow tank, so I bought an aluminum one.......and made a simple L bracket.
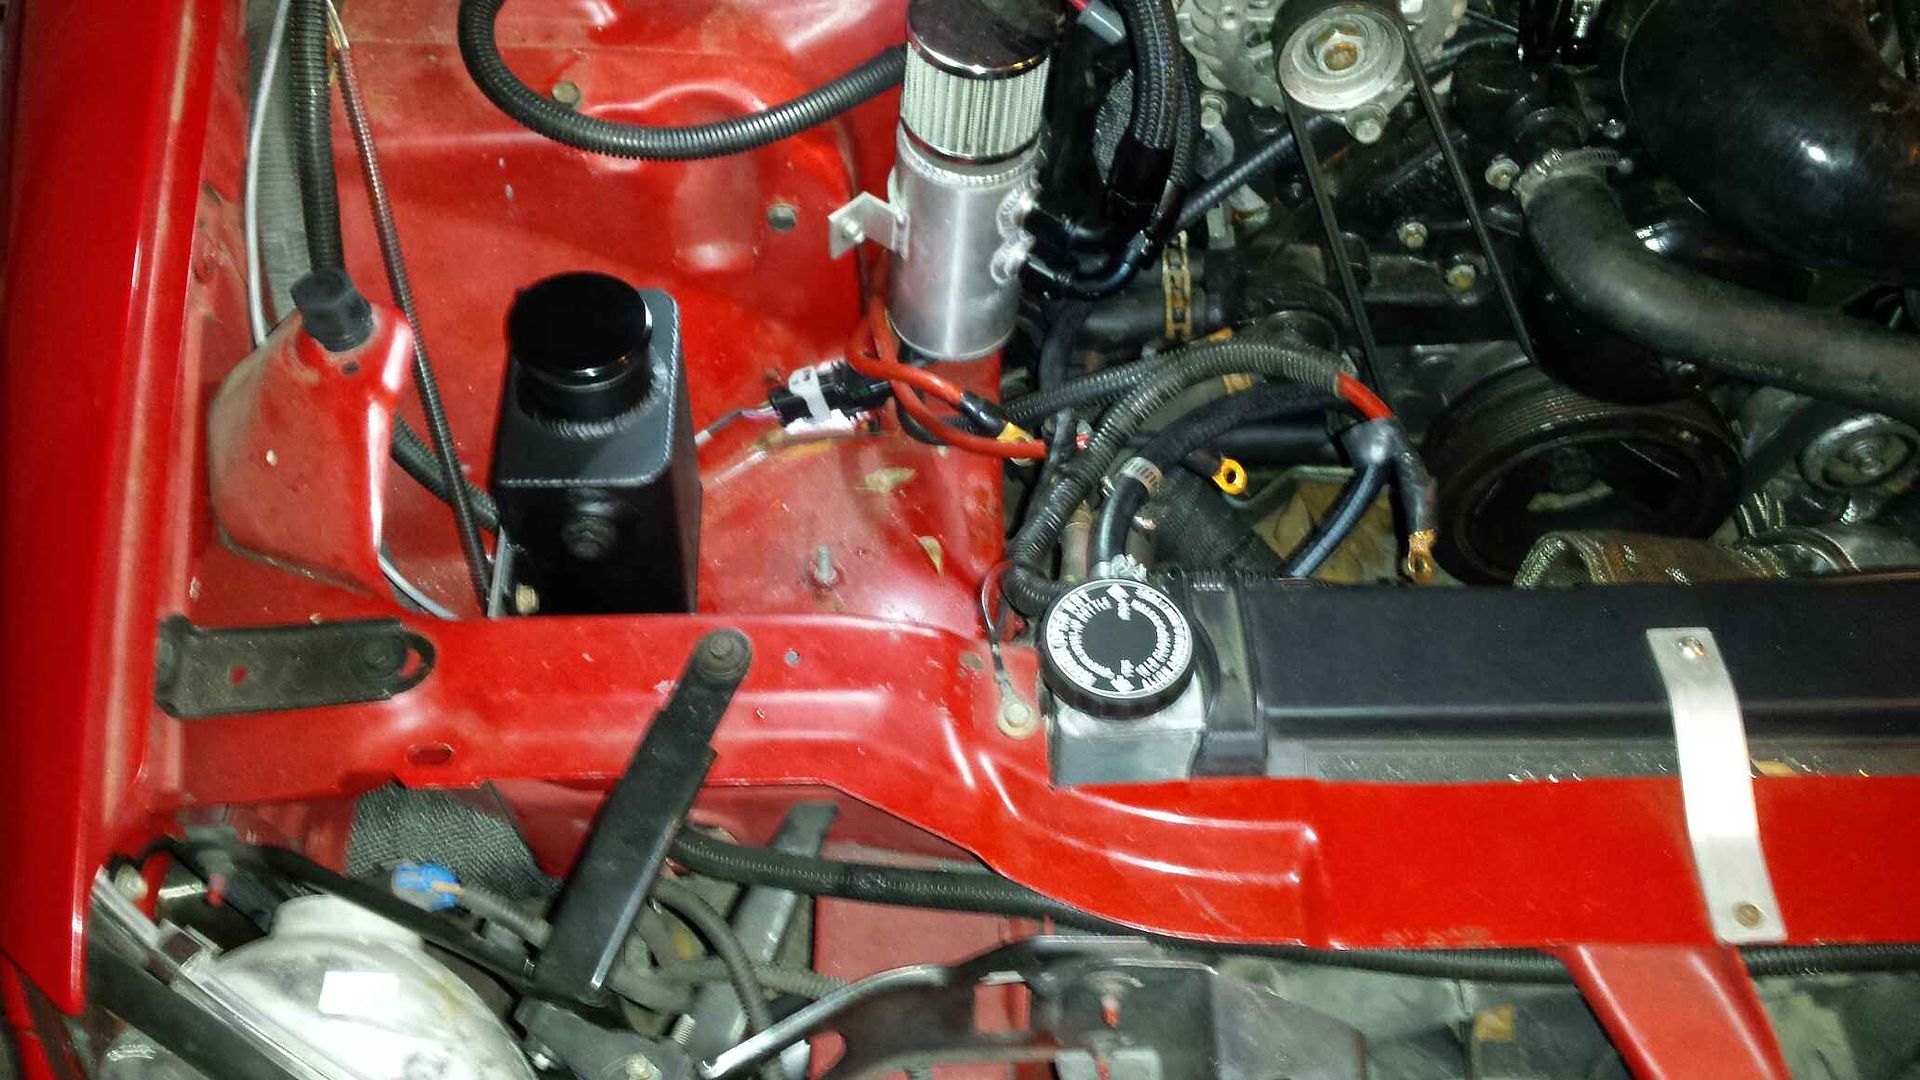
Quick test fit
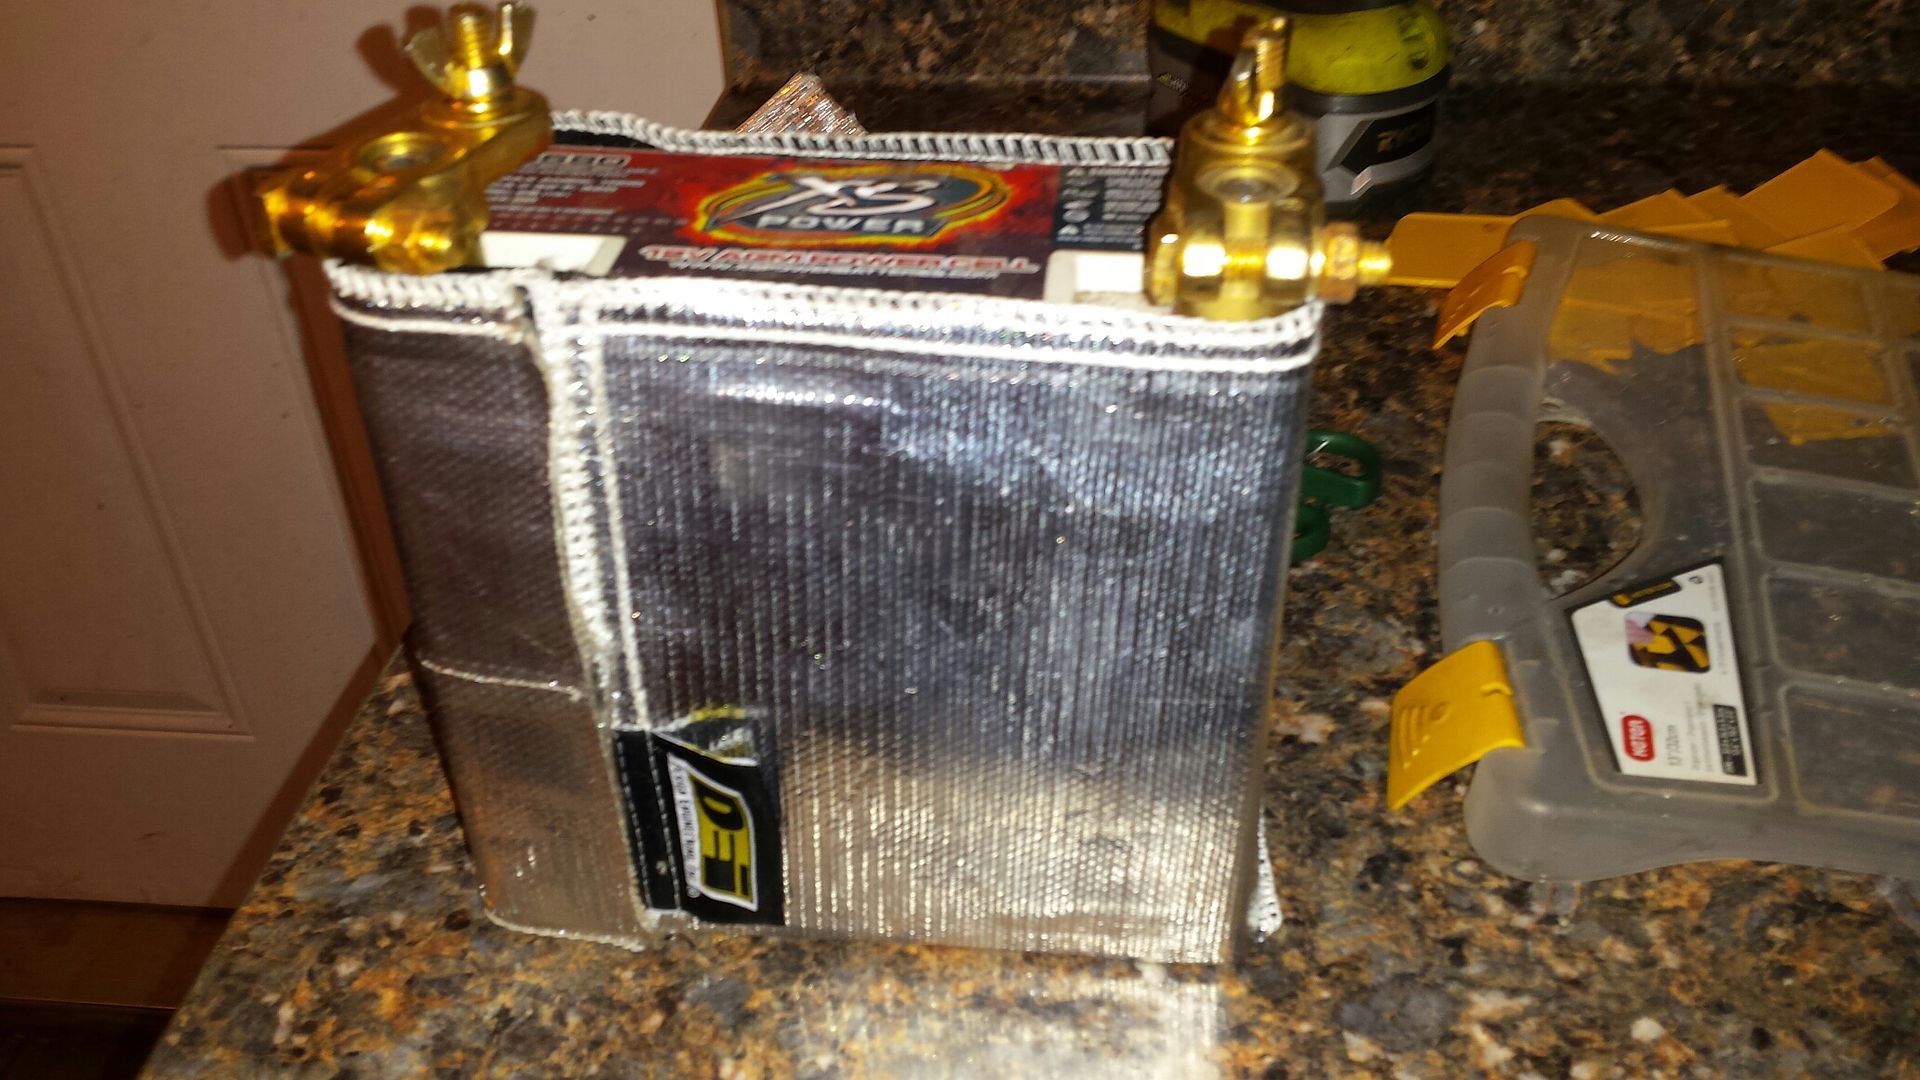
Have heard stories about how turbo heat can effect batteries so I wrapped this one with a DEI starter blanket.
Back in place. Waiting on an adapter fitting that goes into the bottom of the overflow tank. It is -8AN ORB of all sizes.
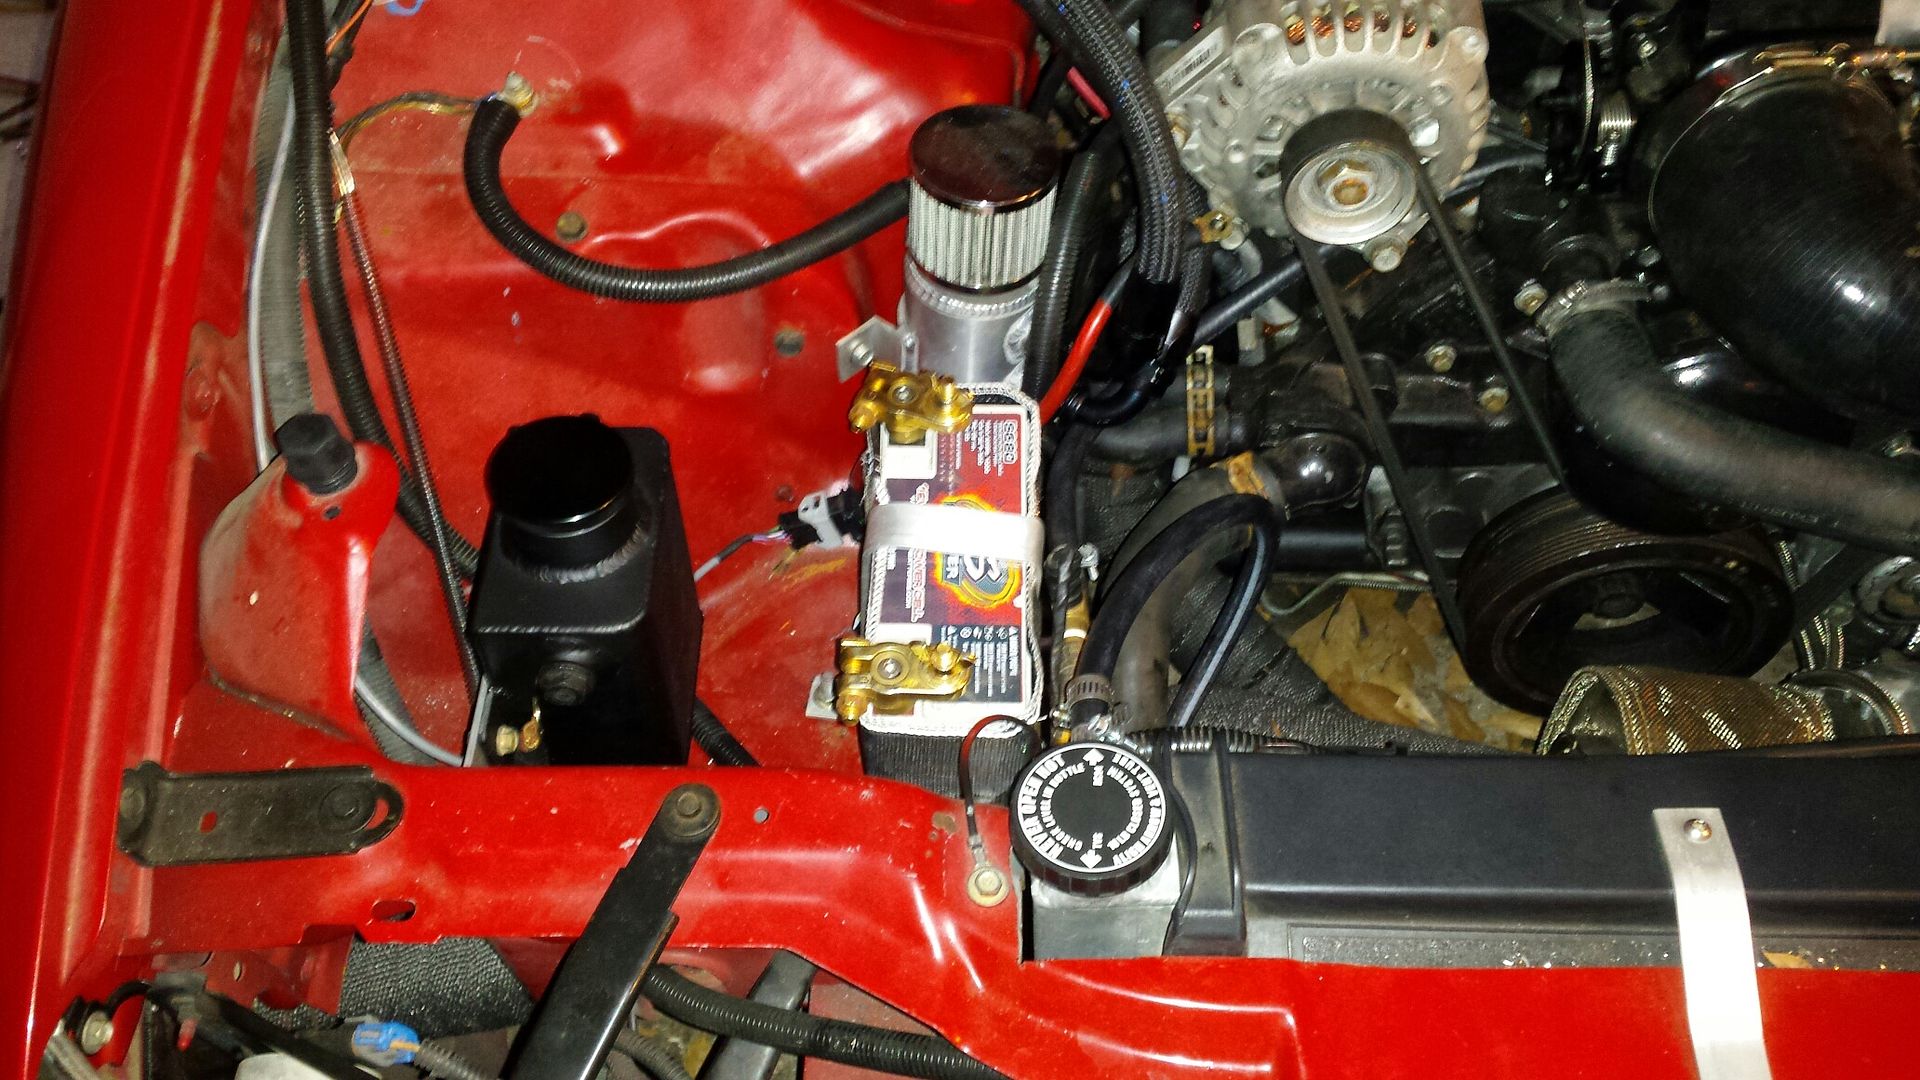
Have all the fittings to make the new power steering hoses. So, I will be doing that soon.


Quick test fit

Have heard stories about how turbo heat can effect batteries so I wrapped this one with a DEI starter blanket.

Back in place. Waiting on an adapter fitting that goes into the bottom of the overflow tank. It is -8AN ORB of all sizes.

Have all the fittings to make the new power steering hoses. So, I will be doing that soon.
