1968 Camaro Restoration

Thread Tools
 
Search this Thread
 
  #11  
Old 12-13-2018, 03:27 PM
sauceman's Avatar
In the Staging Lanes
Thread Starter
Join Date: Oct 2017
Posts: 38
Default

Originally Posted by Y2K
Wow, amazing work!
Not much original car left there so you really built a new car from a pile of rust.
I can't recall ever seeing one brought back from being that far gone, outstanding!

Thanks! Yes it's a lot of work lol.


cheers
 
  #12  
Old 12-15-2018, 07:21 PM
Everett#2390's Avatar
4th Gear Member
Join Date: Oct 2012
Location: Va. Beach, VA
Posts: 2,595
Default

Amazing work, indeed. Very nice. Keep it up.
 
  #13  
Old 01-16-2019, 04:39 PM
dumb guy's Avatar
Newbie
Join Date: Jan 2019
Posts: 1
Default

has anyone ever pluged off the bipass hose between the water pump and intale on a 427 ?
 
  #14  
Old 01-17-2019, 02:50 PM
sauceman's Avatar
In the Staging Lanes
Thread Starter
Join Date: Oct 2017
Posts: 38
Default

Originally Posted by dumb guy
has anyone ever pluged off the bipass hose between the water pump and intale on a 427 ?

I have an electric water pump on a 454 with no by-pass hose so you should be fine.


cheers
 
  #15  
Old 02-15-2019, 06:18 AM
sauceman's Avatar
In the Staging Lanes
Thread Starter
Join Date: Oct 2017
Posts: 38
Default

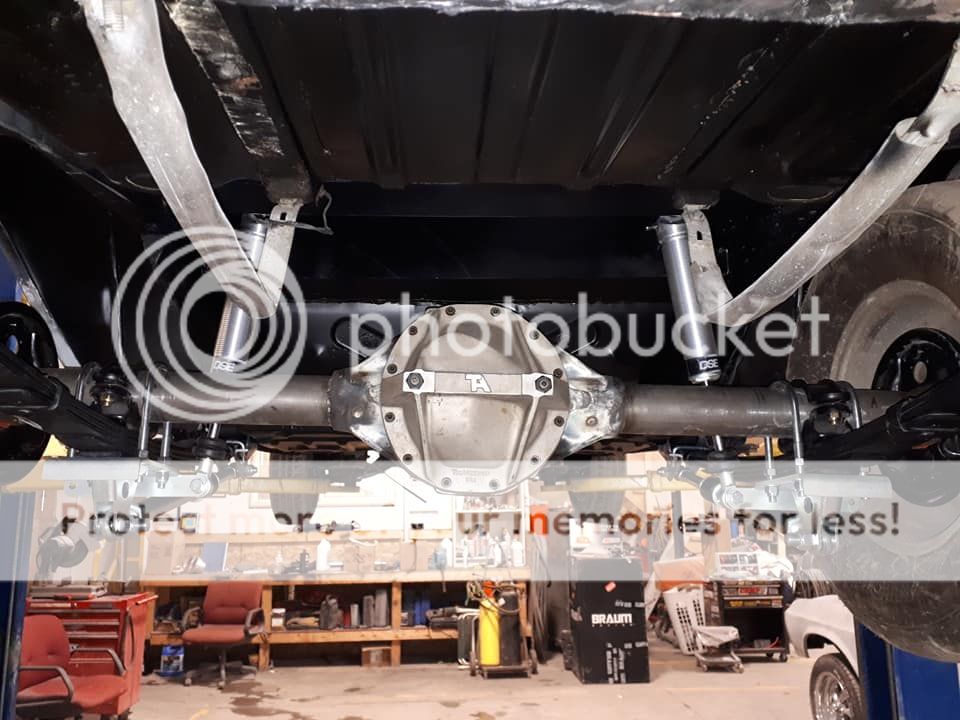
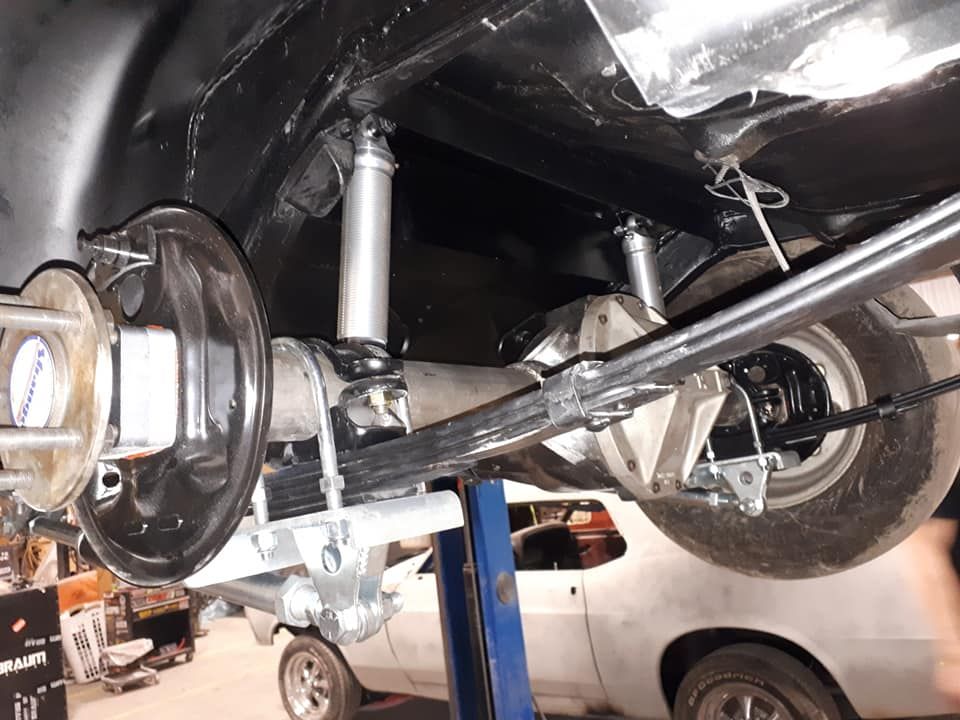
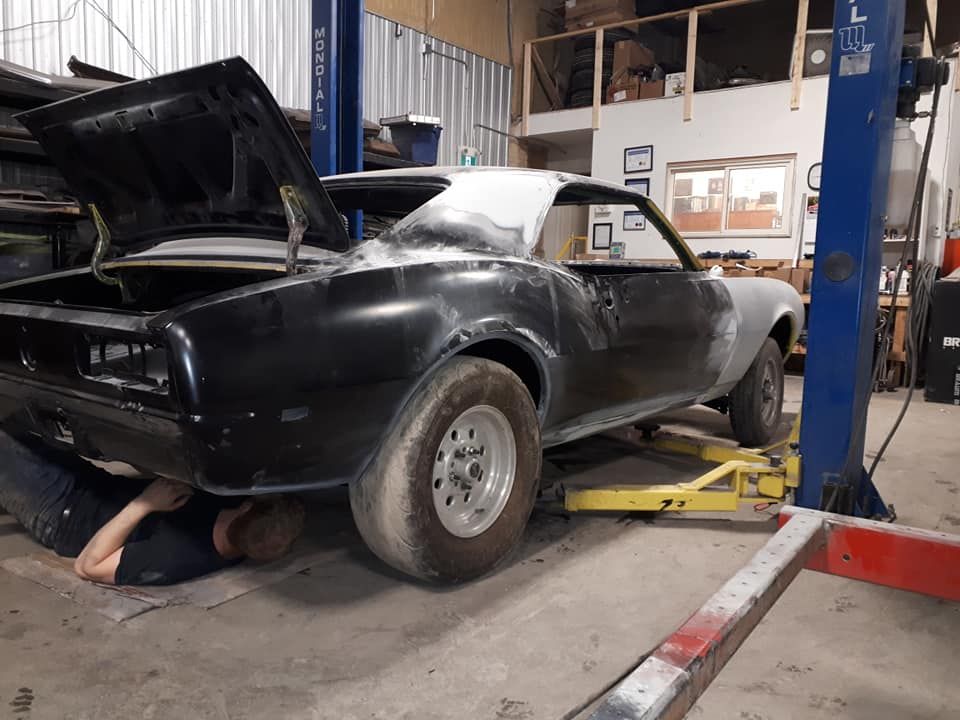
Well it's back on it's wheels now, the 12 bolt and traction bars have been installed. Need to install the drivetrain this weekend to set the pinion angle before we can weld up the spring seats to the axle tubes.


cheers
 
  #16  
Old 03-25-2019, 06:54 PM
sauceman's Avatar
In the Staging Lanes
Thread Starter
Join Date: Oct 2017
Posts: 38
Default

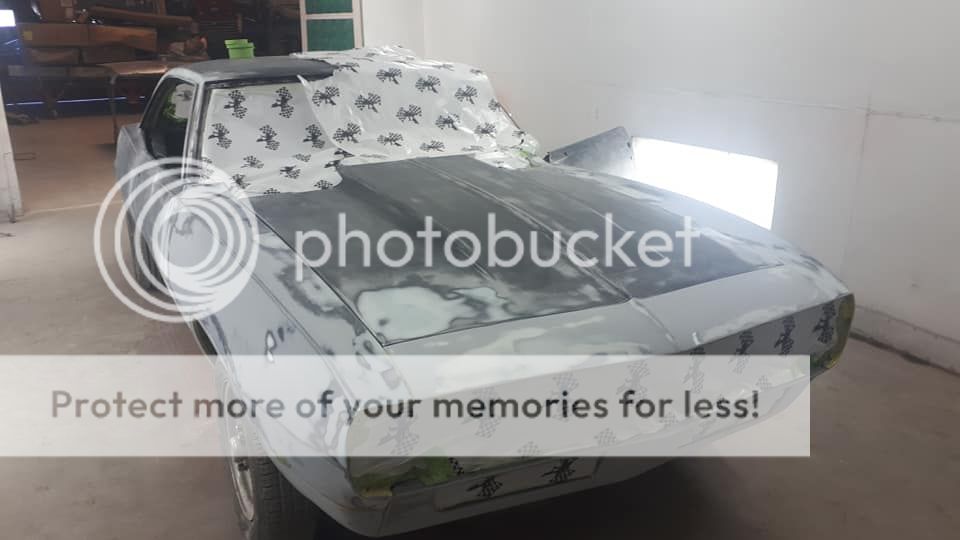
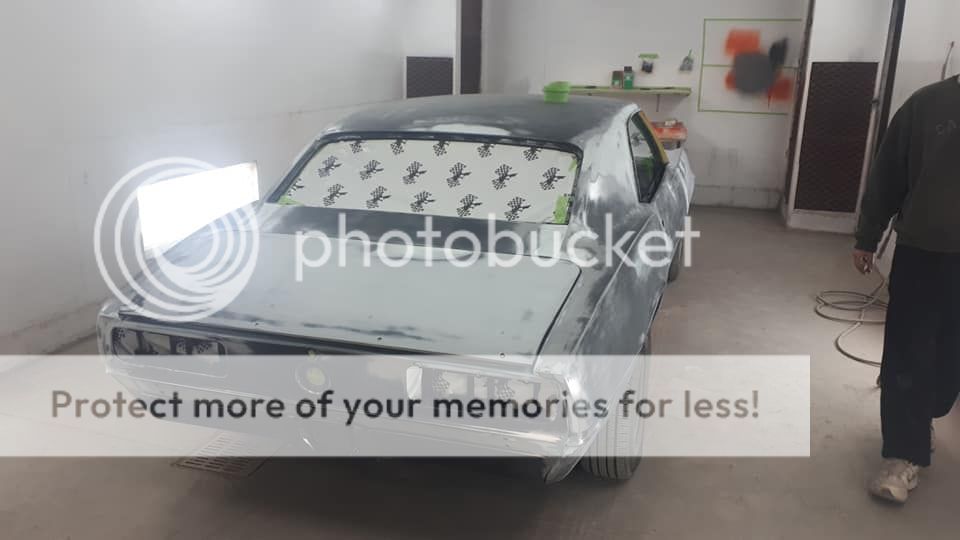
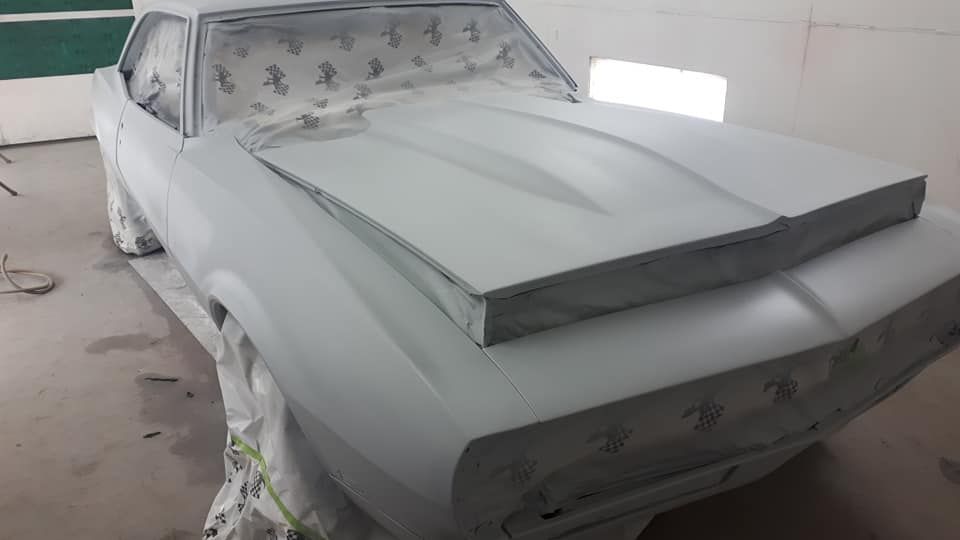
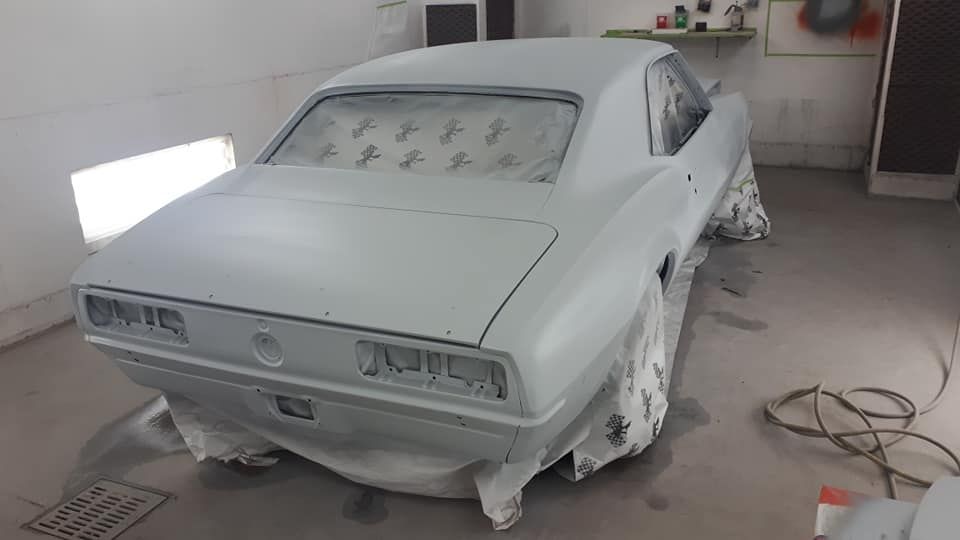
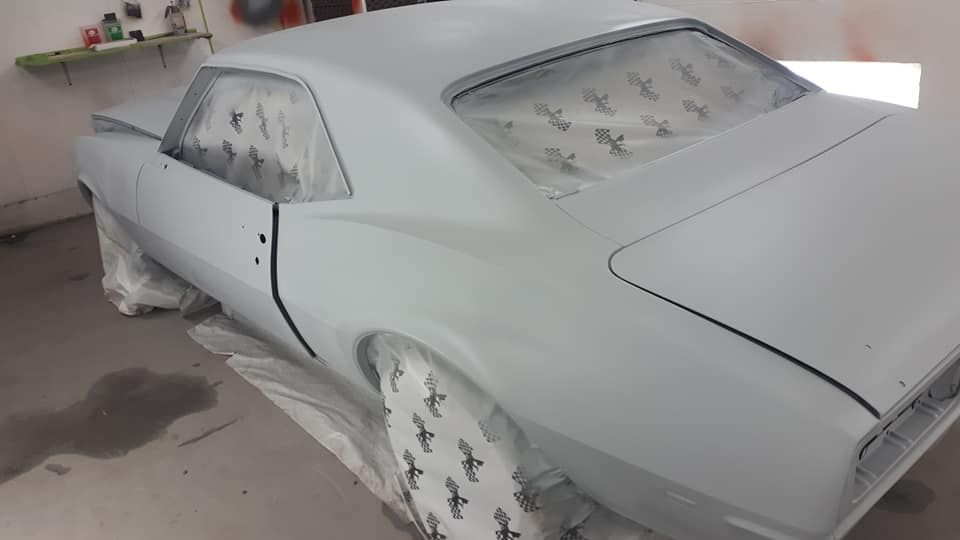
Well we got the majority of the body work and panel fitment done and got it into the booth for some epoxy and high build!


now to the block party!
 
  #17  
Old 03-26-2019, 10:46 AM
minavizz's Avatar
Newbie
Join Date: Mar 2019
Location: Long Island, NY
Posts: 3
Default

wow great work! this reminds me of my 68 project. i bought it thinking i "wasnt that bad" and every time i started fixing one thing i saw how much really had to be done. well worth it in the end tho!
 
  #18  
Old 11-09-2019, 06:44 PM
sauceman's Avatar
In the Staging Lanes
Thread Starter
Join Date: Oct 2017
Posts: 38
Default

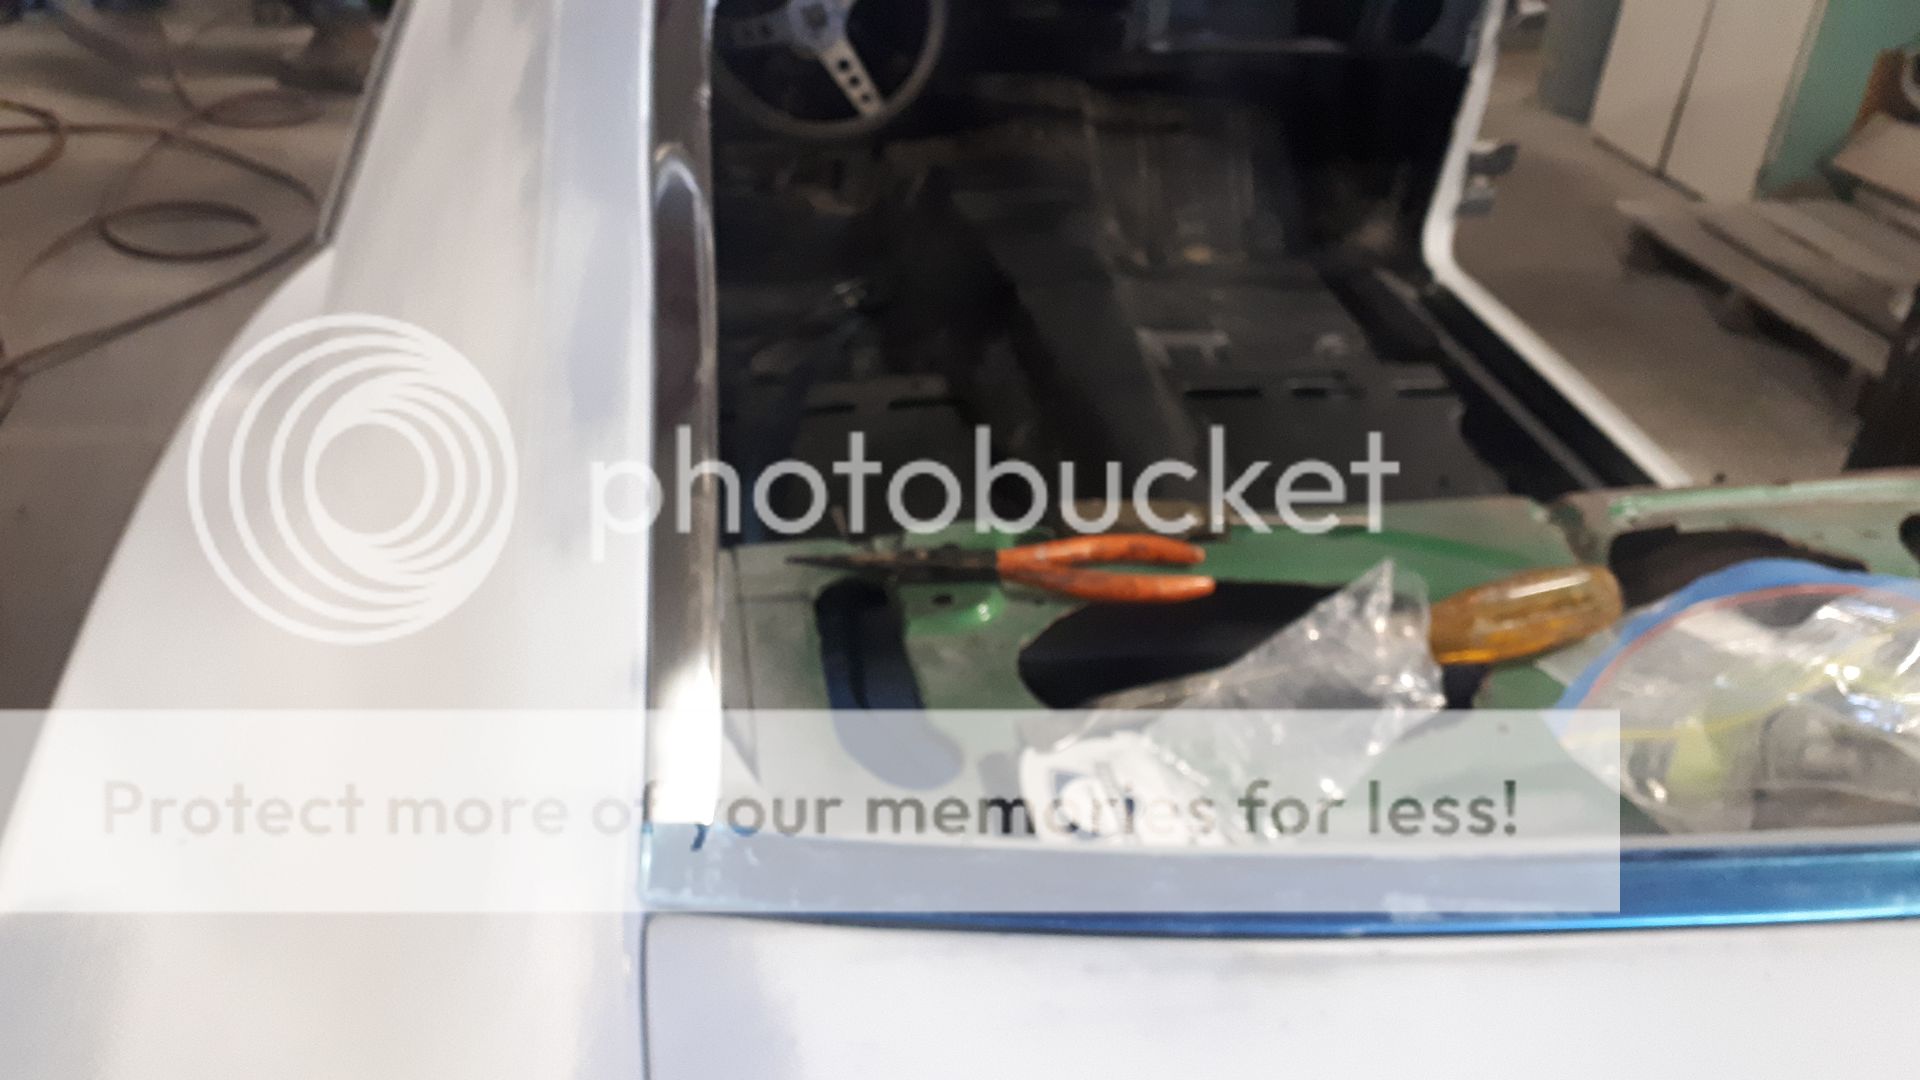
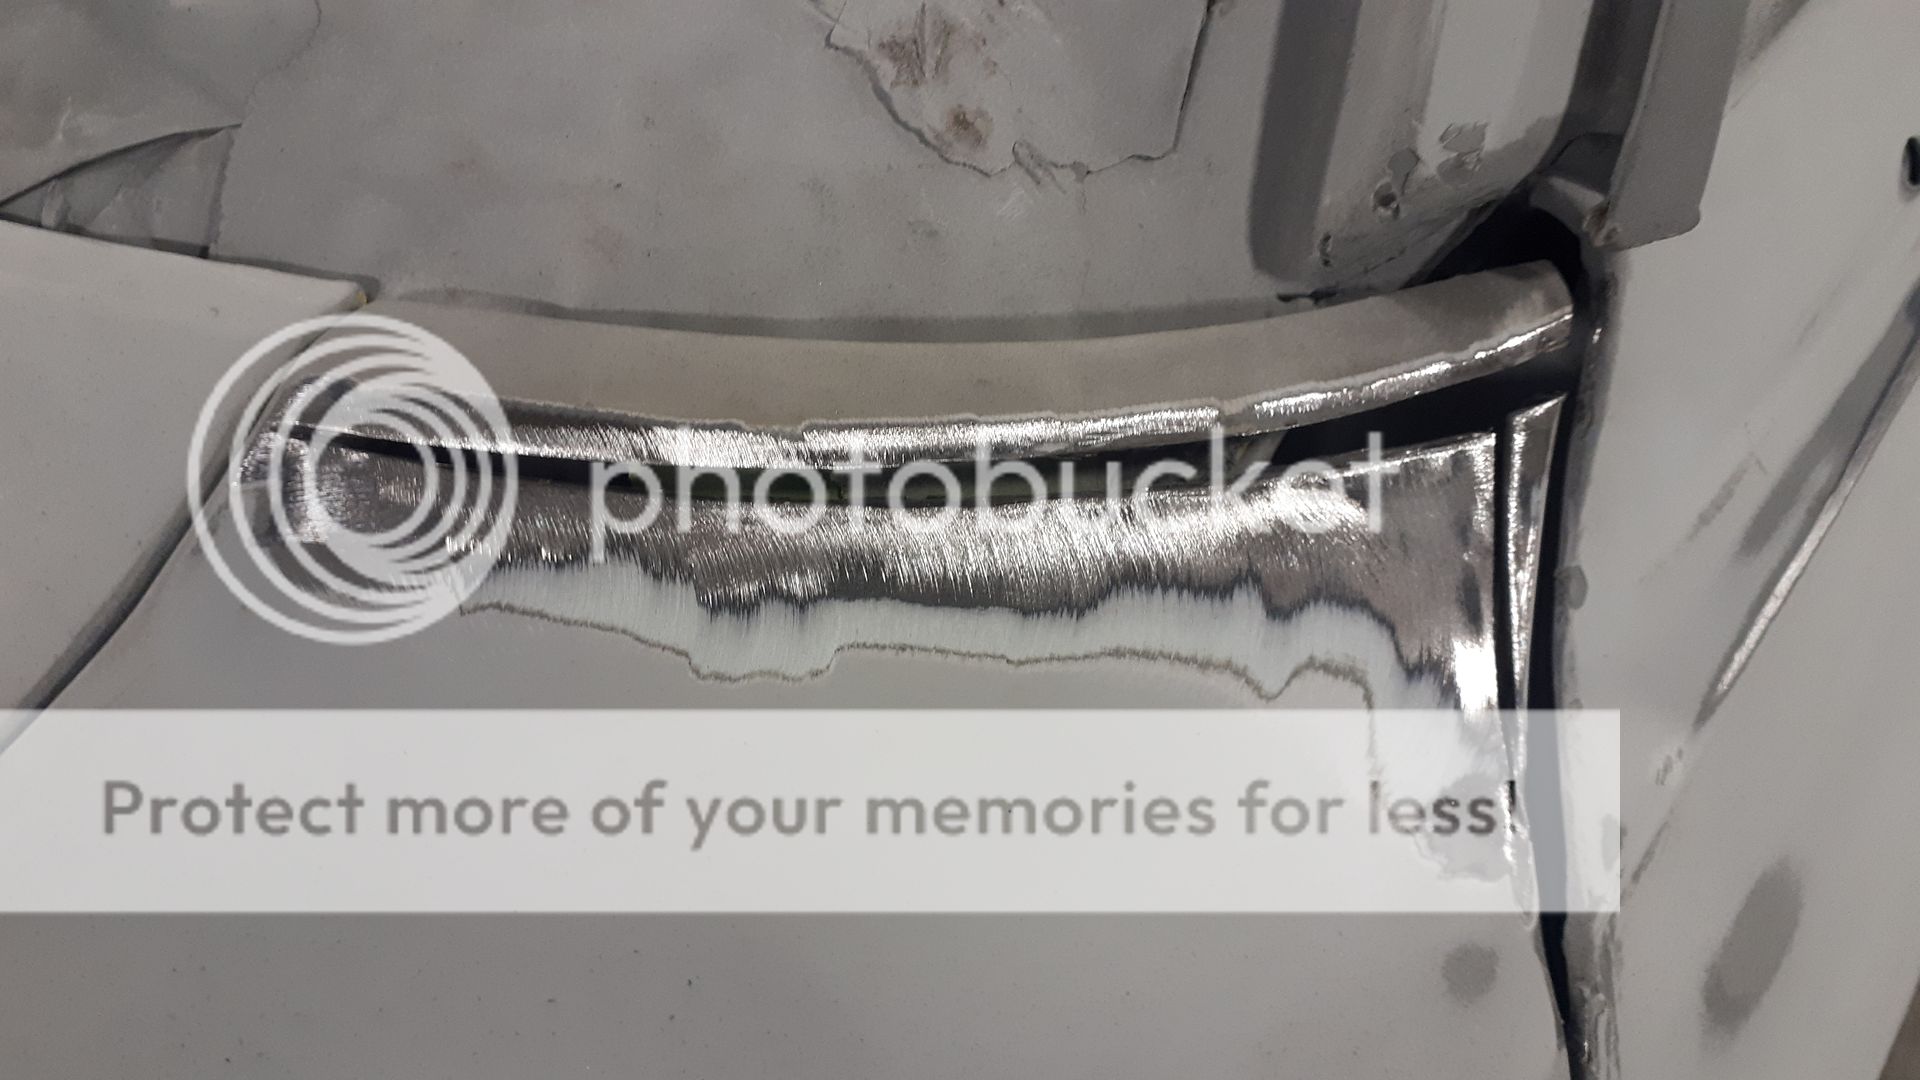
This is how much we had to section the top of the drivers fender so it would line up nicely with the door,



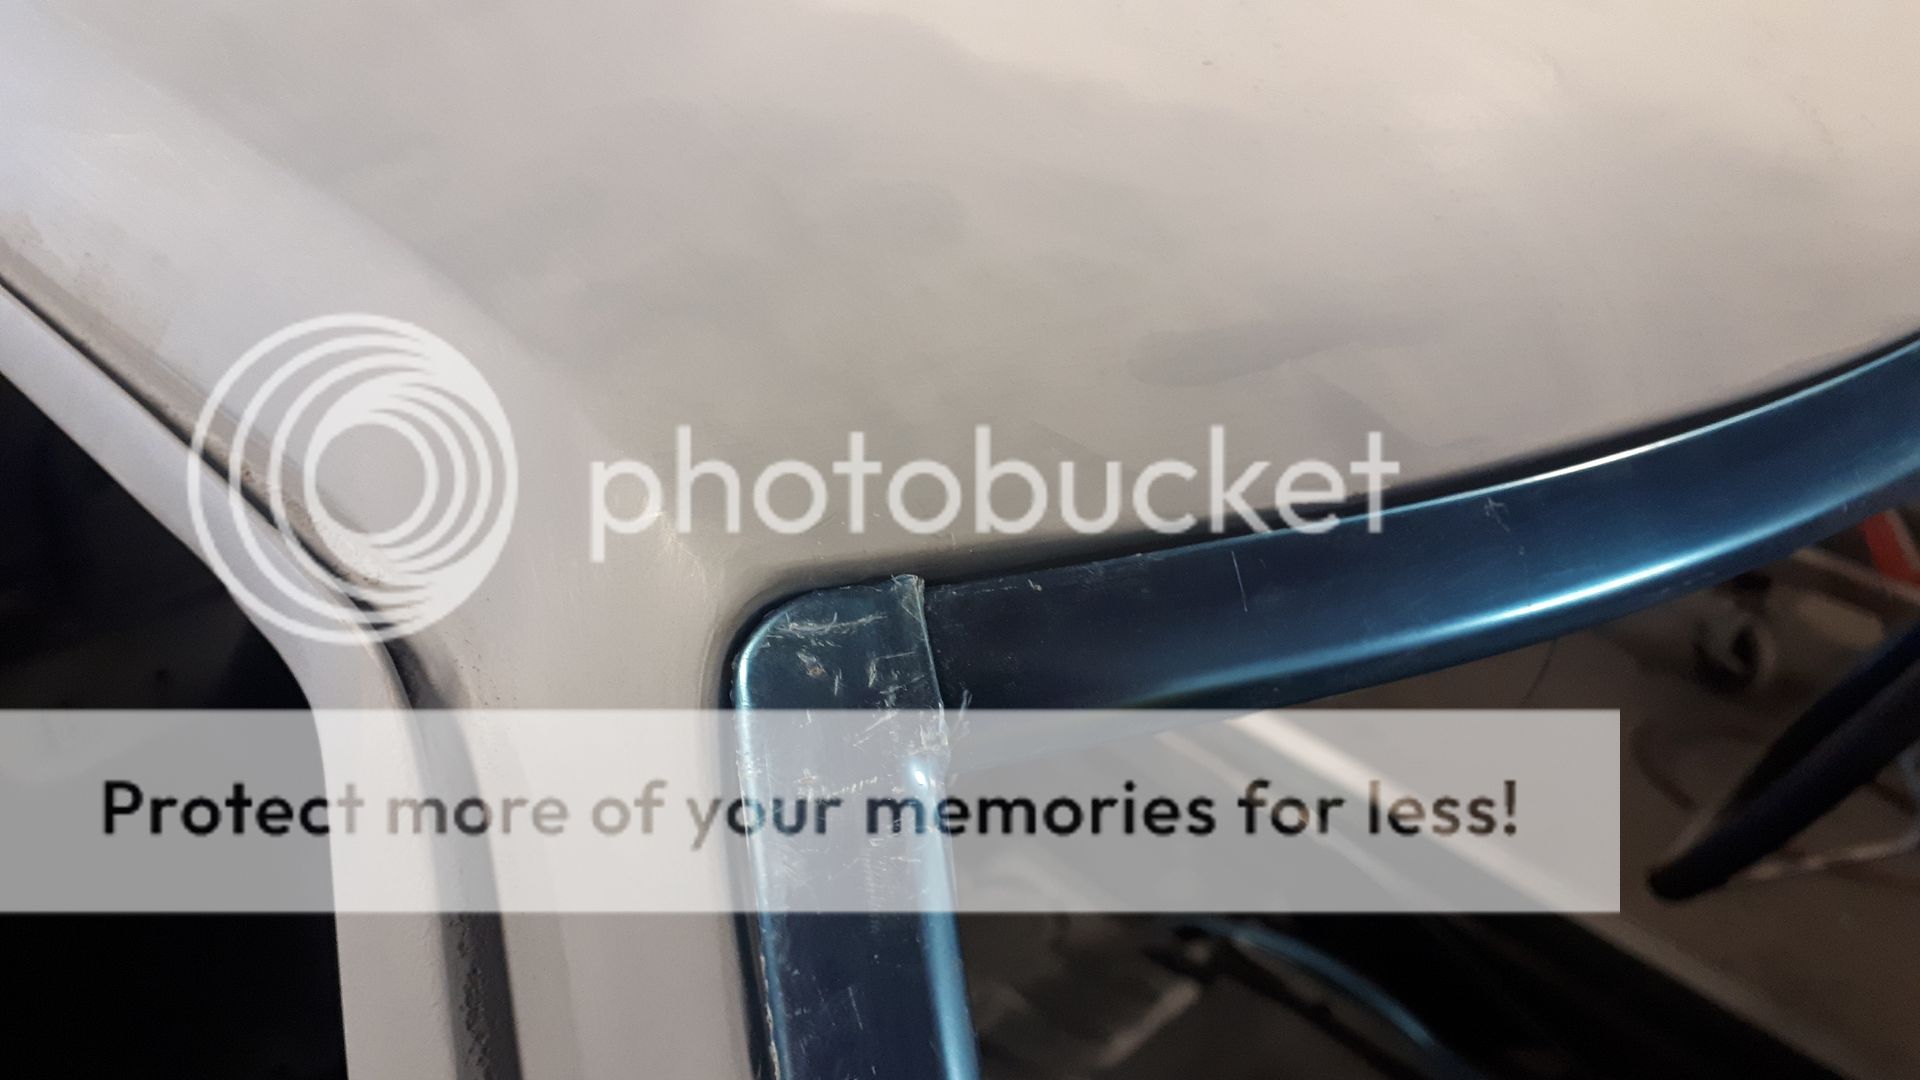
Making sure the moldings line up nicely, good thing to do before it gets painted LOL!



Then the block sanding starts!
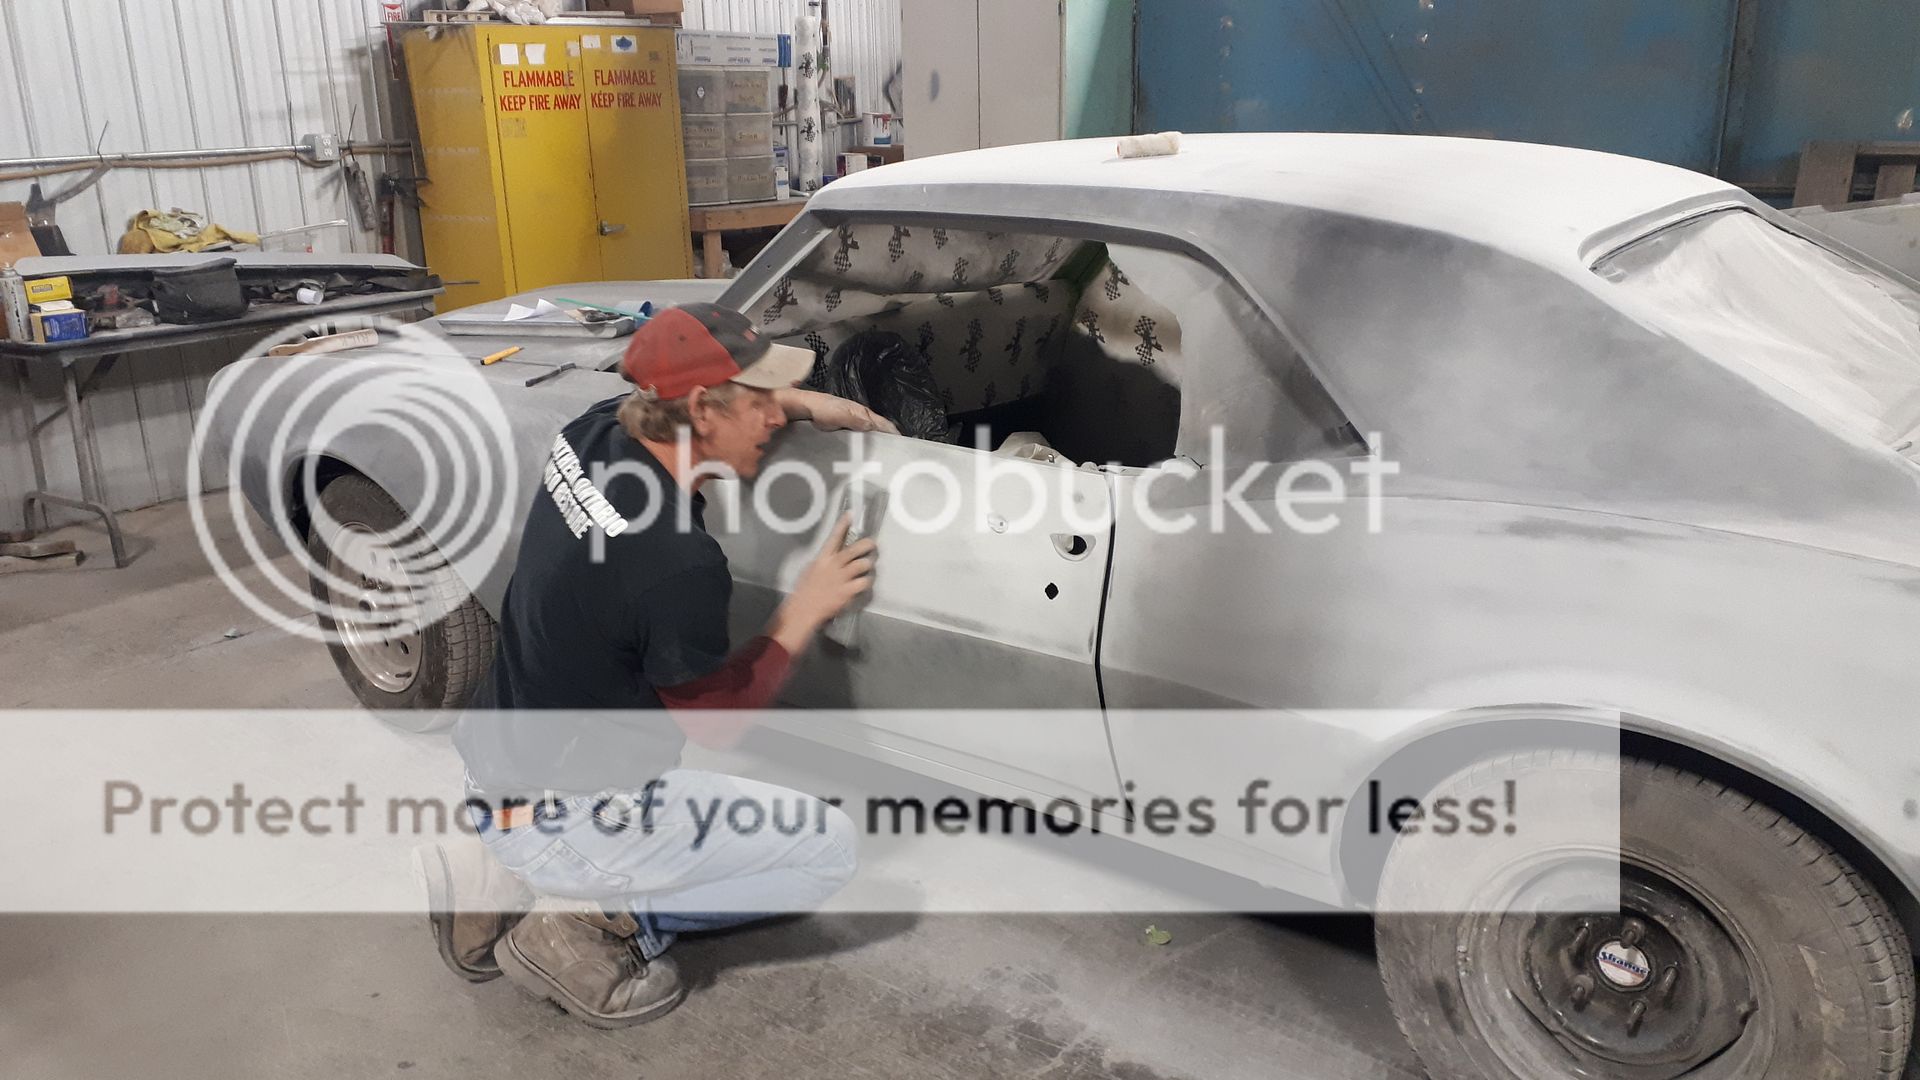


After the second application of high build and the final blocking,



Now we take it all apart and paint the floors and trunk,
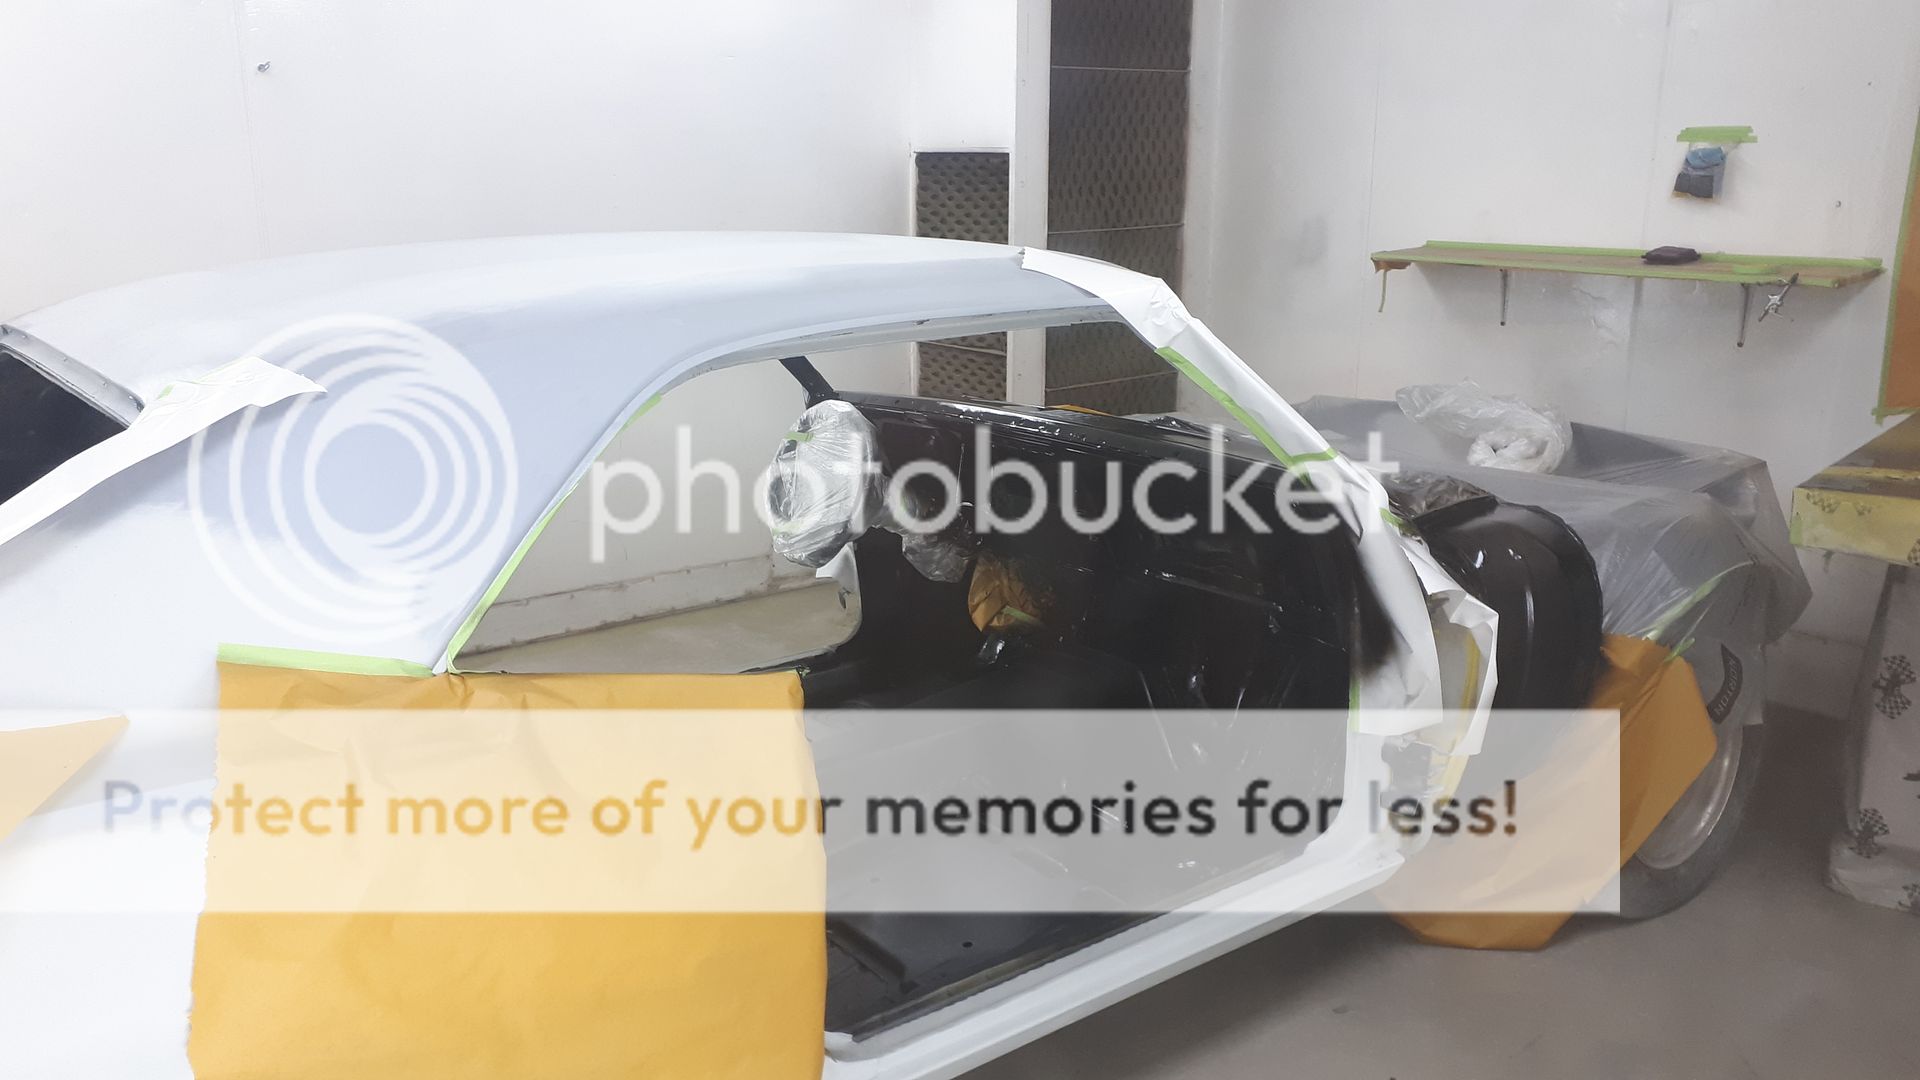


We also painted under the hood.
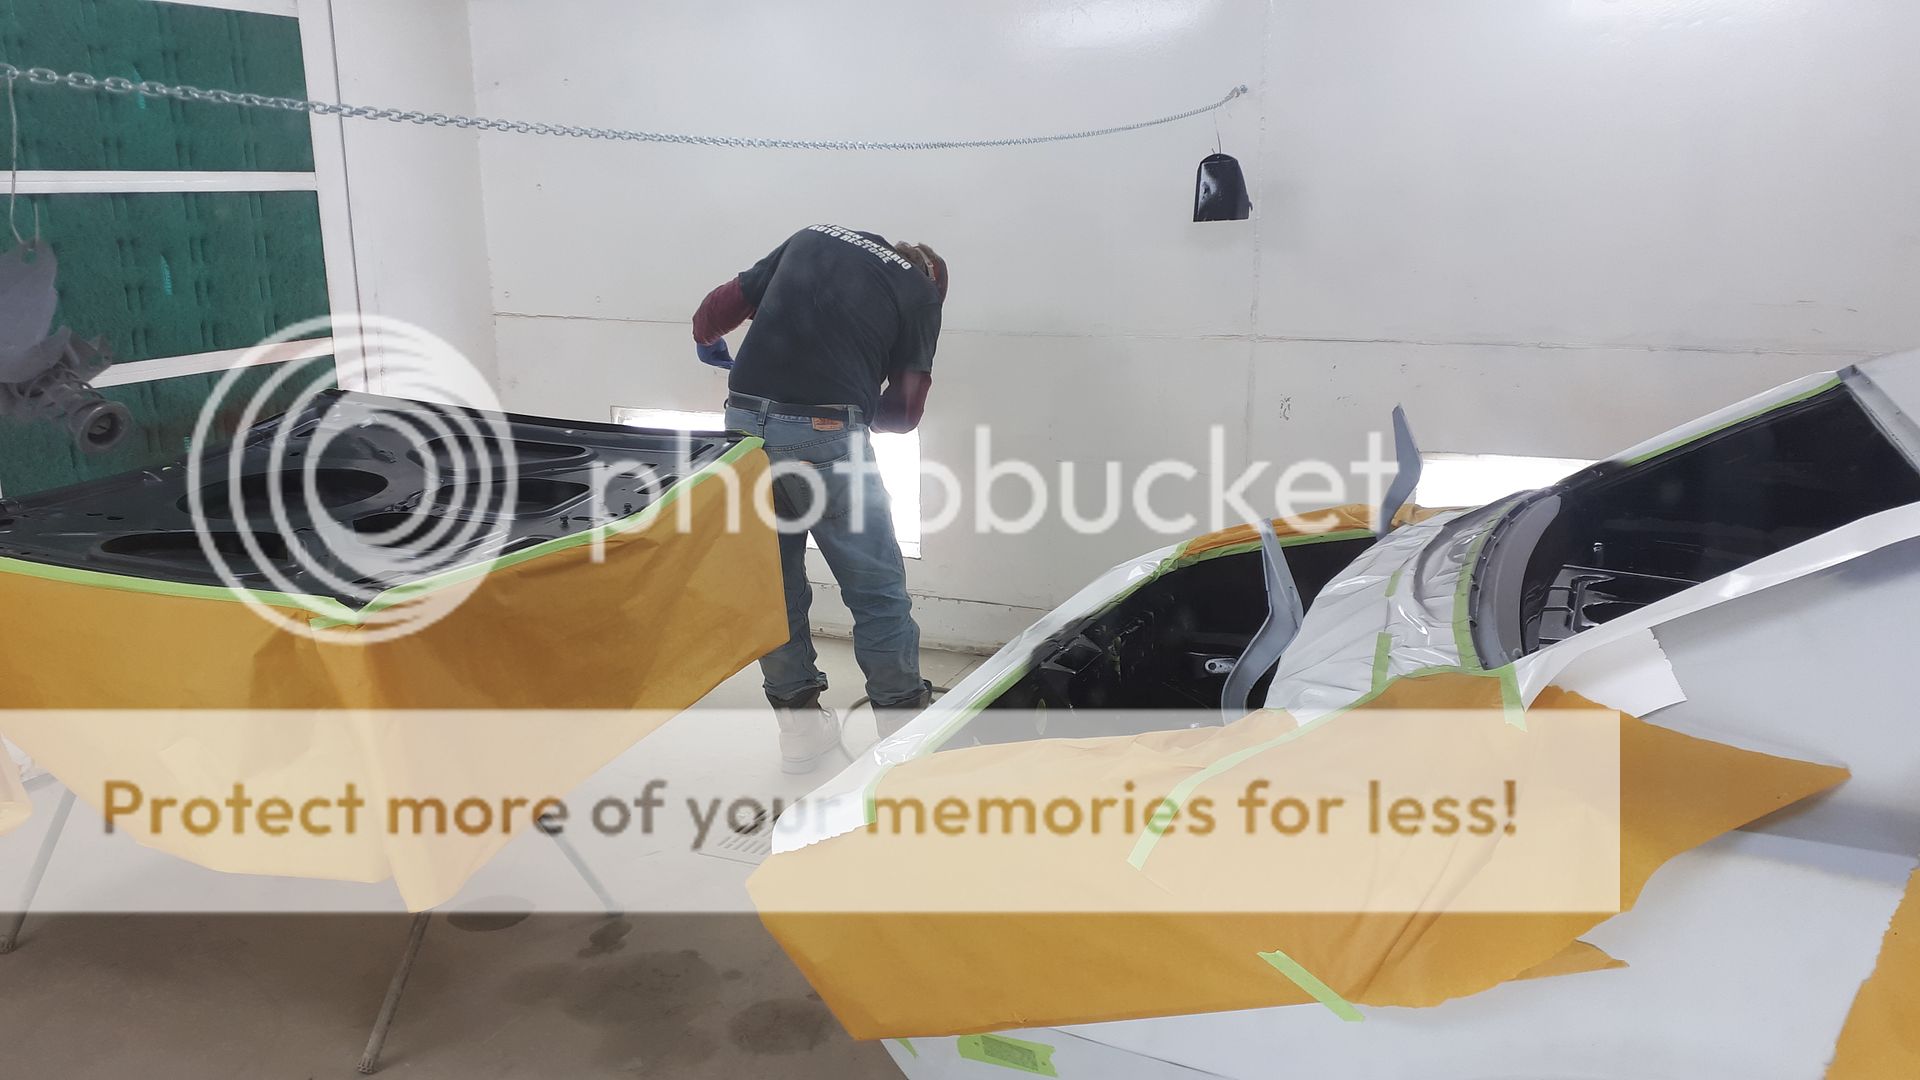


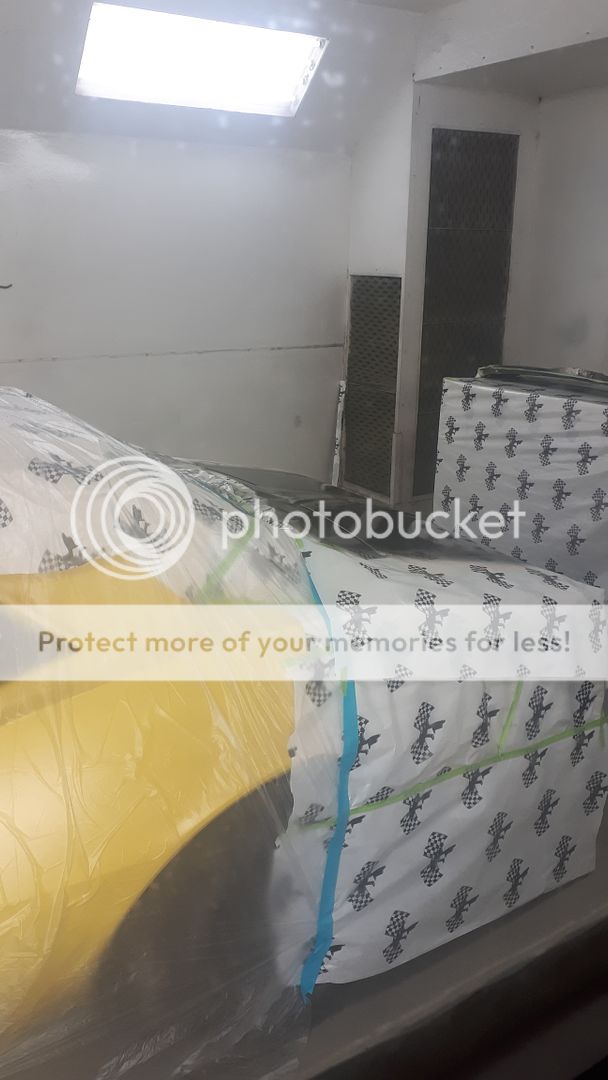
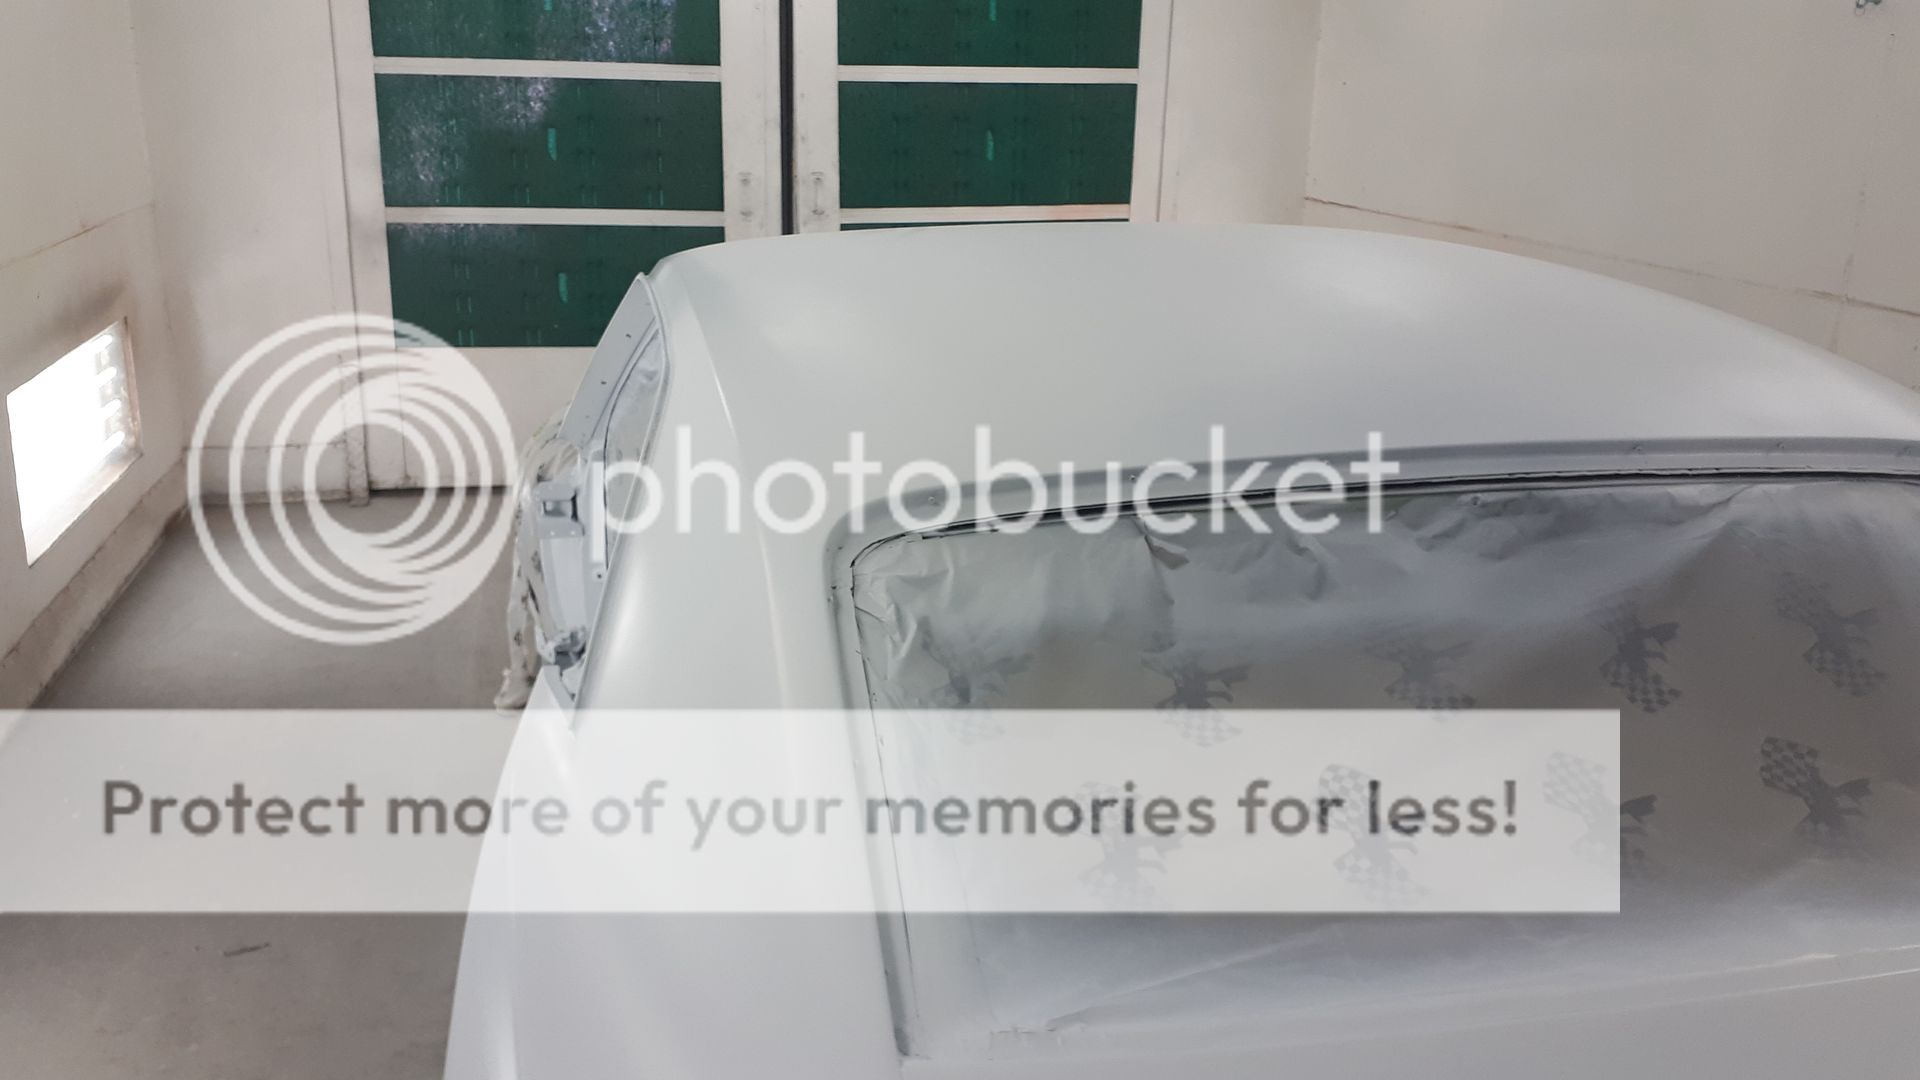
We based it in white before the yellow,


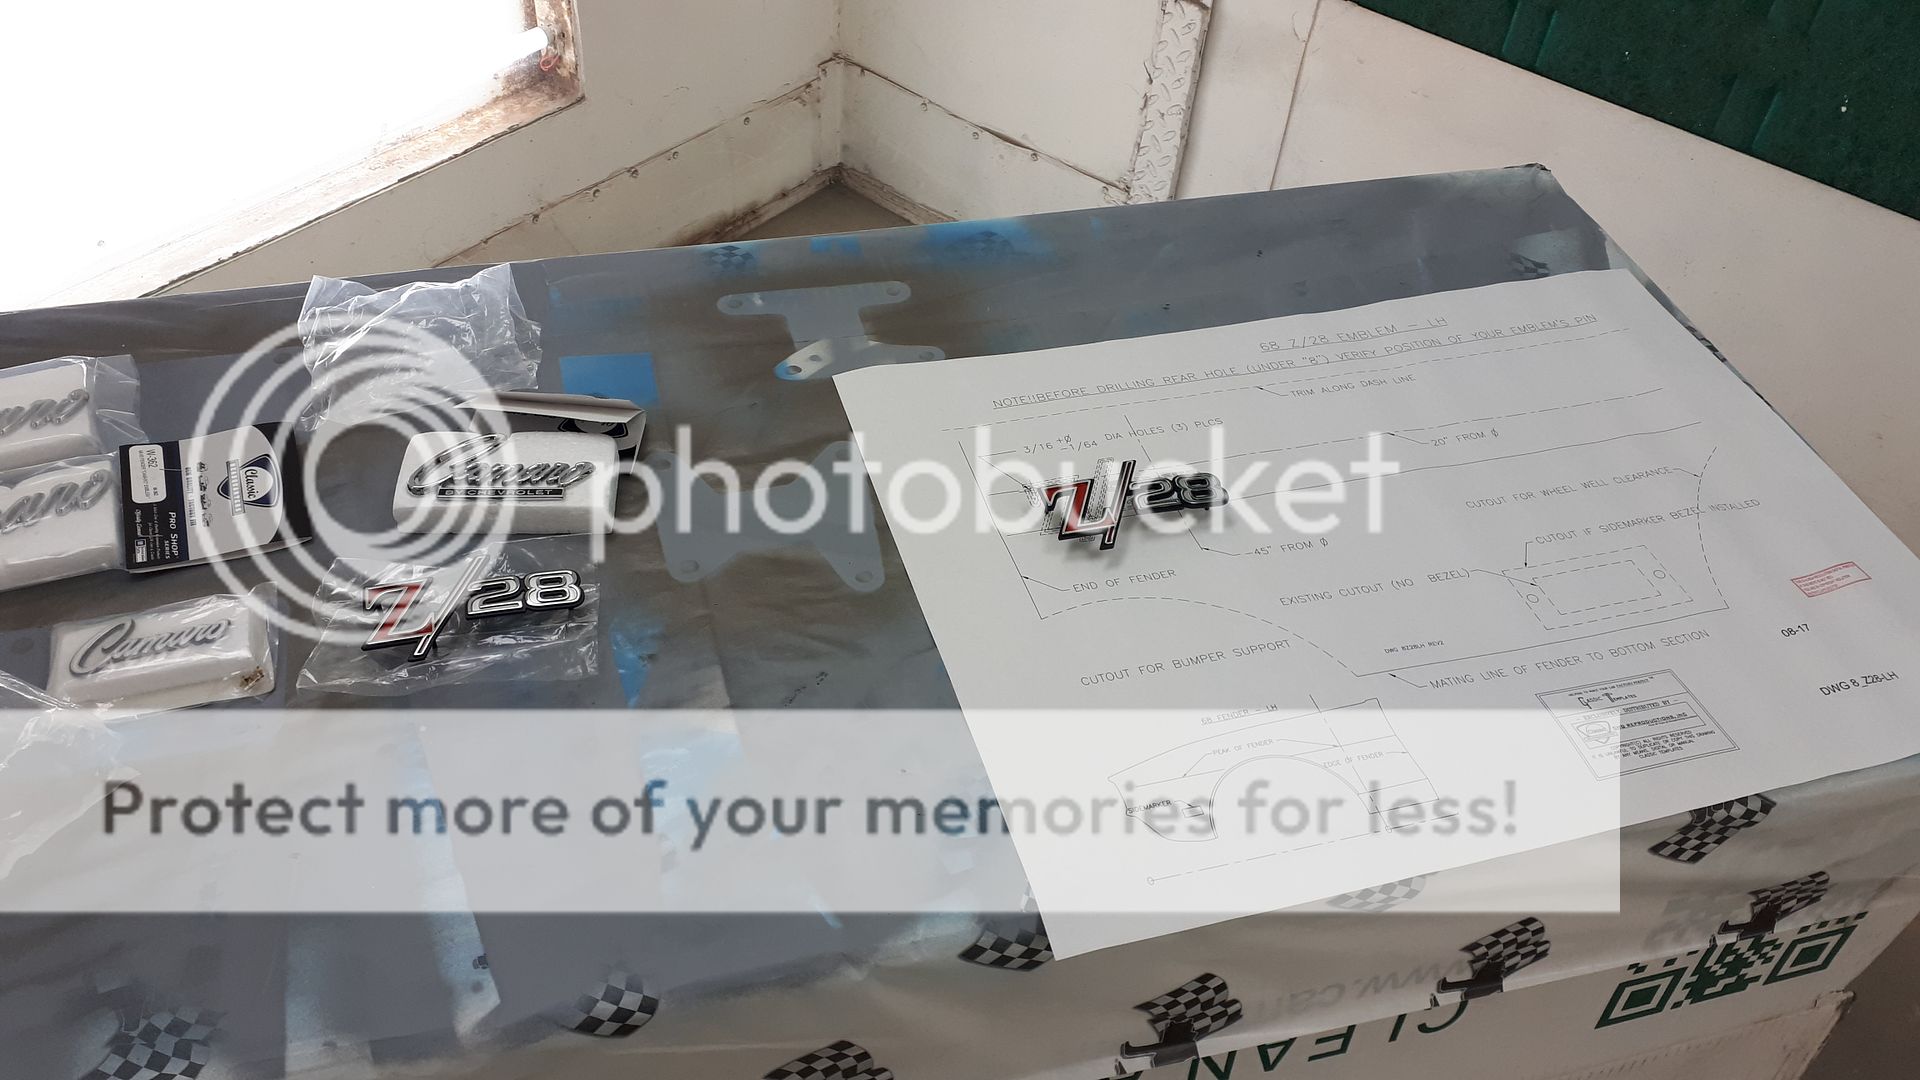
We used templates for the emblem placement,


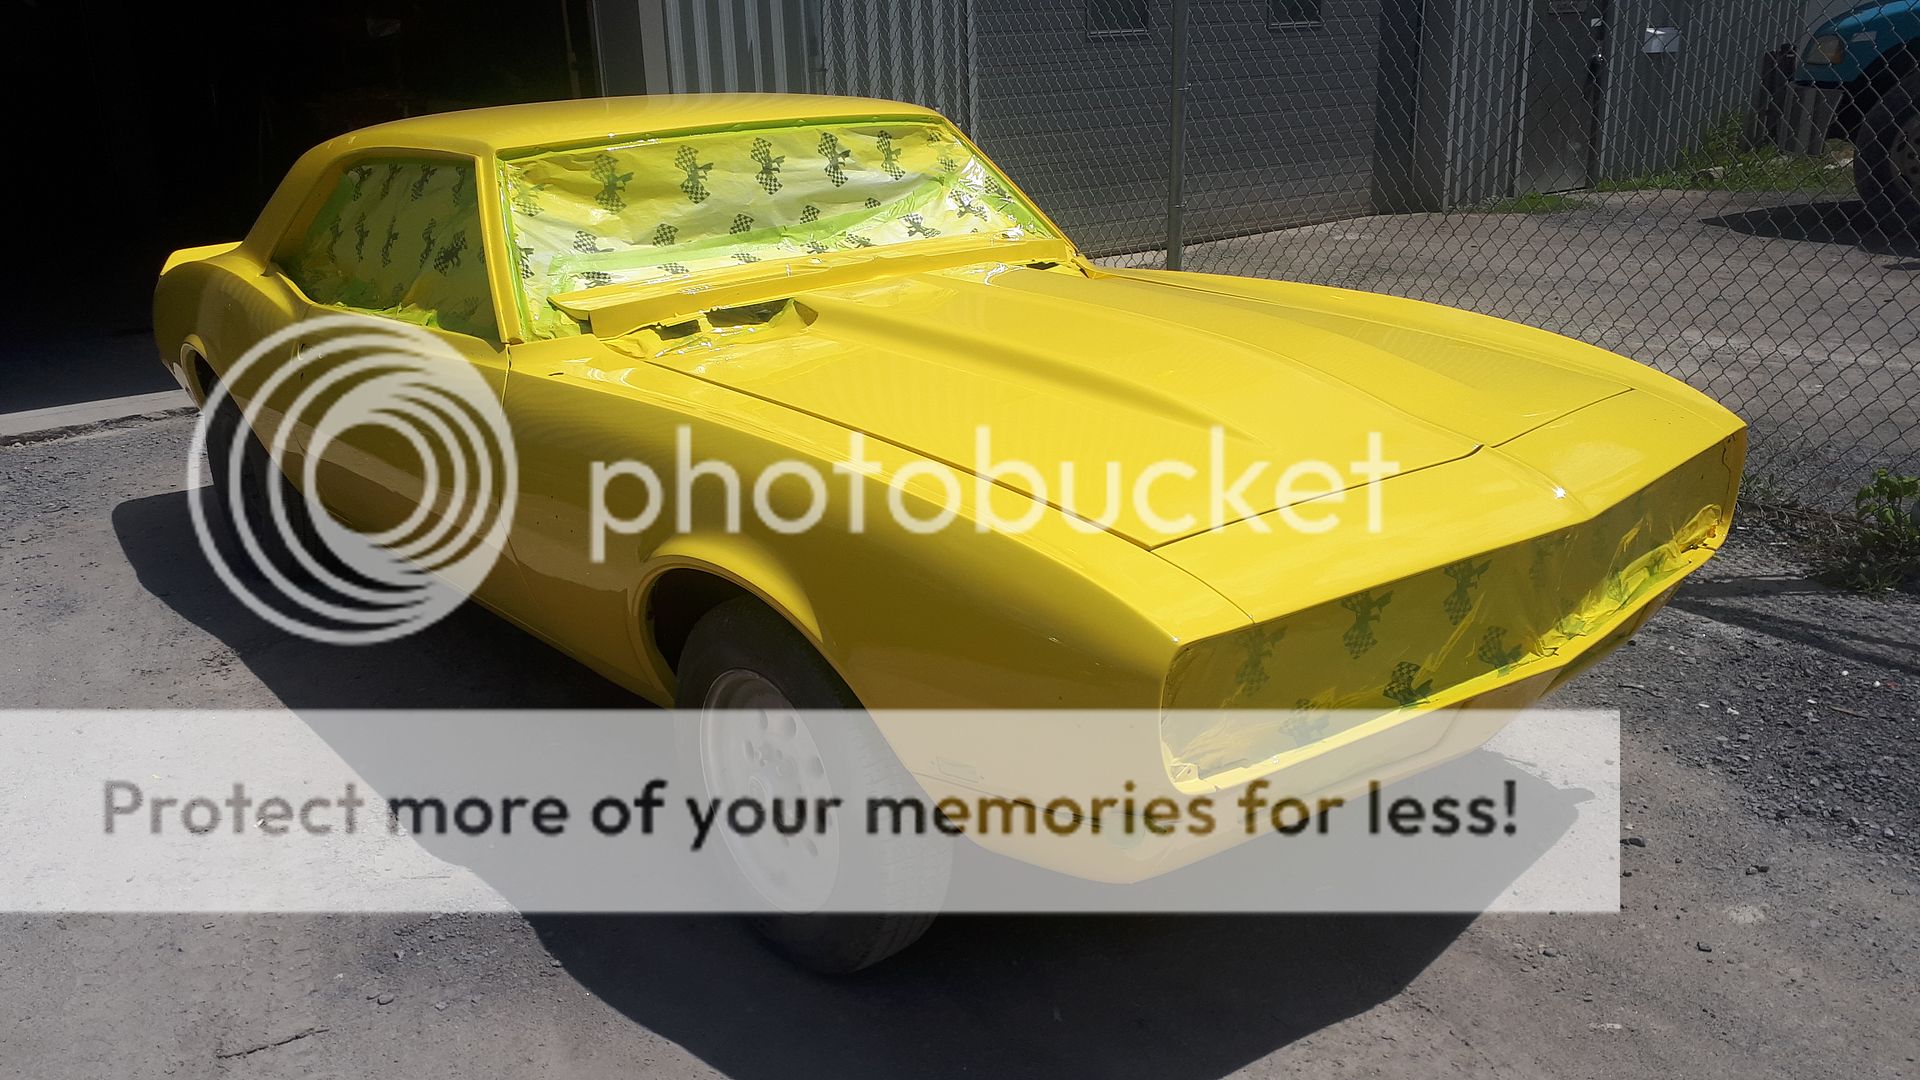
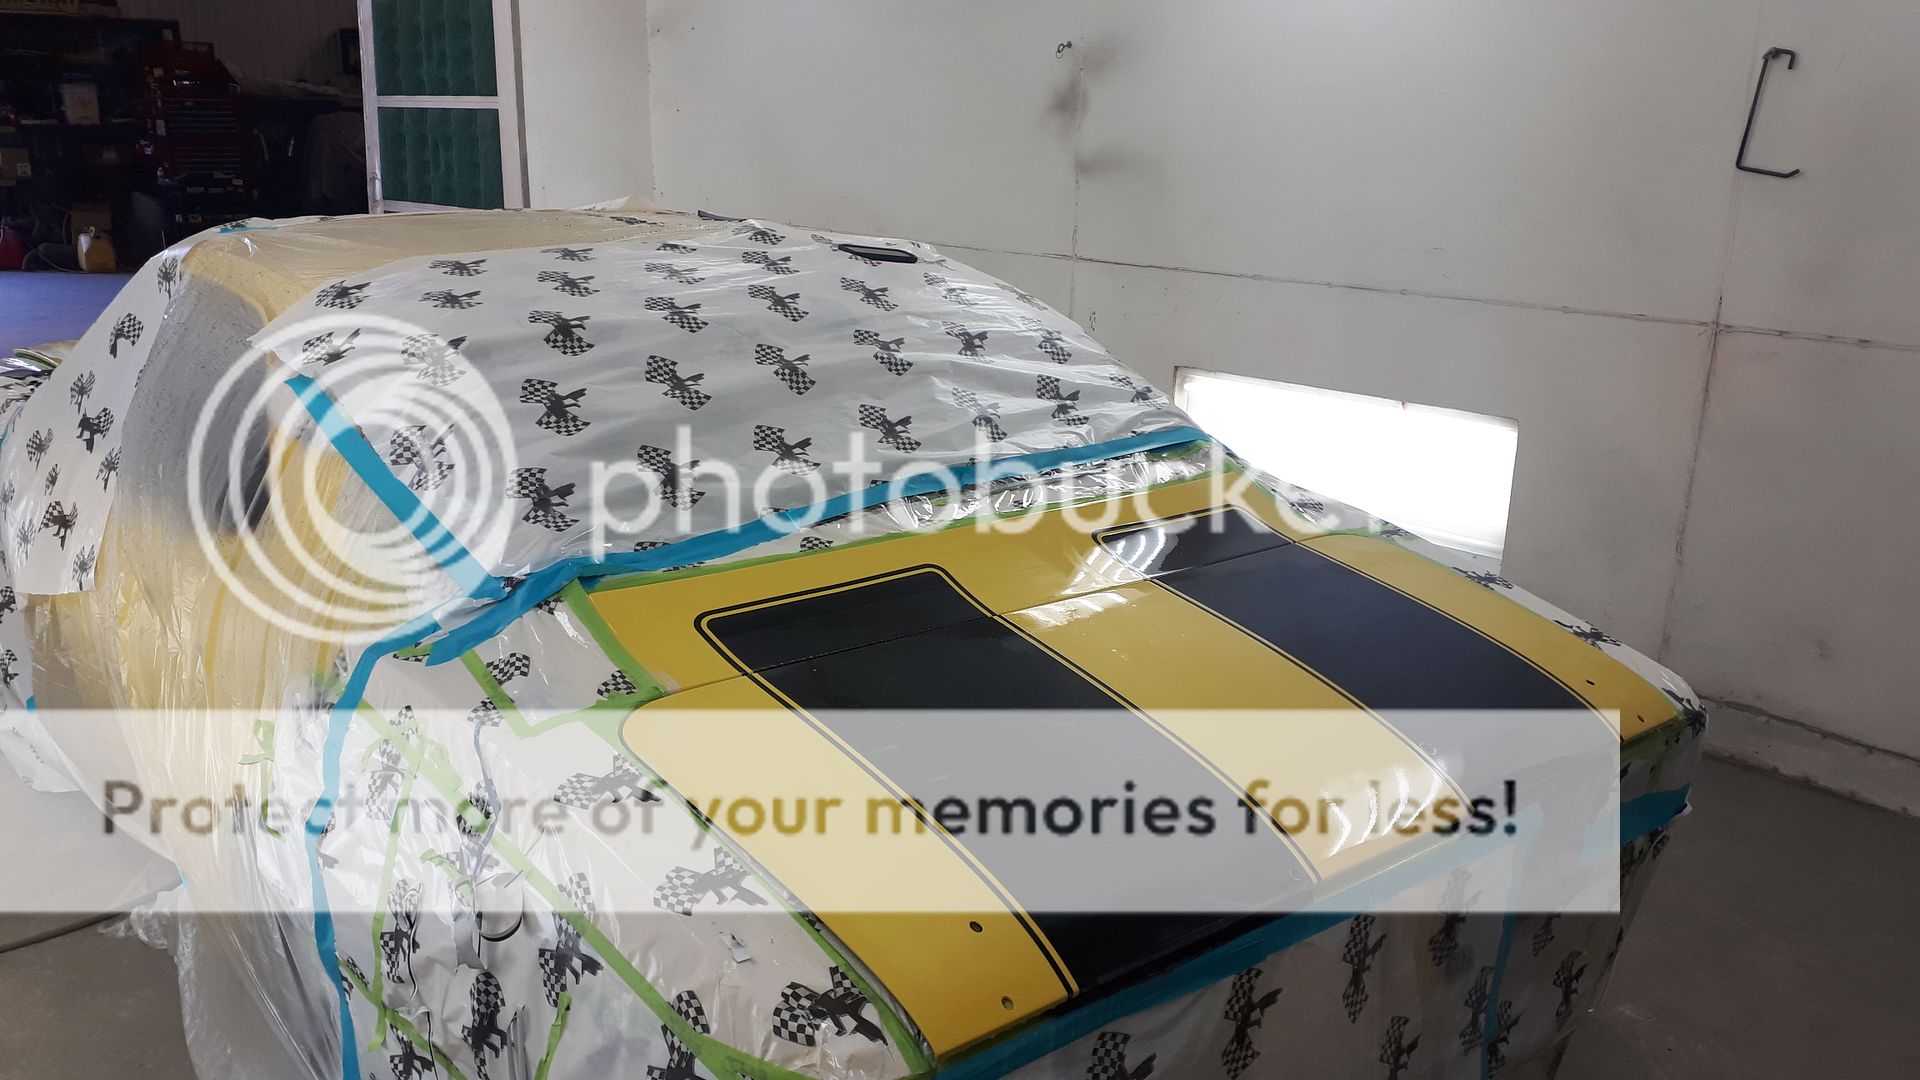
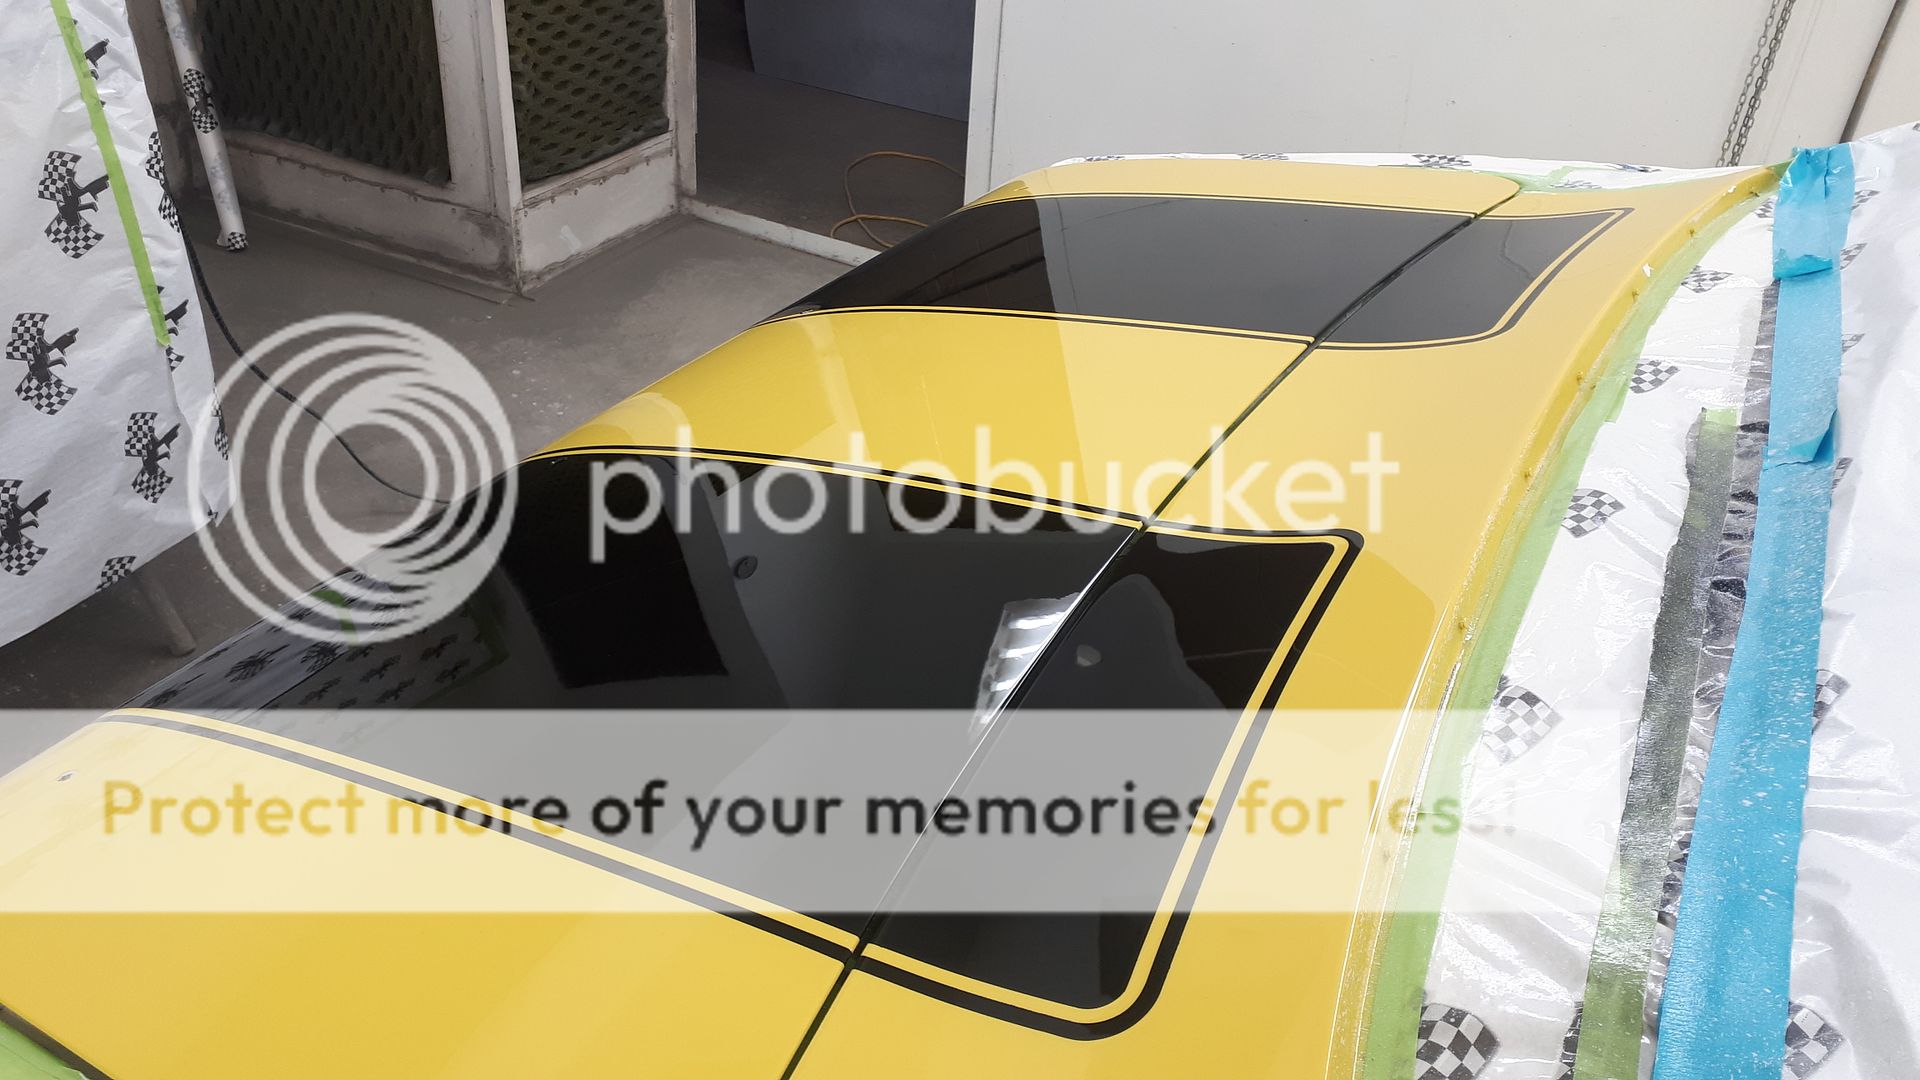
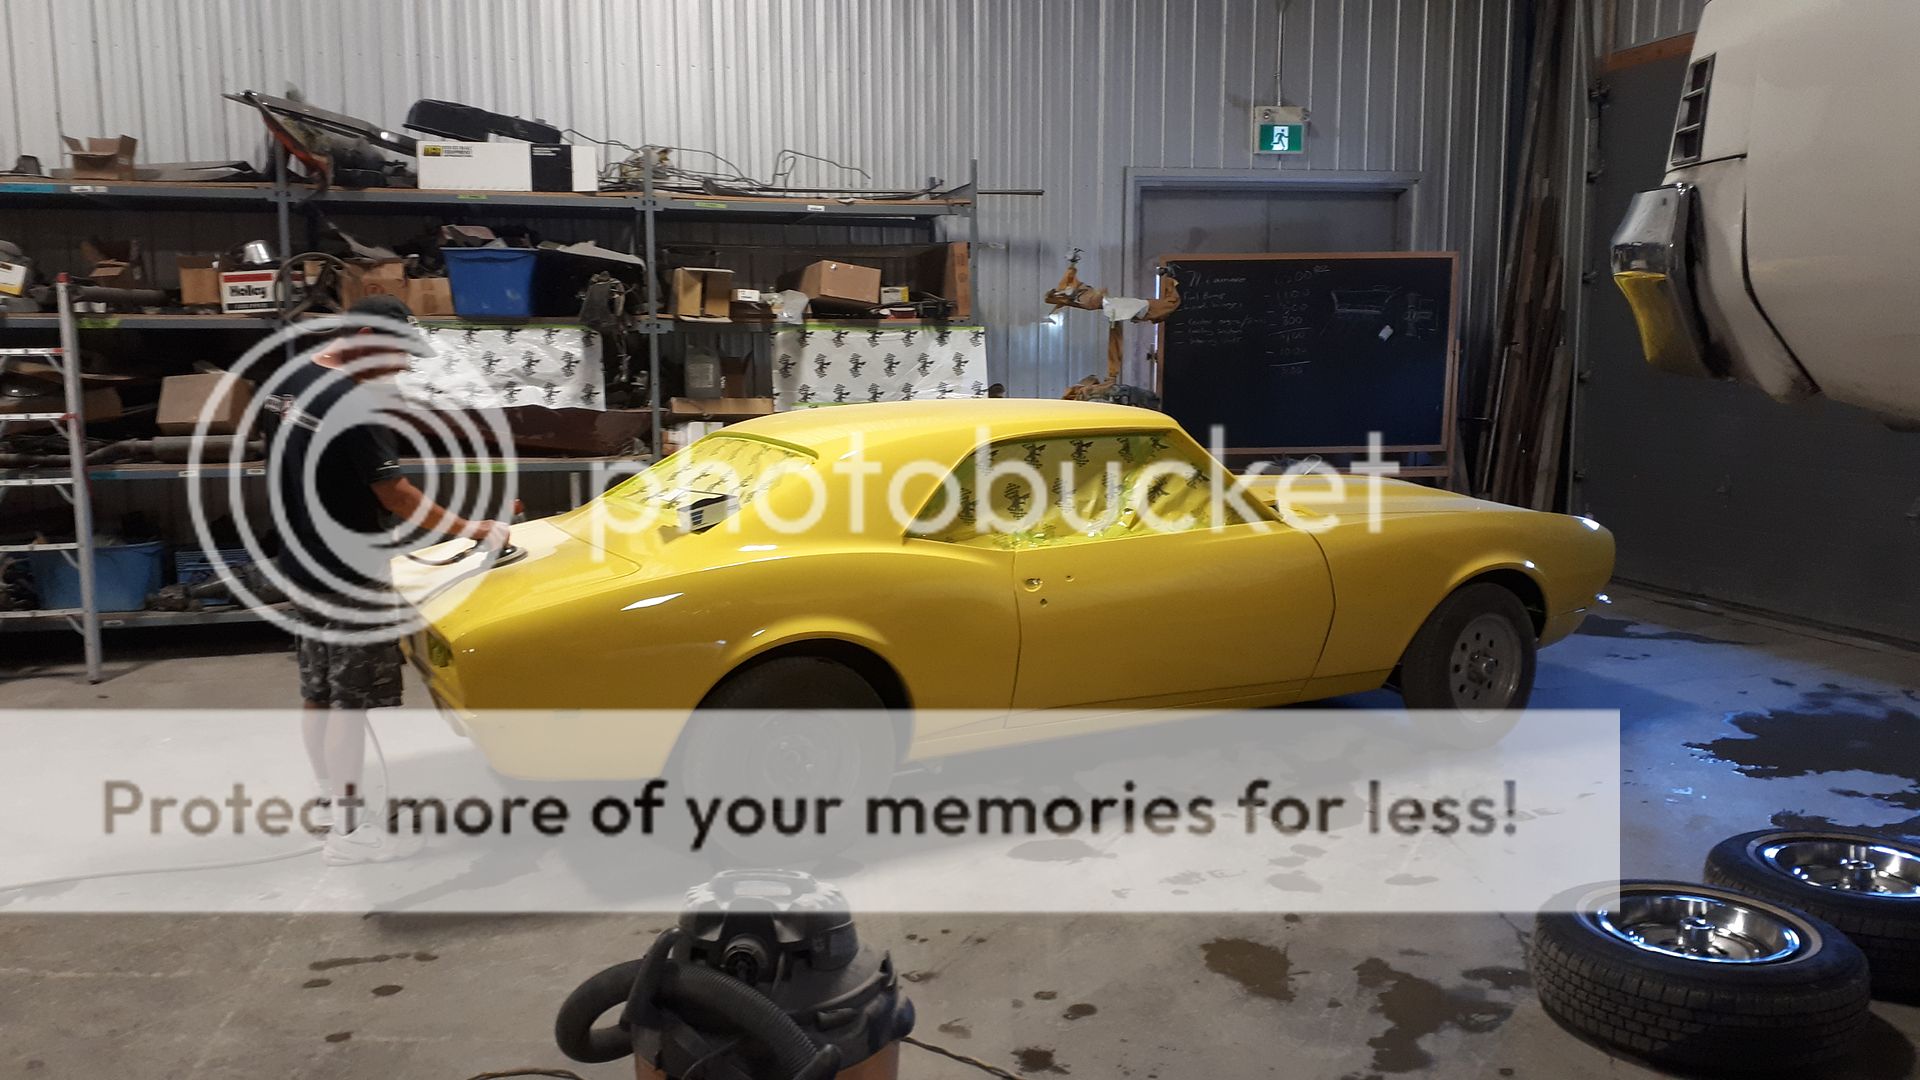
All painted in yellow! We cleared the yellow before laying down the stripes.
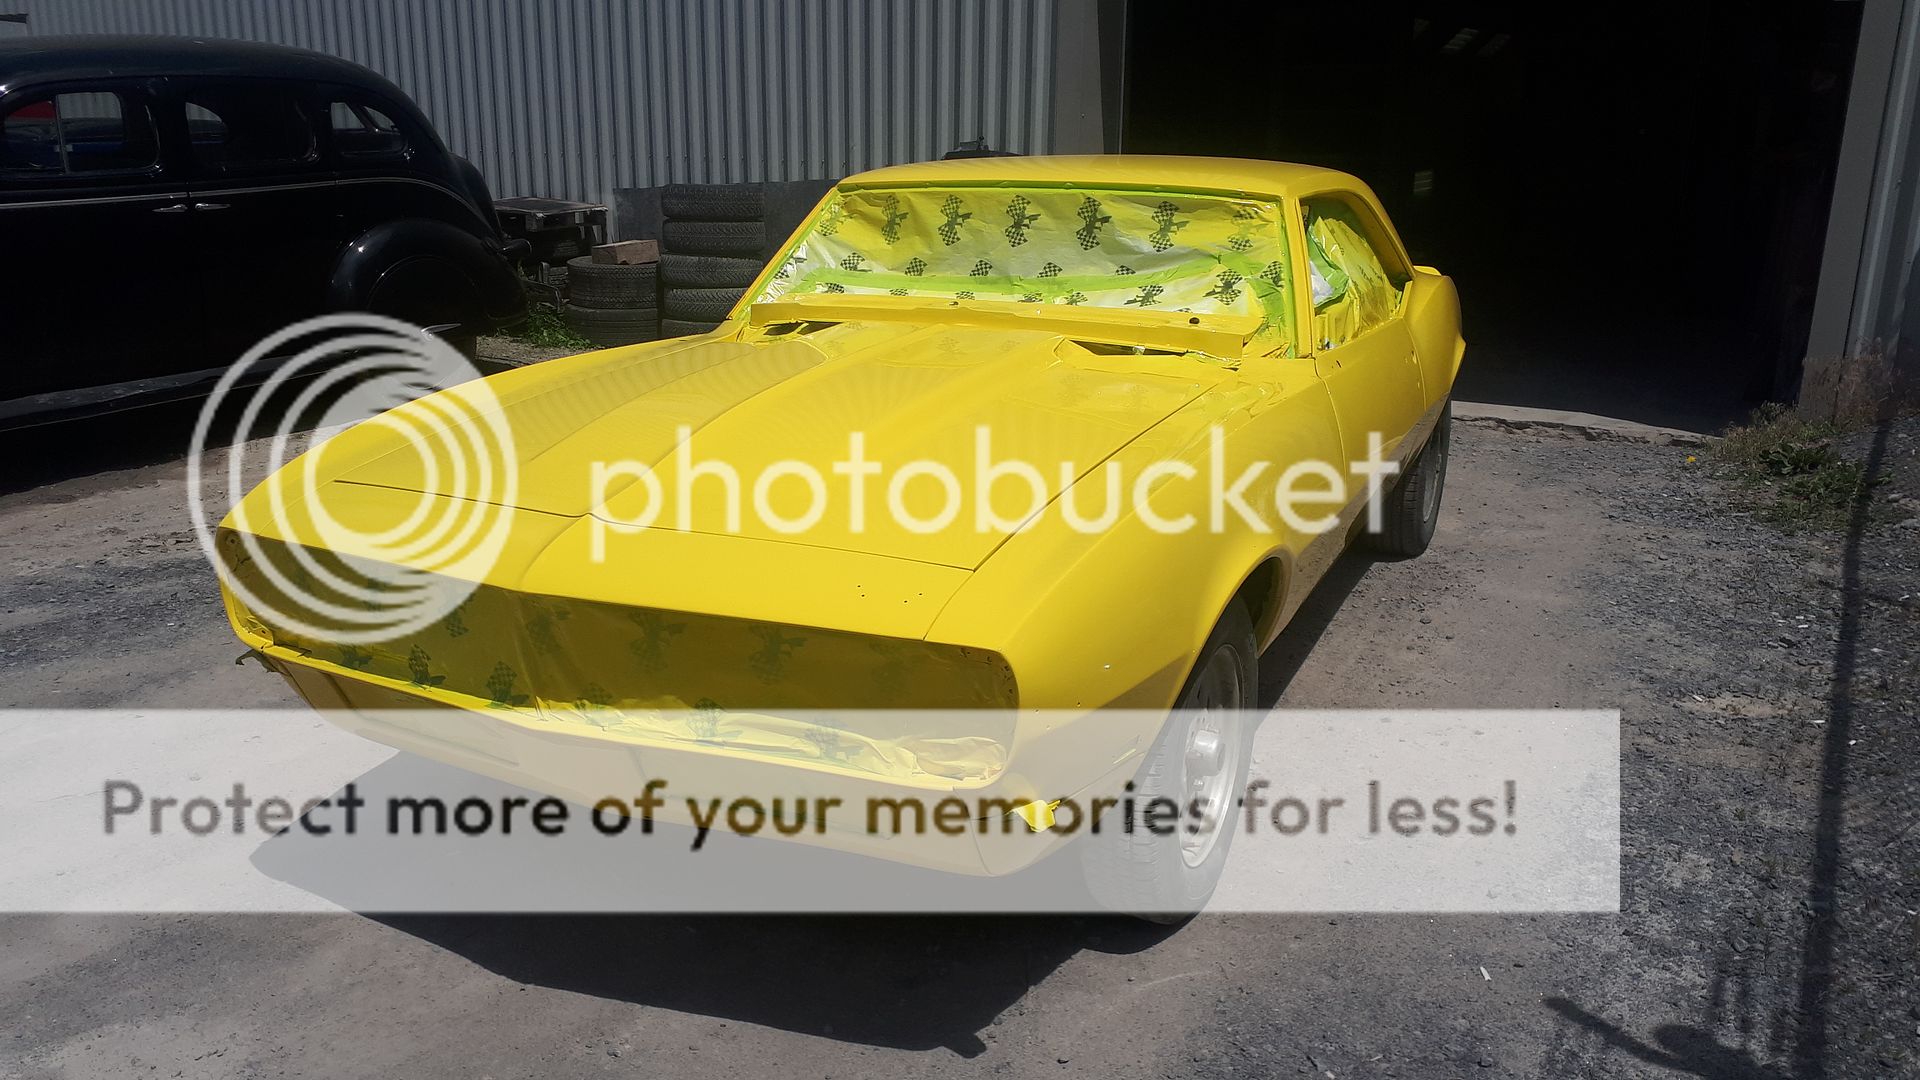


Here we are sanding the trunk in preparation for the black stripes,


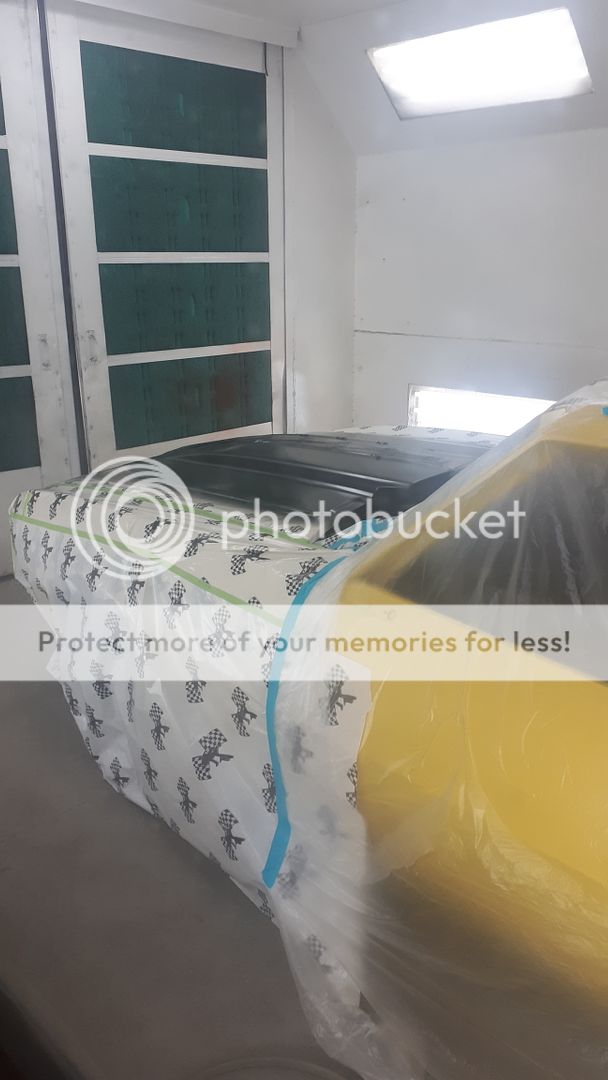
Laying down the stripes,


until next time!


cheers
 

Last edited by sauceman; 11-09-2019 at 06:47 PM.
  #19  
Old 11-10-2019, 05:37 PM
Everett#2390's Avatar
4th Gear Member
Join Date: Oct 2012
Location: Va. Beach, VA
Posts: 2,595
Default

Very NICE !!!
 
  #20  
Old 11-23-2019, 07:28 PM
sauceman's Avatar
In the Staging Lanes
Thread Starter
Join Date: Oct 2017
Posts: 38
Default

thanks!


Quick Reply: 1968 Camaro Restoration


All times are GMT -5. The time now is 01:09 AM.