Halo - Angel Eye Mod 93-97
#1
 04-25-2010, 01:10 PM


This mod is probably already on these forums. I did some searching on here, but wasnt able to find one with working pics and descriptions. Or maybe I just didn't look long enough? Oh well here it goes anyways.
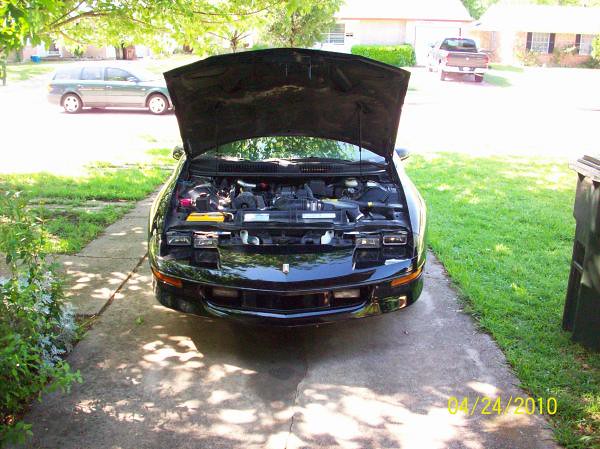
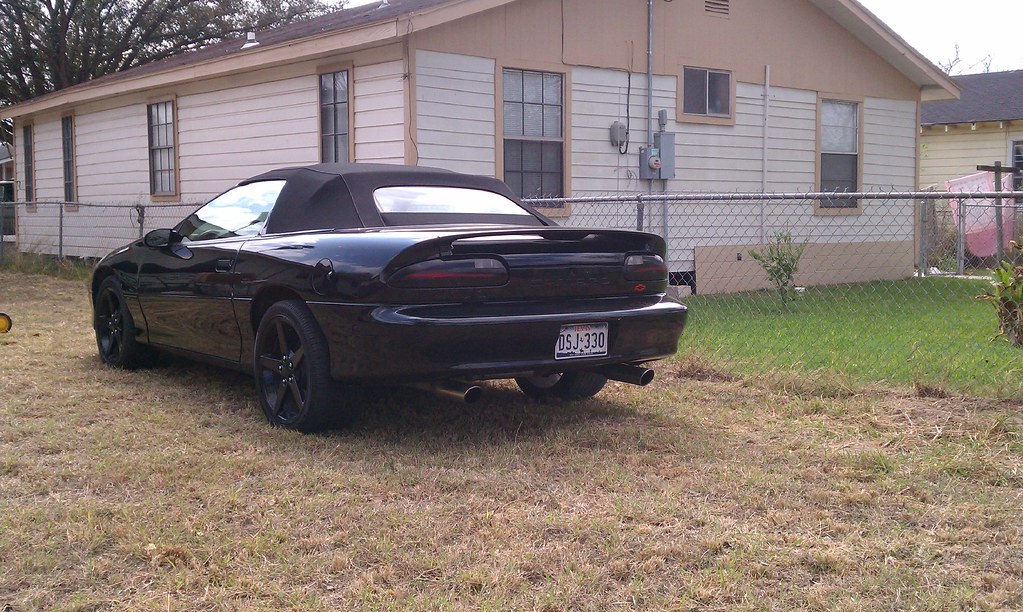
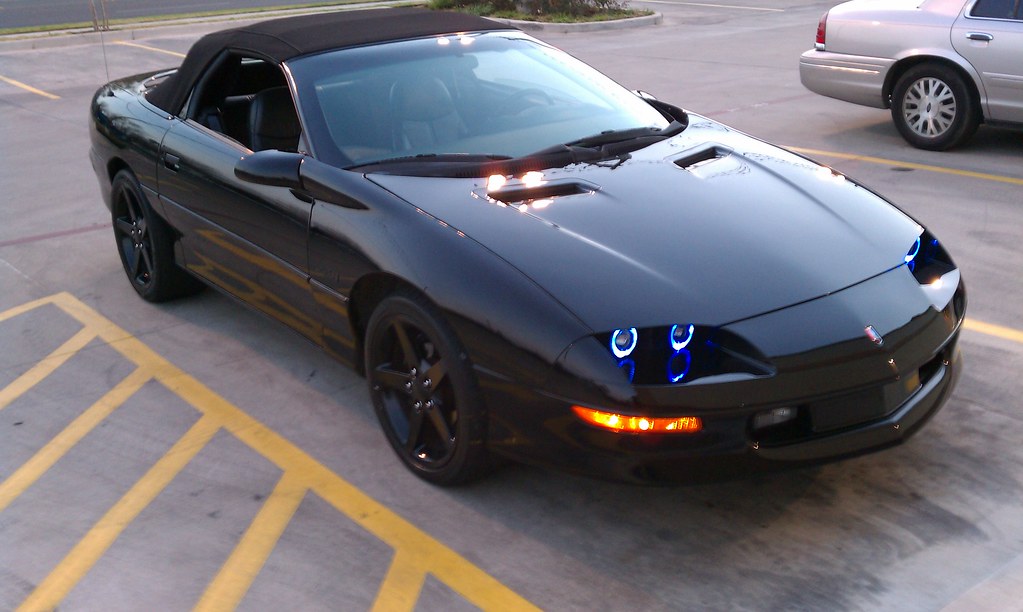
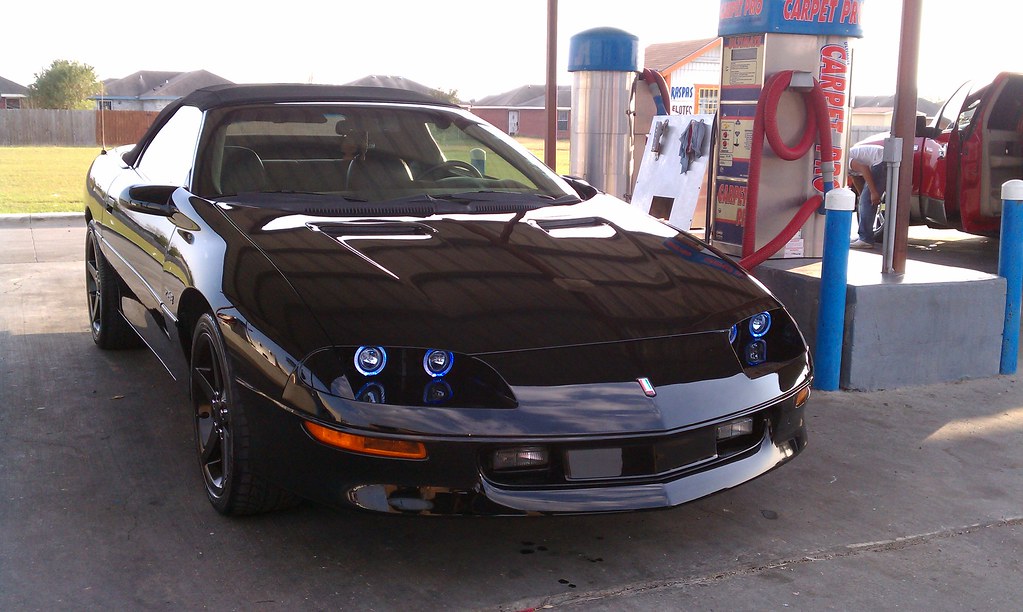
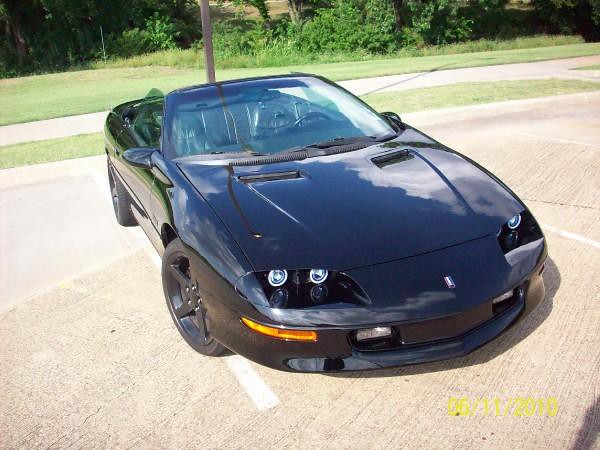
I did this mod on my 1996 Z28 Convertible. This mod should work for models 93-97, however some make and models may differ!
(This mod does not interfere with the original headlights mounting. You can reverse this mod just as long as you keep all the original pieces. I boxed all my stuff and stored it away incase I want to switch back.)
***Use at your own risk! And use safety when installing!***
Tools Needed:
**Halo lights: Can order them online here: http://www.brandsport.com/pilt-nv538w.html or you can probably find them at your local Autozone or Pepboys. I bought mine at Pepboys for $44.99 + tax. (Plano TX) The brand I got are Navigator Driving Lights. Model NV-538W. 3 3/8" x 3 1/4"
Includes:Cyber White Halogen Lamps (2), Complete wiring harness kit, mounting bracket with screws (2), Switch with housing, and installation instructions.
**#15 Torx driver (The star looking screw driver used when replacing head lights)
**Drill: Needed to make mounting holes. ( You will be drilling through hard plastic which was almost effortless with a power drill)
**Screws and bolts: I didnt use the origal screws it came with, mainly because it didnt come with nuts, washers, or locking washers. Plus I wanted better looking screws! I bought ones of similar size, 1/4" -20 x 5/8" ( I just pretty much eyeballed the shape and size of the old ones, cuz I forgot to bring the originals with me to Autozone) You may use the original screws if you want, you dont have to go out and buy new ones. I paid about $3 at Autozone for mine set of 2 screws with nuts, washers, and lock washers.
**Wire cutters/strippers
**Super Glue
**Electrical tape
*** A little bit of free time =) ***
Took me a few hours (3 or so) start to finish, but I was drinking beer and taking my time anyways.
-----------------------------------------------------------------------------
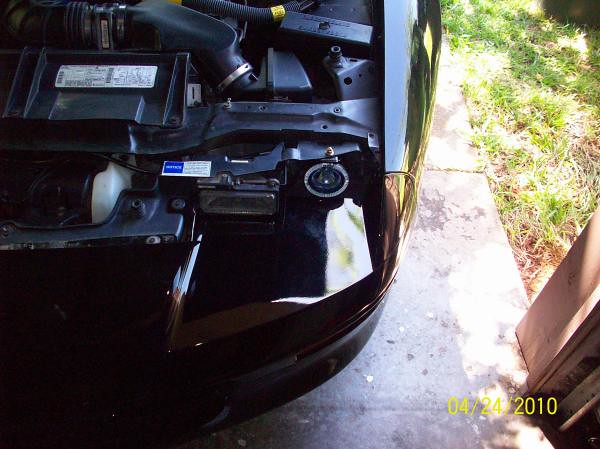
1) Remove the negative from the battery, to avoid any unwated mistakes.((Will reset some electronic devices including radios)). Remove the factory headlights and or high beams as well if you are installing all 4:
You will see three screws and a sping. Remove the two screws on the side first to unlock the light bulb housing. Disconnect and remove bulb and lock latch. Next remove the last screw located on the top in the middle. Undo the spring to release the rest of the housing.
OR, just undo spring at bottom then remove middle top screw only. After this the whole thing should just come out all together. Either way works
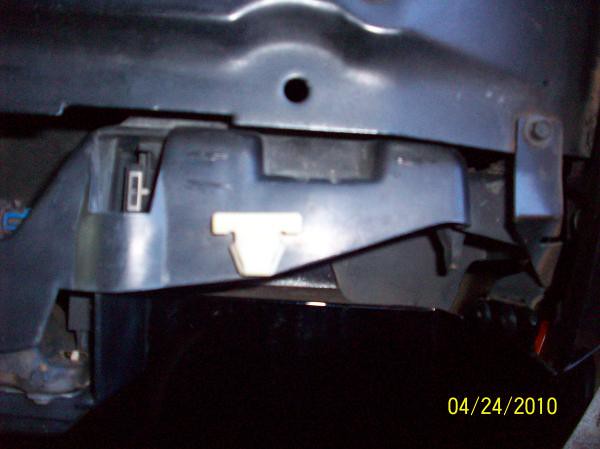
ALSO don't forget to remove that white piece that towards the upper back. Stick your hand in from the front, grab and squeeze it hard from the sides and push it out the back side. It should just pop right out. You want to remove this small piece to give you mounting room.

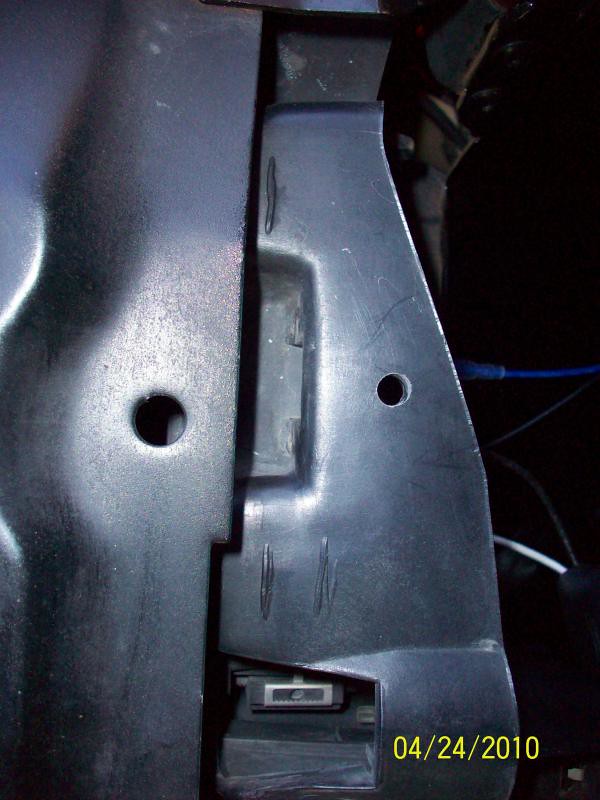
2) Drill baby drill!:
Now that the lights out there should be enough room to make a mounting hole(s). Included with the driving lights was a double sided adhesive padding. I used this to make my mark on where the whole was to be made. NOTE: because I did use custom screws and nuts I hade to adjust the hole size according to how I could fit the light fixture in that tiny spot.
3) Assemble Lights to brackets:
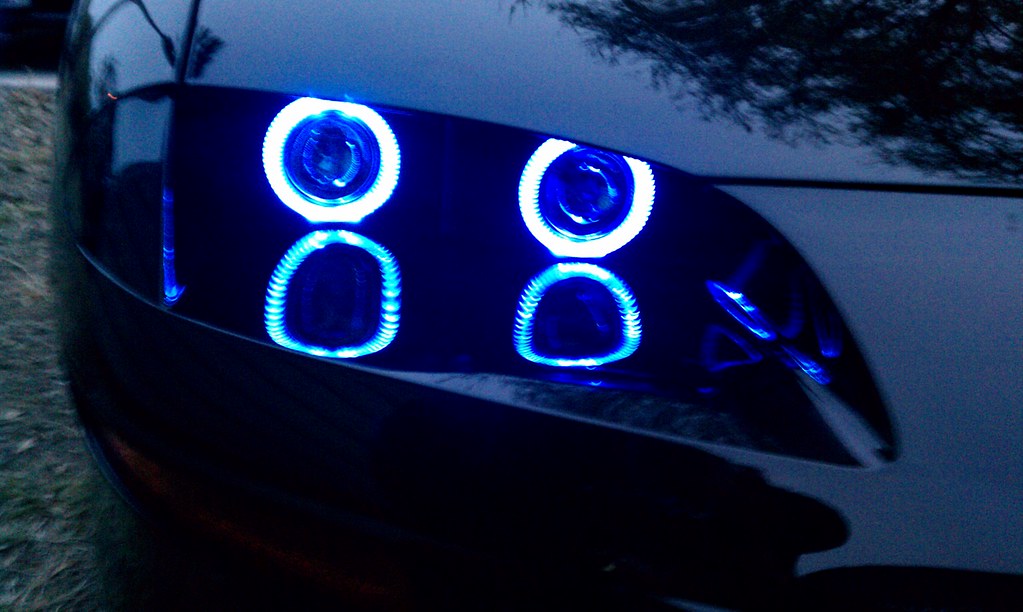
Screw the bracket mounts to the light. I also unscrewed the halo ring and turned it upside down. Reason is to hide the bright bright glow so lights look even all around.
4) Wiring:
At this point you will have to decide if you want to splice into the cars original factory wiring or just straight wire it through the harness it comes with. I went with using the harness for the Halo LEDs. It was pretty simple and straight forward. What I did was lay the wiring harness out in place of where it was going to go. Place wires in safe out of the way places, do not tuck them yet till everything is connected properly. All wires are easy to match and come with male and female tips. As for the headlights/highbeams. I wired them into the original car wires WITHOUT splicing the factory wires. I didn't cut into them at all. I simply twisted my wire tips(wire sizes may vary, I used custom wires. not sure what size it was, but was thick enough to be a tight fit.) and stuck them in the proper slots then black taped the crap outta it. This way the wiring stays in original condition, in case I want to go back to stock. At this point try the headlights from the headlights switch to make sure they are wired tight enough and everything is working properly before mounting them to the car. You will have to connect the negative back in if you disconnected it in the first place. (I was very careful and never disconnected my battery to begin with), but you should if you want to be 100% safe!
OR, some people will splice into the factory wiring. I didn't, so I cant provide instrucions on this part as I've not done it yet. It doesn't seem like a hard thing to figure out anyways.

5) Connecting the lights:
Now that all the wiring is in place, connect the wires to the lights. Wrap up with electrical tape after.
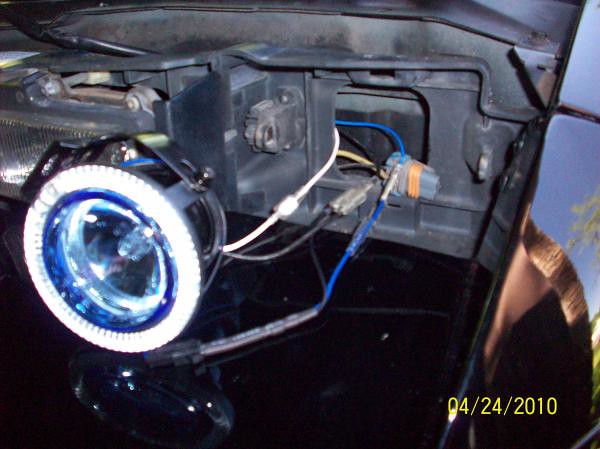
6) Mount lights to car:
Now that everything is connected and wrapped up. Position your light in the proper spot.
Dont forget to apply double sided adhesive padding to your light bracket before mounting.
I had placed the screw on the light and bracket prior to mounting or putting it in mounting position.(This is so you dont have to squeeze the screw in place with little to no room at all) You may have to adjust it at a certain angel to fit it properly. I put the Screw upside down so I could have the nut on the top side for easy access. Once the light is in position bolt it down. Dont forget to tuck/hide the wires properly prior to bolting.
7) Pass the wire!:
Now that the light is bolted in place, you can now tuck and hid the thick black wire in the wiper fluid area. Before hooking up your 12v red wire or ground, make sure you connect the relay and run the wires for the switch up to the drivers area. you can gain access to inside the car from that area under the computer. Just remove computer and cover run a wire hanger or something thru the whole into under the dash area inside the car. Then just connect and mount switch to place of your desire.
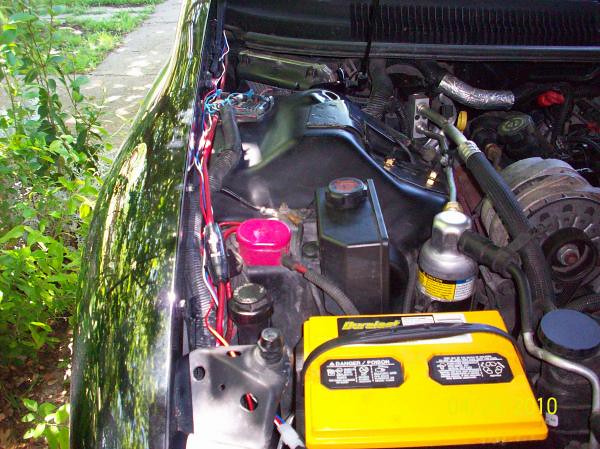
8) The Red:
Now that the lights are in place the switch is in place and all our wires are secure in safe hidden areas. It's time to connect the red (12v +) and the black (Ground -) There is a spot on my car near the battery that has easy access for mounting 12v wires, thats where i bolted it. As far as the ground, there are tons of spots to choose from. Once both of these are connected you should be able to connect your negative to your battery back up.
9) Fin:
Now that everything is connected and bolted, test it out! They should light right up. If not, you might want to check the fuse on the 12v red wire. If that's ok, then check all our cables and make sure everything is properly tight and connected. Wait till night fall and park car 10ft from a flat wall to adjust the light angle. You want regular headligts to point straight forward with a 20-30 degree downward angle. High beams are to be set straight forward with no degree angle. Beams are very bright and will blind people coming from other side if not adjusted right. Don't want to blind a cop and end up getting pulled over! Once lights are adjusted properly, apply super glue to ensure angle and position dont change from bumps on the road.
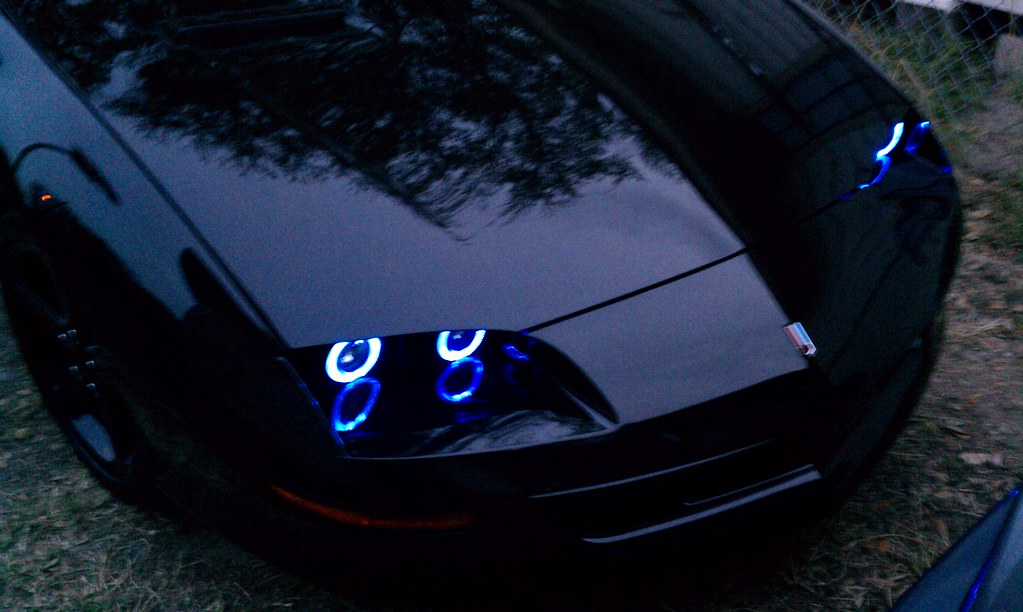
10) Turn Heads!
Guaranteed to turn heads!

Thanks for Taking time to read my version of this great mod!
MartineZ28~
Last edited by MartineZ28; 04-02-2012 at 09:08 PM. Reason: added additional information


#3
04-25-2010, 01:24 PM


#5
04-25-2010, 04:14 PM

To pass inspection here in PA they would need to be adjustable so a mechanic could do a fine adjustment. They would have to hold adjustment if pushed on, meaning headlights will be on a ridge mount. In my opinion that would not classify as a ridge mount or allow for fine adjustment. These types of mods are very subject to the opinion of the mechanic so you could most likely fine a mechanic that would pass it.
#6
04-25-2010, 04:27 PM
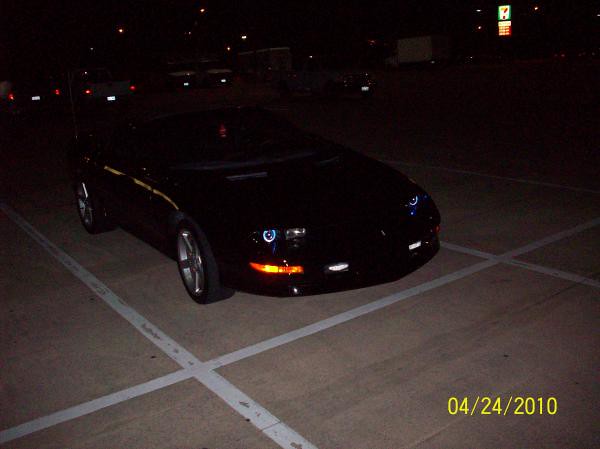
When the actual headlight is turned on (not shown on any of these pictures) they look like normal HID lights. I'm from Texas, not sure if there is some type of law against it. Everyone I've asked said it's not a problem, and quite honestly there are a lot of cars in Dallas area with LED and HID lights. It's not legal for me to ride around without my front lisence plate, but I do it anyways. A lot of people here in Dallas ride without a front plate. It's not legal, but most cops don't care as 1 in 10 cars you see on a normal basis ride without 'em.
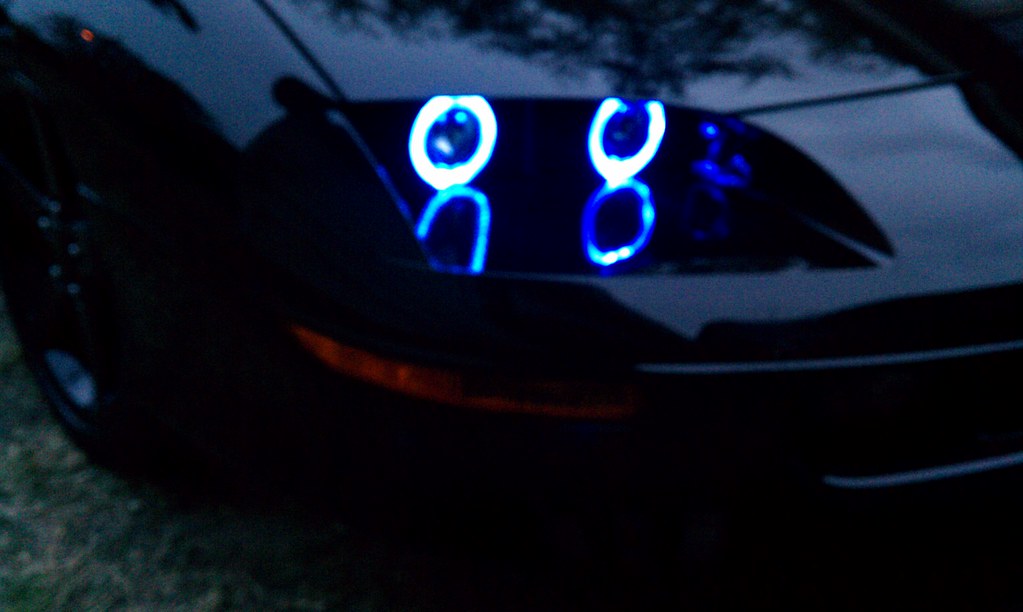
I'll take some pics with the HID lights on when the sun goes down tonight. I like to have them off when driving in parking lots so the LED blue rings glow bright. People love to watch 'em!
I'll take some pics with the HID lights on when the sun goes down tonight. I like to have them off when driving in parking lots so the LED blue rings glow bright. People love to watch 'em!
#7
04-25-2010, 11:39 PM


#9
04-26-2010, 10:38 AM

Join Date: May 2009
Location: Farmington Hills, MI
Posts: 1,670
huh. never seen anything like that before. It's certainly unique. Those pics of the running lights on at night look downright creepy lol
#10
04-26-2010, 09:15 PM

I want to do something similar to this on my '02. I wanna order a set of those in red and mount them where my fog lights are mounted currently. ( who needs fog lights anyway? ). Mounting is gonna be kind of a pain though, anybody know if this will work?