My 1995 3.4l Camaro build - V6 to V8 Conversion - PICTURES!!
#141
 07-10-2015, 01:32 PM
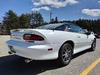

no lowering,i just wonder with the v6 they may sit higher , mine they sat lower but it just may be the way it is
#142
07-20-2015, 05:23 PM

Hey guys! Sorry I've been super busy with school, working full time, and I just bought a house. Bought new rims and tires a bit ago and I'm picking paint up tomorrow and plan on having it painted his week! Plans for the winter include 250 shot dual stage nitrous, centrifugal supercharger, ford 9" rear, cts-v brake swap. Next year id like to do the ls6 ignition swap. I'll post more soon, I can't upload pictures on my phone right now. Stay tuned 
#143
07-20-2015, 09:47 PM

Hey guys! Sorry I've been super busy with school, working full time, and I just bought a house. Bought new rims and tires a bit ago and I'm picking paint up tomorrow and plan on having it painted his week! Plans for the winter include 250 shot dual stage nitrous, centrifugal supercharger, ford 9" rear, cts-v brake swap. Next year id like to do the ls6 ignition swap. I'll post more soon, I can't upload pictures on my phone right now. Stay tuned
#144
07-31-2015, 05:25 PM
@markoo91 No, I haven't. It's not really ready yet and I am going to wait for that until I have all my power adders finished.
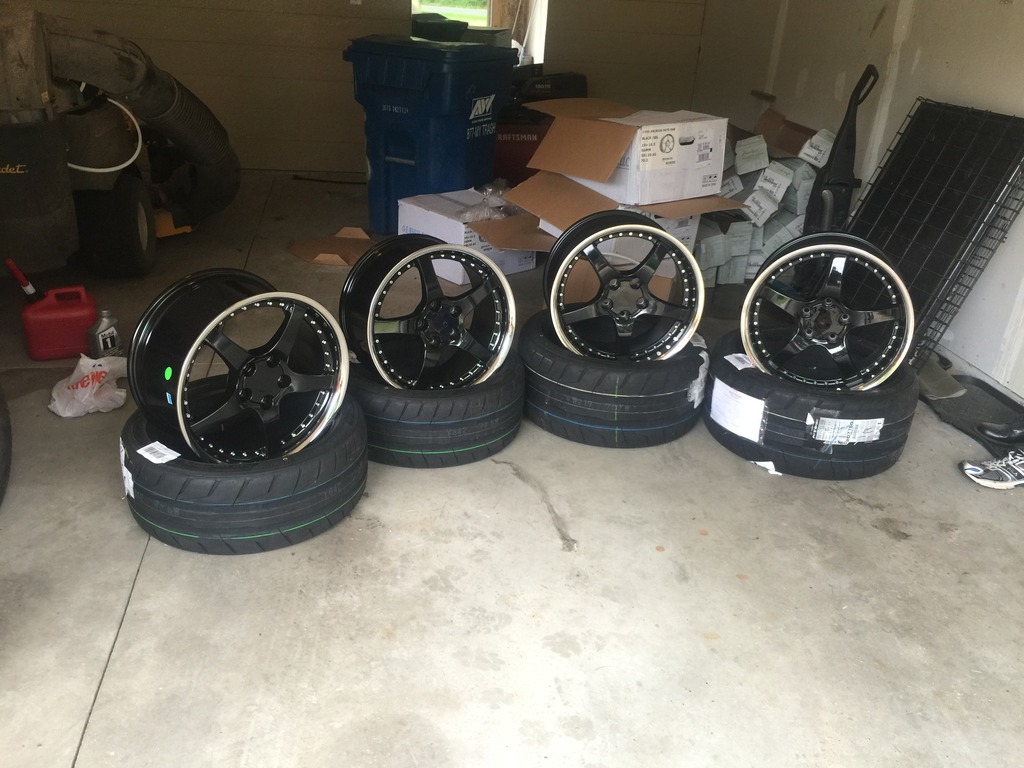
Here is a picture of the rims I got before I painted the lips red
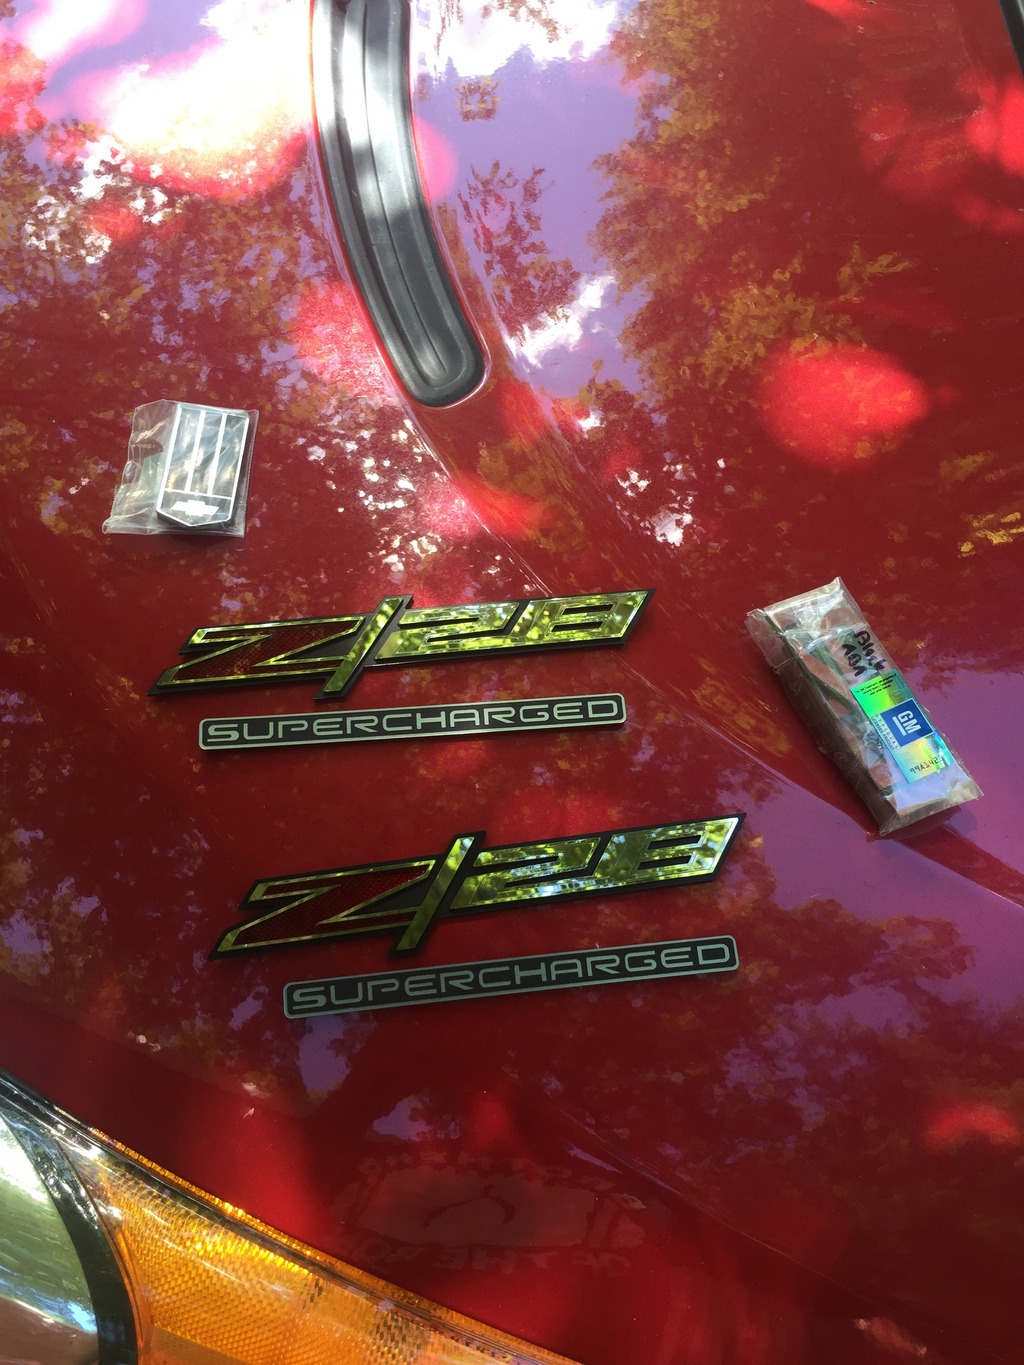
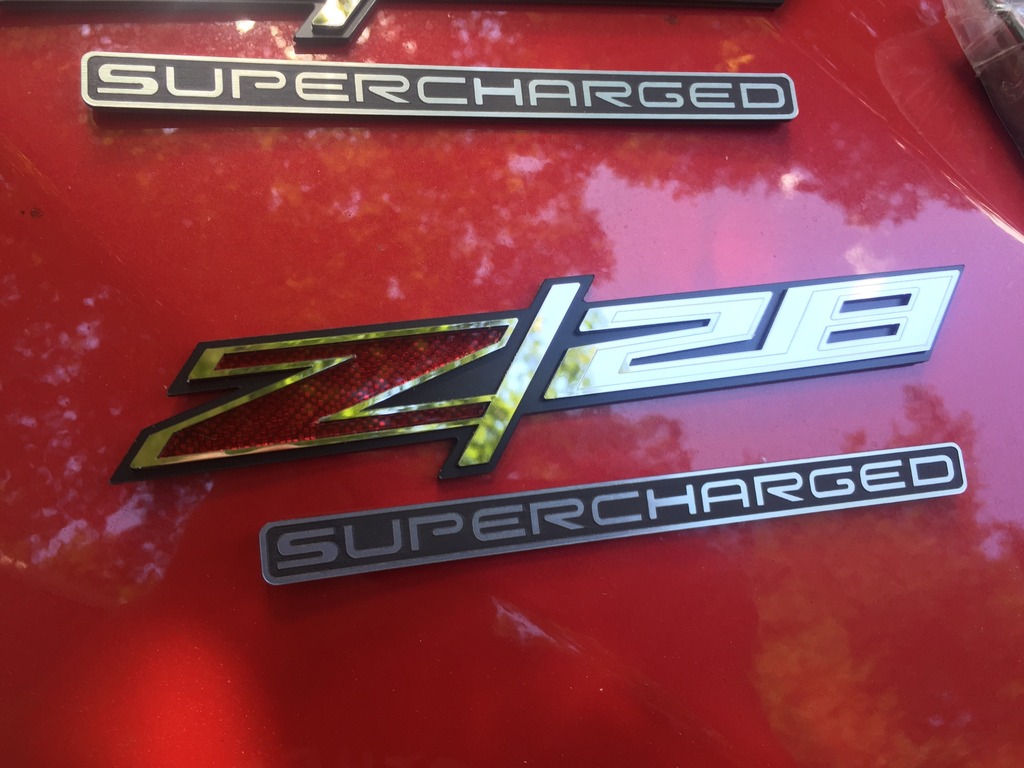
And here are pictures of the emblems I got the other day that will go on after paint hopefully I'll have most of the car done this weekend.
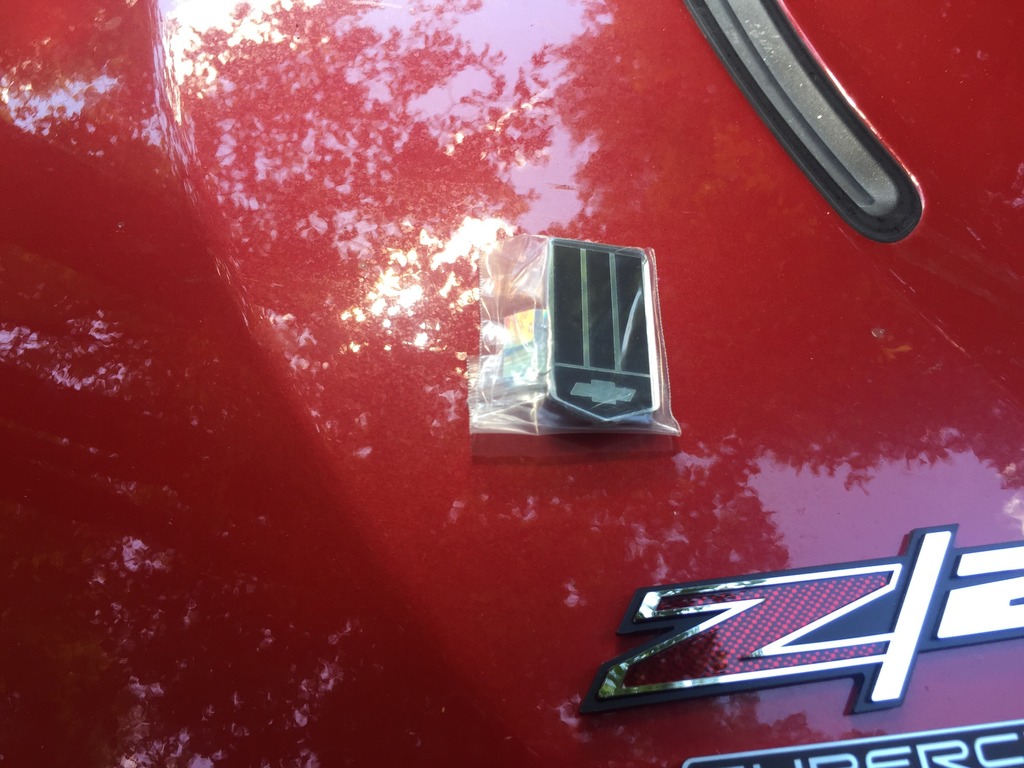
Here is a picture of the rims I got before I painted the lips red

And here are pictures of the emblems I got the other day that will go on after paint
hopefully I'll have most of the car done this weekend.


#146
10-31-2015, 06:03 AM
Got paint on, then got a little distracted with headlight designs lol. Also decided to cut out the bottom grille anyways so I was going to be spraying another coat either way... Might as well do something unique I guess.
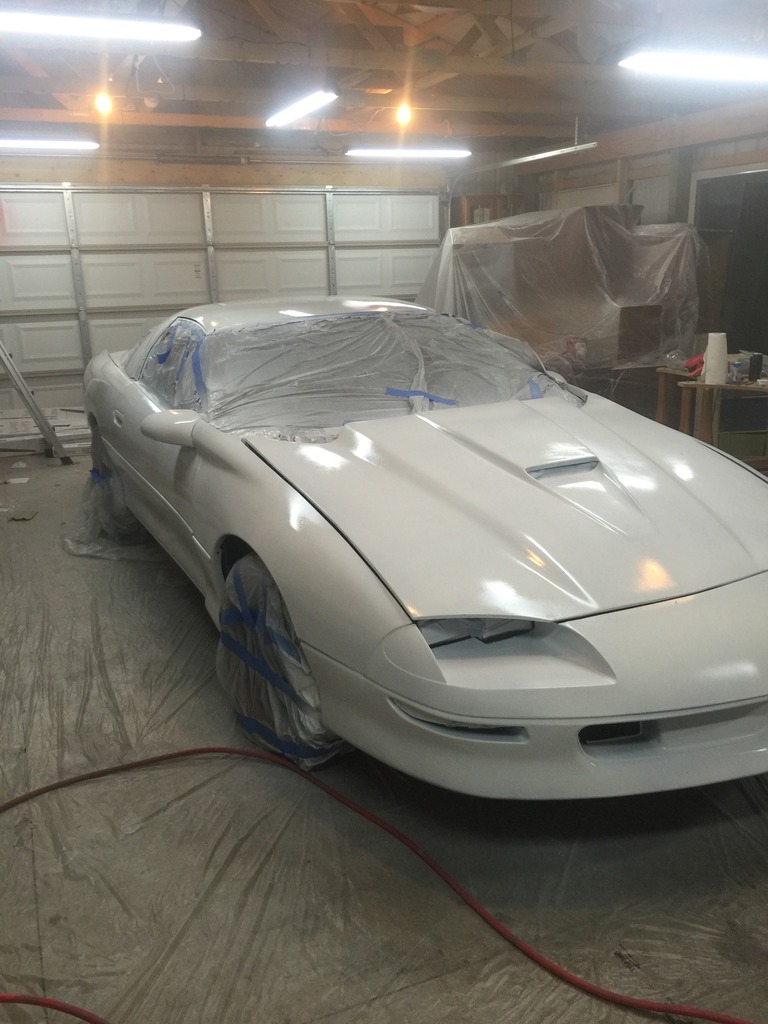
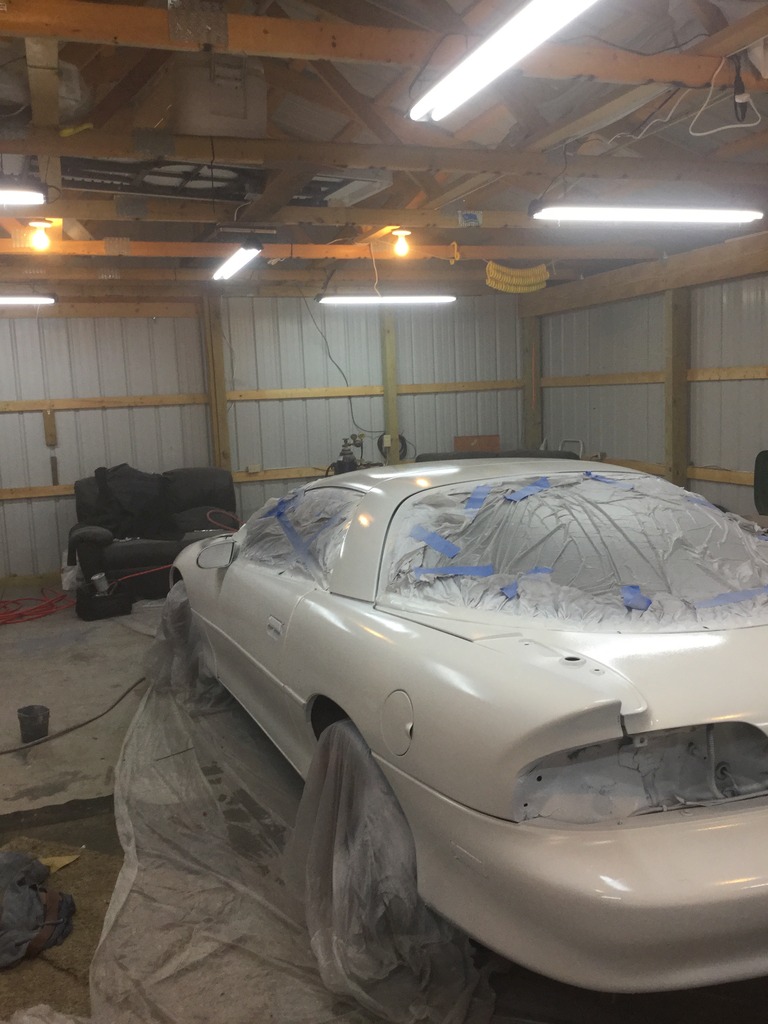
Thats about all their is to it for the paint job. Turned out really nice so far. Might throw the body kit back on after I do a brake swap and use the scoops in the front lip and side skirts to air cool the rotors down.
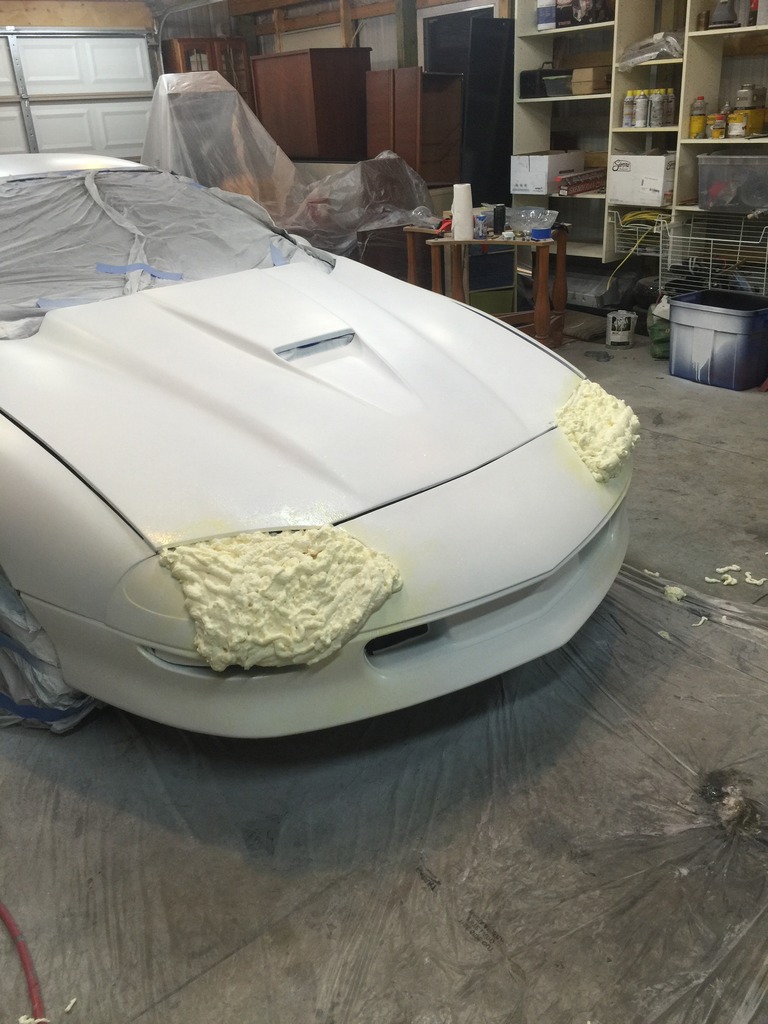
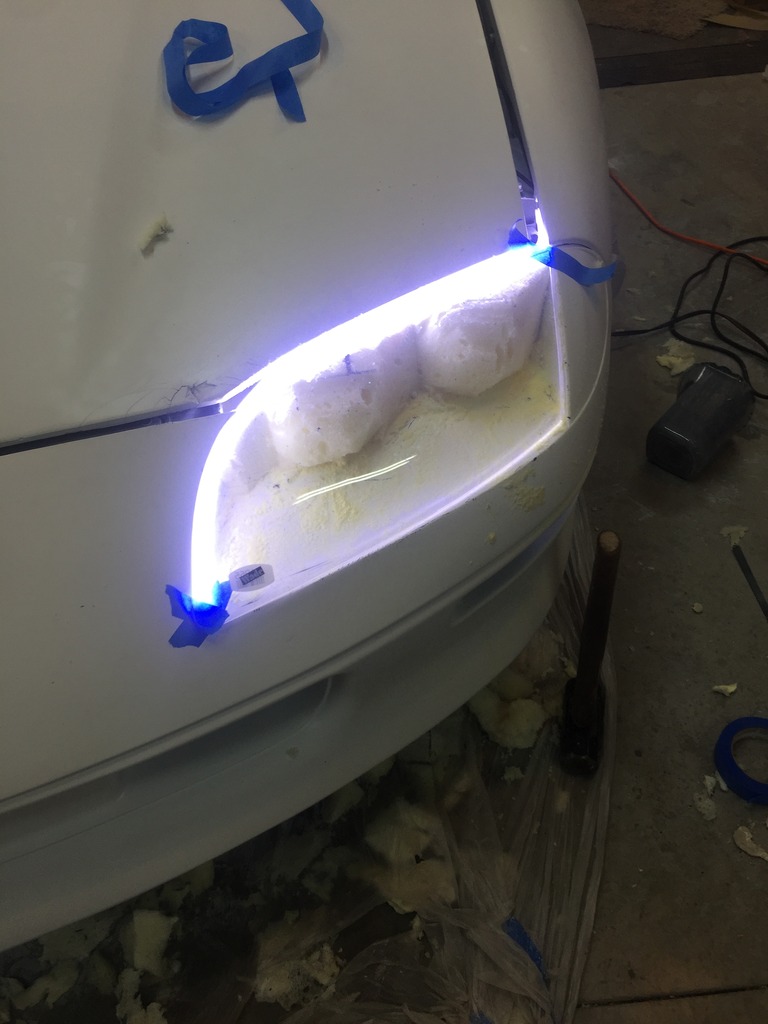
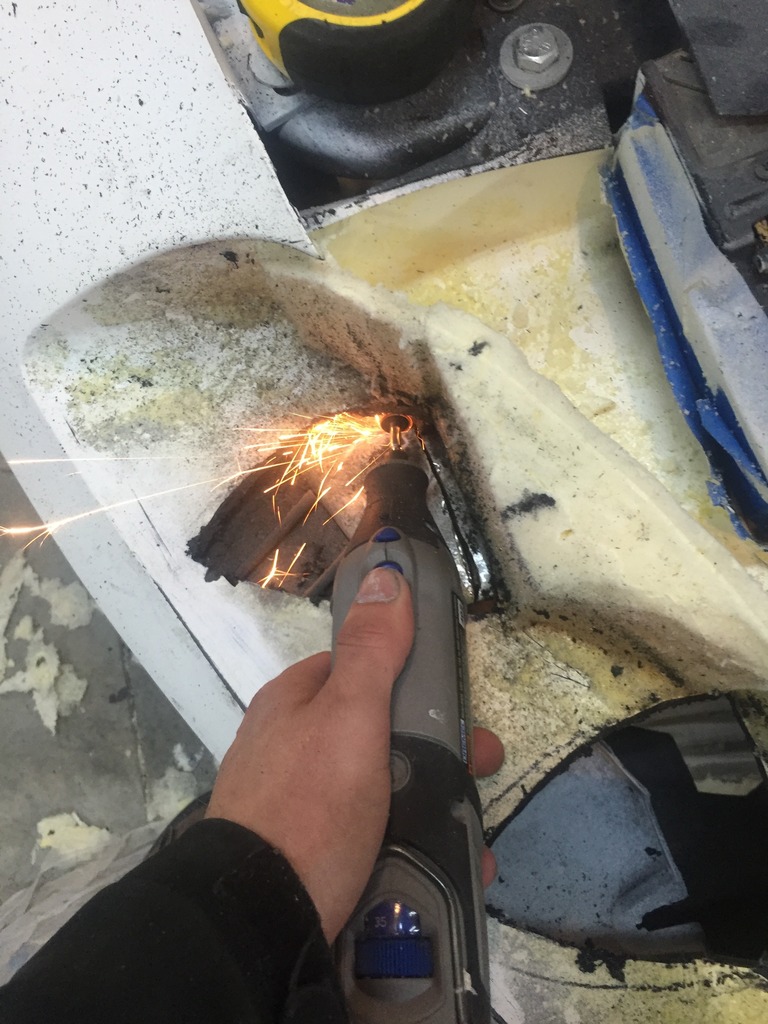
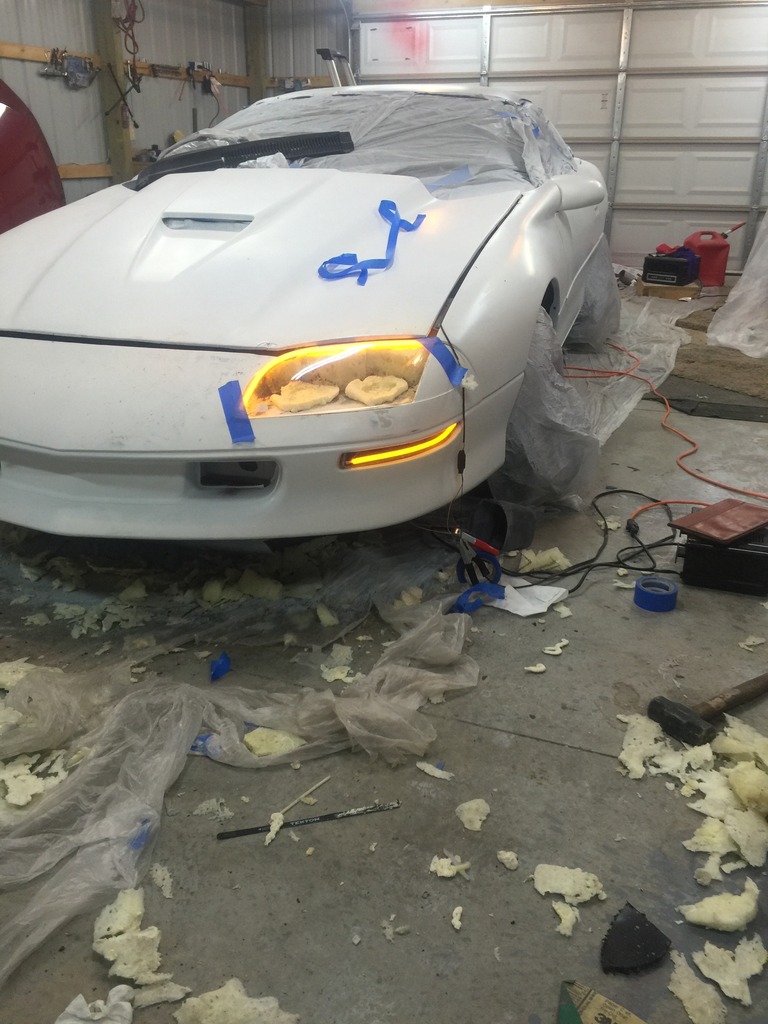
Sneak peak at my headlights so far. I'm building them using the fiberglass over foam technique. Using the design from the murcielago as inspiration. Just waiting on my projector lenses, shrouds, and misc LEDs to show up before I can finish it.
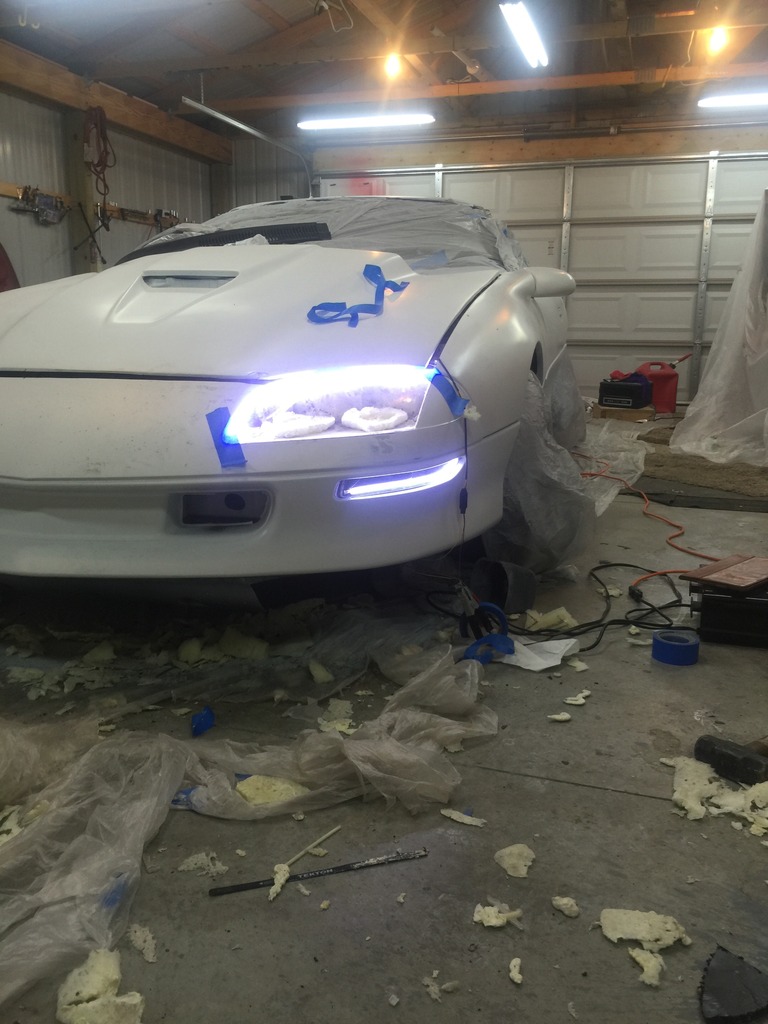


Thats about all their is to it for the paint job. Turned out really nice so far. Might throw the body kit back on after I do a brake swap and use the scoops in the front lip and side skirts to air cool the rotors down.
Sneak peak at my headlights so far. I'm building them using the fiberglass over foam technique. Using the design from the murcielago as inspiration. Just waiting on my projector lenses, shrouds, and misc LEDs to show up before I can finish it.


#147
10-31-2015, 06:04 AM
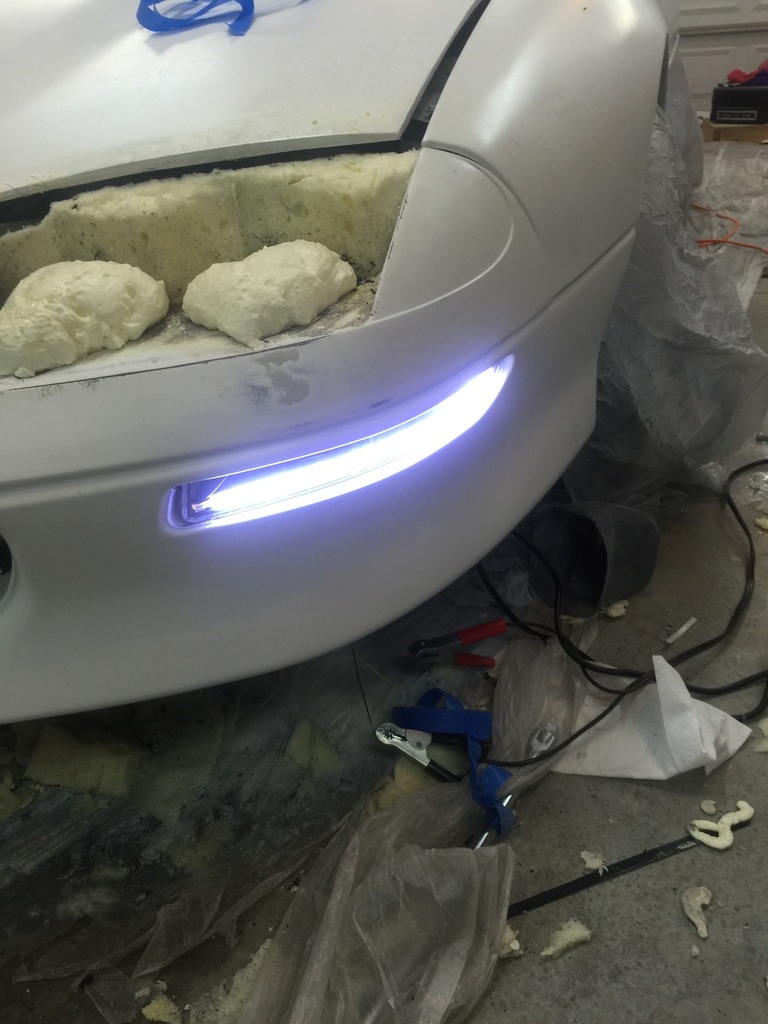
Bought a pair of those black front bumper turn signals off eBay then opened them up with a heat gun, that's how I did those side markers
#149
10-31-2015, 05:51 PM
ellswortha101 you had lt1 pacesetters installed right? I was wondering what you used to plug the extra holes (other than the o2 sensor ones) I think they are supposed to be for the egr valve or something like that.
#150
10-31-2015, 11:10 PM
Yes i did, they didn't come with any bung holes besides the ones for the 02 sensors. For those, I just used 02 sensor bungs. lol