Test-N-Tune, X half a dozen!


#42
 02-28-2016, 12:39 PM
looking good ,good help is hard to find ,when I was younger I would have had guys jumping at the chance to help do something ,now you cant pay them
#43
03-02-2016, 09:04 PM
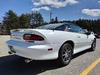
Got this thing back and it was an oily sandy mess inside. So I spent considerable time cleaning the inside. Now that it's clean it's ready to be reassembled.
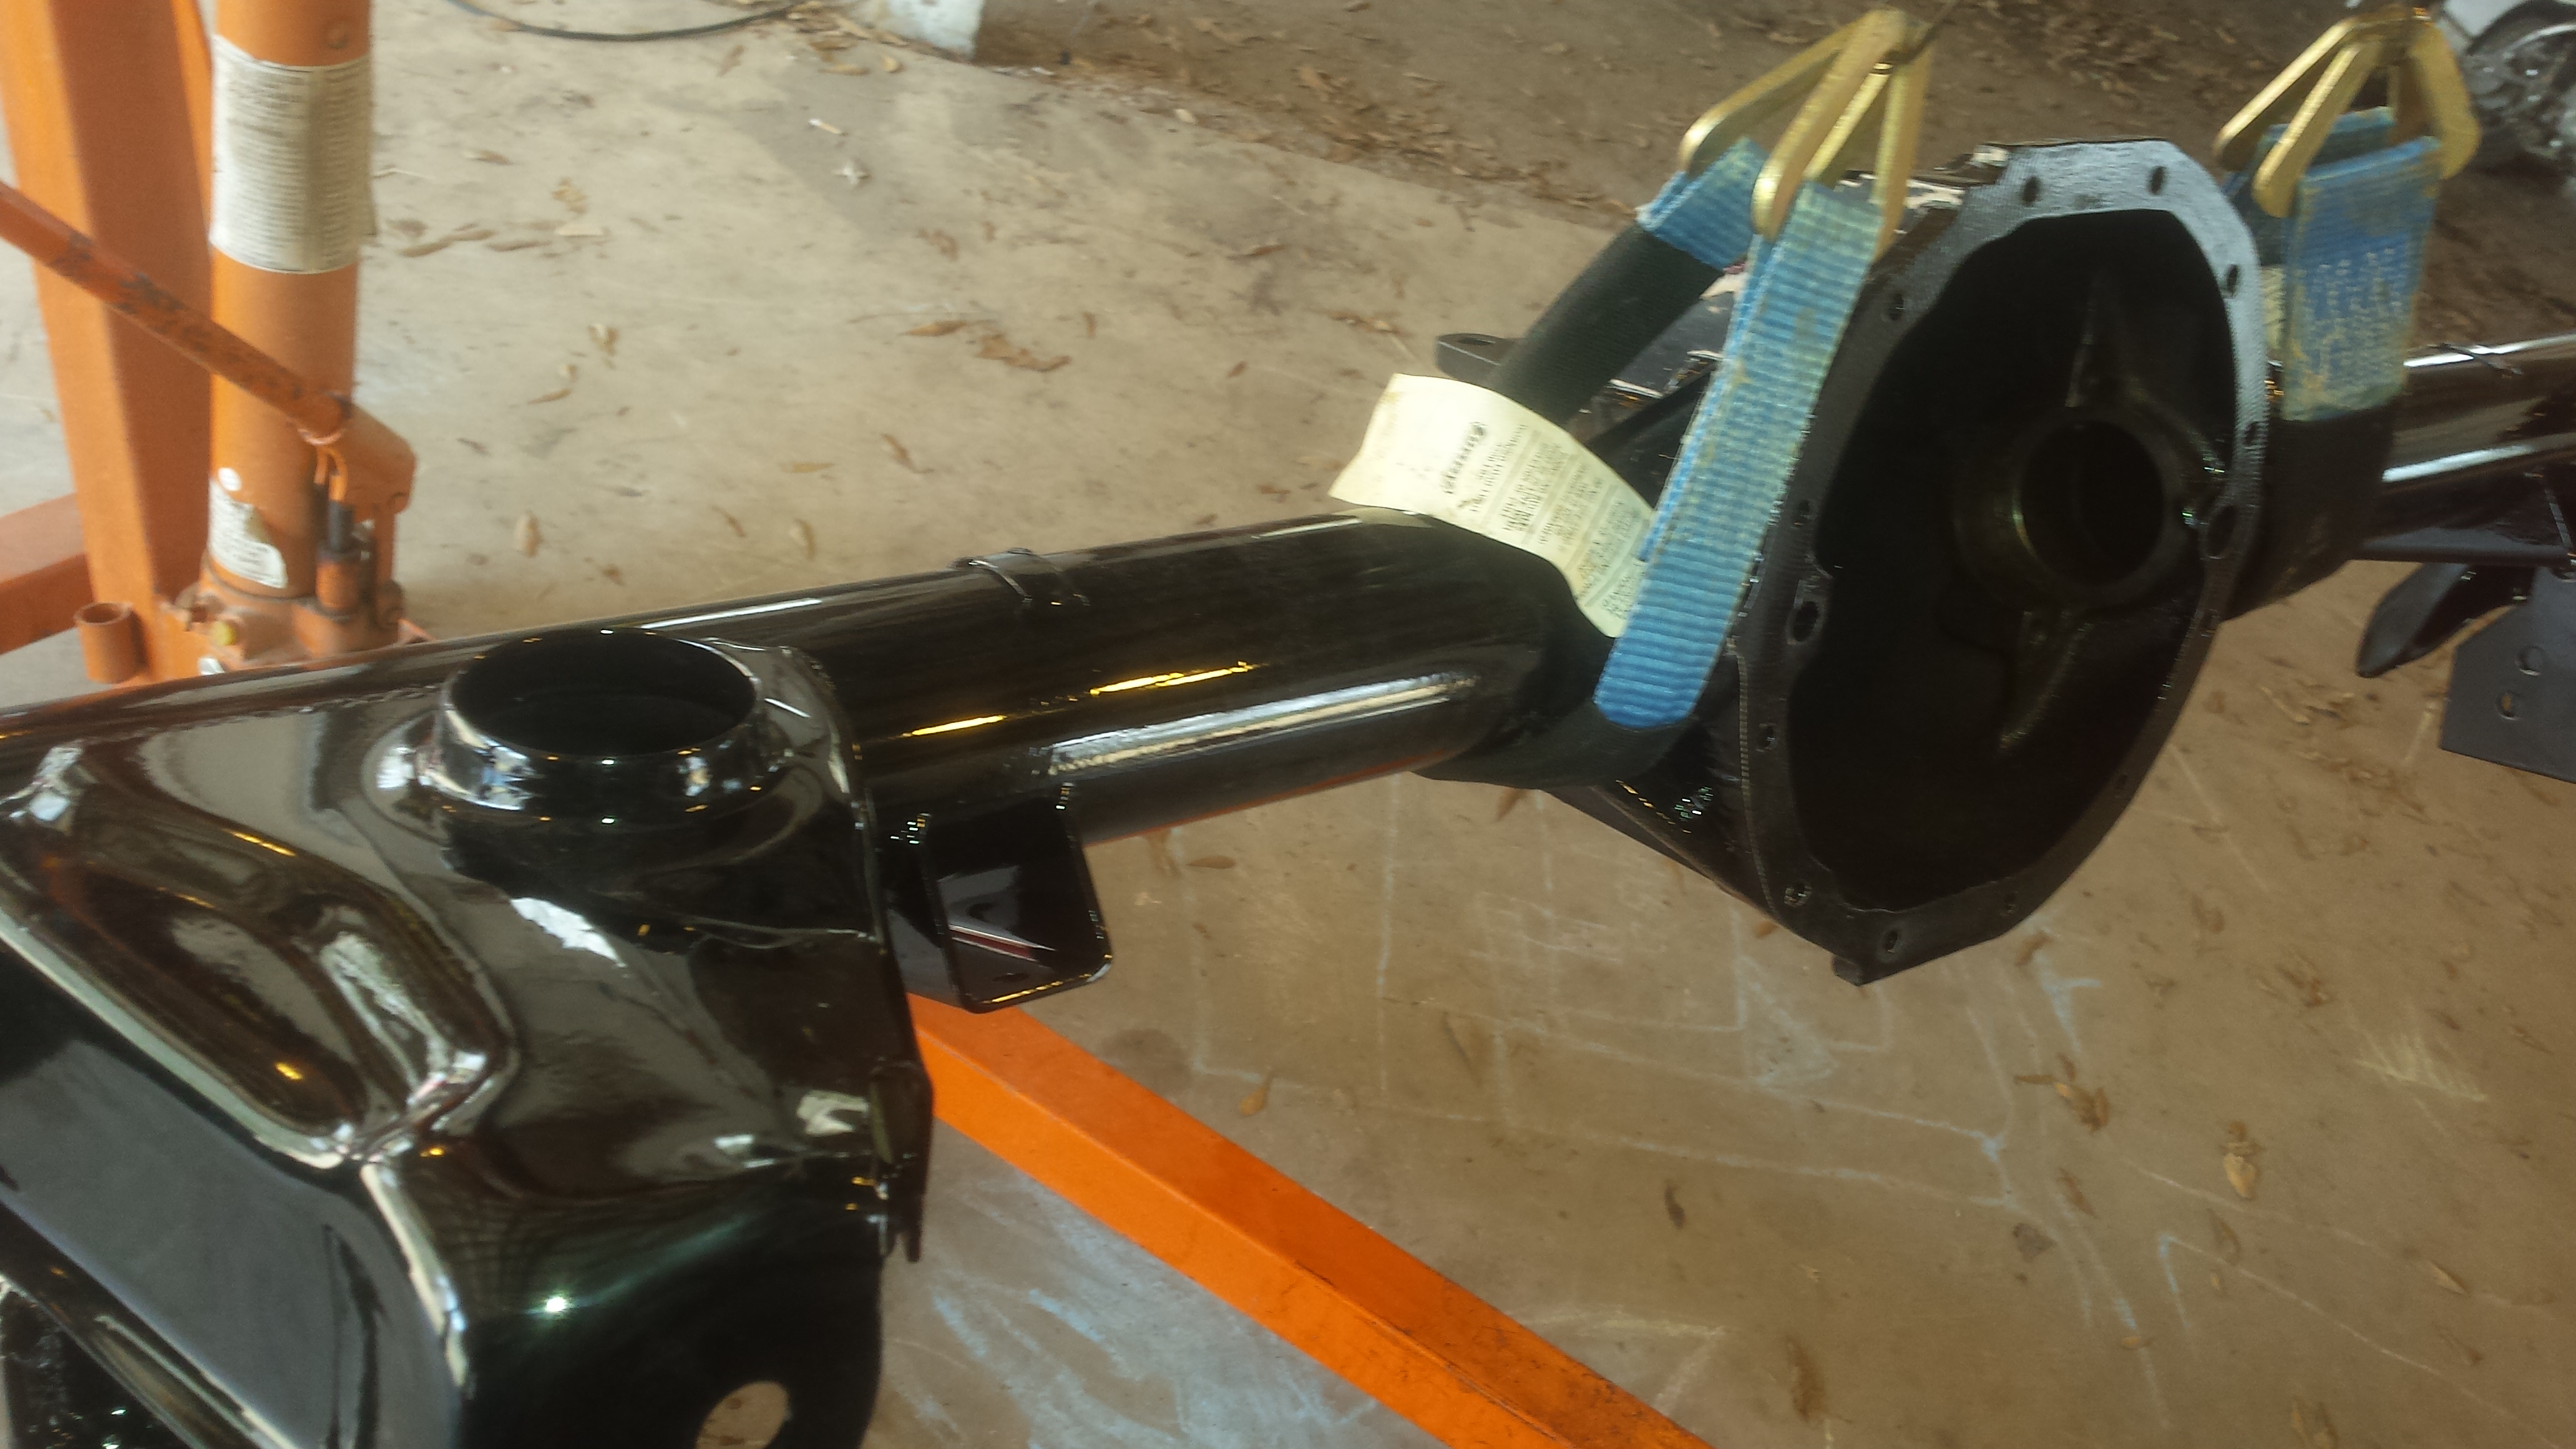
Stopped at home depot and got some angle iron and some all thread. After all the rear ends ive built I'm finally building myself a case spreader.

The case has one 3/4 and one 1/2 hole for the case spreader to attach to, so I found some scraps that fit those dimensions. I did have to revise this design as it was blocking the bearing caps from going in. No big deal, we are learning.
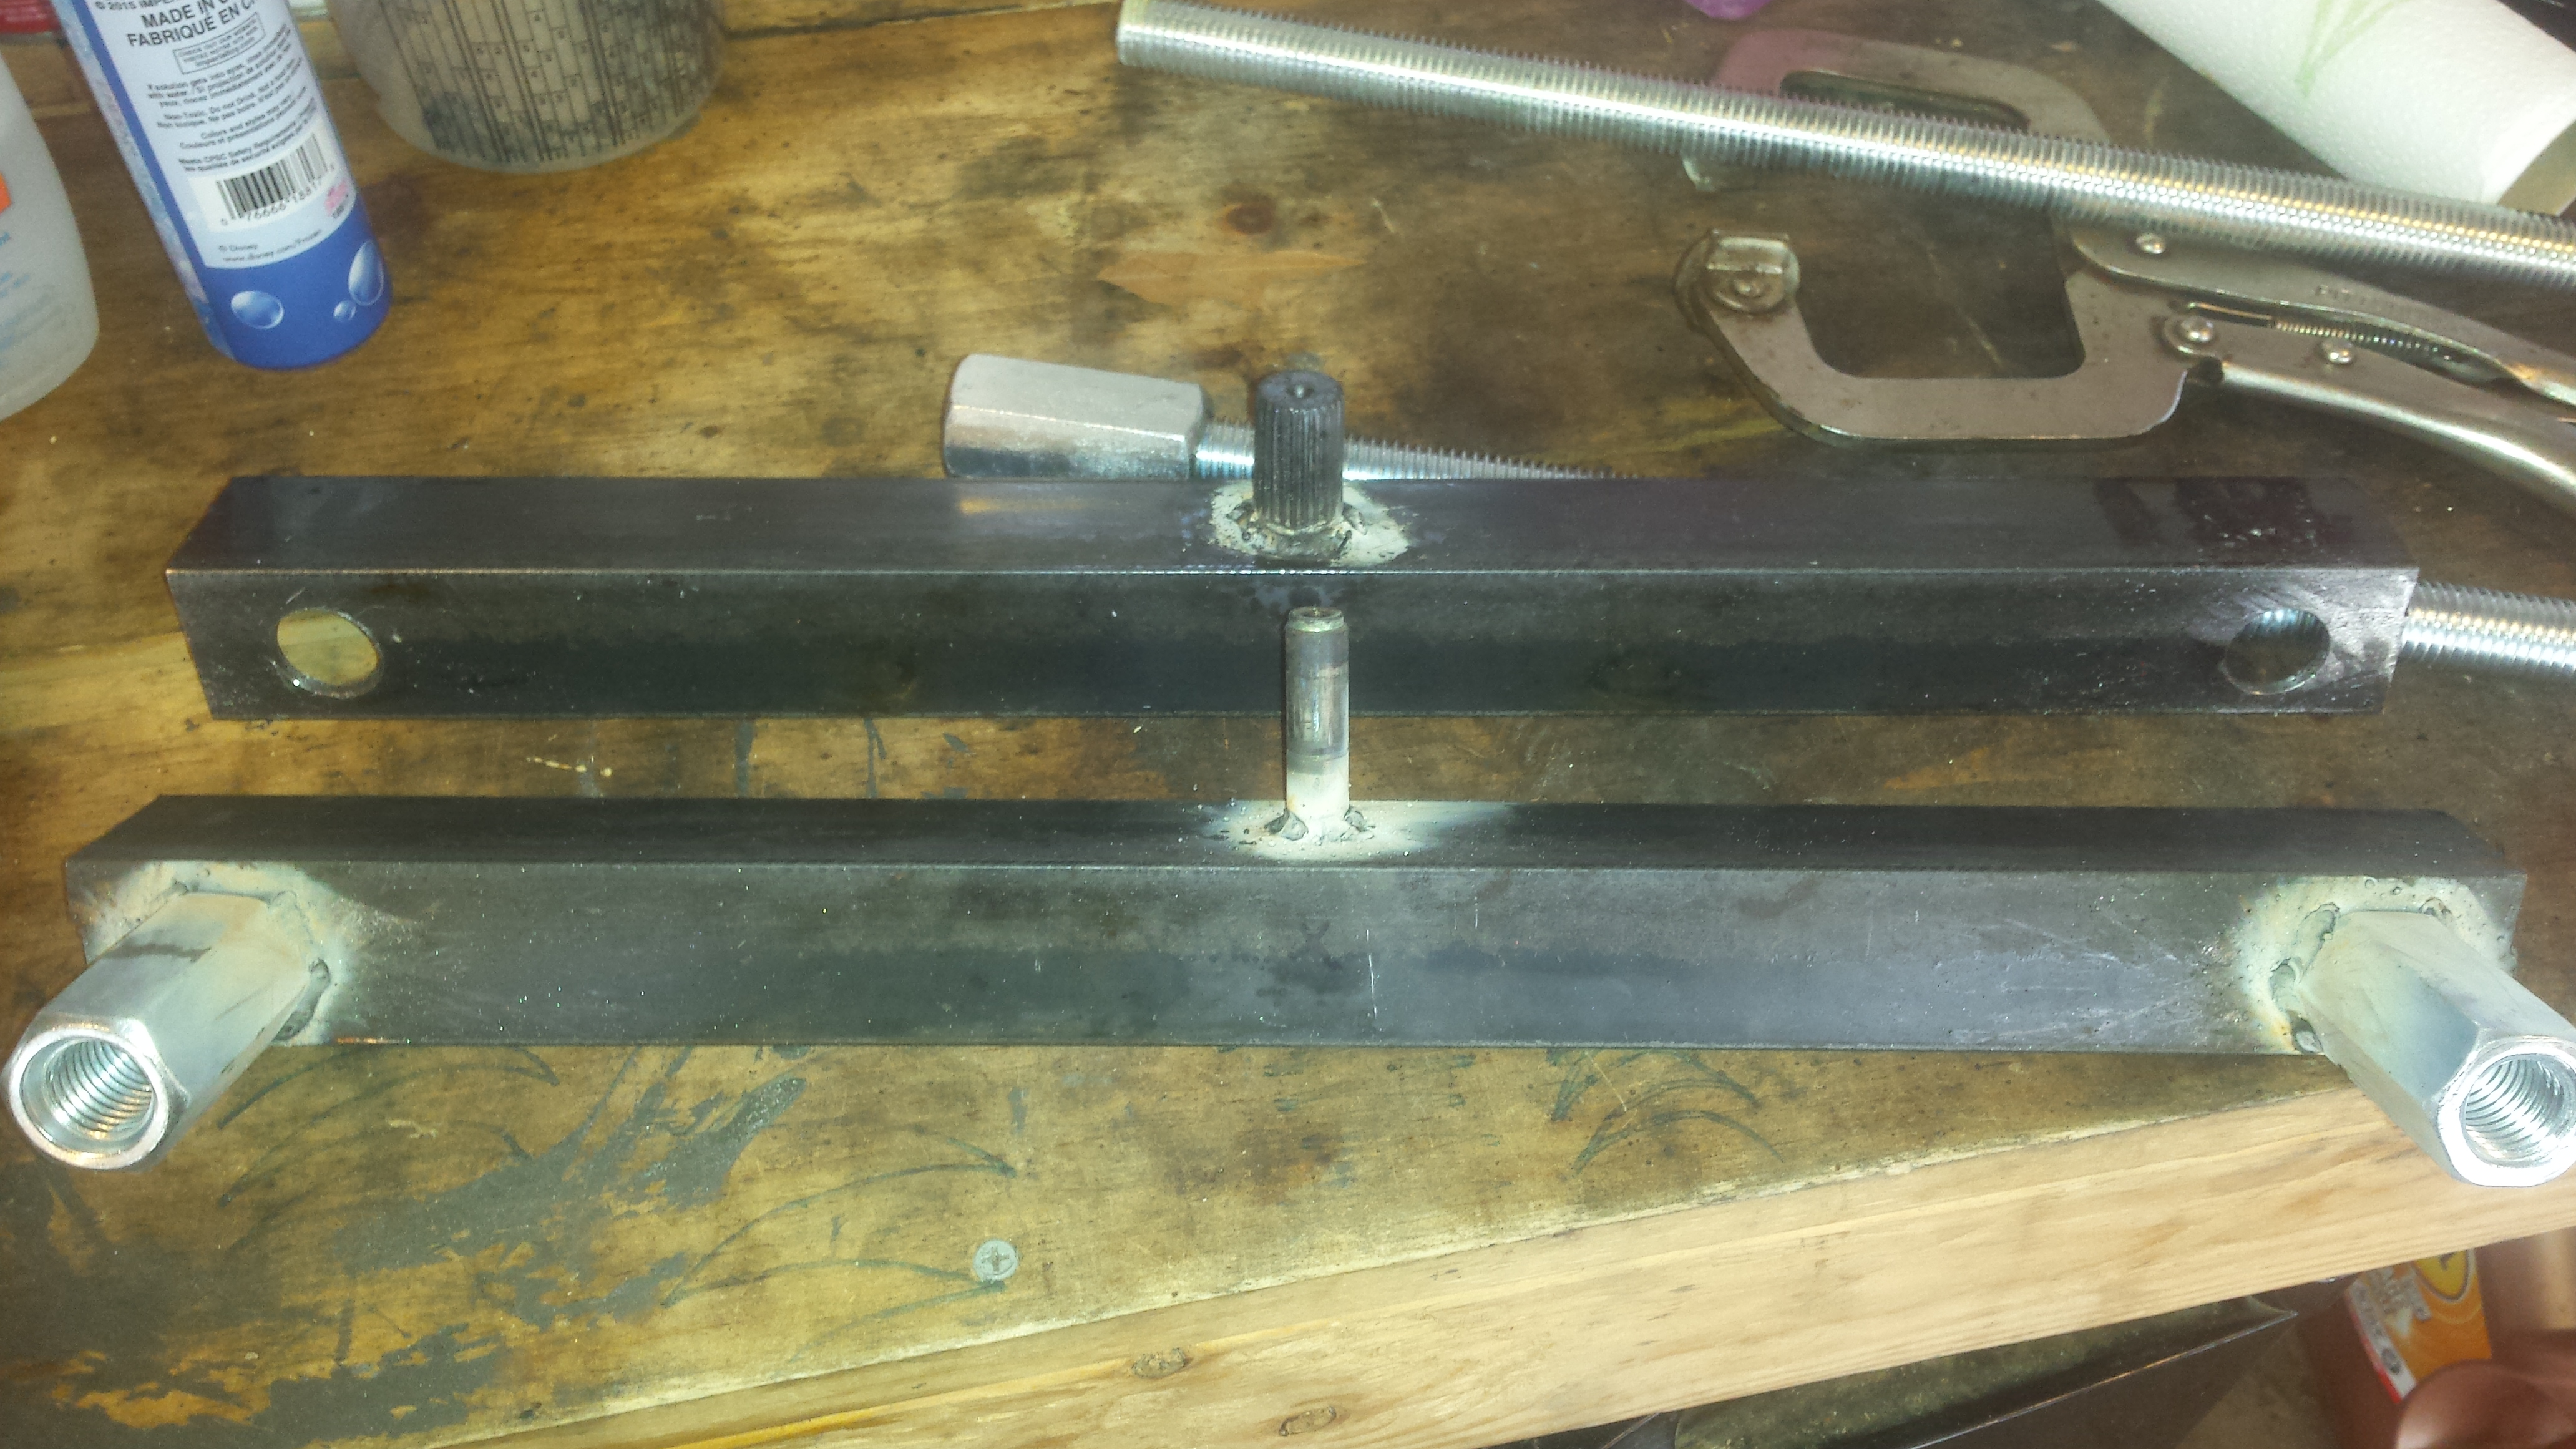
Here it is set in place. You turn the buckles and the case spreads. Easy as pie.
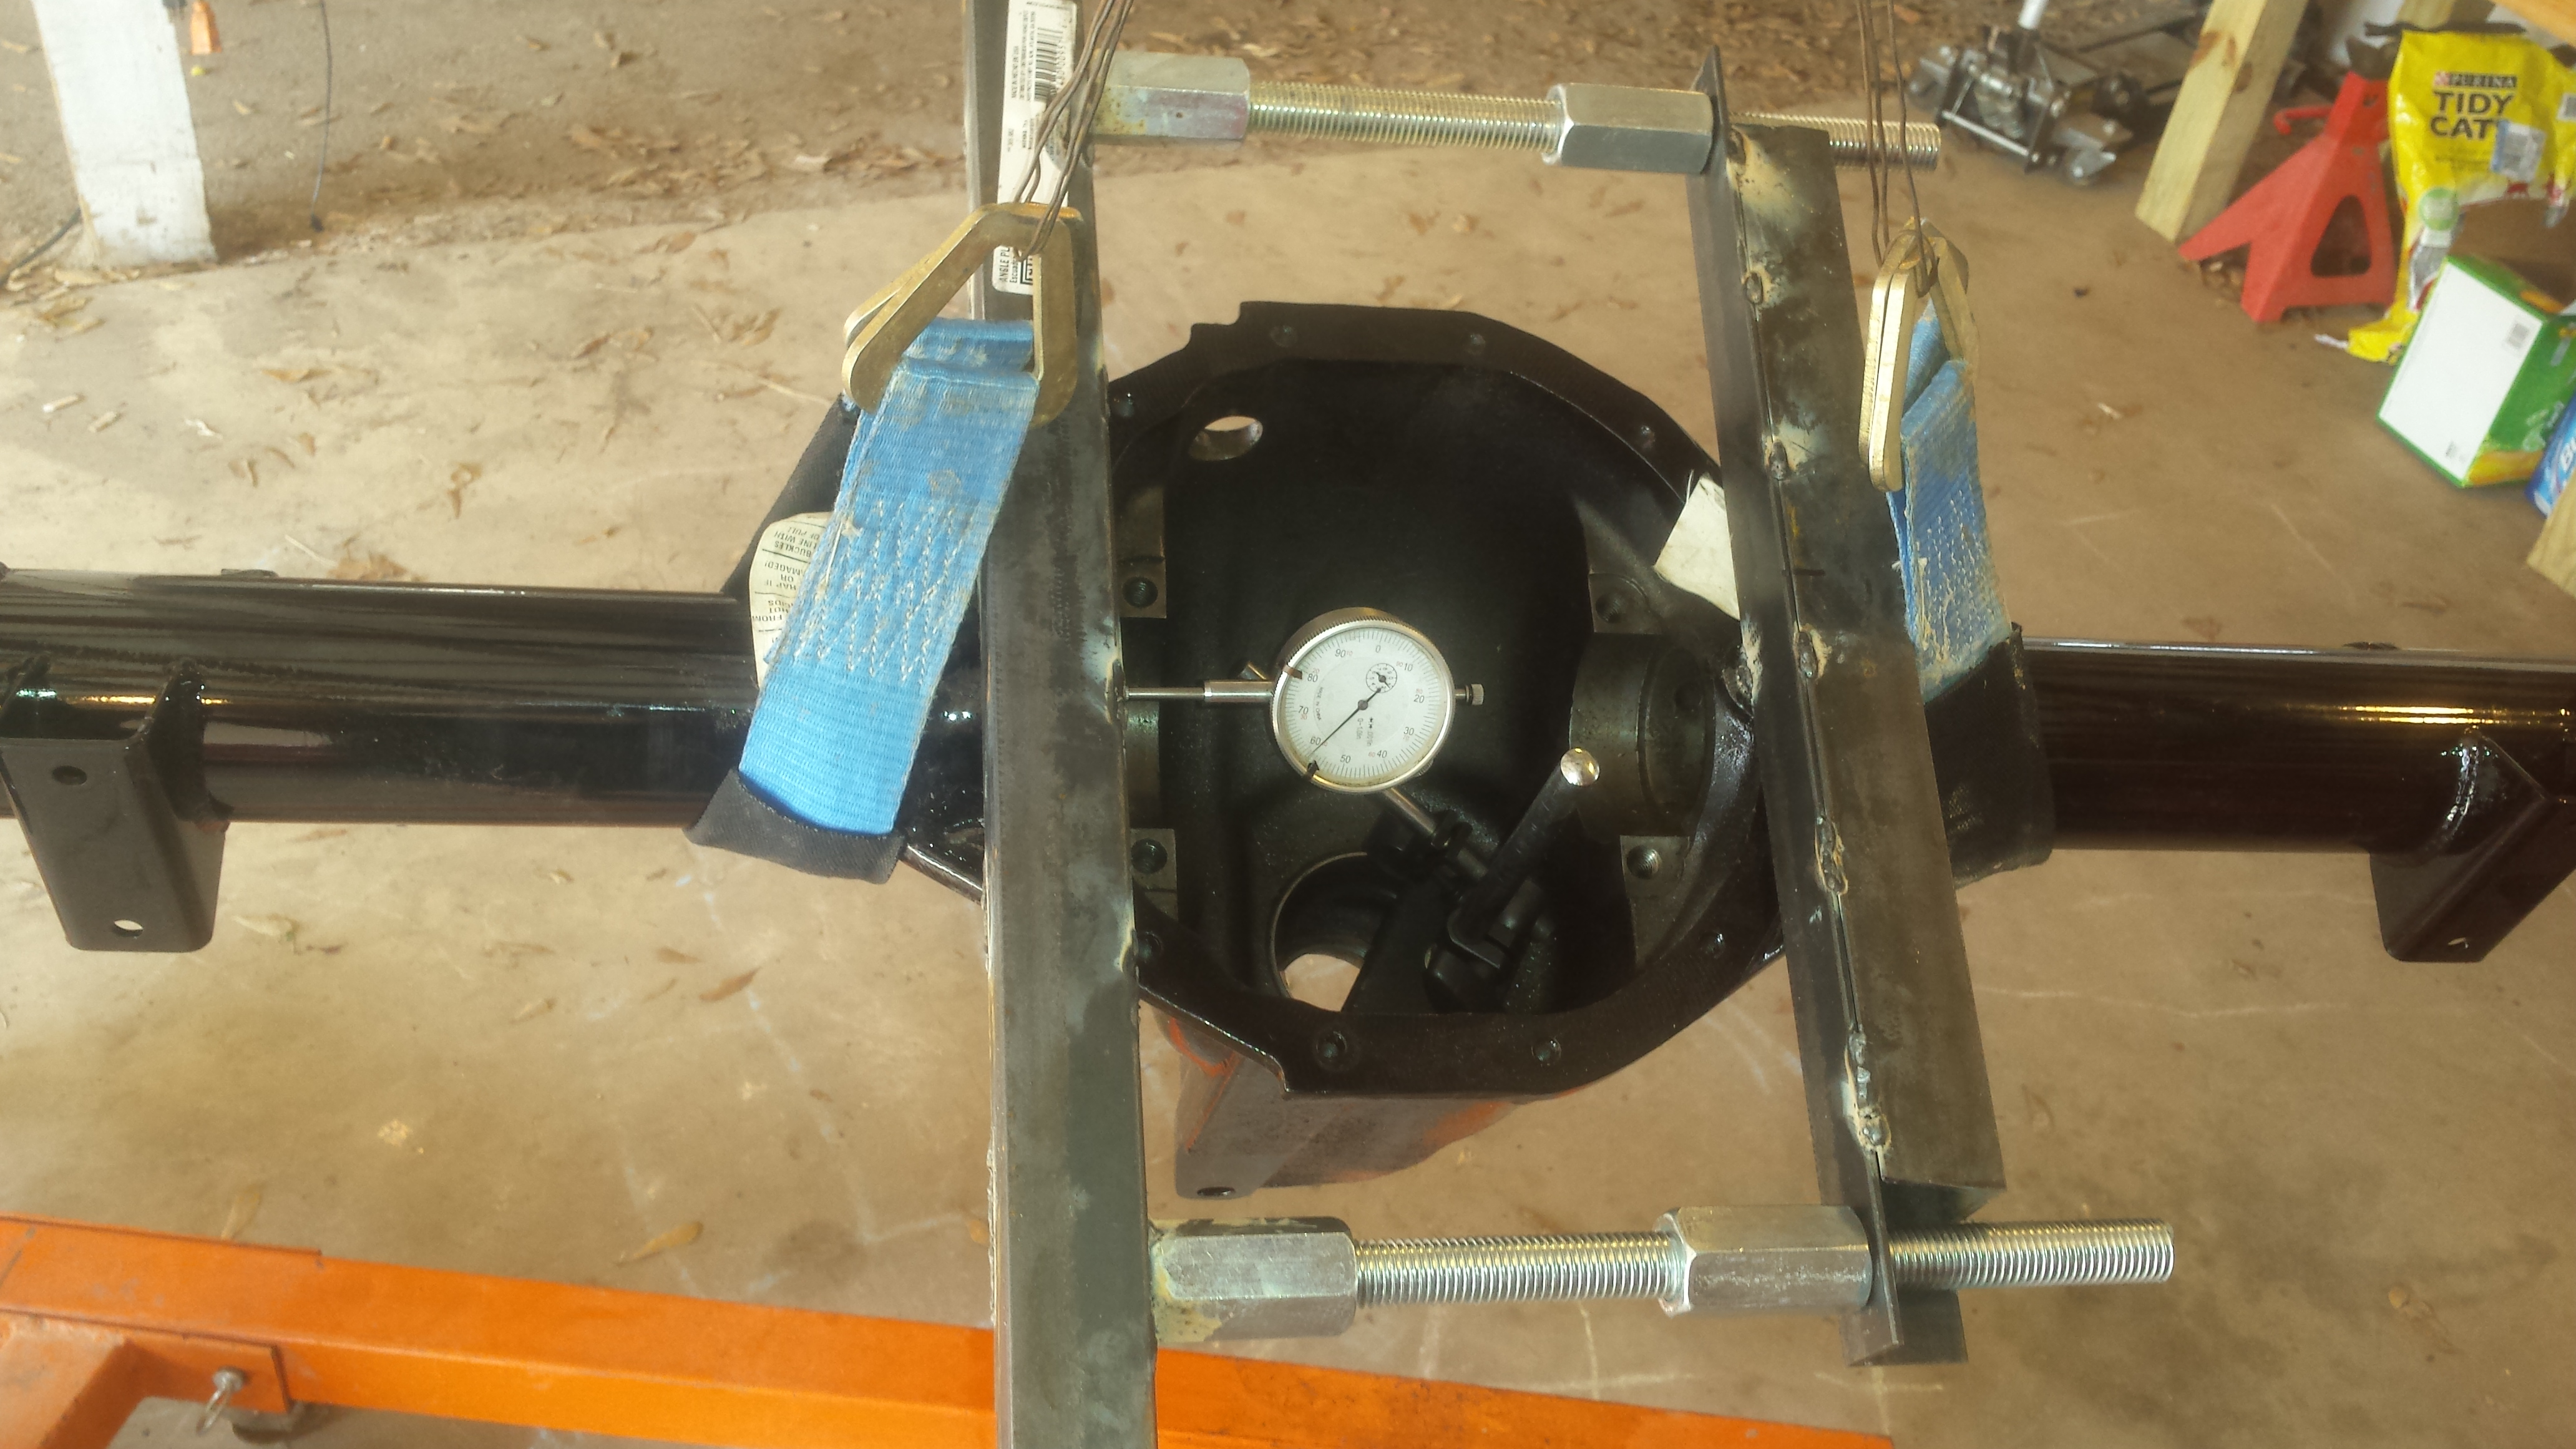
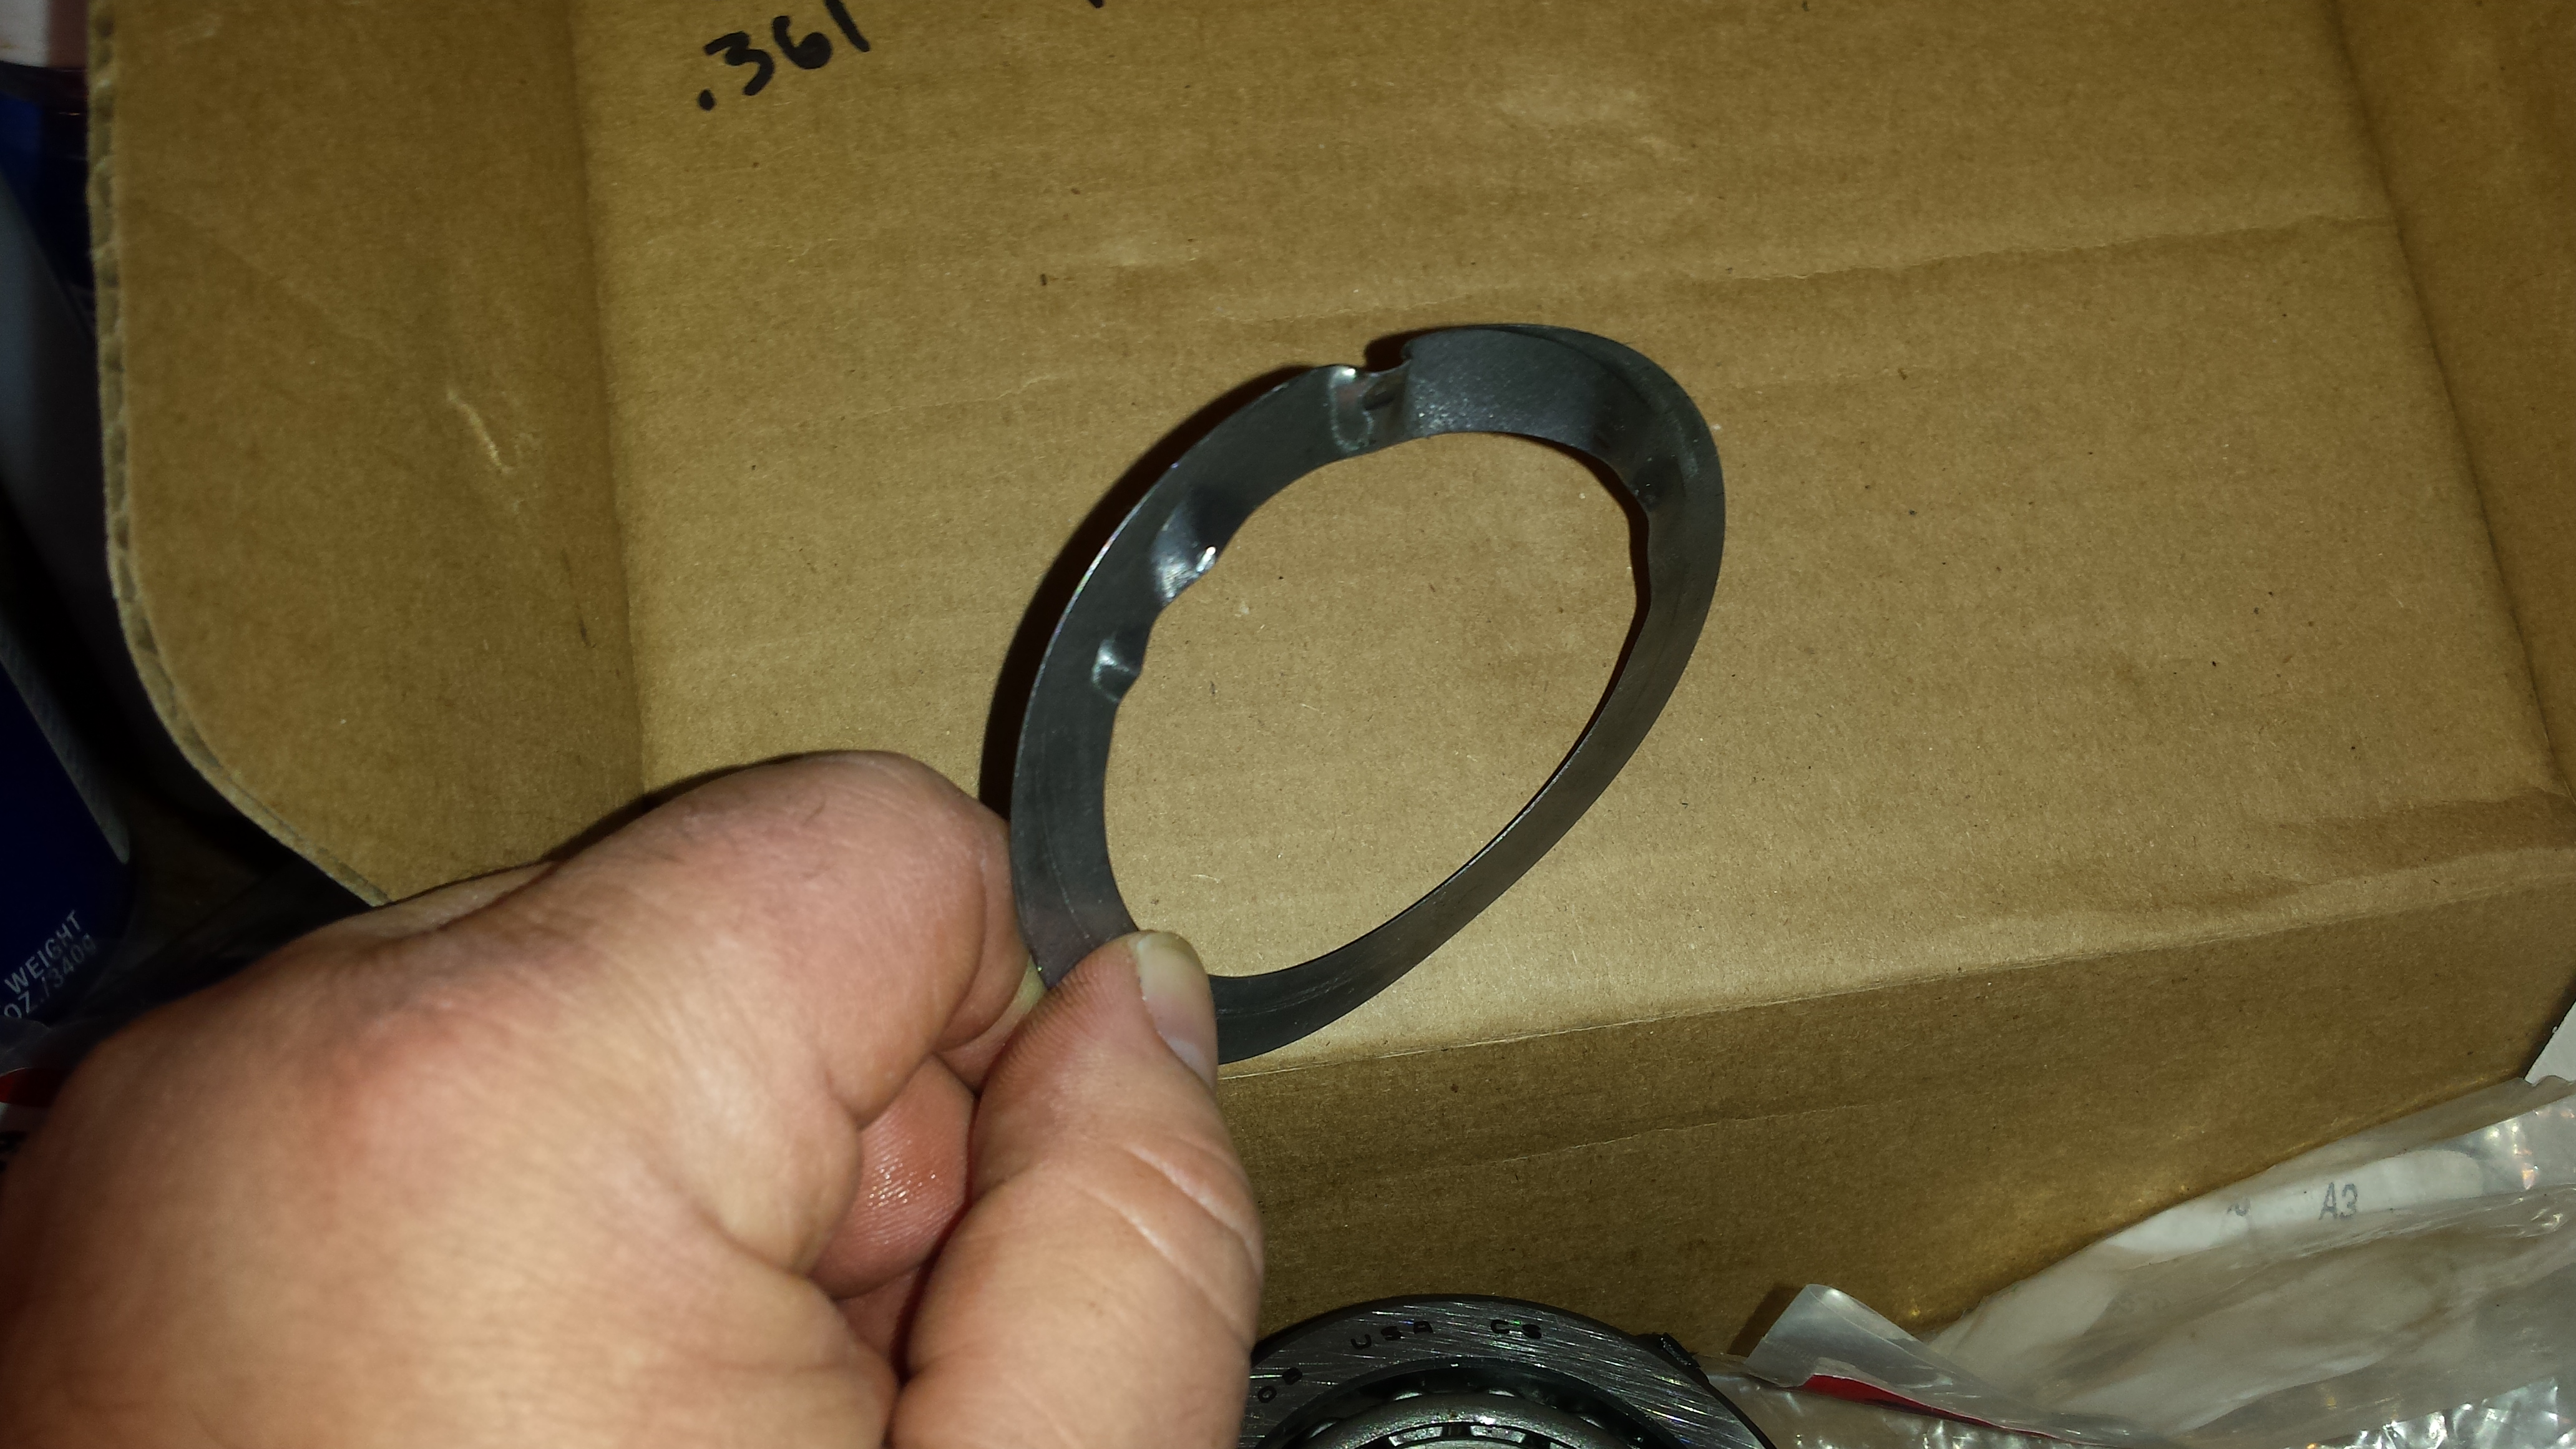
And this is why you need a case spreader. I pulled this out during disassembly. No doubt it got bent during final carrier preloading last time when I swapped the spool in.
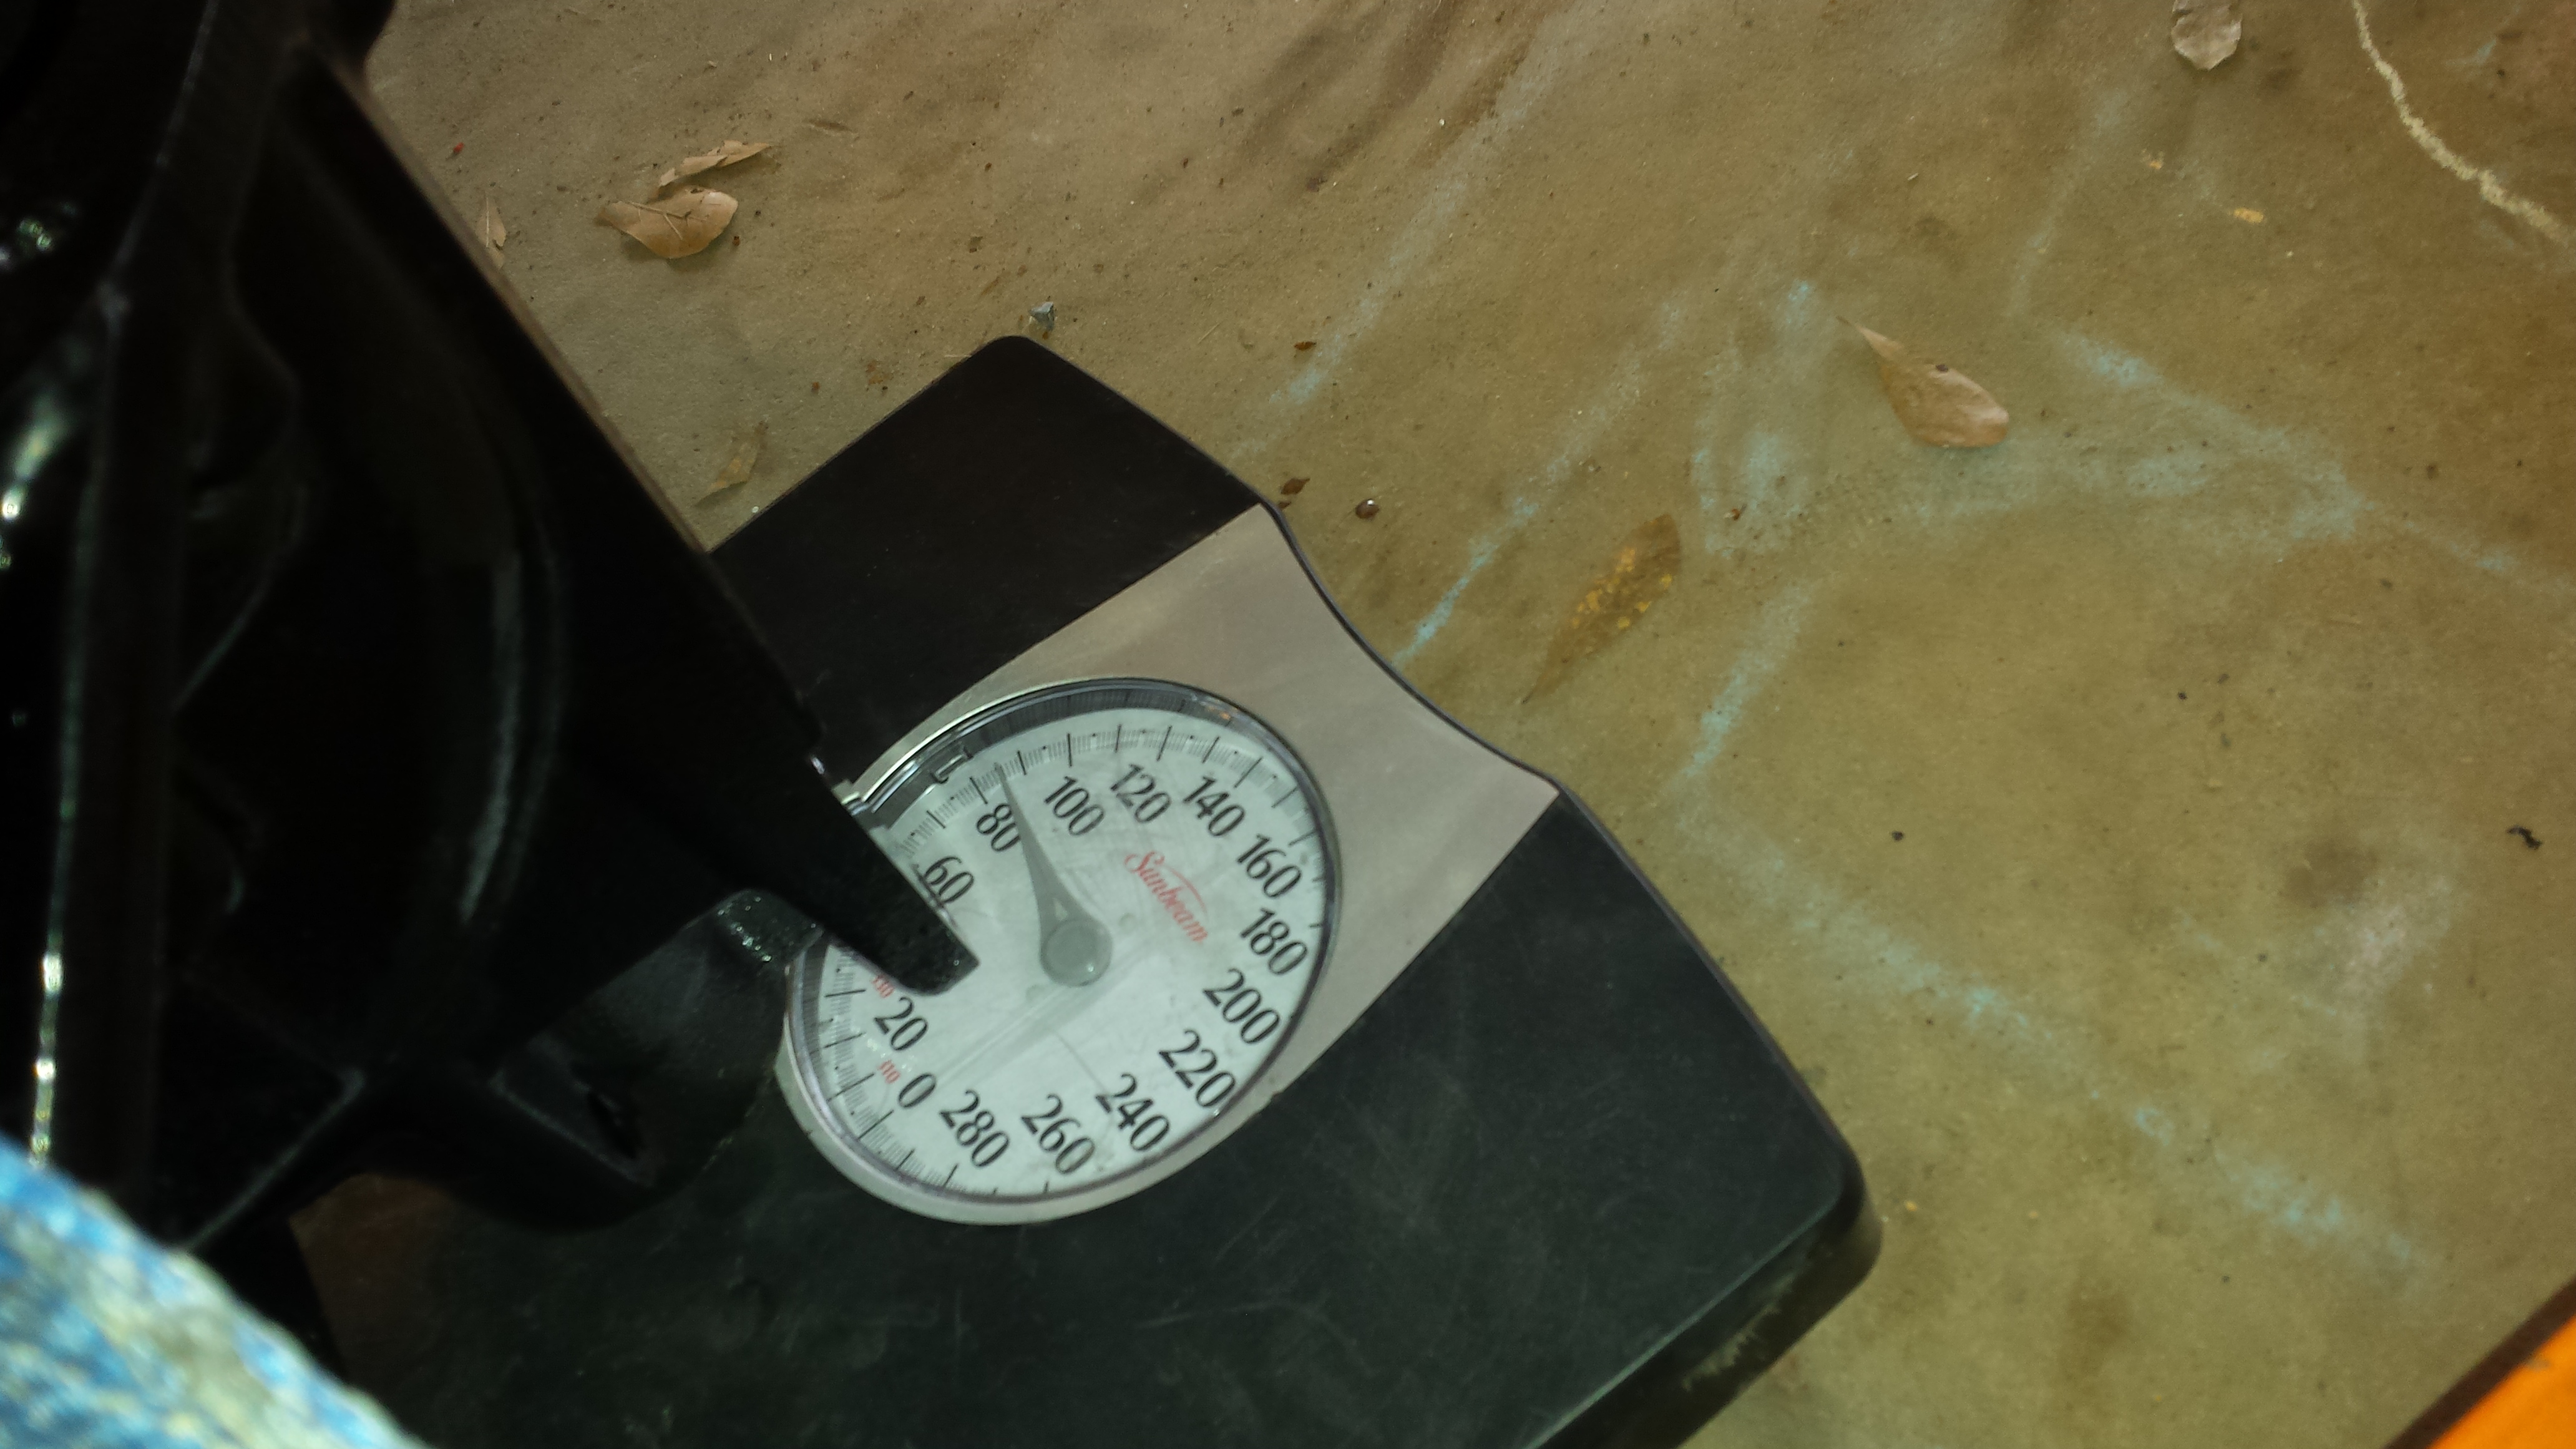
May not have this out again for a while so I decided to take some weights. This is the empty housing weight.
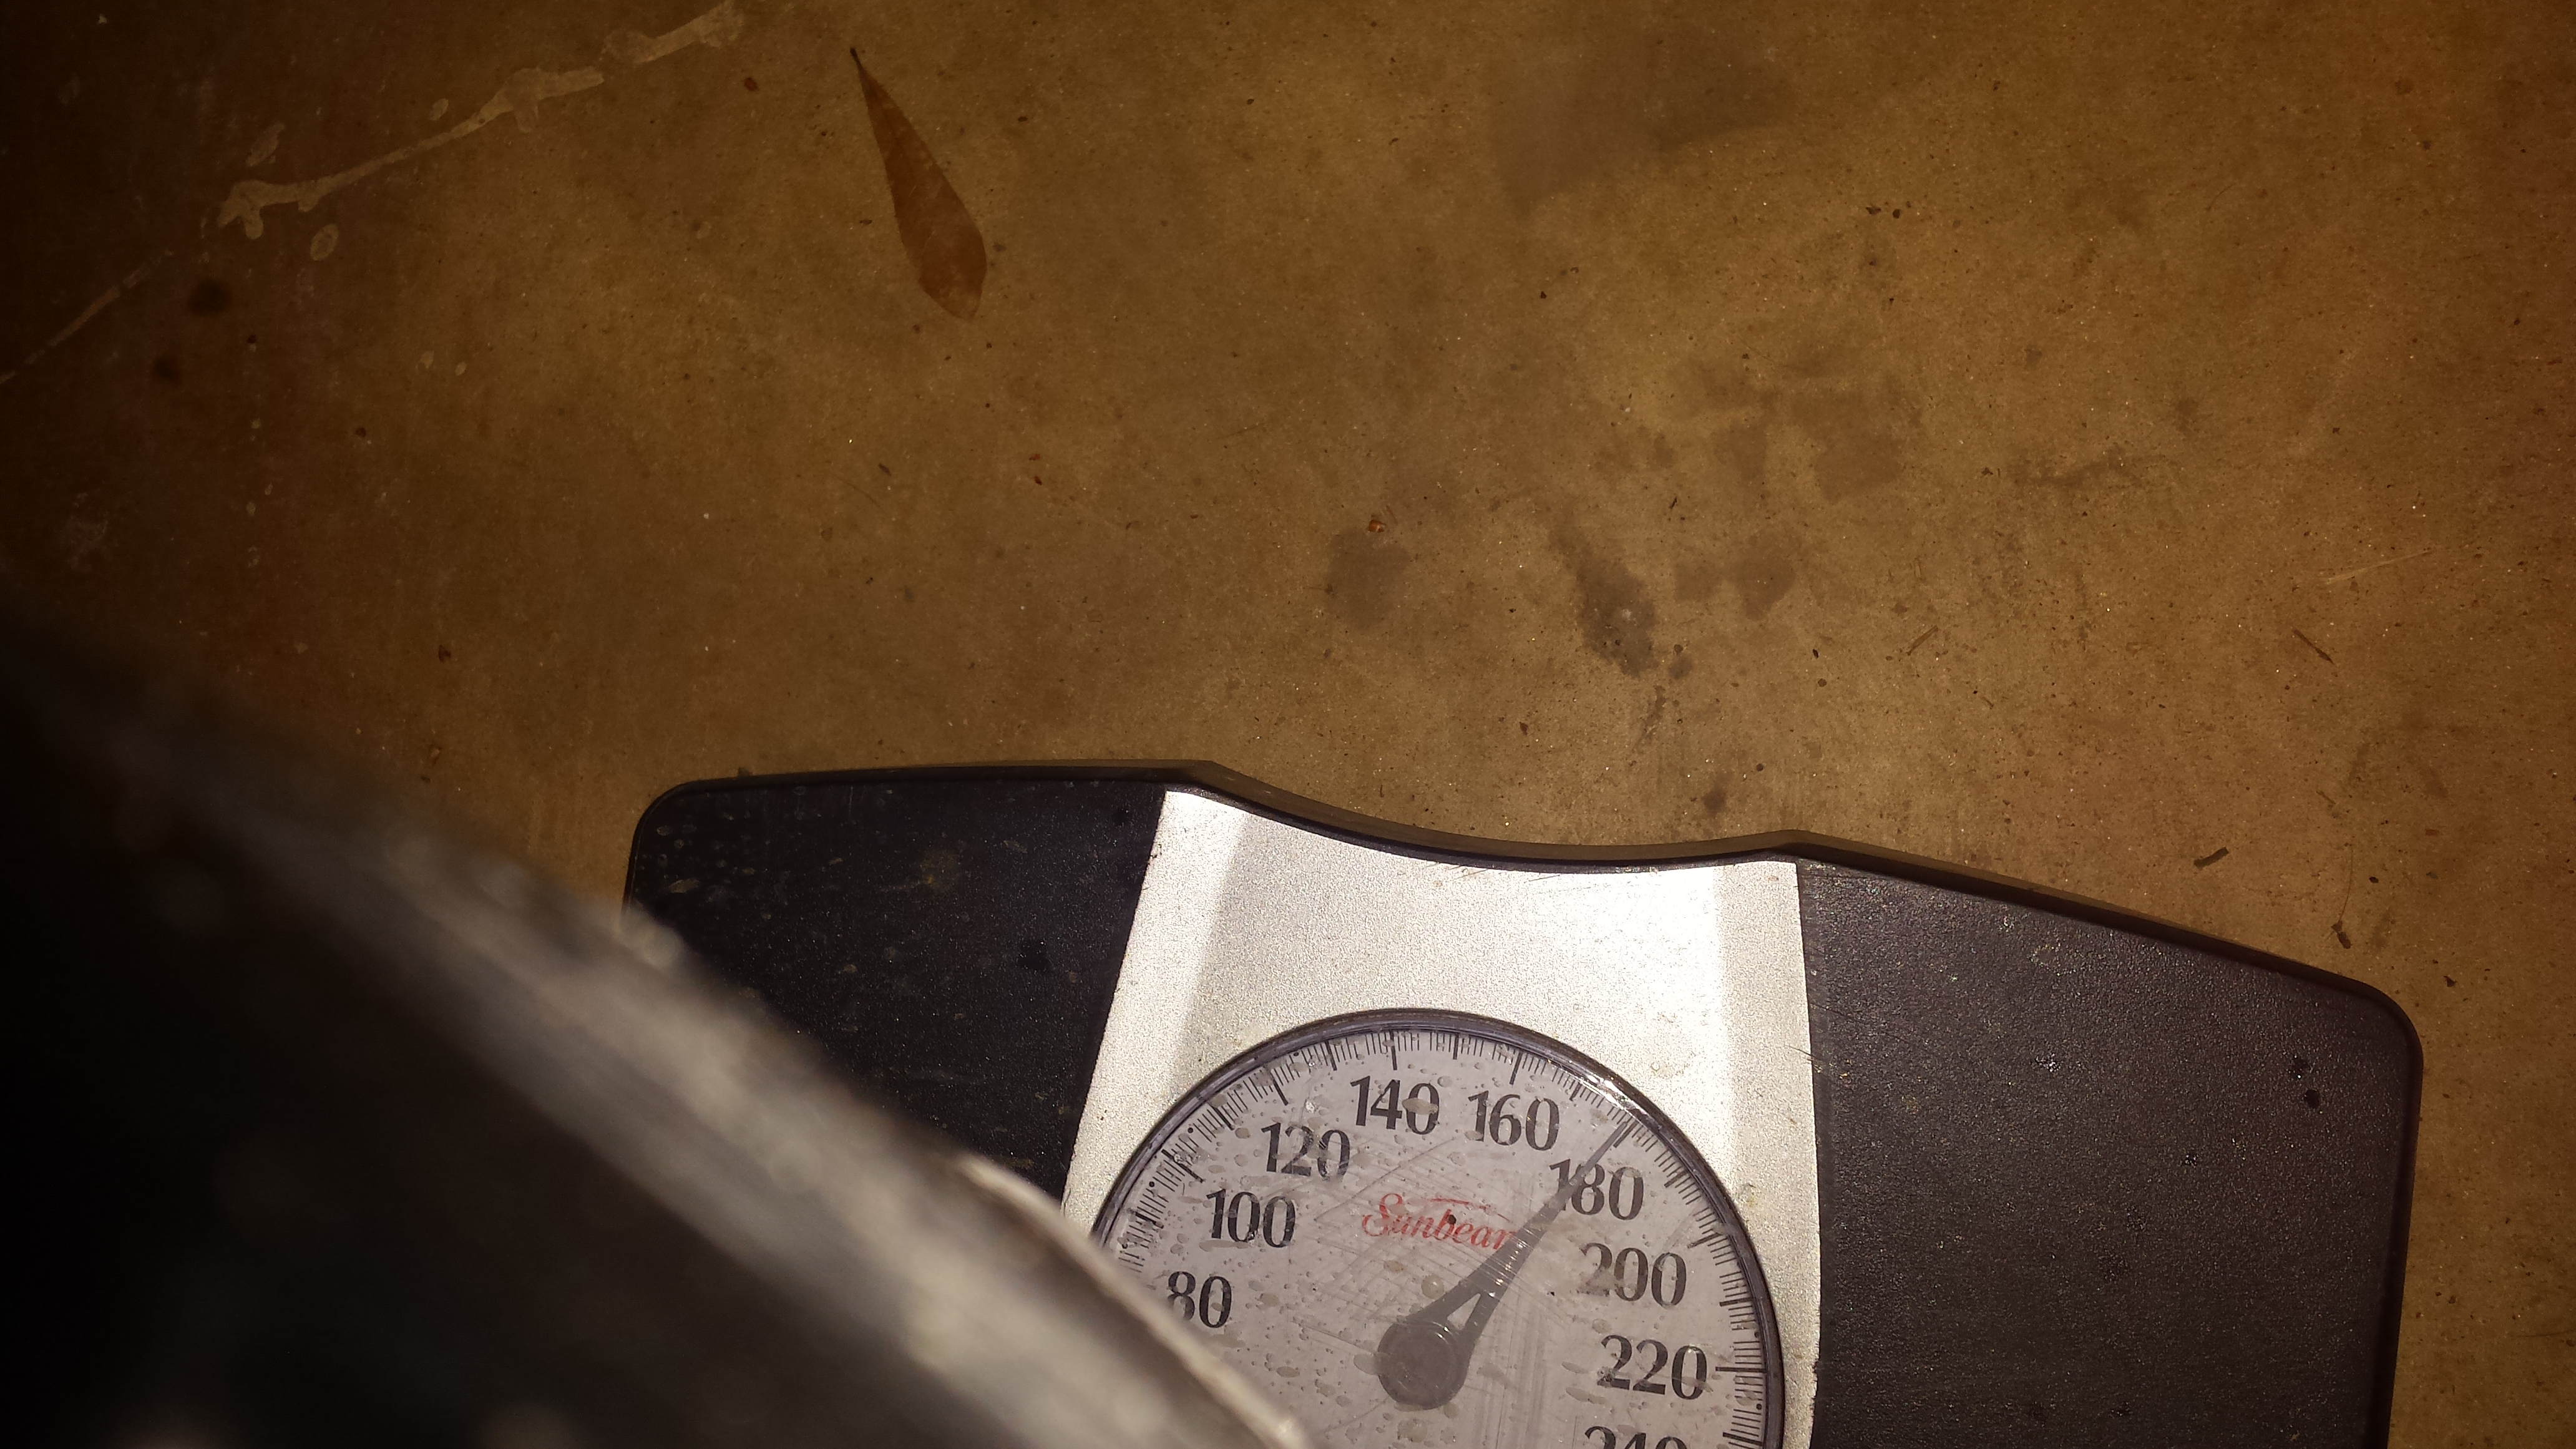
This is fully dressed weight. It has a spool, no brakes, aluminum rear cover.
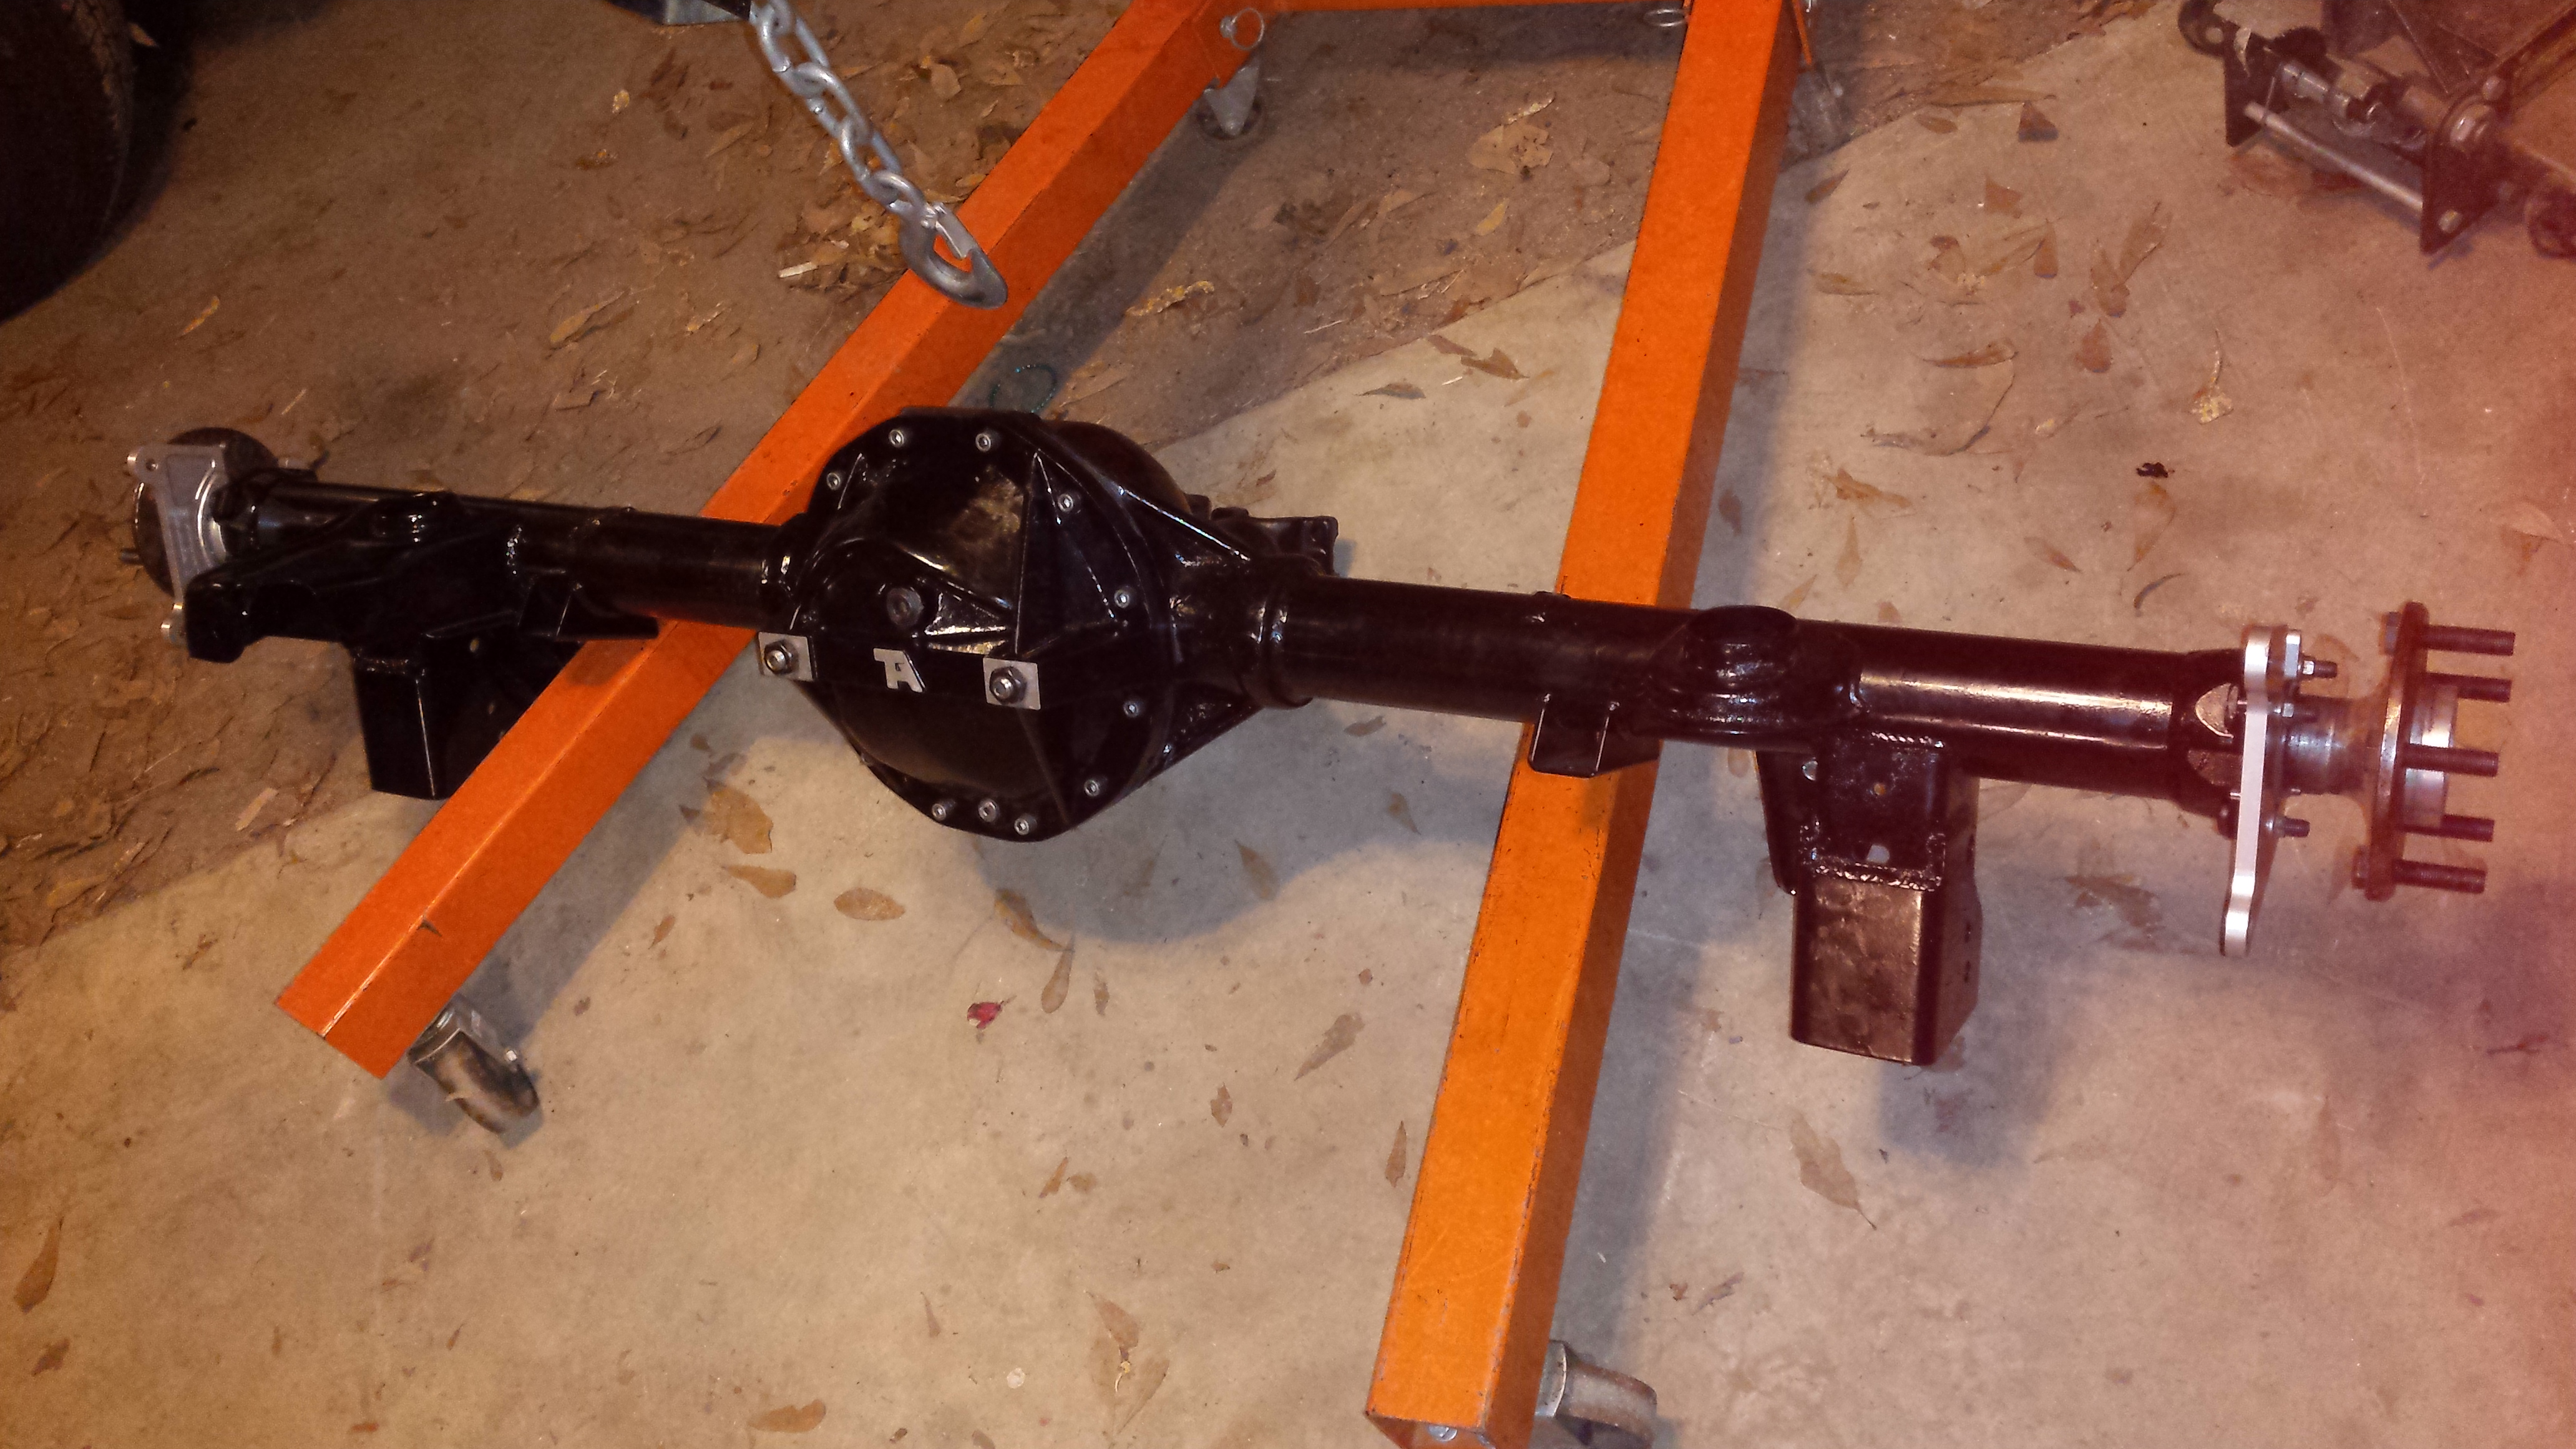
I was an idiot to not powder coat this thing sooner. It looks very pimp now. Will reinstall this weekend. Stay tuned.

Stopped at home depot and got some angle iron and some all thread. After all the rear ends ive built I'm finally building myself a case spreader.

The case has one 3/4 and one 1/2 hole for the case spreader to attach to, so I found some scraps that fit those dimensions. I did have to revise this design as it was blocking the bearing caps from going in. No big deal, we are learning.

Here it is set in place. You turn the buckles and the case spreads. Easy as pie.

And this is why you need a case spreader. I pulled this out during disassembly. No doubt it got bent during final carrier preloading last time when I swapped the spool in.

May not have this out again for a while so I decided to take some weights. This is the empty housing weight.

This is fully dressed weight. It has a spool, no brakes, aluminum rear cover.

I was an idiot to not powder coat this thing sooner. It looks very pimp now. Will reinstall this weekend. Stay tuned.

#44
03-20-2016, 08:35 PM
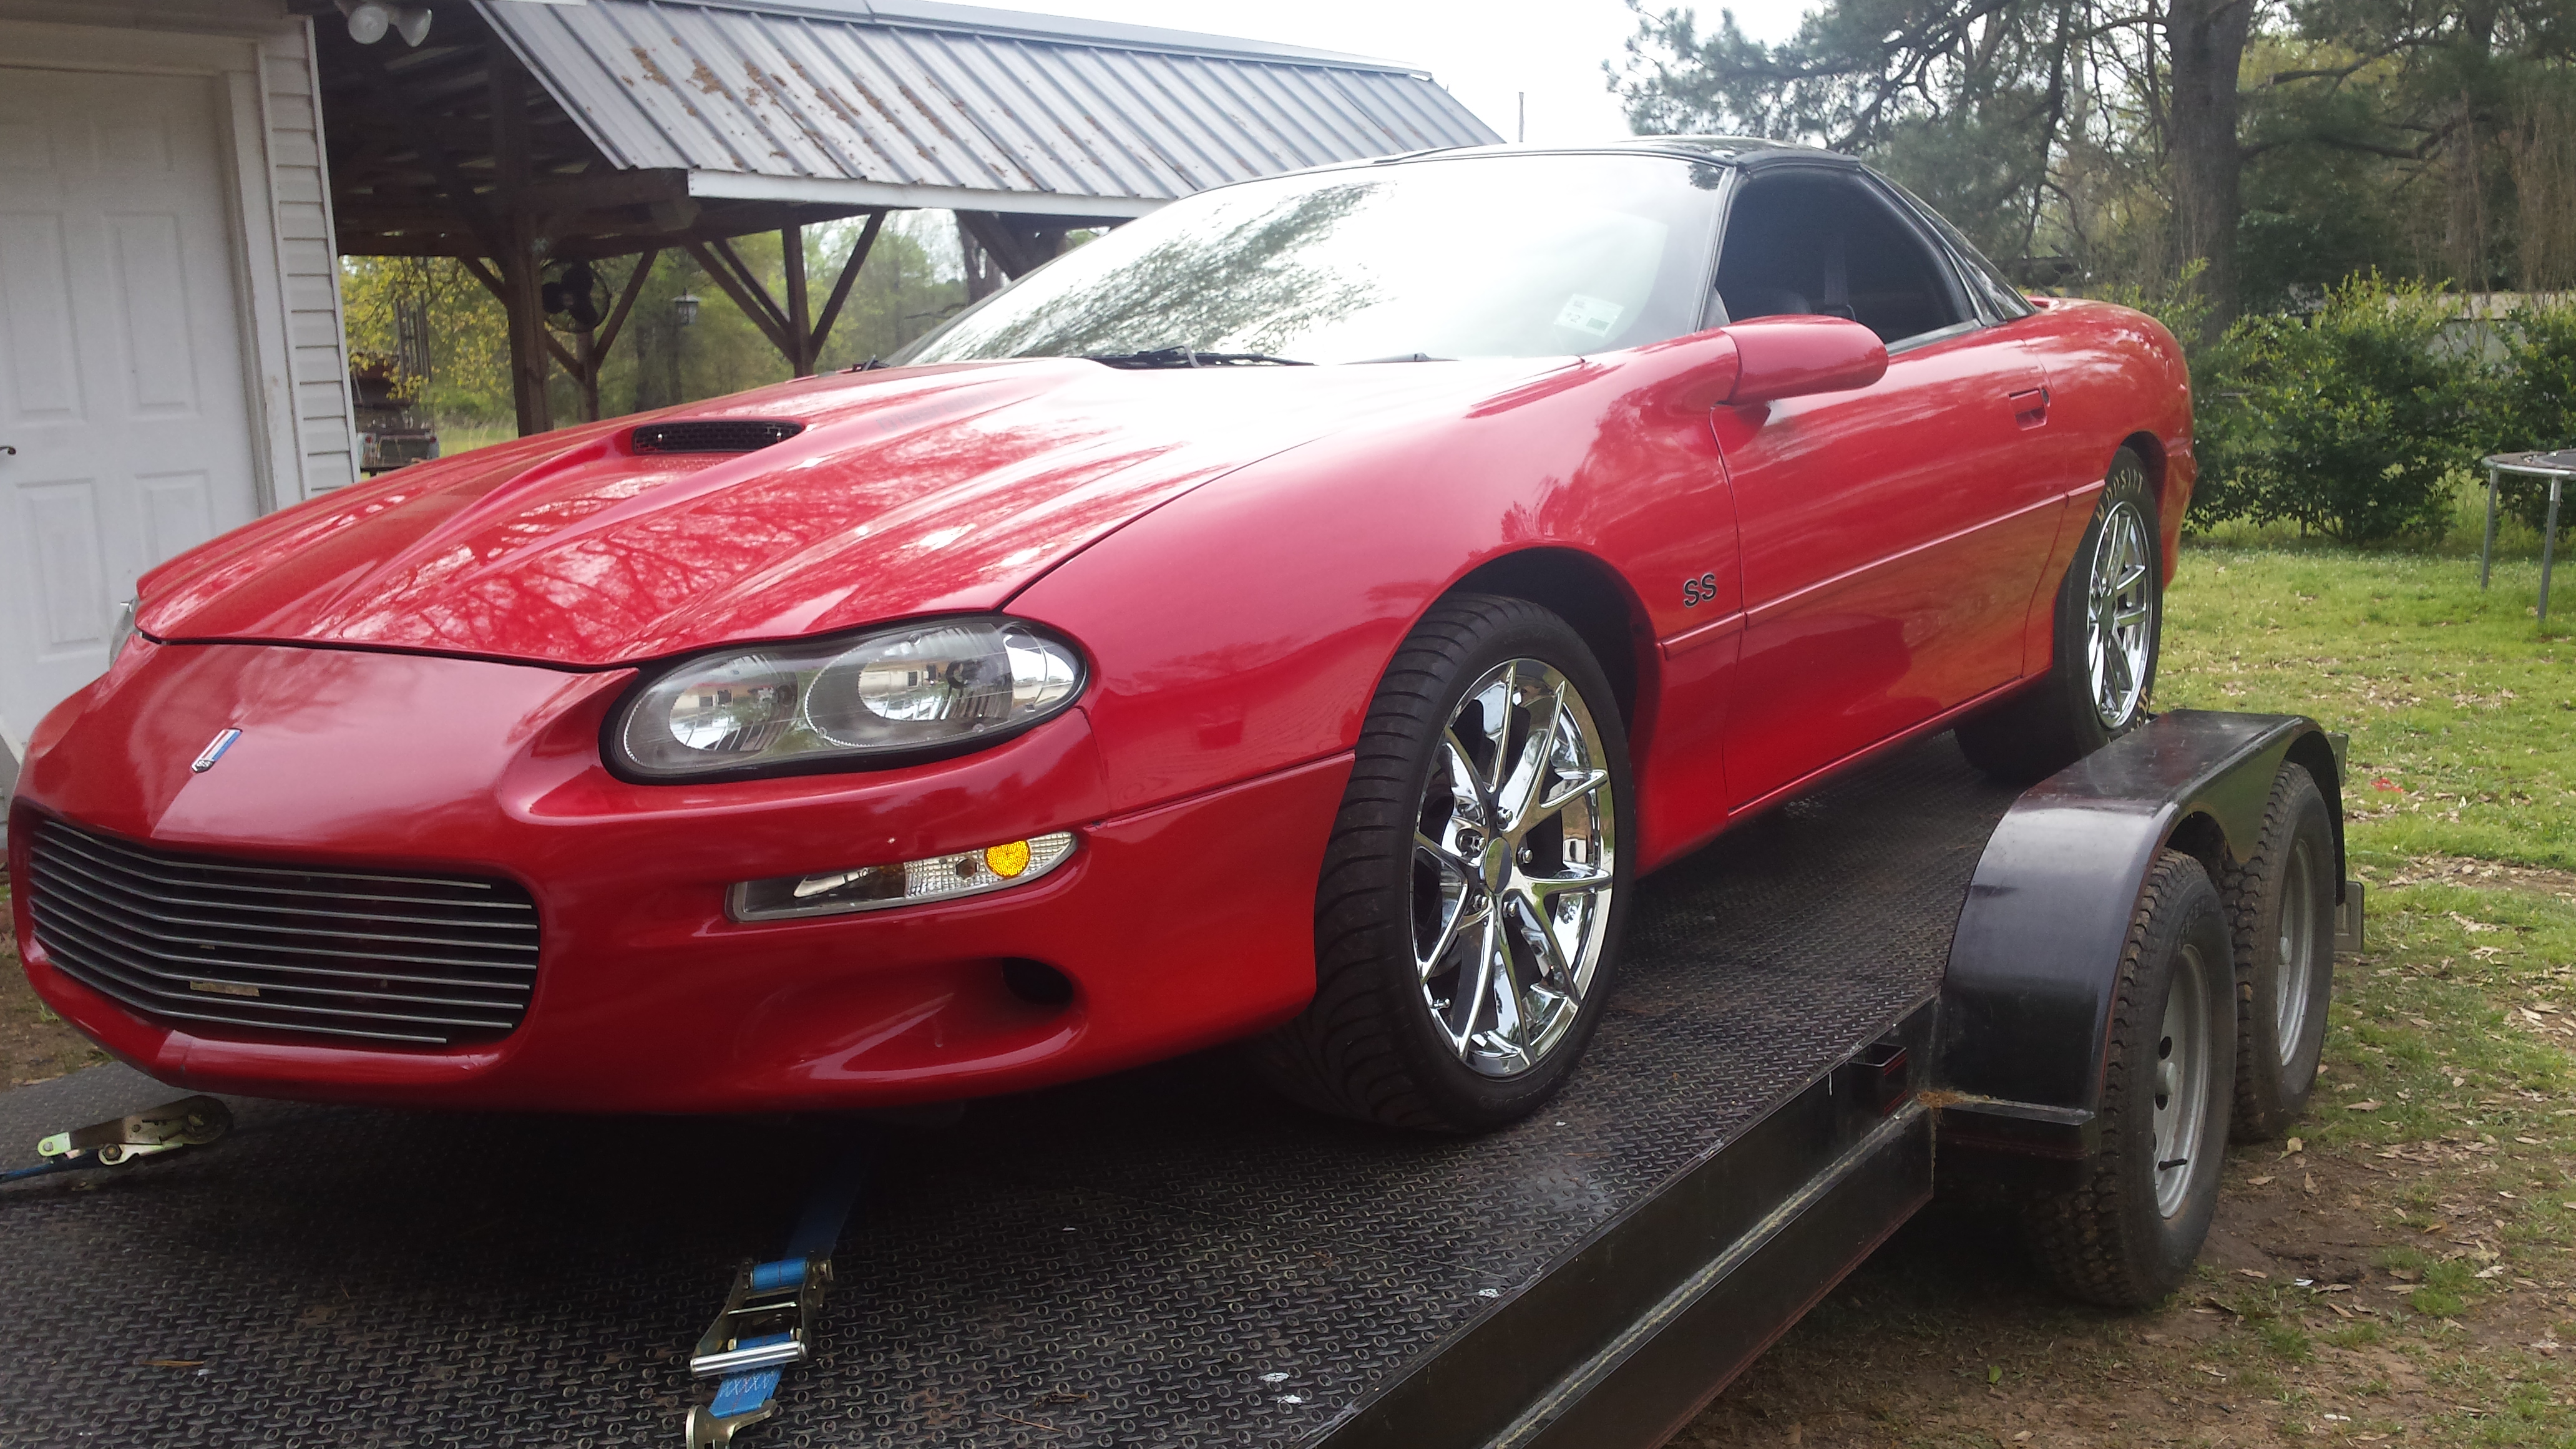
Well the track strikes again.....or more bad luck. We had a test and tune planned for friday night. It got rained out. So saturday there was a big bracket race planned, so we decided to go then to get a few passes in. Rain was gone, car was pretty clean, and loaded.
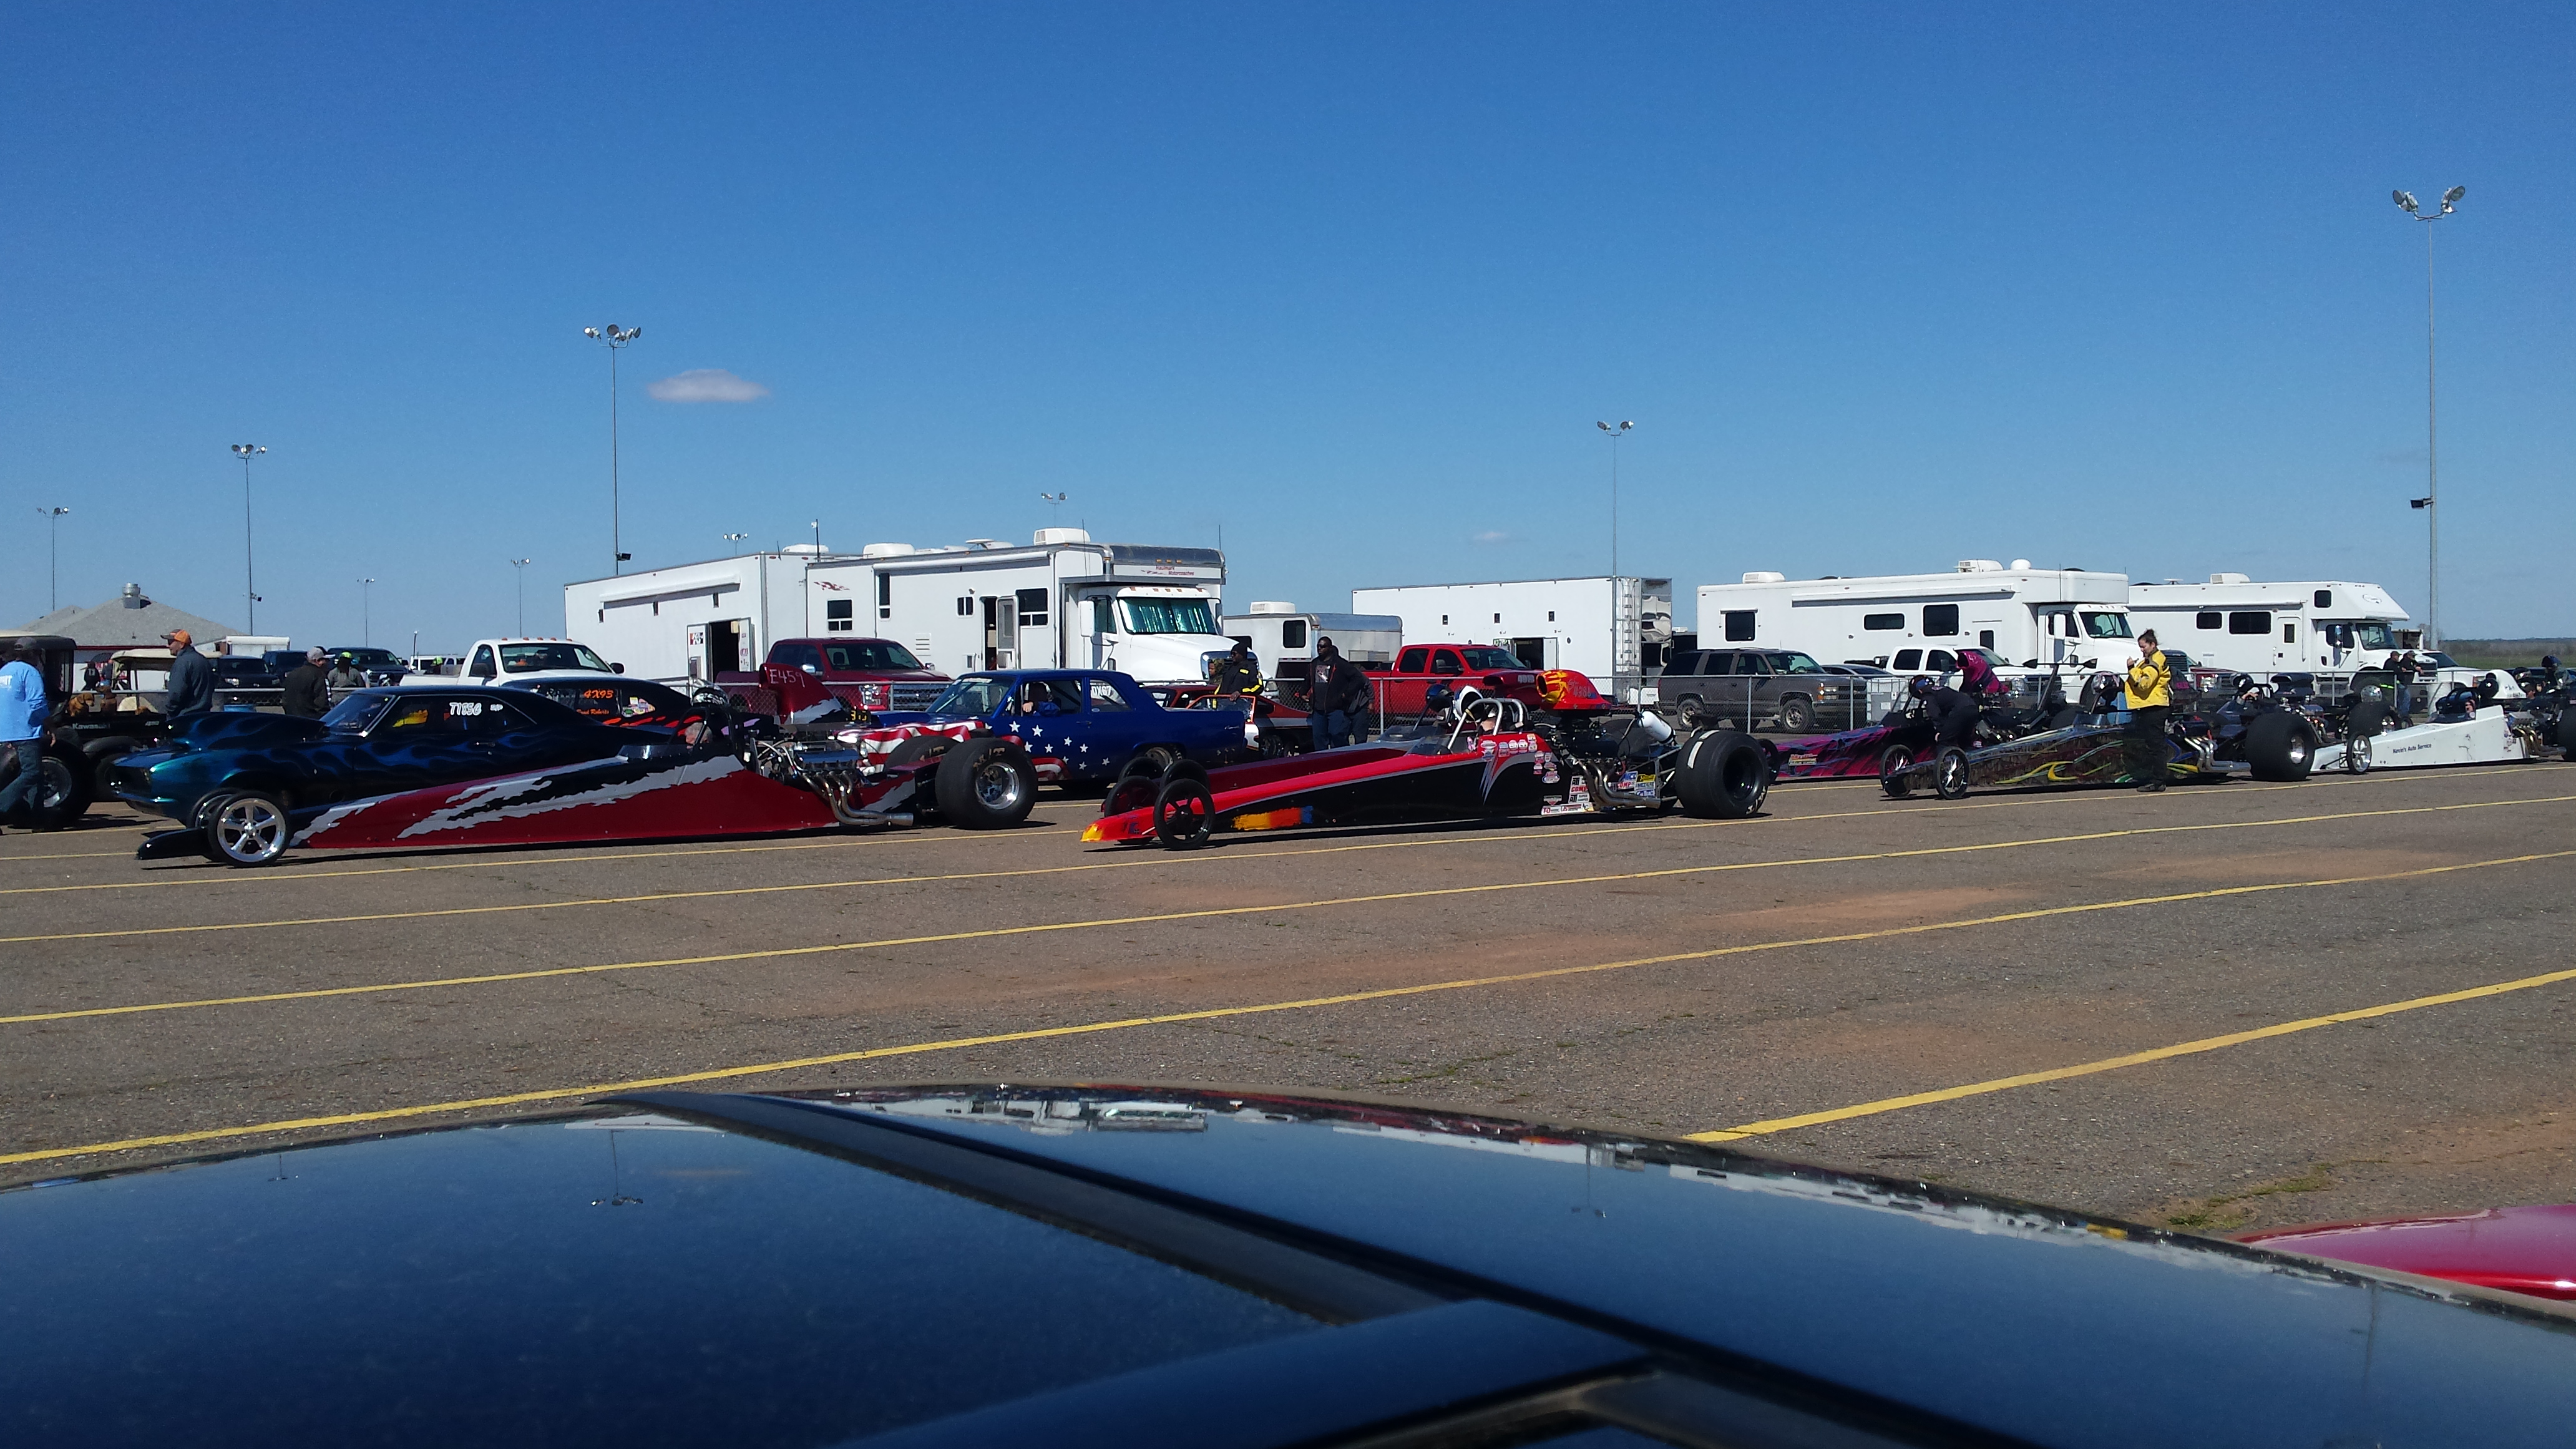
This place was packed. Big money trucks and trailers everywhere.
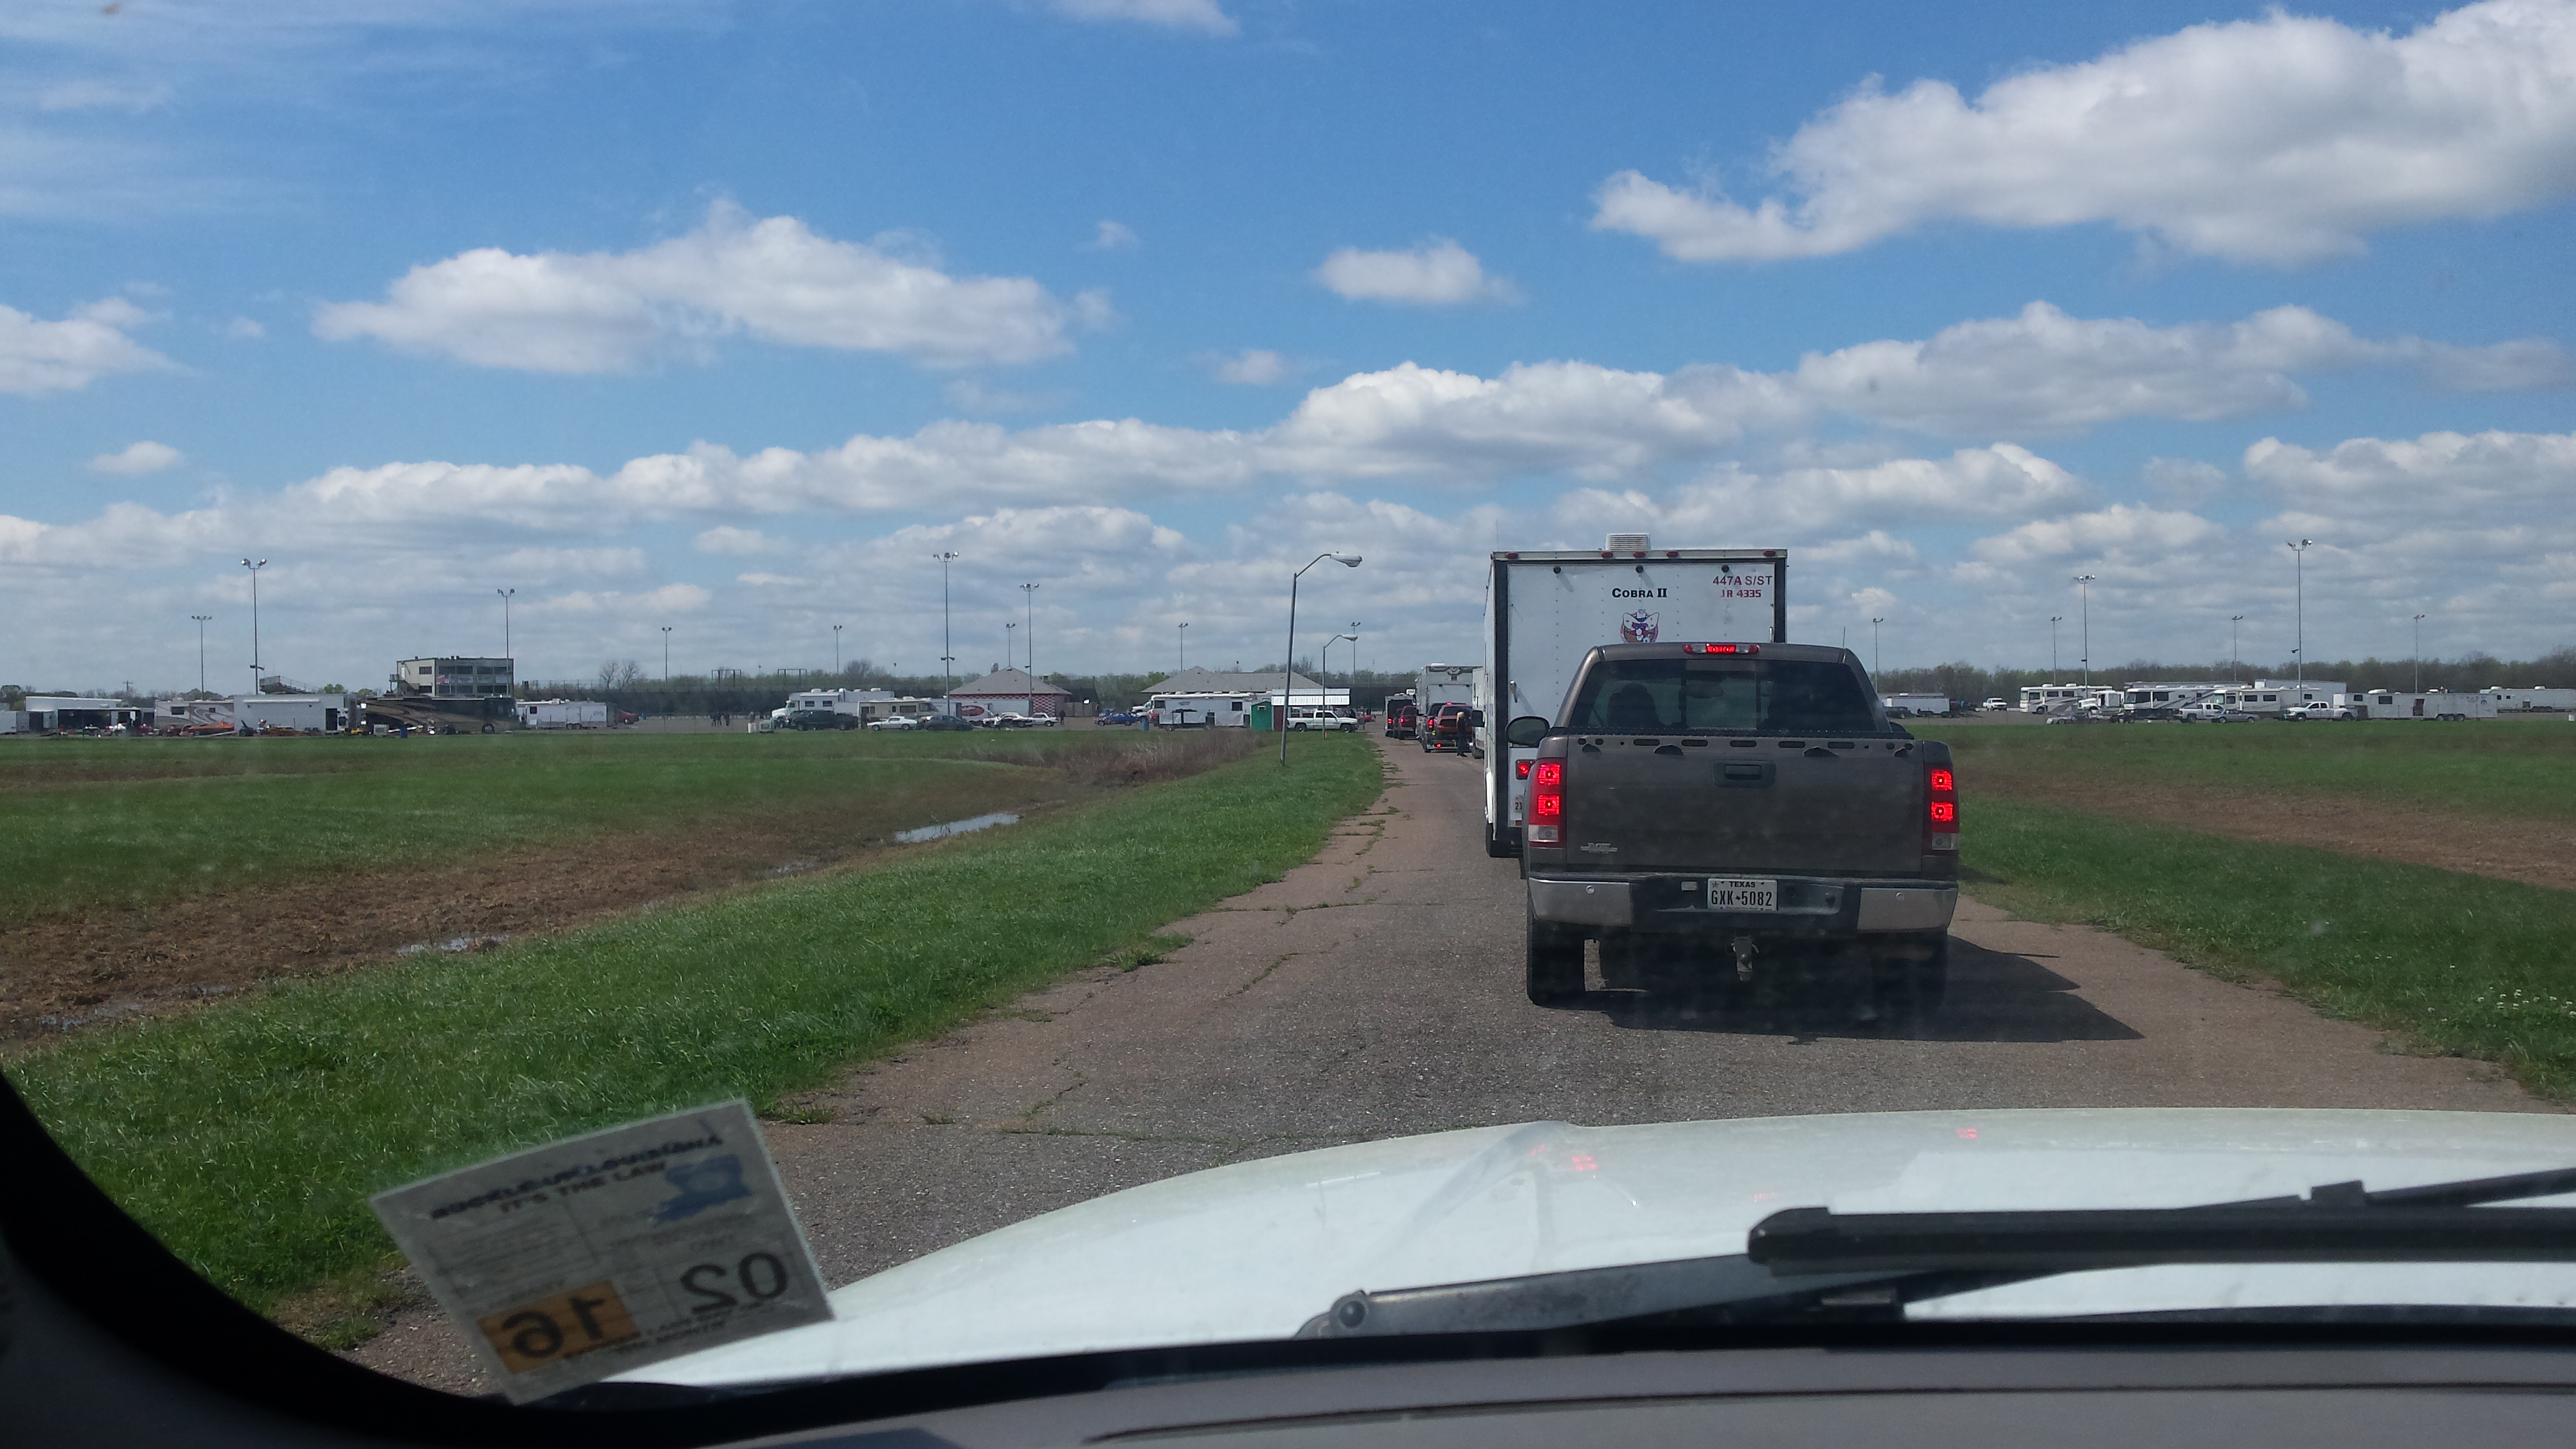
And this is where I sat most of the day.....waiting....and waiting.
I got a total of two passes in, two really bad passes. First pass was 11.19 @ 118. 60ft was slow, 1/8, 1/4, trap speed. Wasn't sure what the issue was, it was a clean pass. I decided to reset the fuel trims since it was unusually cool that day and I'm running a SD tune. It should be noted the car was acting a little funky the whole day, idle surging, hanging high idle, etc. Well with no trims and another pass I ran 11.8x @ 110mph. That was WOT through the whole pass. I confirmed then that something was wrong. I did a quick scan of the car with HPTuners and saw a 10%+ driver trim and a 25%+ passenger trim. That would explain the terrible pass. There was nothing obvious wrong underhood so I will have to dig a little deeper another day when I get more time to see what the issue is!

This place was packed. Big money trucks and trailers everywhere.

And this is where I sat most of the day.....waiting....and waiting.

I got a total of two passes in, two really bad passes. First pass was 11.19 @ 118. 60ft was slow, 1/8, 1/4, trap speed. Wasn't sure what the issue was, it was a clean pass. I decided to reset the fuel trims since it was unusually cool that day and I'm running a SD tune. It should be noted the car was acting a little funky the whole day, idle surging, hanging high idle, etc. Well with no trims and another pass I ran 11.8x @ 110mph. That was WOT through the whole pass. I confirmed then that something was wrong. I did a quick scan of the car with HPTuners and saw a 10%+ driver trim and a 25%+ passenger trim. That would explain the terrible pass. There was nothing obvious wrong underhood so I will have to dig a little deeper another day when I get more time to see what the issue is!


#46
03-22-2016, 12:35 PM
car looks nice I did read that every 100lbs is 10hp ,so weight ,these cars stock weight a lot at 3600 lbs average ,I don't race but I dropped 100lbs with my engine an trans,some cut out the wheel wells ,some gut the car an do roll gages
#47
09-14-2016, 09:39 PM
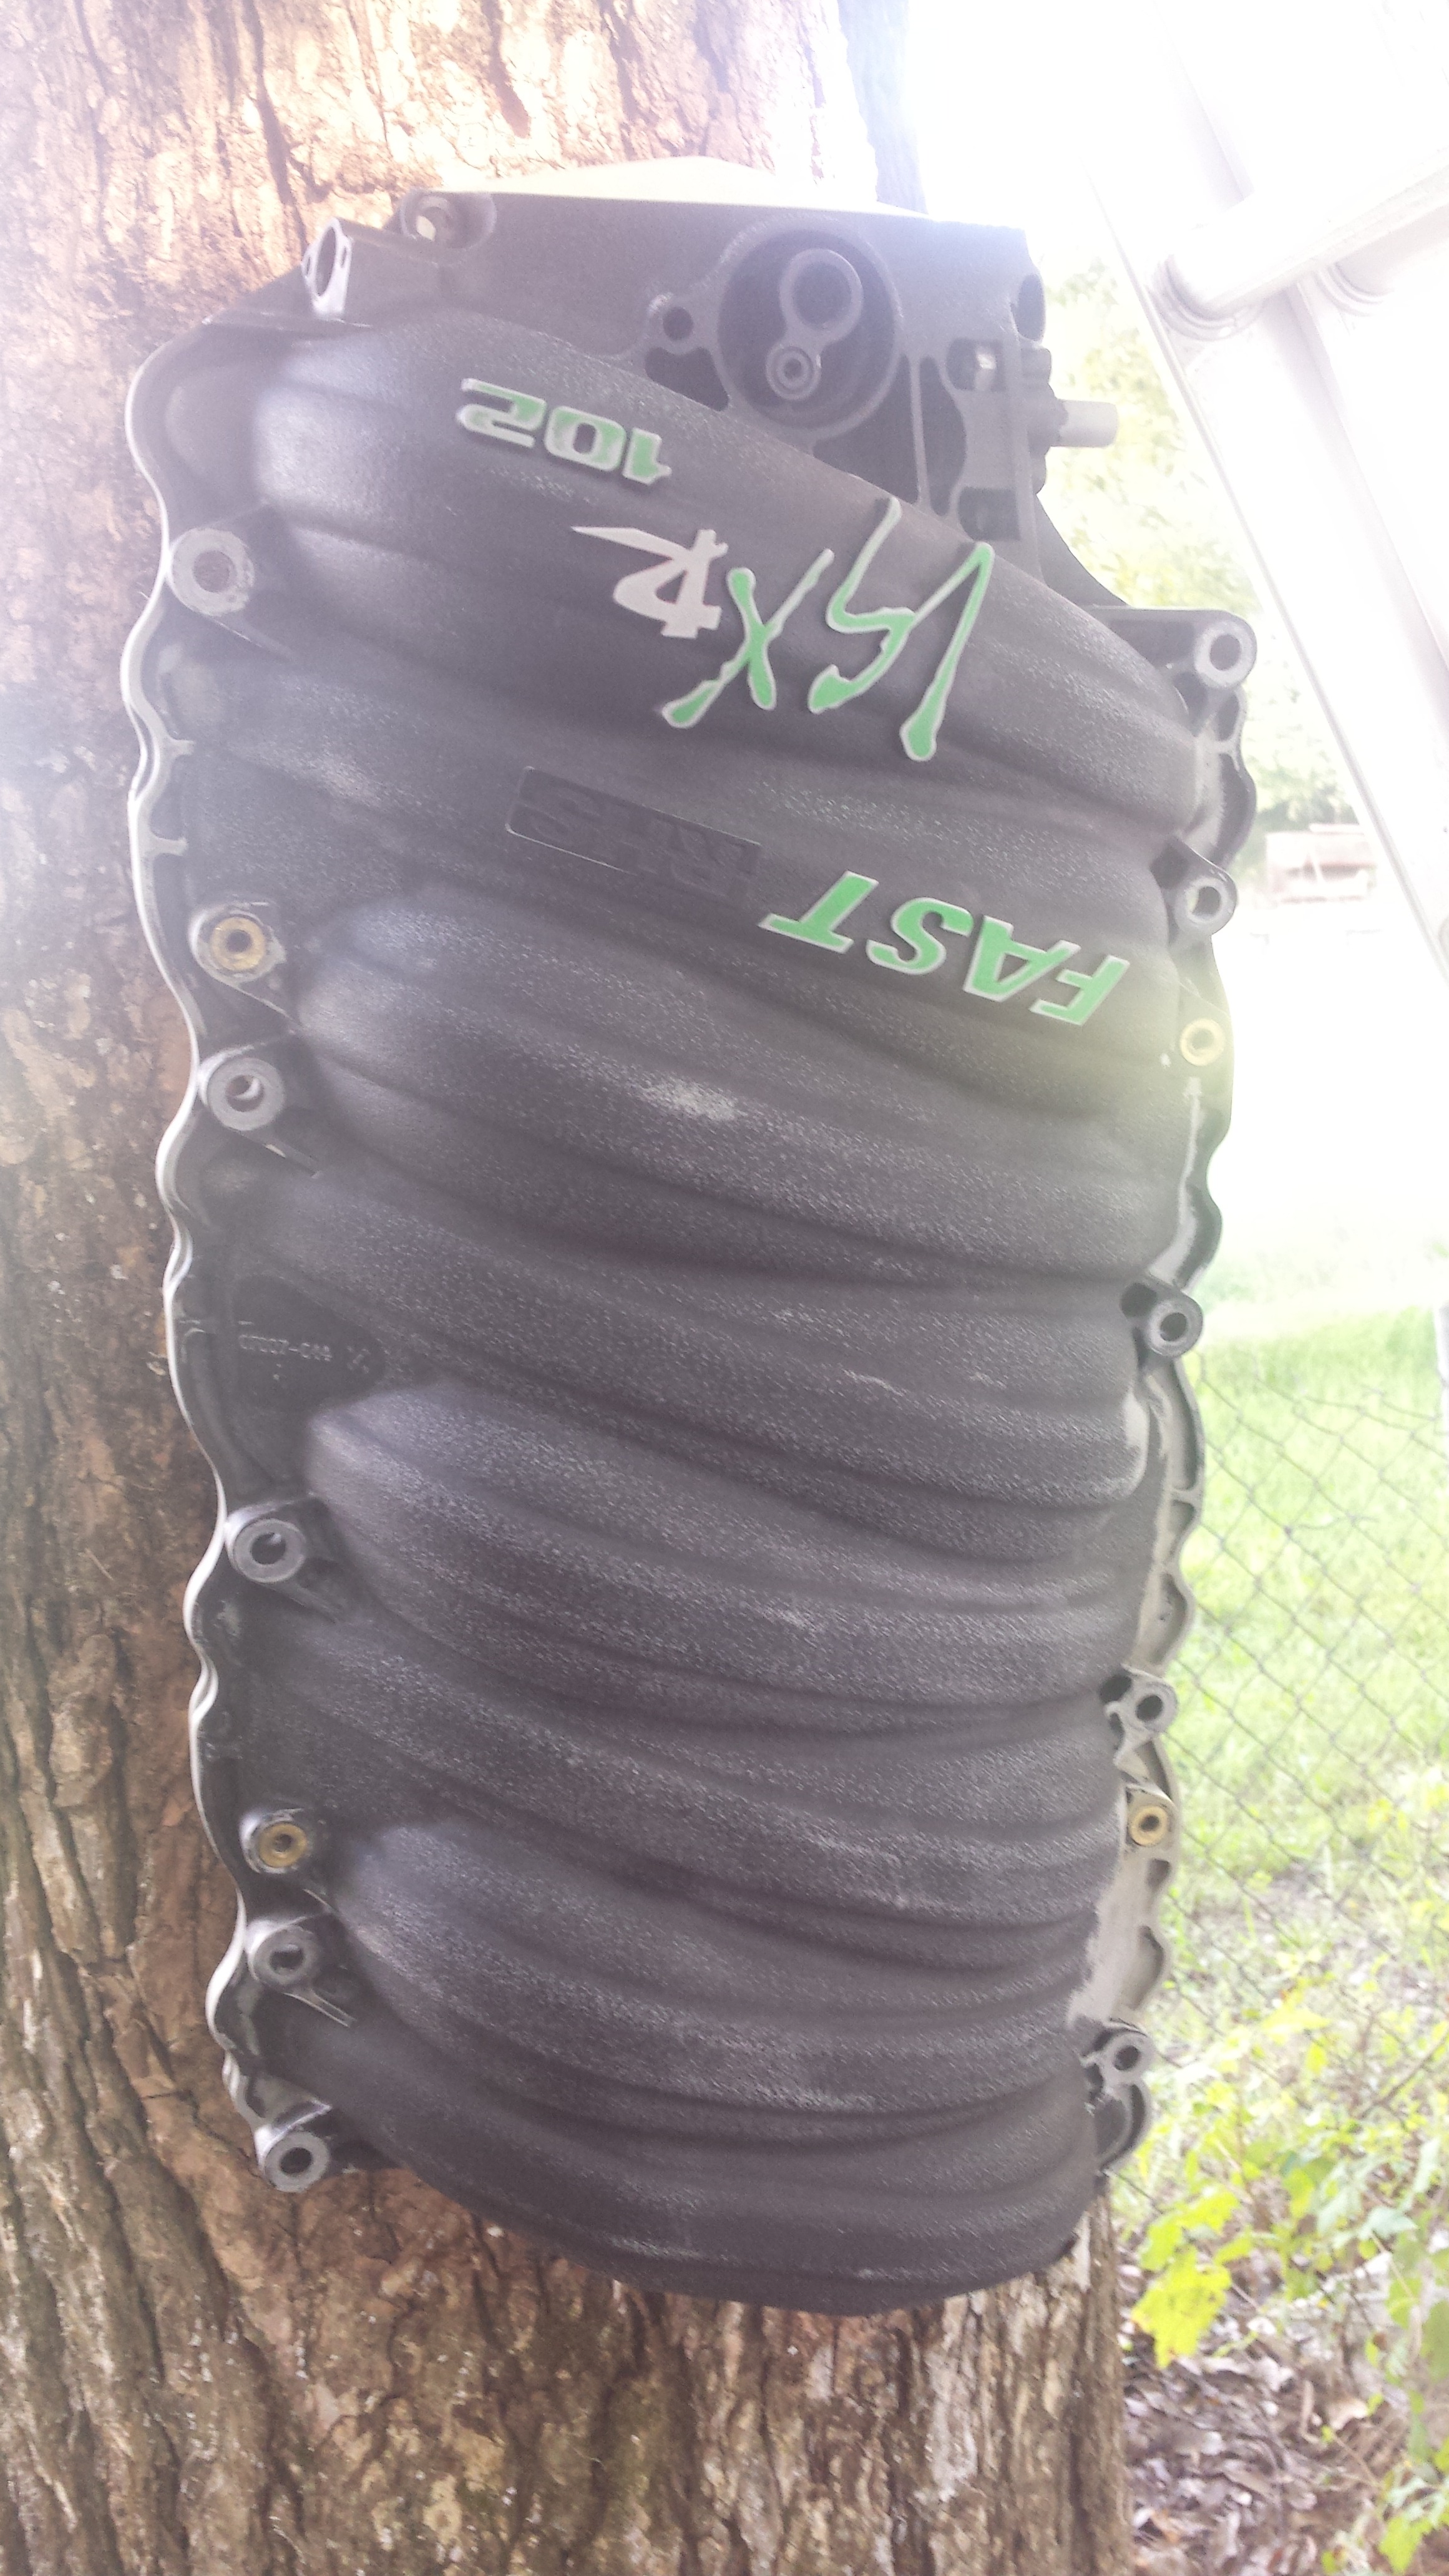
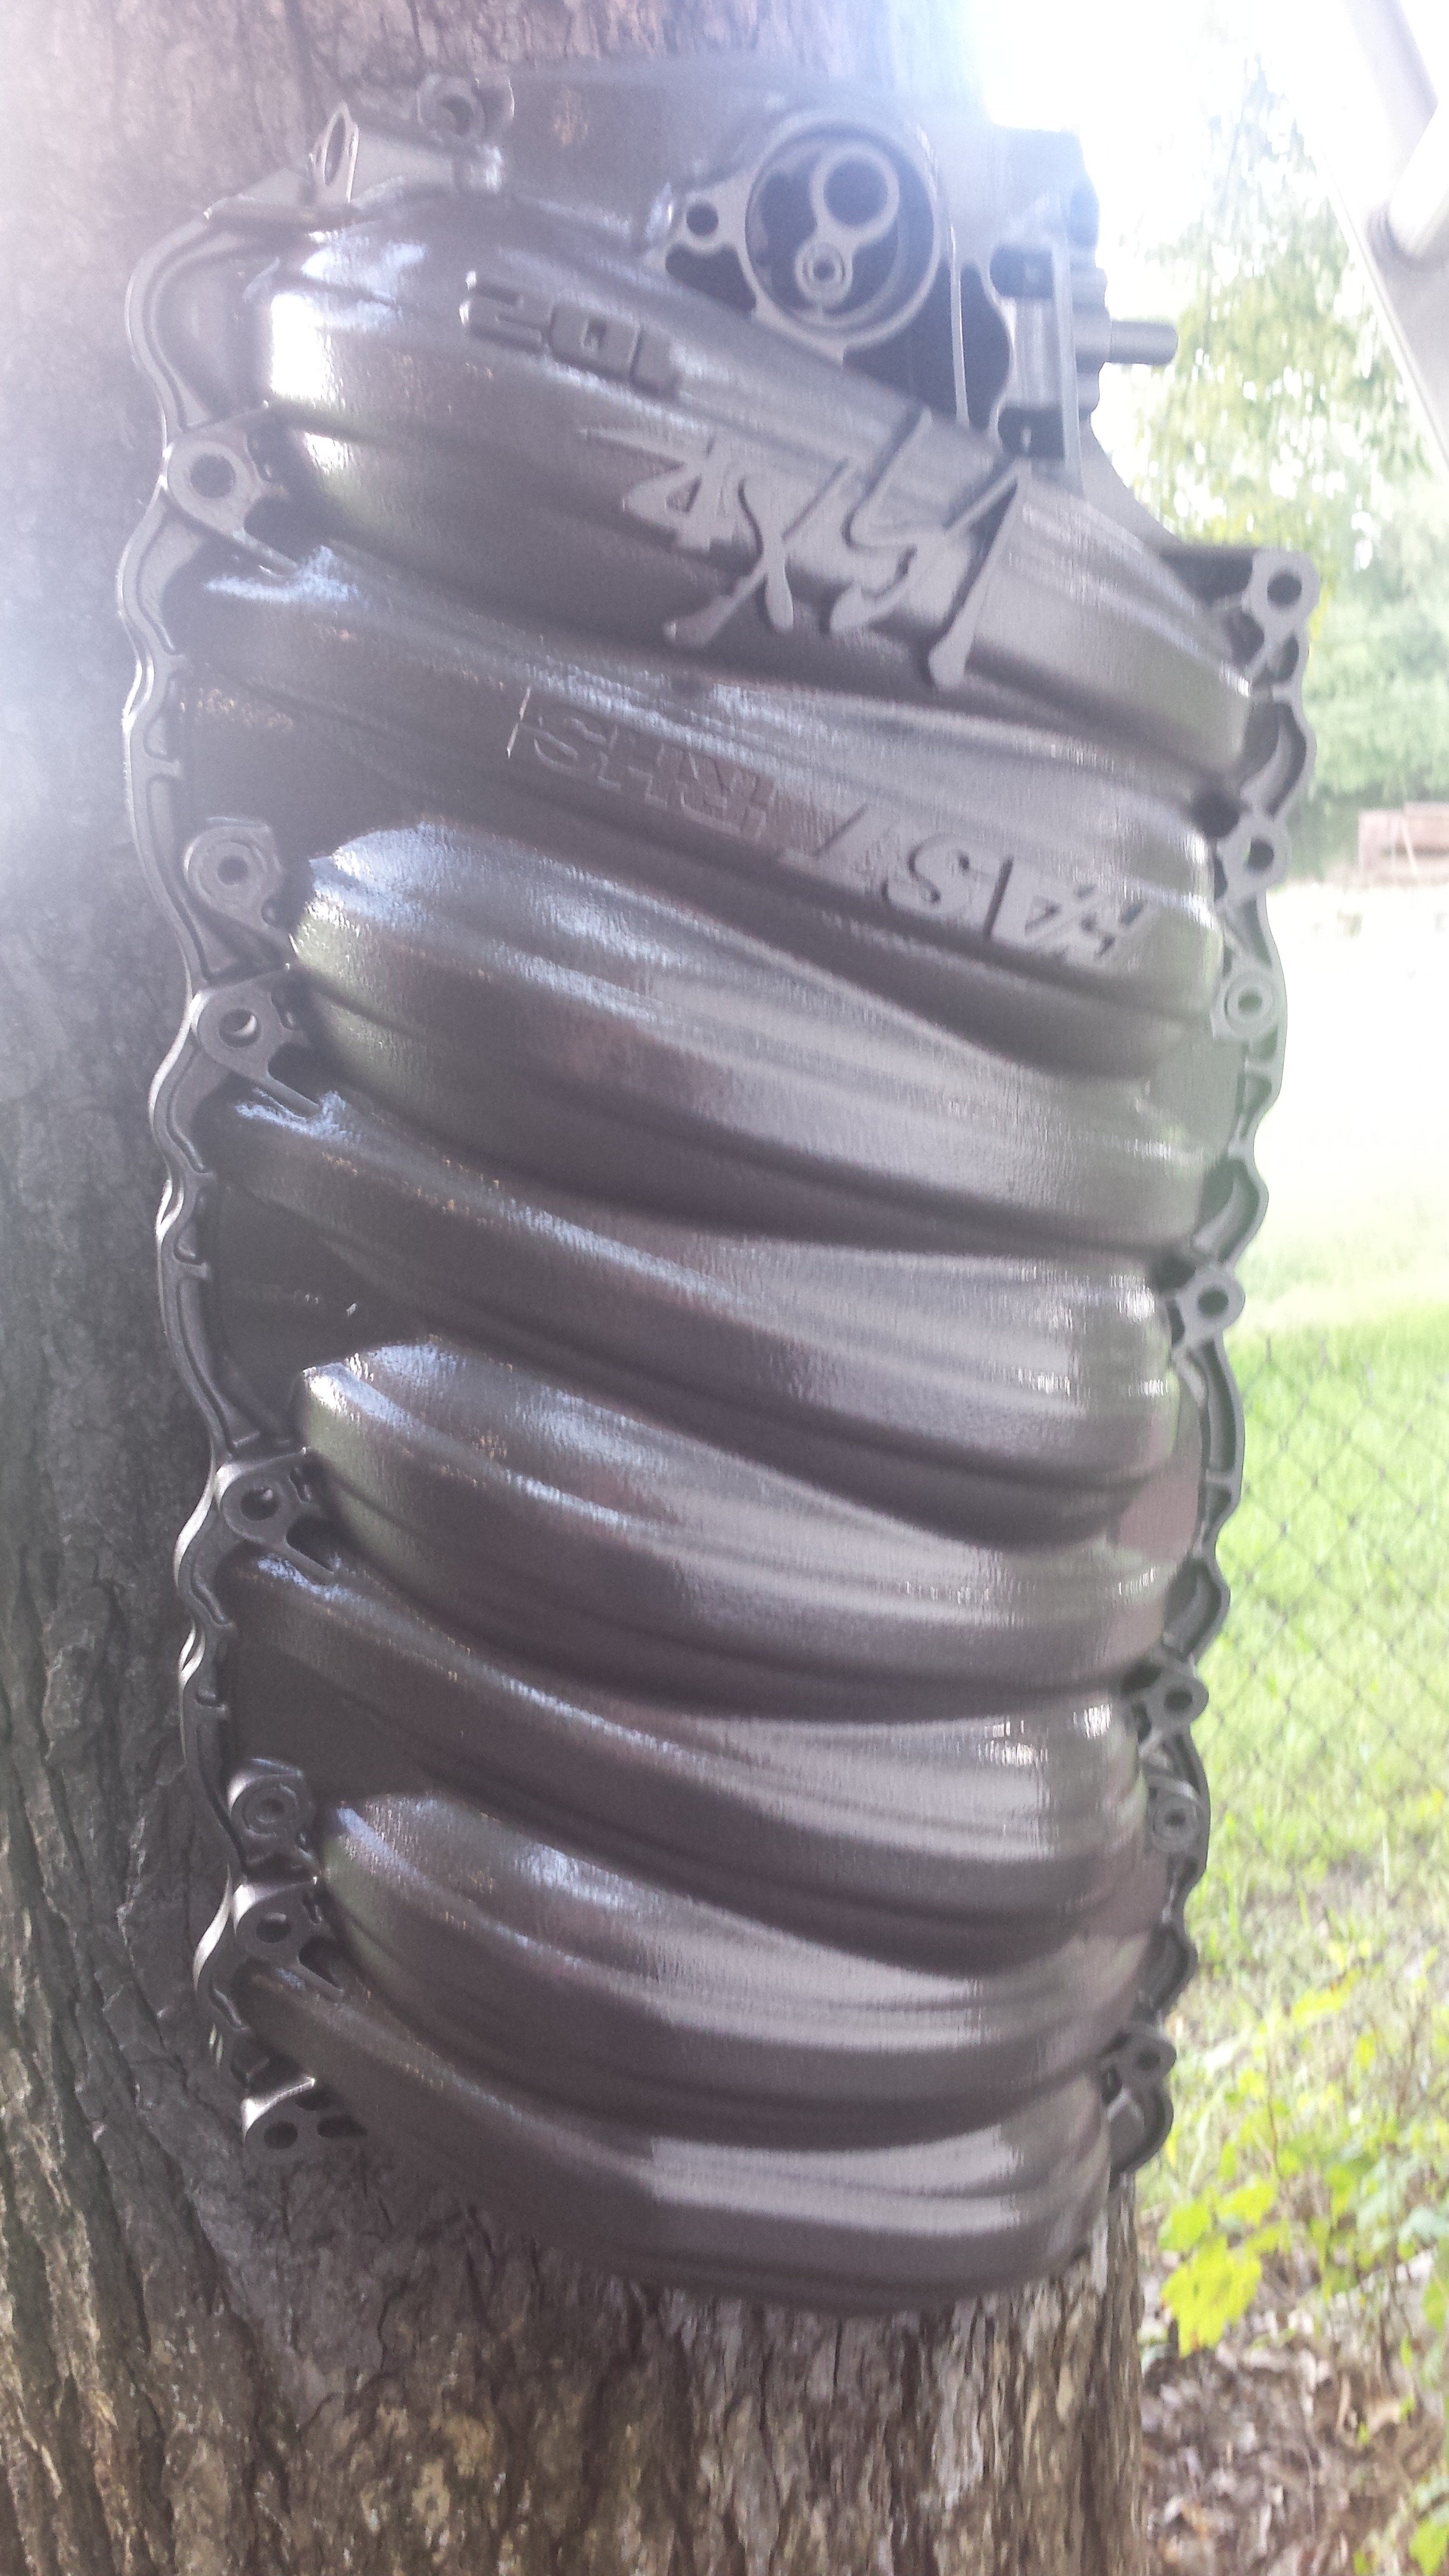
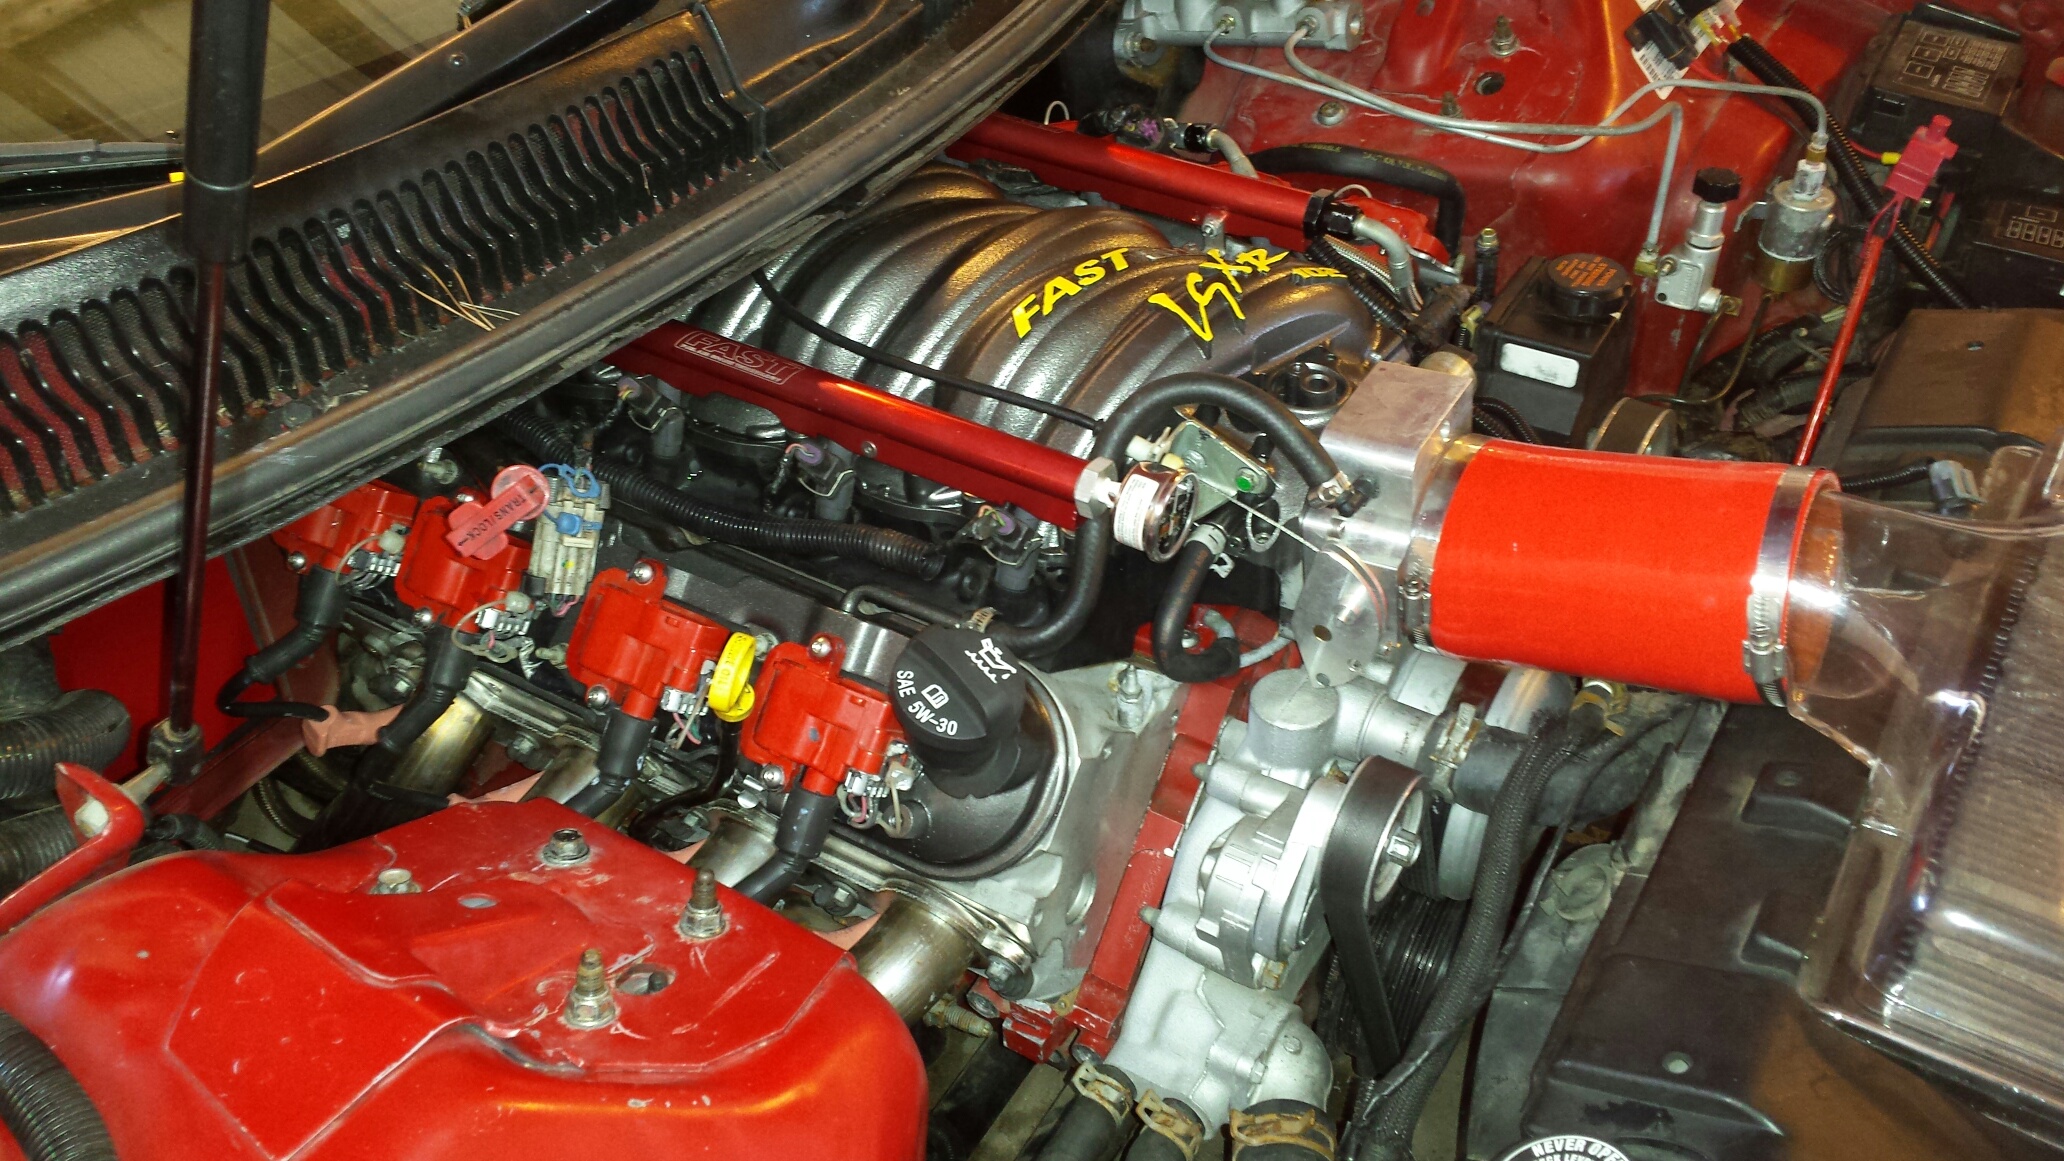
Havent updated this in a while but im still on my NA quest for tens. I think ive got it figured out with spending some money but I'm trying to not make any major changes to the car so for now im changing parts that I can grow into later when I change the build up. Ive been running a FAST 92/PTM 95 combo for a while. I bought the black fast 92 when they re-released it a few years back. I always wondered if I gave up anything not going to a 102 version. I came across a unique opportunity to swap intake for intake with a buddy who had a c5 and would prefer the better fitment of the 92. The back story behind this intake was it was on a motor with bad oil blow by and was installed by a hackjob shop. Once I looked it over I realized I needed to order some parts. I ordered a new inner seal, new fuel pressure gauge, new thicker lower injector o rings, and a fuel line adapter (640940). This was originally a grey intake somebody painted black. After I cleaned it up, installed the new stuff, and fixed a broken vacuum nipple on the back, I sand blasted and hand sanded it. Here it is ready for paint.
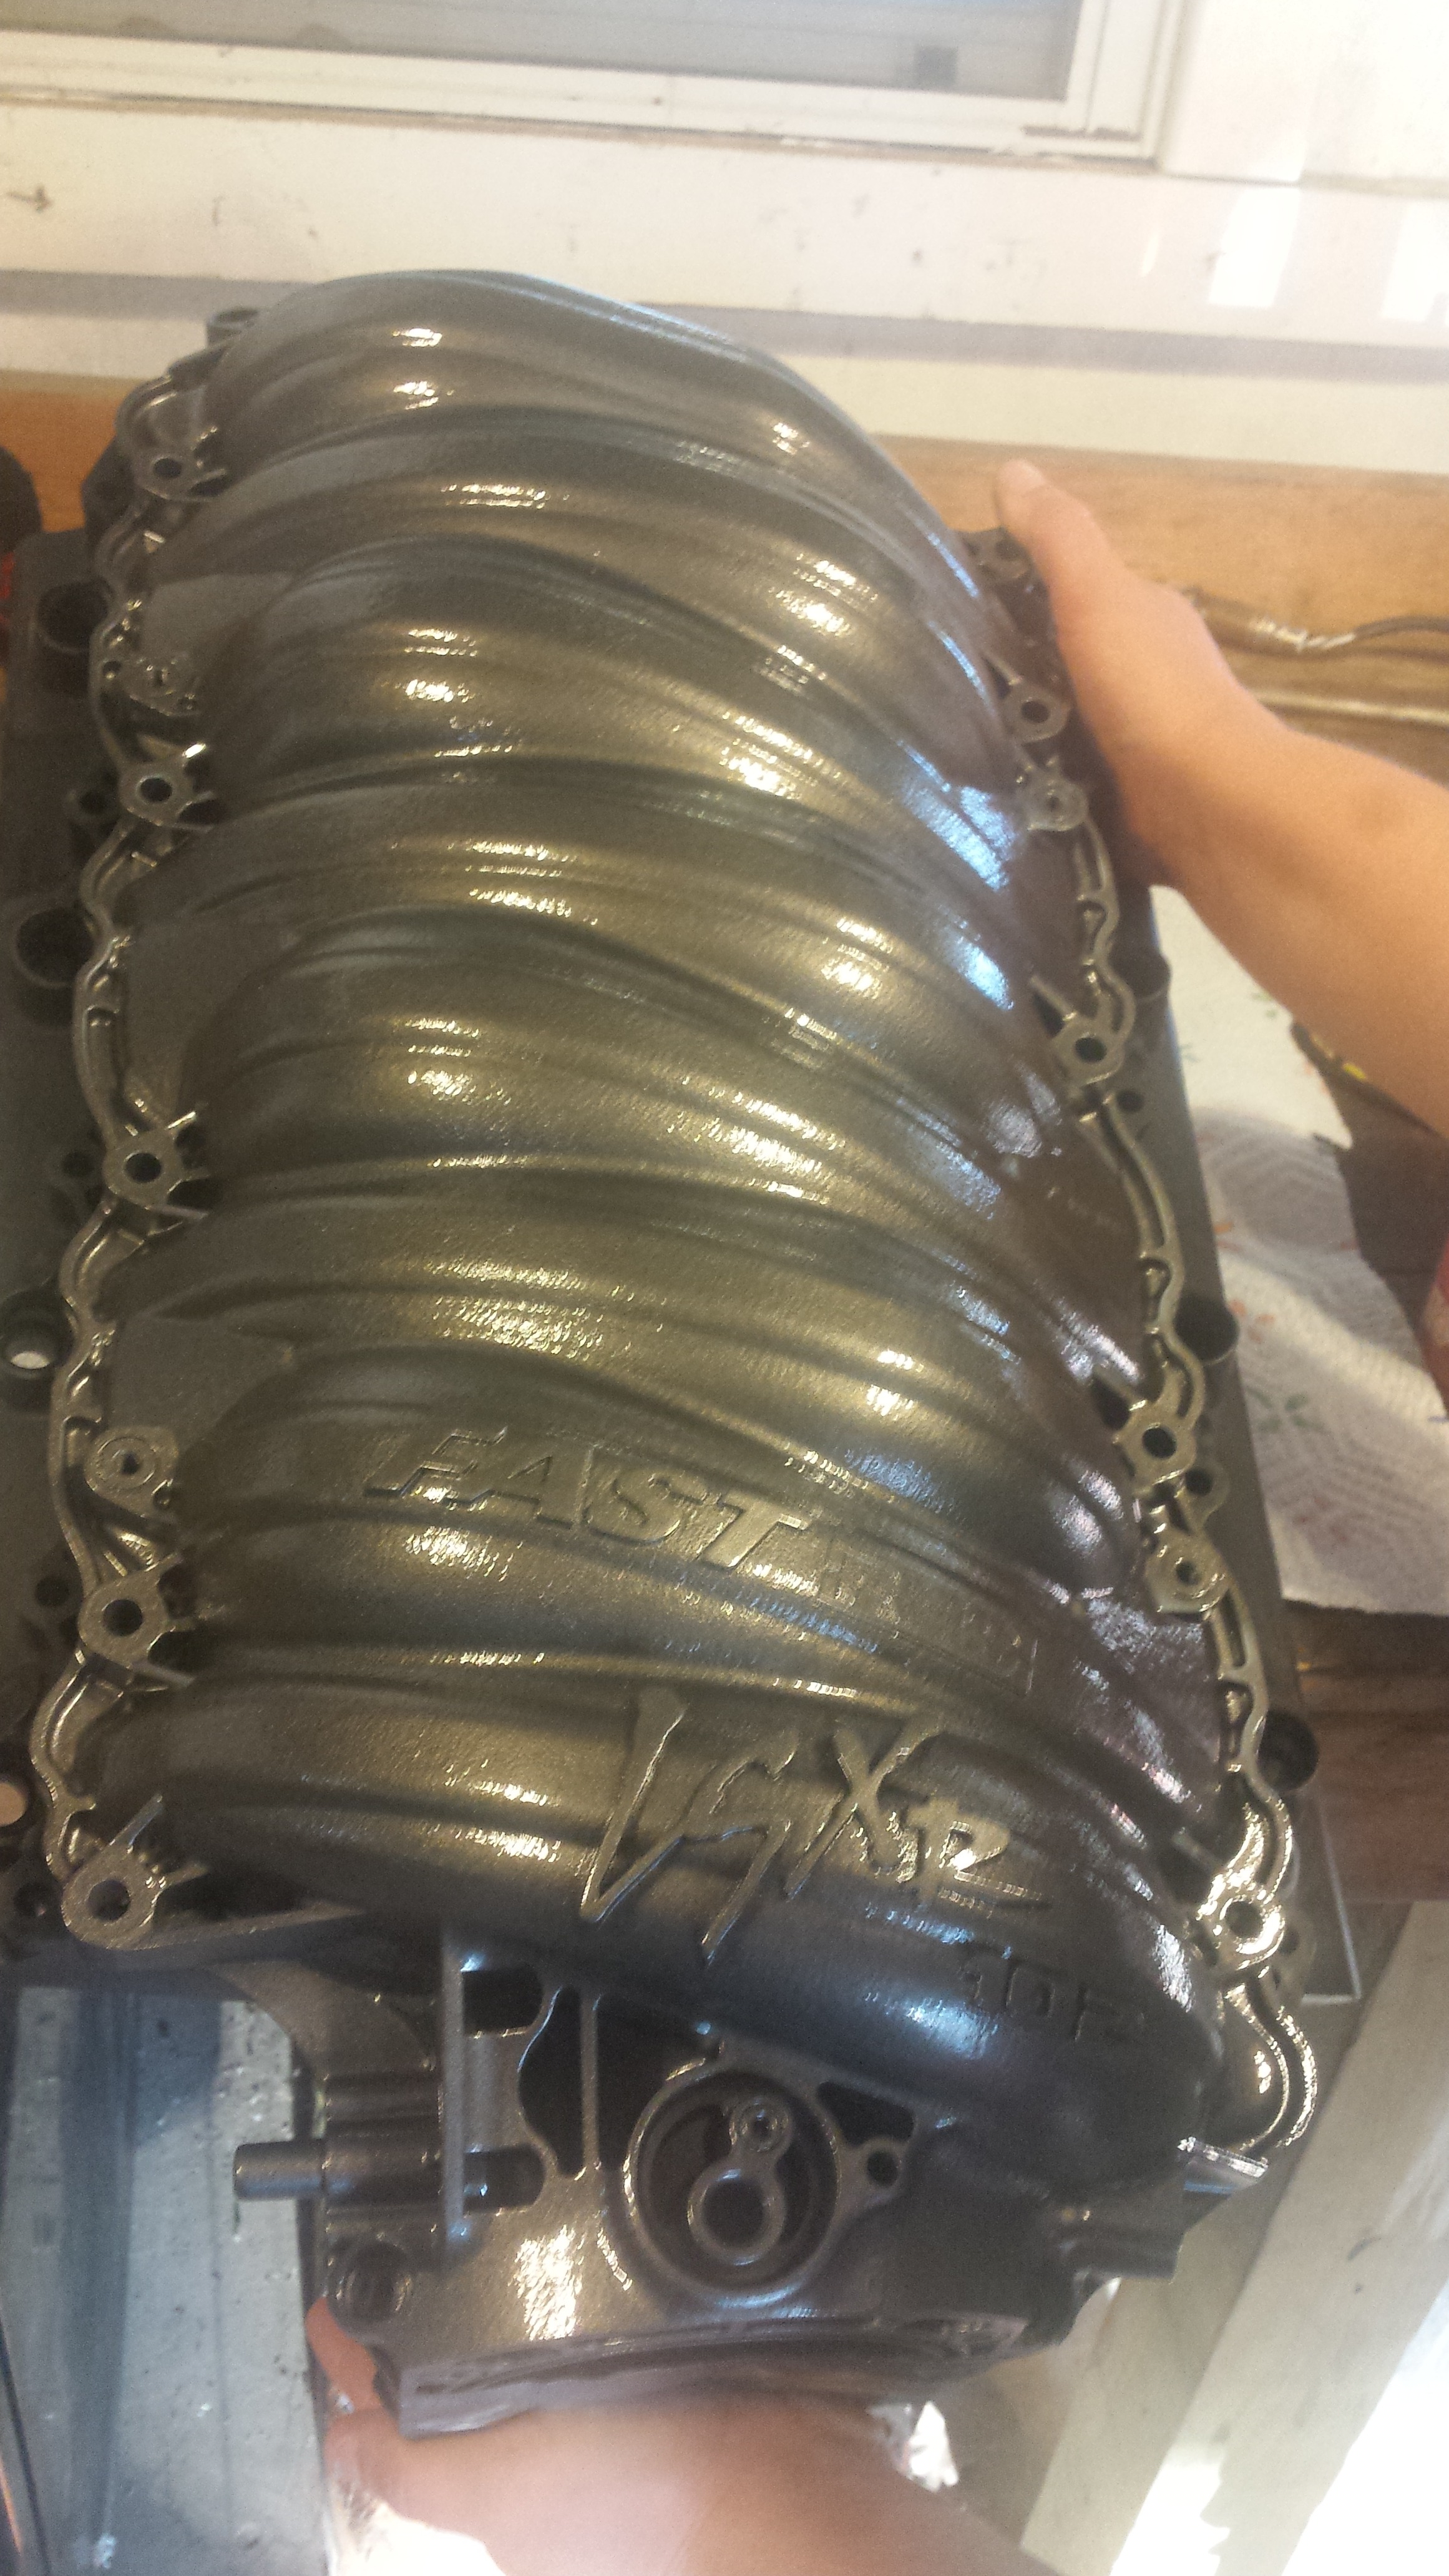
Looked around for something silver. Thought hey lets go a little darker then go bright on the lettering.

Got about 3 color coats on it.
Then about 3 coats of clear
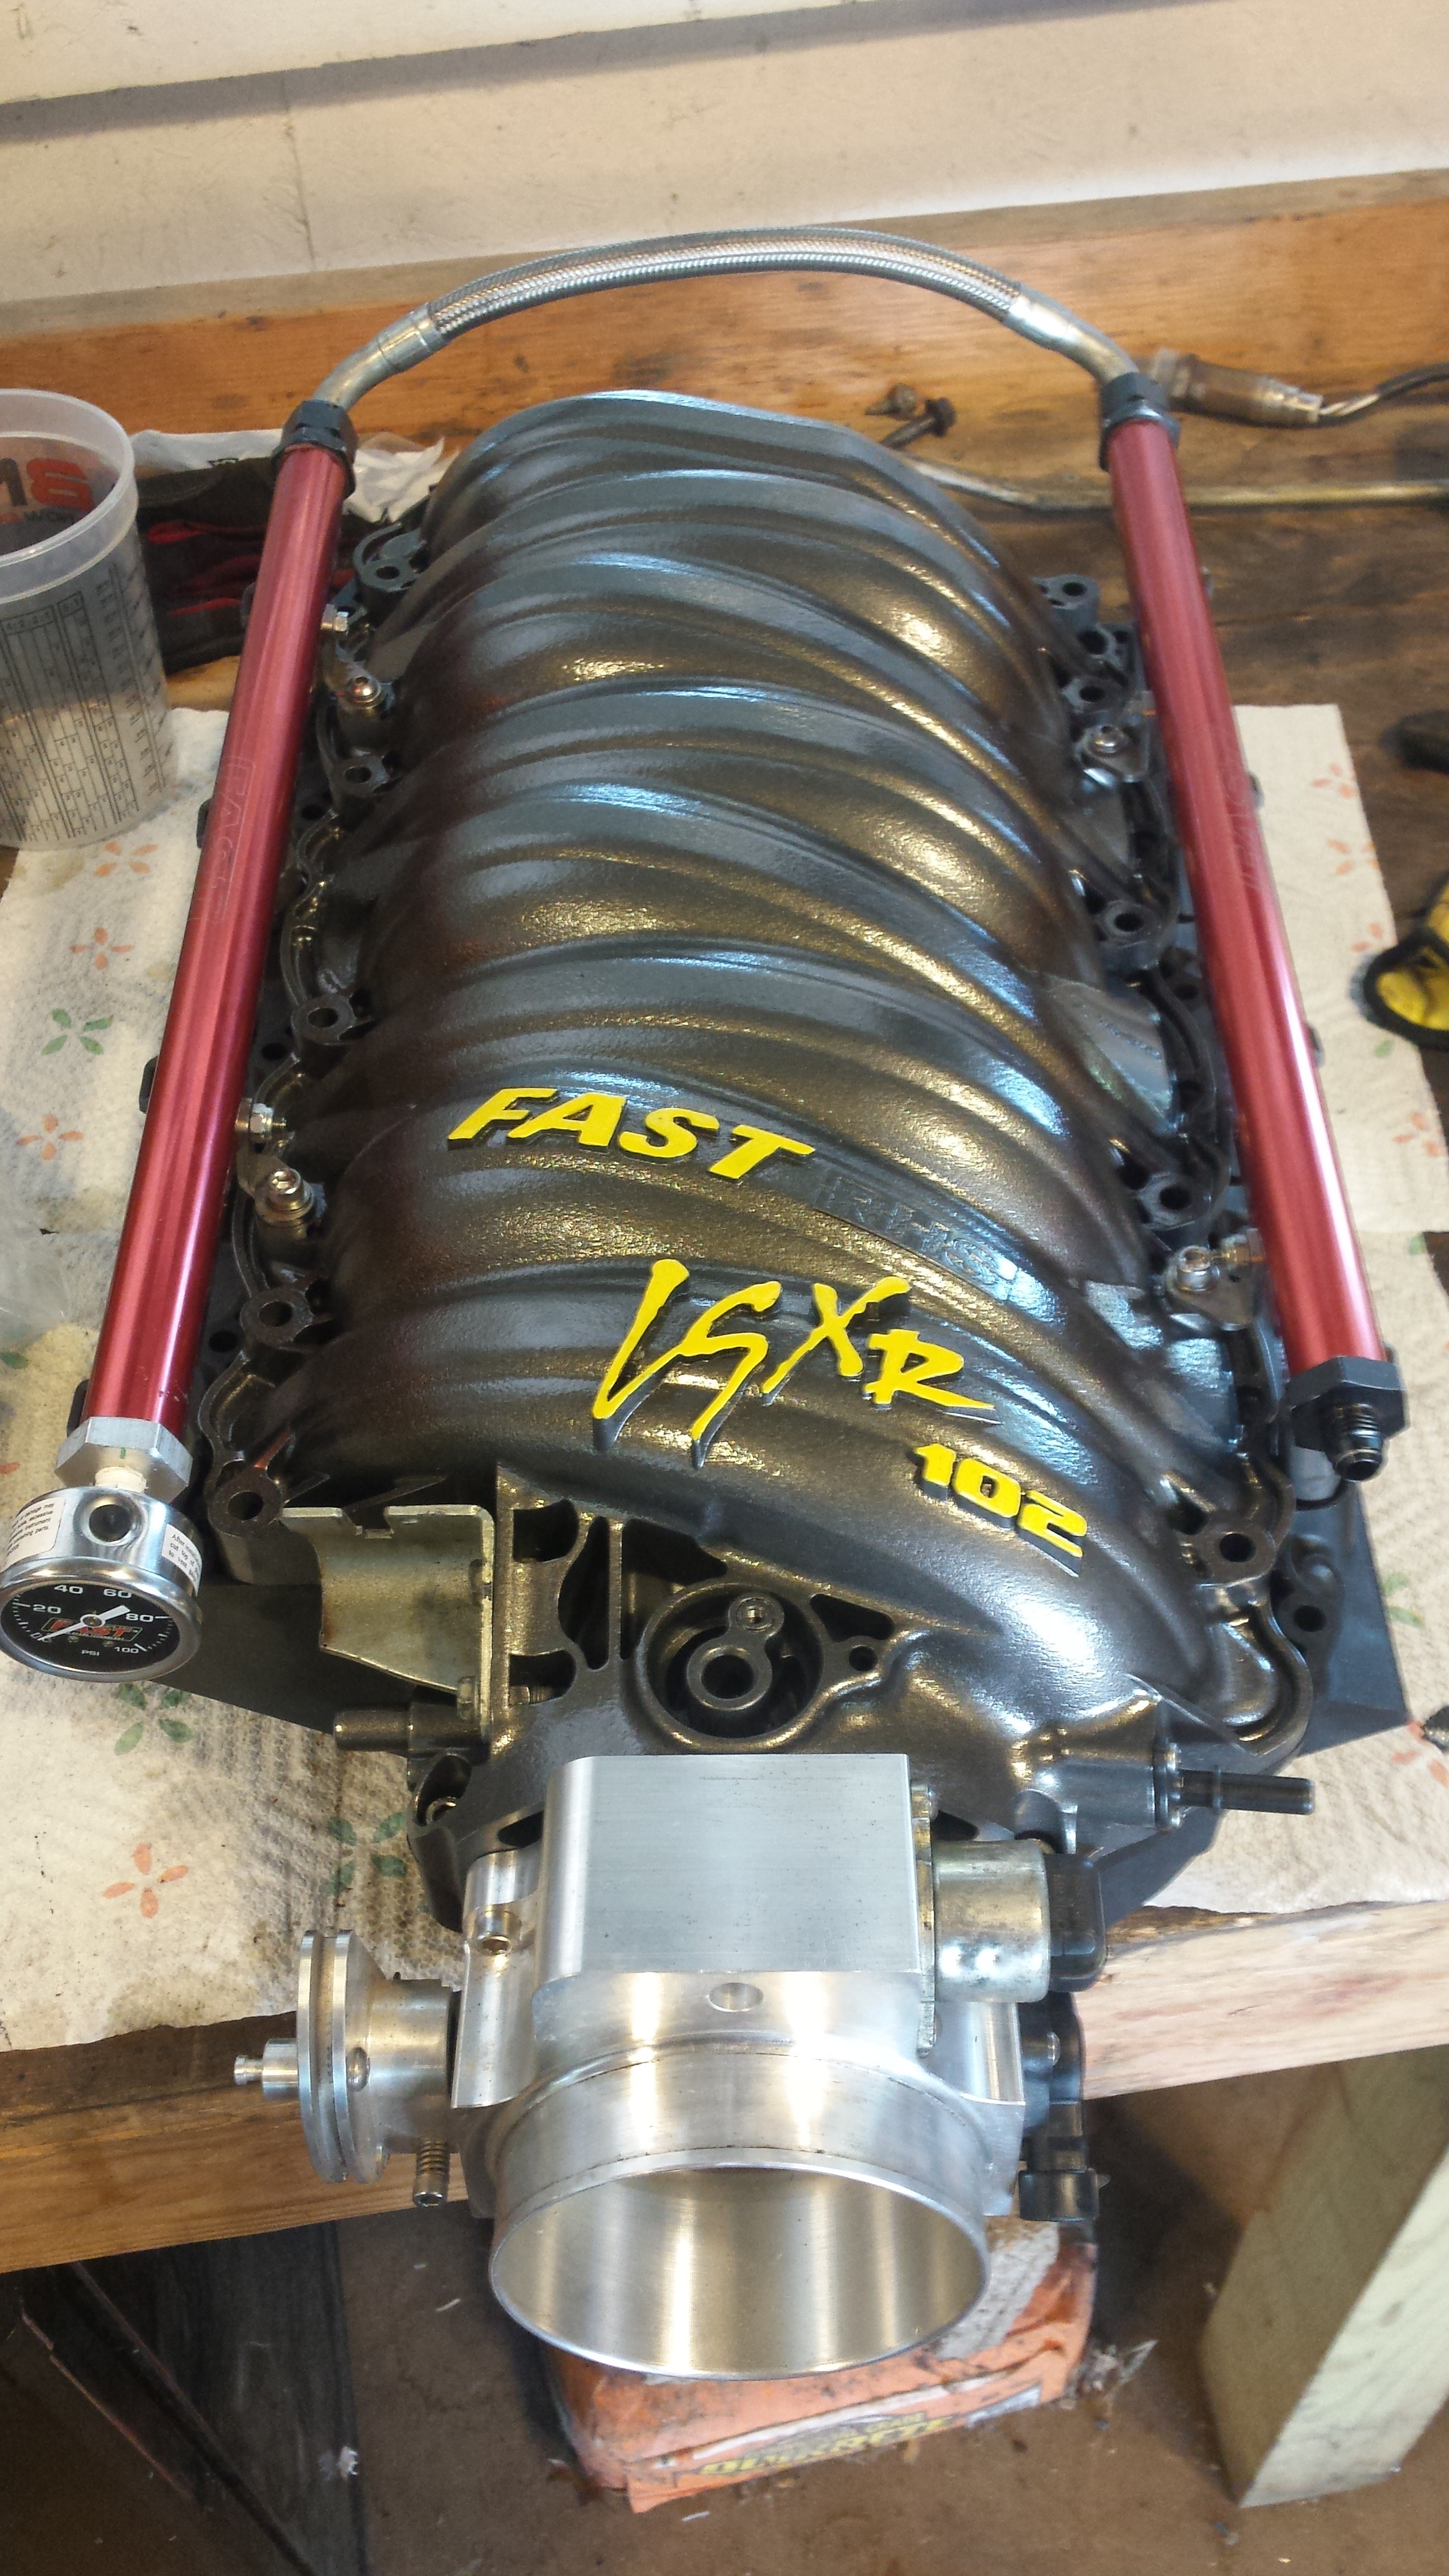
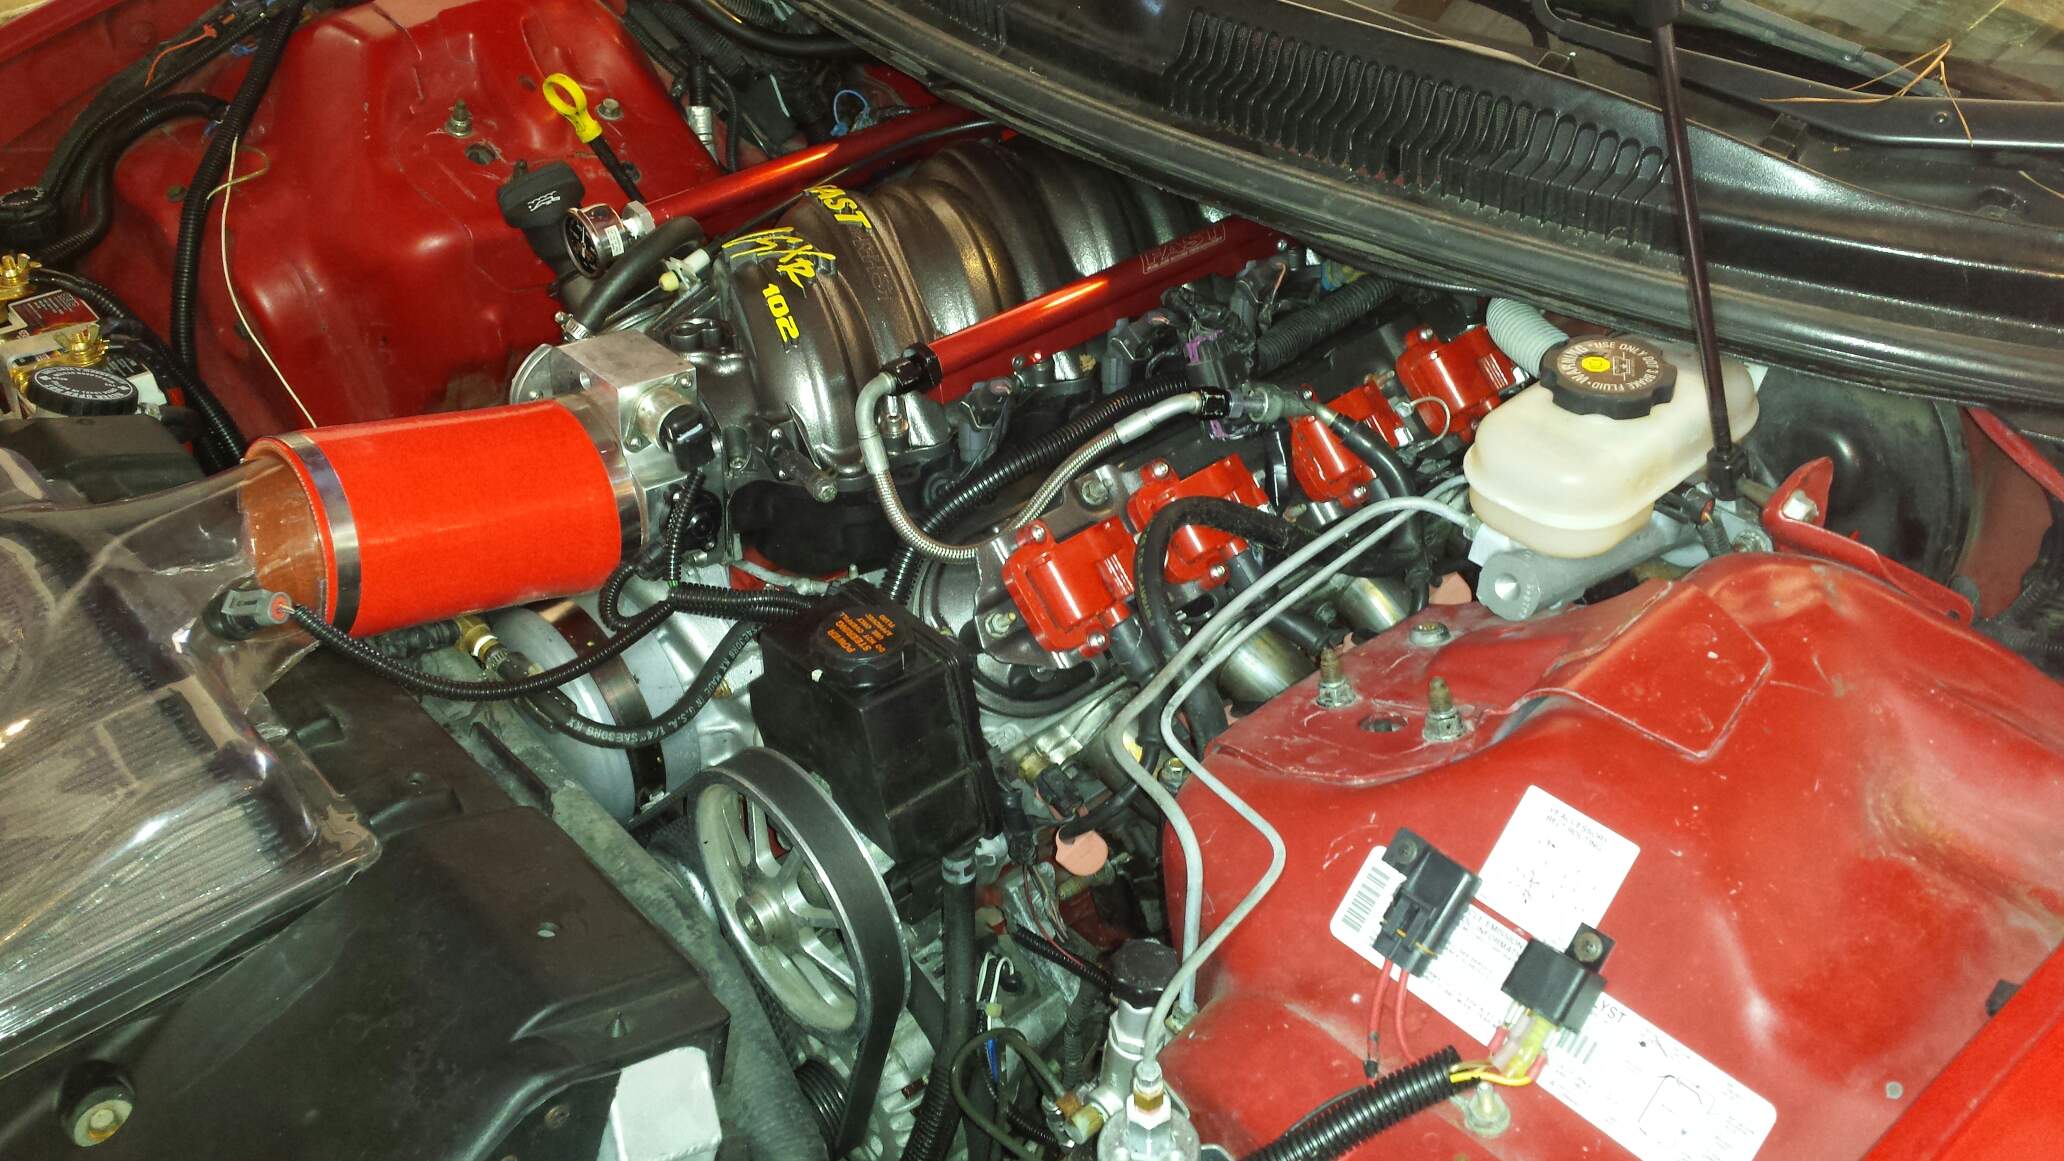
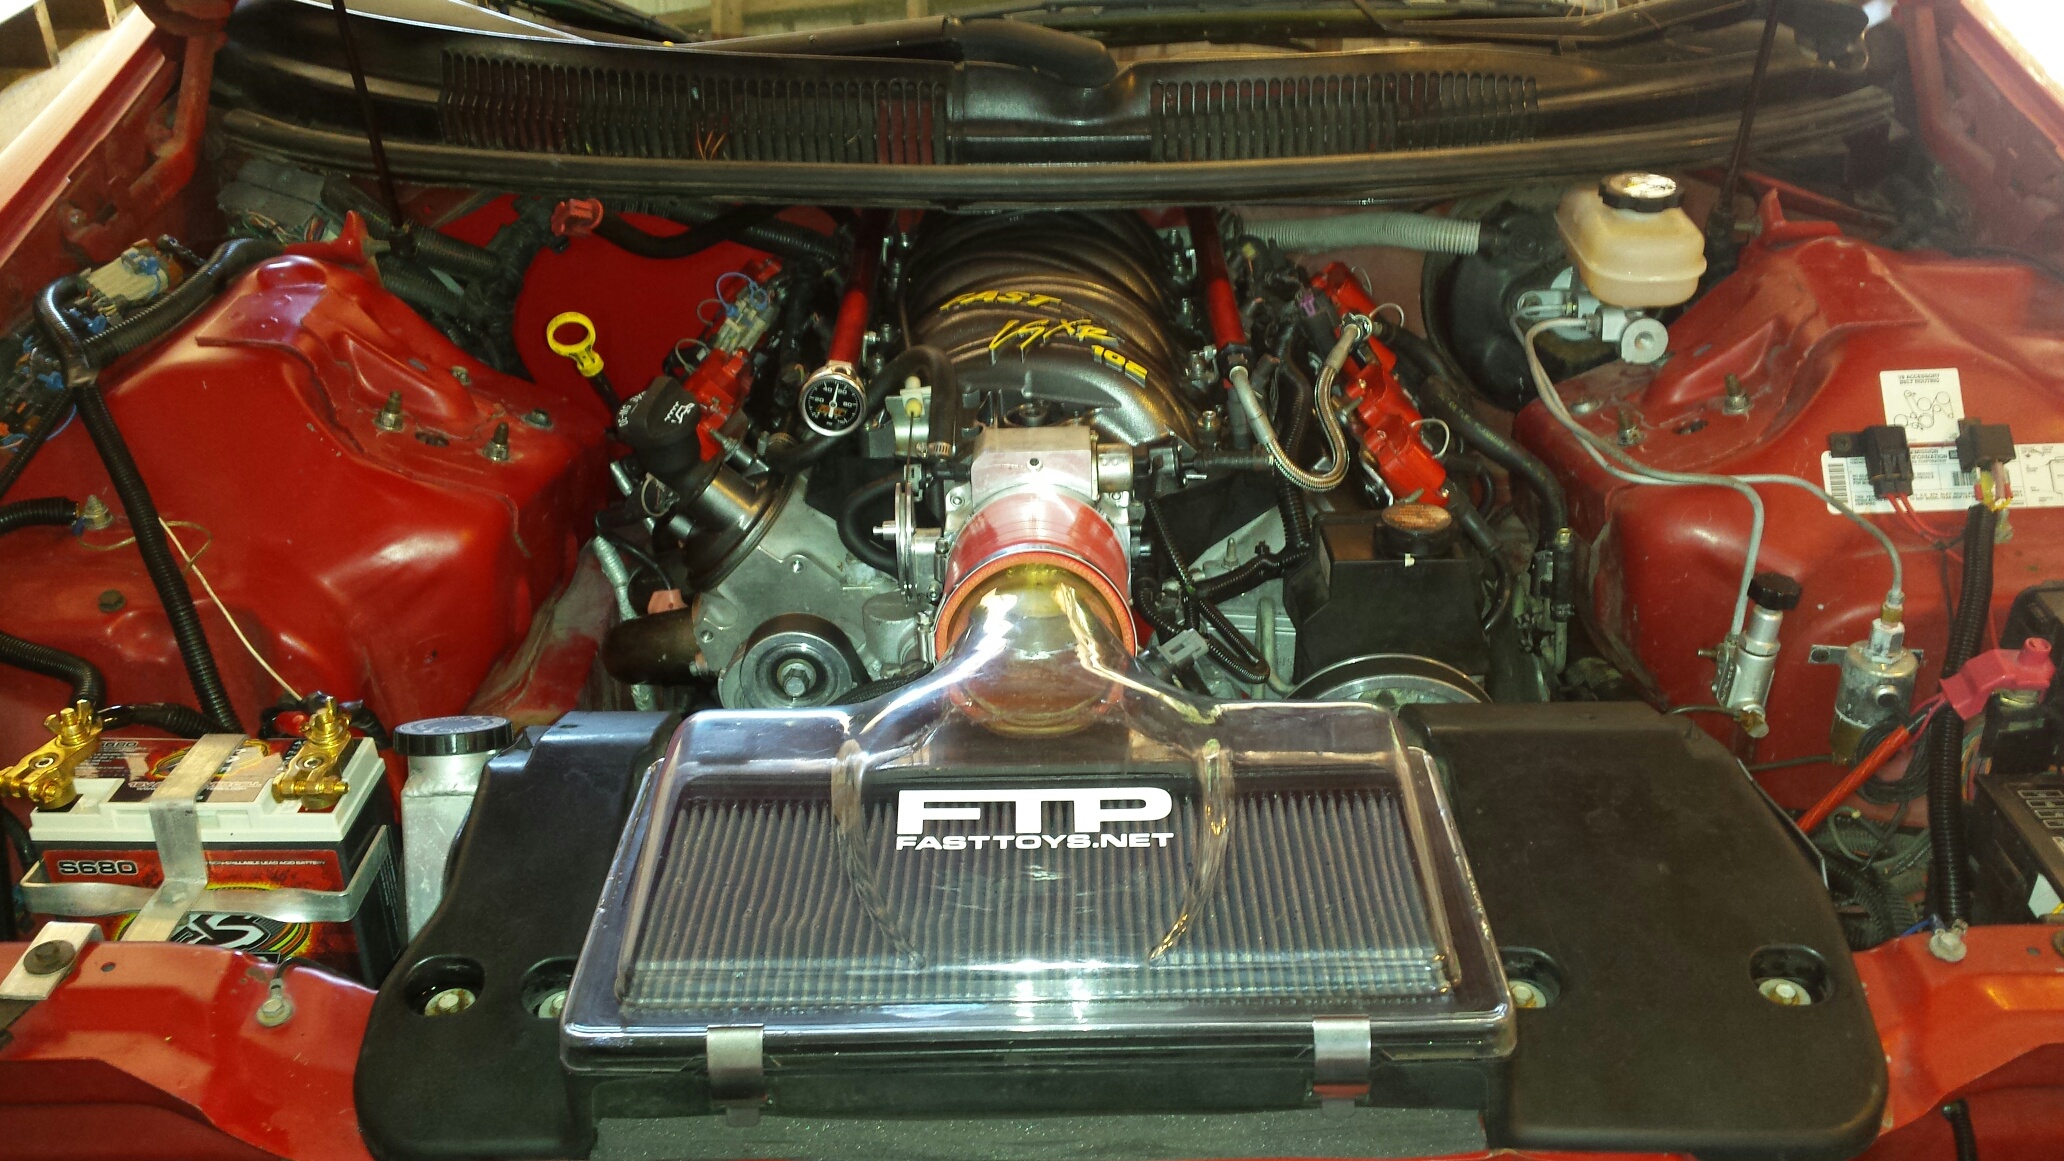
Then dressed it out with injector, rails, tb, and yellow lettering
Then the install, man this thing barely fits. I removed the located dowels from the bottom of the intake and bent the pvc line. No grinding on the pump. Added a new silicone SD hose also. Excuse the dirty engine bay.
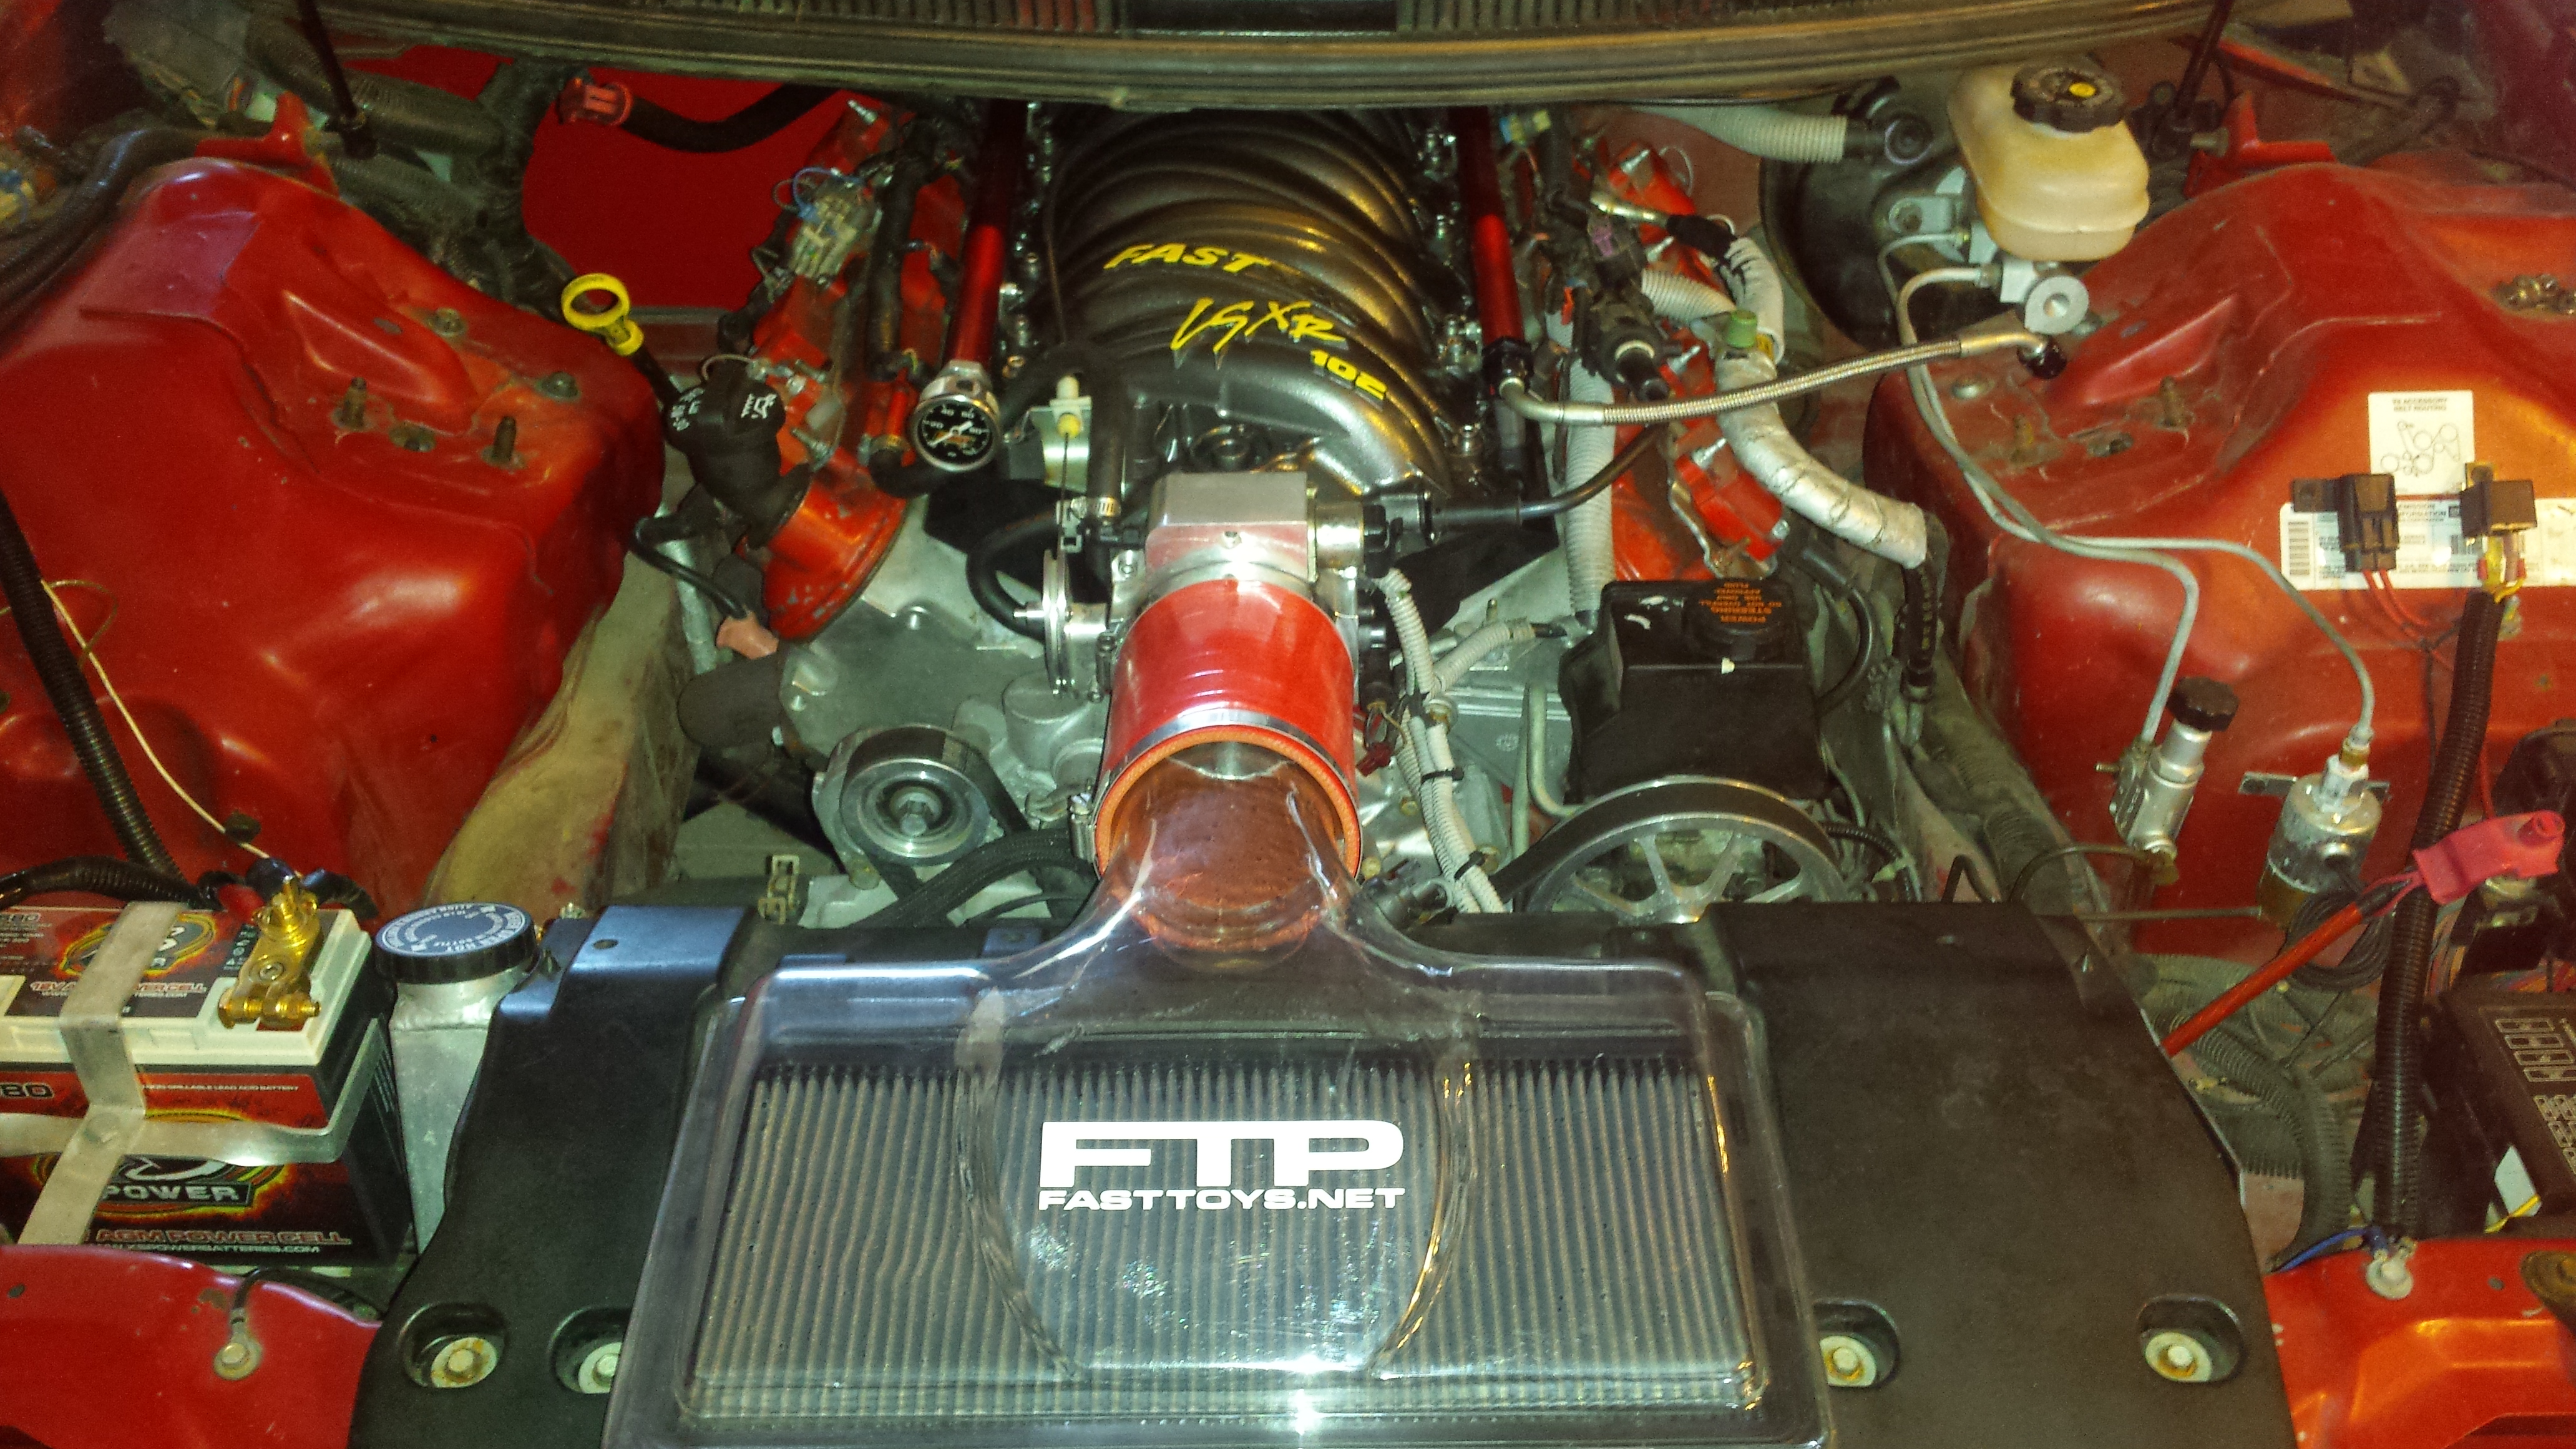
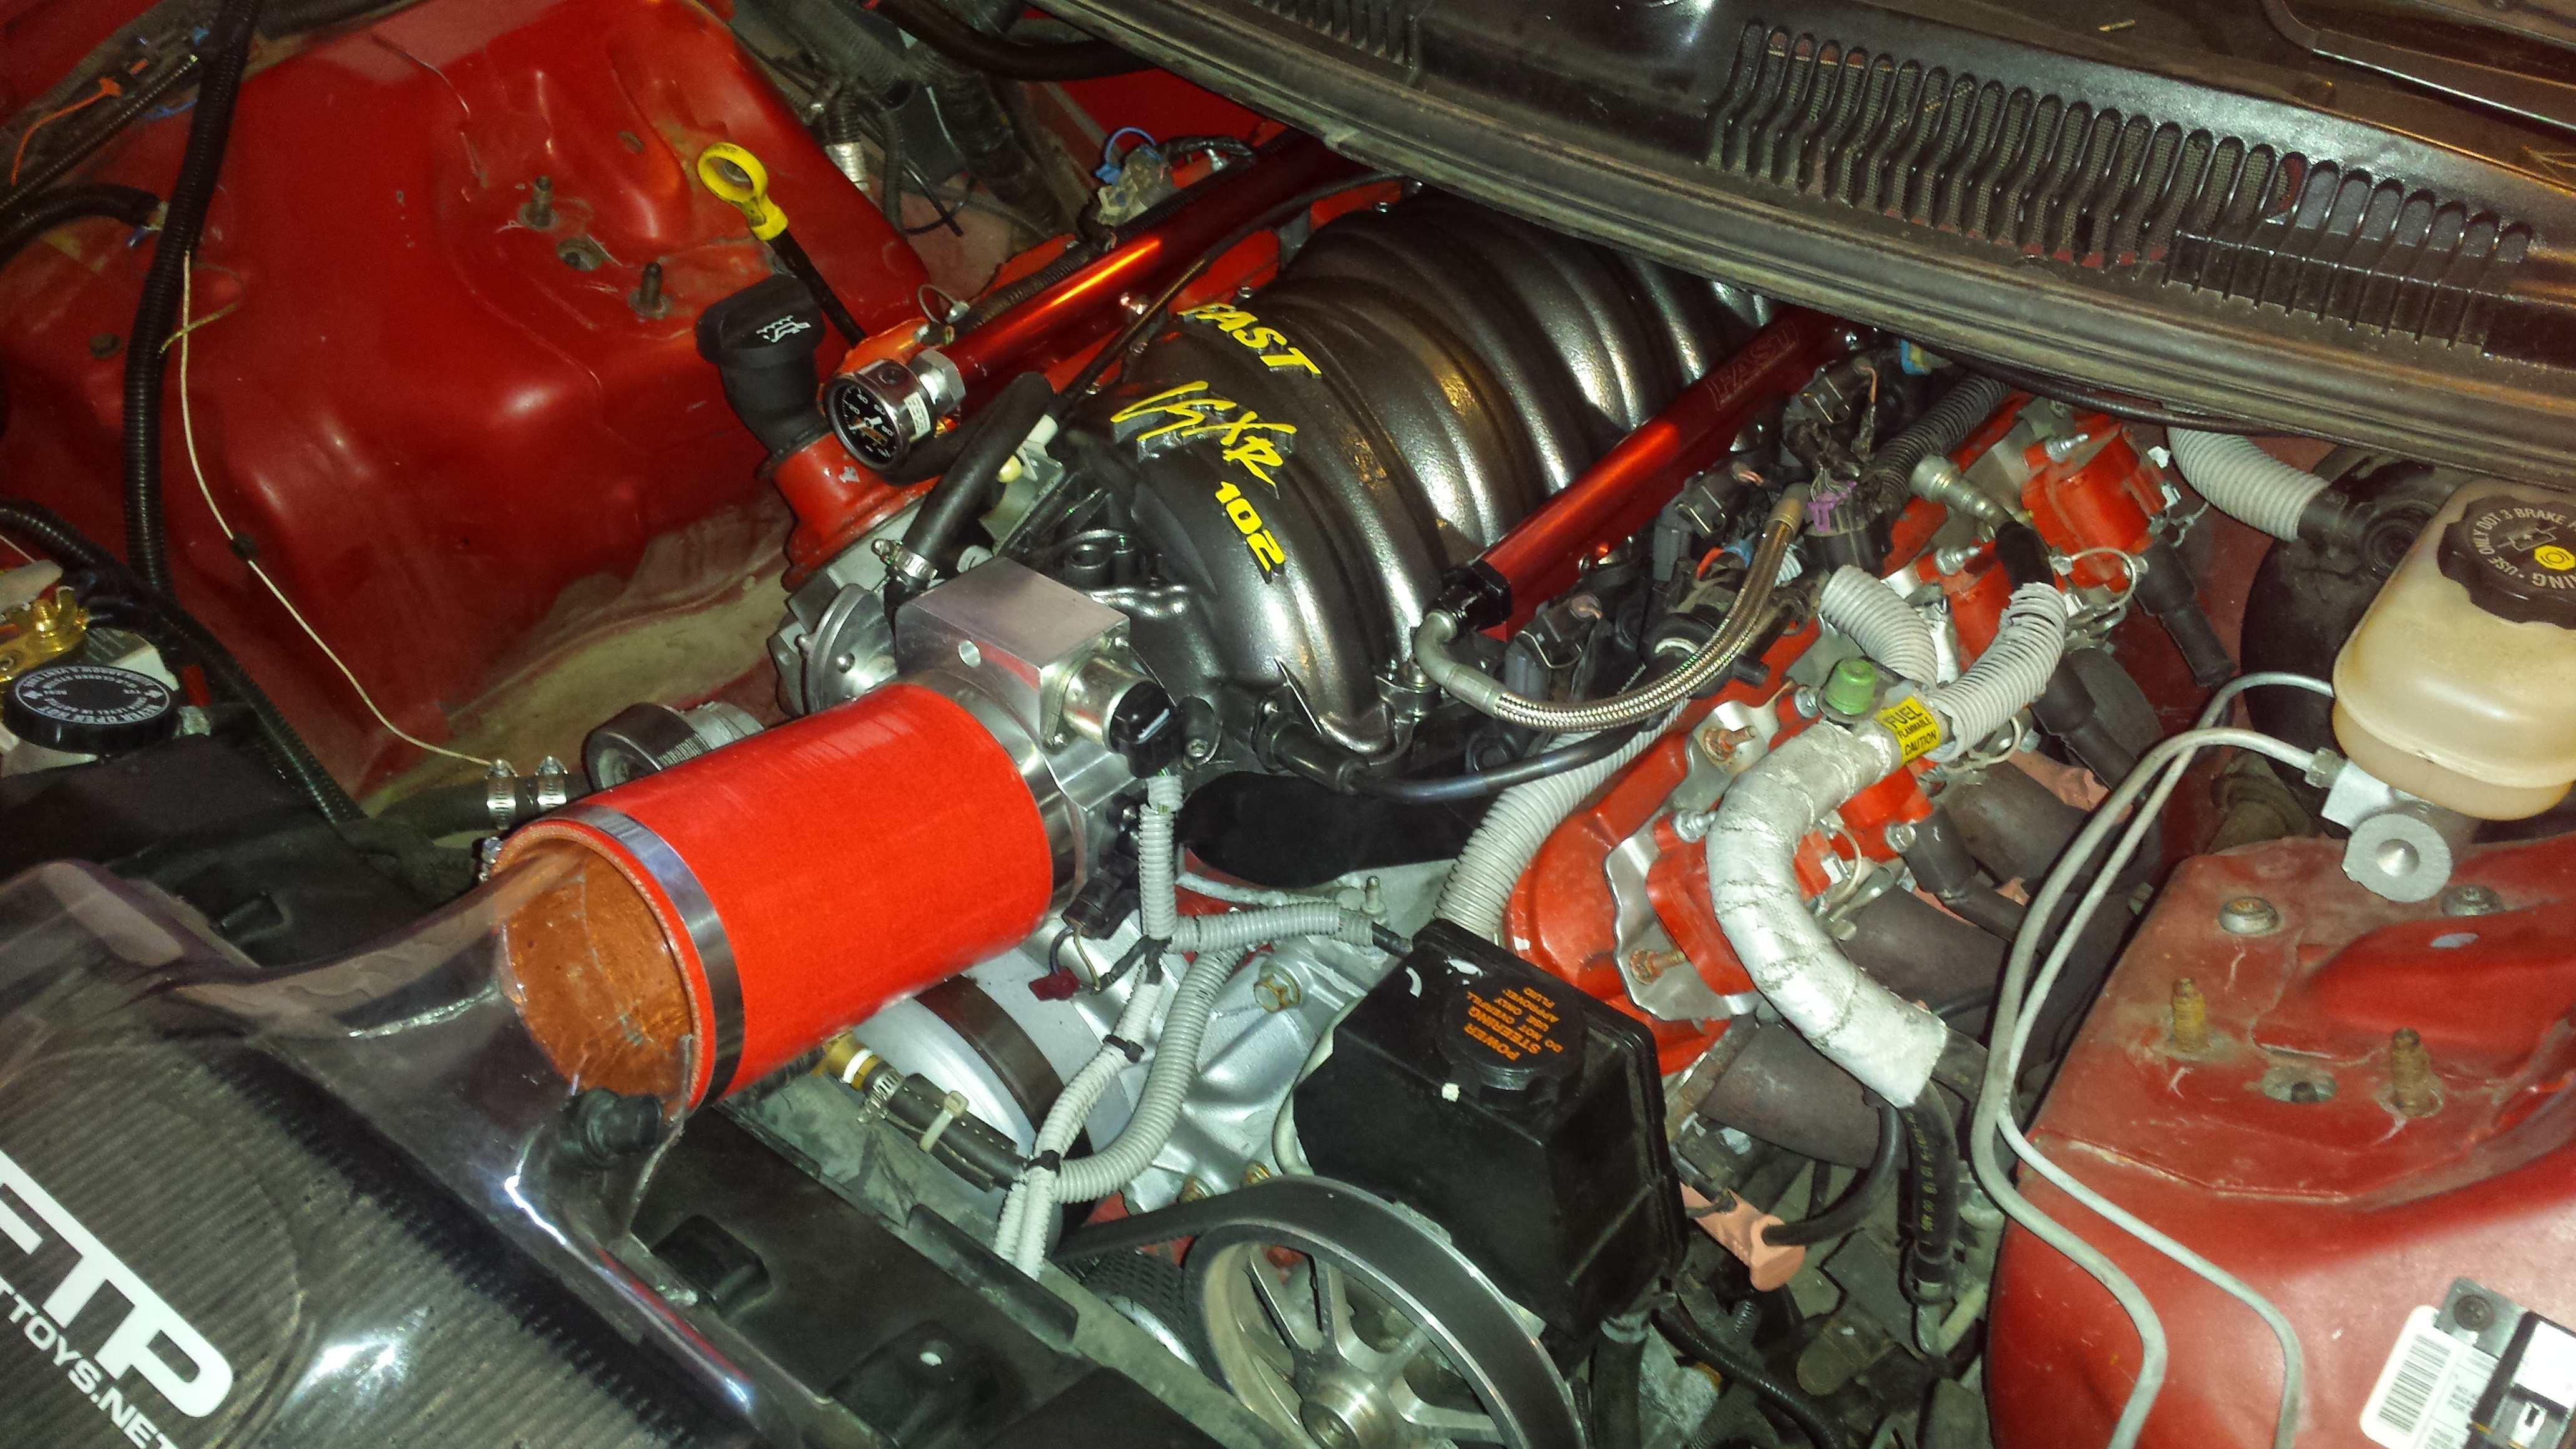
Track times to come!

Looked around for something silver. Thought hey lets go a little darker then go bright on the lettering.

Got about 3 color coats on it.

Then about 3 coats of clear

Then dressed it out with injector, rails, tb, and yellow lettering

Then the install, man this thing barely fits. I removed the located dowels from the bottom of the intake and bent the pvc line. No grinding on the pump. Added a new silicone SD hose also. Excuse the dirty engine bay.


Track times to come!
#48
10-12-2016, 10:01 PM
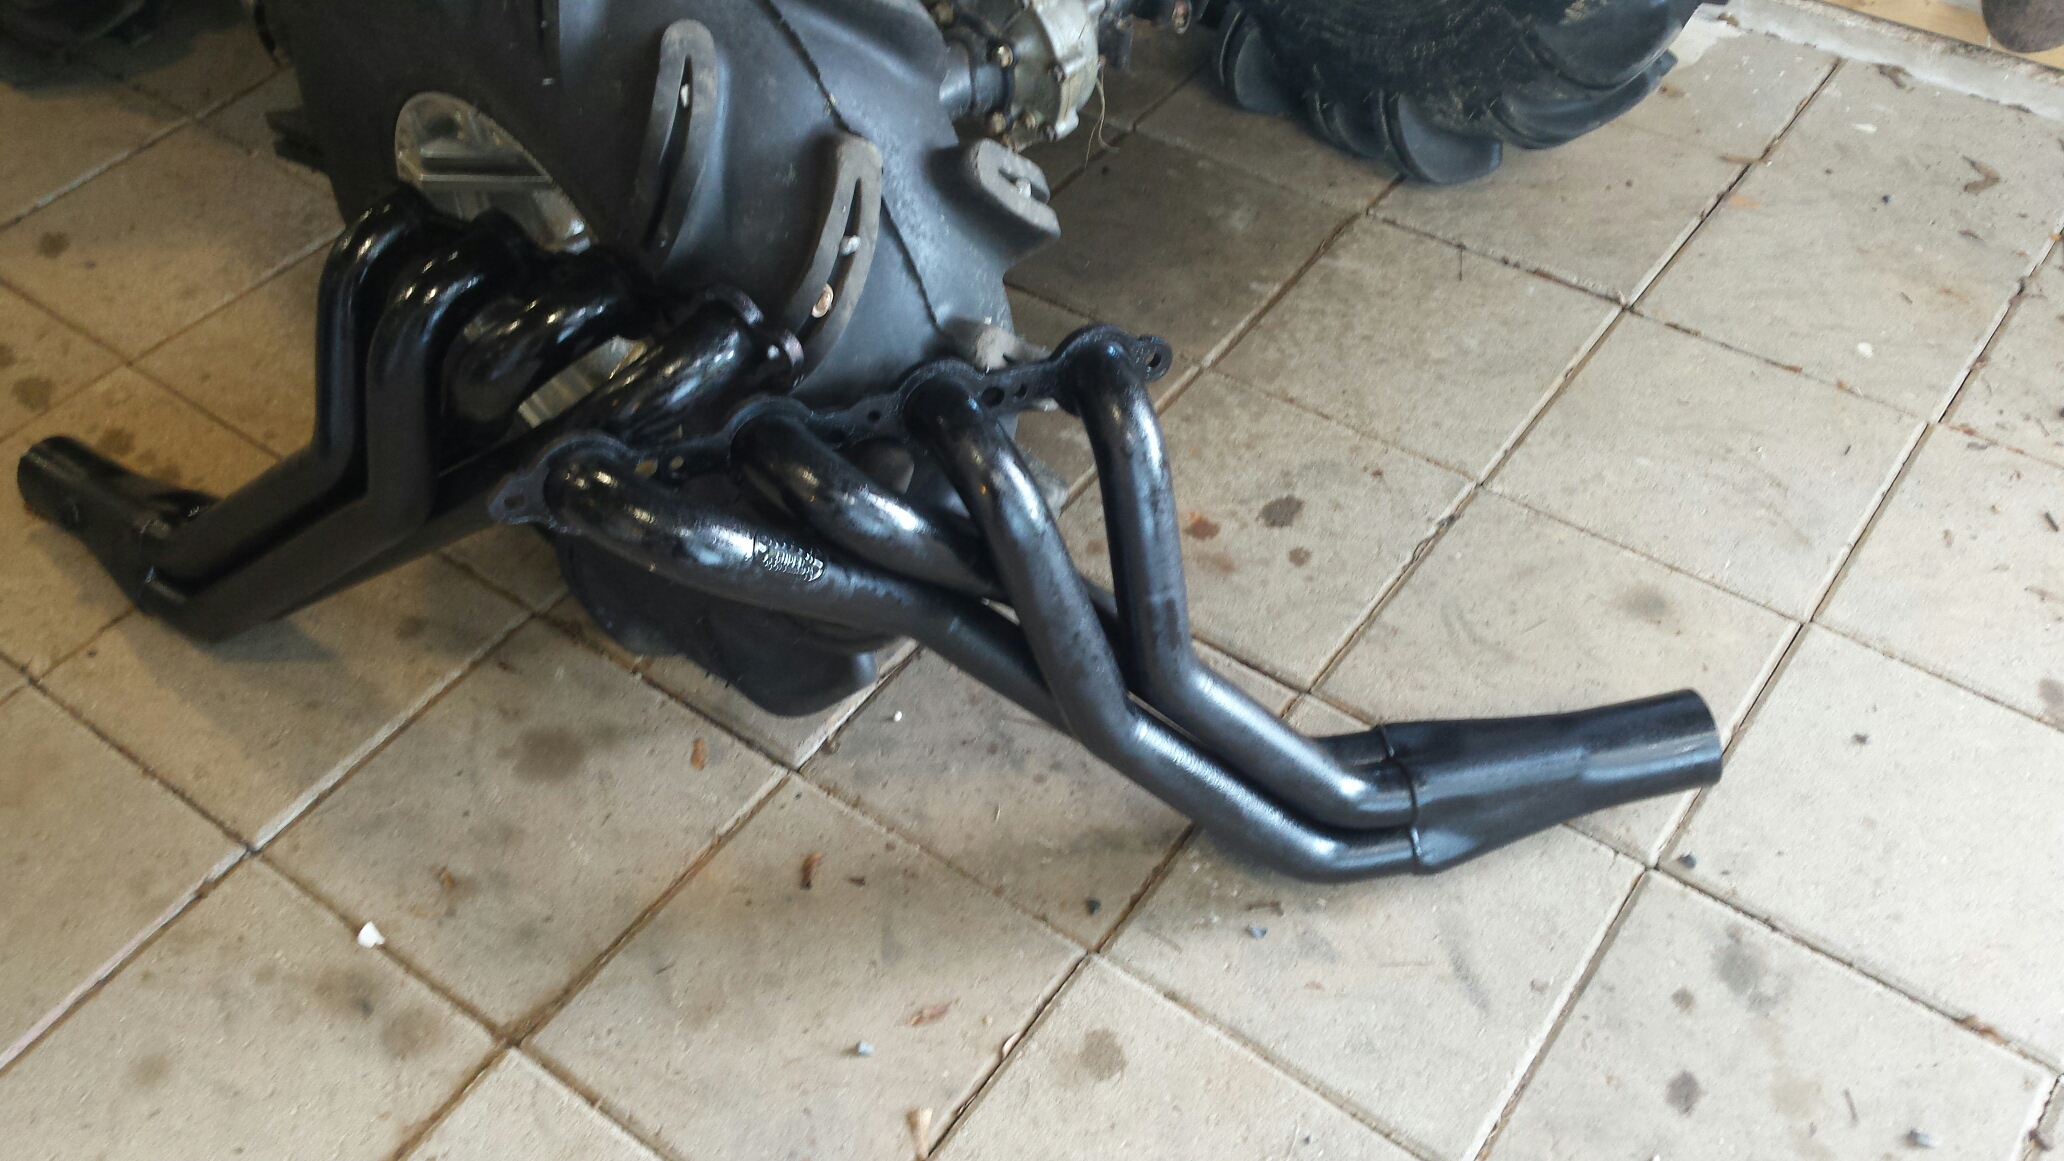
Another day, a little more accomplished. Pulled the old Hooker 1 7/8ths headers off. Slapped some paint on them and sold them locally.
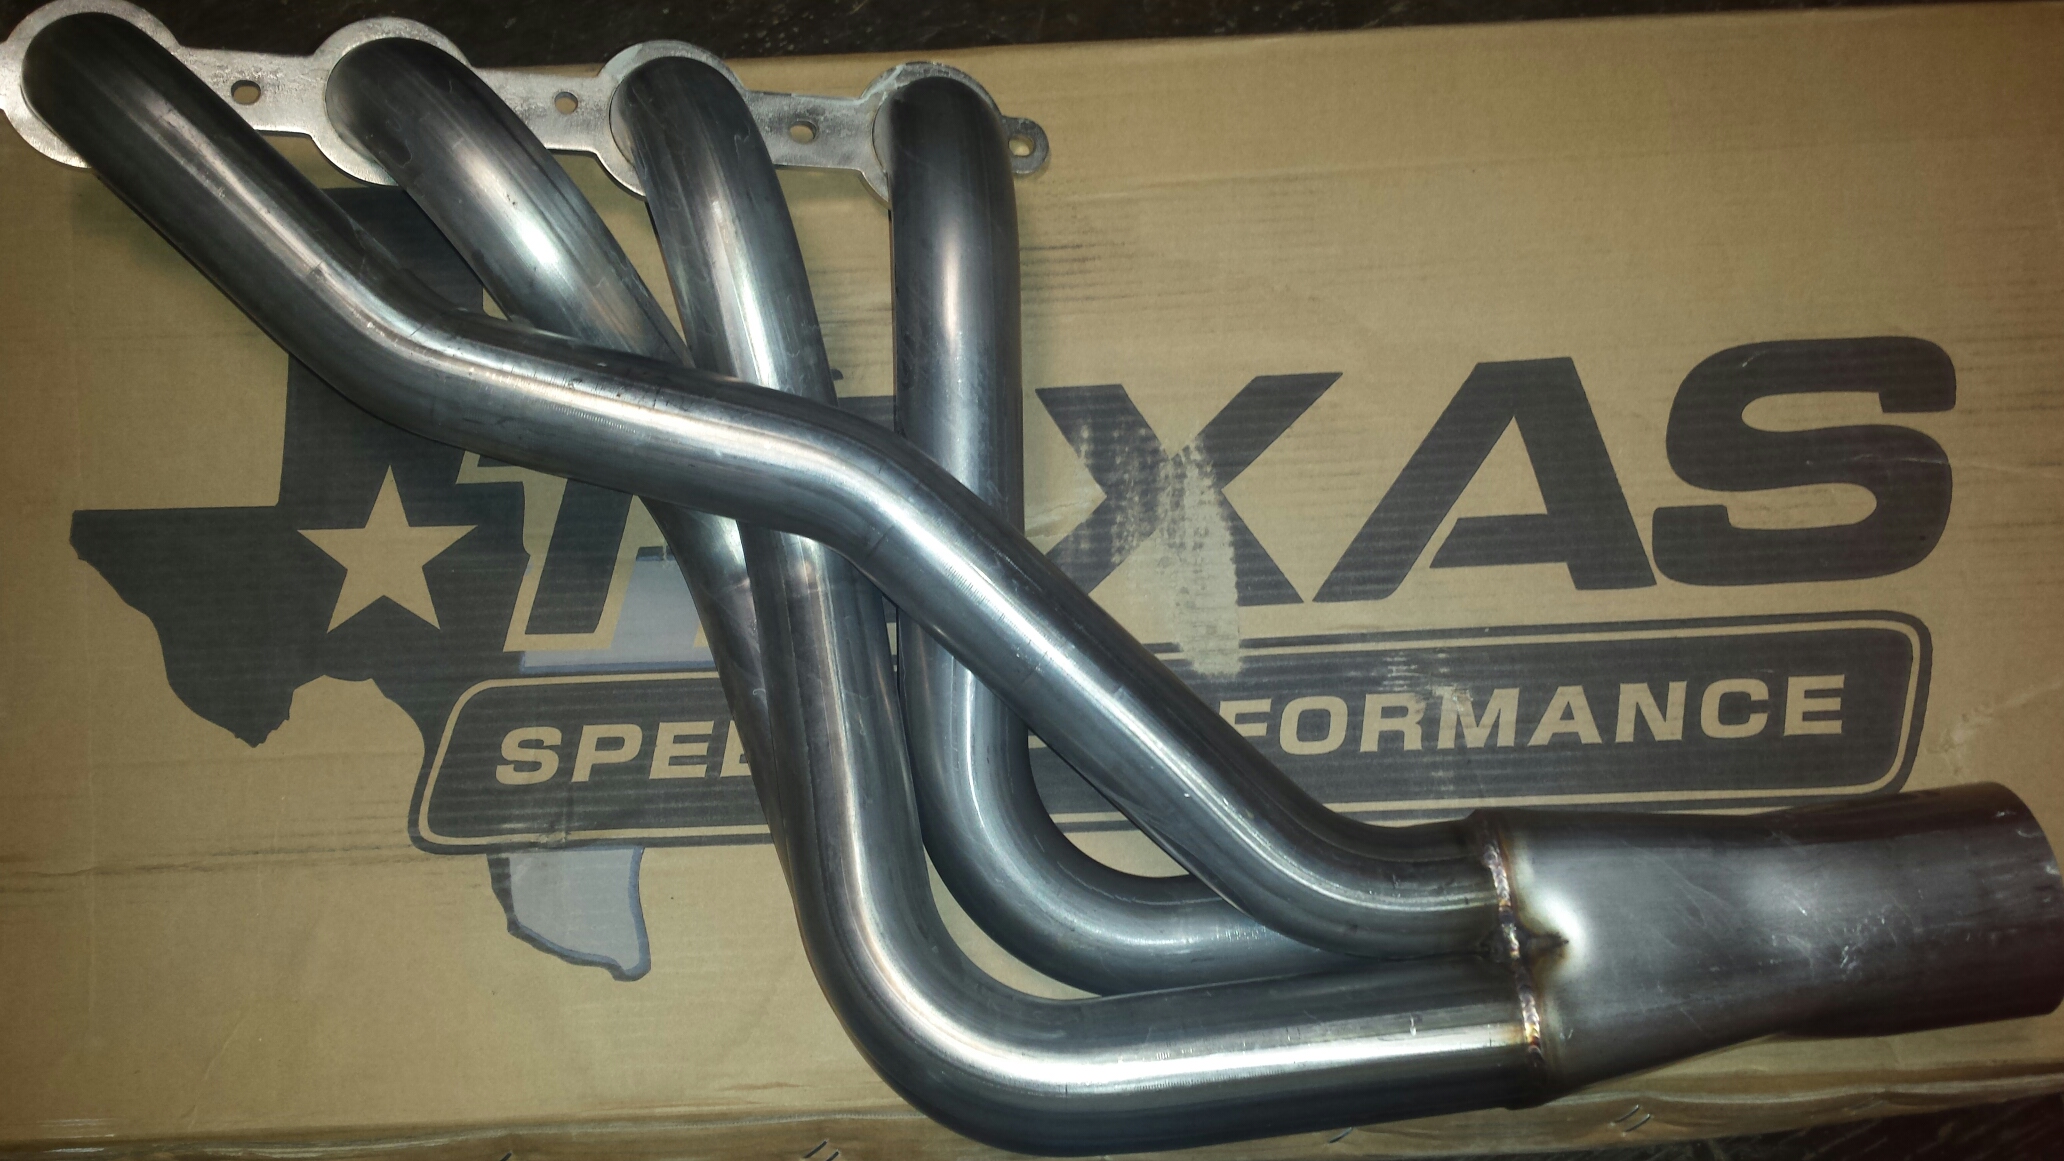
The new TSP setup, 2" header with a 3.5" collector. That means I'm making a new Y pipe.
Ordered up some random pipe pieces and clamps.
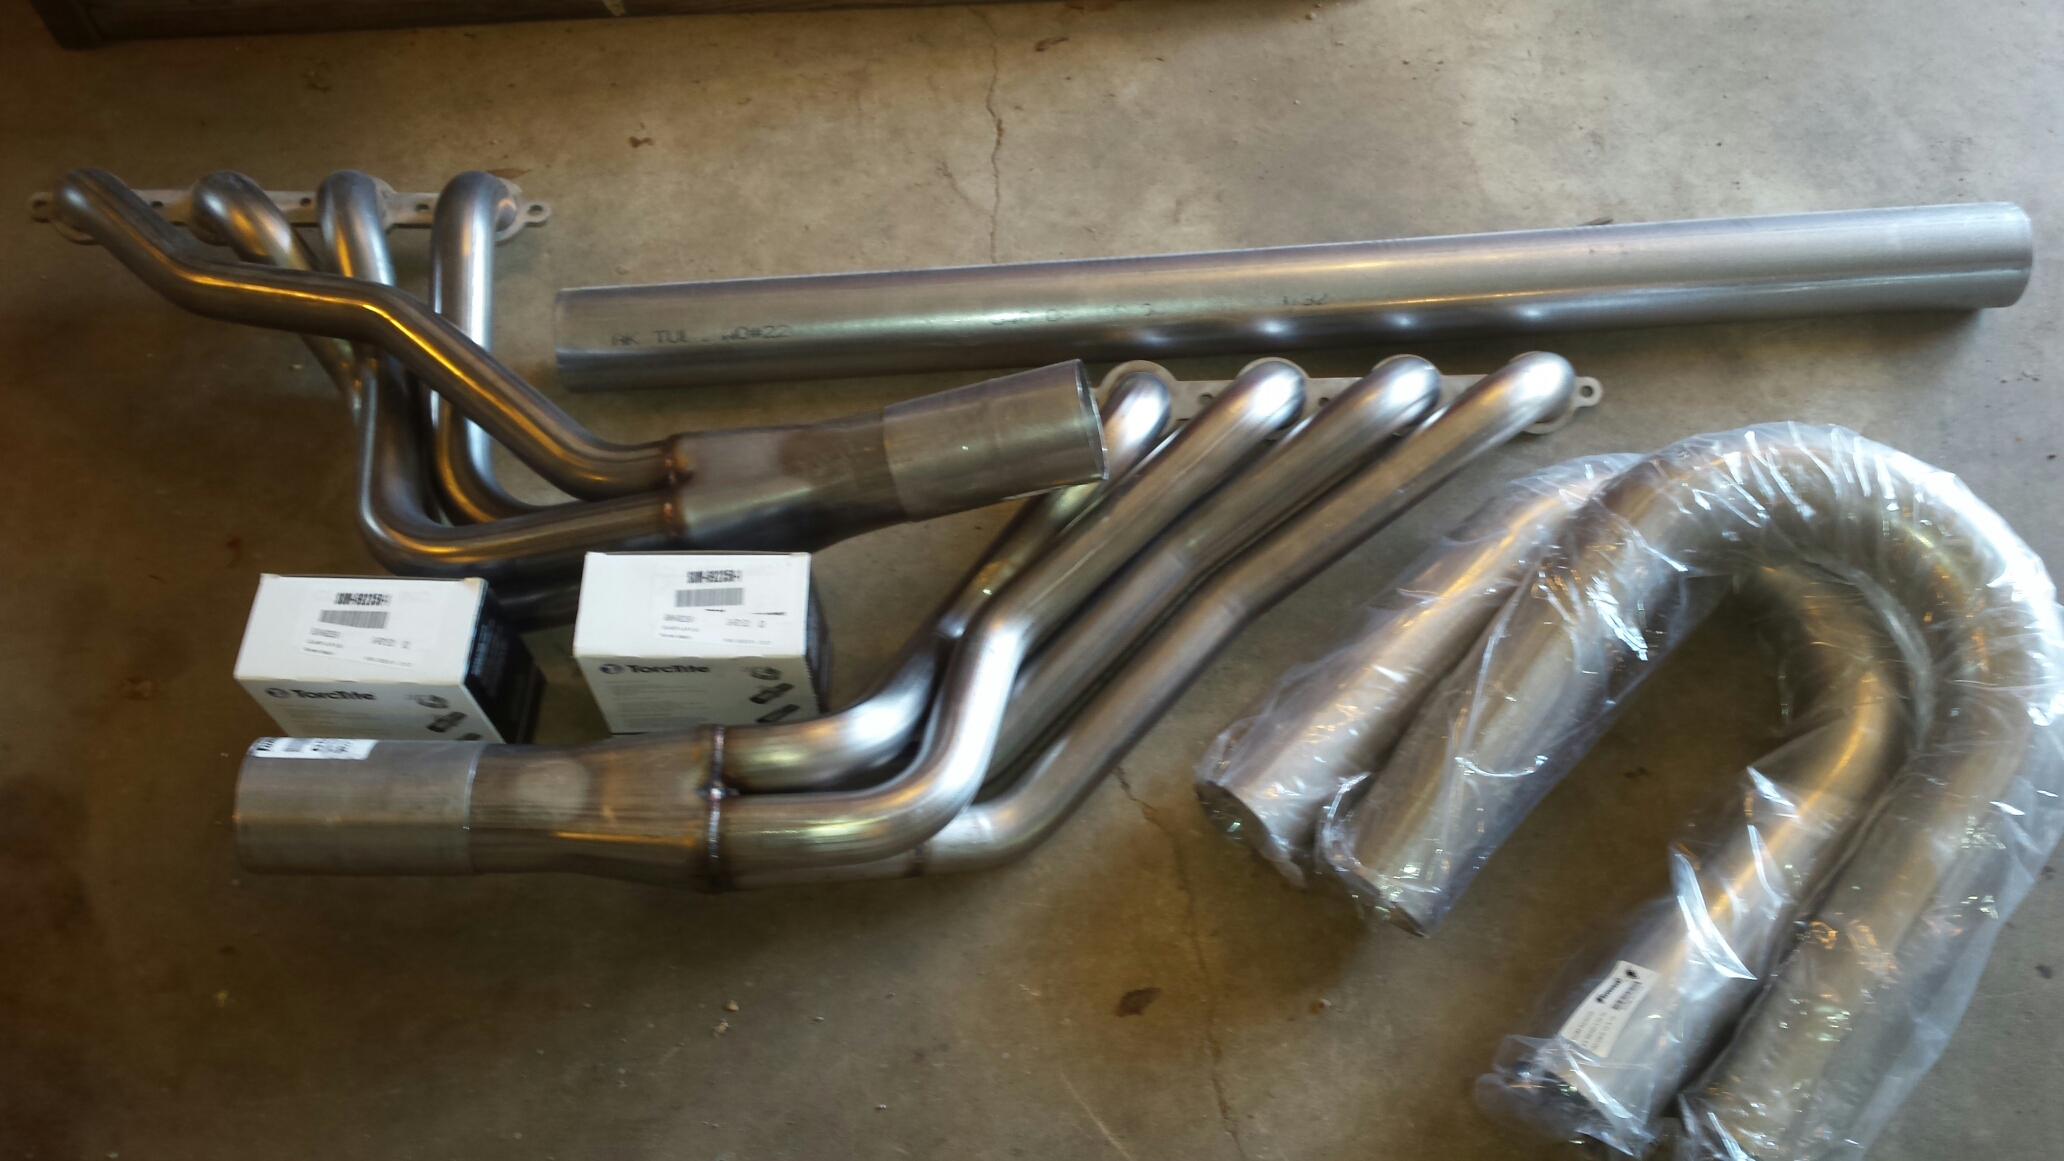
In this picture you can see the Howe racing merge, 3.5 to 5 inch, and my old 4" bullet muffler I plan on reinstalling.
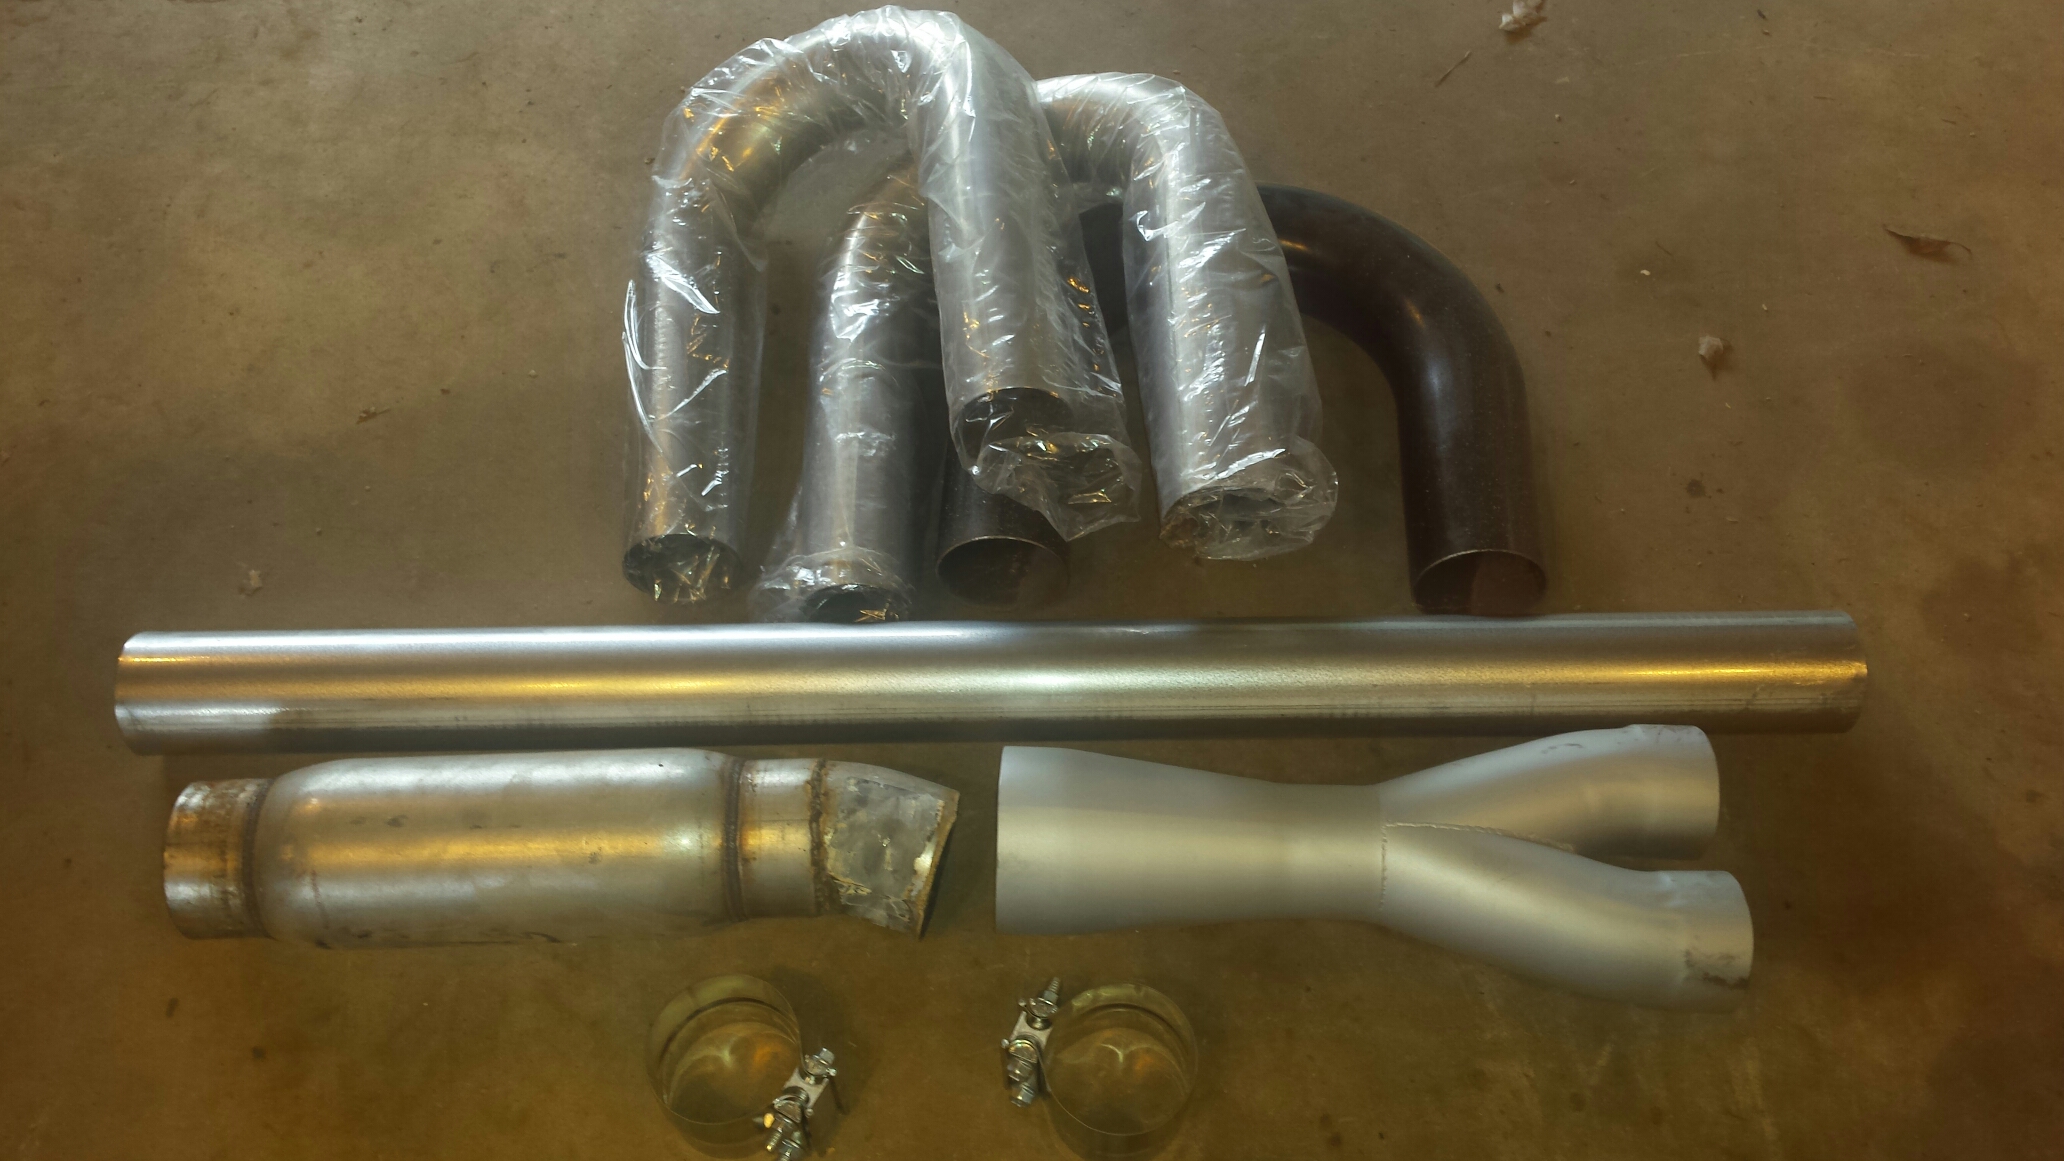
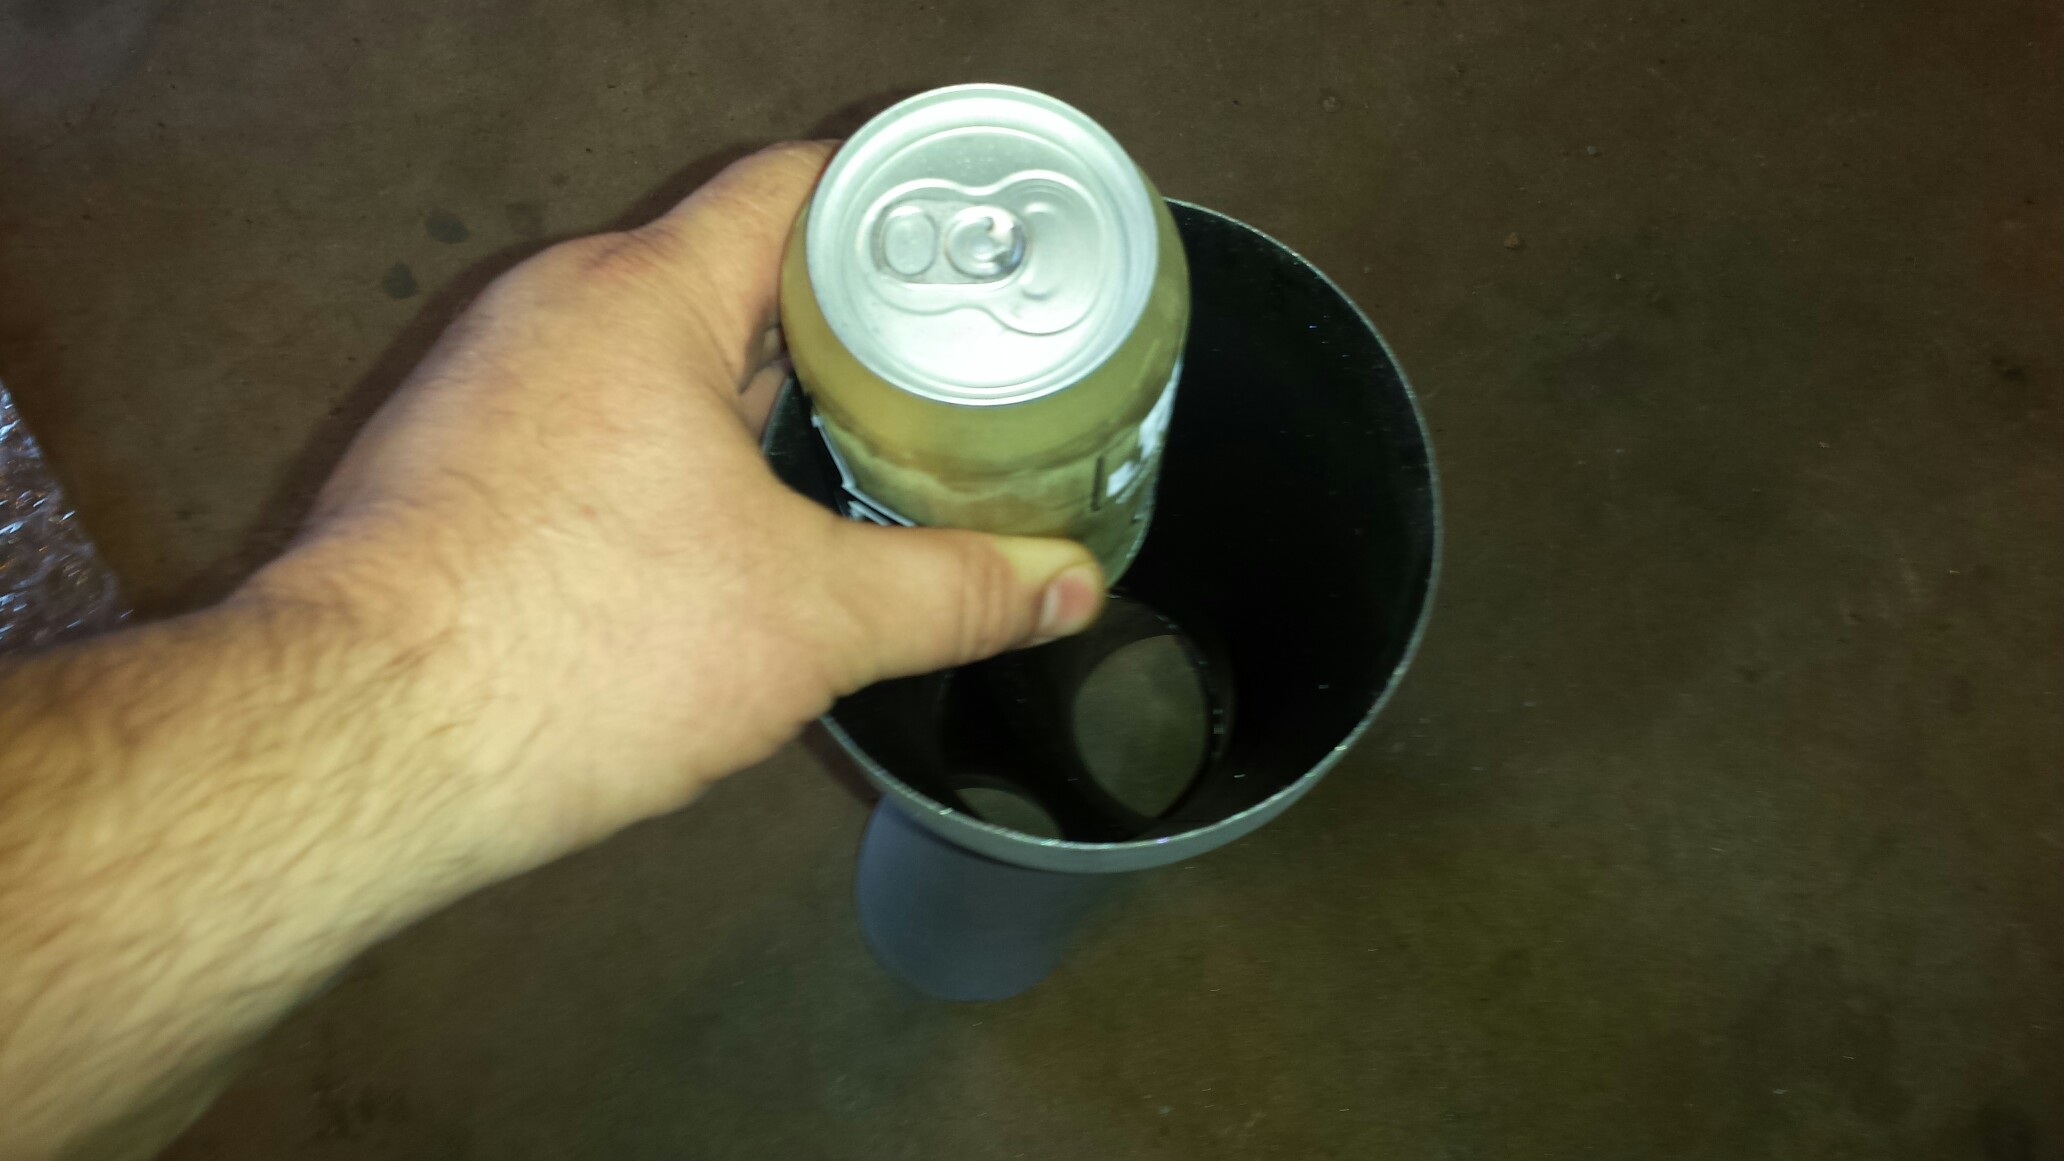
This merge obviously was too big so I ended up cutting it back about 3 inches so it would mate up with 4 inch pipe.
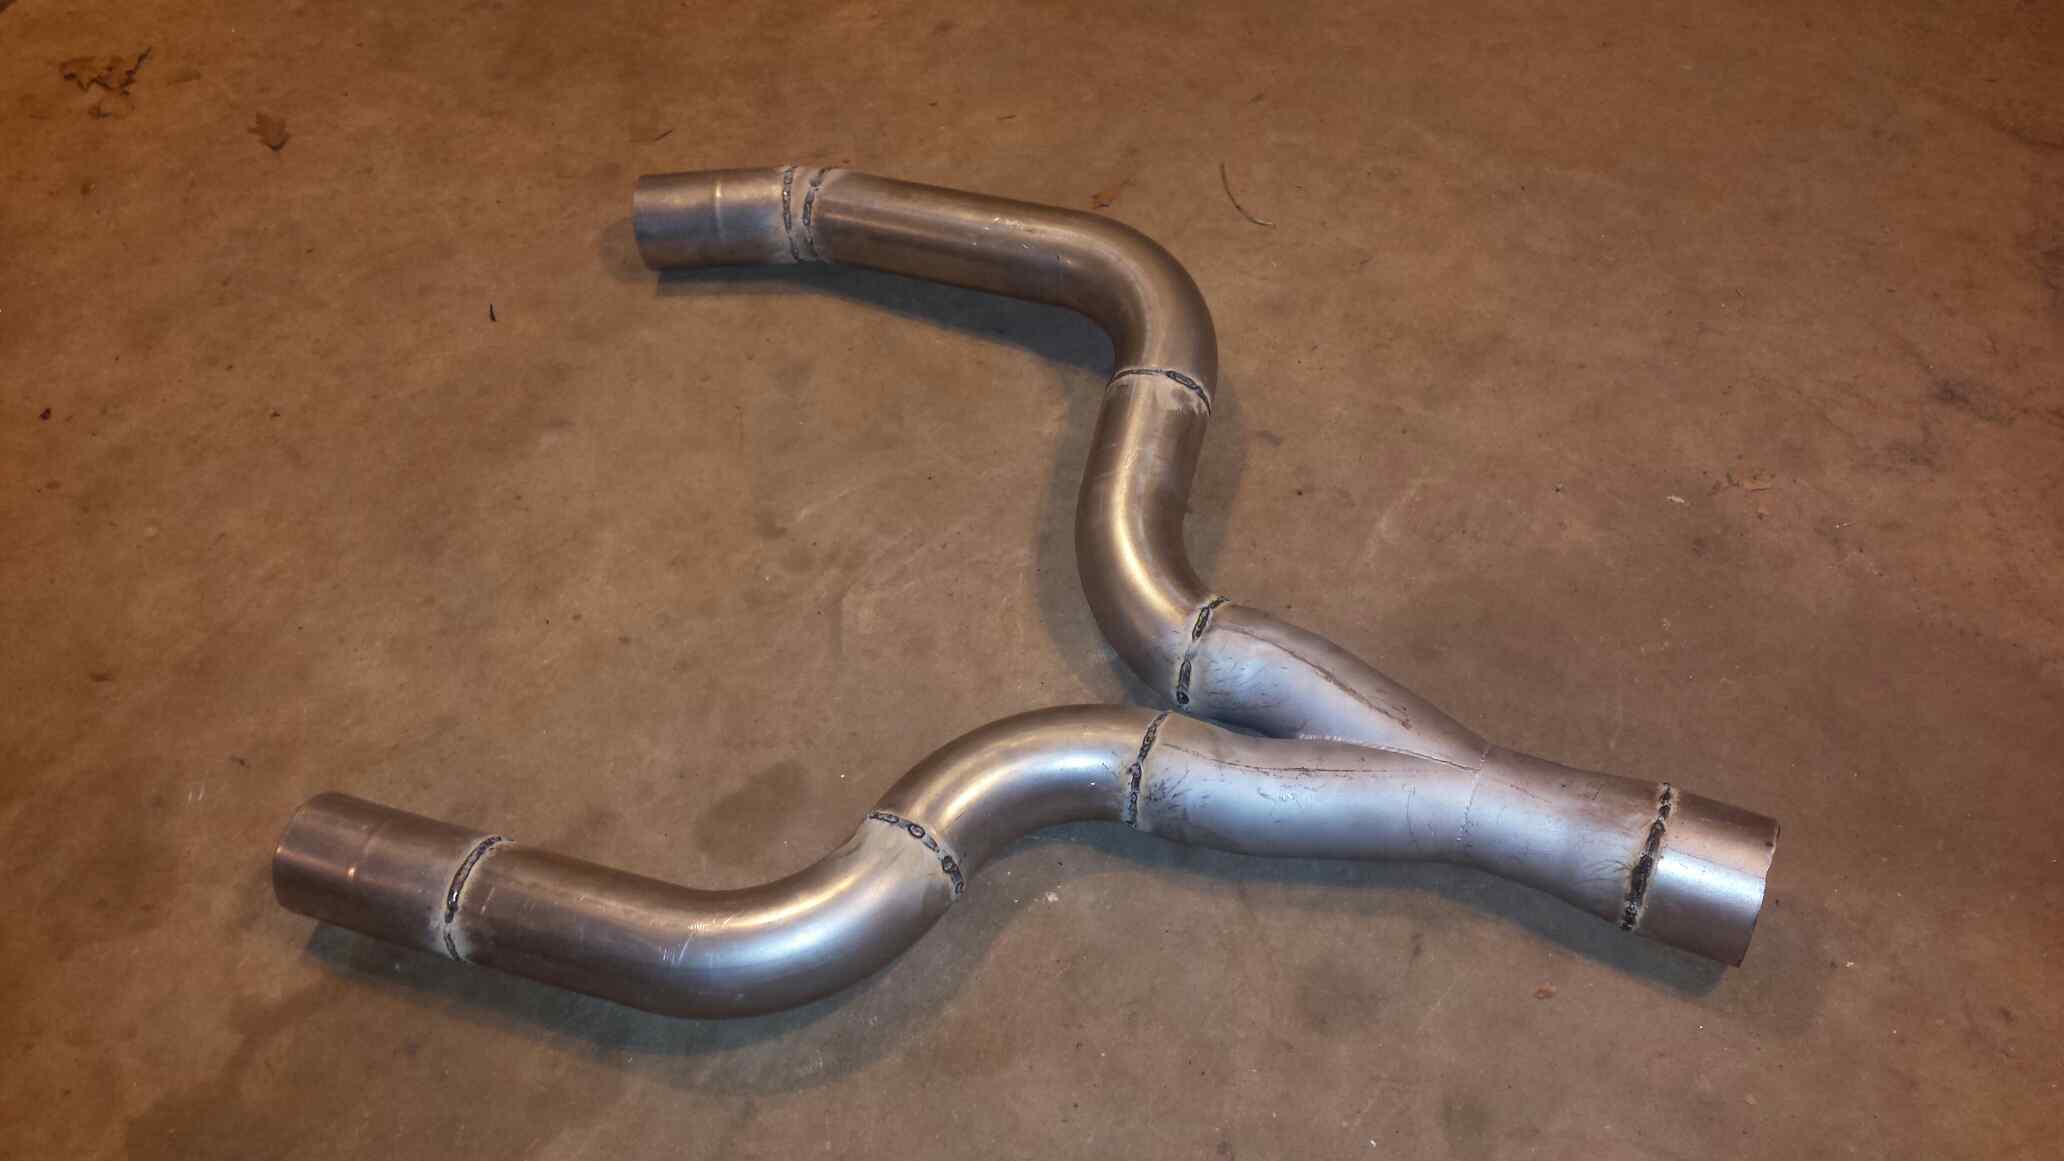
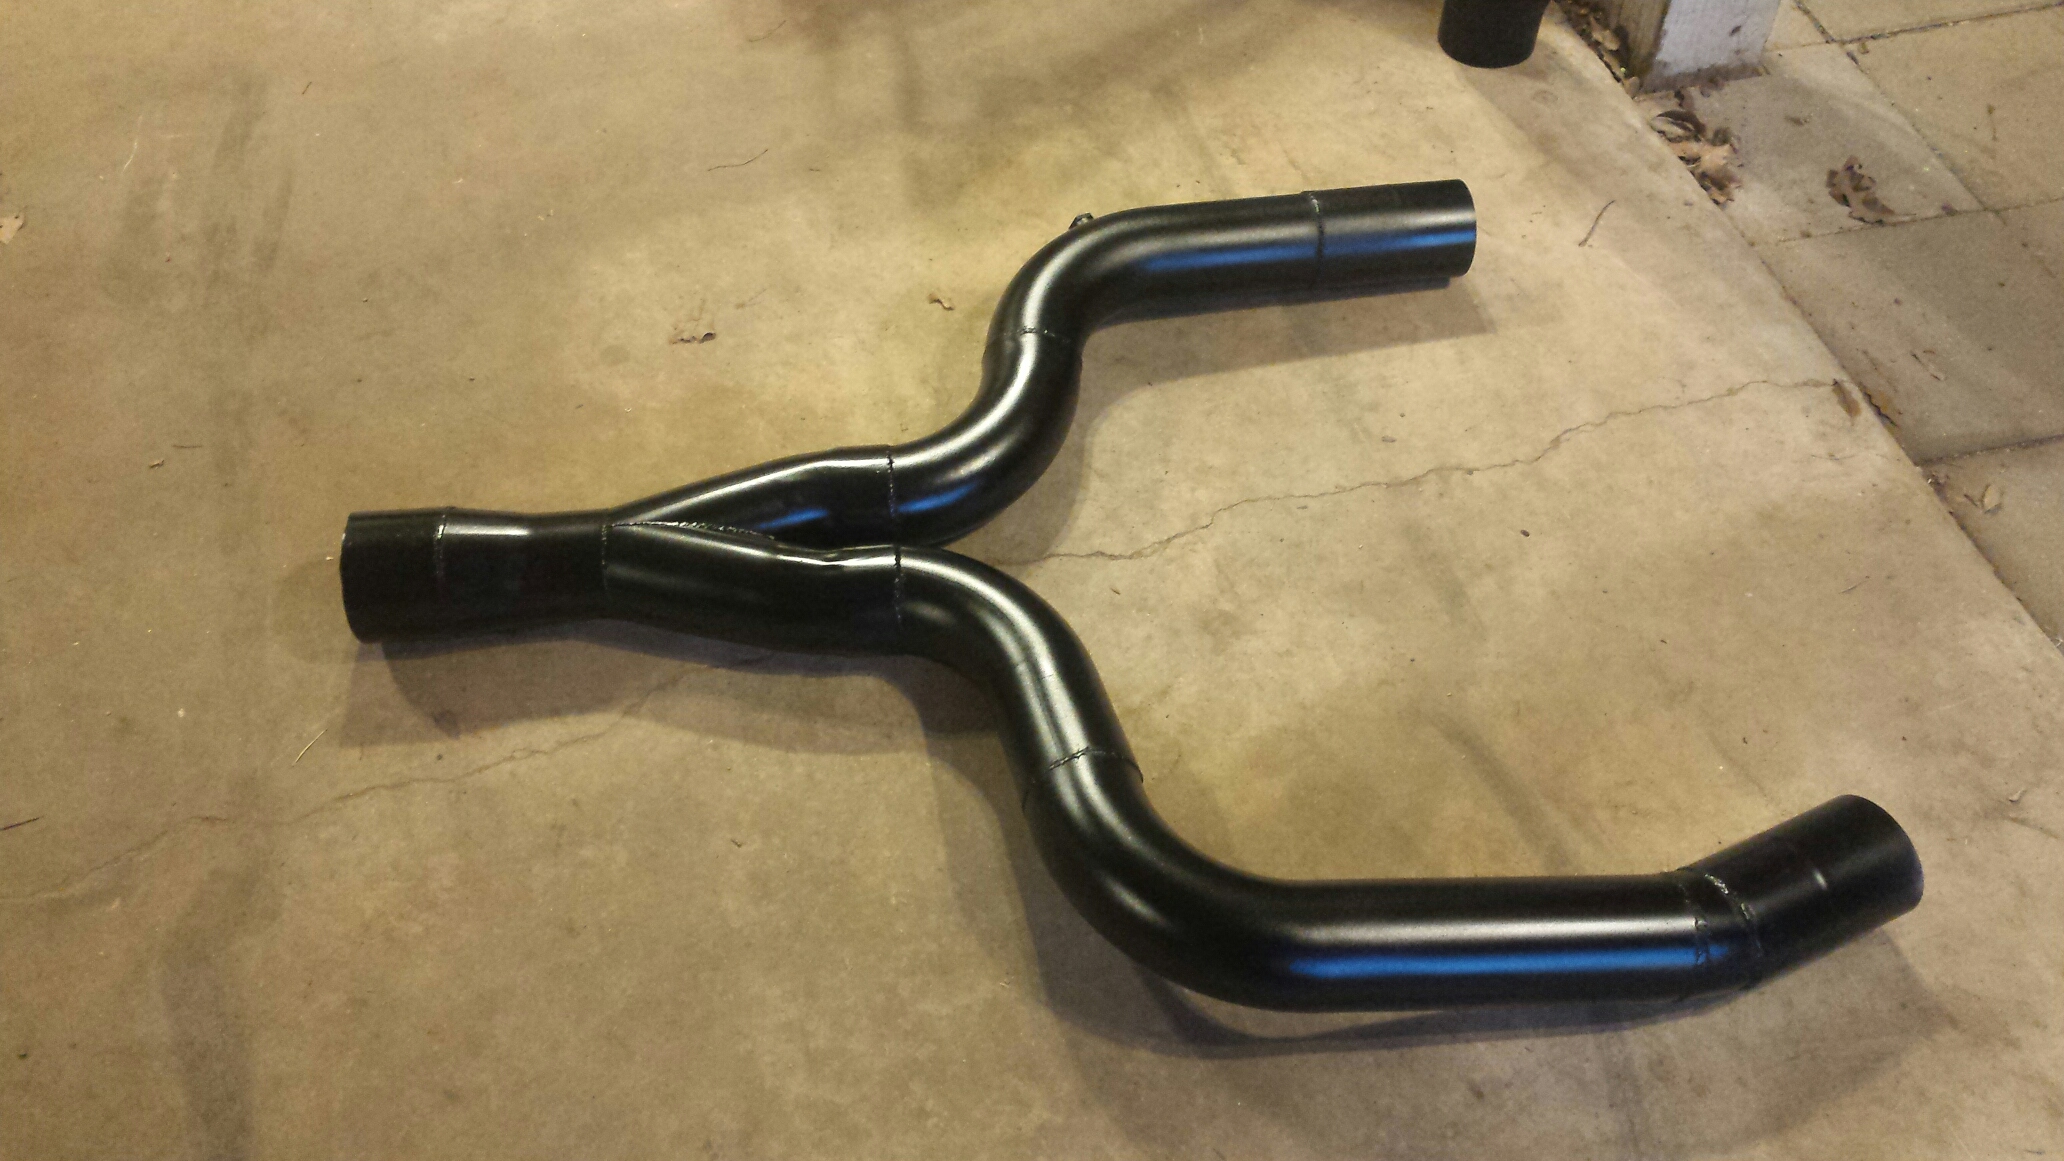
Here is the completed Y pipe and merge.
Had it coated with high temp powder.
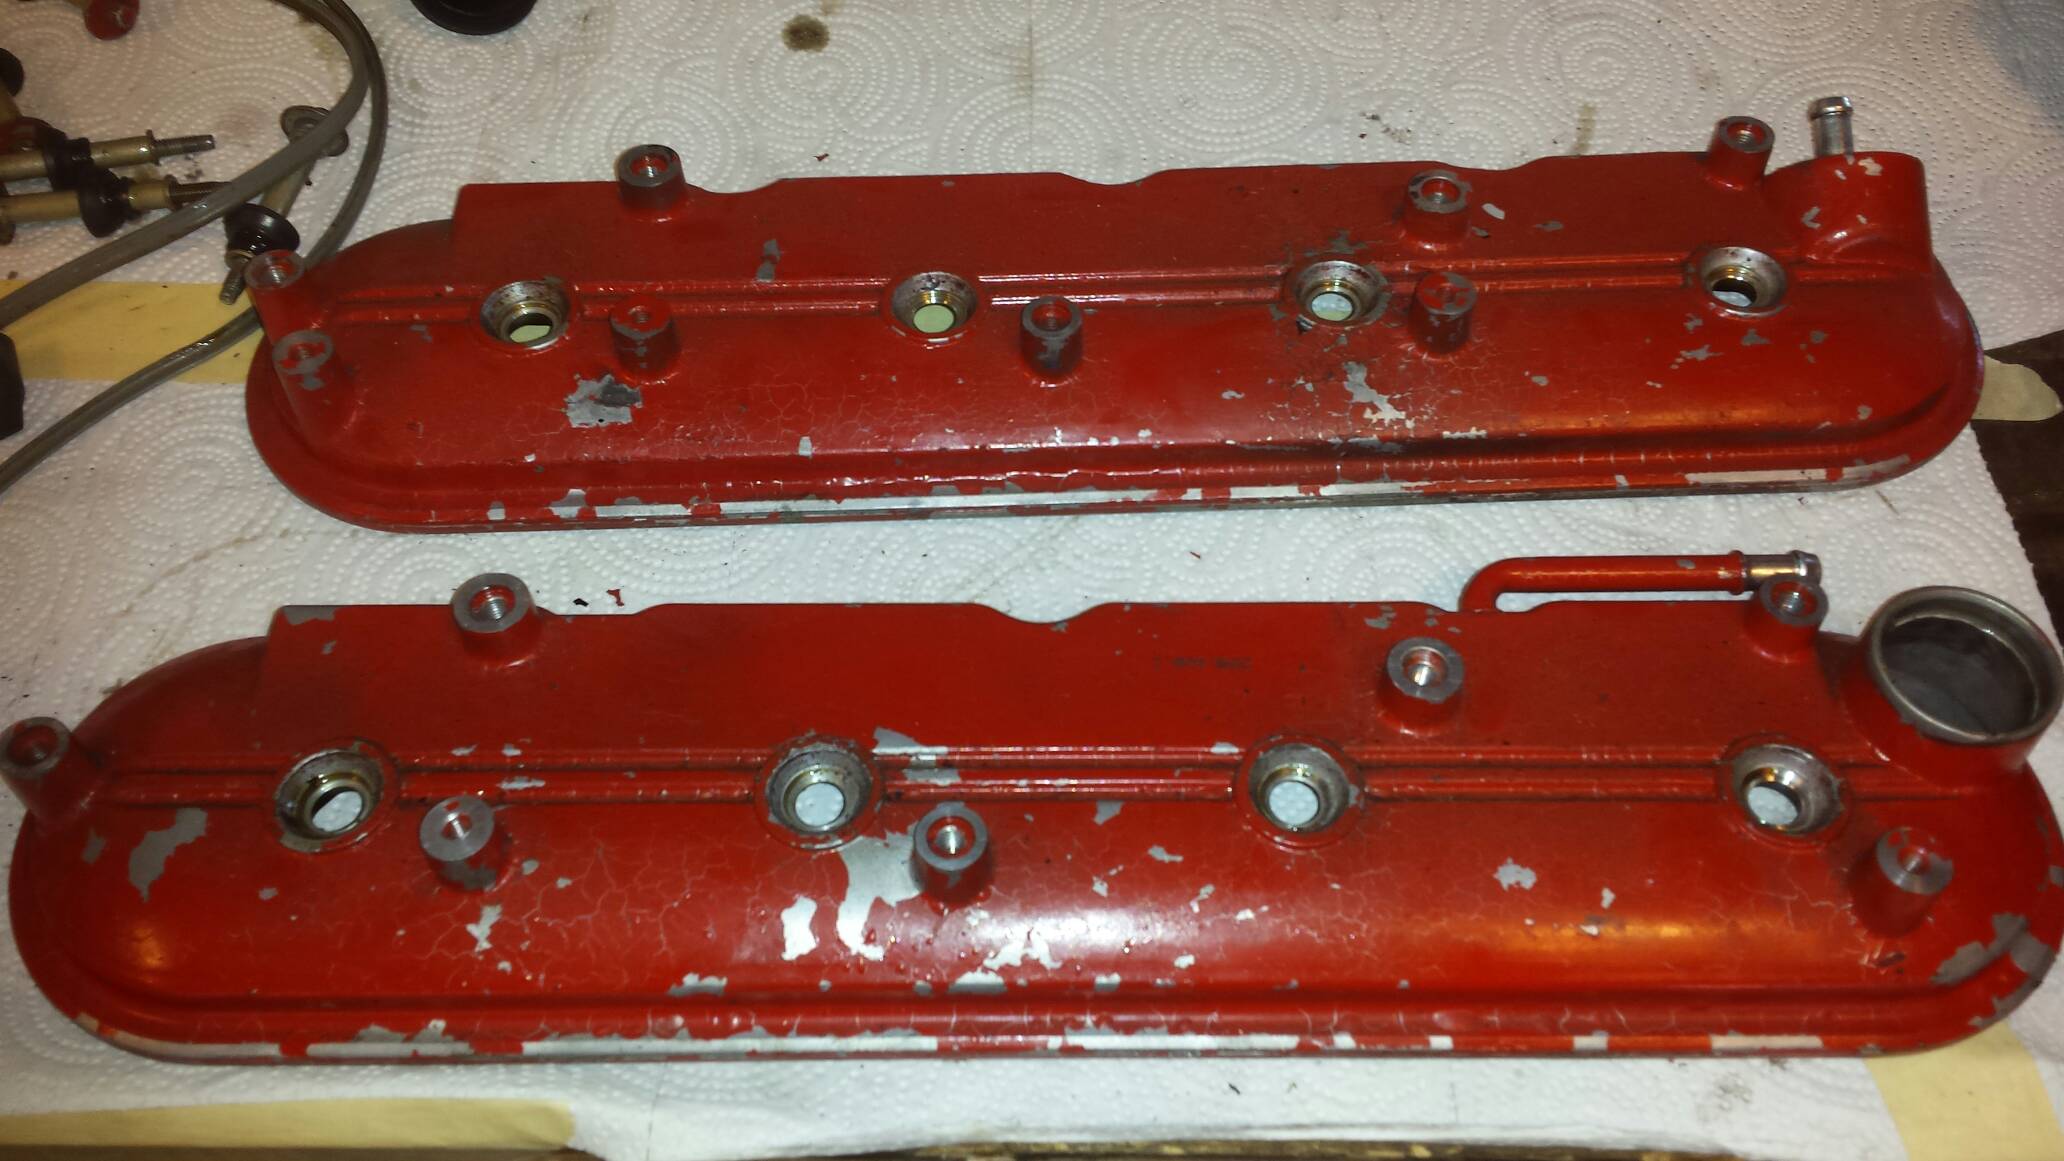
The red valve covers had seen better days so I decided to change the color scheme up some on the top side.
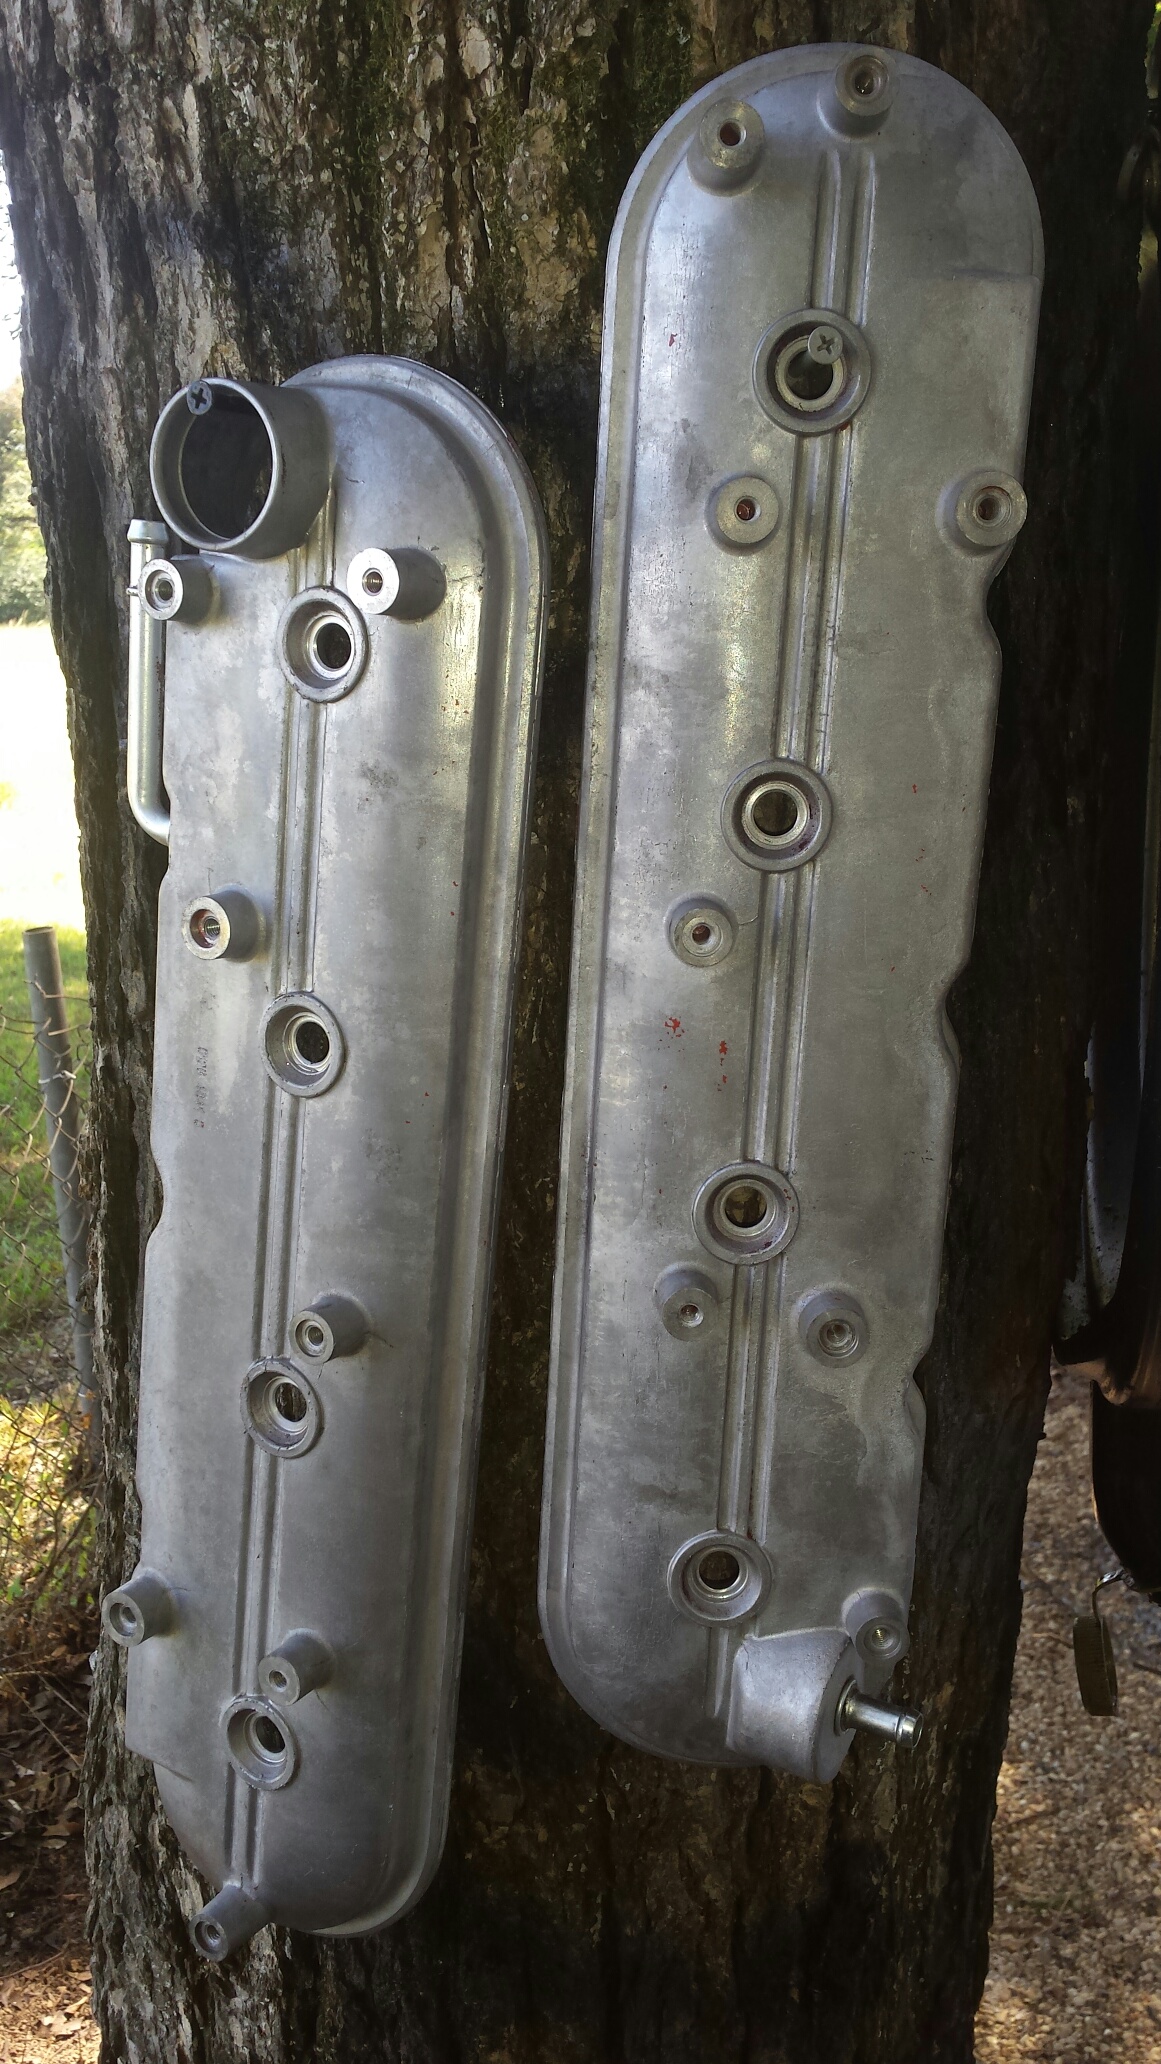
Blasted them in the cabinet.
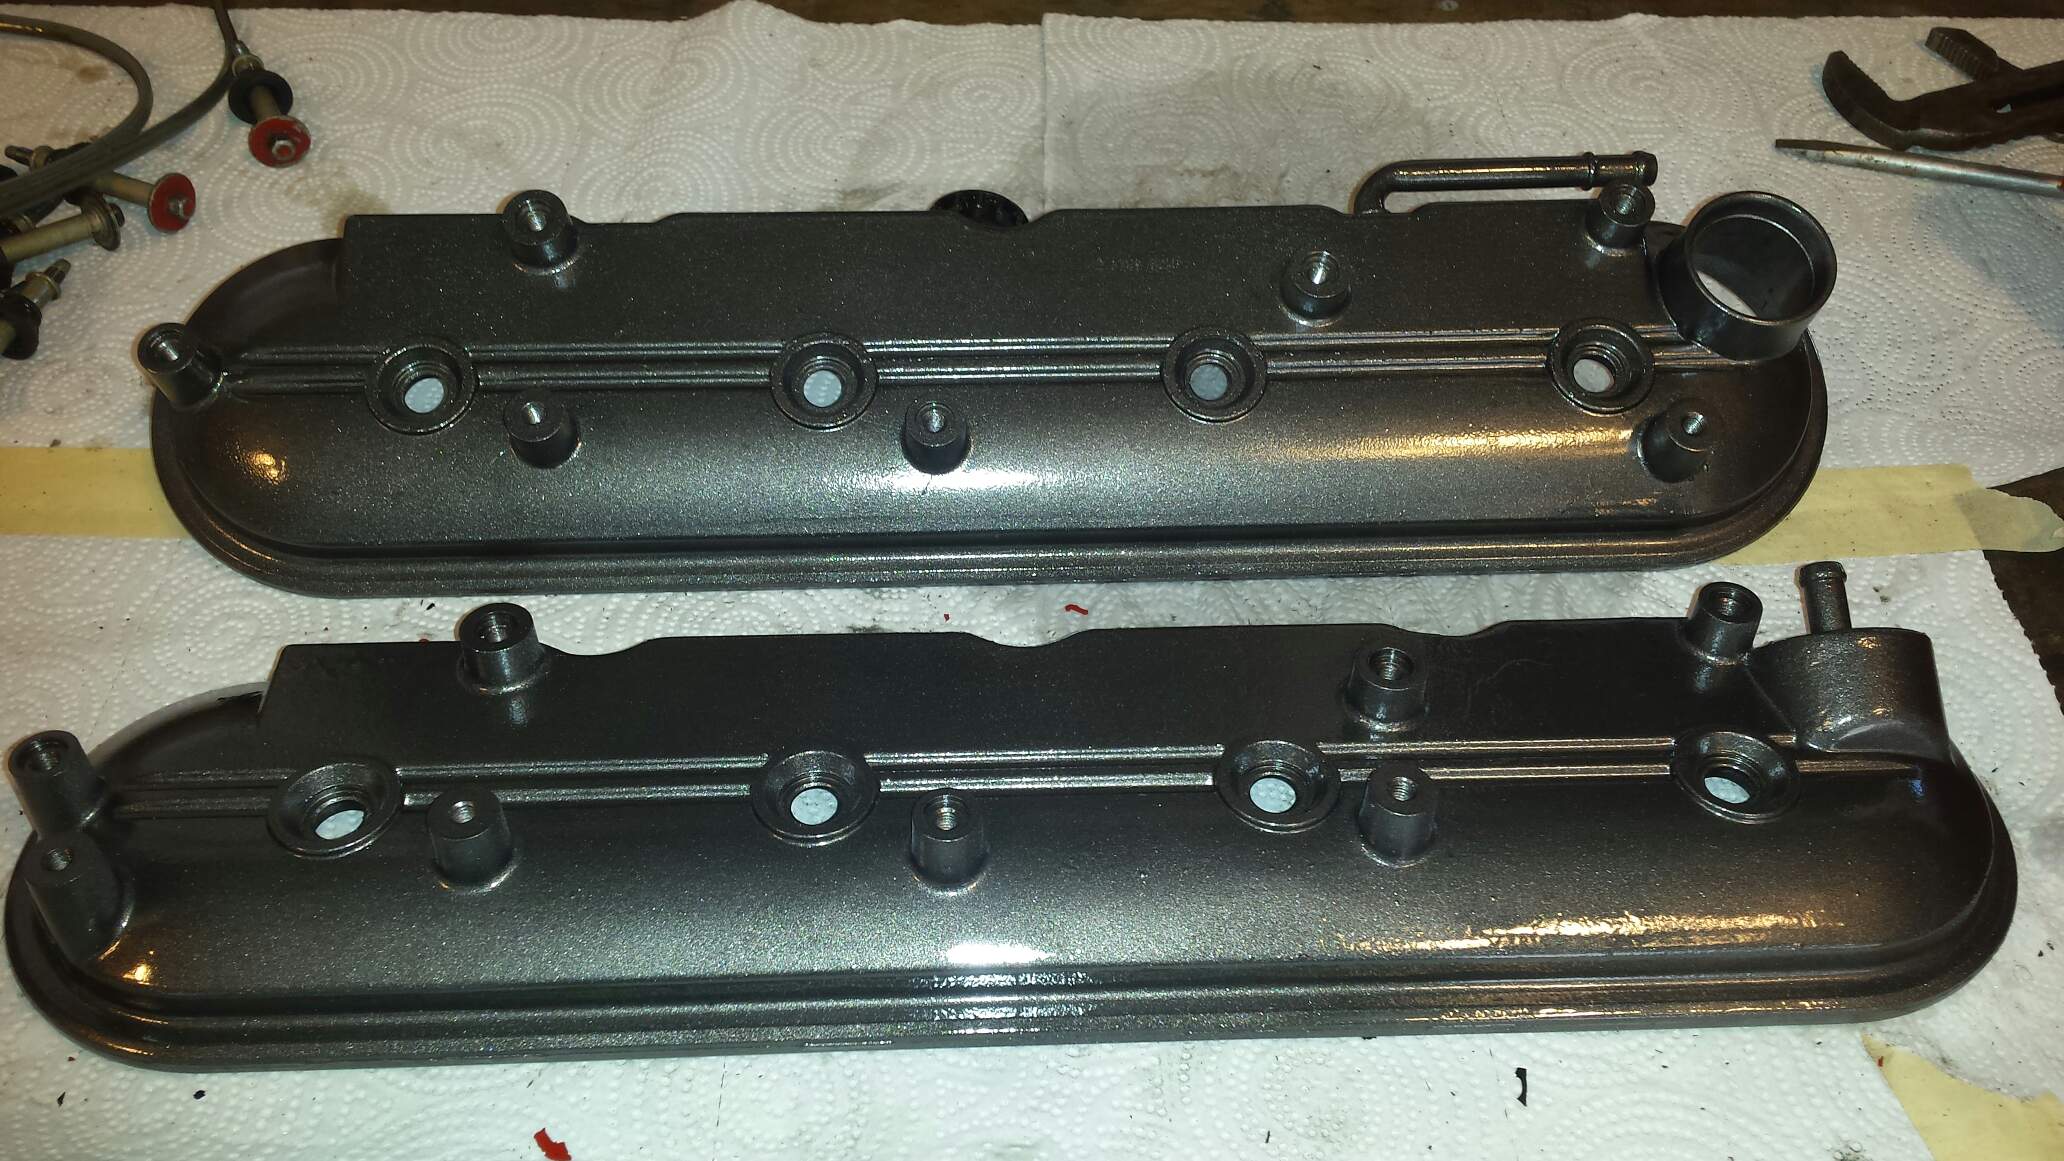
Same wheel graphite color that went on the intake.
Here are the packs and brackets. I touched up the red on the coils, blasted and painted the brackets graphite, and added stainless allen head bolts to hold the coils down. I also re-wrapped the tape around the harness.

Much better.
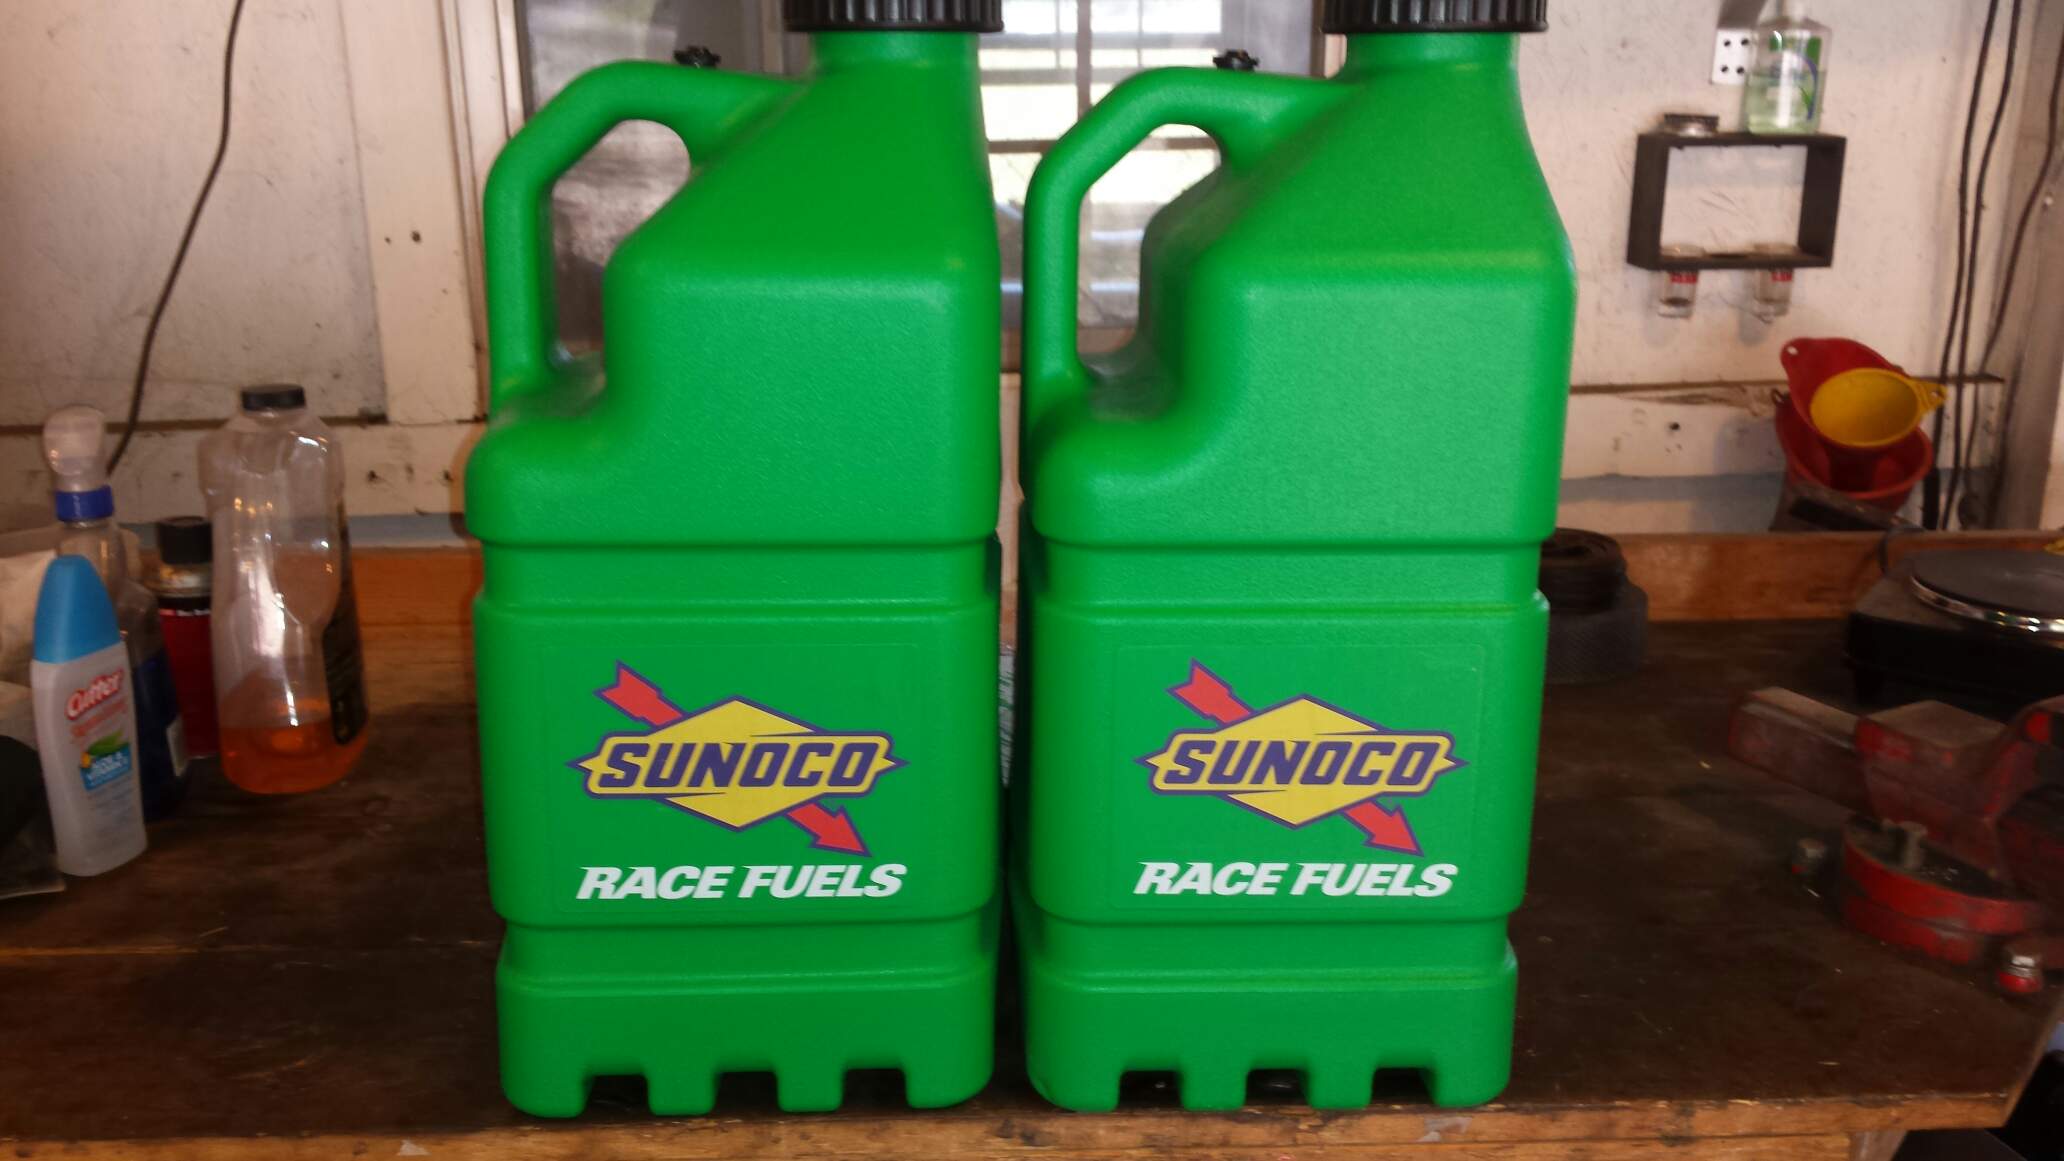
And my final surprise, 10 gallons of MS109. Gonna see if it picks up anything after being retuned for this fuel. Results soon!.

The new TSP setup, 2" header with a 3.5" collector. That means I'm making a new Y pipe.

Ordered up some random pipe pieces and clamps.

In this picture you can see the Howe racing merge, 3.5 to 5 inch, and my old 4" bullet muffler I plan on reinstalling.

This merge obviously was too big so I ended up cutting it back about 3 inches so it would mate up with 4 inch pipe.

Here is the completed Y pipe and merge.

Had it coated with high temp powder.

The red valve covers had seen better days so I decided to change the color scheme up some on the top side.

Blasted them in the cabinet.

Same wheel graphite color that went on the intake.

Here are the packs and brackets. I touched up the red on the coils, blasted and painted the brackets graphite, and added stainless allen head bolts to hold the coils down. I also re-wrapped the tape around the harness.

Much better.


And my final surprise, 10 gallons of MS109. Gonna see if it picks up anything after being retuned for this fuel. Results soon!.


